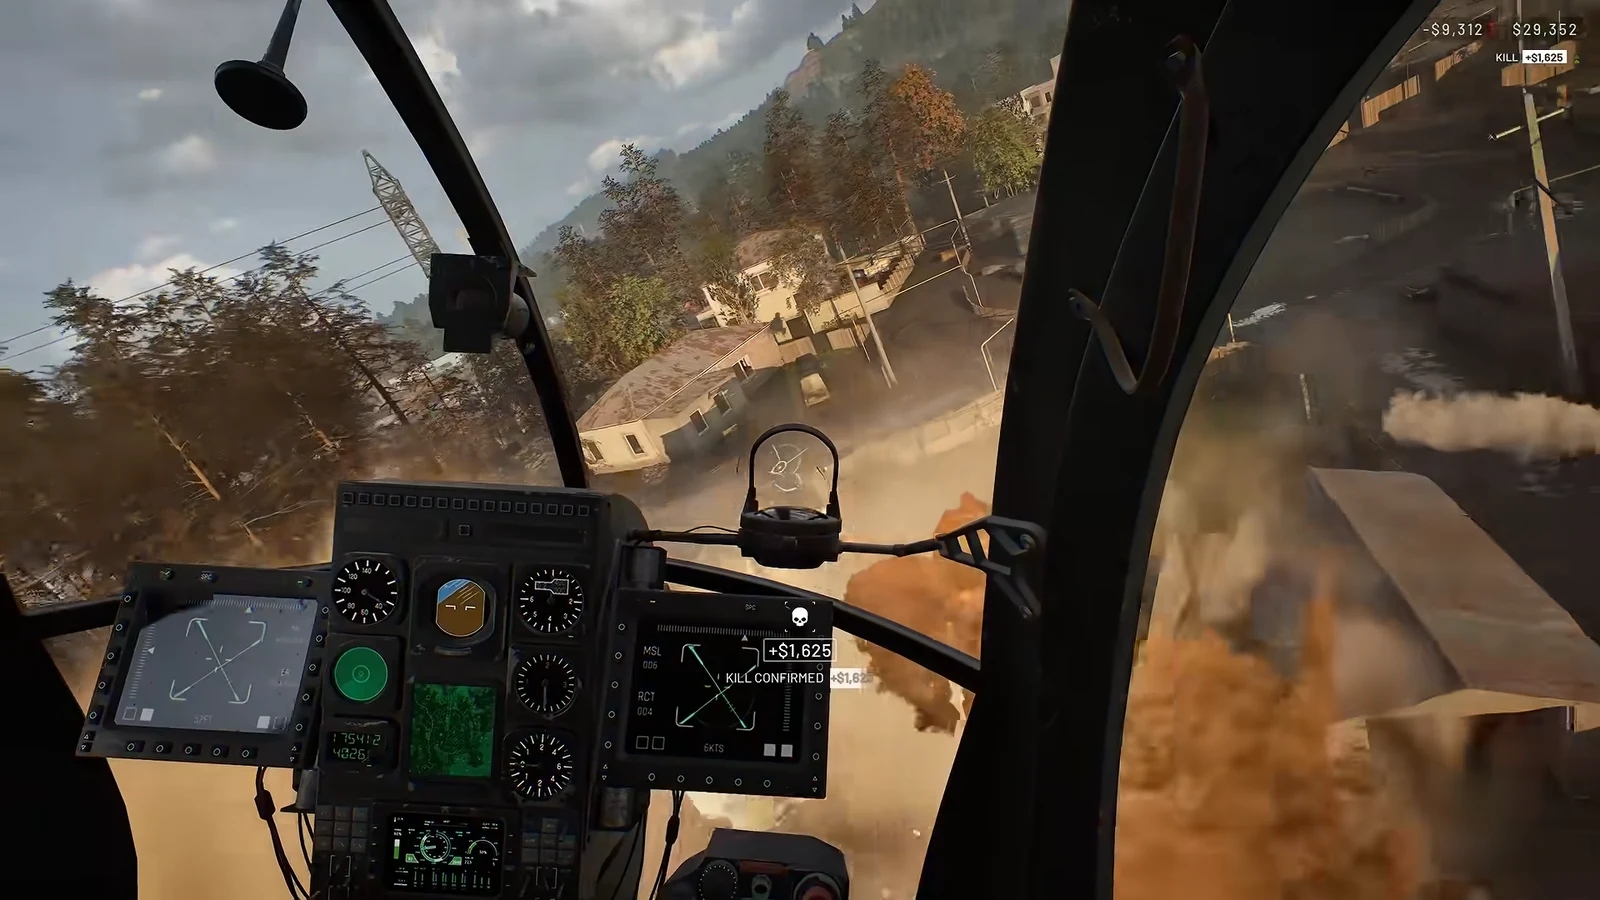
Flying a helicopter from the cockpit in WARDOGS puts you at a disadvantage until you tune a handful of settings. The default camera is narrow, the freelook key behaves differently from every other control, and mouse pitch feels slow out of the box. Fix those three things and first-person flight in this tactical shooter becomes precise enough to weave through valleys and drop troops on the edge of the Control Zone.
Quick answer: Raise First Person FOV – Vehicles to 110–120, bind a mouse button to Left Alt for freelook, and push Air Vehicle Multiplier up to 1.50–2.0 for sharp pitch and roll response.
Widen First Person FOV – Vehicles for cockpit visibility
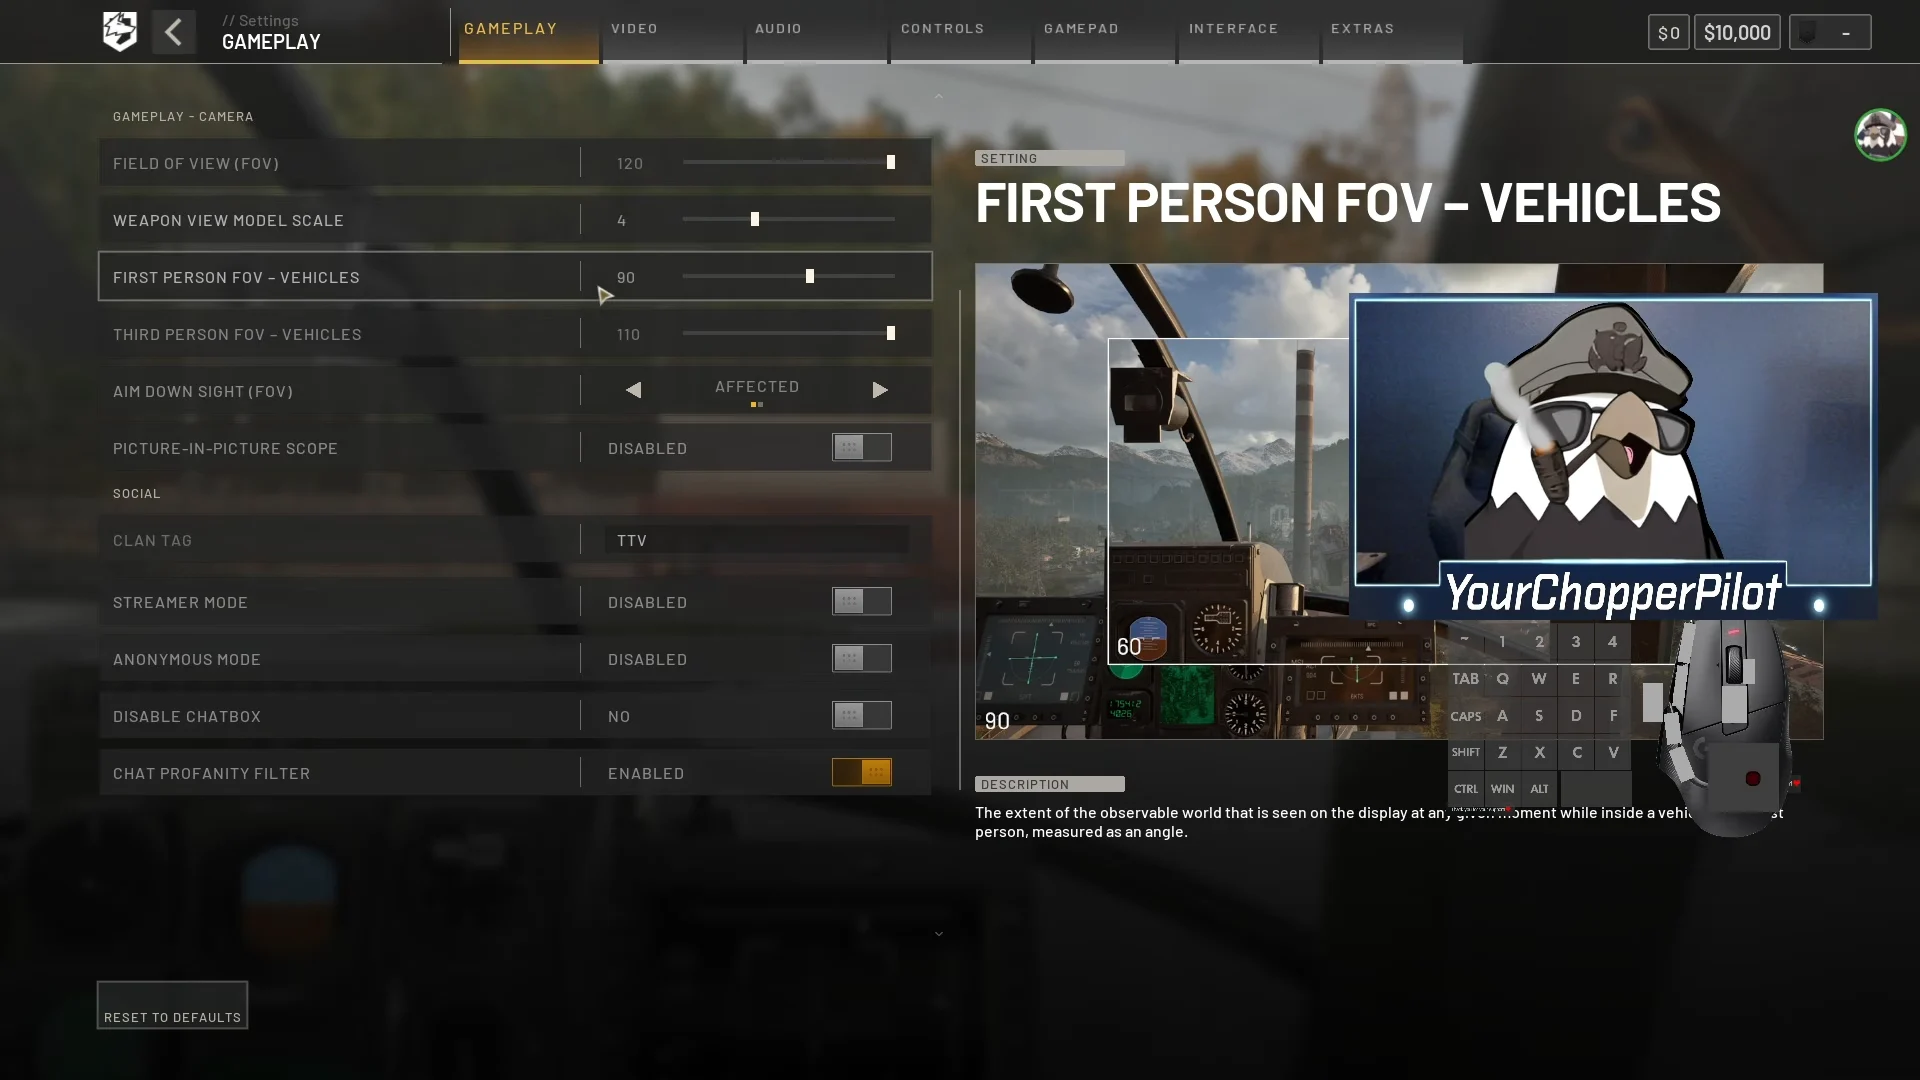
The cockpit view starts at a field of view of 90, which crops out most of your peripheral vision when you sit inside the airframe. Open Settings, go to Gameplay, then Camera, and find the FIRST PERSON FOV – VEHICLES slider.
Pushing the value up to 110 or 120 pulls the camera back so you can see more of the terrain, the rotor disc, and aircraft trying to line up a shot on you. Dropping it lower zooms the view in, which is useful when you are flying a gunner helicopter and want a tighter look downrange. Set it to whatever keeps obstacles inside your peripheral vision without making the cockpit feel distant.
Fix freelook: rebind Left Alt to a mouse button
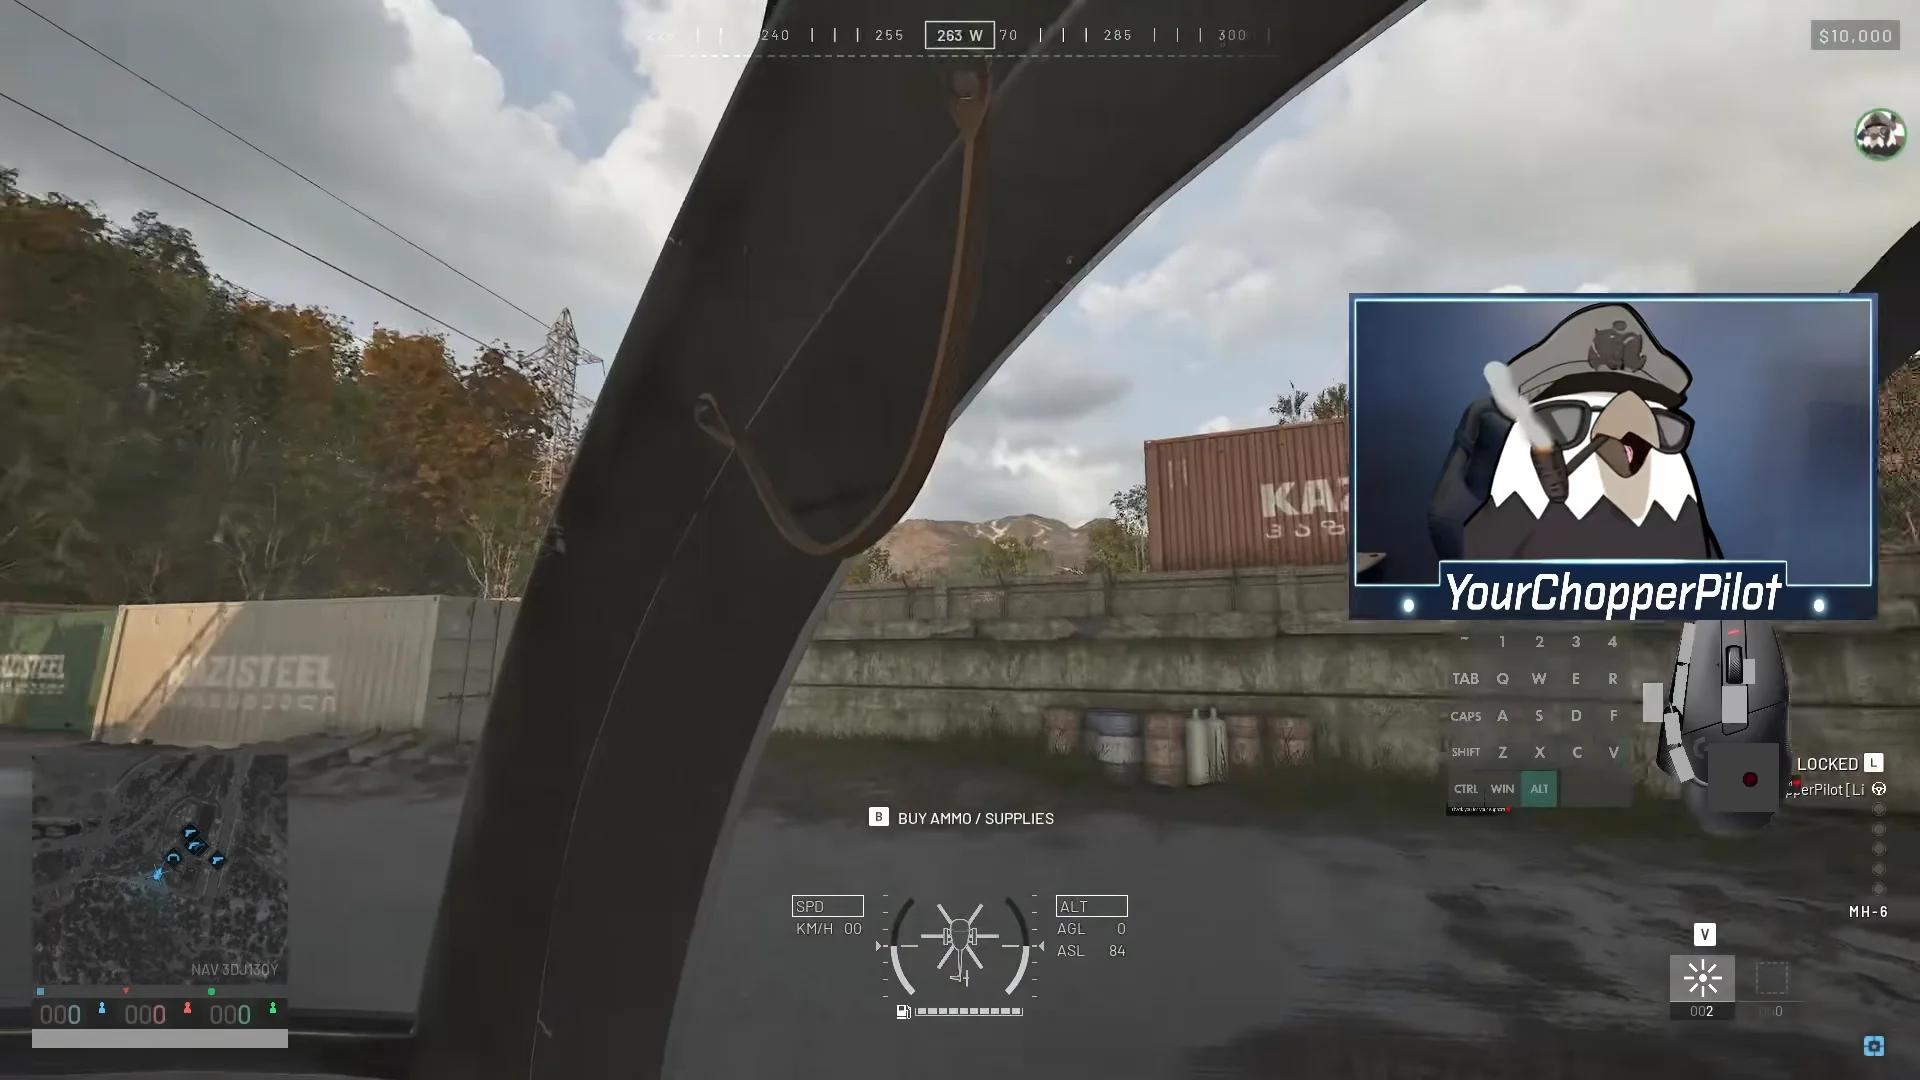
Freelook lets you move your head around the cockpit while the helicopter maintains its heading, which is useful for choosing a landing spot or scanning for anti-air. Left Alt is the sole look control that supports holding the key to look. Assigning the function to a different key natively means you must double-tap to activate look mode, then double-tap again to turn it off.
The clean workaround is to keep the game’s Left Alt binding and make a convenient button send that keystroke instead. On a Logitech mouse you can map a side or thumb button to Left Alt in Logitech G HUB. Without vendor software, use Microsoft PowerToys and its Keyboard Manager to remap something like right mouse click to Left Alt.
Map the freelook button somewhere you can hold comfortably during a whole flight, since you will lean on it constantly while scanning for landing zones and enemy fire.
Raise the Air Vehicle Multiplier for faster pitch and roll
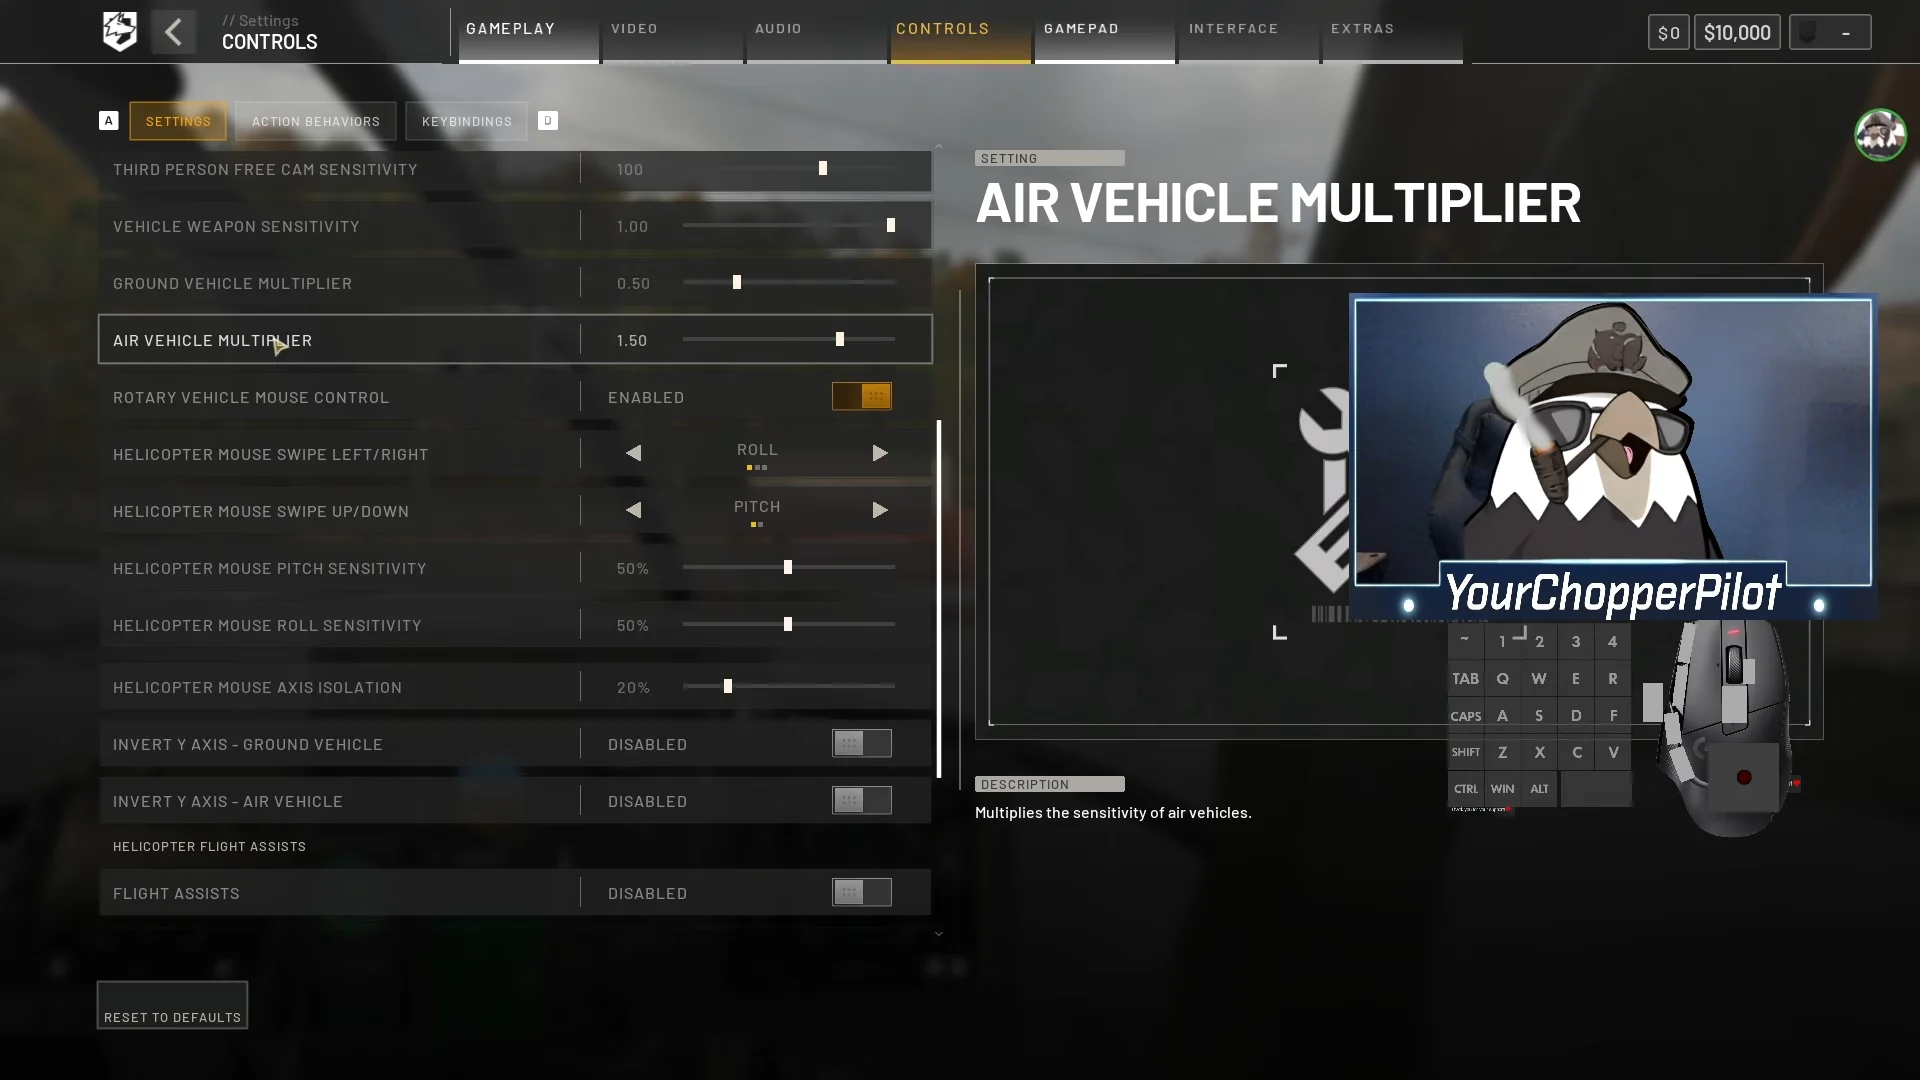
Mouse pitch feels sluggish at low sensitivity, forcing large physical mouse movements for small nose changes. Open Controls, then Settings, and find the AIR VEHICLE MULTIPLIER slider.
At a low value like 0.10 the helicopter responds slowly and tight maneuvers become impossible. Raising the multiplier toward 1.50 to 2.0 speeds up pitch and roll so you can bank hard and correct quickly with minimal wrist motion. Start near the top of that range and dial it back if the aircraft feels twitchy.
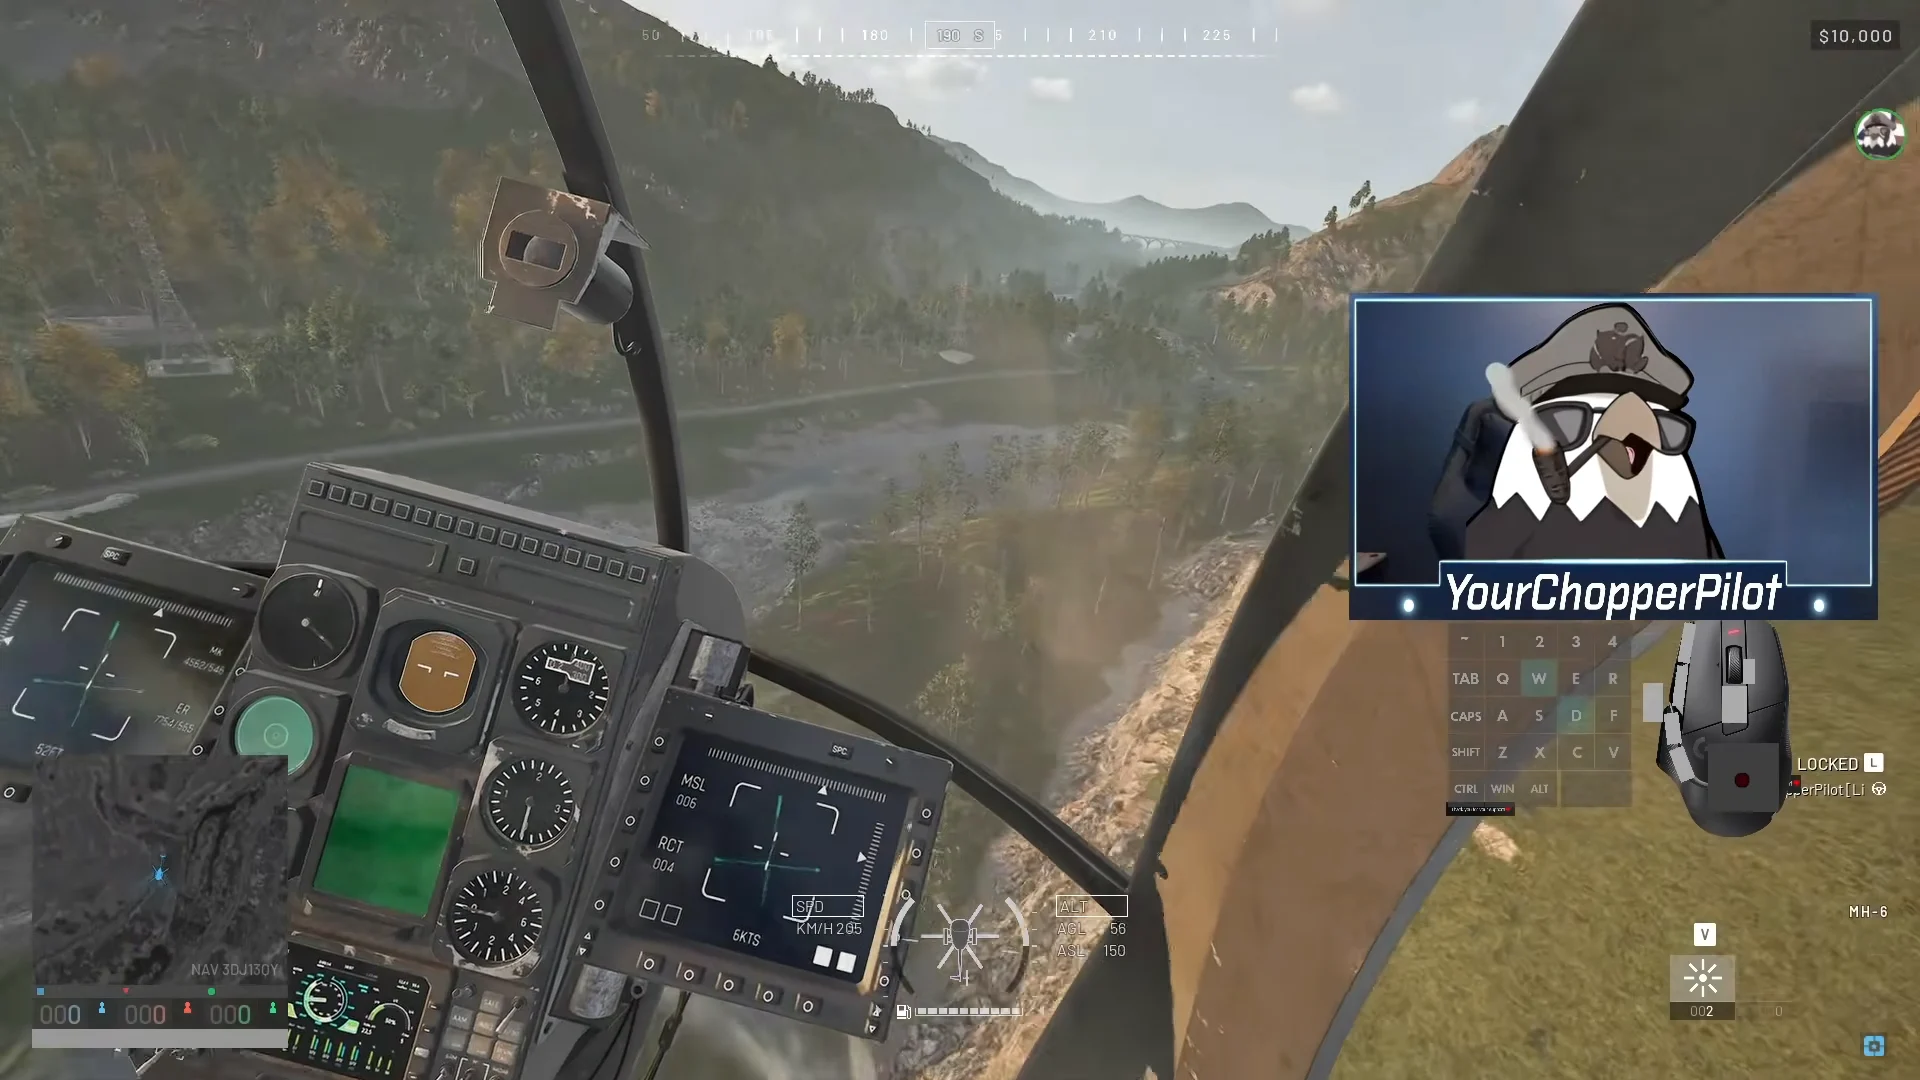
The difference shows up the moment you throw the helicopter into a turn. With a low multiplier the nose lags behind your input; with a high one the same banked turn happens fast enough to slip between terrain features.
Optional: control pitch and roll with the mouse
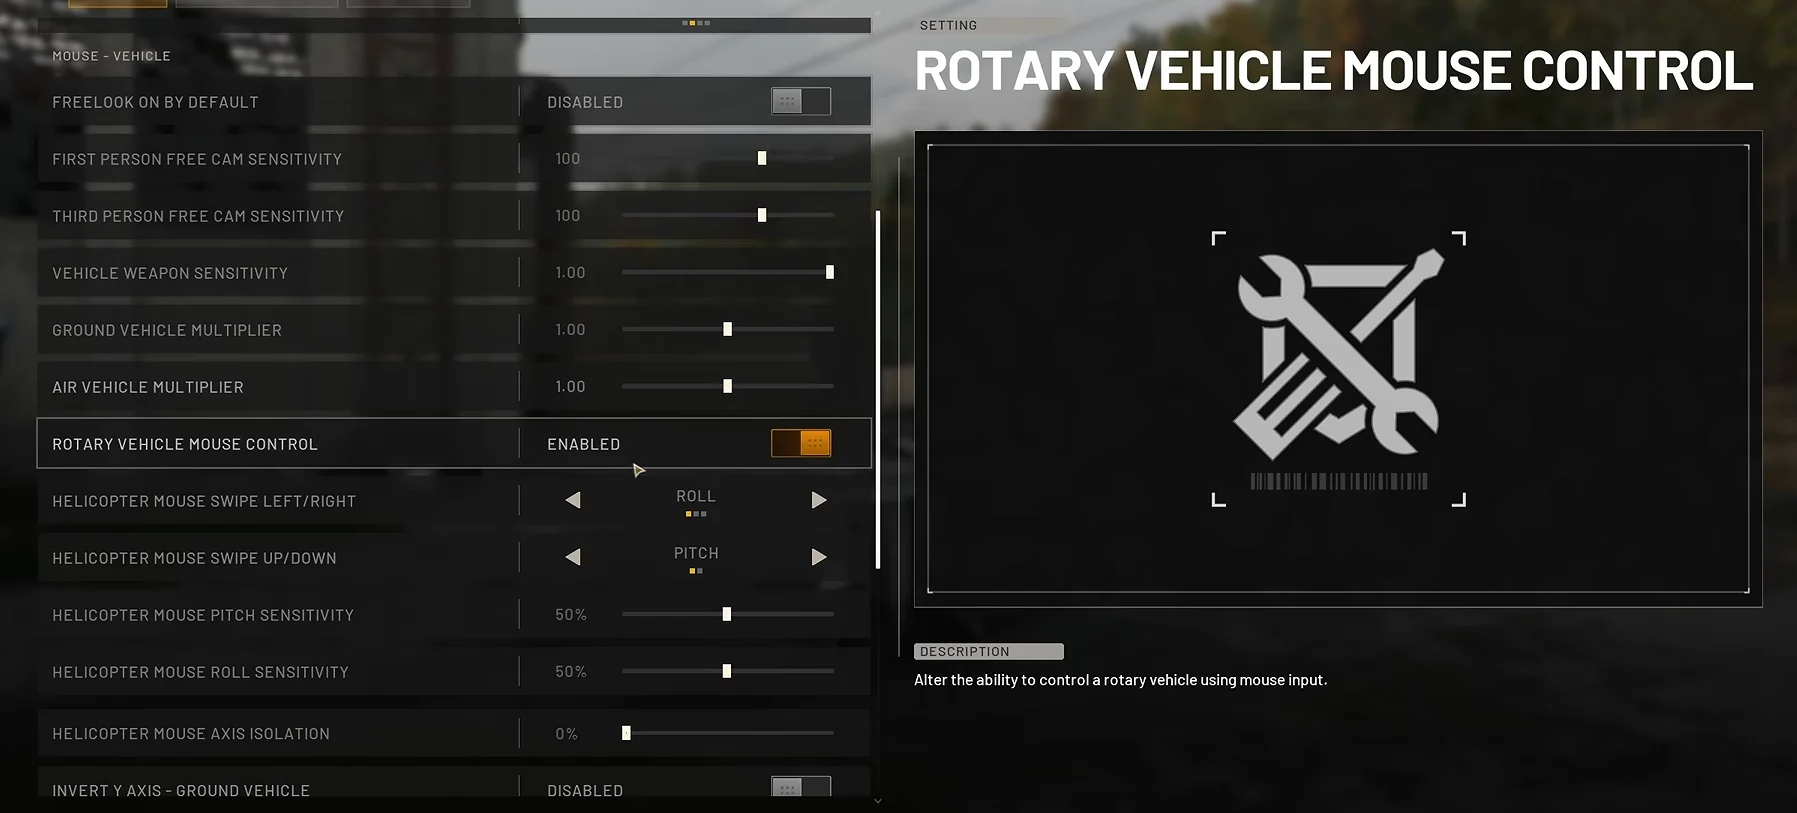
By default the mouse only moves the camera while the keyboard flies the aircraft. If you want the mouse itself to drive pitch and roll, enable ROTARY VEHICLE MOUSE CONTROL in the vehicle control settings. This routes continuous cyclic inputs to mouse movement instead of digital key taps.
With mouse flight on, horizontal swipes and vertical swipes map to specific axes such as roll and pitch, and separate sensitivity and axis-isolation sliders let you keep those inputs from bleeding into each other. It is a matter of feel, so try both schemes before committing to one.
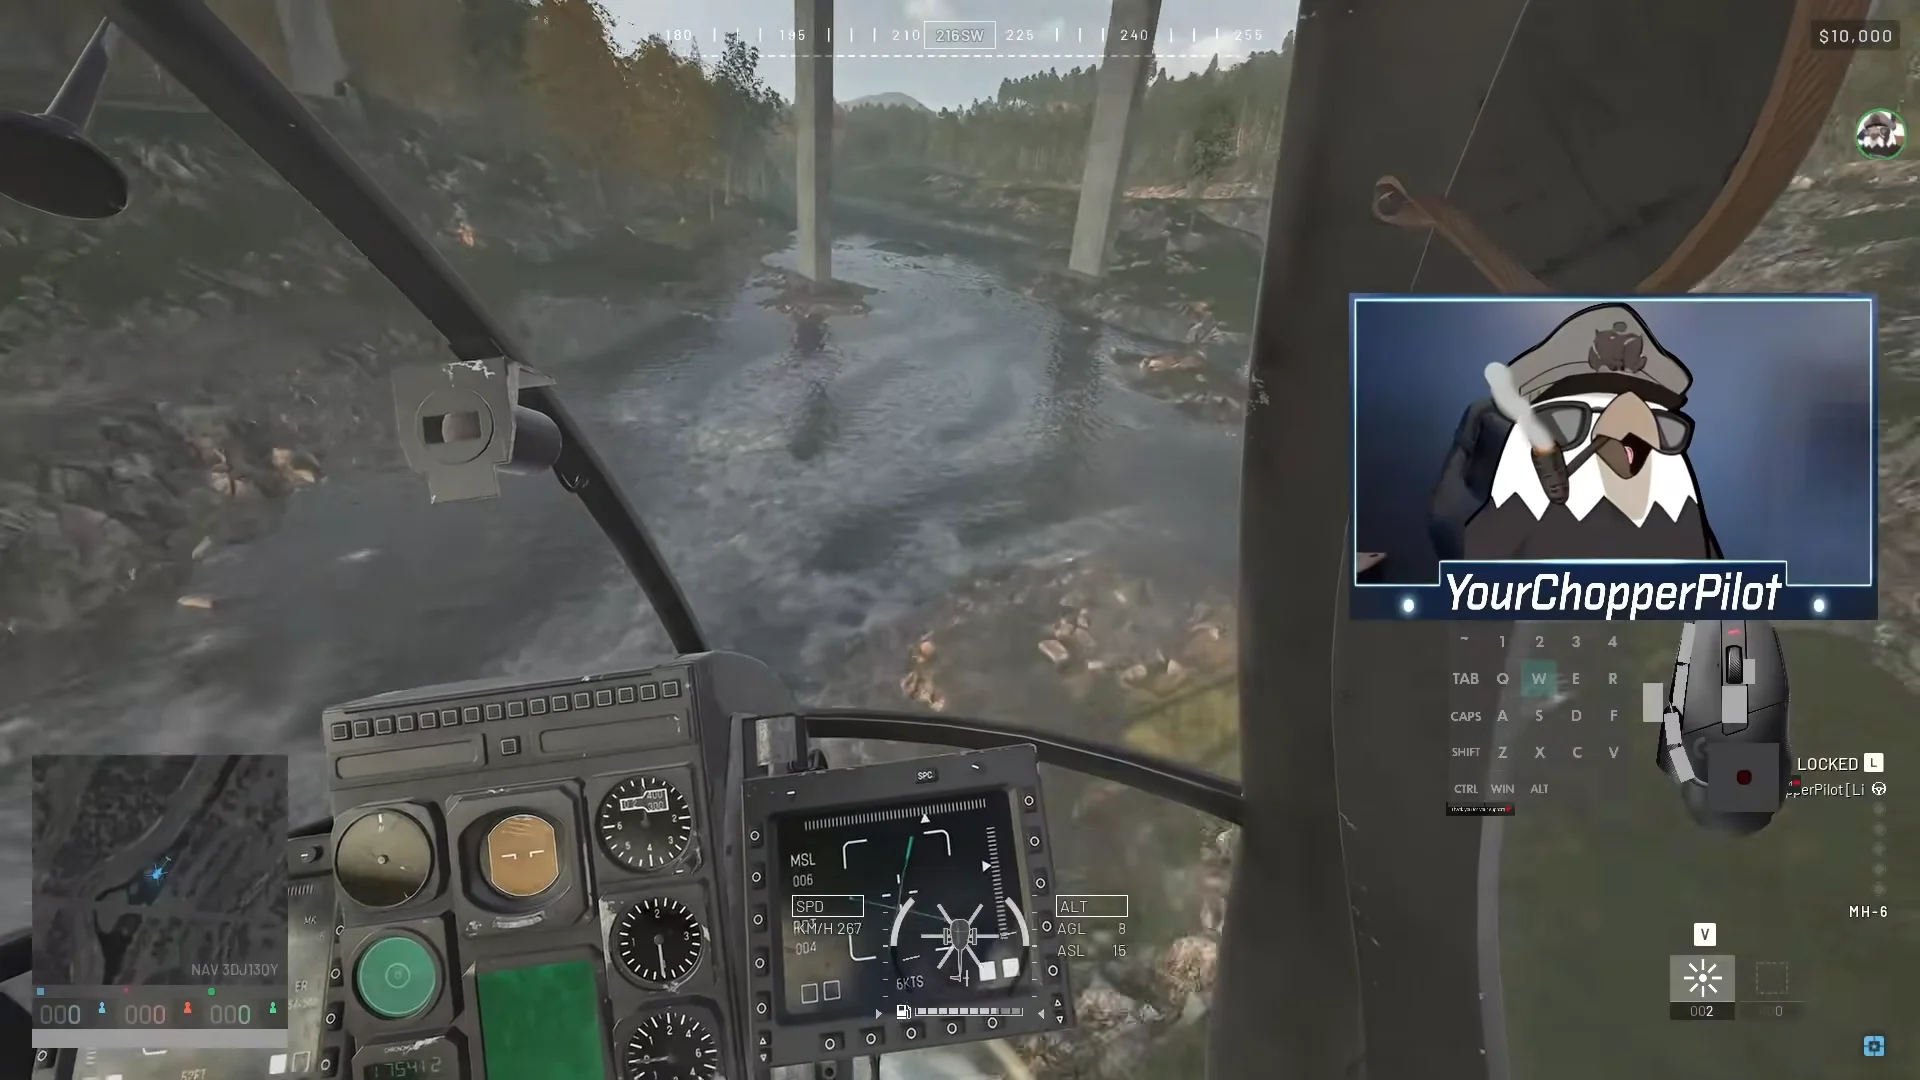
Fly low and read your AGL and ASL dials
Once your dropoff is done and you have no passengers aboard, use the return trip to practice flying close to the ground. Weaving between trees, bridges, and river canyons on an empty airframe builds the spatial awareness you need before you try it with a full cabin.
The cockpit gives you the exact telemetry to do this safely. Watch the AGL reading for your height above the ground directly below and the ASL reading for height above sea level. AGL is the number that keeps you off the terrain when you are hugging a riverbed; ASL tells you your absolute altitude for clearing ridgelines. Flying low also breaks line of sight from ground armor and snipers and helps you avoid anti-air locks.
Expect to crash while learning the limits
Testing how tight a turn or how low a pass you can pull off means you will occasionally clip terrain. Crashing is part of learning where the clearances and turn radii actually are, and every wreck teaches you something about the flight model you cannot get from settings alone.
You know the setup is right when the cockpit view shows enough of your surroundings, the freelook button lets you scan without changing heading, and small mouse movements produce quick, controlled attitude changes. From there, keep pushing your low-altitude runs on empty return trips until tight terrain flying feels routine.