Cash is the real progression system in WARDOGS. There is no per-round buy phase that hands you a fresh allowance, no banked column held back until the match ends, and no reset when you die. You get one balance, it follows you between lives and matches, and every life you kit out is money leaving that balance. Spending big is not reckless by default — it is a bet on how much the next few minutes will pay you back.
Quick answer: Buy the kit you want and survive to the final whistle — the match refunds 90% of what you paid for it, and a single rifle kill into the Hot Zone from 400 metres pays $6,000.
How the WARDOGS wallet works
The game uses one shared account balance. The $10,000 often mentioned is awarded only when you begin playing, not once per life. If you spend it on a kit, die, and quit, you will start tomorrow with only whatever remained.
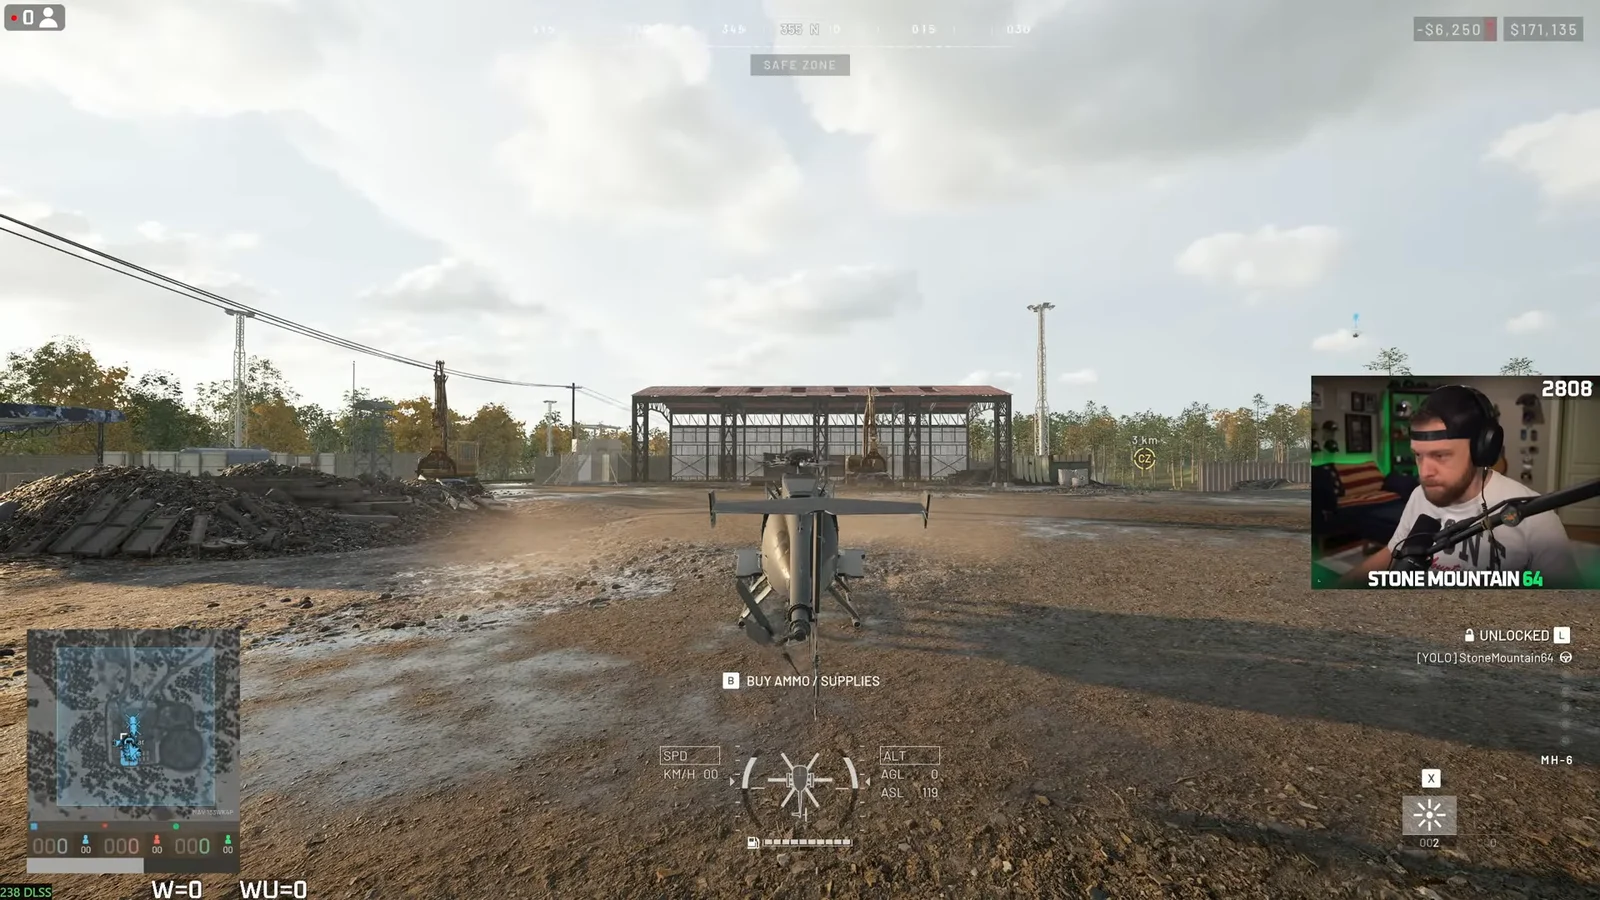
Two HUD values are easy to mix up. Account is your total holdings, while Profit tracks earnings from the current life; the death screen labels that value This Life. Only Account can be spent, and Profit disappears on death.
The balance changes only when a season finishes. At that point it becomes Gold Bars and the ledger resets. During a season, spending is the only way to reduce your money.
Every payout scales with server population
Before any of the numbers below mean anything, check the head count. Cash and XP are both multiplied by a factor set by how many players are on the server, and an empty server pays nothing at all.
| Players on server | Payout rate |
|---|---|
| Under 10 | Nothing |
| 10 | 15% |
| 20 | 20% |
| 25 | 30% |
| 30 | 40% |
| 35 | 50% |
| 40 | 70% |
| 45 | 80% |
| 50 | 90% |
| 60 and up | Full rate |
Every figure in the tables that follow is the full rate. On a half-empty server you are looking at a fraction of it, which is why quiet lobbies are a bad place to farm anything.
Where the big money comes from
Zone presence and entry bonuses
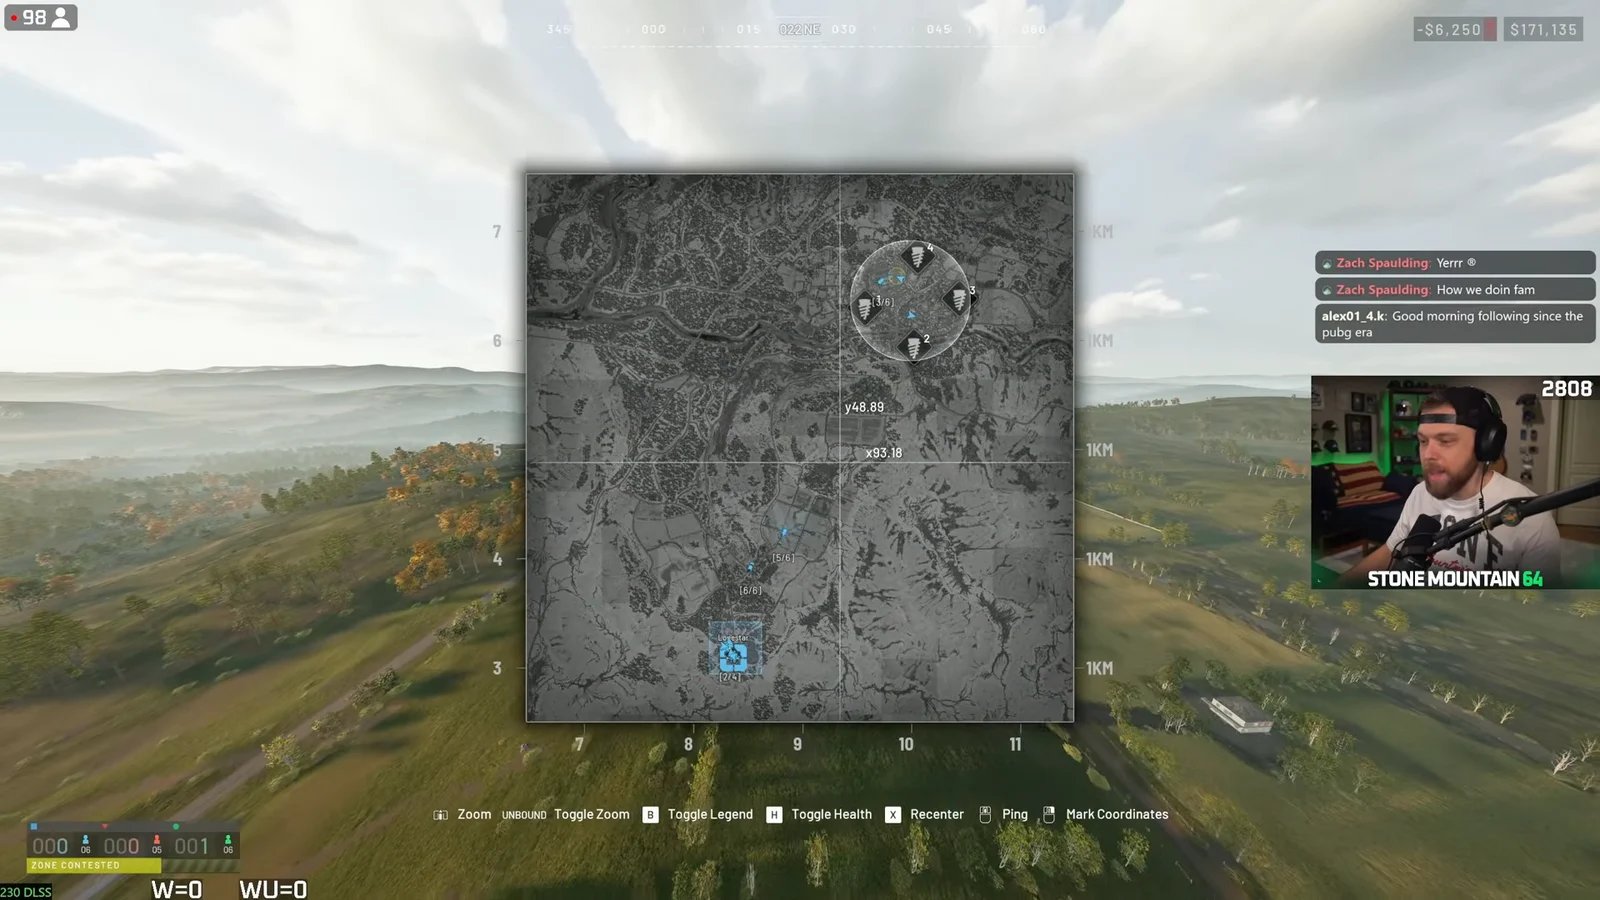
The Control Zone pays rent on a score tick that lands every 22 seconds. The Hot Zone inside it pays double per tick, counts double toward the point itself, and adds a little more each consecutive tick you stay in.
| Event | Payout |
|---|---|
| Entering the Control Zone | $250 |
| Control Zone, per tick | $160 |
| Hot Zone, per tick | $320 |
| Each consecutive Hot Zone tick | +$50, up to +$500 |
| Driving a spawn vehicle into the zone | $3,000 |
The payment rate does not improve when you control the zone. Whether it is contested, friendly, or enemy-held, simply being present pays the same, so waiting outside does not provide a financial benefit. Both entry payments count within the Control Zone while remaining outside the Hot Zone. With a spawn vehicle, park in the outer ring instead of taking it into the centre. The $3,000 payment is the game’s largest objective reward, yet most players never receive it even once.
Kills, multipliers and long-range shots
The base reward is $300 for a kill and $350 for a headshot. Position then applies a ×5 multiplier in the Control Zone or ×10 in the Hot Zone. Half of that bonus comes from your location and half from the target’s landing point, allowing fire into the circle from outside to earn half the multiplier.
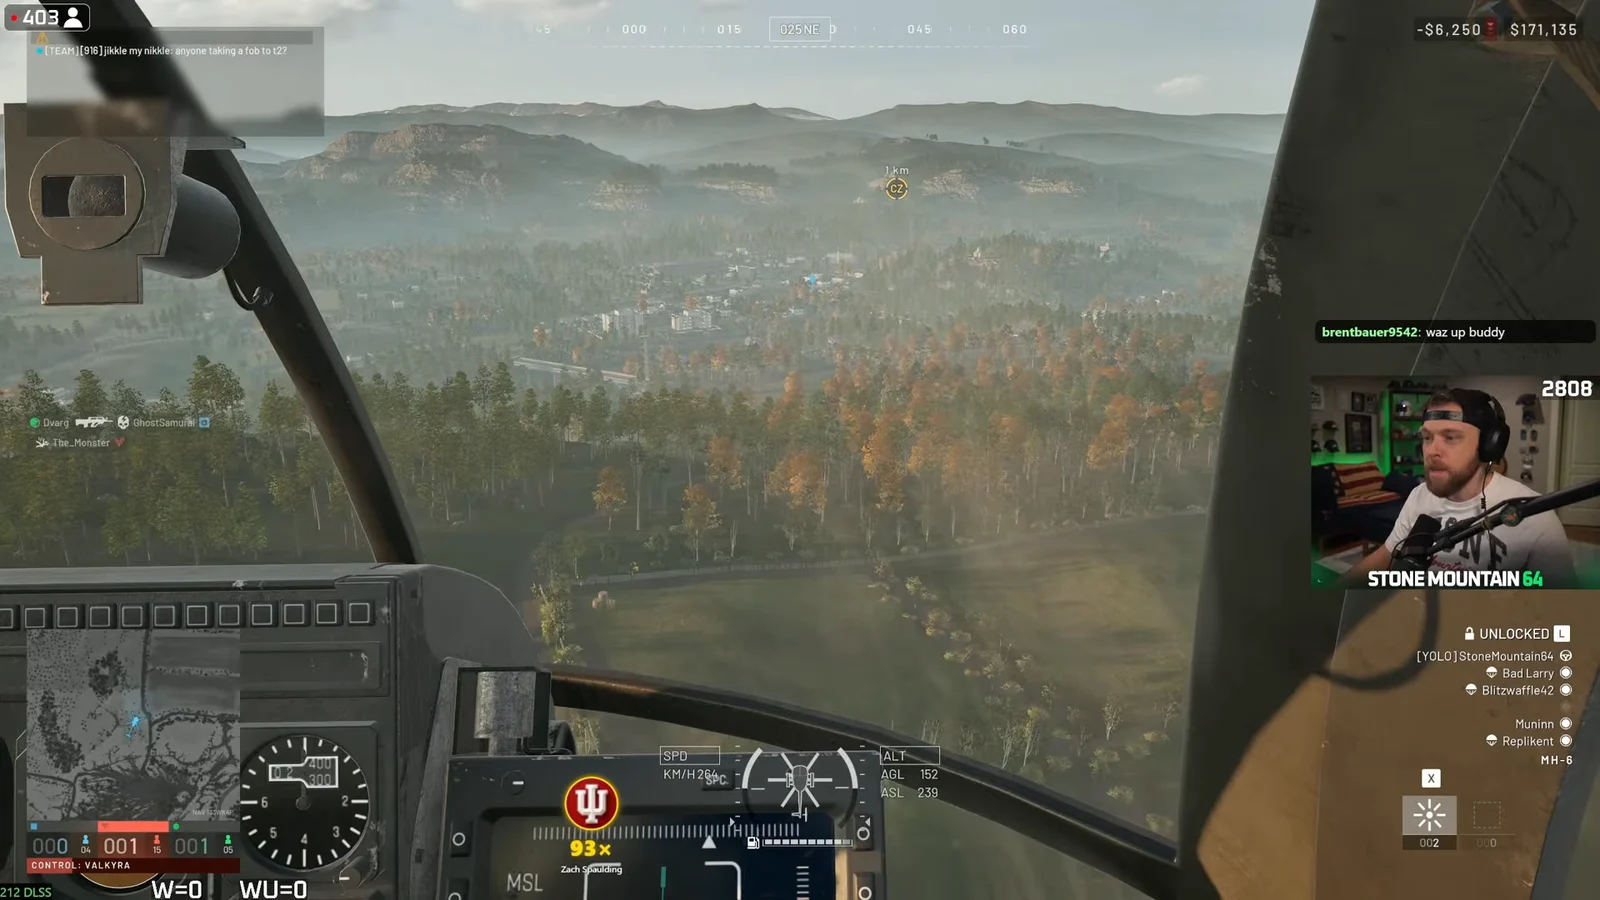
Further rewards can be added. After the first kill, a streak grants $50 per kill, capped at $250. Killing the player who most recently killed you doubles the payment, while stopping another player’s streak adds half again. Rifle and artillery kills also gain value with distance, producing the unusually large payouts.
| Distance | Multiplier |
|---|---|
| 300 m | ×1.5 |
| 400 m | ×2 |
| 500 m | ×2.5 |
| 600 m | ×3 |
| 900 m and beyond | ×4 |
A rifle hit into the Hot Zone from 400 metres therefore pays $6,000. A headshot made at greater range pays more still. For kills made at distance, only the target’s position determines the multiplier because the shooter is far from the circle.
Revives, marking and other support pay
Reviving is the most reliable income for a medic because the reward uses only the downed player’s location. Difficult rescues pay more, and a revive restores a full body to the tick count, whereas a kill restores only half.
| Action | Open ground | Control Zone | Hot Zone |
|---|---|---|---|
| Revive | $400 | $800 | $1,600 |
| Defibrillator revive | $600 | $1,200 | $2,400 |
| Marked target dying | $400 | — | $1,600 |
Marking an enemy pays $100 on its own. Transport has its own ledger: $150 per passenger delivered by air, $500 by ground, scored where they get out, plus $250 per survivor for a round trip back to the safe zone with at least three aboard. Capturing a drill tower pays $250, or $750 if you take it off a hostile holder, and firing the Hot Zone Magnet pays $2,500.
Picking up the same squadmate again and again pays about a quarter less each time. A defib that opened at $1,200 comes back closer to $900, so spread your attention across the squad.
Blowing up vehicles
Armour creates some of the game’s largest individual payments. For vehicle kills, the multiplier uses both your location and the vehicle’s location; firing a launcher from inside the circle at a target above it can therefore earn several times the base reward.
| Target destroyed | Payout |
|---|---|
| Artillery tank | $14,000 |
| Attack helicopter | $9,000 |
| Tank | $7,000 |
| Enemy spawn vehicle | $5,000 |
 Dune Buggy Dune Buggy | $300 |
Before firing a rocket, verify that the vehicle was purchased; destroying one that nobody bought gives no payment.
What takes cash back off you
Four rules quietly shrink what a kill is worth, and one of them runs hard in the other direction.
- Repeatedly killing one player reduces the reward by roughly a quarter each time, for four successive reductions, making that opponent a poor farming target.
- A team revive leaves your kill worth just one percent of its normal value—a body that no one can reach pays one hundred times more than one that falls beside a medic.
- Kills made from a crewed vehicle are divided among the occupants, with one-fifth removed for each additional crew member aboard.
- A teamkill charges you three times the reward that kill would have given, and destroying structures or vehicles belonging to your own faction also incurs a cost.
The 90% loadout refund
When the match concludes, surviving while still carrying your kit returns 90% of the loadout’s purchase price. Ammo and magazines are excluded, so their cost is always lost. The match must also reach 20 score ticks for the refund to apply.
This rule changes the value of spending. Your equipped kit functions as a deposit rather than a permanent loss, making the final minutes of a match the worst time to economise. Purchase the equipment you genuinely want, since most of its cost returns.
What the cash buys
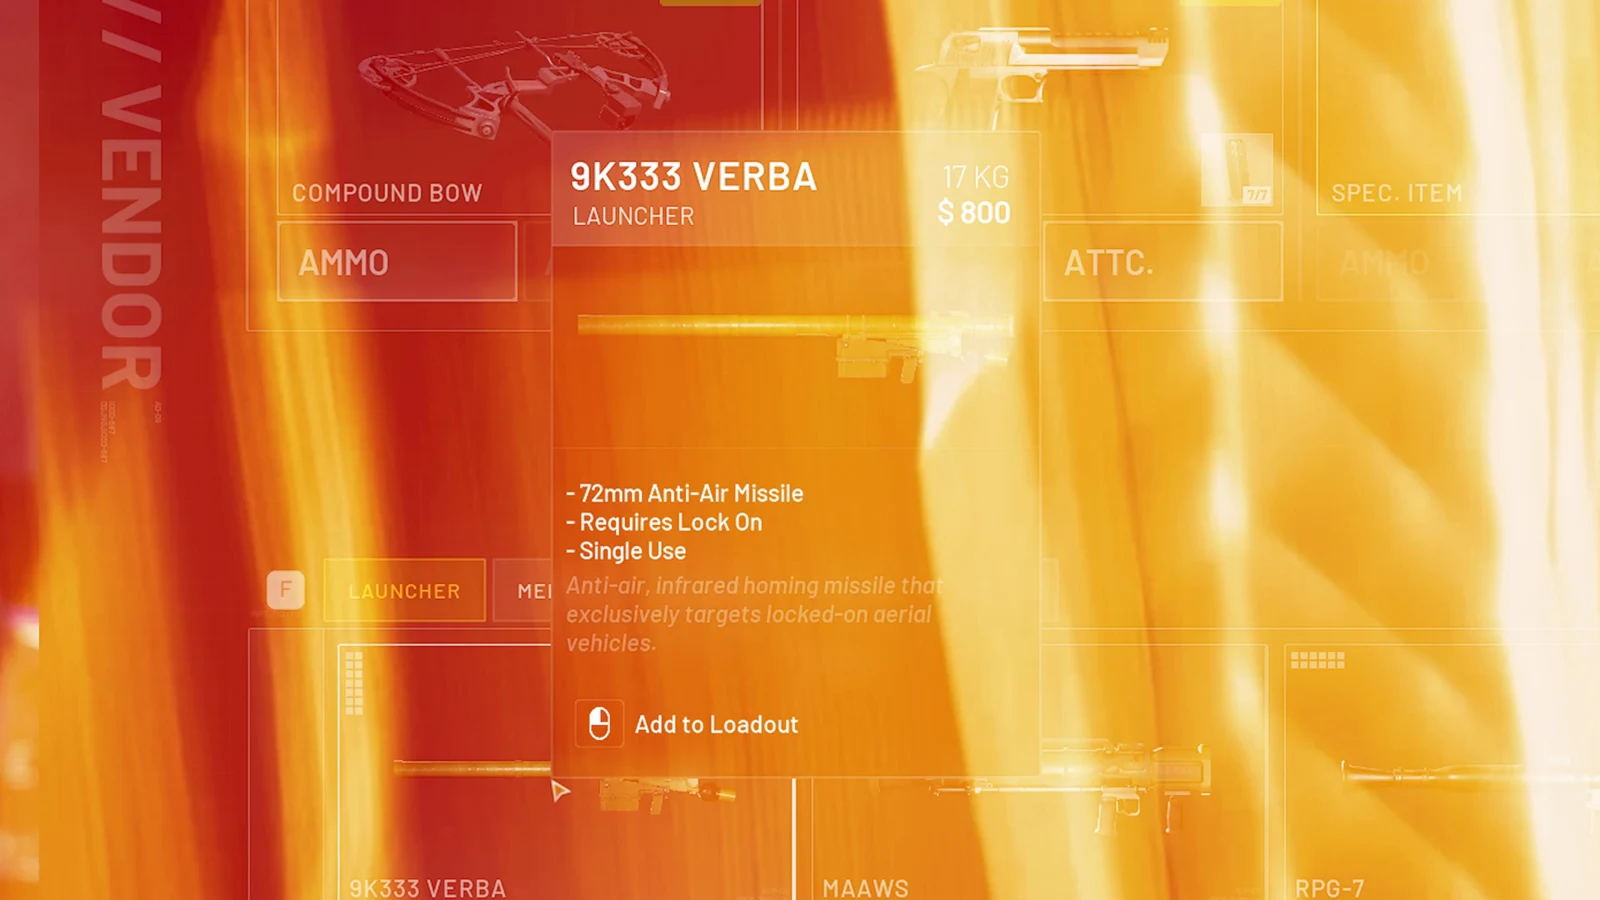
Your spending falls into three categories. Kit costs apply per life, meaning each respawn requires another payment. Gear restricted by a level gate first needs a one-time unlock fee, then retains its per-life cost. Logistics—vehicles, crates and pallets—is purchased for the faction, not for an individual.
The free rifle that costs nothing to lose
Every faction recruit receives the same rifle free on every life indefinitely. The Bushmaster M17S is a 5.56x45mm assault rifle costing $0; it offers Semi and Burst fire, a rate of 700 rounds per minute, a 715 m/s muzzle velocity and a weight of 3.17 kg. Each shot deals 28.0 damage, or 65.8 with a headshot, and 11.2 against body armour, which registers the hit as a bullet. Attachments are unavailable, but it works with various 30-round magazines, including the STANAG 30 RND Magazine and the M4 Standard Mag.
Because it costs nothing, it is the rifle to run while you learn sightlines, and the one to fall back on after a run of expensive deaths.
Vehicles and their unlock fees
Vehicles are bought from the vehicle vendor at your faction’s safe zone. None of them are placed in the world during a match, so if one is on the map, somebody paid for it. Each sits behind a role level and a one-time fee before you can start paying the per-life price.
| Vehicle | Price | Unlock | Unlock fee |
|---|---|---|---|
 Z20 Lakota Z20 Lakota | $7,400 | Pilot level 10 | $35,000 |
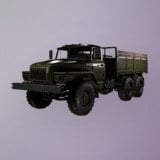 Ural Ural | $5,000 | Driver level 3 | $35,000 |
| Dune Buggy | $1,500 | Driver level 8 | $25,000 |
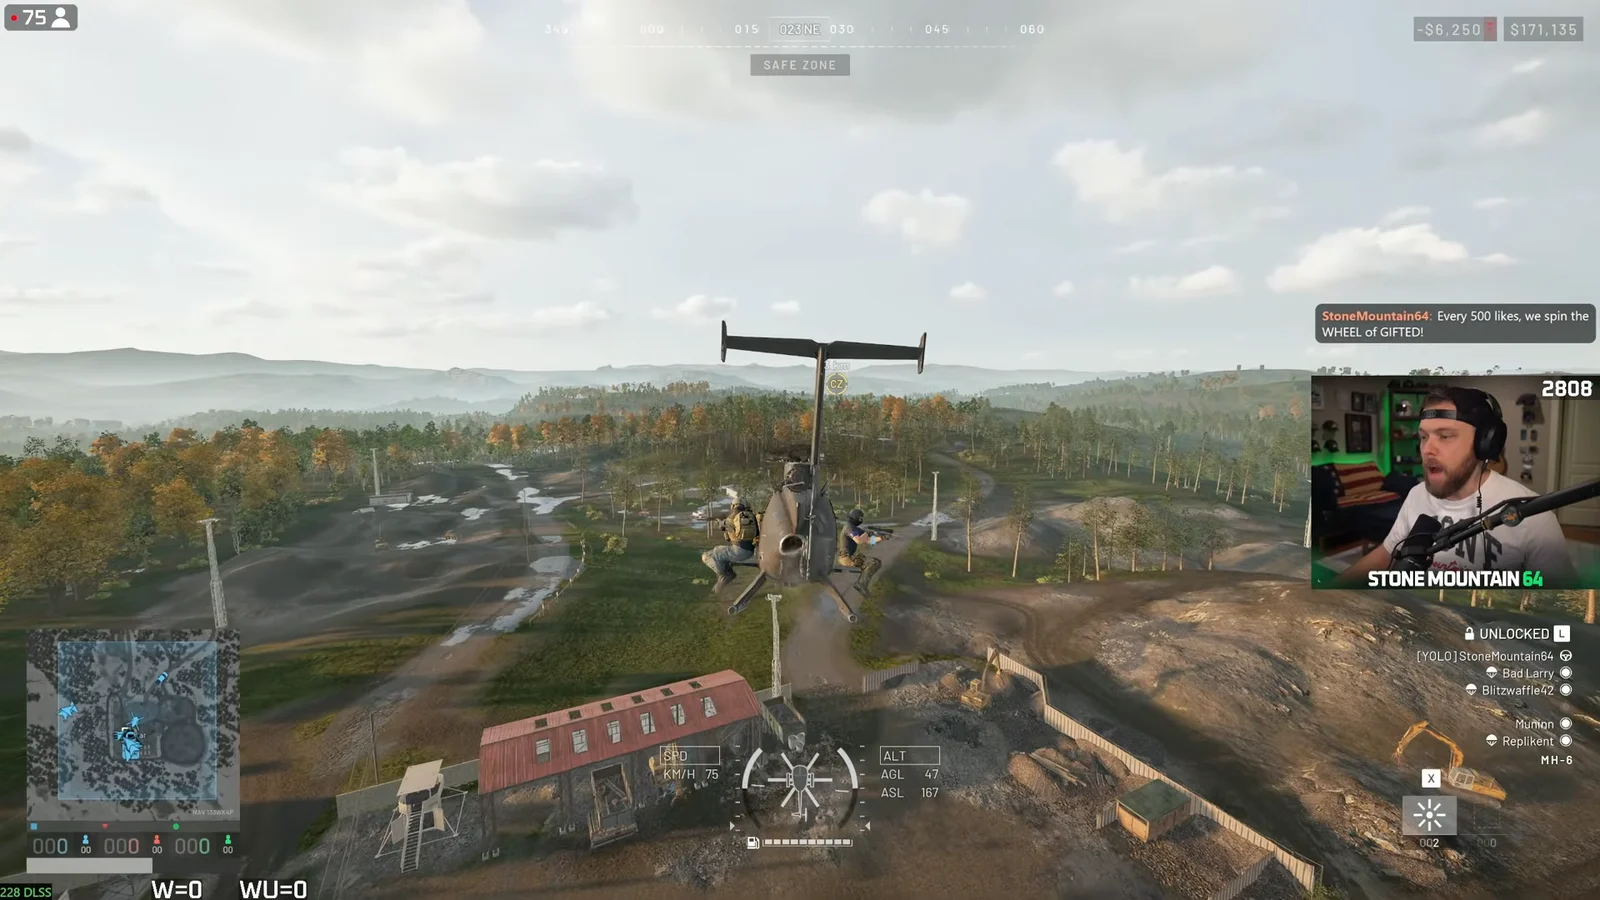
The Z20 Lakota is the big one: a Transport class aircraft with 13 seats, a 445.0 km/h top speed, a 120.0 litre tank and 4.4 litres burned per kilometre. Thirteen seats against $150 per air delivery is the arithmetic that justifies the price tag.
The Ural is a large multi-capacity wheeled attack vehicle with 3 seats, a 79.0 km/h top speed, an 85.0 litre tank and the most efficient burn of the three at 4.0 litres per kilometre. Ground deliveries pay $500 a head, more than triple the air rate, so a slow truck is not the poor relation it looks like.
The Dune Buggy is the cheap entry point, a 3 seat rapid wheeled vehicle doing 130.0 km/h on a 68.0 litre tank at 5.0 litres per kilometre. It is also the one enemies get paid to destroy, at $300 a wreck.
Attachments, batteries and supplies
Small items are where unlock fees get out of proportion to the price tag. The per-life cost is trivial; the gate in front of it is not.
| Item | Price | Unlock | Unlock fee |
|---|---|---|---|
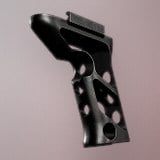 Shift Foregrip Shift Foregrip | $1,150 | Assault level 48 | $30,000 |
| High Capacity Battery | $300 | Wardog level 45 | $50,000 |
| Ammo Supply Pallet | $400 | — | — |
| Ammo Supplies | $10 | — | — |
The Shift Foregrip is a grip attachment weighing 0.12 kg. At $30,000 to open it, that one-time fee is worth five Z20 Lakotas off the shelf.
The High Capacity Battery is a 2.0 kg, 20V-15AH pack used to recharge drills and defibrillators. For anyone running the medic economy above, it is the item that keeps a defib earning $2,400 a rescue, which is why the $50,000 gate is survivable.
Ammo Supplies weigh 0.03 kg each and are the resource needed to reload buildable weapons, usable only inside a FOB radius. The Ammo Supply Pallet is the bulk version, and it will be destroyed by high-speed impacts — roughly a 90 metre free fall is the ceiling, so drop it low or drive it in. There is also a playable music tape, Ride of the Valkyries by Richard Wagner, at $100 and 0.01 kg, sitting behind Pilot level 13 and a $1,500 fee.
End-of-match placement payouts
Because each match has three factions, all three receive a placement and each placement grants two payments: a fixed amount for the finishing position and a share of your personal match earnings, calculated up to $100,000.
| Placement | Flat payout | Share of match earnings |
|---|---|---|
| 1st | $1,000 | 30% |
| 2nd | $500 | 25% |
| 3rd | $250 | 20% |
Finishing first in a match worth $30,000 gives you $10,000 when the match ends. XP uses the same ranking scale with a 2,500 cap: first place receives double, second receives ×1.75, and third receives ×1.5.
How to check the money actually landed
Watch the Account figure, not the Profit figure. Money is yours the moment it lands there, even if you quit immediately afterwards, and nothing is withheld until the match finishes. If the number went up, it is banked.
For the refund, the confirmation is the balance jump at the end of a match you finished alive and kitted, covering 90% of the loadout minus ammunition and magazines. For placement, the flat payout and the percentage cut both appear at the whistle regardless of which of the three factions you finished as. Track those two numbers across a session, subtract what the kits cost, and you will know within an evening whether your spending habits are paying for themselves.