Spotting is the cheapest income in WARDOGS and the one most players skip. A single mark costs you nothing but the time it takes to hold a reticle steady, and the payout arrives twice — once when the tag lands, and again when anyone on your faction kills the target. Sit above a busy Hot Zone with a $75 pair of binoculars and five figures in one life is a realistic ceiling without firing a shot.
Quick answer: Equip a spotting tool, right-click to scope in, hold your reticle on an enemy until the rectangle around it fills, and you are paid $100 for the tag plus up to $1,600 every time a teammate kills that marked target inside the Hot Zone.
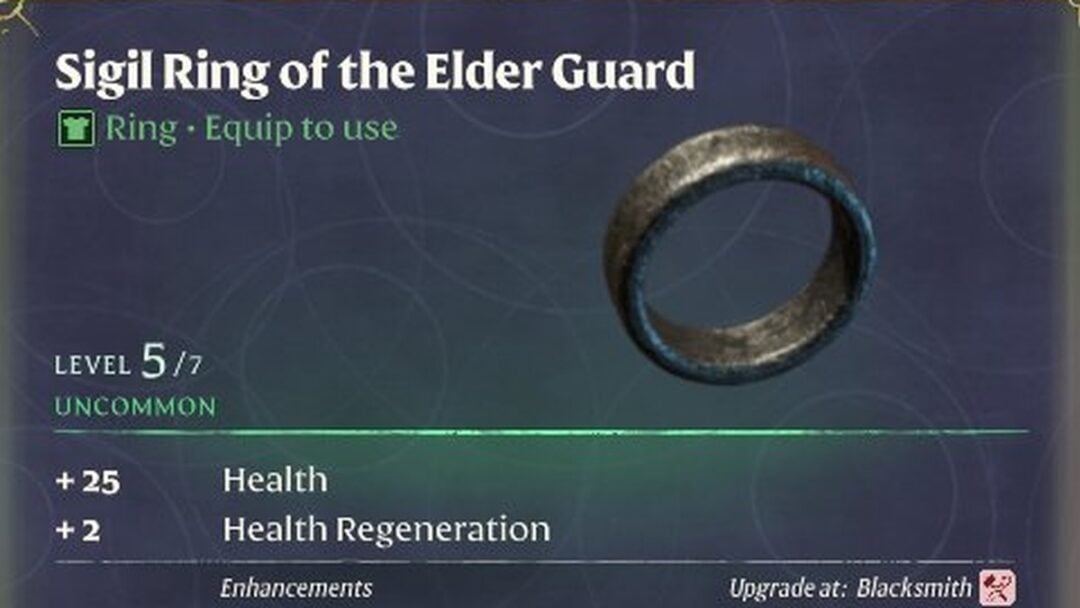
Spotting tools in WARDOGS: prices and what each one does
Four pieces of Recon equipment can tag a target. All four mark at the same rate and earn the same role XP. The only real difference is whether the tool also gives you a distance readout, which matters the moment you start shooting at range or calling mortars.
| Tool | Price | Weight | Ranges targets |
|---|---|---|---|
| Binoculars | $75 | 0.3 kg | No |
| Monocular | $150 | Light | No |
| Range Finder | $400 | 0.23 kg | Yes |
| Infrared Range Finder | $1,200 | 0.43 kg | Yes |
Buy the Binoculars in your first loadout. They are the cheapest item on the shelf and they level Recon exactly as fast as the expensive options. Upgrade to the Range Finder the day you start engaging past about 300 meters, because you cannot dial a scope’s elevation for a target you have not ranged — and it is lighter than the binoculars, so the swap costs you nothing but the money.
How to tag an enemy and confirm the mark landed

If the rectangle never fills, you do not have line of sight, or the tool drifted off the target before the sequence completed. There is no partial credit — an incomplete track pays nothing.
WARDOGS spotting payouts: base rate vs Hot Zone
Every spotting payout is a small base figure multiplied by where the action happens. Outside the circle you get the base rate. Inside the Hot Zone, the small moving circle within the Control Zone, the same event pays double. The Control Zone itself sits between the two.
| Event | Base | Hot Zone |
|---|---|---|
| Active mark, target killed | $800 | $1,600 |
| Stale mark, target killed | $400 | $800 |
| Initial tag | $100 | $200 |
| Refresh a mark | $25 | $50 |

The gap between an active mark and a stale one is the whole game here. A tag has a duration; once it lapses, a kill on that target drops to the lower tier. Refreshing keeps the mark hot, but the refresh itself is worth almost nothing, so treat it as maintenance on a target your squad is about to shoot rather than an income stream.
Spotting vehicles, helicopters, and tanks
Vehicles tag exactly like infantry and pay considerably better when they die. A marked Little Bird destroyed by your faction returns $1,000, and the figure climbs from there for heavier ground vehicles and armor. Helicopters are the easiest targets on the board — they sit against open sky, they hold a straight line long enough for the track to complete, and pilots rarely notice they have been lit up.
Marking aircraft also feeds the players who can actually kill them. A launcher shot needs the target’s position more than it needs the shooter’s aim, and your tag is what puts it on their map.

Where to spot from: high ground over the Hot Zone
Position decides your hourly rate more than technique does. You want elevation, a clean view over the active Hot Zone, and a route nobody has a reason to walk. Rooftops and ridgelines overlooking the valley are ideal because they let you sweep parachutes, infantry pushing the point, and aircraft on approach from one spot.
Distance is not a penalty. Your cash on a spotted kill is scored on where the target was standing, so sitting well outside the fight and marking people inside the circle collects the Hot Zone rate while none of them can reach you. That is the entire economic argument for playing Recon.

Tip: time your marks to your team’s engagements. A tag pays out on the kill, so sweeping for fresh contacts right as your squad pushes converts far more of your marks into the $800 and $1,600 tiers than tagging quiet flanks does.
If you plan to shoot as well as spot, the 6-10x Scope at $1,050 is the meaningful upgrade — its zero reaches a thousand meters. The $3,000 Ghillie Body Suit is the luxury purchase, and it earns its price by removing the death cam for anyone you kill, so your perch stays a secret. It also hides you from infrared.
Rules that cut your spotting income
Two limits govern how much a single position can produce, and the game does not announce either one.
- Re-marking the same target pays less each time and stops paying quickly. Sweep for new contacts instead of hammering one unlucky player.
- If someone outside your faction gets the kill on your mark, your share is halved.
The zone weighting applies to everything else too. The same tag on the same enemy is worth a fraction of its Hot Zone value if the target is standing outside the circle, which is why a mediocre view over the objective beats a perfect view over empty ground.
Recon XP from spotting
XP works differently from cash, and the difference is worth knowing. Marking a target is 25 role XP. A target you marked dying is 150. Neither number changes based on where you or the target were standing.
That makes Recon the one progression track you can grind anywhere. Mark on the walk in, mark from cover, mark on a dead flank — the zone only decides your paycheck, not your level. It also means the $75 binoculars carry you through the entire Recon track at full speed.
These figures reflect the current beta build, and the economy is one of the systems most likely to be tuned before launch. What is unlikely to change is the shape of it — the spotting tool is the cheapest item in the store, the marks pay on other people’s kills, and the multiplier lives in the circle. Get above the Hot Zone, mark everything you can see, and let your team collect for you.