

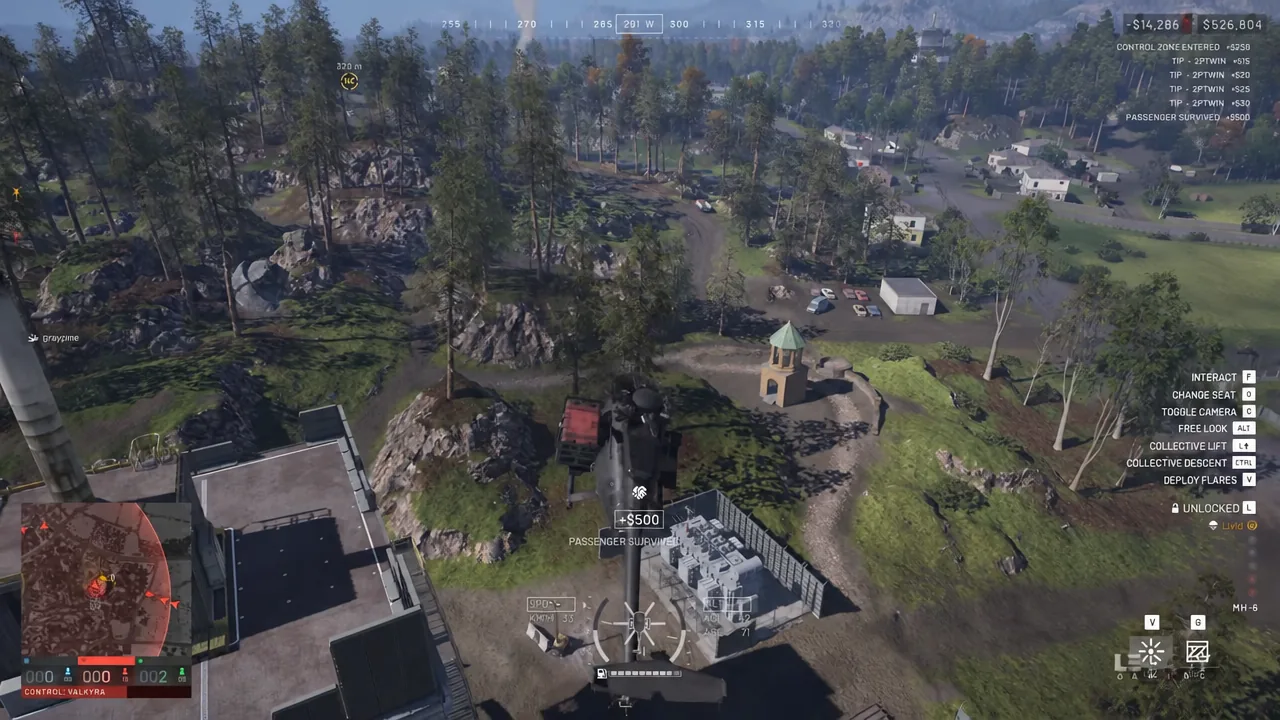
WARDOGS drops 100 players into a 16x16km battlefield split between three mercenary factions, and almost nothing about it rewards the habits you bring from a normal arcade shooter. Kills matter less than bodies standing in the right circle, every bullet and bandage comes out of a bank balance that follows you between matches, and the trip from your base to the fight can take longer than the fight itself. The tactical shooter, published by Team17, is available on Steam in Early Access as of September 10th, 2026.
Quick answer: Buy the cheapest loadout that keeps you useful, travel to the Control Zone with teammates, and stand inside the smaller Hot Zone whenever you can. Each player there counts as two for the 30-second scoring tick and earns double cash, and the first faction to 100 points wins.
Control Zone scoring: How a faction reaches 100 points
Every match is a giant King of the Hill fight over one randomized 2x2km Control Zone. Up to 100 players split into three teams of roughly 33 — Lonestar (blue), Valkyra (red), and Manticore (green) — and the faction with the most players physically inside the zone claims a point every 30 seconds. First to 100 wins, which means a full match can run past the hour mark.
The score and the live player counts for all three factions sit next to your minimap, along with a bar that fills toward the next tick. That bar is the thing to watch. If your faction is ahead on bodies but people start leaving right before it fills, another team takes the point instead. Standing still in the zone with a $2,000 rifle contributes exactly as much to the tick as a player with the most expensive kit in the game.
Hot Zone: Double player count and double cash
Inside the Control Zone sits a smaller circle called the Hot Zone, and it constantly drifts around. Every player standing in it counts as two toward the control tally, so ten teammates in the Hot Zone read as 20 under the minimap. Actions performed inside it also pay double cash.
The math is what makes it the nastiest place on the map. If the enemy has 20 players in the Control Zone and you only have 17, you still win the tick as long as four of yours are inside the Hot Zone, since those four register as eight. Everyone knows this, so tanks, helicopters, artillery, and medics all pile into a small area that nobody wants to give up. The zone moves slowly enough to follow on foot, but its direction is unpredictable, and the cover you were using disappears with it.
Note: parking a fortified base in one spot and refusing to move loses matches. Because the Hot Zone keeps relocating, holding a fixed position eventually means holding empty ground.
Towers and drill rigs: How to pull the Hot Zone to you
The Hot Zone’s path is not entirely random. Three to five capture towers stand inside the Control Zone, each with a console you hack to reveal one digit of a master code. Collect the full sequence, enter it, and the Hot Zone starts sliding toward the tower you entered it at like a magnet. You will know it worked because the yellow circle on your minimap begins tracking toward that tower.
Share digits in team chat the moment you find one, and include the position. Typing something like XX5 tells everyone the third digit is a five, so the rest of the team can fill in the gaps or brute-force the last few combinations. It also creates a genuine job for players who would rather fly tower to tower than fight in the main blob.
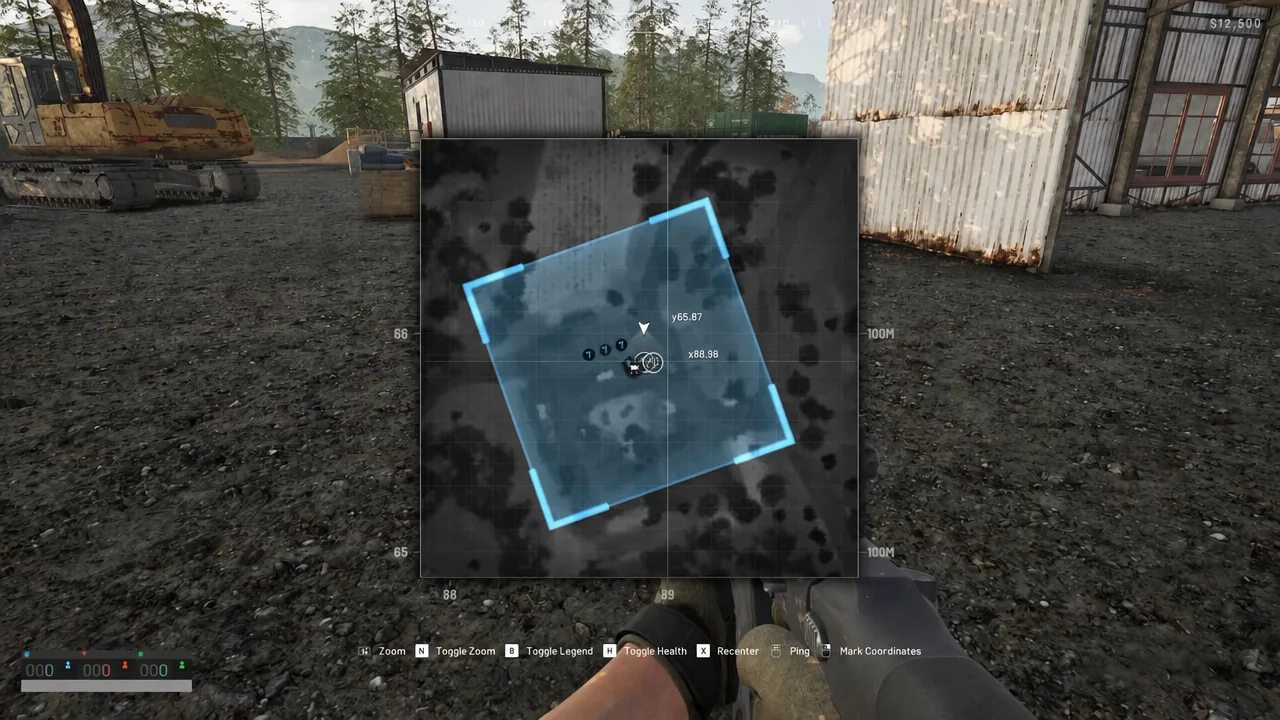
The second method is a drill rig, built at a Forward Operating Base your faction has already fortified. A drill needs 6,000 fuel before it will run, and until that fuel is delivered the console reads “INSUFFICIENT FUEL” instead of “READY TO ACTIVATE”. Once it fires, the Hot Zone comes to your walls, your anti-air, and your prepared angles — along with both enemy factions.
Cash rules: Starting balance, the 50% New Recruit Discount, and payouts
Every player starts with $10,000, and whatever you finish a match with carries into the next one. You buy weapons, attachments, ammo, armor, gear, and vehicles per life, and dying means losing what you were carrying. That is why an expensive kit is a genuine risk rather than an upgrade, and why waiting for a revive is cheaper than respawning.
Until you pass account level 9, the vendor applies a 50% “NEW RECRUIT DISCOUNT” to gear, which is the cheapest window you will ever have to experiment. Surplus cash can also be swapped for gold bars at the Gold Exchange, but that only buys cosmetic weapon skins — it does nothing for performance.
You do not need to win gunfights to earn. Reviving, healing, spotting, hauling supplies, repairing vehicles, ferrying teammates, and swinging a hammer all pay, and other players can tip you on top of that.
| Action | Payout |
|---|---|
| Zone occupation, per cycle | $160 (Control Zone) / $320 (Hot Zone) |
| Transporting a teammate | $300–$450, plus $500 if they survive the drop |
| Bandage heal on a teammate | $400 |
| Revive | $100–$900 |
| Building, per hammer hit | $1 per hit, $6 for a marked hit, $15 on completion |
| Kill confirmed | $1,500–$2,000 |
| Vehicle destroyed | $3,000–$4,688 |
Building payouts are per person, not split, so a squad all hammering the same structure each collects the full amount. And because ammunition, healing items, and armor are purchases rather than pickups, checking your balance before you rebuy is part of the loop. The vendor terminal has a “REBUY LAST LOADOUT” button for when you want the same kit back without rebuilding it piece by piece.
Loadout weight, magazines, and ammo types
Gear falls into five weight tiers, from Lightest through Light, Medium, Heavy, and Super Heavy. Weight is not just a carrying cap — it directly changes movement speed, stamina regeneration, jumping, weapon sway, leaning, sprinting, and how fast you bring up your sights. Empty inventory slots are not an invitation to fill them. For general infantry work, staying in the light-to-medium range is the safer trade.
Ammunition is where new players waste the most space. Loaded magazines each occupy an inventory slot, while loose ammo stacks far more efficiently and can be poured into empty mags in the field with the Combine Ammo prompt (the C key). A workable baseline is one mag in the gun, two spares, and a stack of loose rounds. You can also strip compatible ammo out of magazines you loot rather than hauling half-empty ones around.
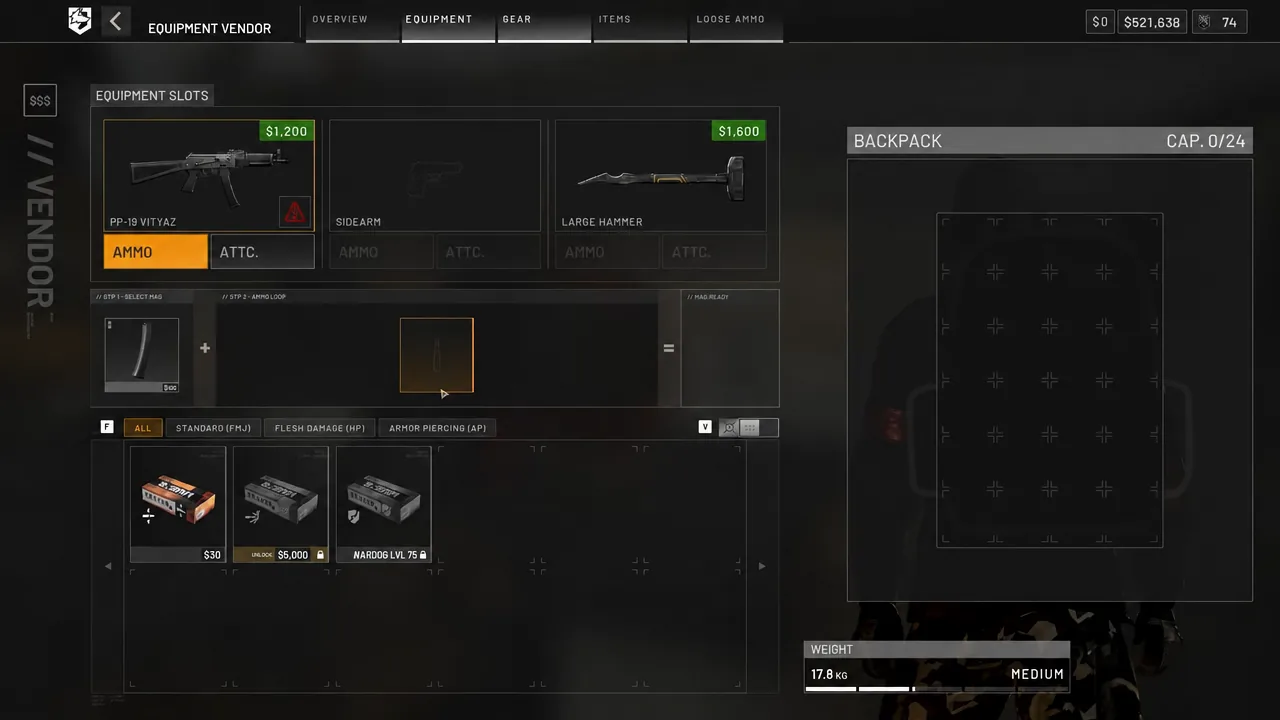
| Ammo type | Best used against |
|---|---|
| FMJ | General purpose; balanced against flesh and armor |
| HP | Unarmored targets; loses most of its effect on armor |
| AP | Armored infantry and vehicles, at the cost of flesh damage |
Two sight habits are worth building early. Your optic is zeroed at roughly 100m by default, so dial it to the distance you are actually shooting — set it to 200M and a 200m target lands dead center with no holdover. Holding breath to steady sway also works on scoped assault rifles, not just sniper rifles.
Tip: the firing range is free. Weapons, attachments, recoil patterns, and vehicle controls can all be tested there without spending anything, which is the only place in WARDOGS where a mistake costs you nothing.
Getting from HQ to the Control Zone
Your faction HQ sits a long way from the objective, and there is no squad spawning, so travel is a real part of the match. You reach the zone by ground vehicle or helicopter, and drivers and pilots get paid for hauling people, which makes hitching a ride free and mutually useful. Squads have no size limit and get a dedicated squad radio separate from proximity voice, so there is no mechanical reason to load in alone.
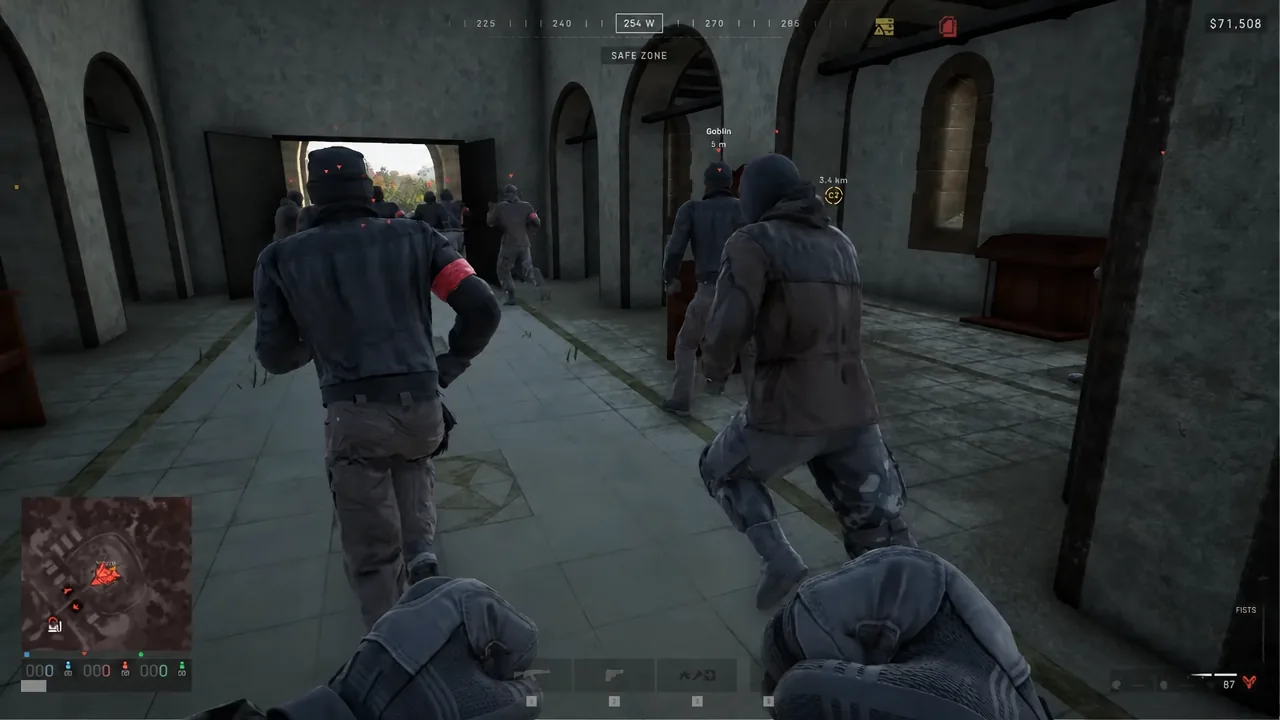
The shortcut is the M113 APC, an armored mobile spawn that unlocks at base once any faction reaches 20 points. Use the deployment computer to teleport straight to an ally’s parked APC inside the combat zone. Spawning on one puts you on a 10-minute personal cooldown, so it is a repositioning tool rather than a respawn loop. It is also killable — destroy the satellite dish on an enemy APC and it stops functioning as a spawn.
If you plan to fly, buy a parachute. It is a cheap item that protects an entire loadout when a pilot you do not know takes fire, crashes, or flies somewhere you never agreed to go, and it doubles as a way down from high ground. Vehicles themselves need looking after too, since they run out of fuel, lose tires, and take engine damage; a repair tool and a fuel can are worth carrying if you are driving far.
FOBs, logistics, and the hammer animation cancel
A Forward Operating Base is deployed and then built out with a hammer into walls, gates, indirect fire shelters, anti-air, and drill rigs. Its Build, Fuel, Ammo, and Mechanical Supplies are shared, so teammates drawing from the stockpile costs you nothing. Keeping it stocked is a two-tier job — supply crates are individual inventory items, while pallets are large resource drops delivered by vehicle.
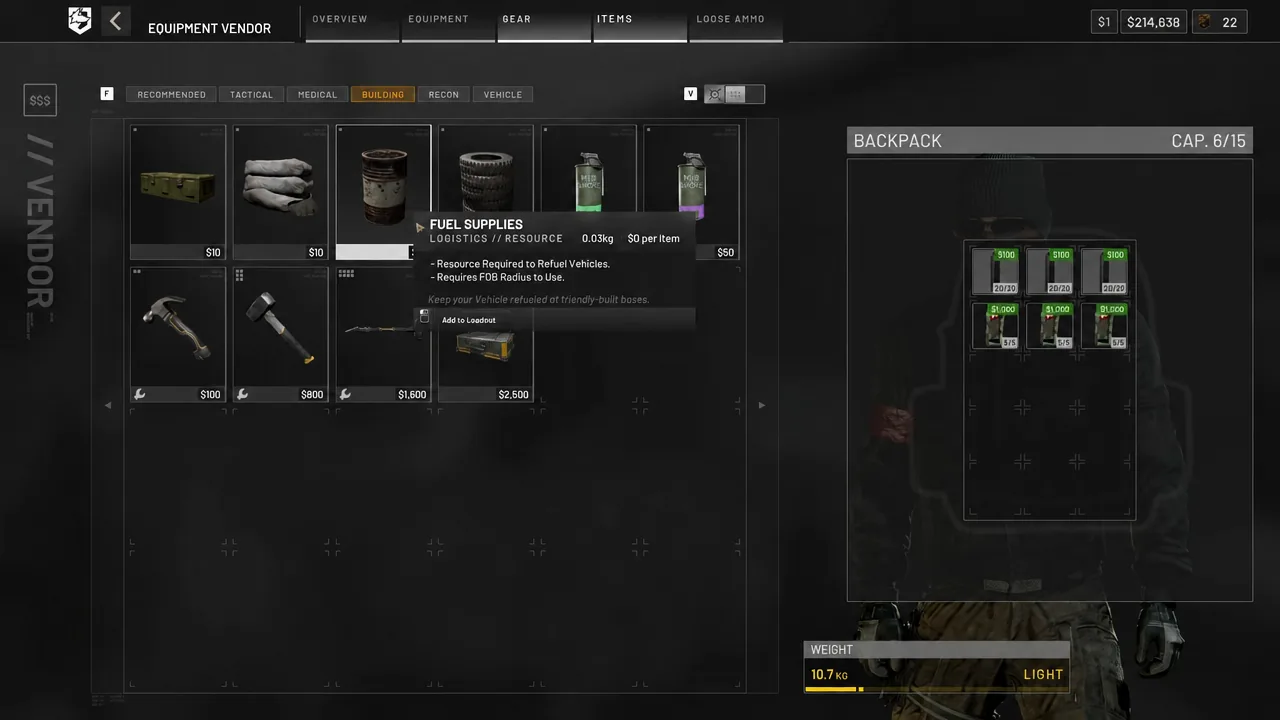
Construction speed can be roughly doubled with an input trick, which matters when the Hot Zone is heading your way and the walls are not up yet.
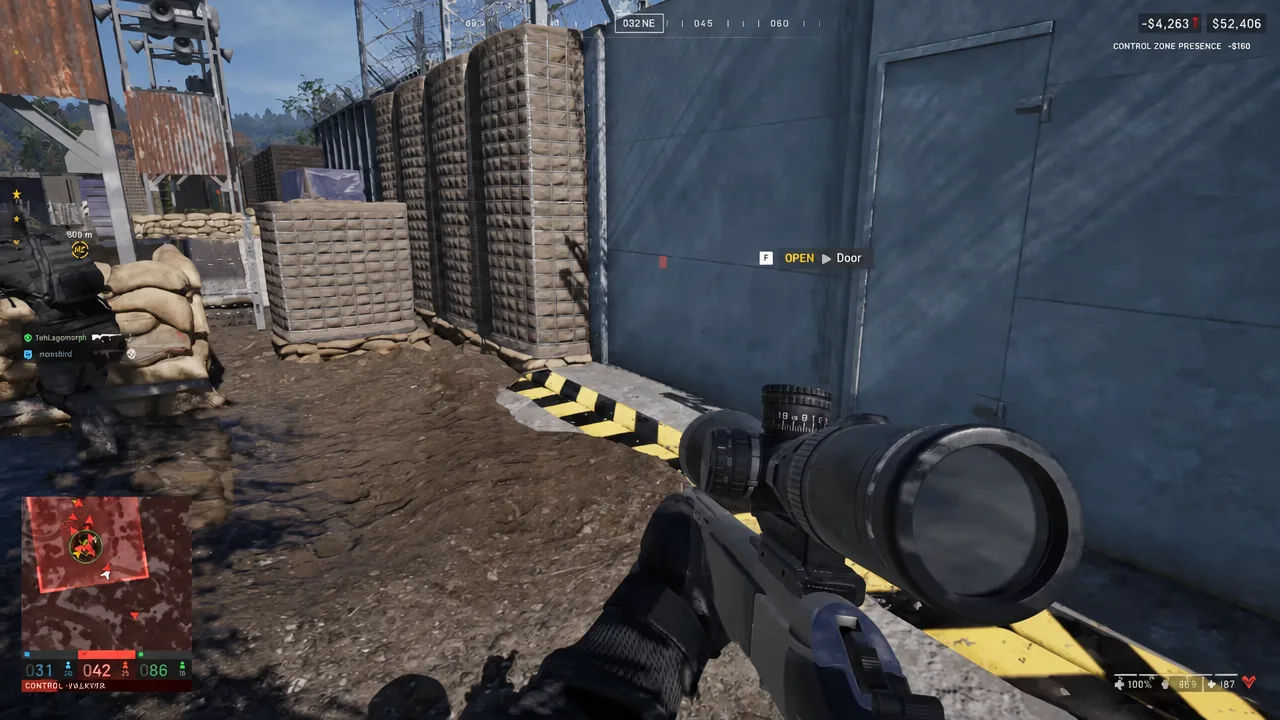
One detail undoes all of it. Doors and gates left open let enemy infantry walk straight past everything you built, so close them behind you.
The six XP tracks and what levels them
There are no locked classes. You never pick a role at the spawn screen; the gear you buy decides what you are that life, and your actions feed six independent progression tracks that together make up your overall WARDOG level. Playing solo and hunting kills only ever develops one of them.
| Track | What levels it |
|---|---|
| Assault | Rifle, pistol, and grenade combat |
| Medic | Healing and reviving teammates |
| Recon | Spot assists with binoculars or a rangefinder |
| Support | Building structures and repairing |
| Driver | Transporting players in ground vehicles |
| Pilot | Transporting players by helicopter |
Spotting is the easiest of these to pick up while you are still learning the gunplay. Mark an enemy with binoculars or a rangefinder, let a teammate take the shot, and you collect XP and assist cash without needing to win the fight yourself. Anti-armor gear is the other high-value purchase, since RPGs and Stinger missiles are what stop enemy vehicles from parking on the objective unopposed.
Why new players go broke
Most early bankruptcies trace back to the same handful of decisions. Spending the full $10,000 on one kit leaves nothing after a bad death. Bleeding out instead of waiting for a revive forces a fresh purchase. Overloading the backpack pushes you into a heavy weight tier and slows you down in exactly the fights you needed to win. Flying with an unknown pilot without a parachute puts your whole loadout in someone else’s hands. And running solo into every contact you see costs both the kit and the long trip back.
Play the first several matches as a cheap, mobile body that shows up in the zone, calls out what it sees on voice comms, revives people, and hauls whatever the FOB needs. That is the version of WARDOGS that pays for itself, and it is the version that puts points on your faction’s counter while you learn where the Hot Zone tends to drift.





