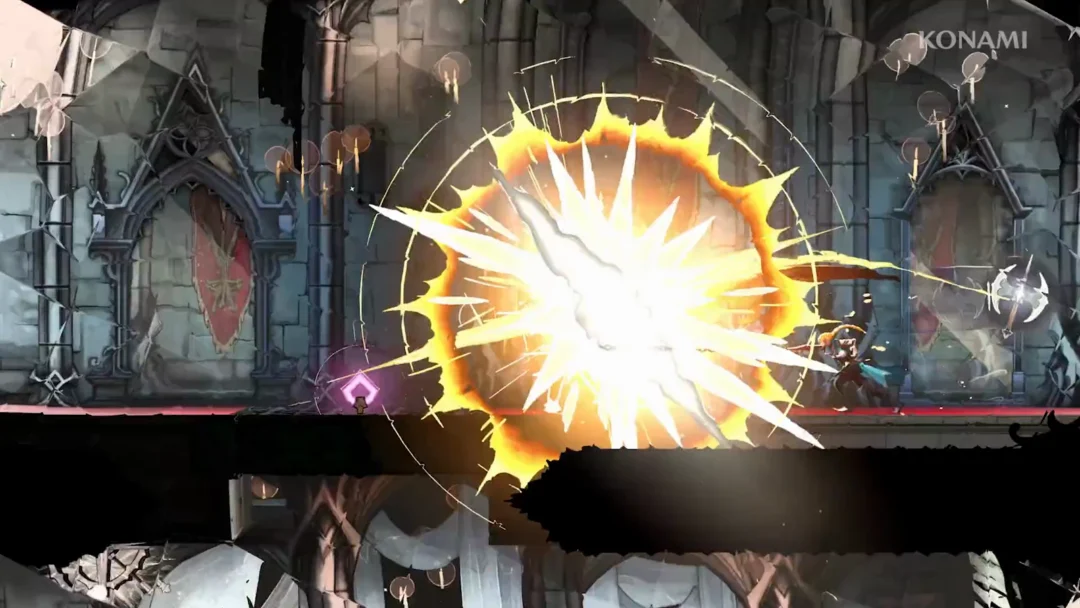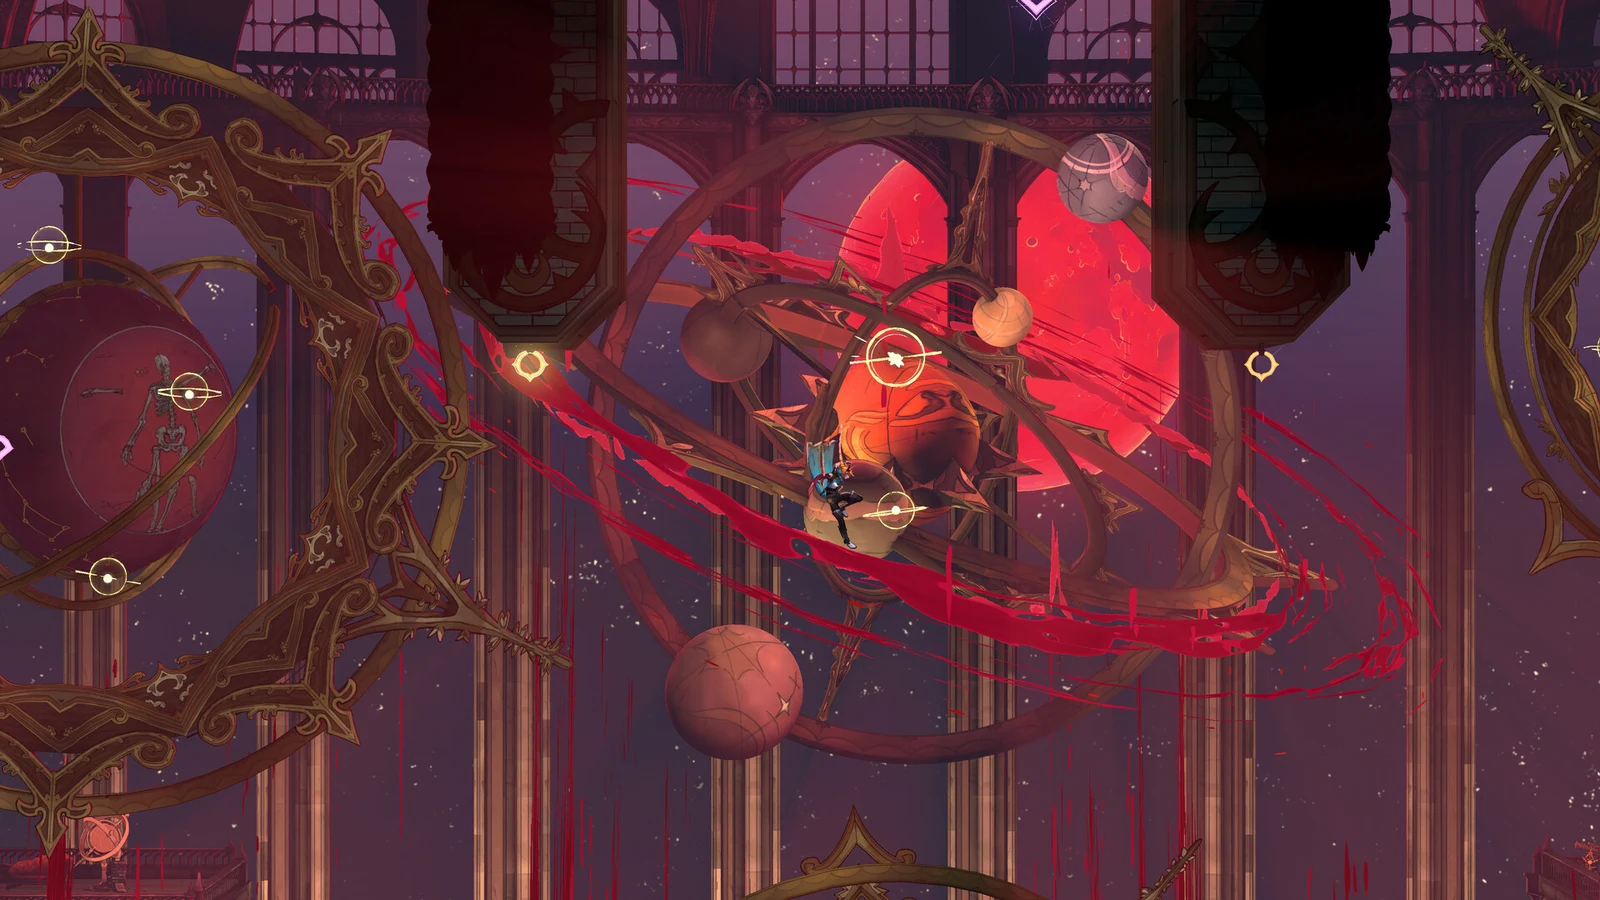
With the objective Find Dracula and defeat him active, the way to the Talos boss runs out of the Grand Hall, through Brauner’s Atelier and the West Hall, across to the Library and up the full height of the Clock Tower. One stretch near the top leads into a scripted trap before the final push to Talos.
This traces one path to the boss and does not catalogue each room, pickup or hidden secret along the way.
Route from Brauner’s Atelier to the Library
Climbing the Clock Tower
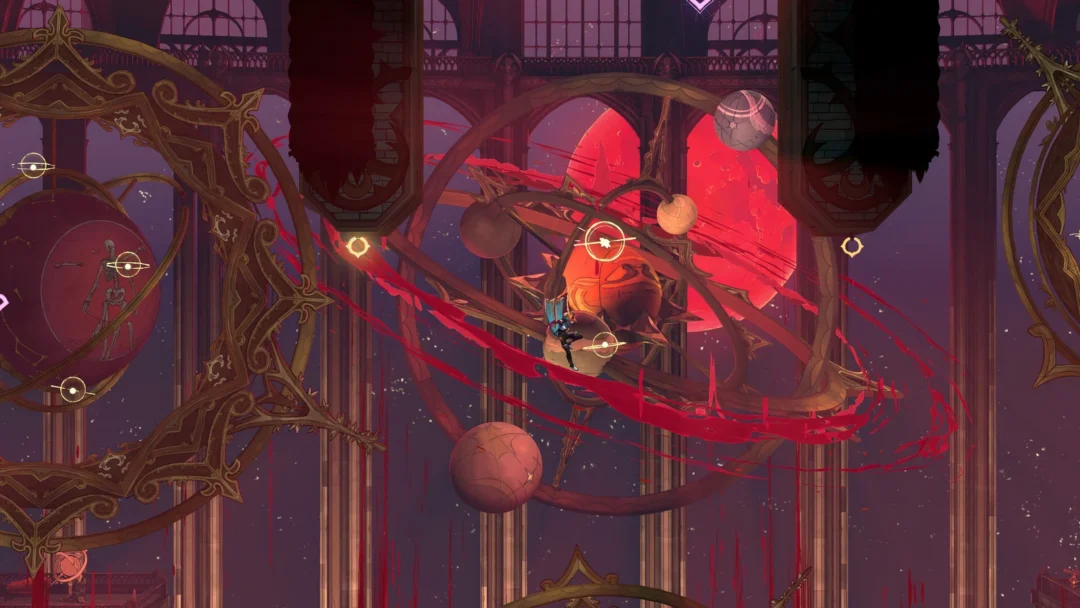
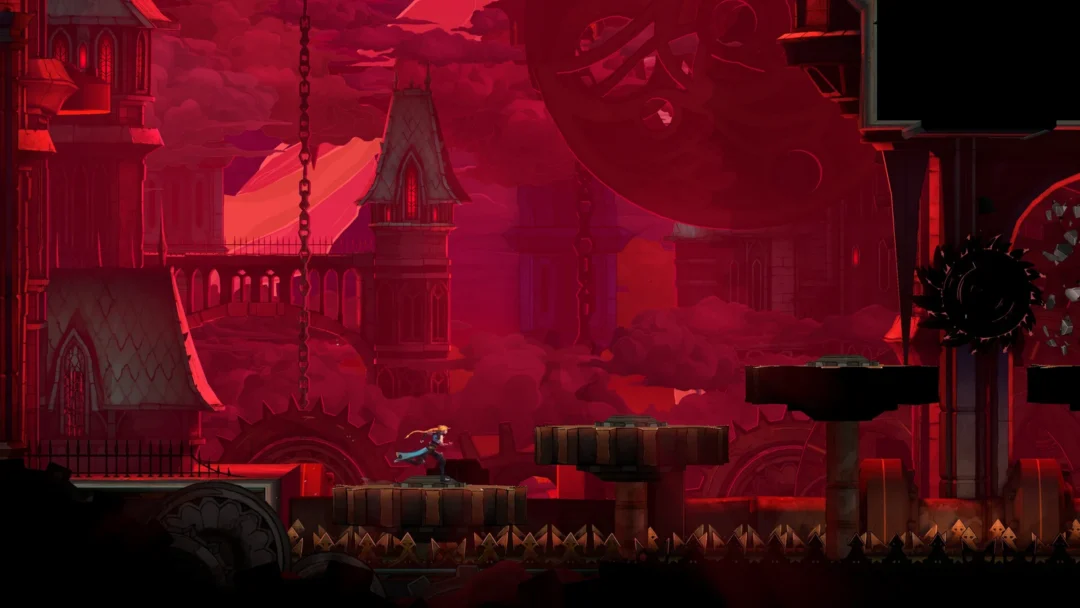
The Forgotten Bridge leads inside the Clock Tower. From there, the ascent passes through mechanical chambers packed with chains, crushing blocks, sawblades and gears.
The throne room trap past the Clock Tower Bridge
The portal on the Clock Tower Bridge leads to a throne room. Reaching the hallway’s far end triggers a throne-room cutscene and finishes the game on a screen beginning “You fell into Death’s trap.”
This is a scripted bad ending tied to the trophy “Belmont’s fall”: the credits roll and you are returned to the title screen. Choose RESUME. You continue at a mirror where the Ferryman tells Rose she has been given a second chance, and a “New Character Skin Unlocked!” message appears. From there, carry on through the Clock Tower toward Talos. For more on this scene, see what the Death’s trap ending means.
Reaching Talos: Path of the Builder and Final Trap
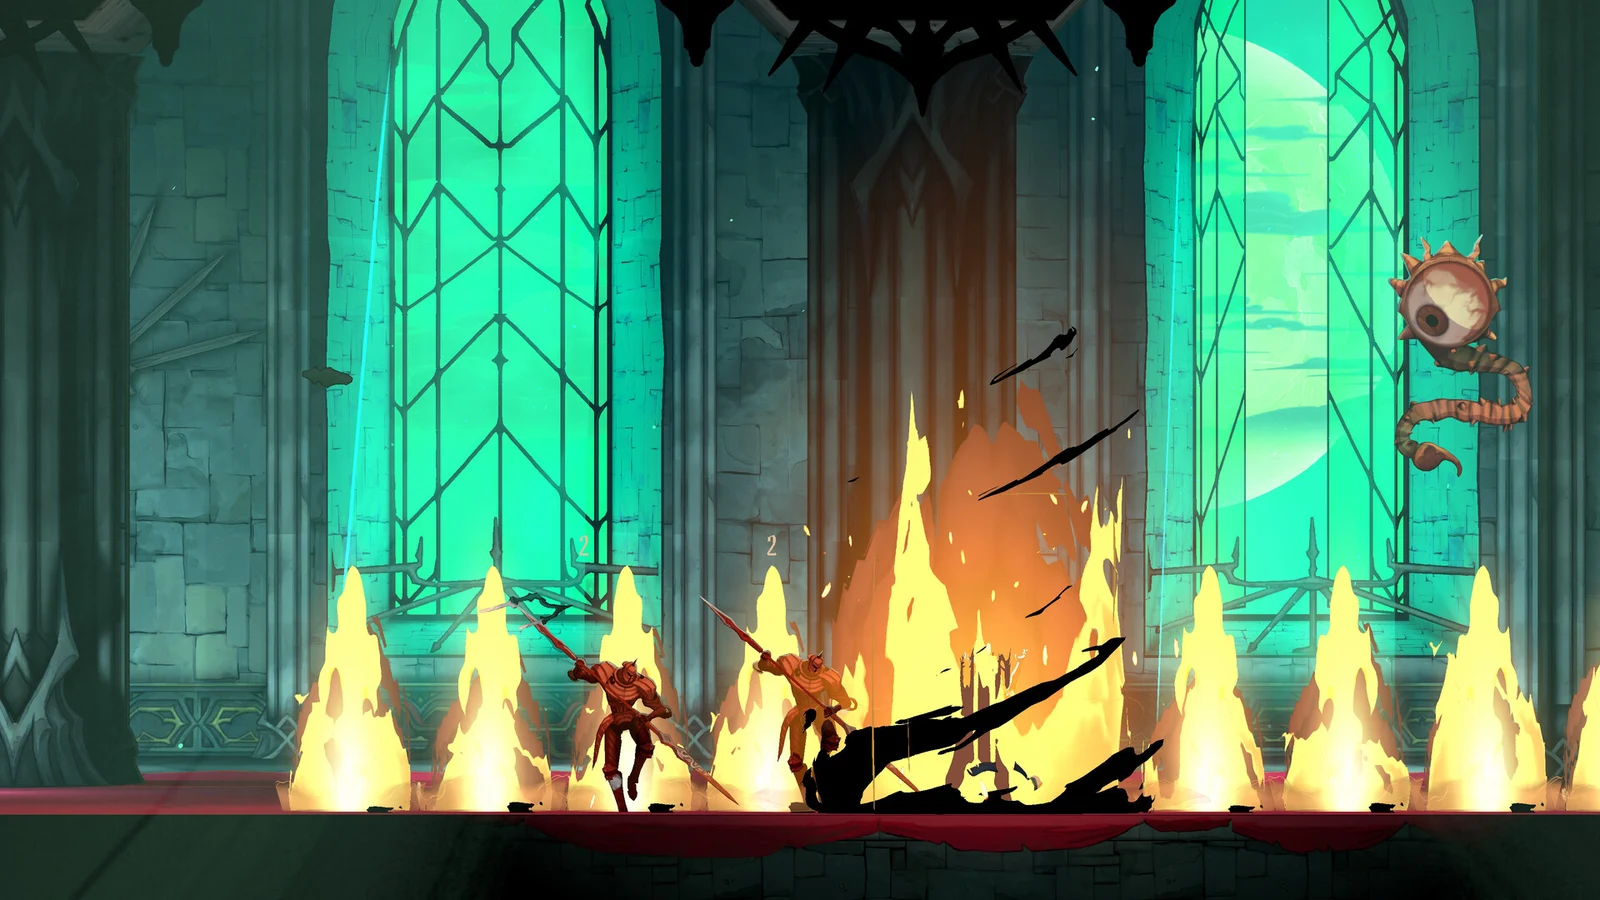
The route to Talos goes through the Path of the Builder, whose corridors contain armoured knights and descending crusher blocks. After the enemy wave clears, open the chest here to collect the Moonlit Shard relic.
Next comes the Final Trap, where crushing weights and spike pits form a gauntlet. Ride the caged elevator up to Foundry Apex; beyond it lies the furnace hall where Talos waits.
There is a second way in past the Upper Gallery. The Builder’s Secret Elevator takes you to Foundry Apex, and a cage lift below drops you into the Final Trap.
Talos boss fight and The Builder rewards
A scene reveals the chained giant inside the furnace hall, then the battle begins with one red bar labeled “TALOS”. The full fight is in our guide on how to beat Talos.
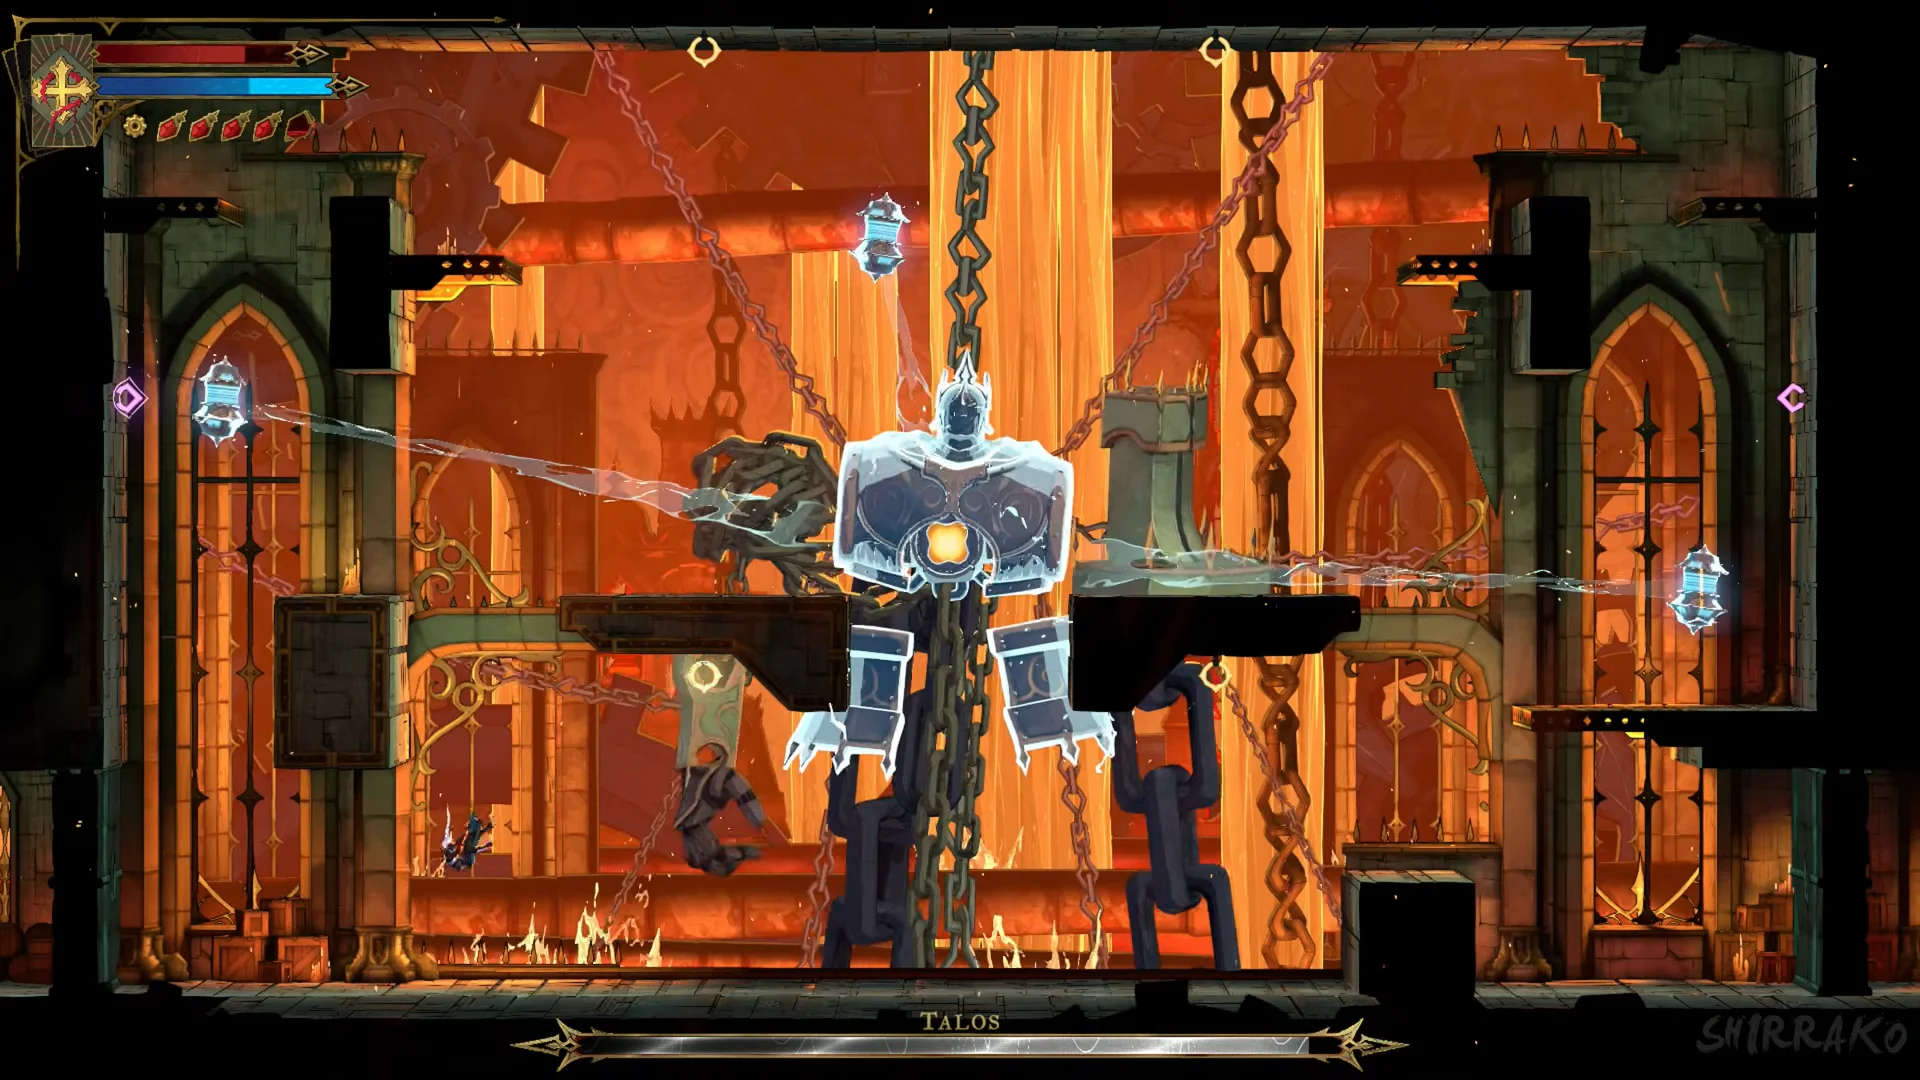
Beating Talos grants The Builder Arcana. You receive the tarot card The Builder, which carries the spell Fist of Talos.
Smash tutorial and the Builder’s Bureau
The Smash tutorial follows the fight. It reads: “Break the DESTRUCTIBLE BLOCKS by pressing Down + Cross when Rose is in the air.” Use it on the cracked golden floor next to the arena.
Continue to the Builder’s Bureau. A desk there holds a sketch from Talos, and a chest on the right holds the weapon Fists of Talos (Masterpiece, ATK 75).
Relics and weapons on the route
| Item | Type | Where to find |
|---|---|---|
| Witch’s Knot | Relic | West Hall, chest behind the lever-locked gate |
| Rapiers (Refined) | Weapon | West Hall, spike-filled portrait room |
| Lich’s Mark | Relic | Library, hidden study room pedestal |
| Sinister Rune | Relic | Eastern Access Shaft, before Serpent Pinion |
| Vile Trinket | Relic | Daedalus Crossing, hidden room behind a wall |
| Hollow Bone | Relic | Daedalus Crossing, far left of the crusher room |
| Moonlit Shard | Relic | Path of the Builder, after the enemy wave |
| Halberd (Refined) | Weapon | Mechanic’s Ascent |
| Claymore (Refined) | Weapon | Room past the Upper Gallery |
| Fists of Talos | Weapon | Builder’s Bureau, chest on the right |
Once Talos is down and the Builder’s Bureau chest is opened, the Clock Tower stretch is cleared and the objective to find and defeat Dracula remains in place for the road ahead.
Walkthrough series: Previous: Part 4: Ferryman’s Wharf to the Mirror Rooms | Next: Part 6: Clock Tower to Mammon