
A Loop component is a shareable element or content, such as lists, tables, voting tables, tasks, and more, accessible across Microsoft 365 apps. These are the basic building blocks that let people collaborate smoothly in emails, chats, meetings, documents, or Loop pages. The best part is that these components stay updated across all your devices, making it super easy to create and share content without switching between different apps.
When it comes to creating Loop components, there are two methods: using the Microsoft Loop app or directly within other Microsoft 365 apps like Teams, Outlook, and OneNote.
In the Microsoft Loop app, you don’t create Loop components directly. Instead, you add an element to the Loop page and then turn that element into a shareable component. On the other hand, in Microsoft 365 apps like Teams, you can craft Loop components directly on the chat. Let’s take a deep dive.
Different Kinds of Loop Components
The Loop Components are divided into four categories – General, Communication, Template, and Media.
- General – General elements or components are used for composing content, such as an agenda, checklist, table, task list, headings, or paragraph.
- Template – Template components are pre-designed structures that users can insert into their projects, saving time and effort in creating common formats. This includes task lists, voting tables, and progress trackers.
- Communication – Communication components can be used to convey ideas and interact with team members. Communication components include person, emoji picker, label, and date.
- Media – Media components are simply used to hold images and videos, making it easy to place them in various documents or creative projects.
Create Loop Components in the Microsoft Loop app
To create a Loop component on a Loop page, start by adding your content or element and then turn it into a component.
Elements are the individual building blocks that make up a Loop page or template. These elements can include things like paragraphs, tables, checklists, images, progress trackers, and more.
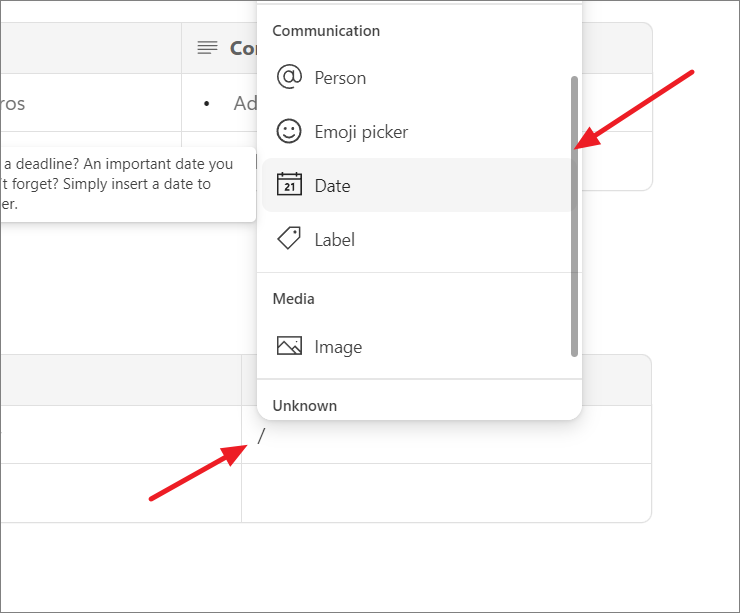
To insert an element on a Loop page, type the / (forward) slash. This brings up a menu of components that you can place in that spot.
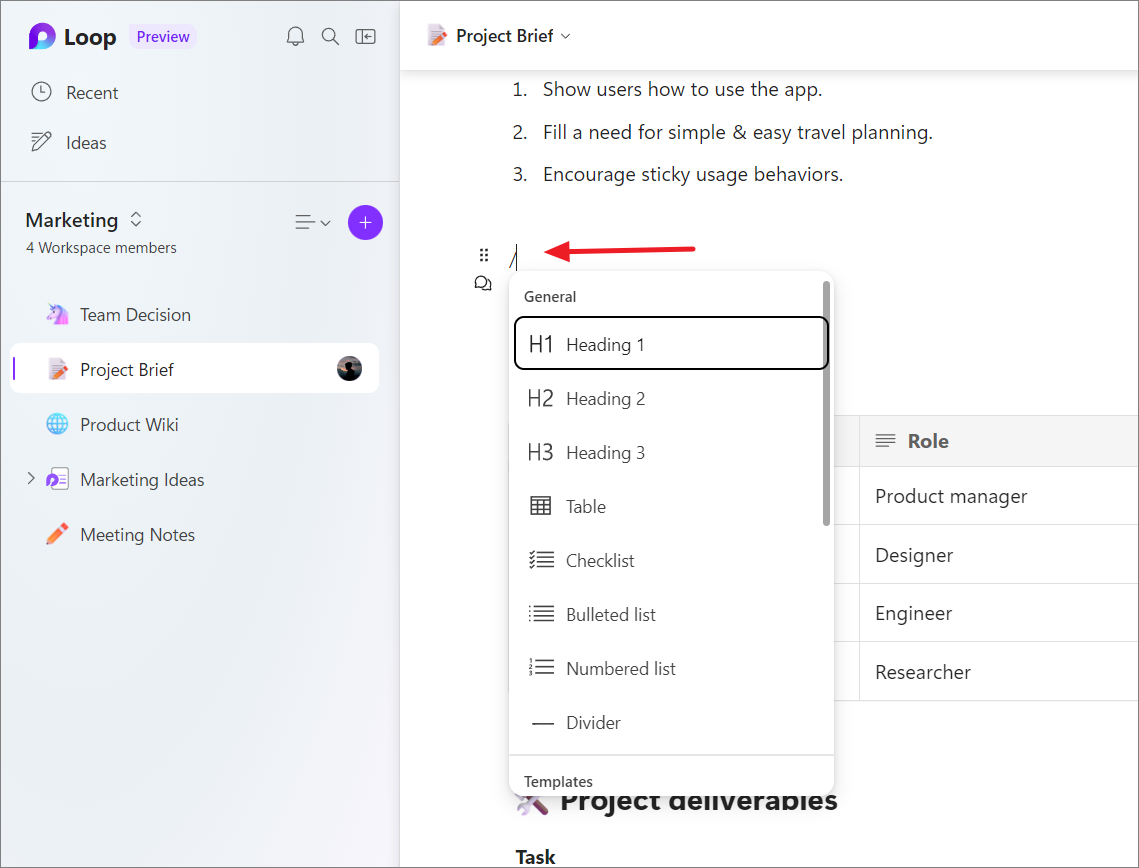
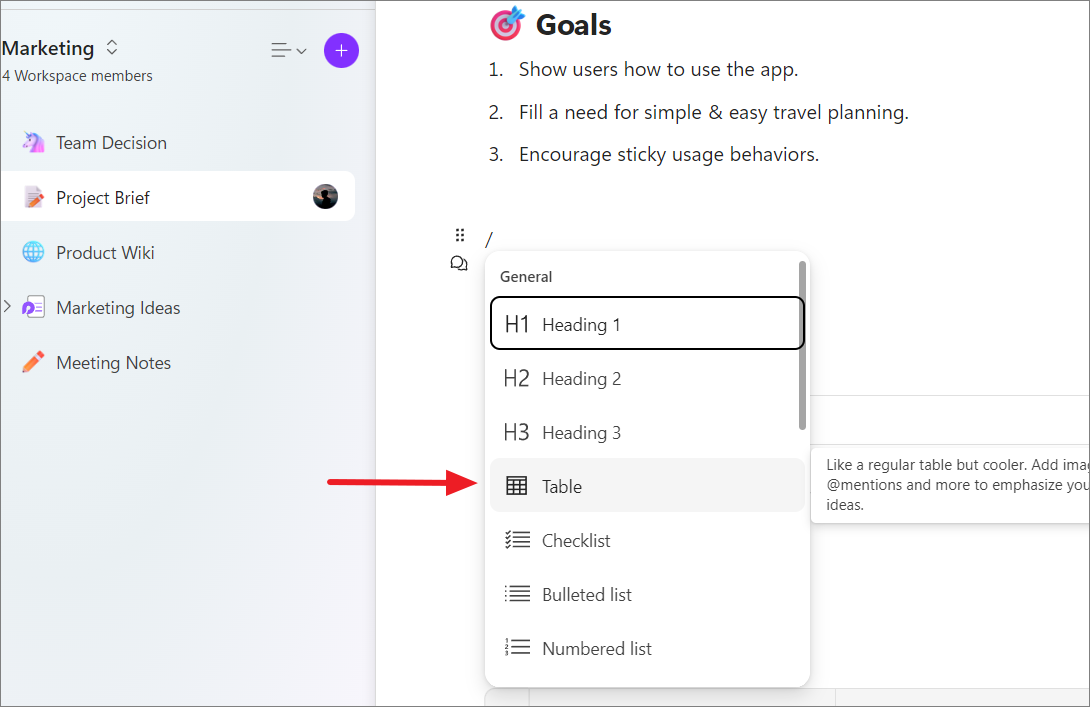
For instance, let’s say you want to put together a table for a list of team members, their roles, and location. Type /, then choose ‘Table’ from the list.
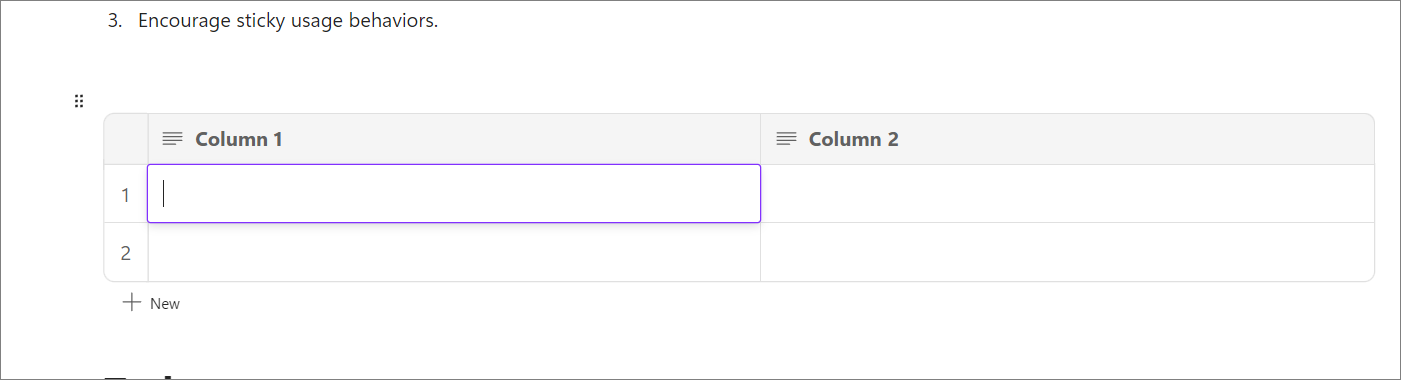
This will insert a ready-made table element, like what you see below.
Now, you can edit the table, change things as needed, and then turn it into a Loop component. After that, you can share it with others, allowing them to make real-time edits. Or, you can take the empty table, make it a Loop component, share it with your team, and all of you can work on the table together in real time.
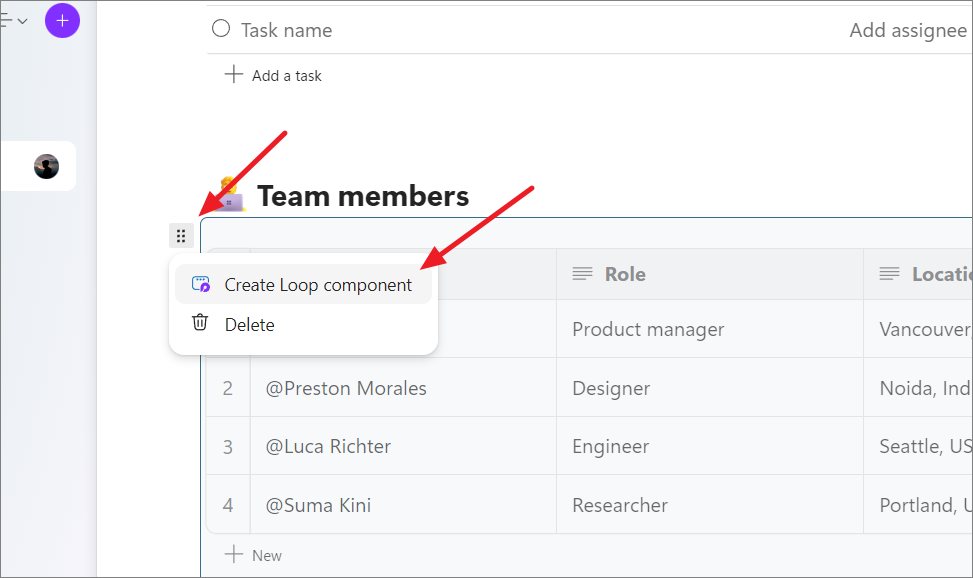
To convert an element on the Loop page into a Loop component, click anywhere in the element, and you’ll see a six dots button (waffle icon) on the top-left corner of the element.
Then, click the waffle icon and select ‘Create component’.
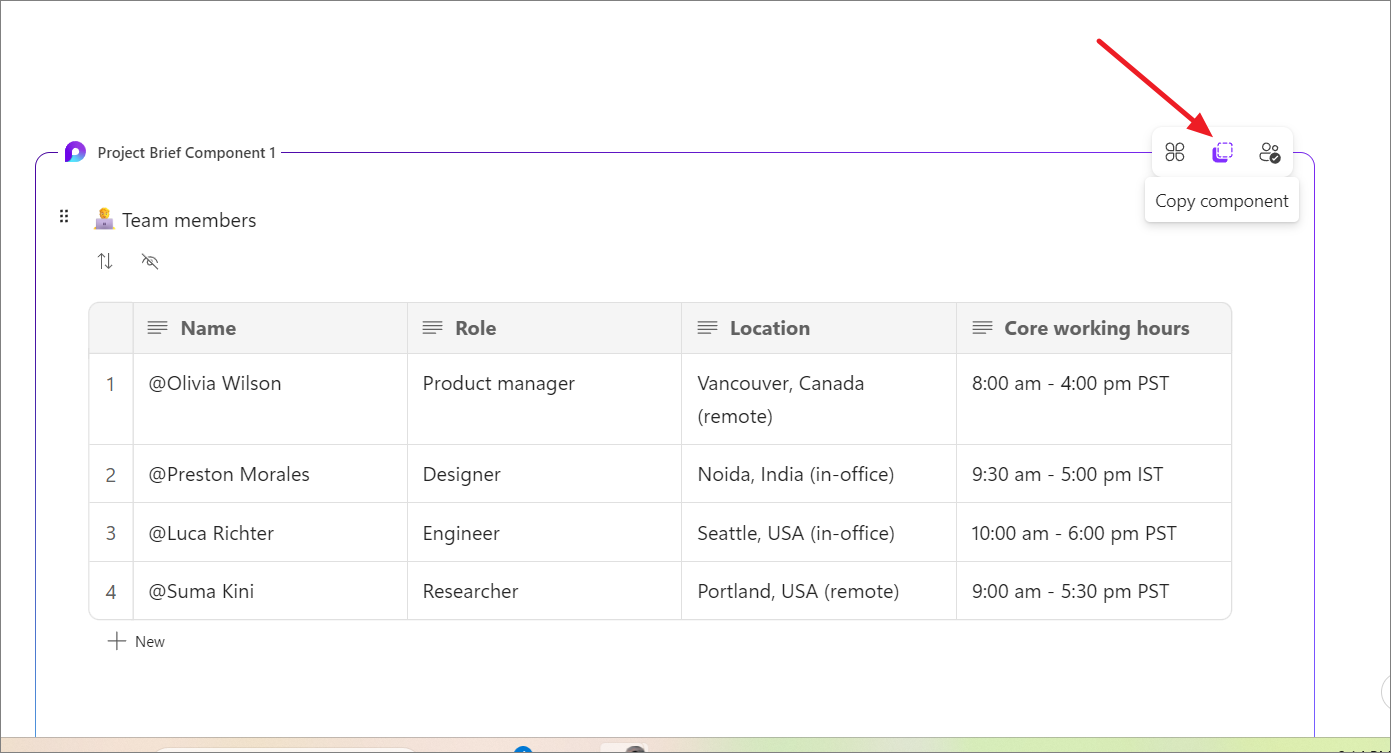
Once the Loop component is created, you will see a purple outline around the component.

Share Loop Component
When you hover over the Loop component, you notice see three buttons – Shared location, Copy component, and See who has access. Click the ‘Copy component’ button to generate a link.
Now, click the ‘Copy’ button to copy the component link, which you can paste into Teams chat or Outlook email to share it with others.
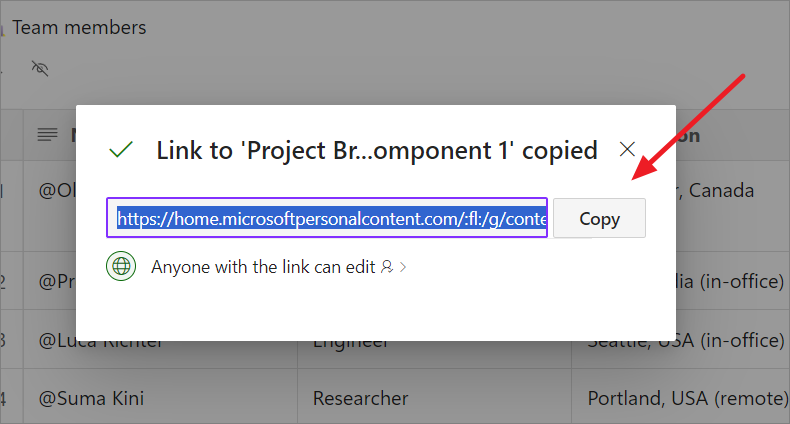
Anyone with the link will be able to edit the component from anywhere. It will remain in sync across all the apps and devices.
Create Loop Components in Microsoft Teams Chat
A Loop Component is like a flexible canvas that you can create, edit, and use across various Microsoft 365 apps, such as Teams, Outlook, Word Online, and Whiteboard.
To include a Loop component in a Teams chat, you have two options: you can either copy and paste a component you’ve already created in the Loop page, or you can directly generate one within the chat.
To get started, open the Microsoft Teams app and choose the group or individual you wish to share the Loop component with.
Underneath the chat box, click on the ‘Loop’ icon and select a component you wish to add to the chat.

Once you’ve chosen the component, give it a title, make any changes you need, and then hit ‘Send’ so that others can also edit the component.
Using Loop Component in MS365 apps
Loop components can be edited by any of the members who have access to the Loop component, the Loop page that contains the component, or the workspace.
You’re likely familiar with how most of the components like checklists, @mentions, and task lists work. However, here are a few extra tips to help you make the most out of them.
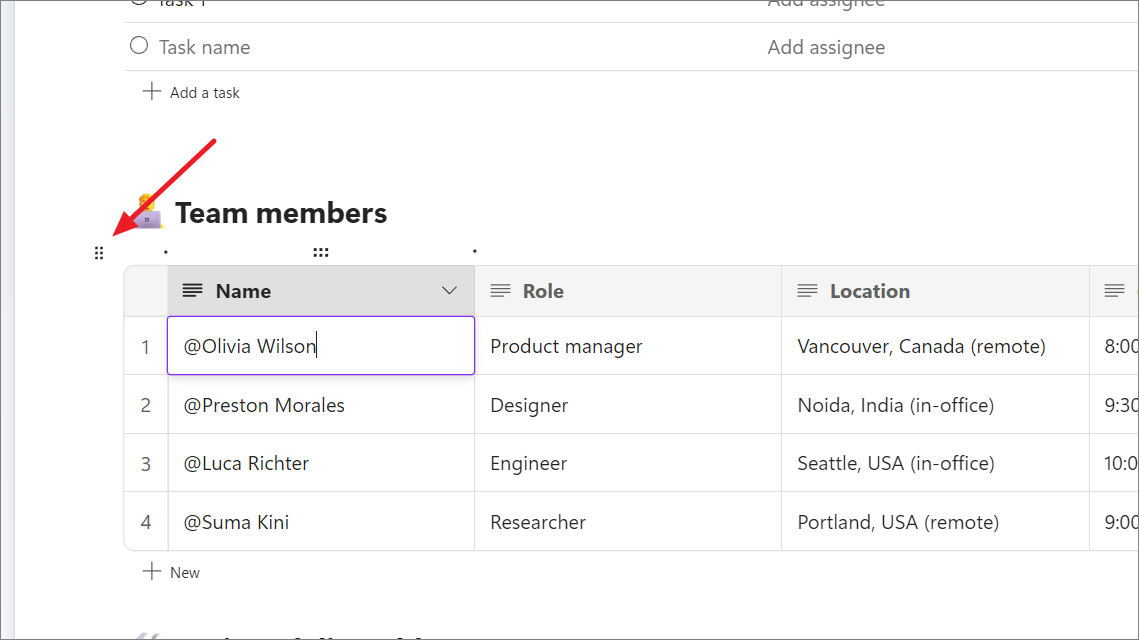
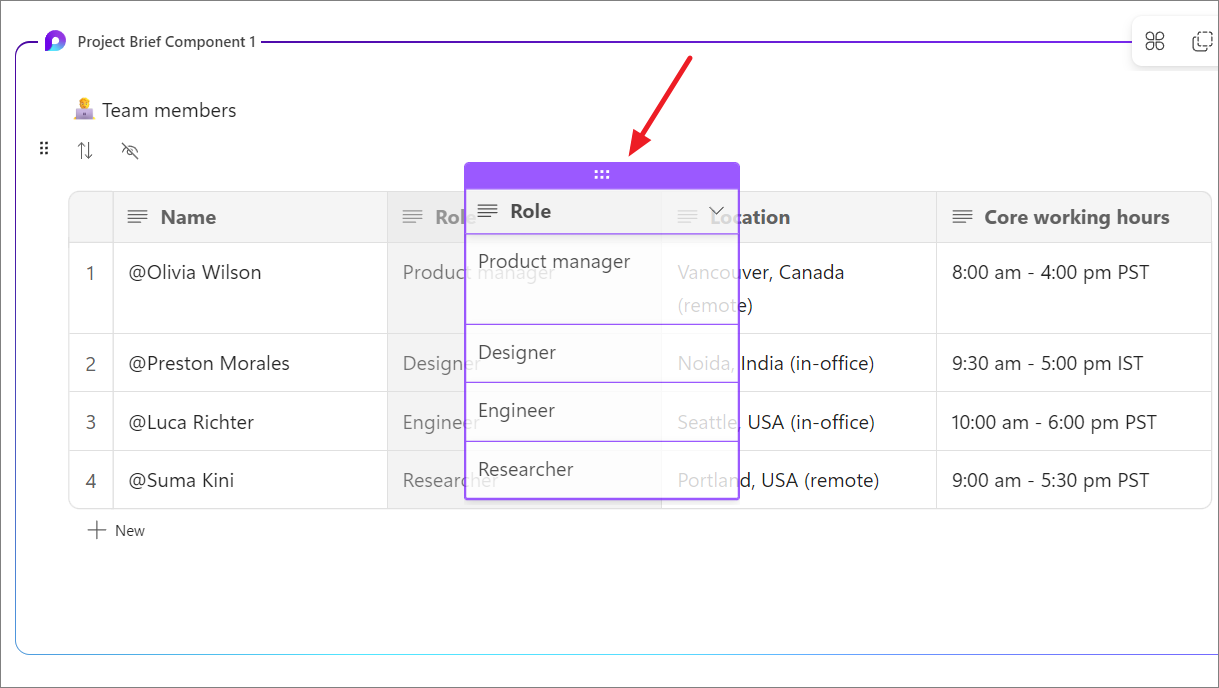
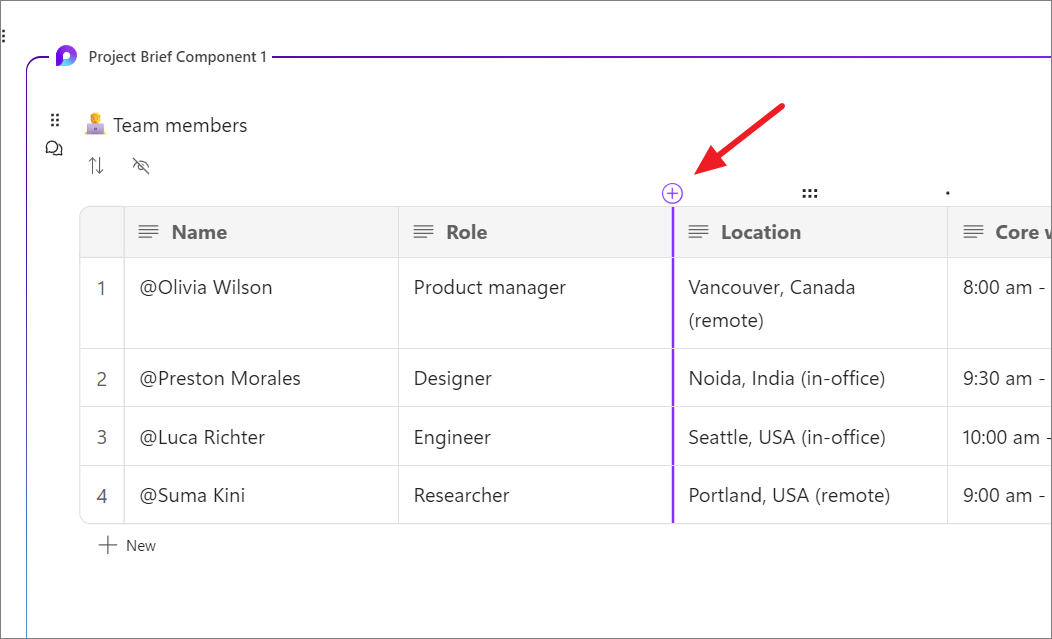
When you move your cursor over or click on any element inside the component, like a column or row, a button with six dots will show up. This button lets you effortlessly drag and drop the row or column to any spot within the component.
To insert a row or column anywhere in the table, hover over the dot and click the ‘+’ button when it appears.
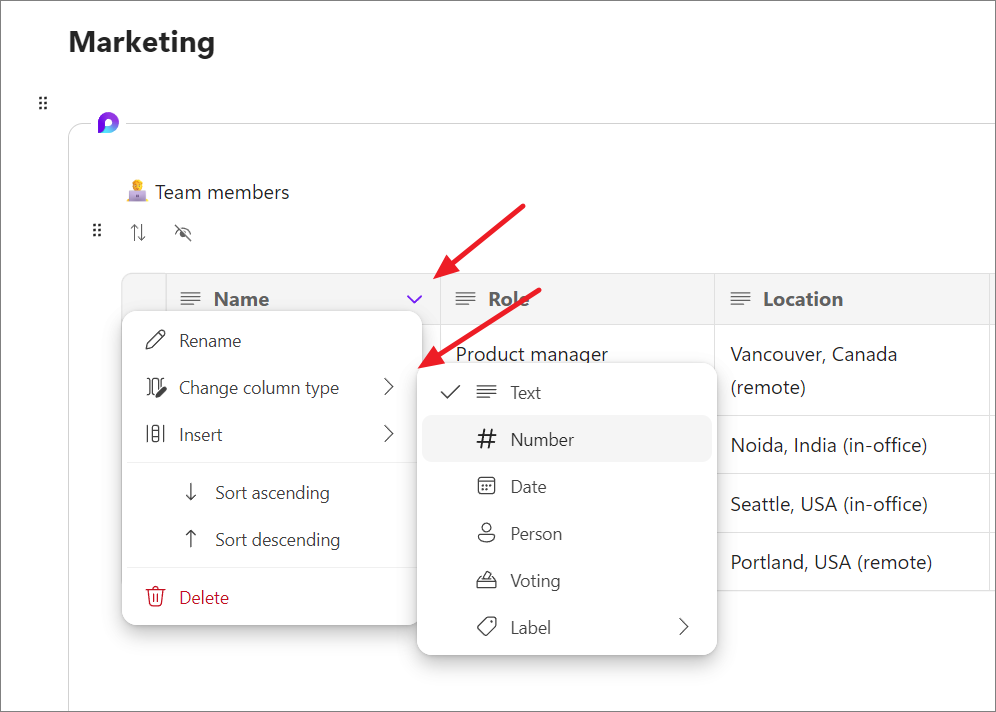
To change a column type, click the down arrow next to the column name, click the ‘Change column type’ option, and choose the column type from the menu.
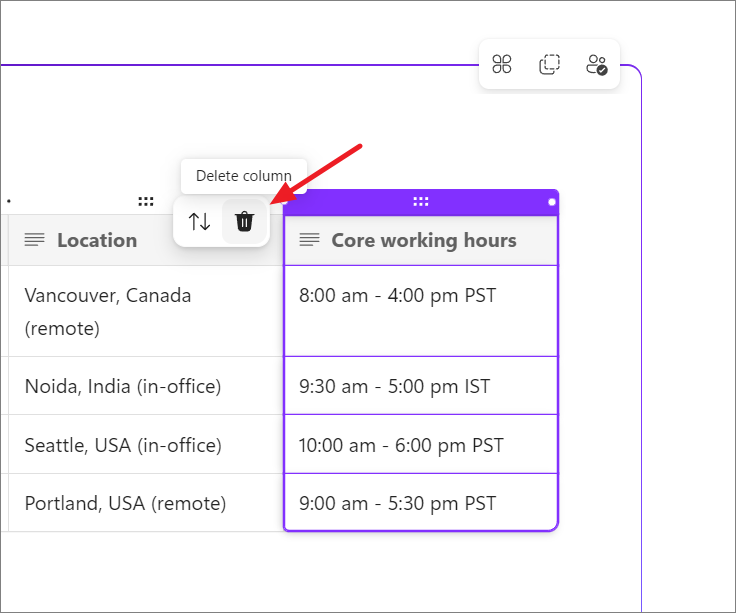
If you want to delete a particular item or element in the component, click the six dots button and select the ‘Delete’ icon.
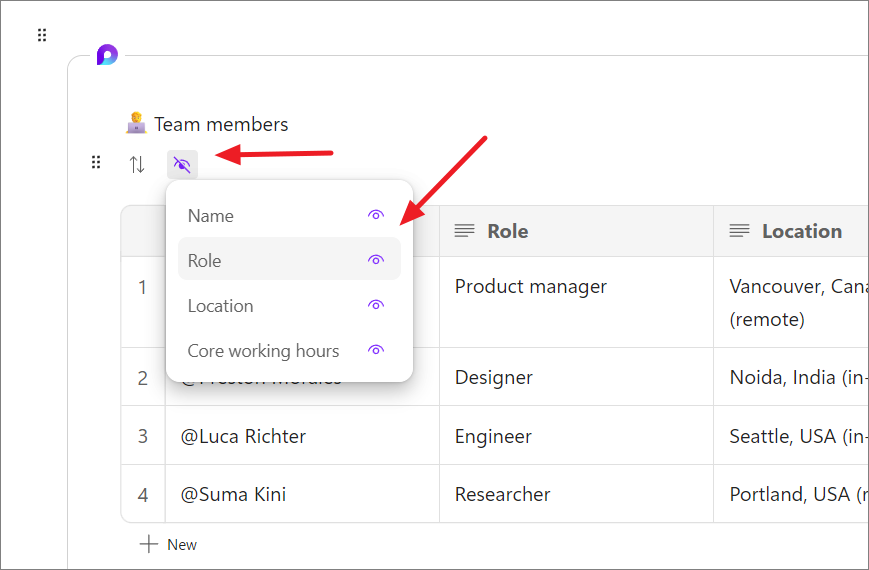
If you wish to hide a particular column, click the ‘Hide column’ icon and select the column name from the list.
You also have the option to create a nested component inside another component. For example, if you want to add date or calendar element in a row of a table, type the forward slash / inside the table and select ‘Date’ from the menu.
Use Reactions and Comments in Loop Component
Let’s say someone has made a change in a Loop component, and you have feedback about that specific change. You don’t need to directly message them or point out what you’re referring to. Instead, you can easily provide your feedback using the Reaction and Comments feature.
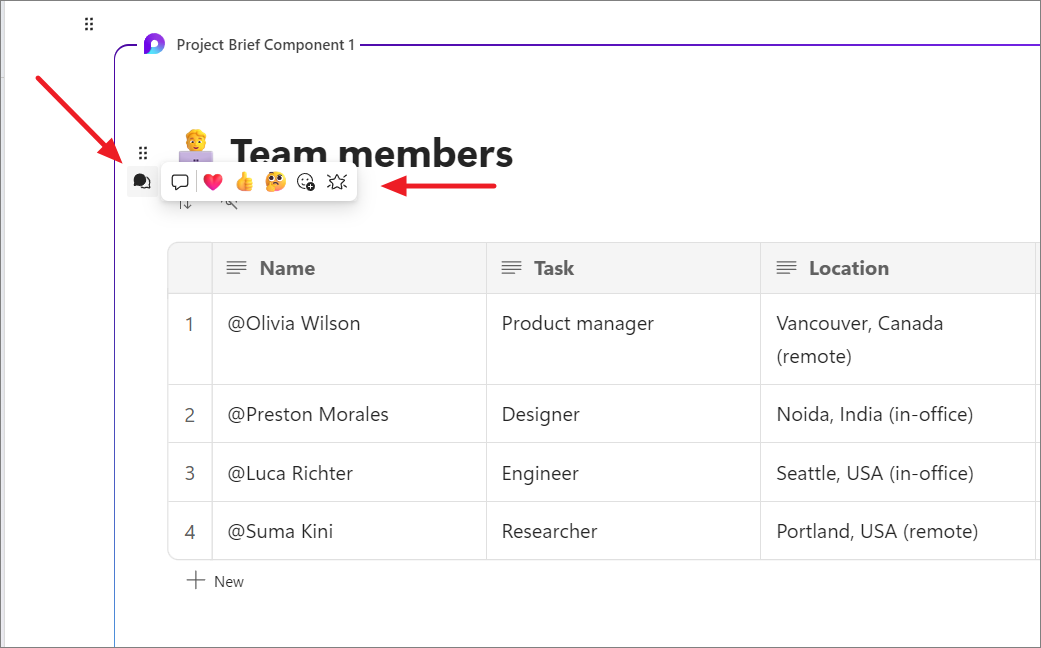
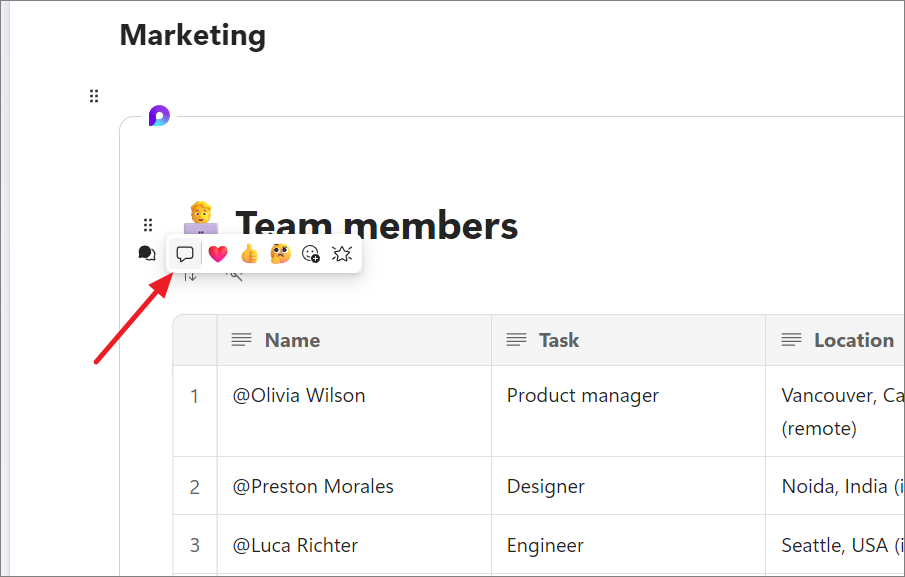
When you want to give feedback or react, click the heading of the component, and click the ‘Reaction and Comments’ button that appears. Clicking this button brings up a comment button and three preset emoji reactions: heart, thumbs up, and thinking.
You can click the comment button to add written feedback to the component or use one of the emoji reactions to quickly express your thoughts.
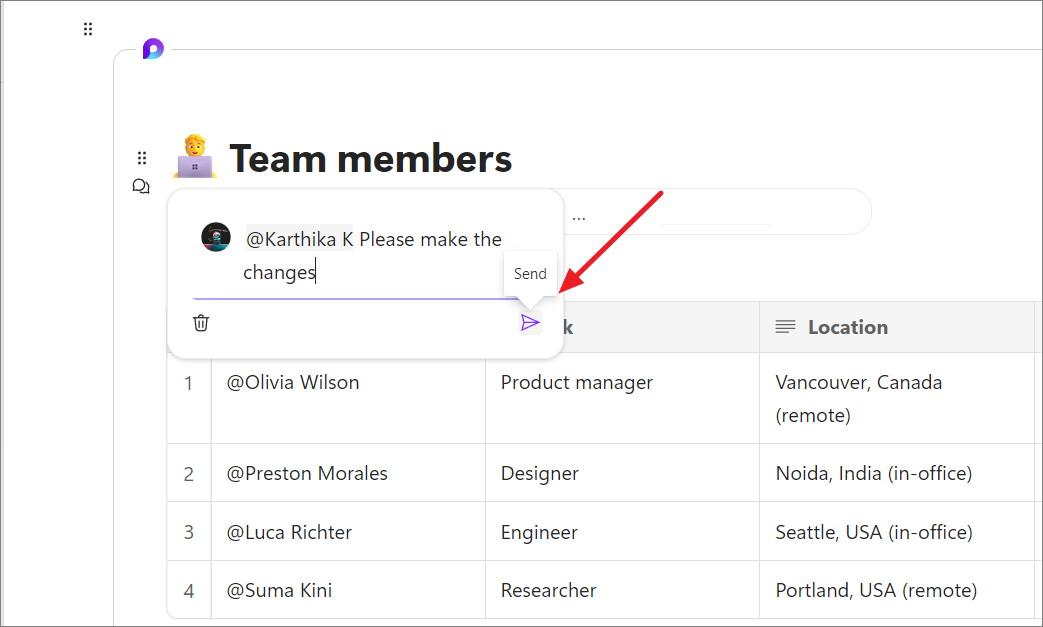
Type your comment and hit ‘Send’. Plus, you can tag a team member by using the @ command, and they’ll receive a notification.
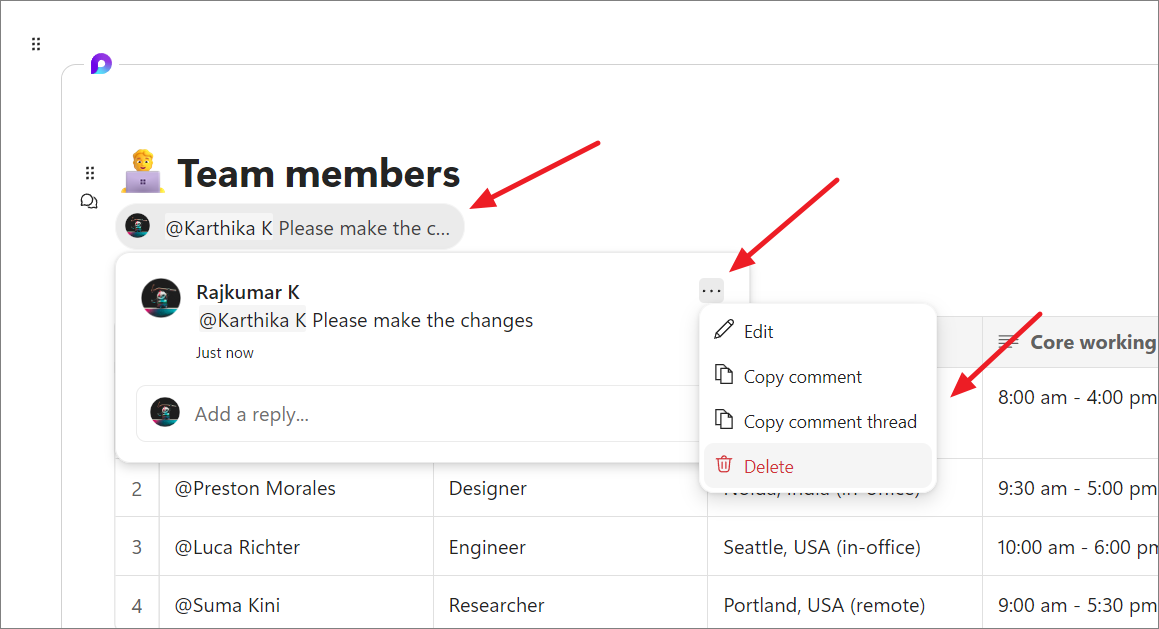
Once you’ve added a comment and the changes have been made, you have the option to edit or delete the comment. Simply click the comment on the Loop component and open the context menu by clicking the three-dot button. Then, select the appropriate option.
That’s everything you need to know about Loop components. With Loop components, you can easily collaborate with your team members across Microsoft 365 apps.


