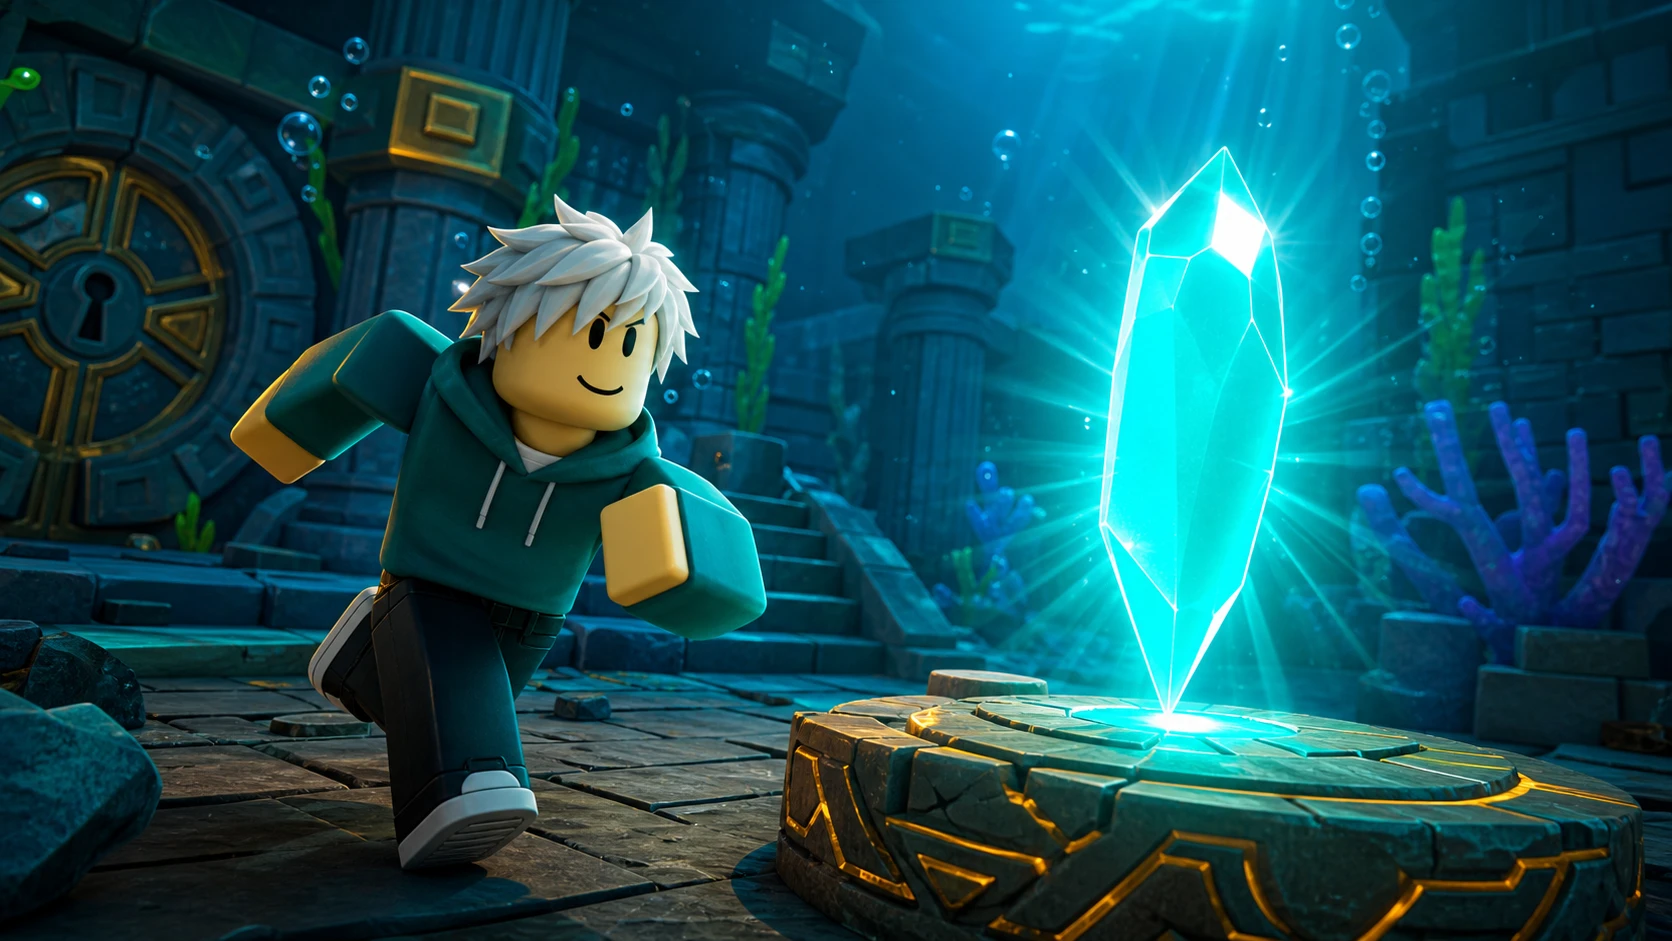
Nine Sunken Shards are hidden across +1 Speed Monkey Escape, tucked into the main lobby and scattered through the stages up to the water-filled platforms of Stage 9. Grab all nine and the game gives you a free x2 Speed Treadmill, a training tool that doubles the speed you build without spending Robux.
Quick answer: Pick up two shards in the main lobby, one each on Stages 2, 3, 4, and 6, two on Stage 7, and the last on Stage 9. Touching the ninth shard unlocks the x2 Speed Treadmill.
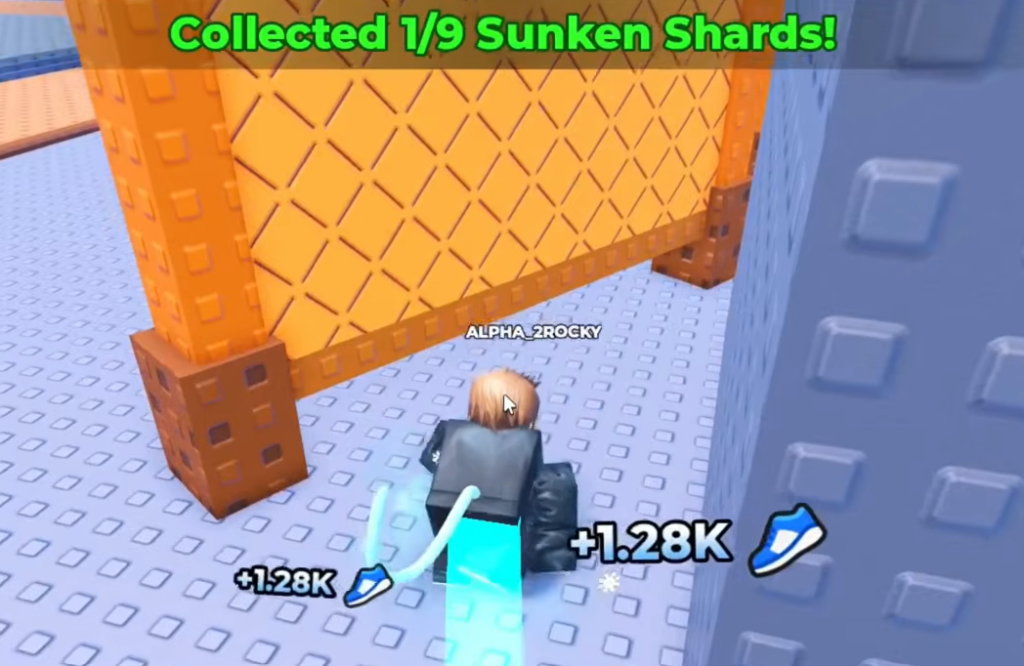
All 9 Sunken Shard locations at a reference
Use the table below to see every shard, where it sits, and what makes it tricky. Detailed directions follow underneath, grouped by area so you can work through the map in one run.
| # | Area | Where it sits |
|---|---|---|
| 1 | Main lobby | Behind the Top Robux leaderboard, left of spawn |
| 2 | Main lobby | On a left-side ledge reached with the tall jump booster |
| 3 | Stage 2 | Below a small pillar on the left, mid-stage |
| 4 | Stage 3 | Behind a large wooden block on the right at the end |
| 5 | Stage 4 | On top of the stage, on the left before Stage 5 |
| 6 | Stage 6 | Off the edge of the second central platform |
| 7 | Stage 7 | On the central green platform near the end |
| 8 | Stage 7 | On a small side ledge beside the last platform |
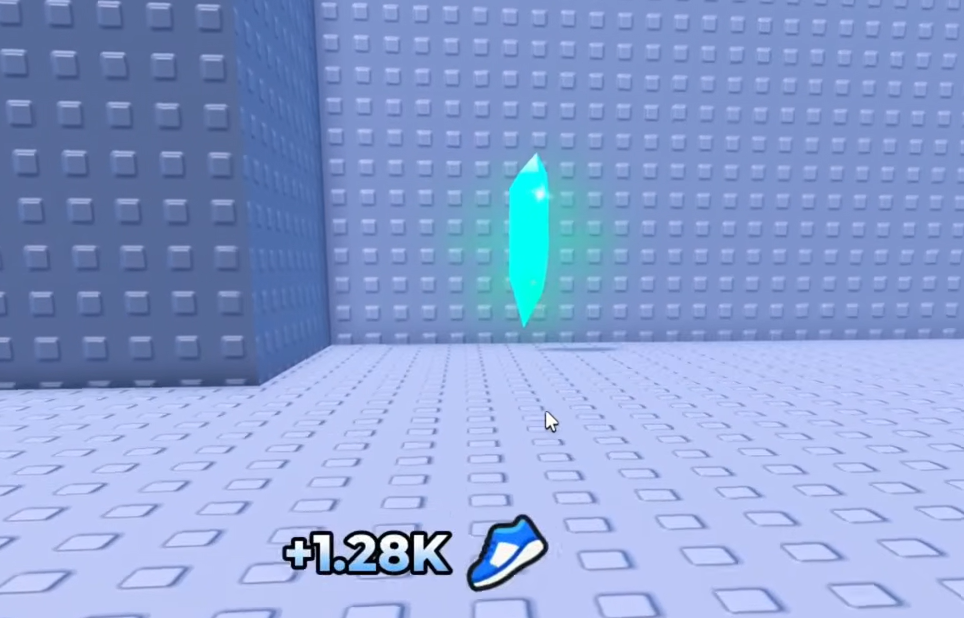
| 9 | Stage 9 | Right-side corner of the third central platform |
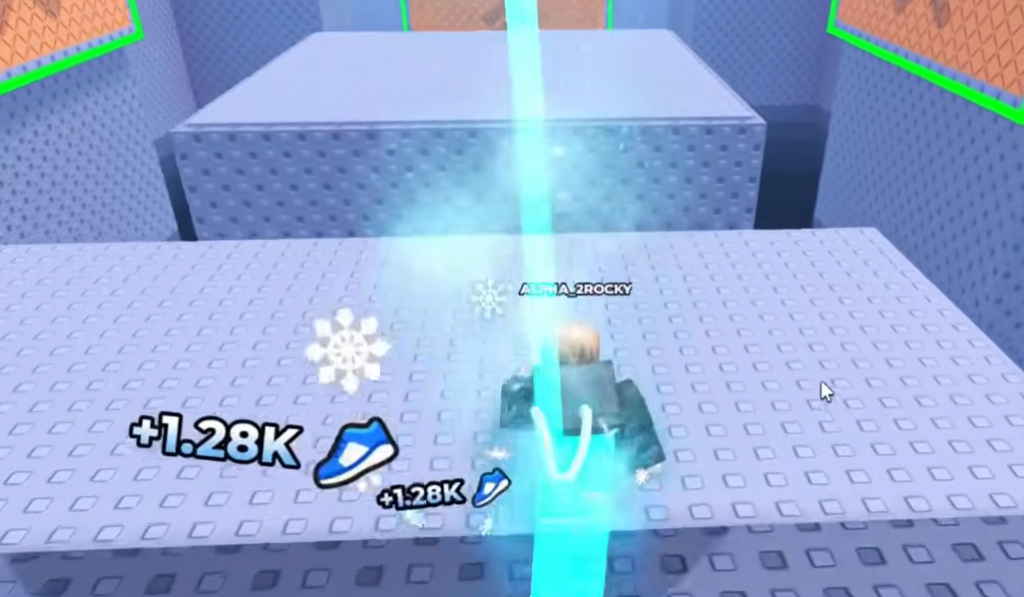
Two Sunken Shards in the main lobby
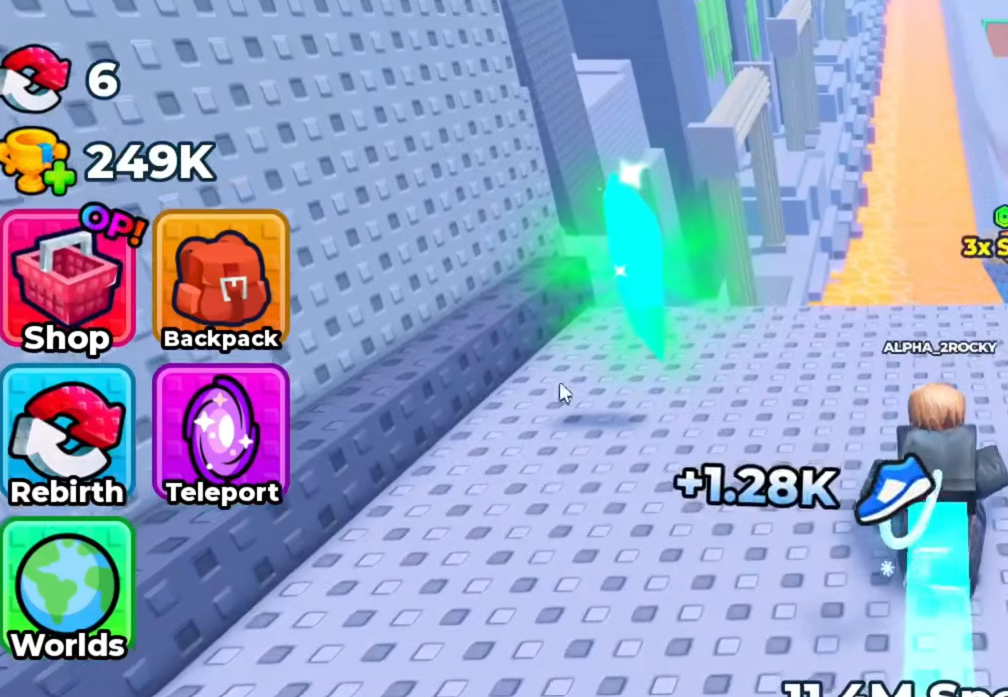
Sunken Shards on Stages 2, 3, and 4
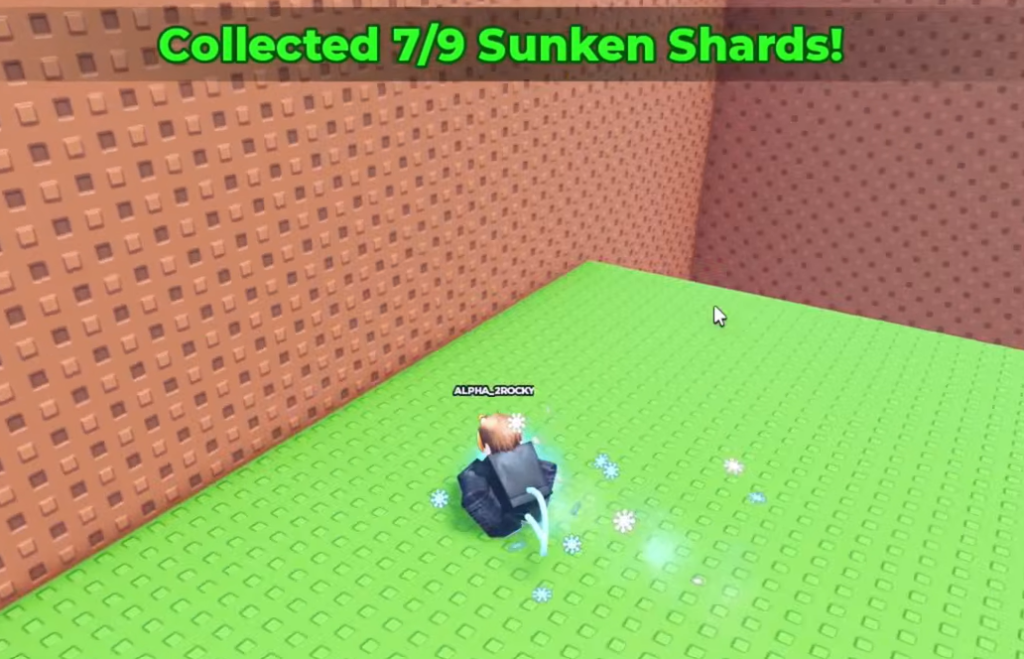
Stage 6 and the two Stage 7 Sunken Shards
The final Sunken Shard on Stage 9
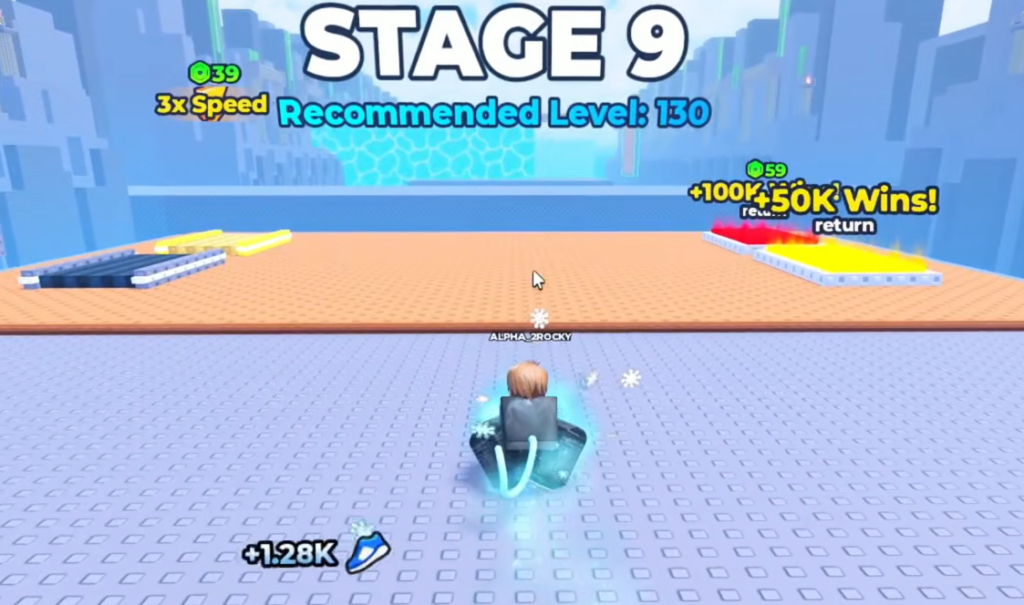
The last shard waits on Stage 9. Jump across the platforms while dodging the Tsunami waves rushing toward you, aiming for the third central platform. Once you land, the shard is in the right-side corner of that platform.
How to confirm the x2 Speed Treadmill unlocked
The moment you touch the ninth shard, the x2 Speed Treadmill becomes available. That treadmill is a permanent reward that doubles the speed you gain while training, so finishing the set early makes every later run faster.
Why a Sunken Shard won’t collect
If you finish the map and still come up short, a few common problems usually explain it.
- Falling into the lava on Stage 4 sends you back to Stage 1, so you have to clear the earlier stages again before trying that shard.
- The shards behind the Stage 3 wooden block and on top of Stage 4 need high speed to clear the boosters. Train more before attempting them.
- The Stage 2 and Stage 6 shards sit below platform edges, so you must dive off to reach them instead of staying on the path.
Work through the areas in order, keep your speed high for the booster jumps, and you can gather all nine shards and lock in the x2 Speed Treadmill in a single trip through the map.