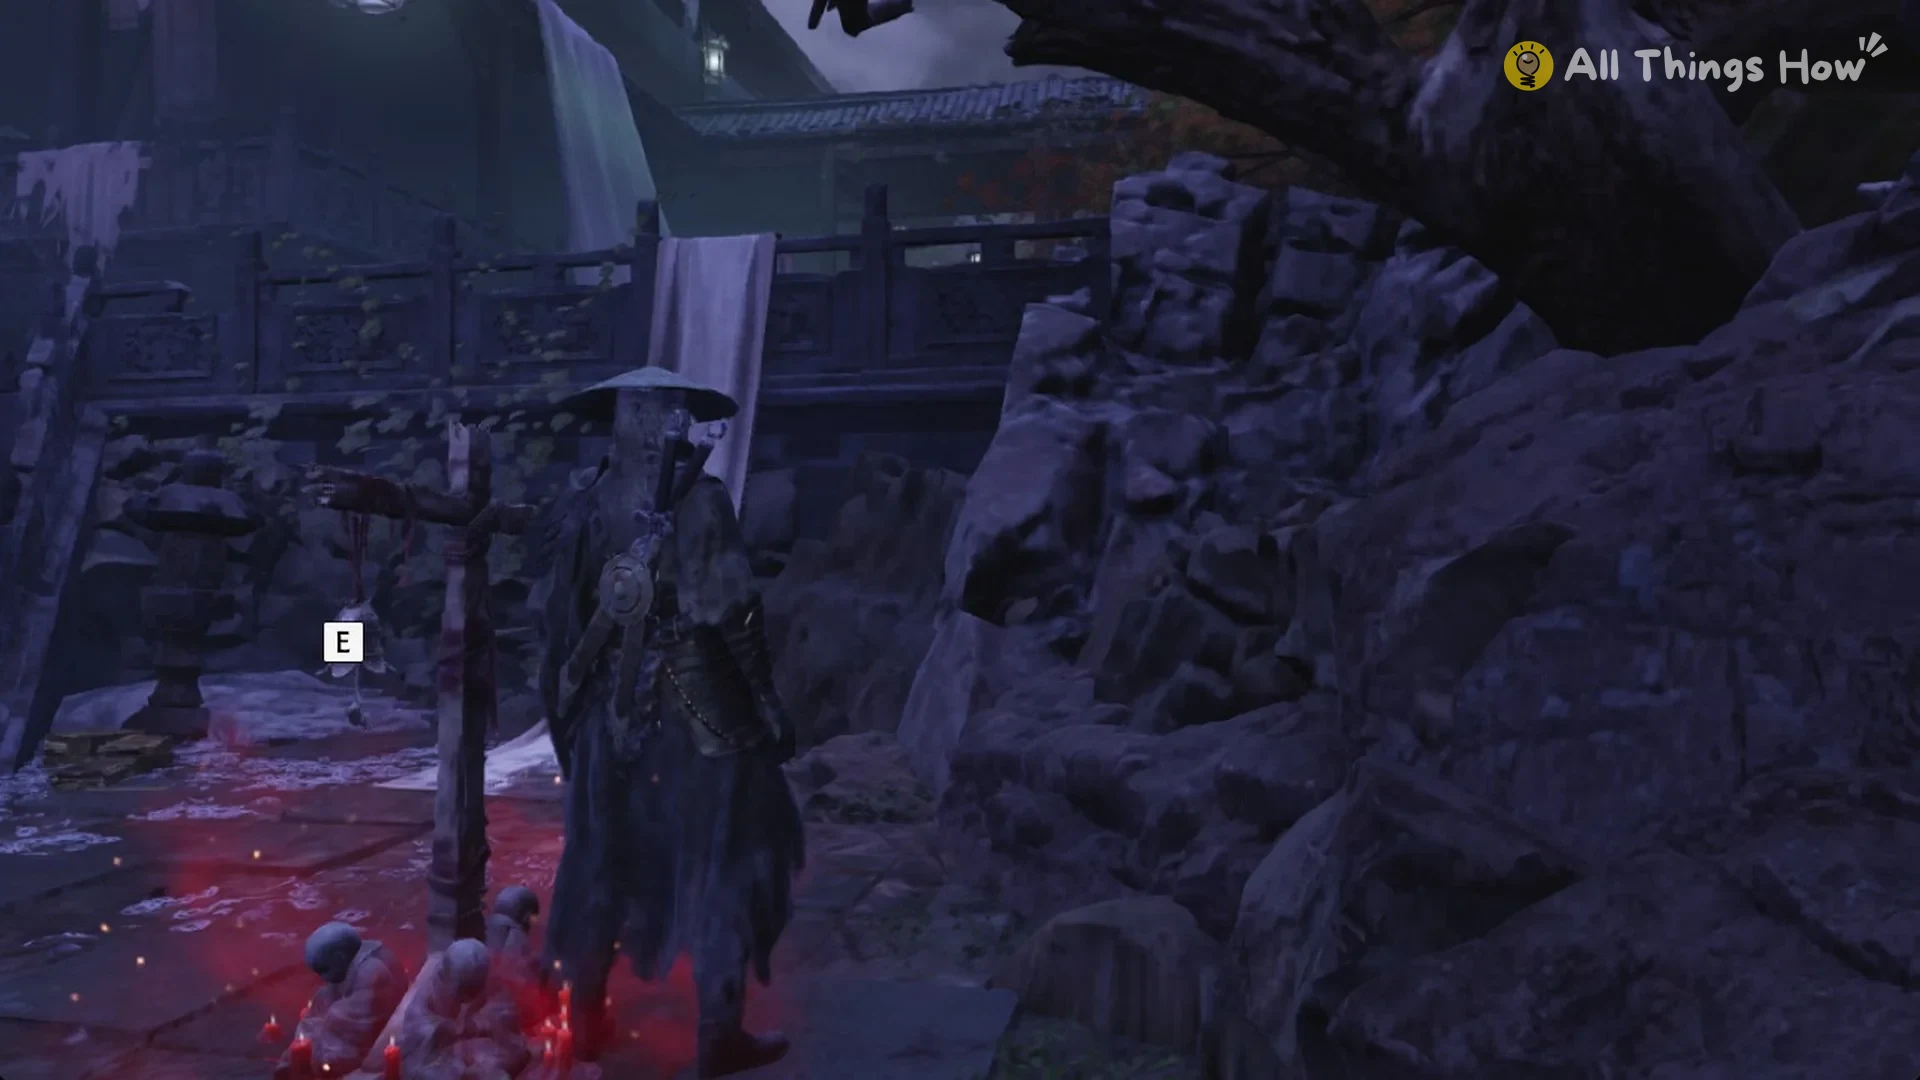
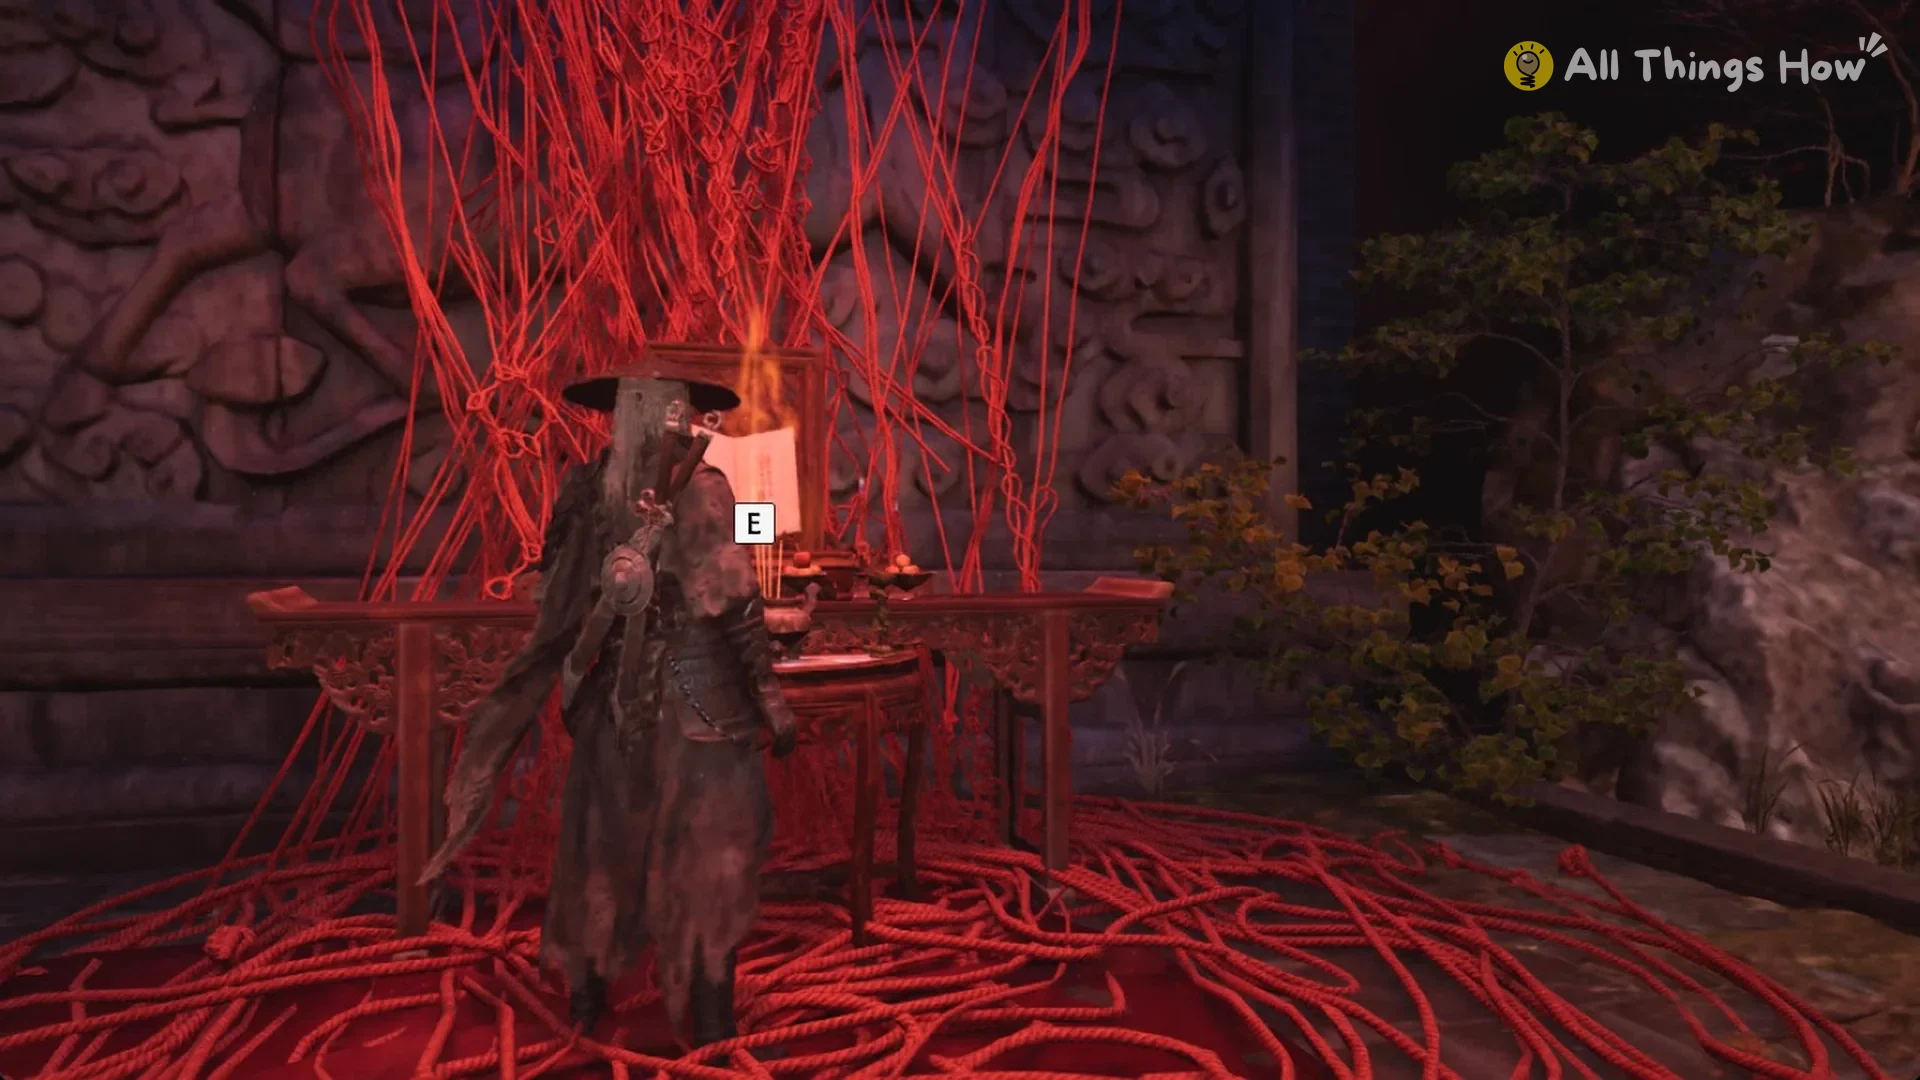
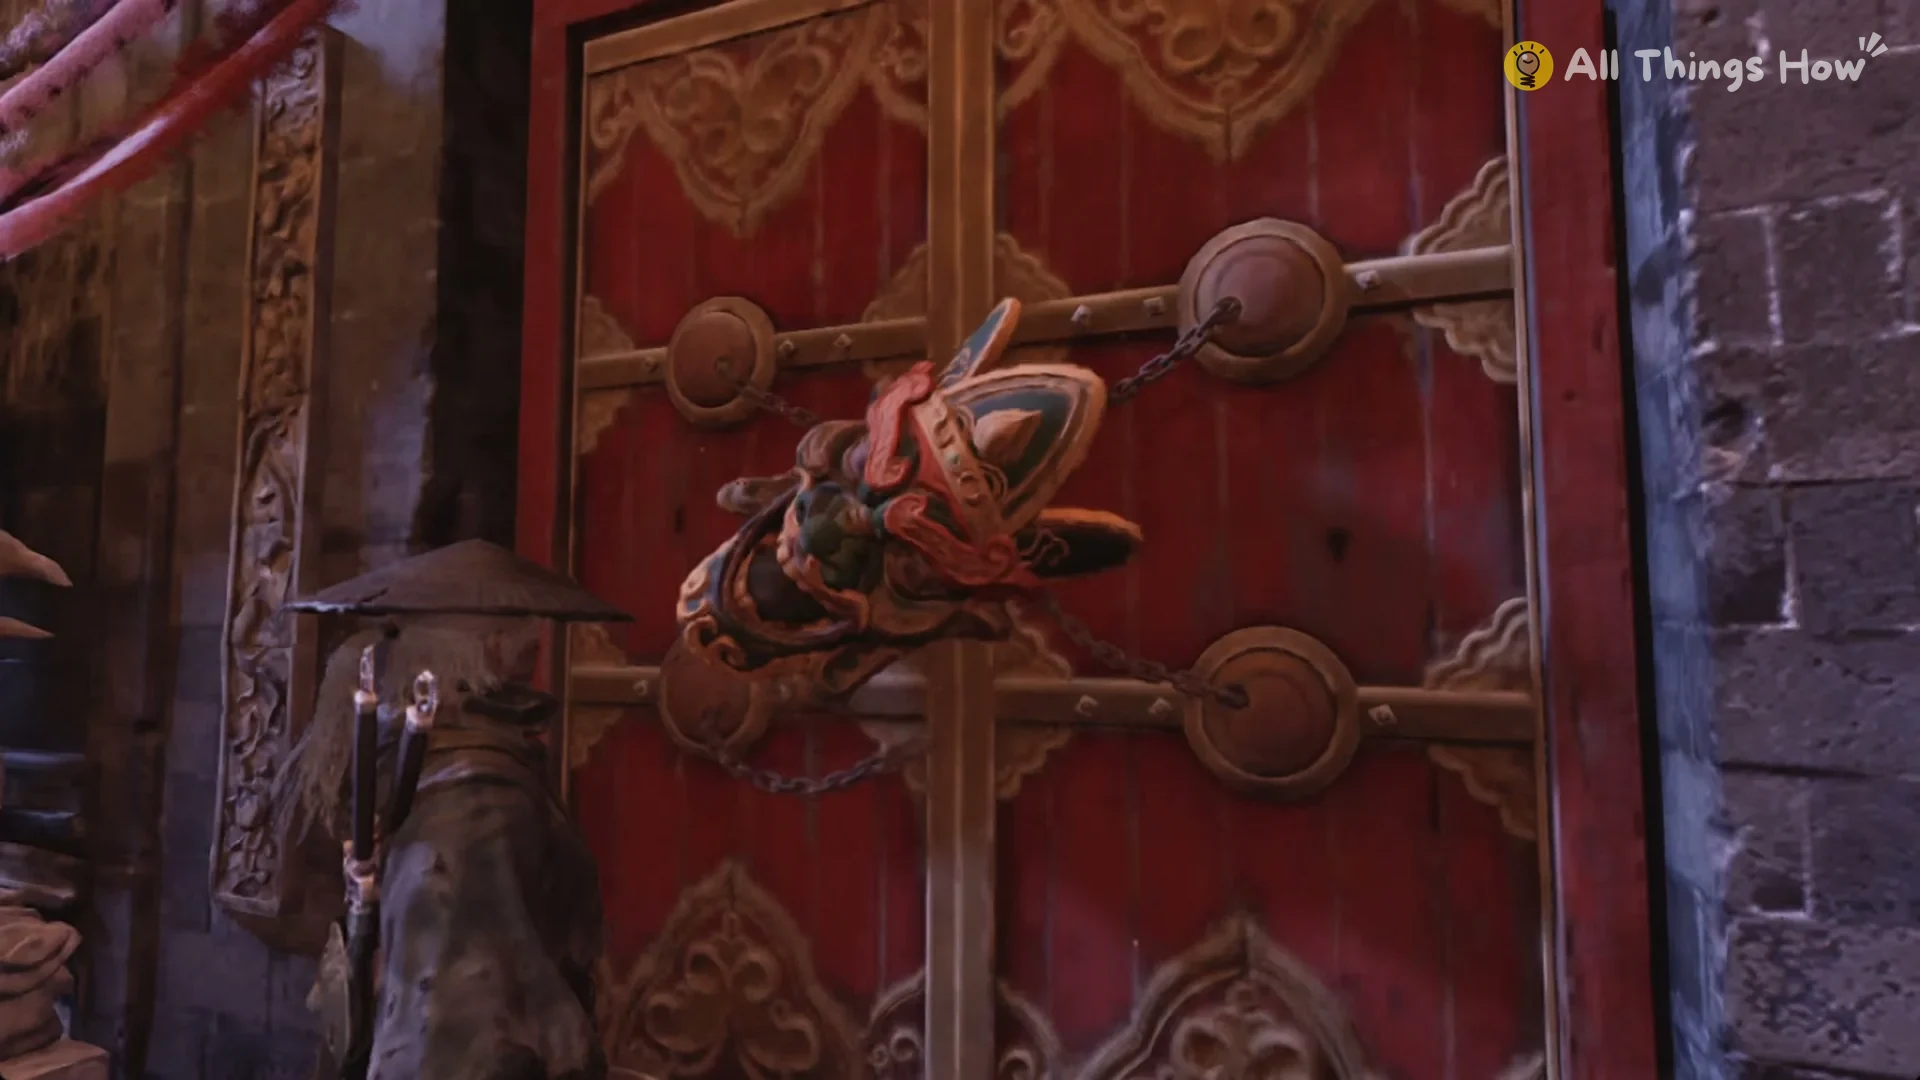
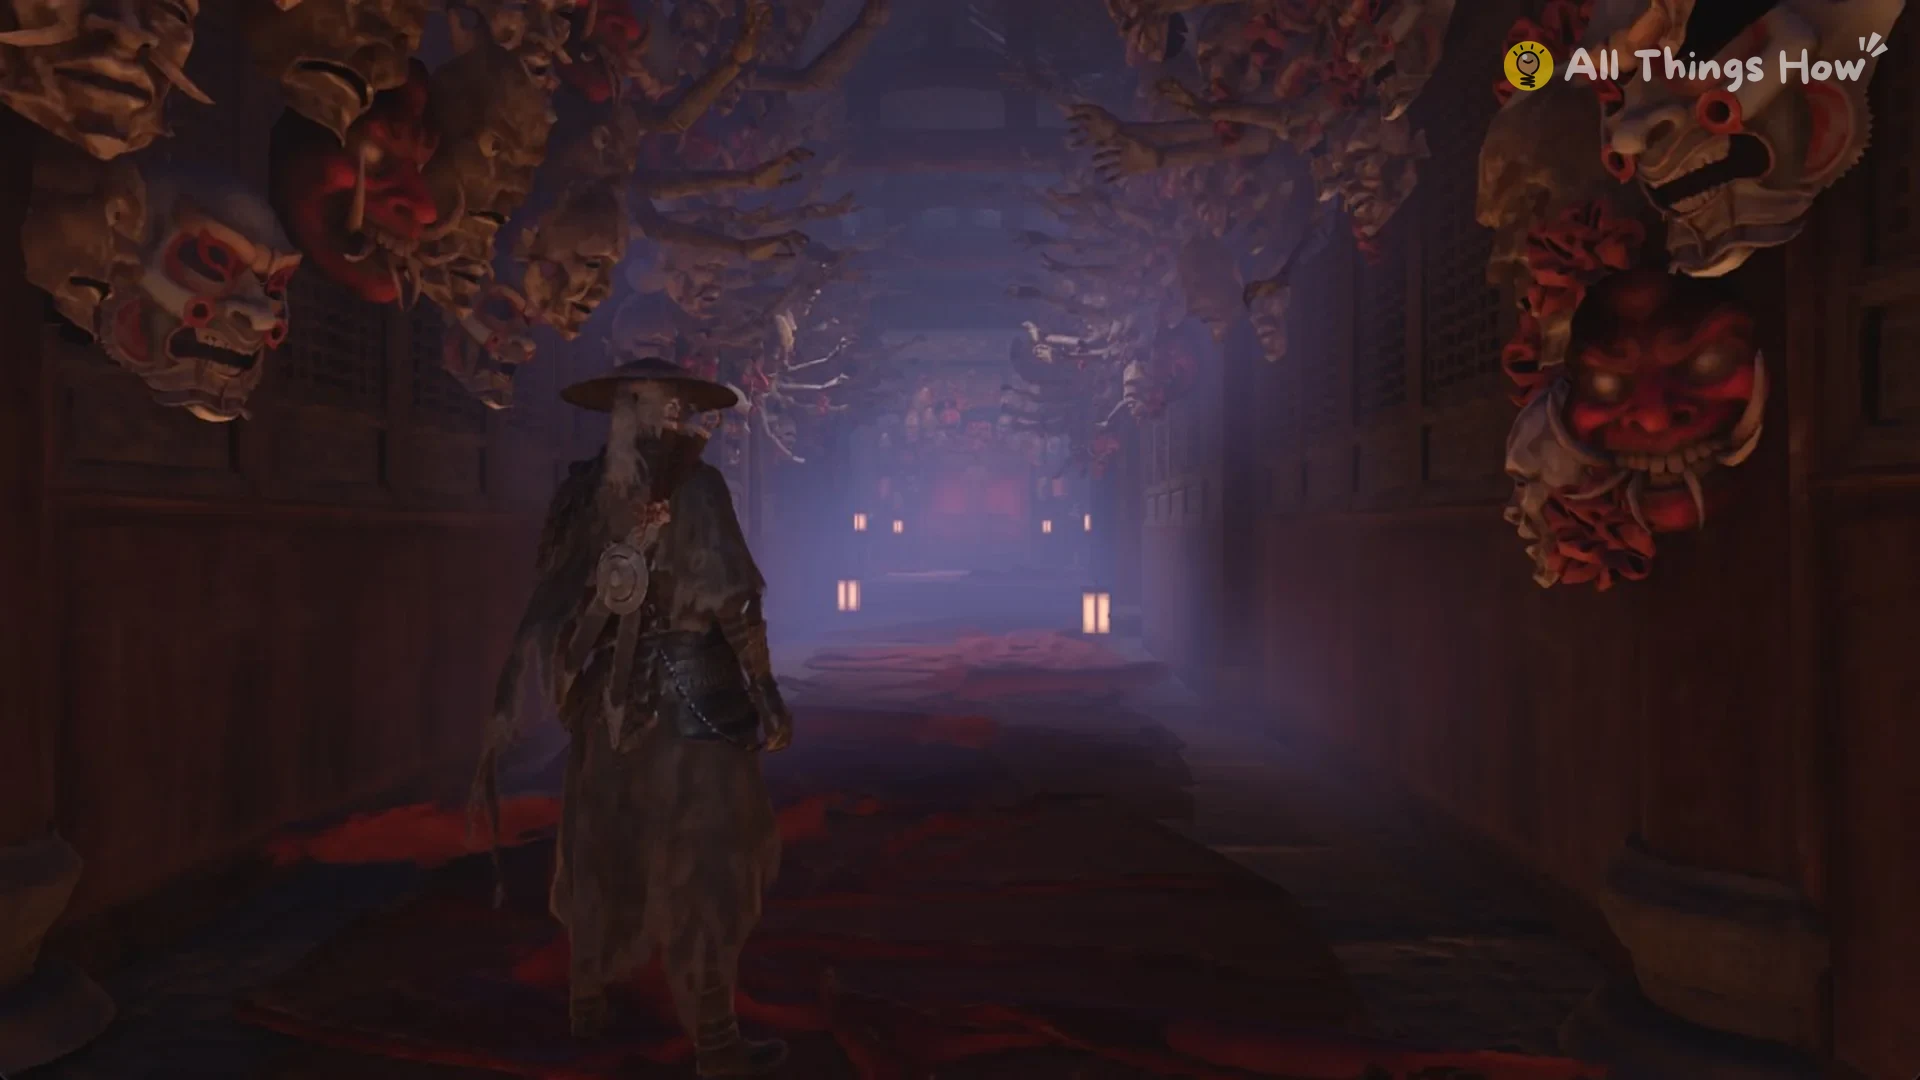
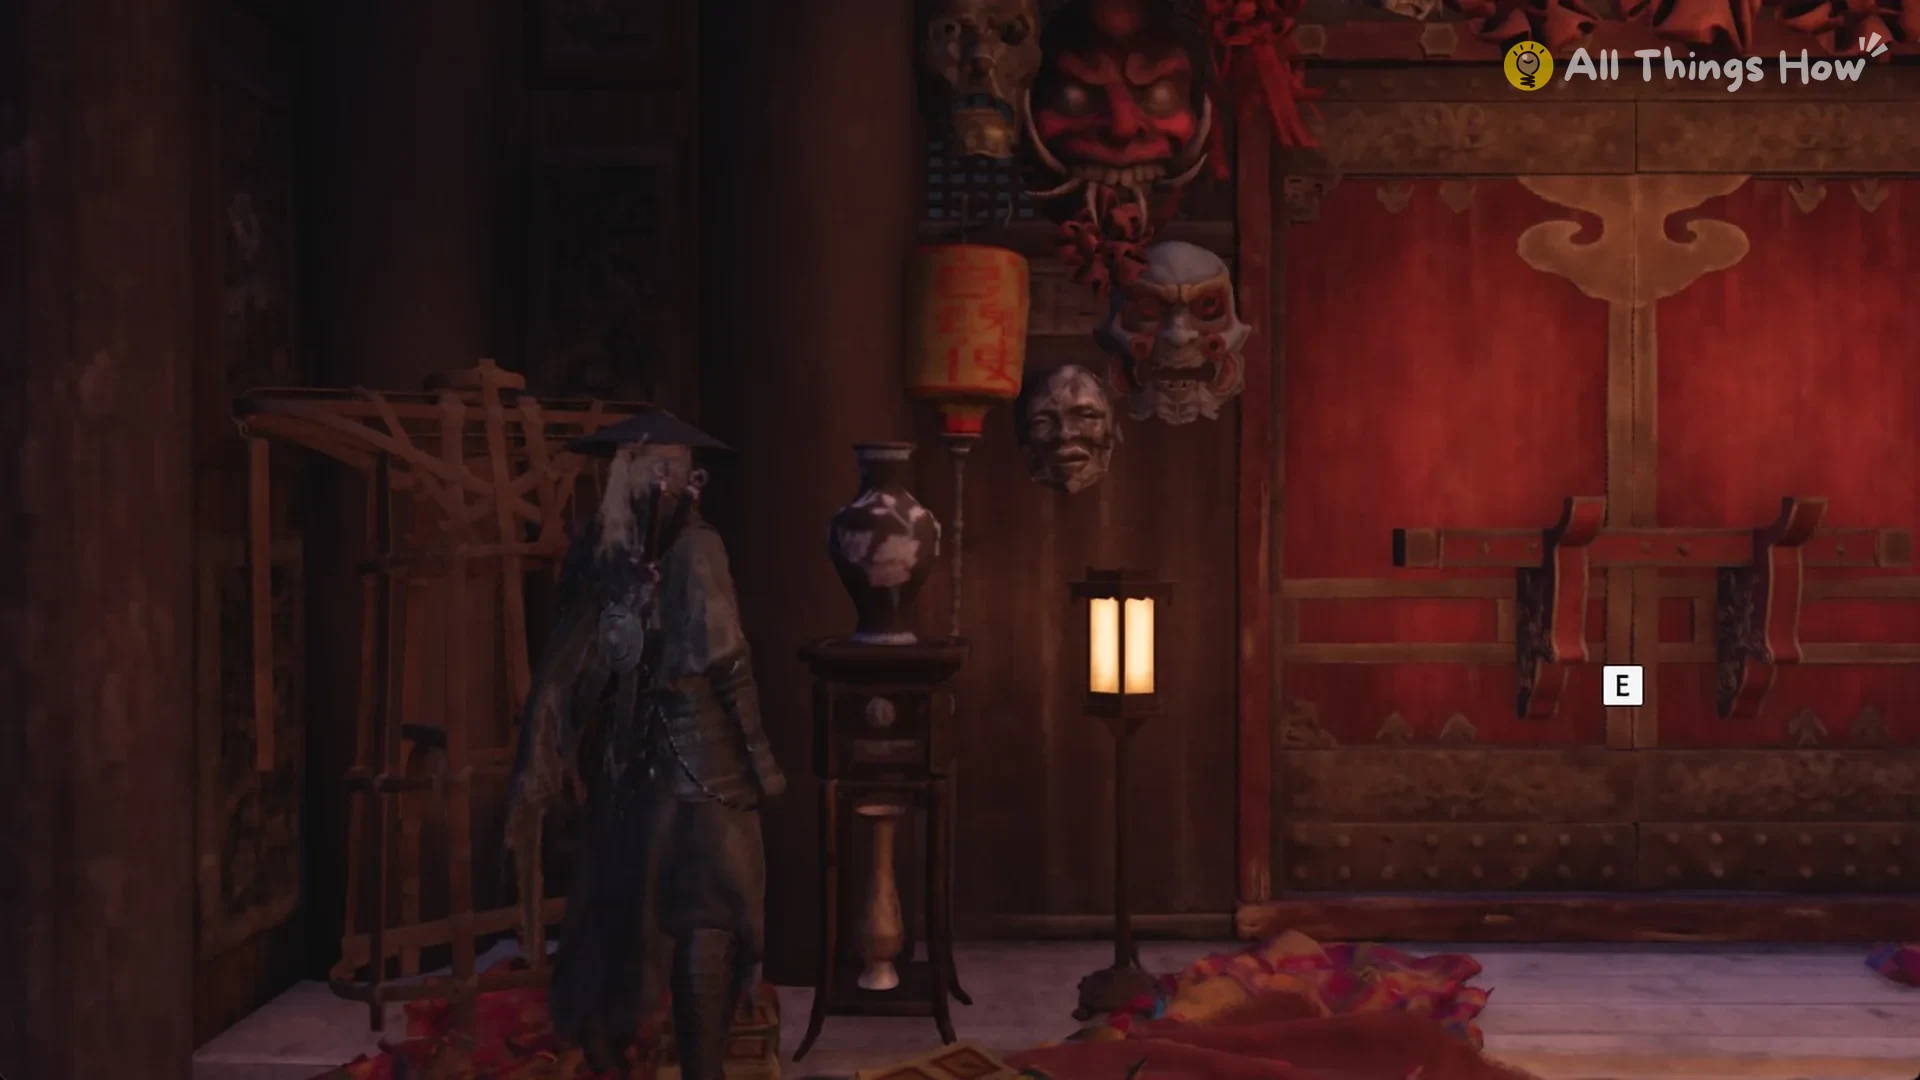
Quick answer: Get the Opera Ticket, use it to unlock the masked red entrance beside the Opera House, and continue down the masked passage to its red double doors. Press E there, then activate the eight lanterns in sequence.
How to enter the shadow puppet play in the Mirage Estate
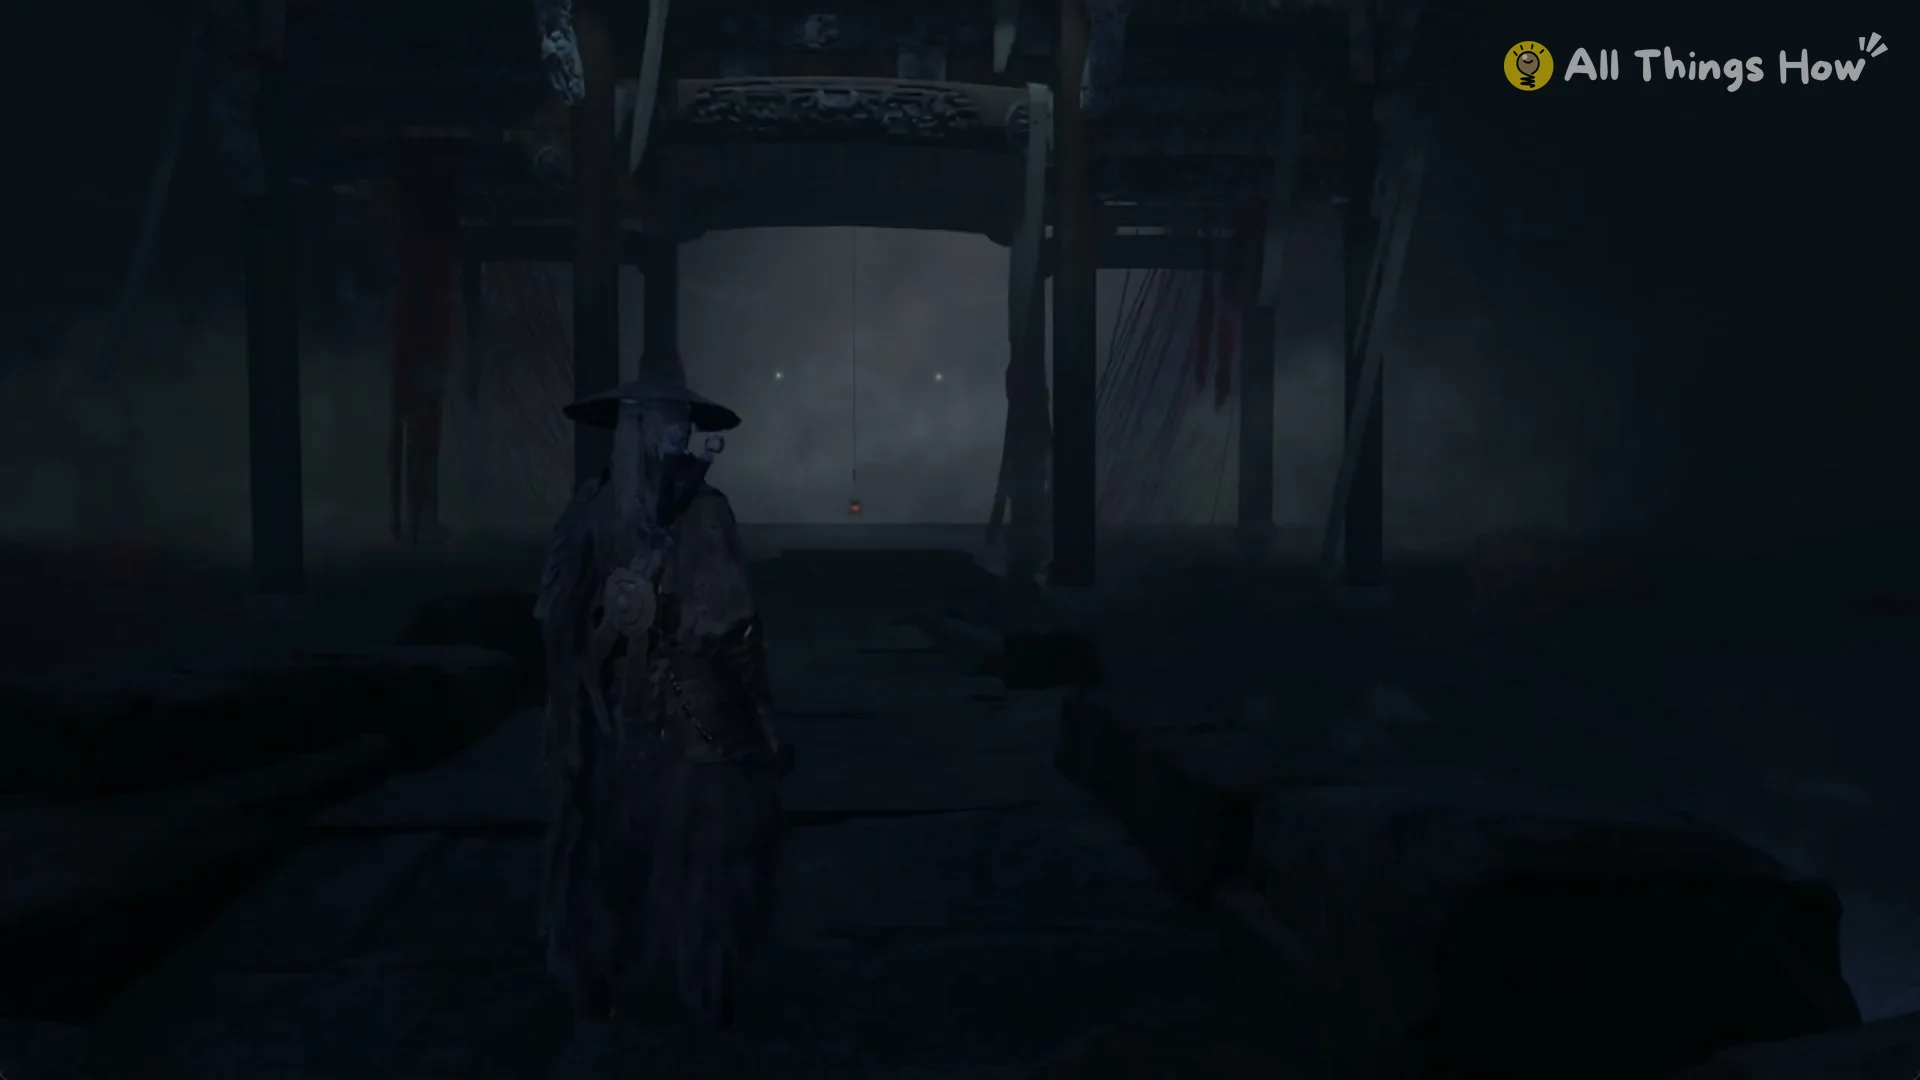
Your arrival begins as you awaken on a shadowy stone causeway, facing a three-roofed gate; a distant lantern shines through the mist.
How the lanterns and fog walls work
The play is a chain of foggy stages, and each one is gated by a lantern. The rules are the same on every stage.
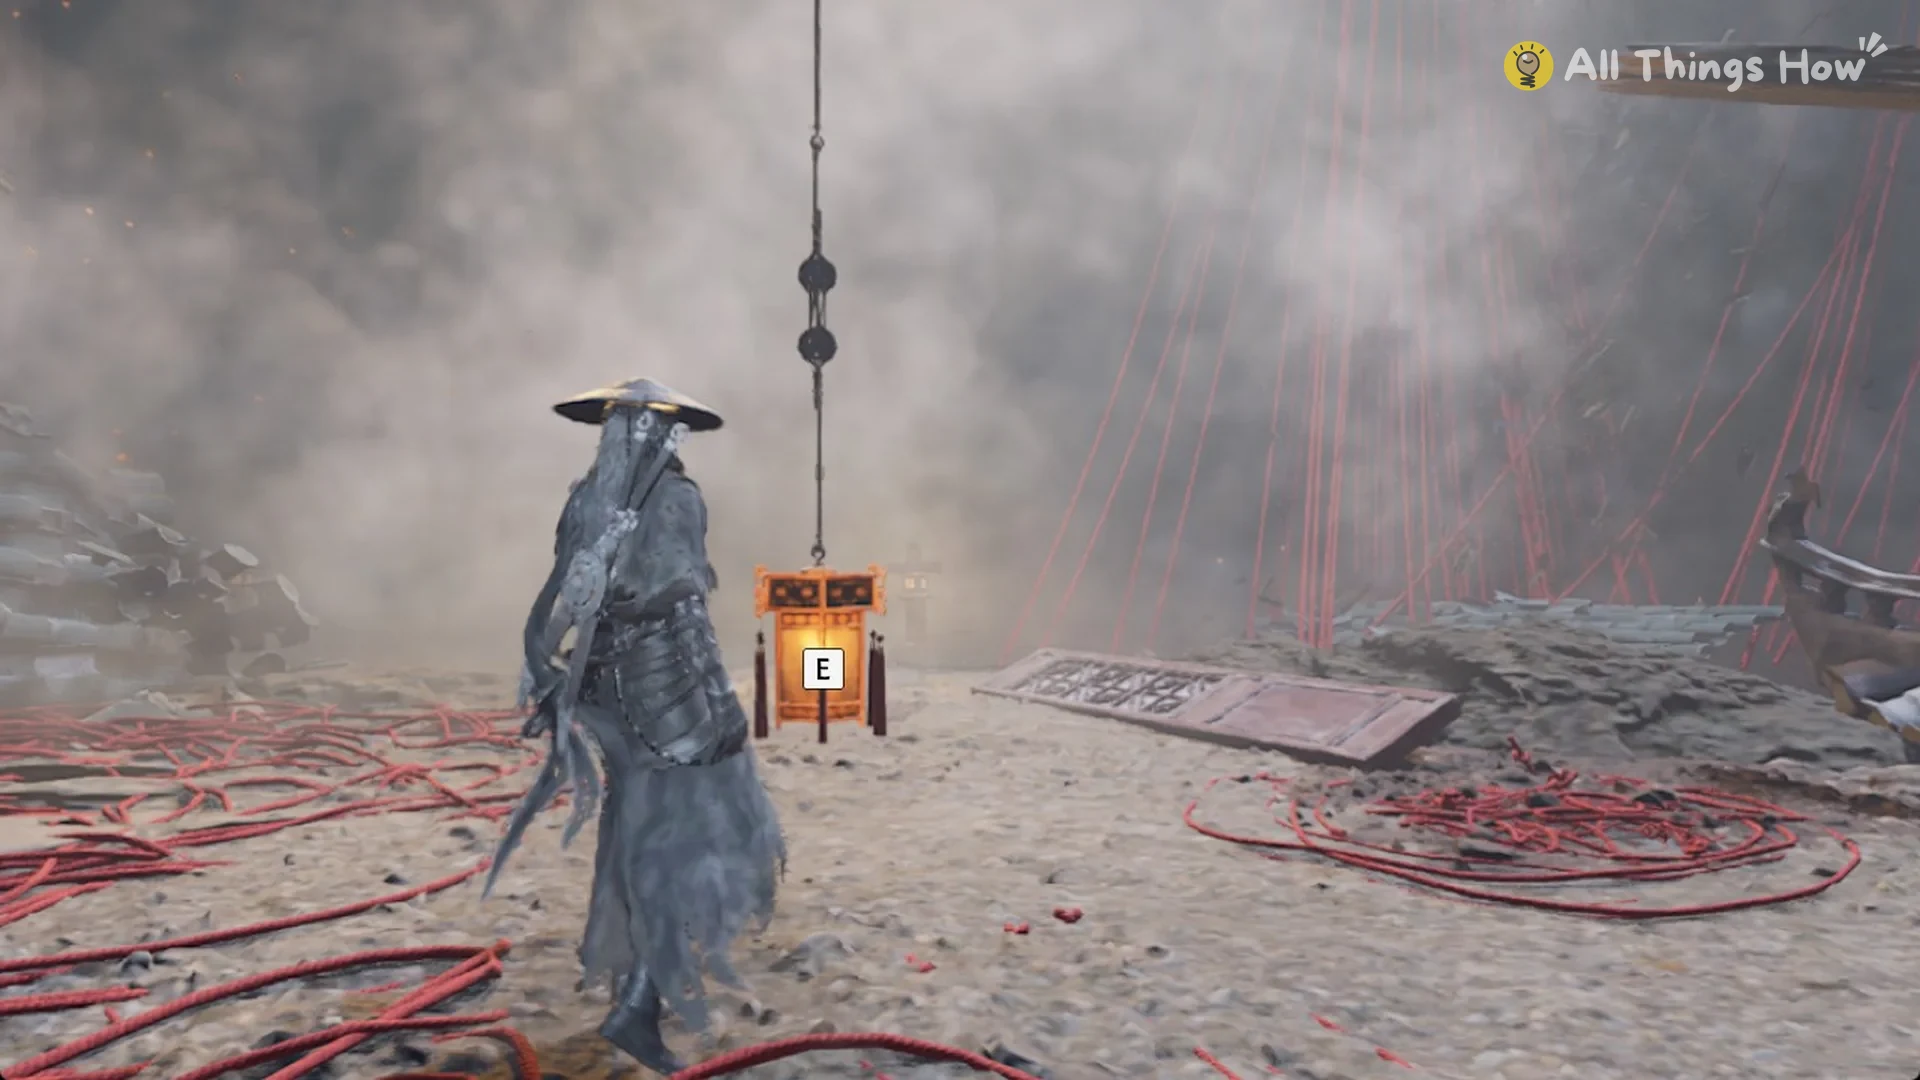
- Each lantern hangs on a long chain and shows an E prompt when you get close.
- Press E to watch an act unfold on the illuminated stage screen, where the storyteller and characters speak.
- When the act ends, you stand where you were and the fog wall ahead is open.
- The lantern is positioned roughly 7 to 12 m ahead of the point where the fog barrier halts you in that stage.
- A finished lantern keeps its E prompt but goes unlit.
- There is no bell inside the play, and no enemies appeared in it.
All 8 lantern locations in the shadow puppet play
| Lantern | Stage | Distance | Travel |
|---|---|---|---|
| 1 | Flooded hall past the three-roof gate | About 73 m from where you wake | On foot |
| 2 | Rubble field of fallen temple roofs | About 61 m from lantern 1 | On foot |
| 3 | Bamboo grove and rock garden | About 91 m from lantern 2 | On foot |
| 4 | Cave of gnarled tree roots | About 109 m from lantern 3 | On foot |
| 5 | Ash field with chains and anchors | About 135 m from lantern 4 | On foot |
| 6 | Open dark water | About 140 m of rowing | Boat |
| 7 | Past the reclining statue’s feet | About 160 m of rowing | Boat |
| 8 | Red rock islet past a jetty | About 130 m rowing, 38 m walking | Boat, then on foot |
Lanterns 3 and 4 show their E prompt as soon as you arrive on the stage. Lantern 8 is red rather than orange, which makes it easy to tell apart from the rest.
Acts 1 to 5: The stages on foot
Act 1
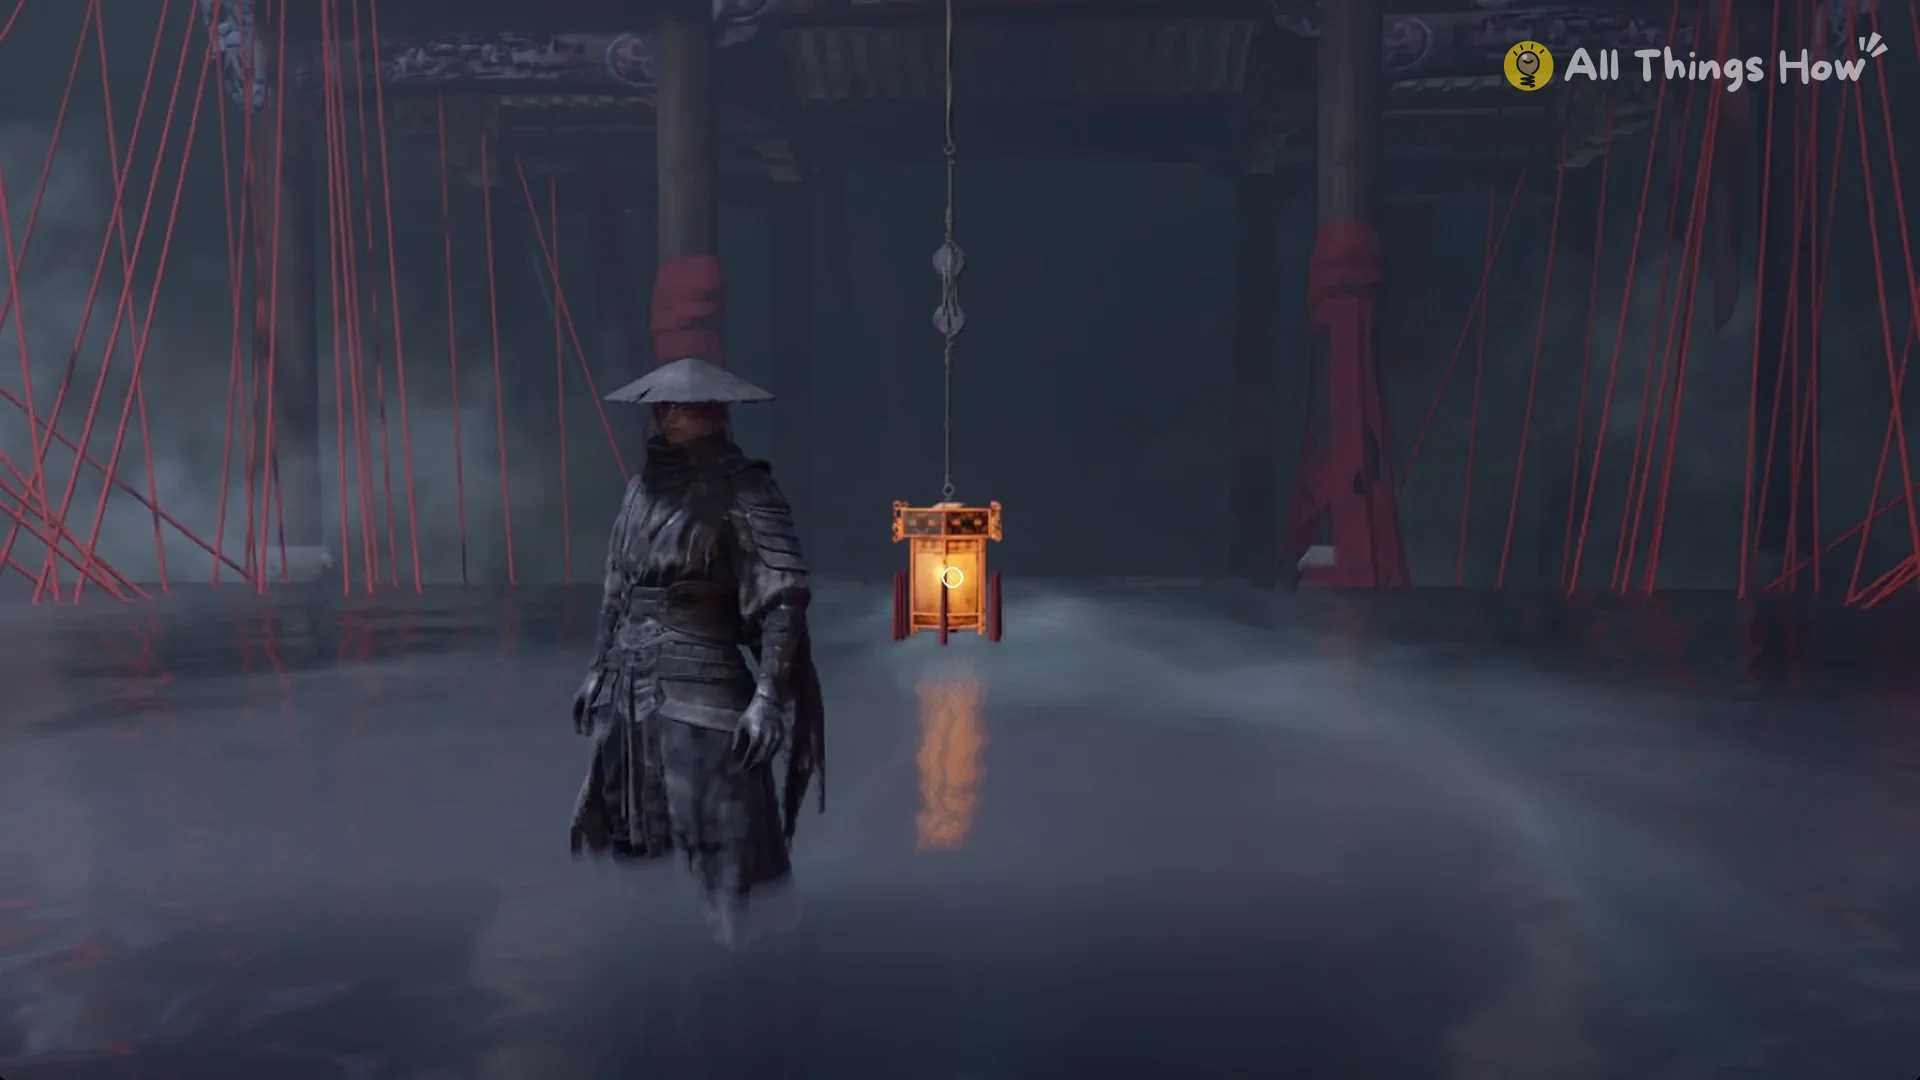
Walk through the three-roof gate into a flooded hall thick with fog and strung with red ropes between the pillars. The lantern hangs over the water in the middle.
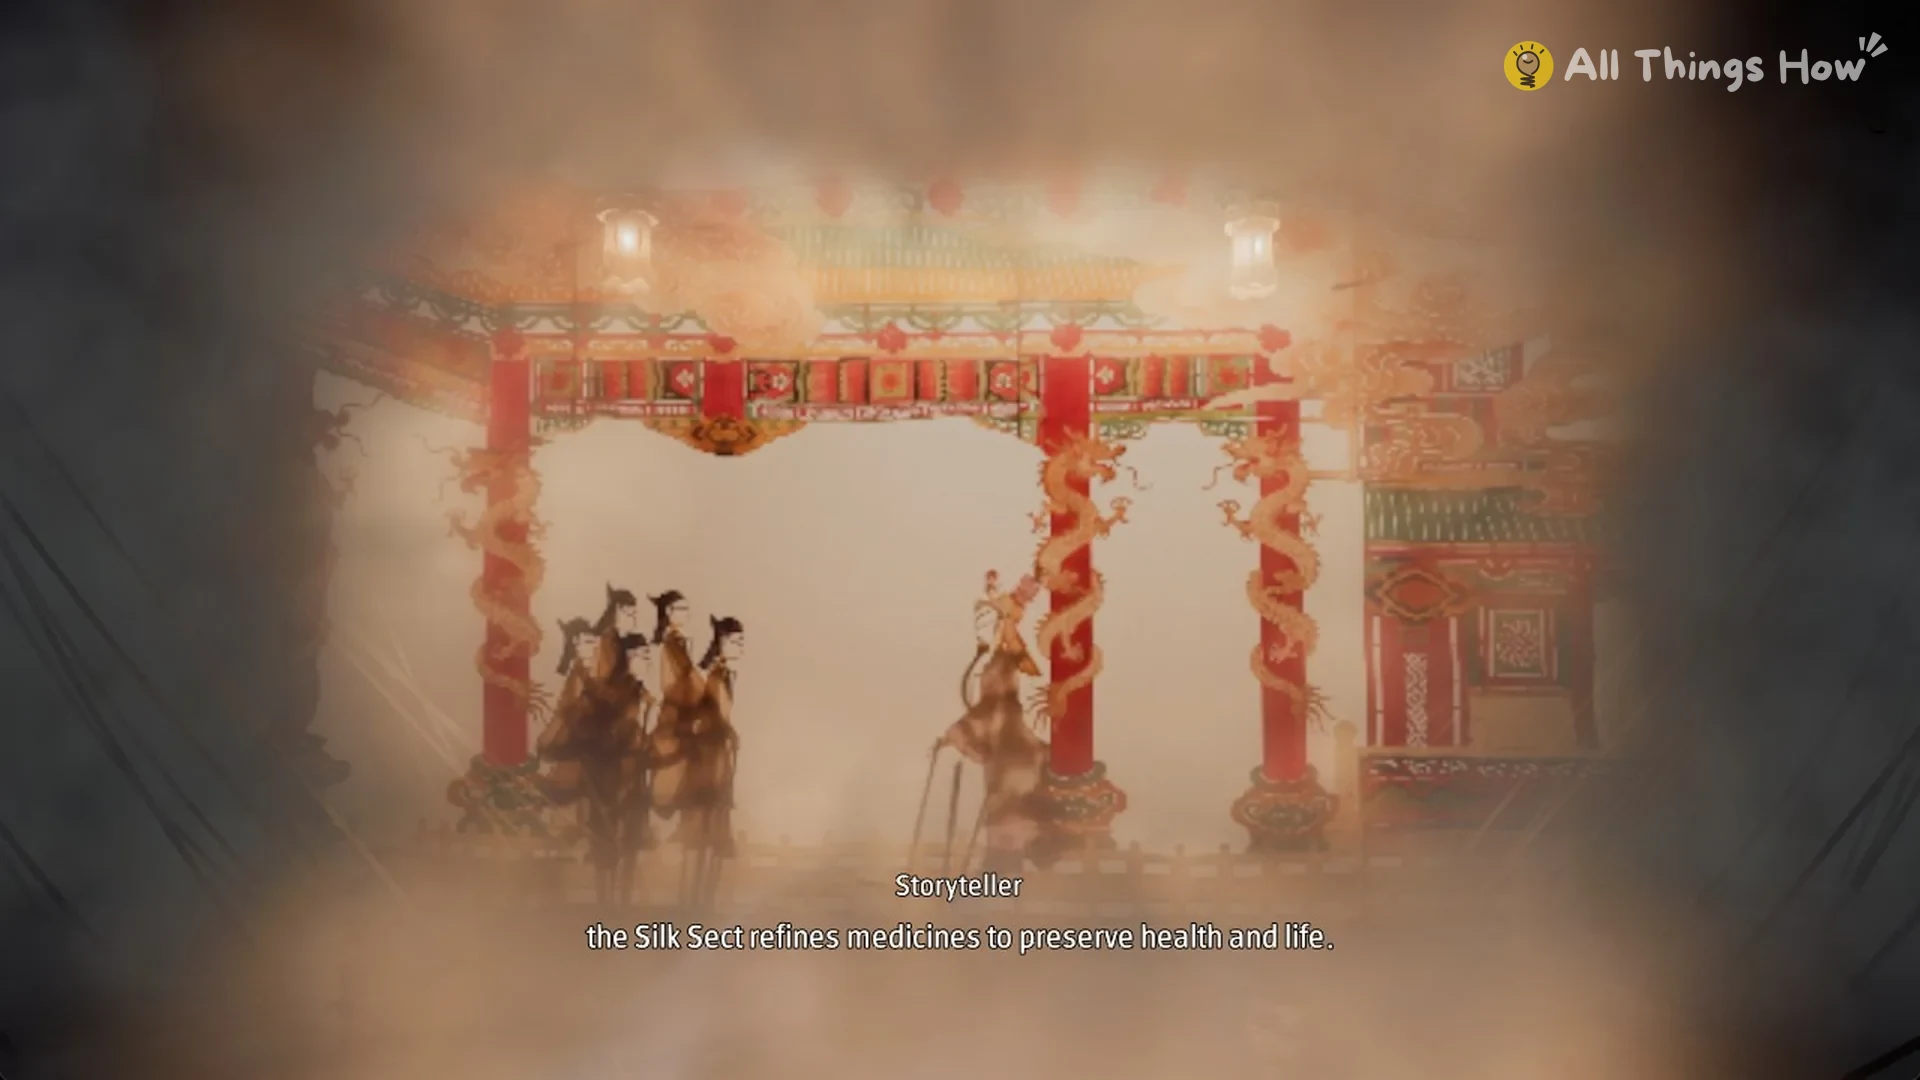
The Storyteller opens on a violent Wulin where the Silk Sect makes medicines. The Viper of Seven Venoms studies with his junior, Leng Tu, and brews two poisons. Silence Poison kills, and Still Poison only fakes death. “Silence Poison brings certain death to any who partake,” the Storyteller says, just before disaster arrives.
Act 2
Beyond the opened fog, enter a field of rubble scattered with fallen temple roofs, red ropes and drifting embers.
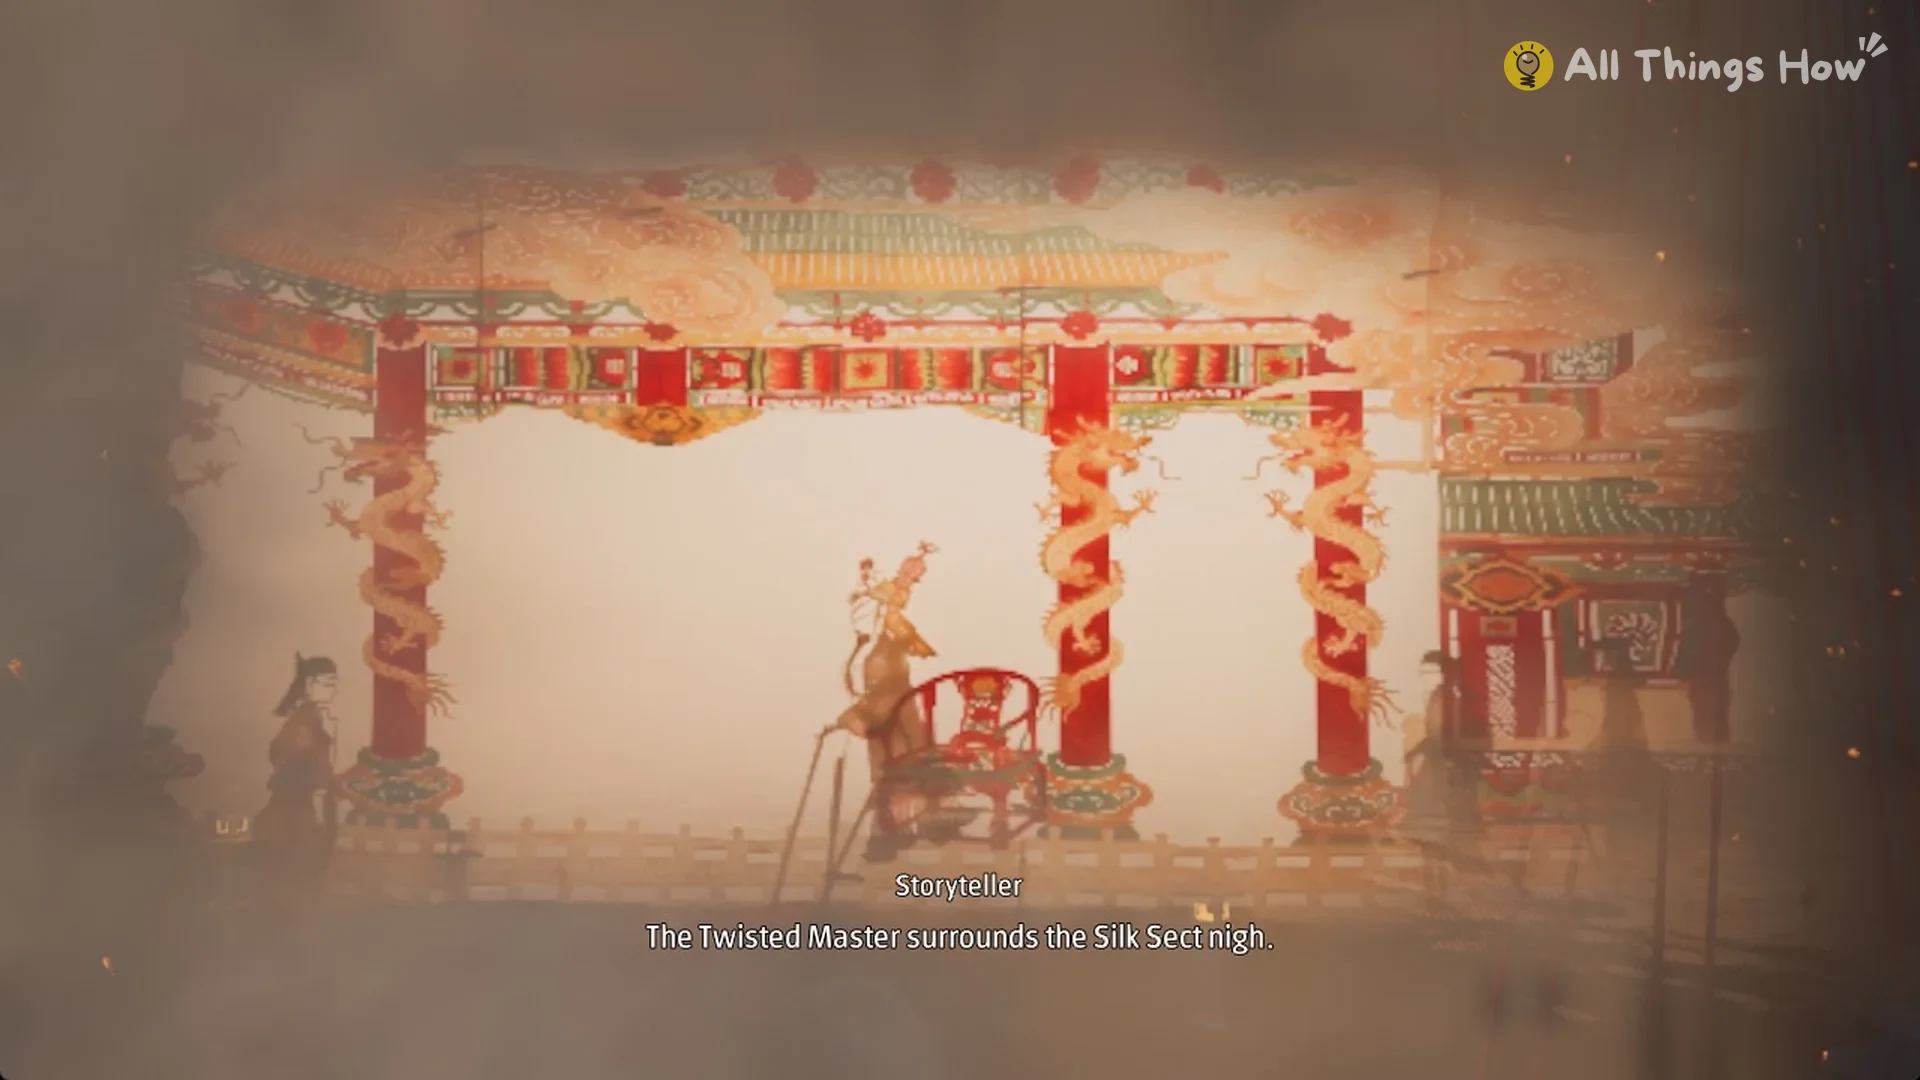
The Twisted Master attacks the Silk Sect to avenge an old grudge against its leader, Master Si Wuya. When the disciples prepare to fight to the death, Leng Tu intervenes: “Everyone, please! Don’t be hasty. I have a plan.” He proposes that Si Wuya pretend to die. Si Wuya accepts and dispatches the Viper to fetch the medicine.
Act 3
Next comes a bamboo grove and a rock garden shrouded in mist, marked by a large circular stone carving.
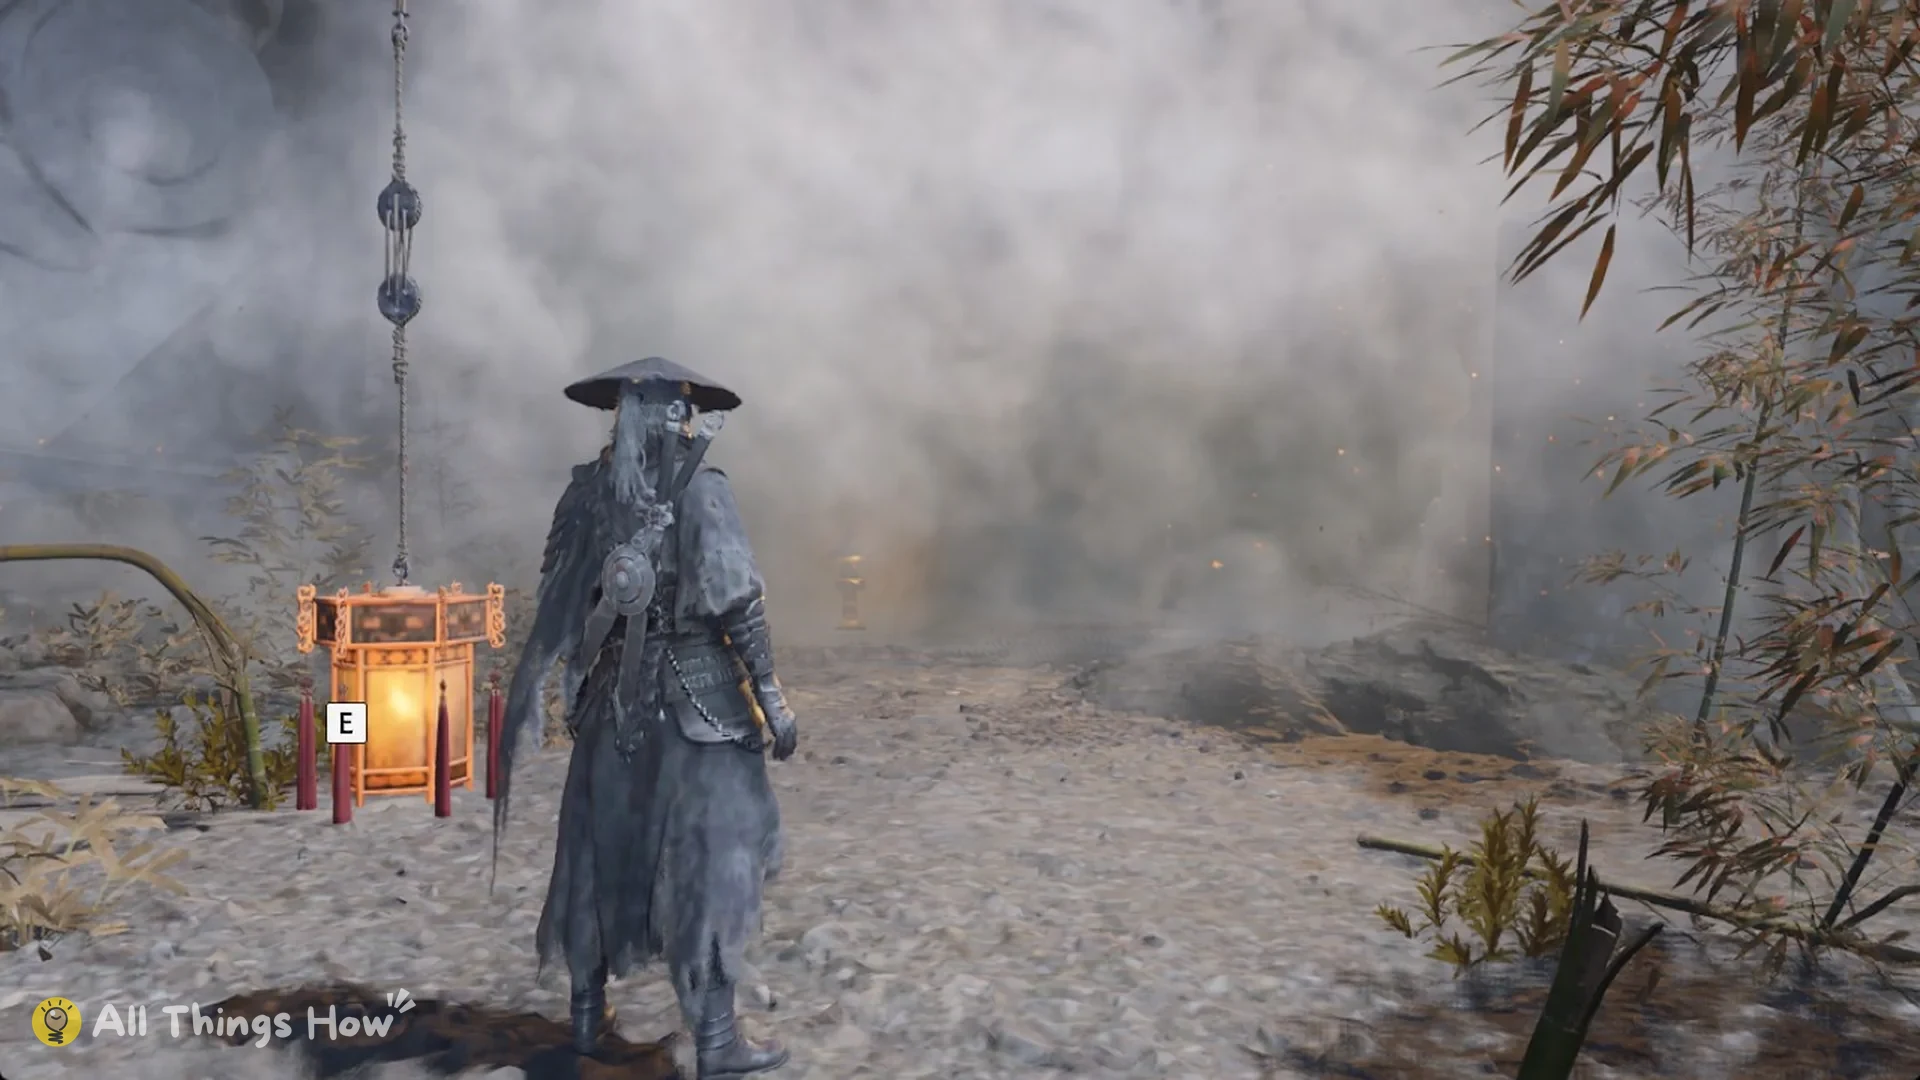
Si Wuya takes the Still Poison as the Viper questions the plan. The Twisted Master discovers Si Wuya lying motionless and celebrates: “His soul is gone, his hatred buried at last!”
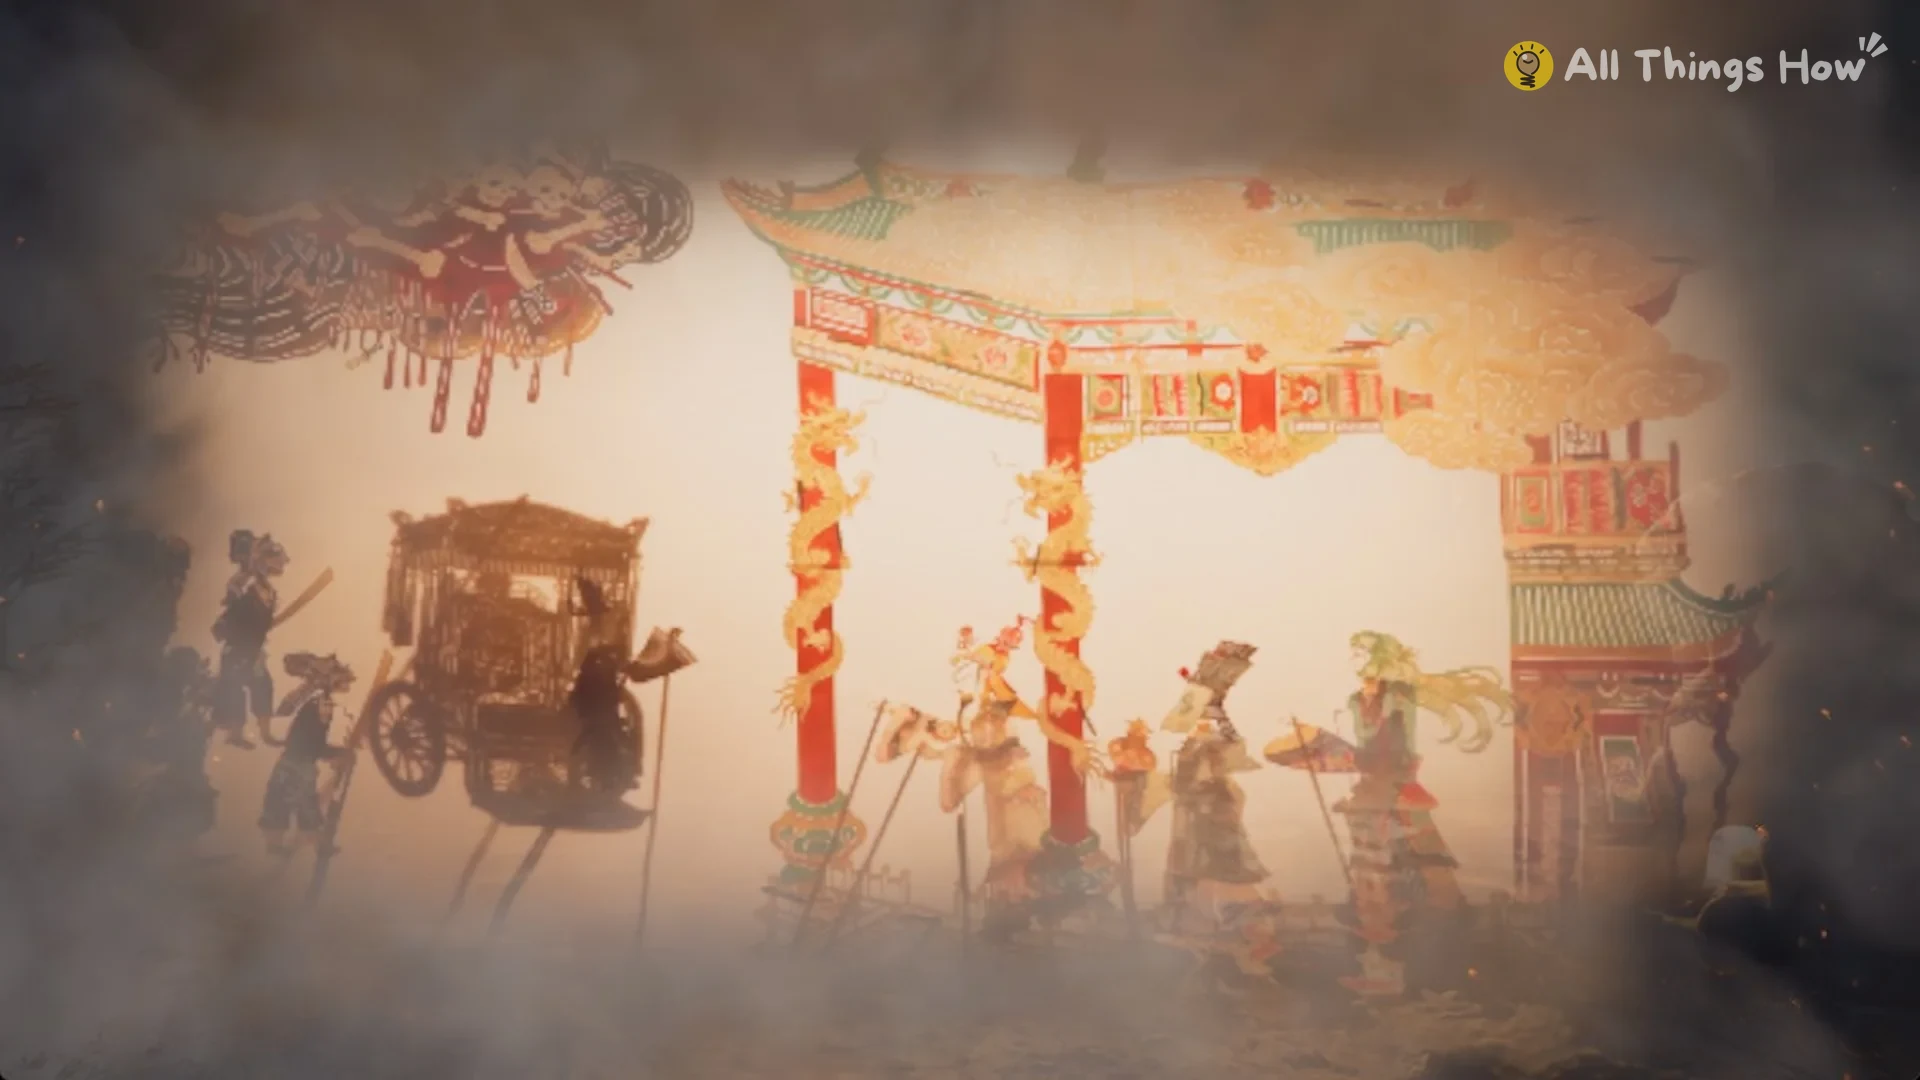
Act 4
The route continues into a shadowy cavern filled with enormous tree roots, yellow banners and stone lanterns above the water.
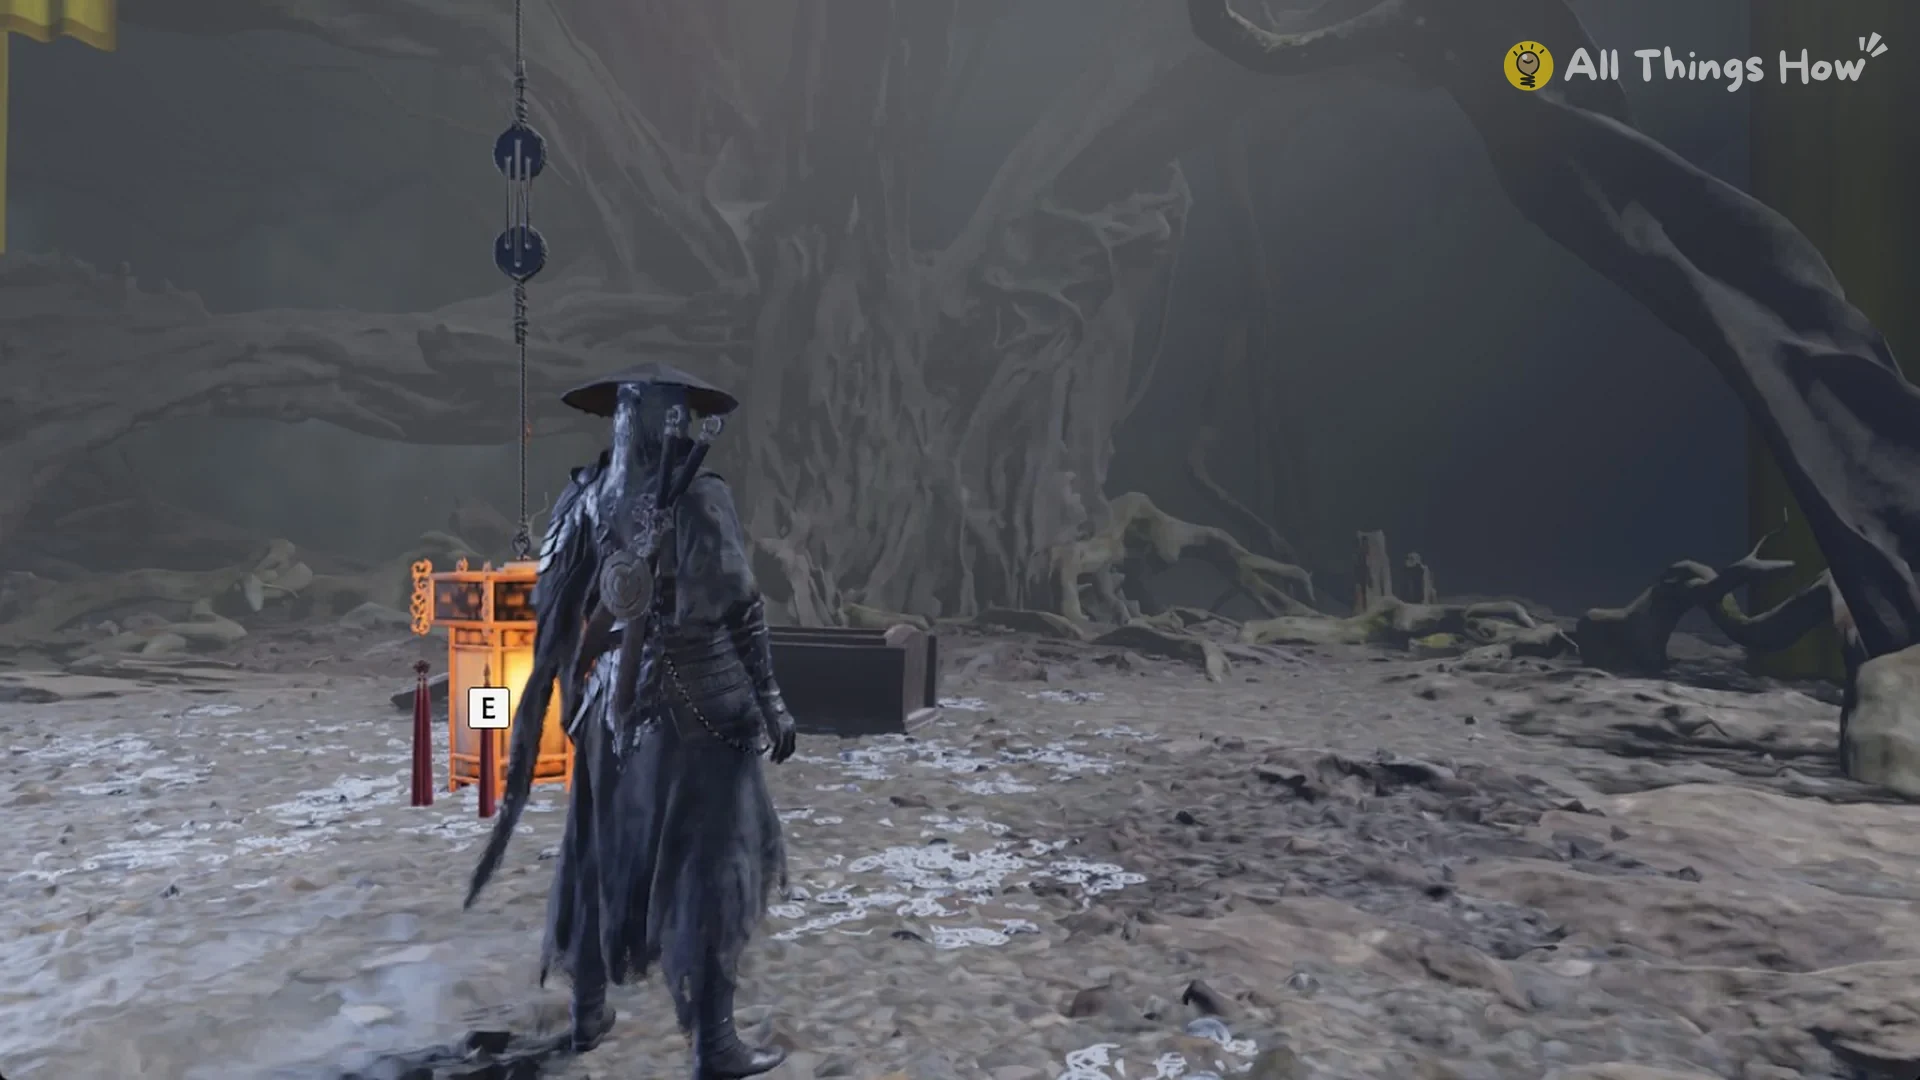
The medicine has been switched, leaving Si Wuya unable to wake. Leng Tu blames the Viper for replacing it with Silence Poison to take control of the sect. The Viper replies briefly: “I’m innocent!”
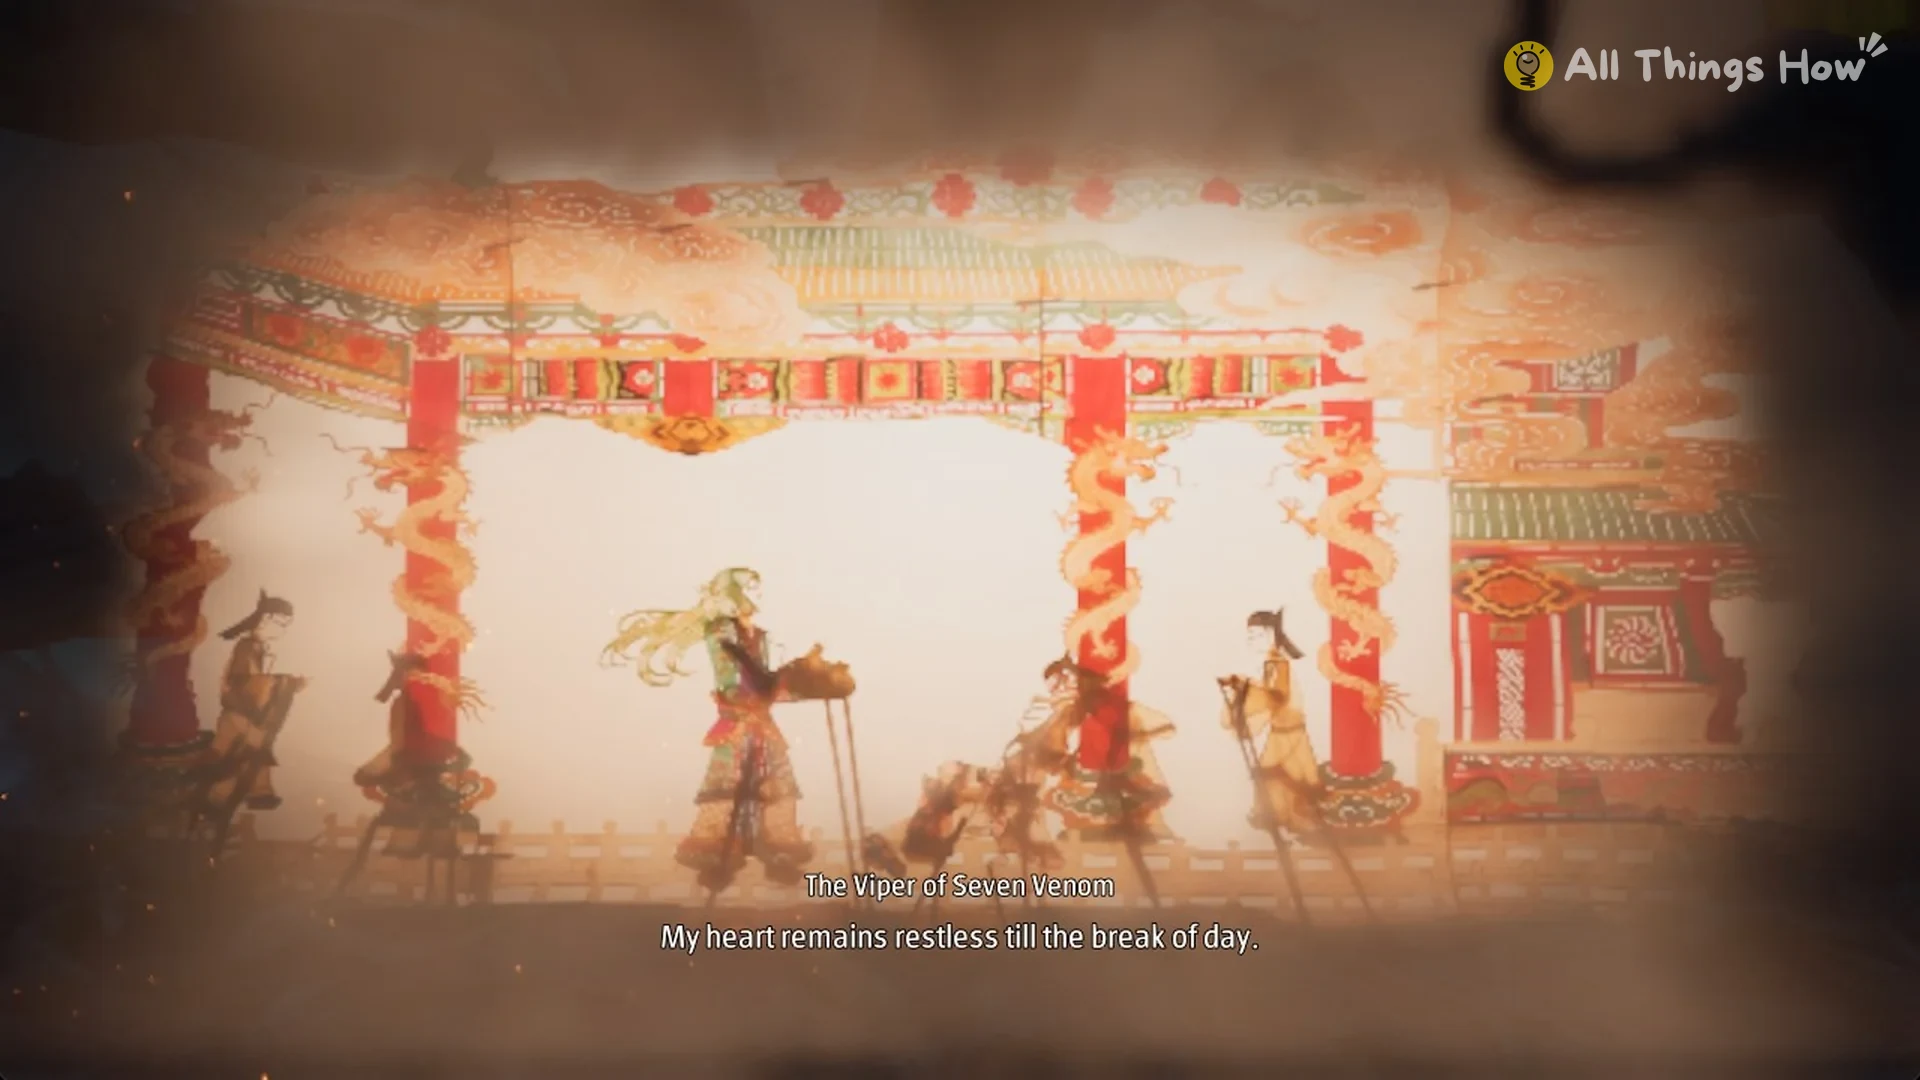
Act 5
At the root cave’s exit, chains drape across a massive iron lattice that cuts off the forward route. Take the way around its side, then enter an ash-covered expanse marked by enormous chains, anchors, and red smoke.
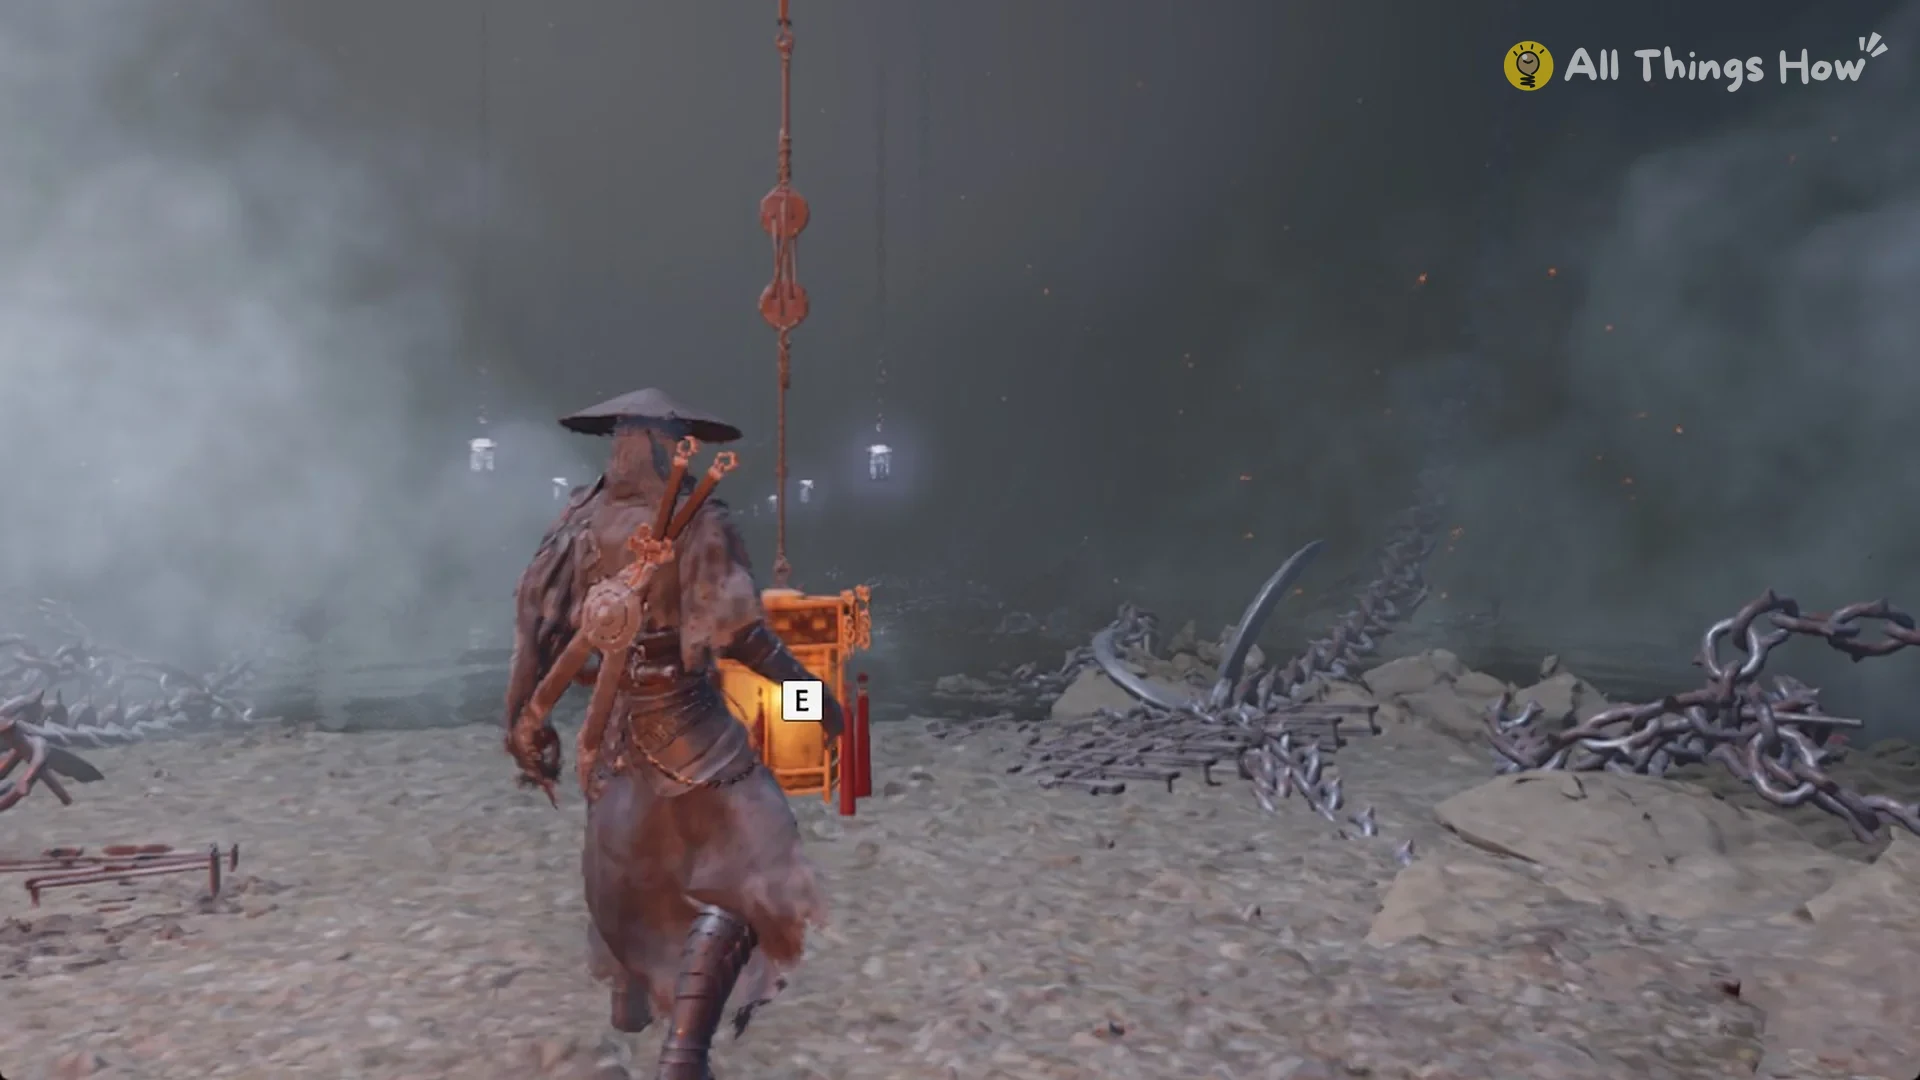
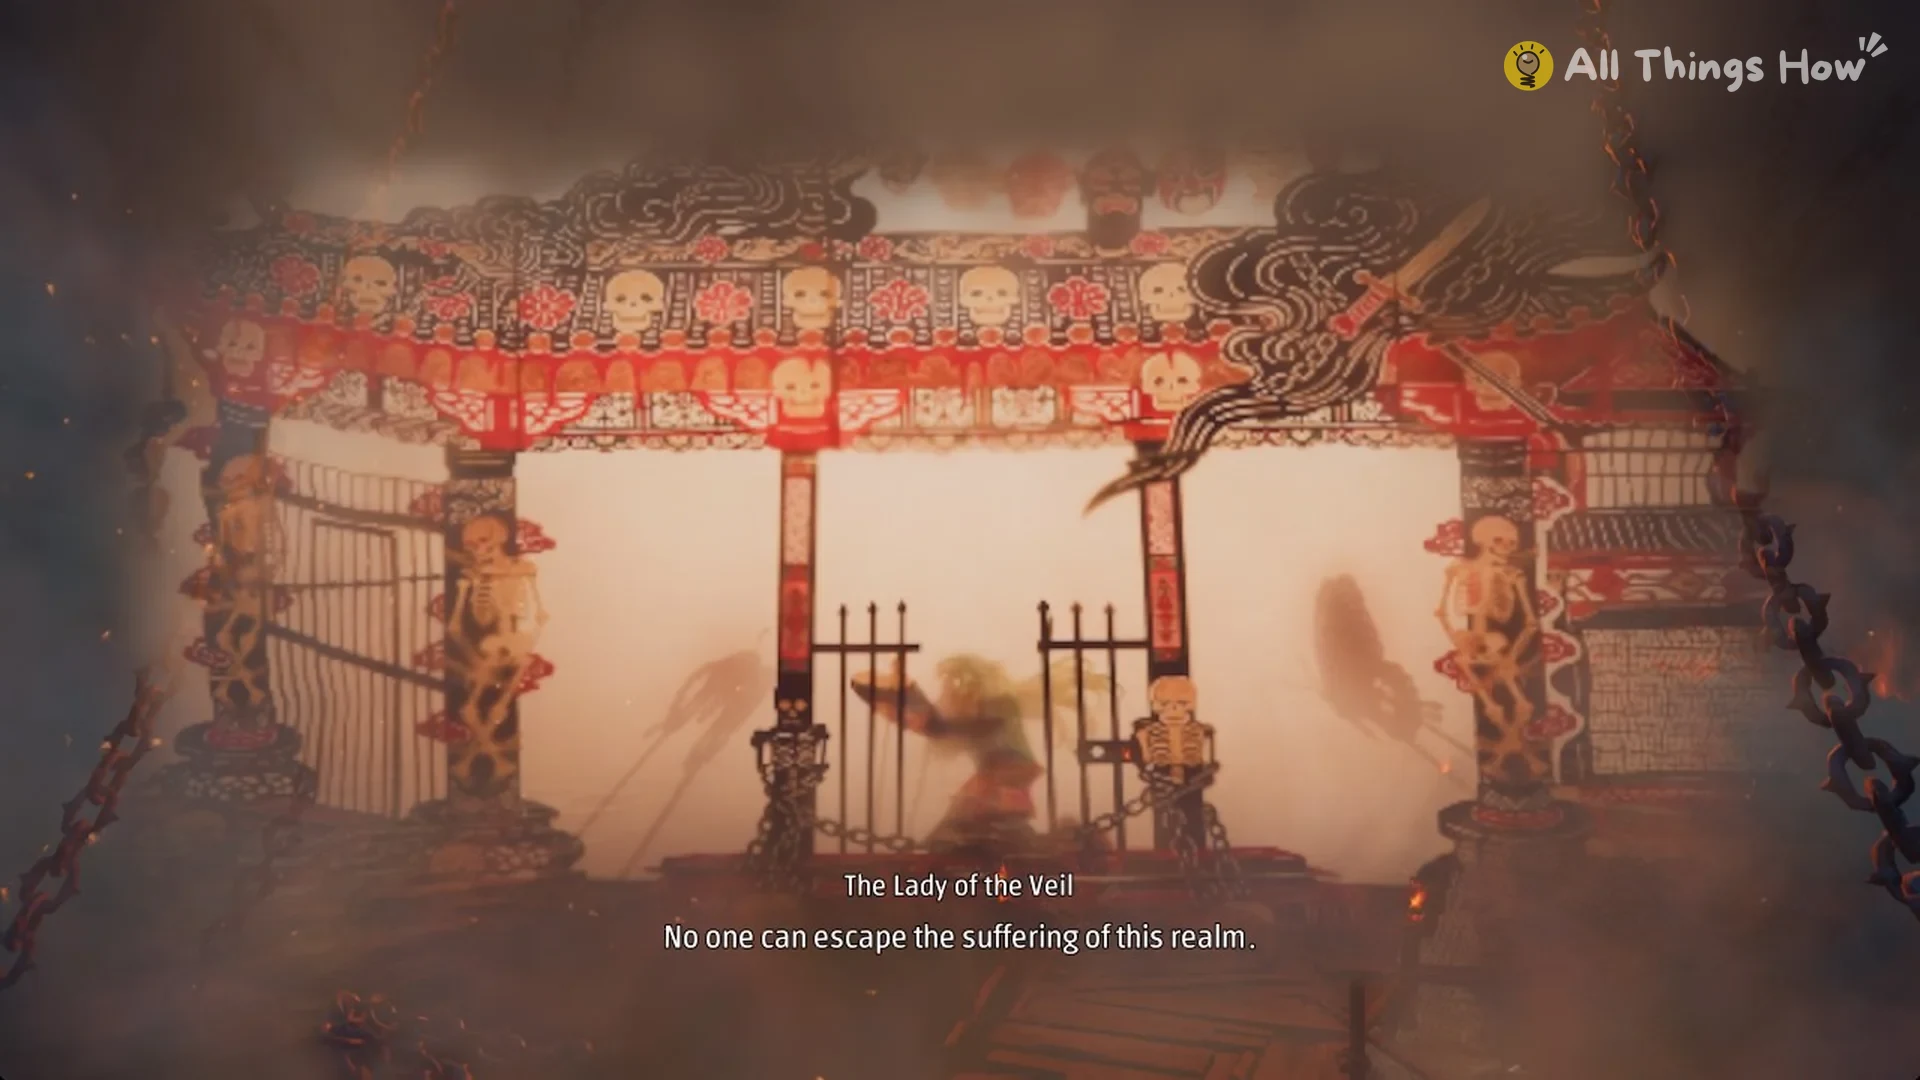
In this act, the Viper is sentenced over Si Wuya’s death and confined in a phantom realm for nine hundred days, nearly at the point of breaking. The Lady of the Veil appears with an escape route: “Only I can lead you out of it.”
Acts 6 and 7: Rowing the boat
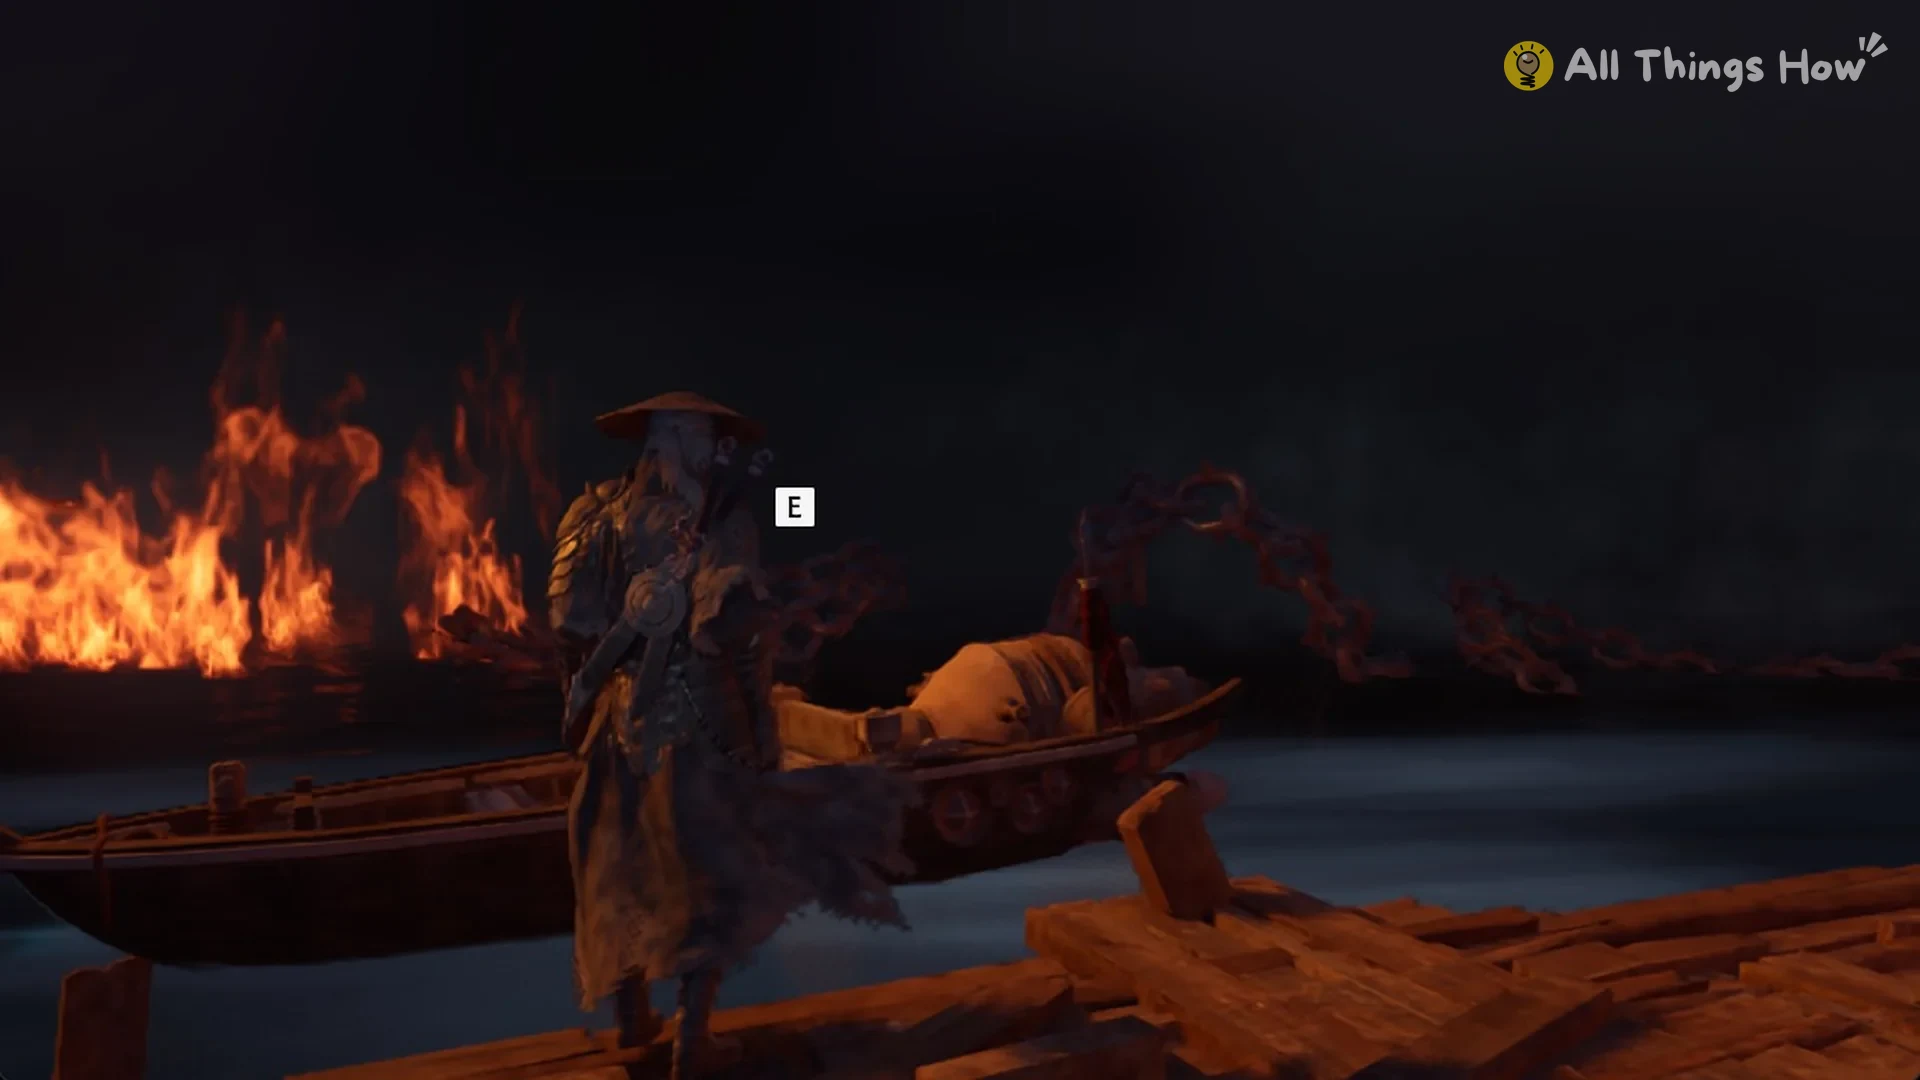
Past the ash field, the path ends at a wooden jetty over dark water, with burning debris and glowing chains around it. Press E on the moored boat to board it. The on-screen controls are A and D for Direction, S for Back and W for Forward.
Act 6
Row roughly 140 m onward. Over the open water, lantern 6 is suspended alongside the boat’s course; press E aboard when its prompt appears.
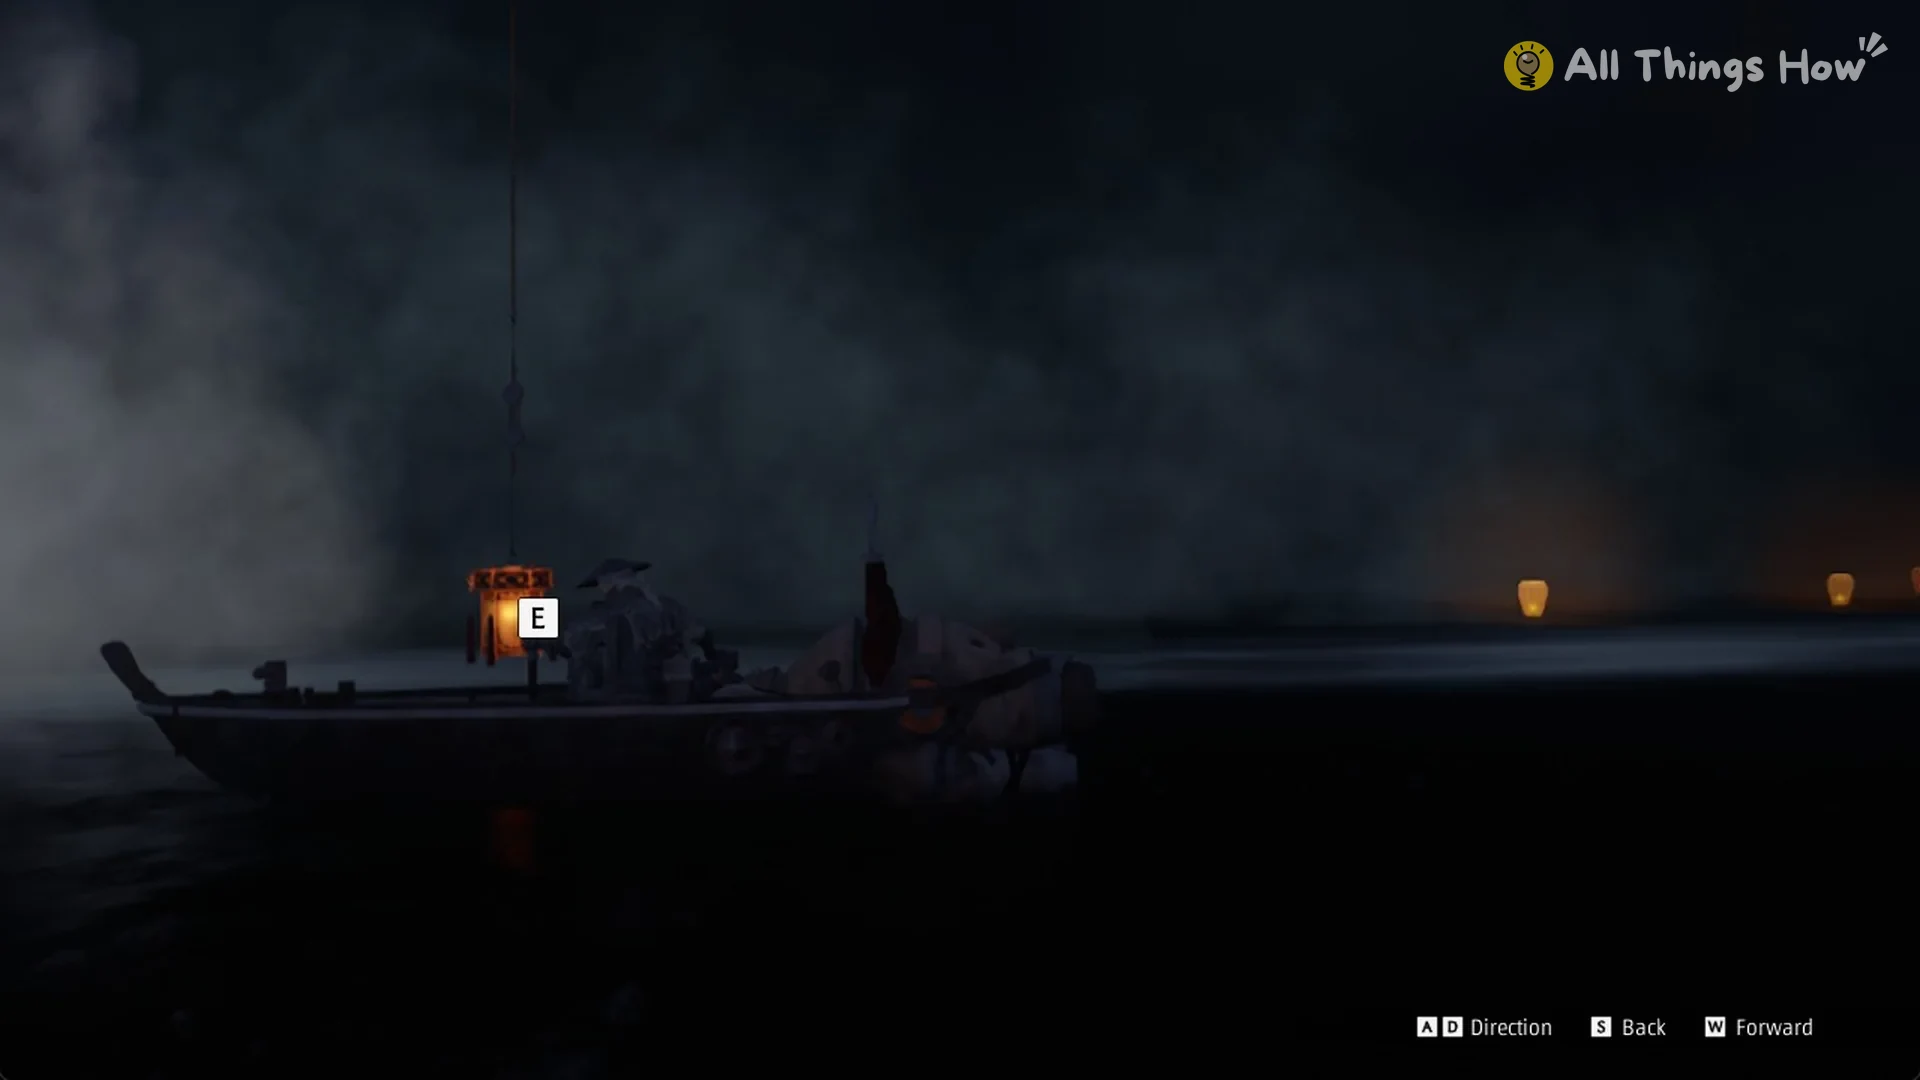
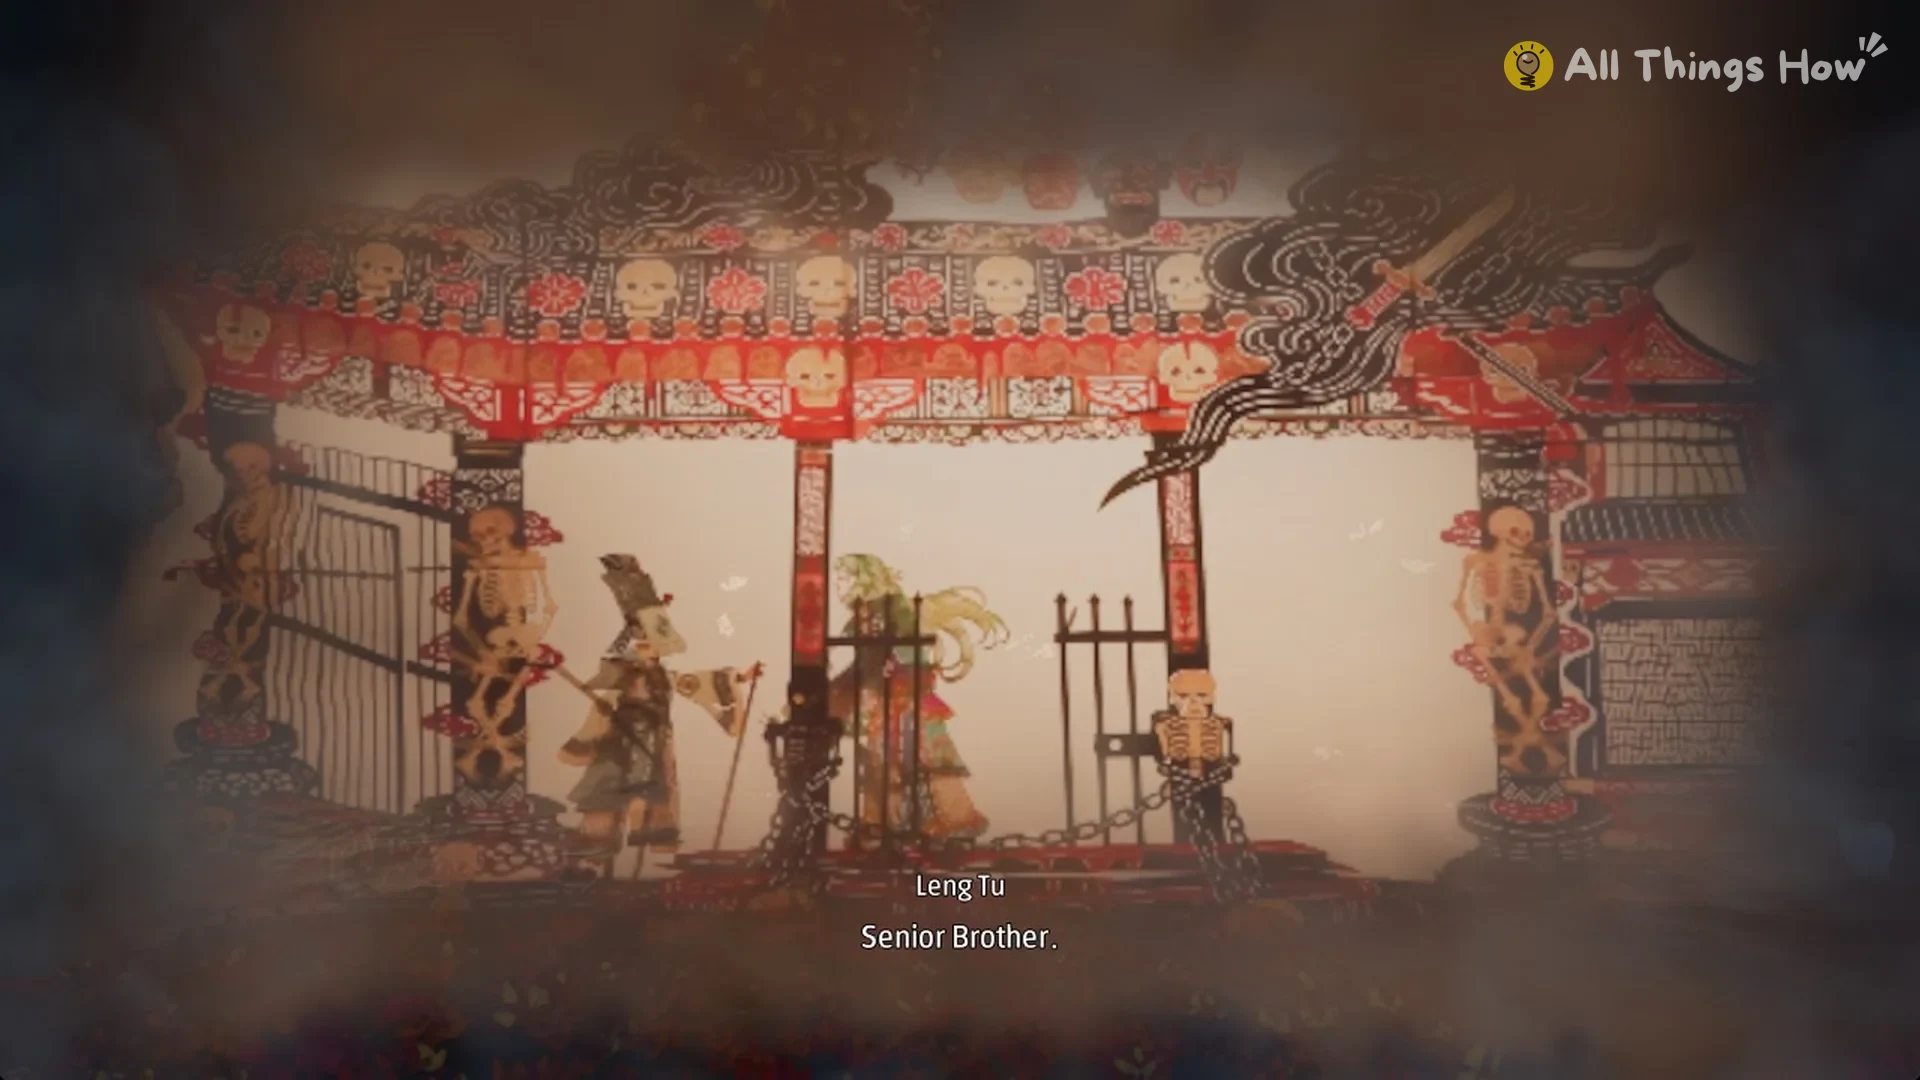
Three years have gone by, and the Silk Sect is on the verge of collapse. Leng Tu comes to the Viper in prison and confesses that he engineered the entire affair as a trap. “In the chaos, I was the one who took his life.” He says he has come to take the Viper’s life, while the Lady of the Veil asks the Viper to recite the Purification Mantra alongside her. At the act’s conclusion, you find yourself back aboard the boat.
Act 7
Continue rowing for about 160 m across red water dotted with floating sky lanterns, until you reach a huge reclining statue partly submerged, its stone head and robe above the water. The boat triggers no prompt at its first meeting with the statue. Instead, row around its feet. Just beyond them on the north side, a lantern hangs from a long rope over open water.
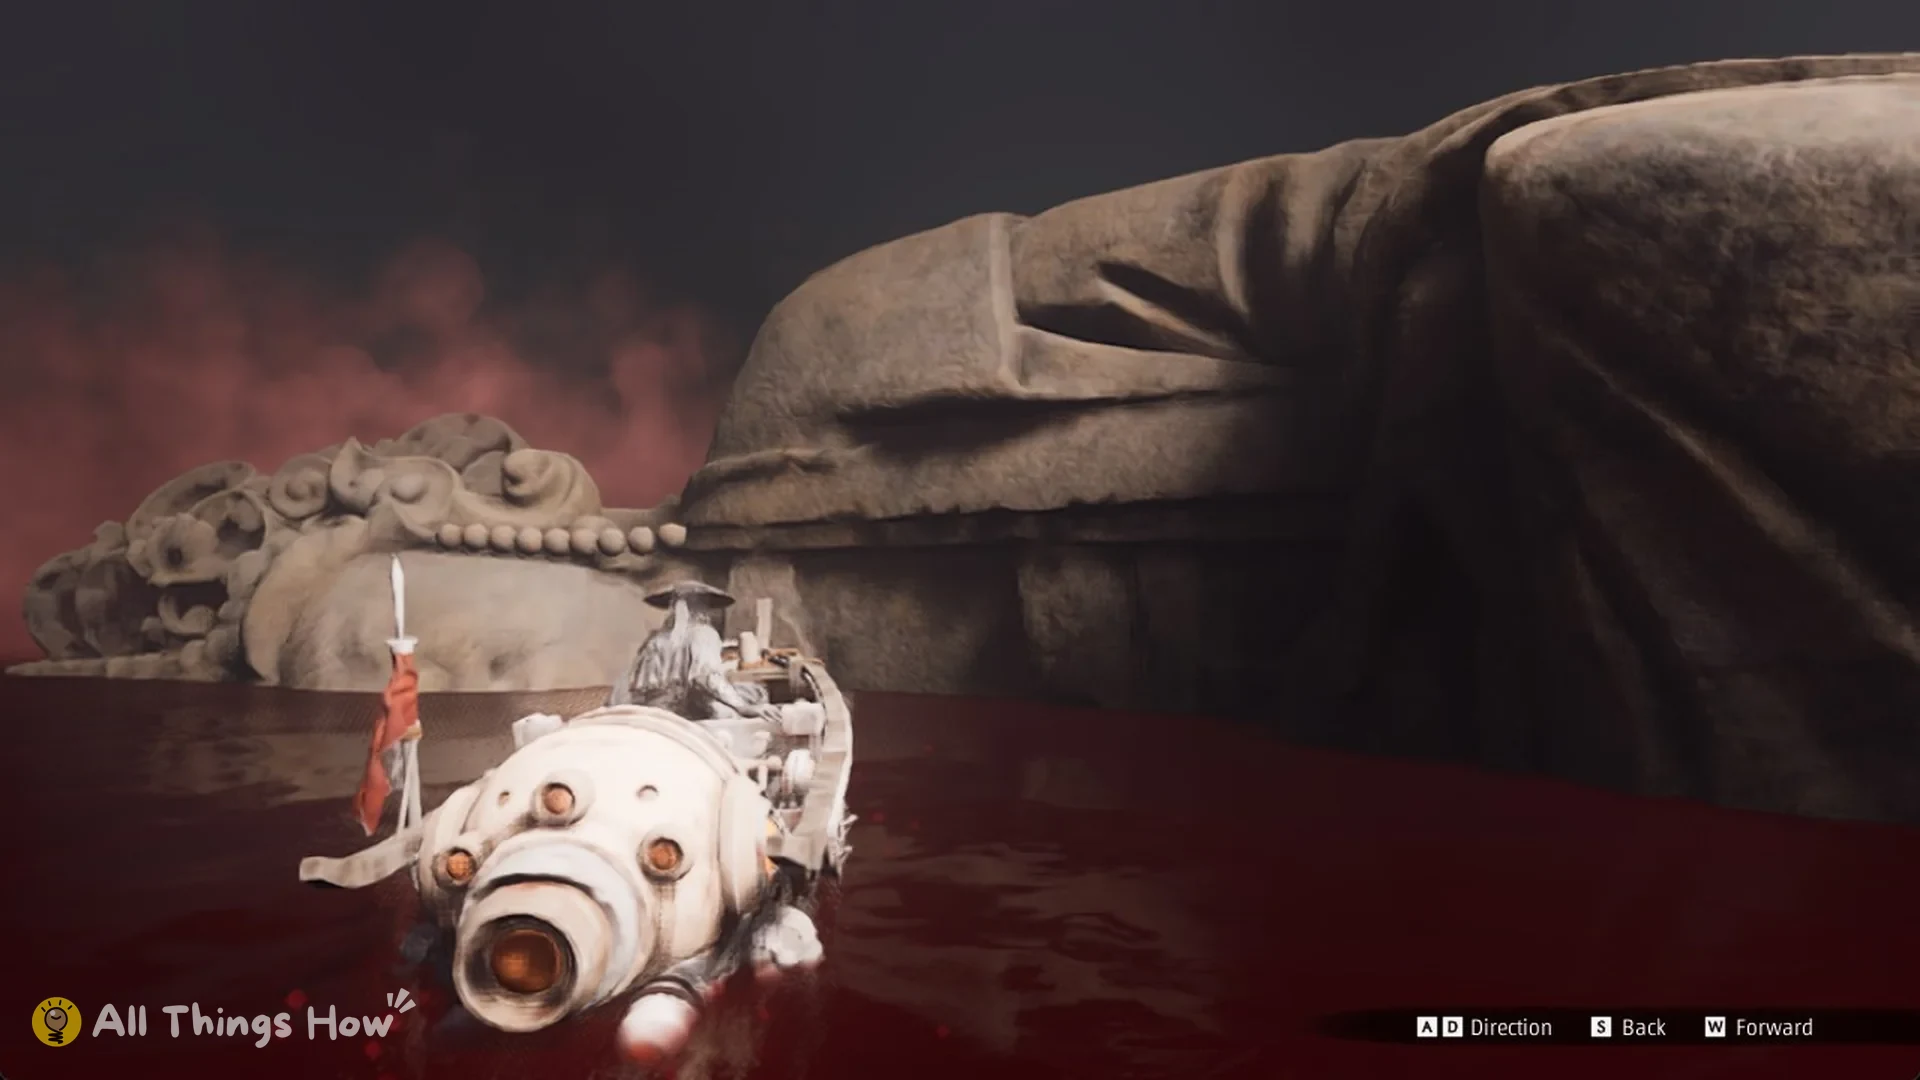
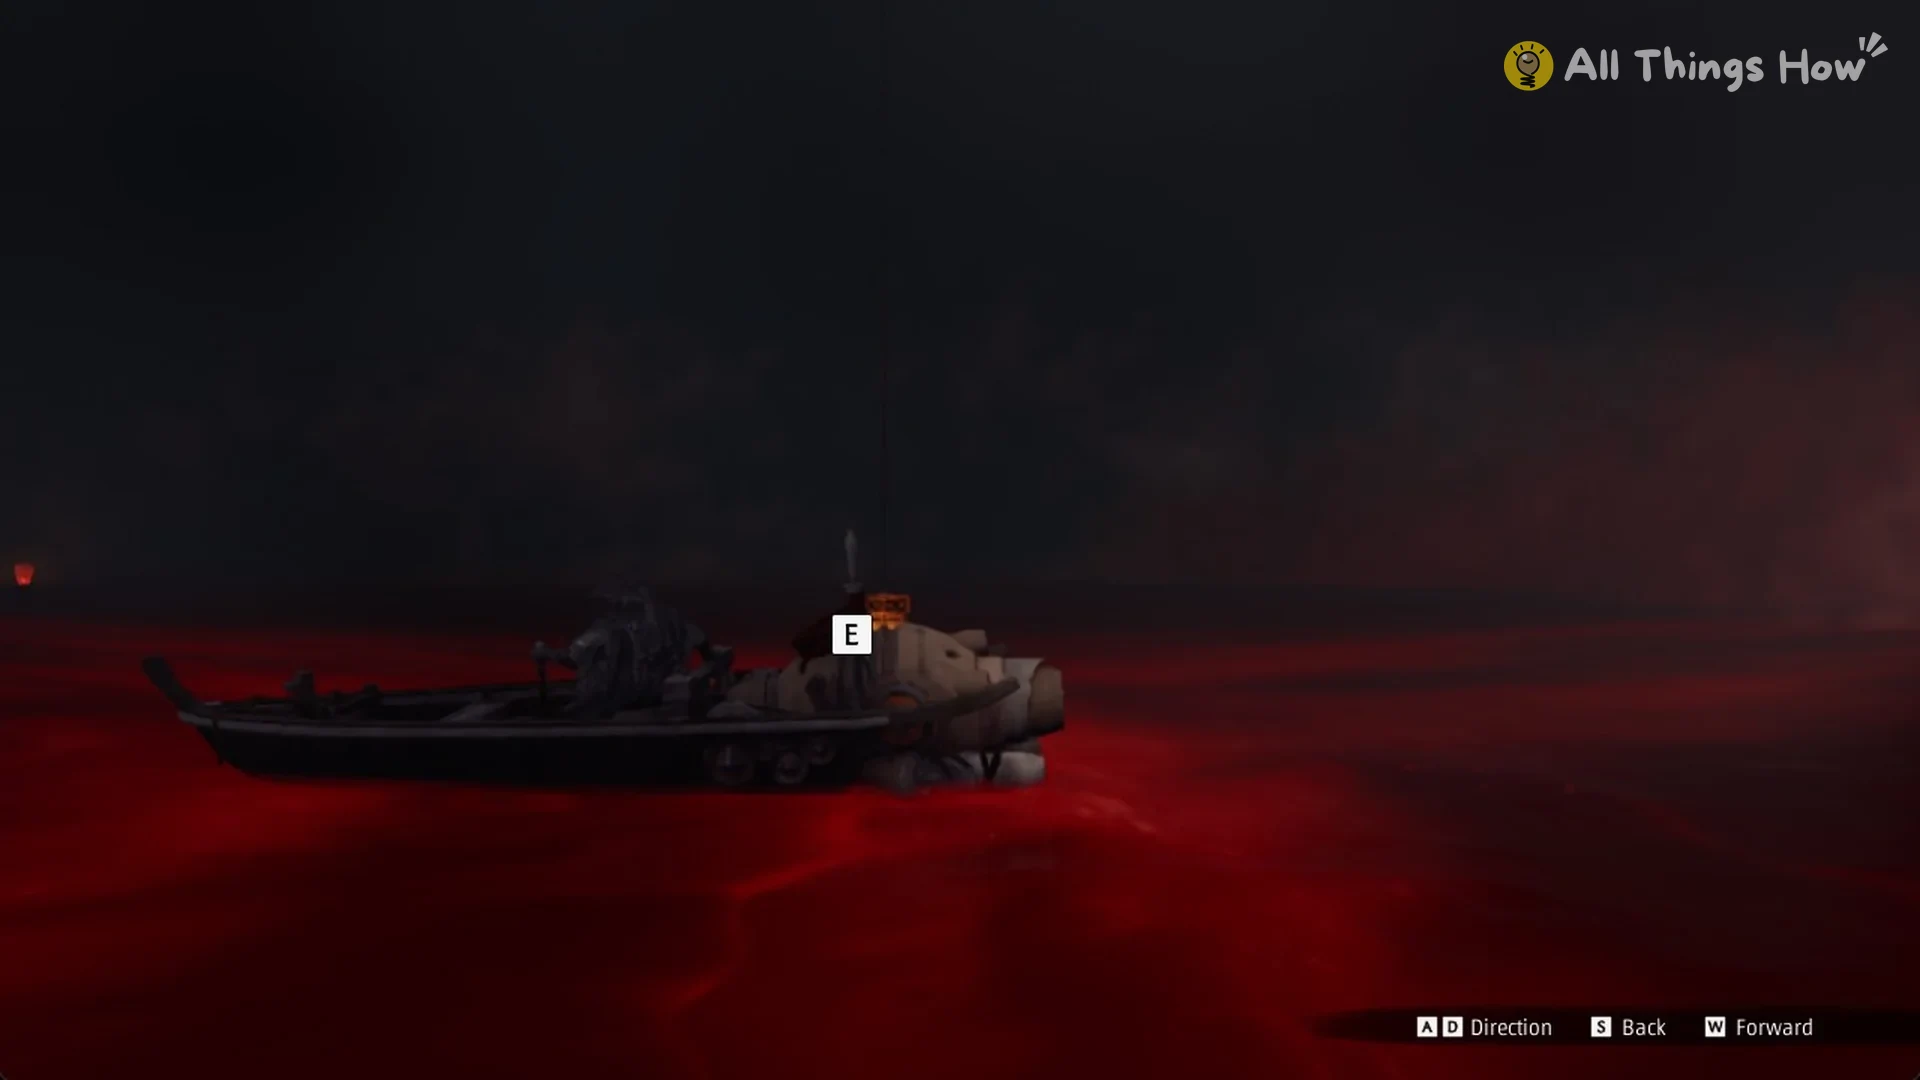
A focus circle appears from about 20 m away, but the E prompt only shows when the boat is almost directly under the lantern, within about 3 m. Hitting the statue or rocks slows the boat to a crawl, so stay in open water.
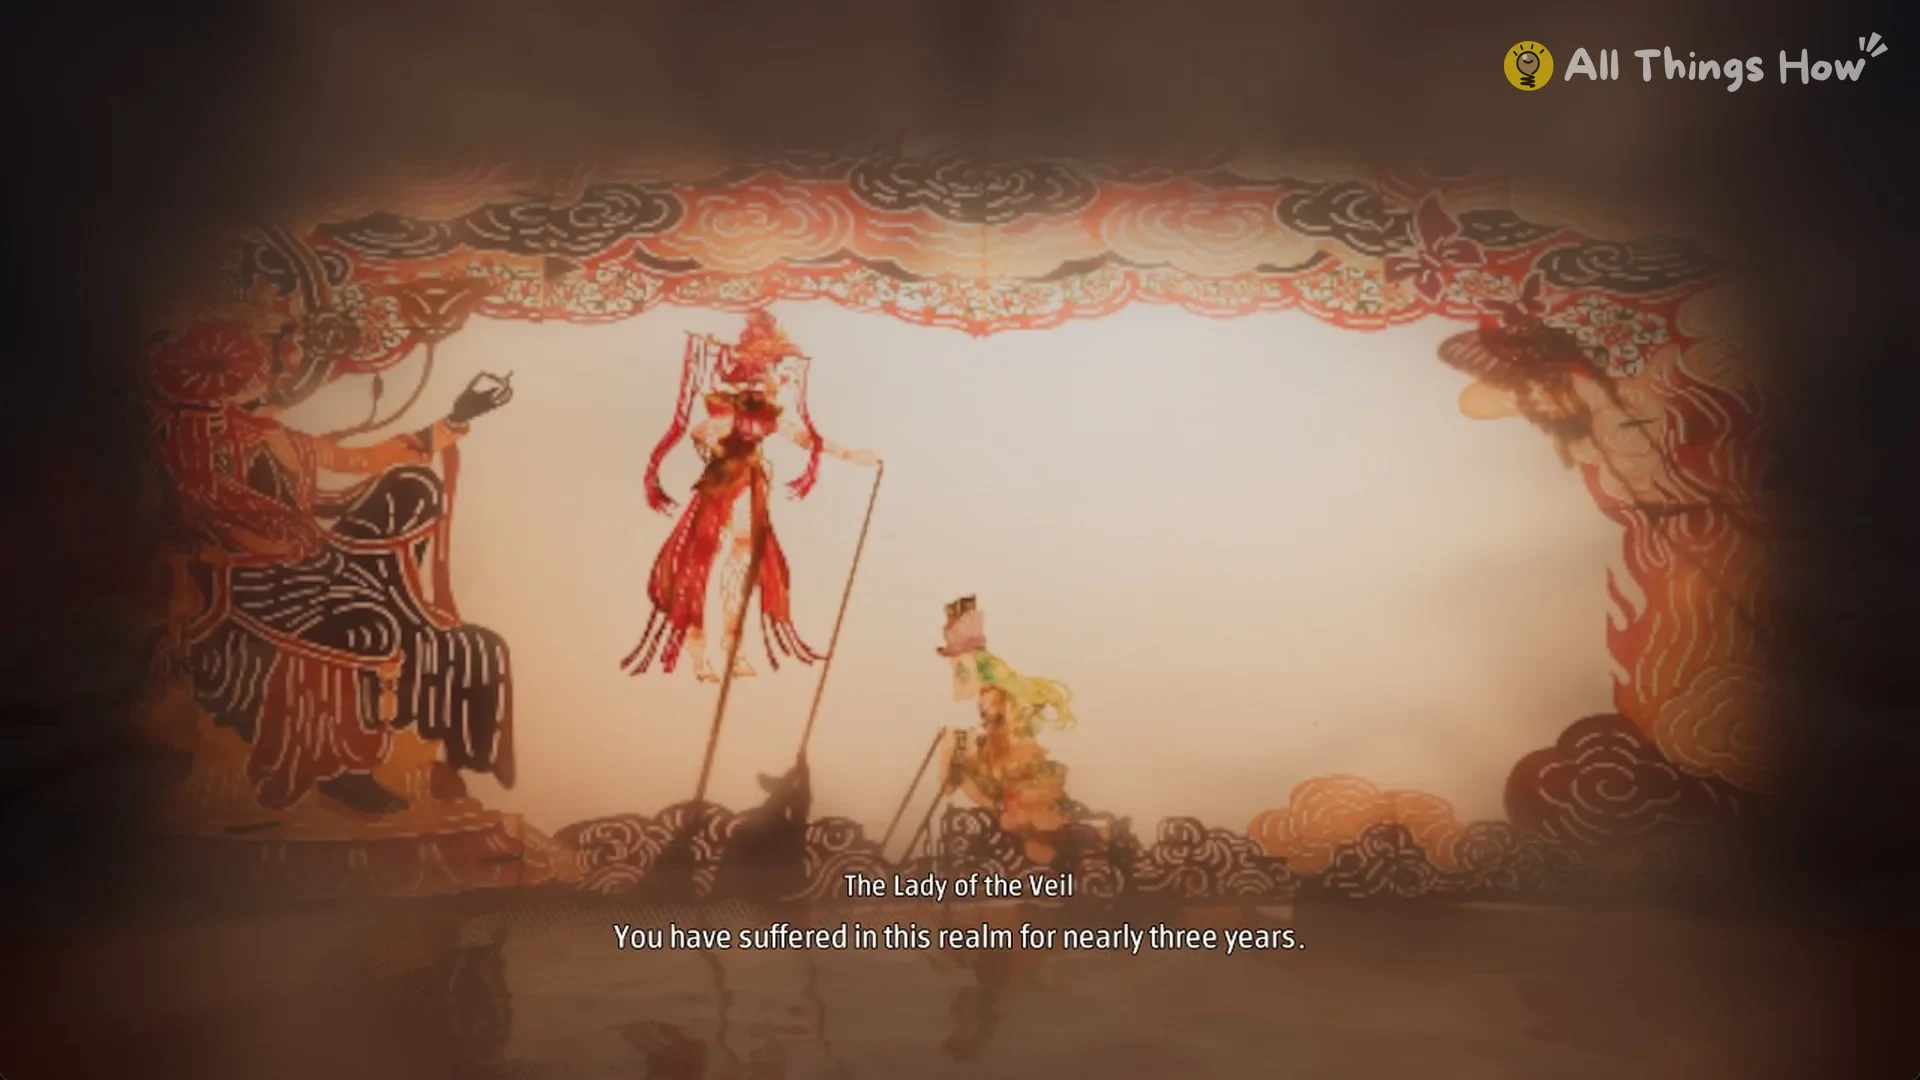
Act 7 is short. The Lady of the Veil says that, after almost three years, the Viper has settled his greatest grudge and should pass on her teachings. “Take on a new name and a new identity.”
Act 8 and the Jade Mask
From lantern 7, row about 130 m over open water to a wooden jetty with an E prompt and a floating sky lantern beside it. Press E to step off the boat.
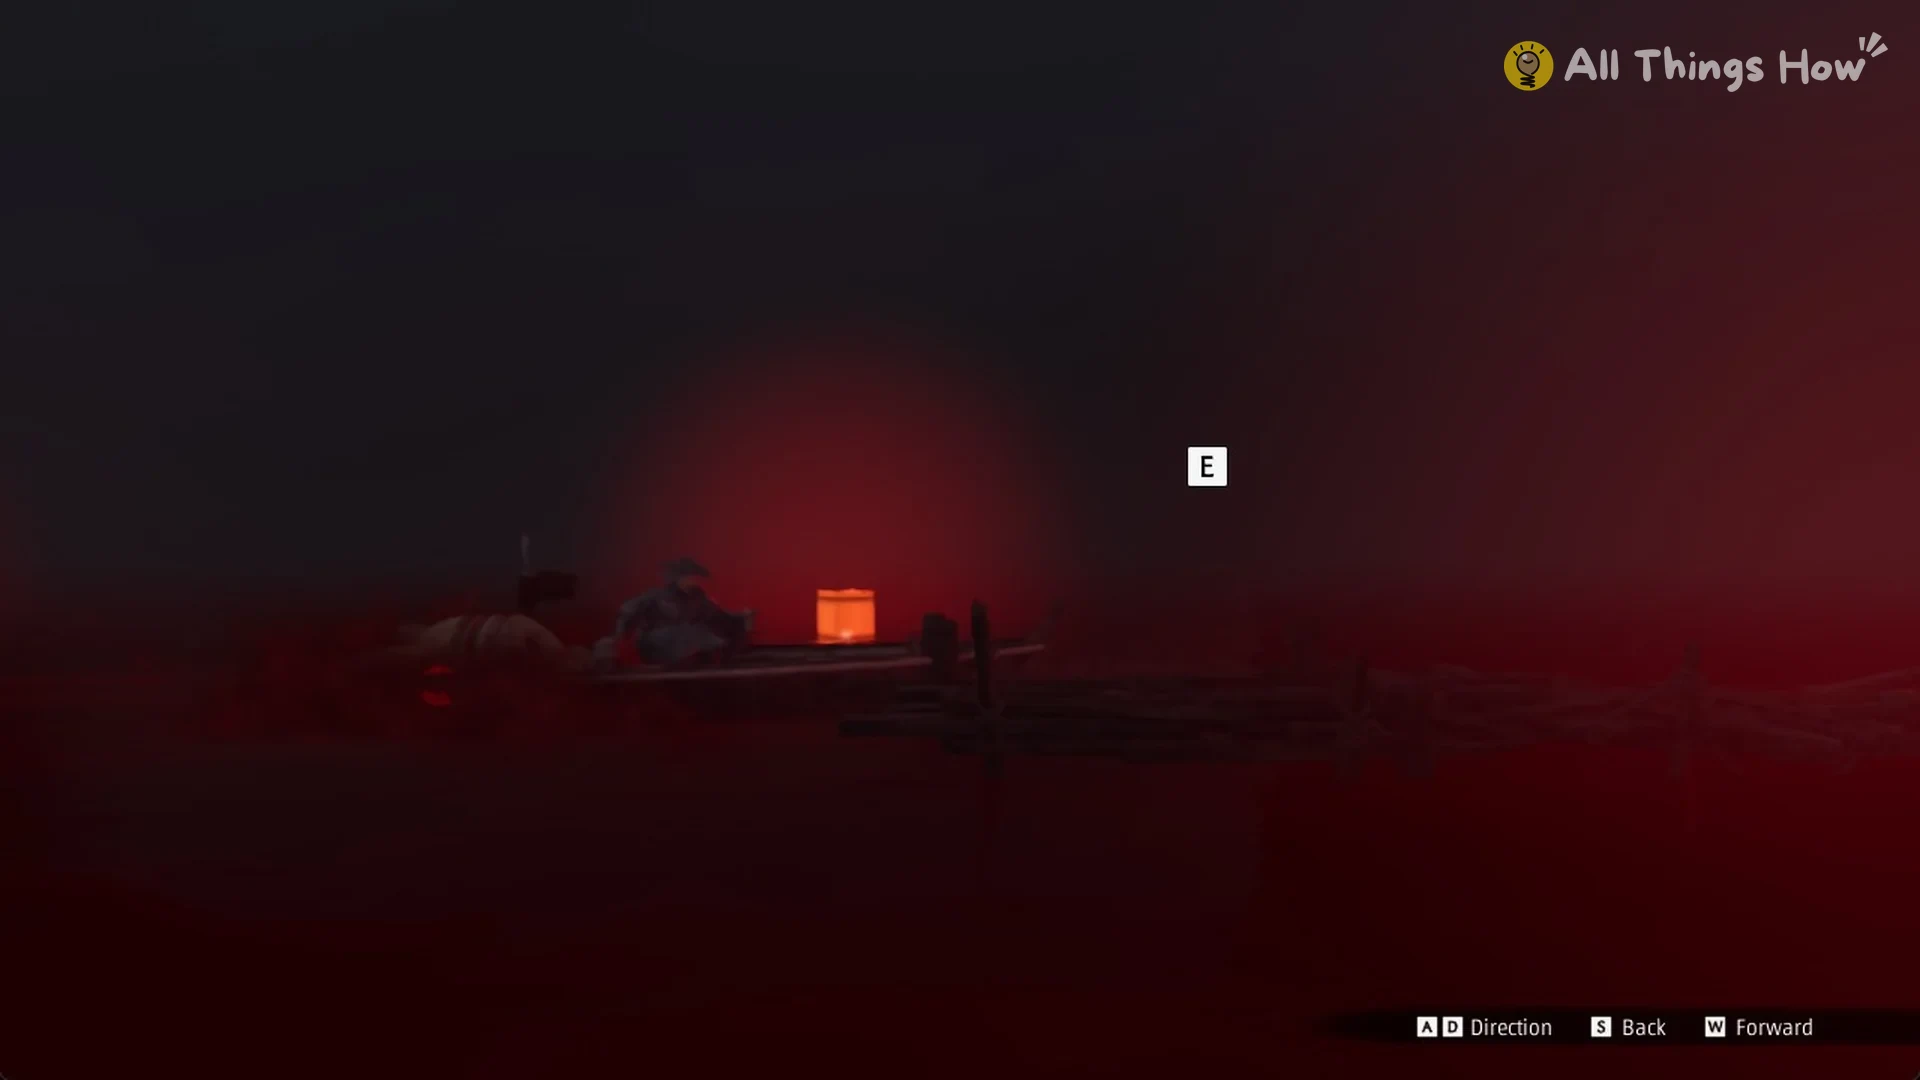
Walk the jetty about 38 m onto rocky red ground, where a red lantern hangs on a rock islet with a gold flame burning on the ground a few metres away.
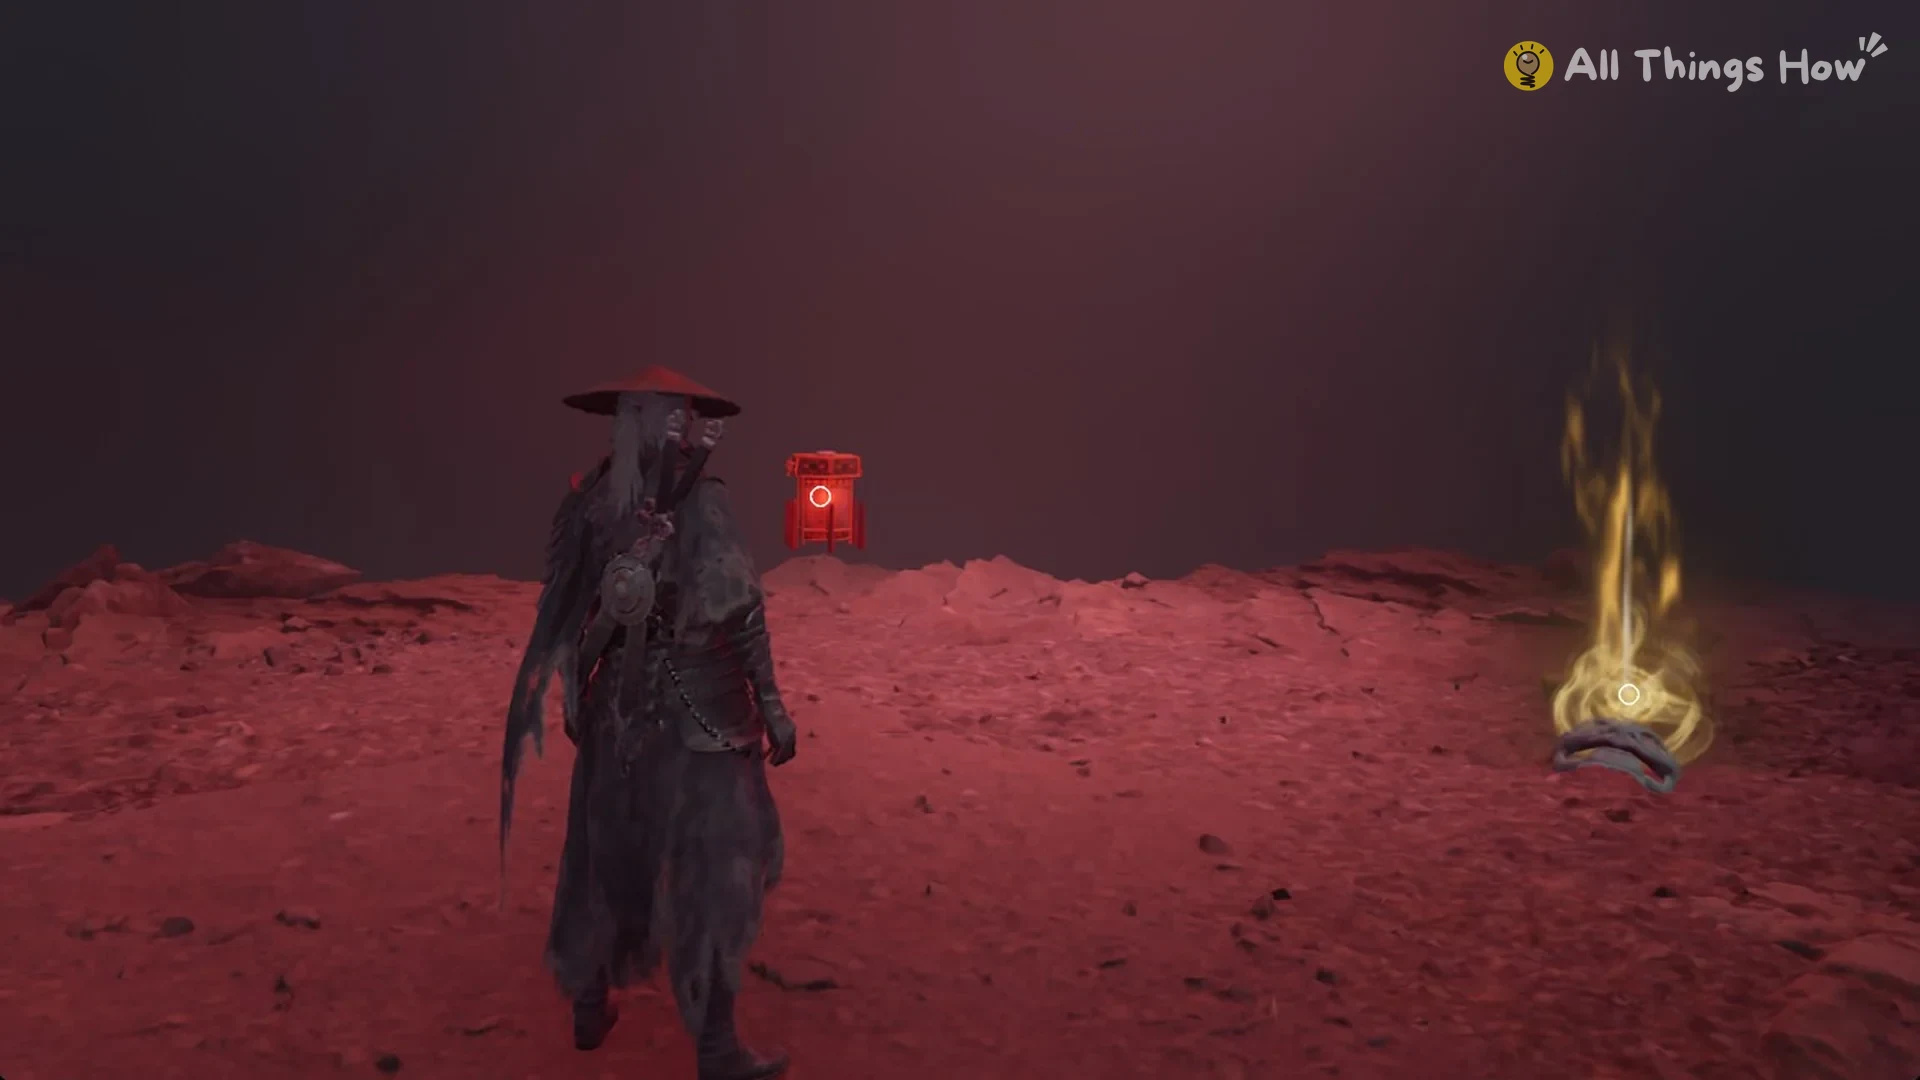
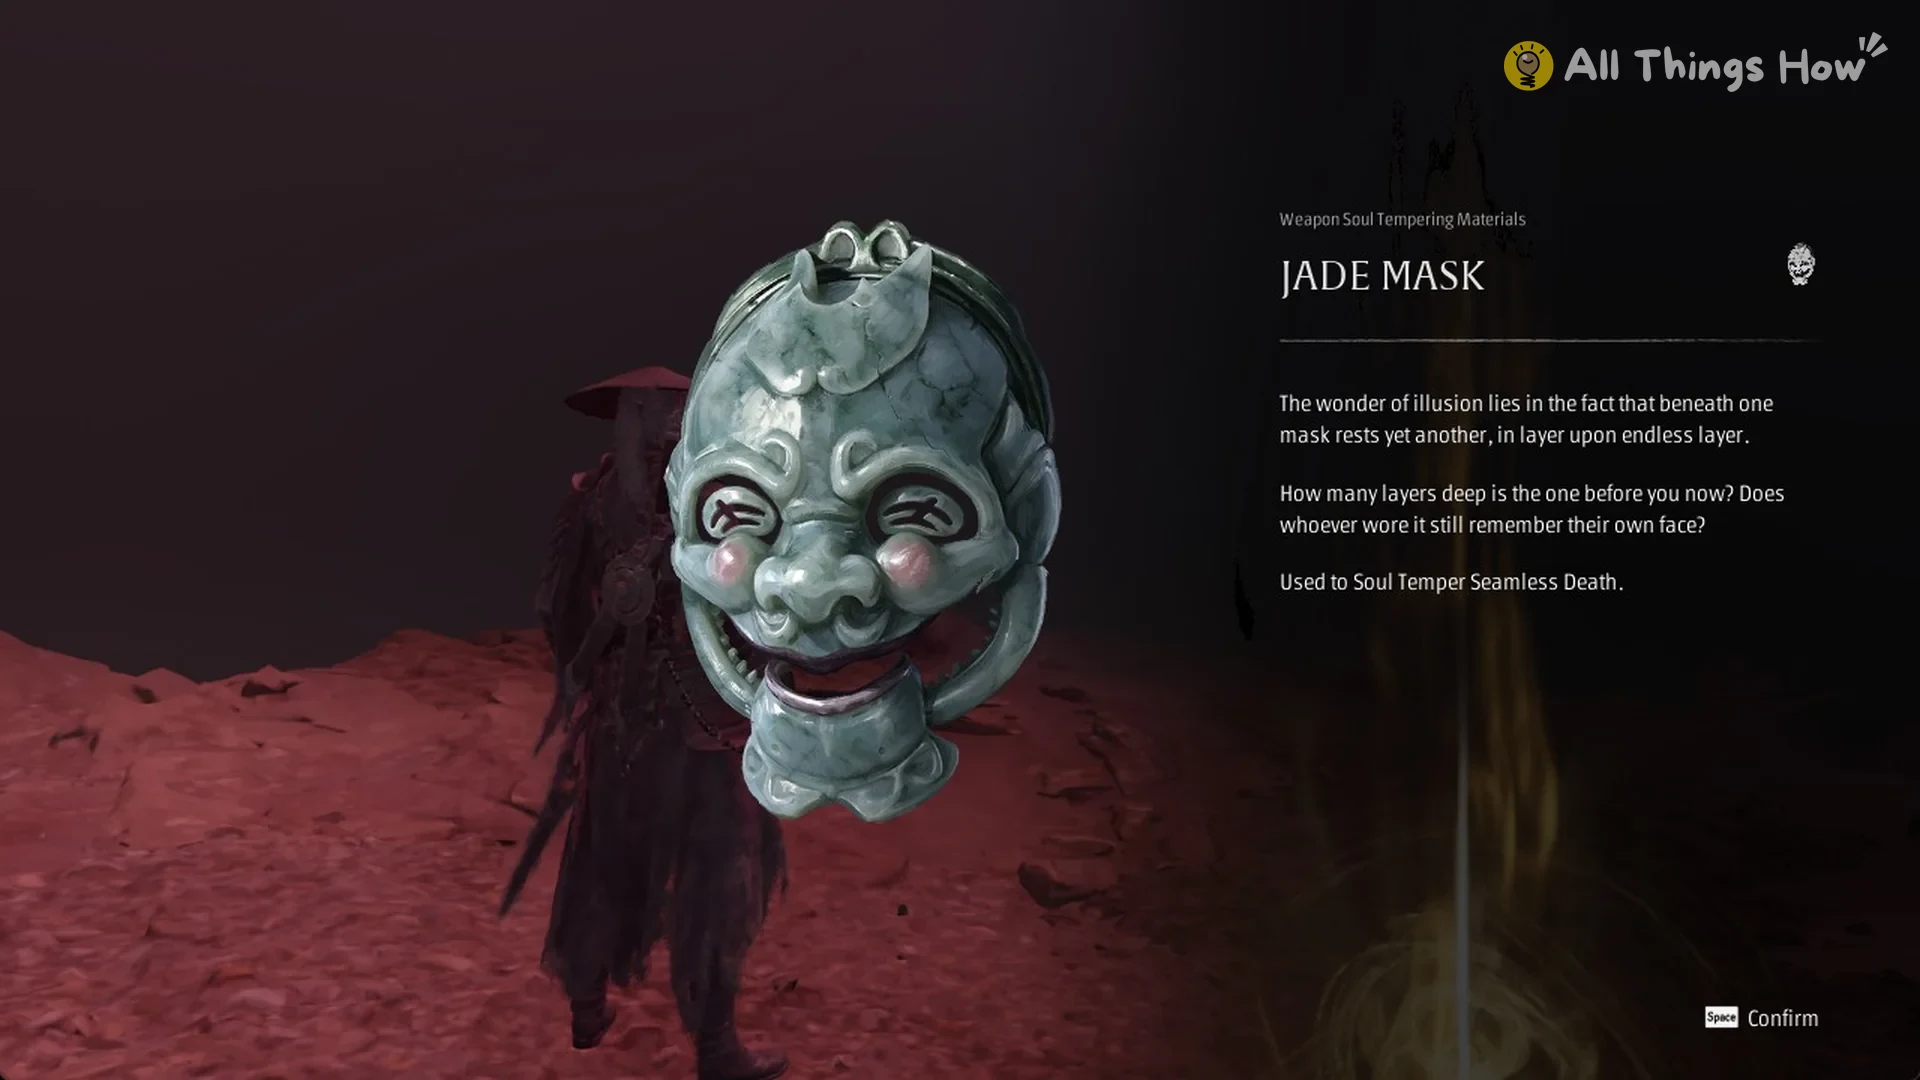
The gold flame is the Jade Mask. Use E on it before activating the red lantern, since that lantern completes Act 8. The item’s card says “Weapon Soul Tempering Materials” and “Used to Soul Temper Seamless Death.”
Afterward, activate the red lantern with E.
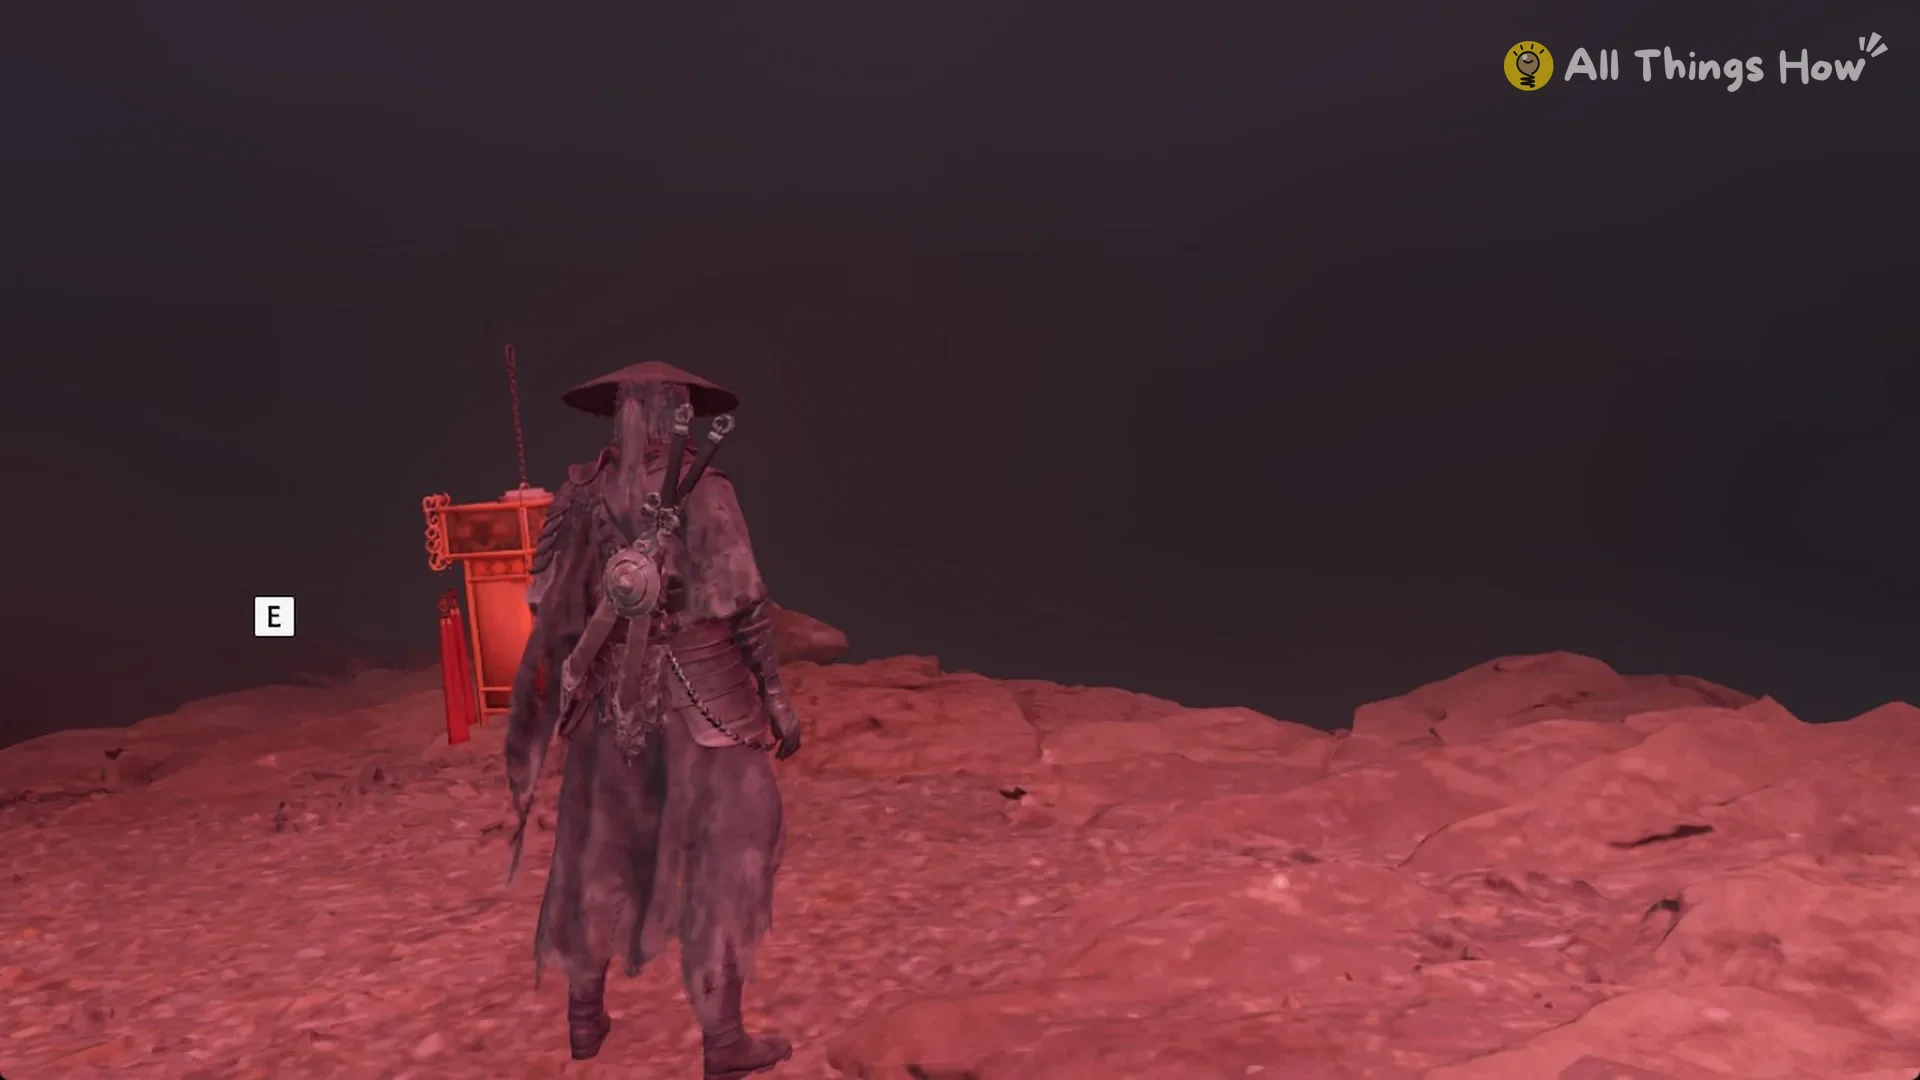
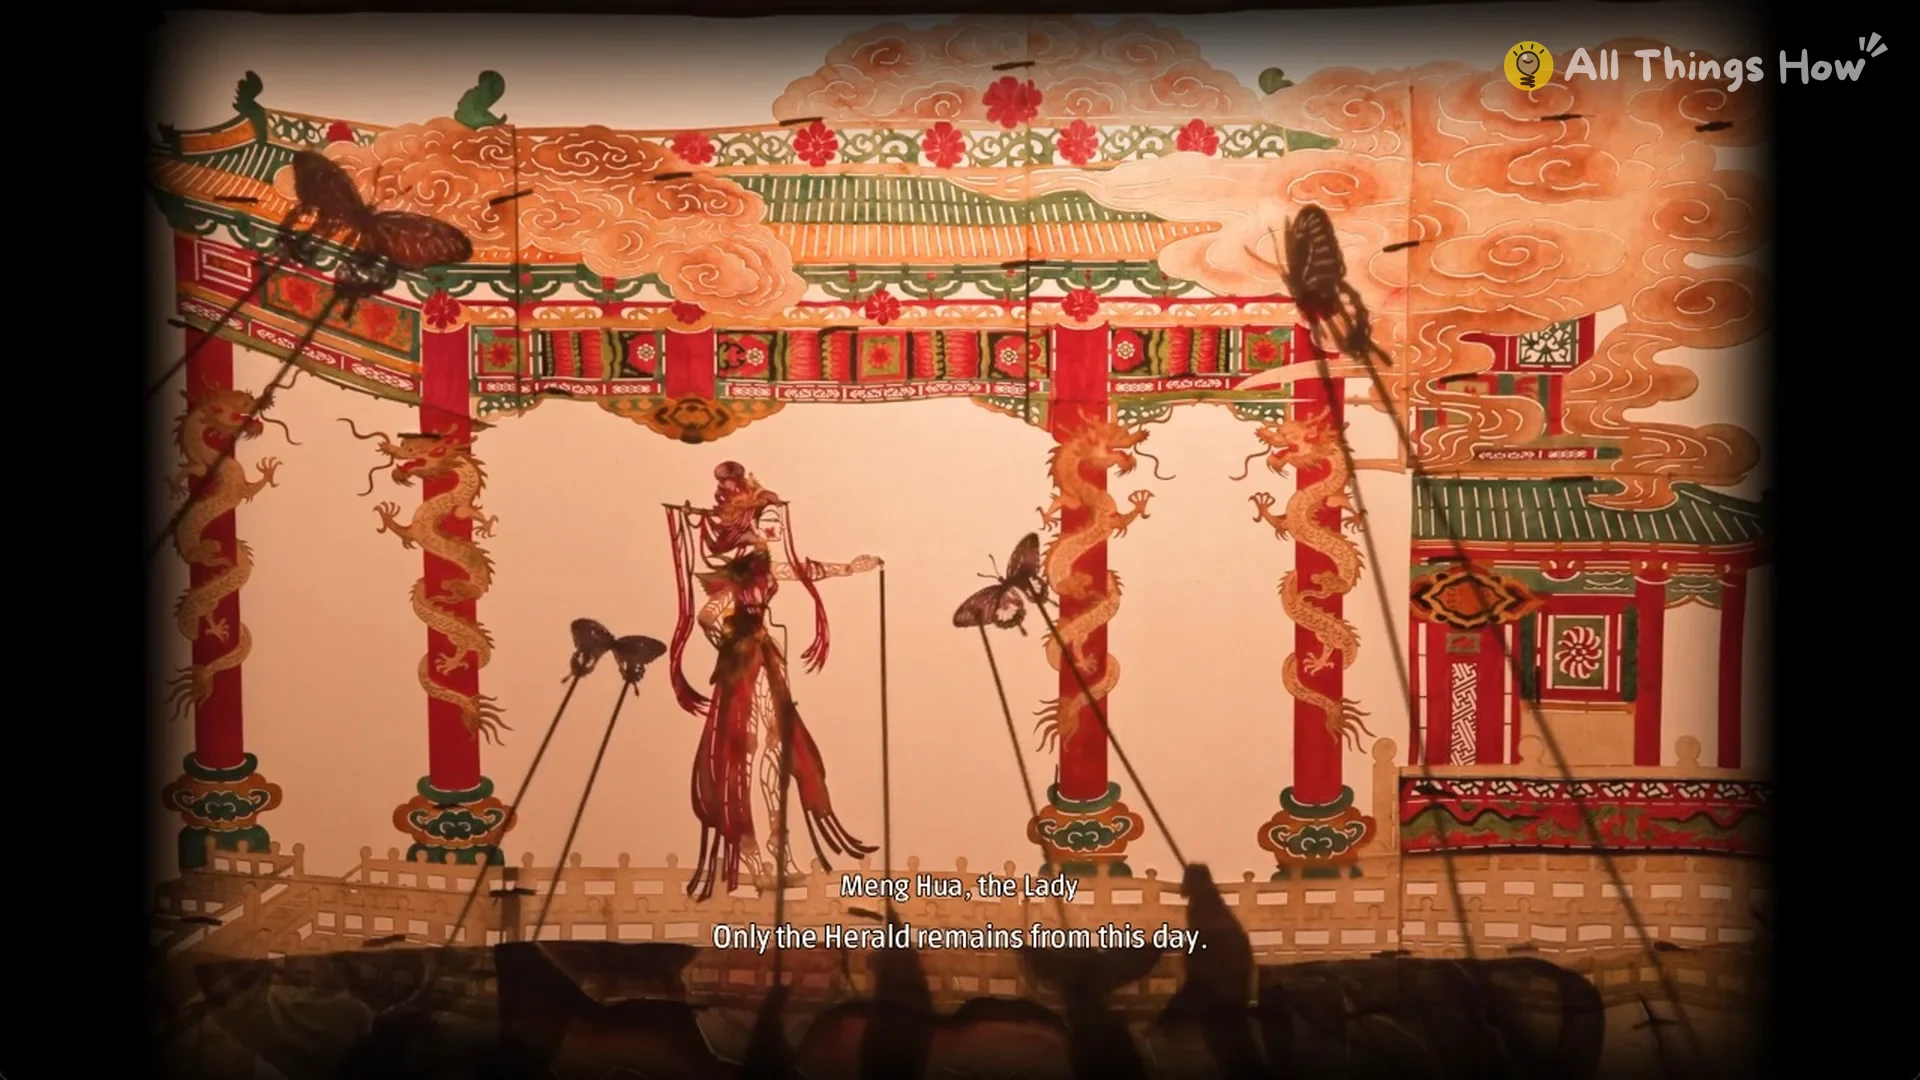
The Storyteller recounts that a flash of violet light transforms the Viper into Leng Tu, who takes on the borrowed identity. In this role, he joins the Thread-Binding Sect, aiming to throw the Wulin into turmoil and observe the result. Meng Hua, the Lady, ends the act: “Only the Herald remains from this day.”
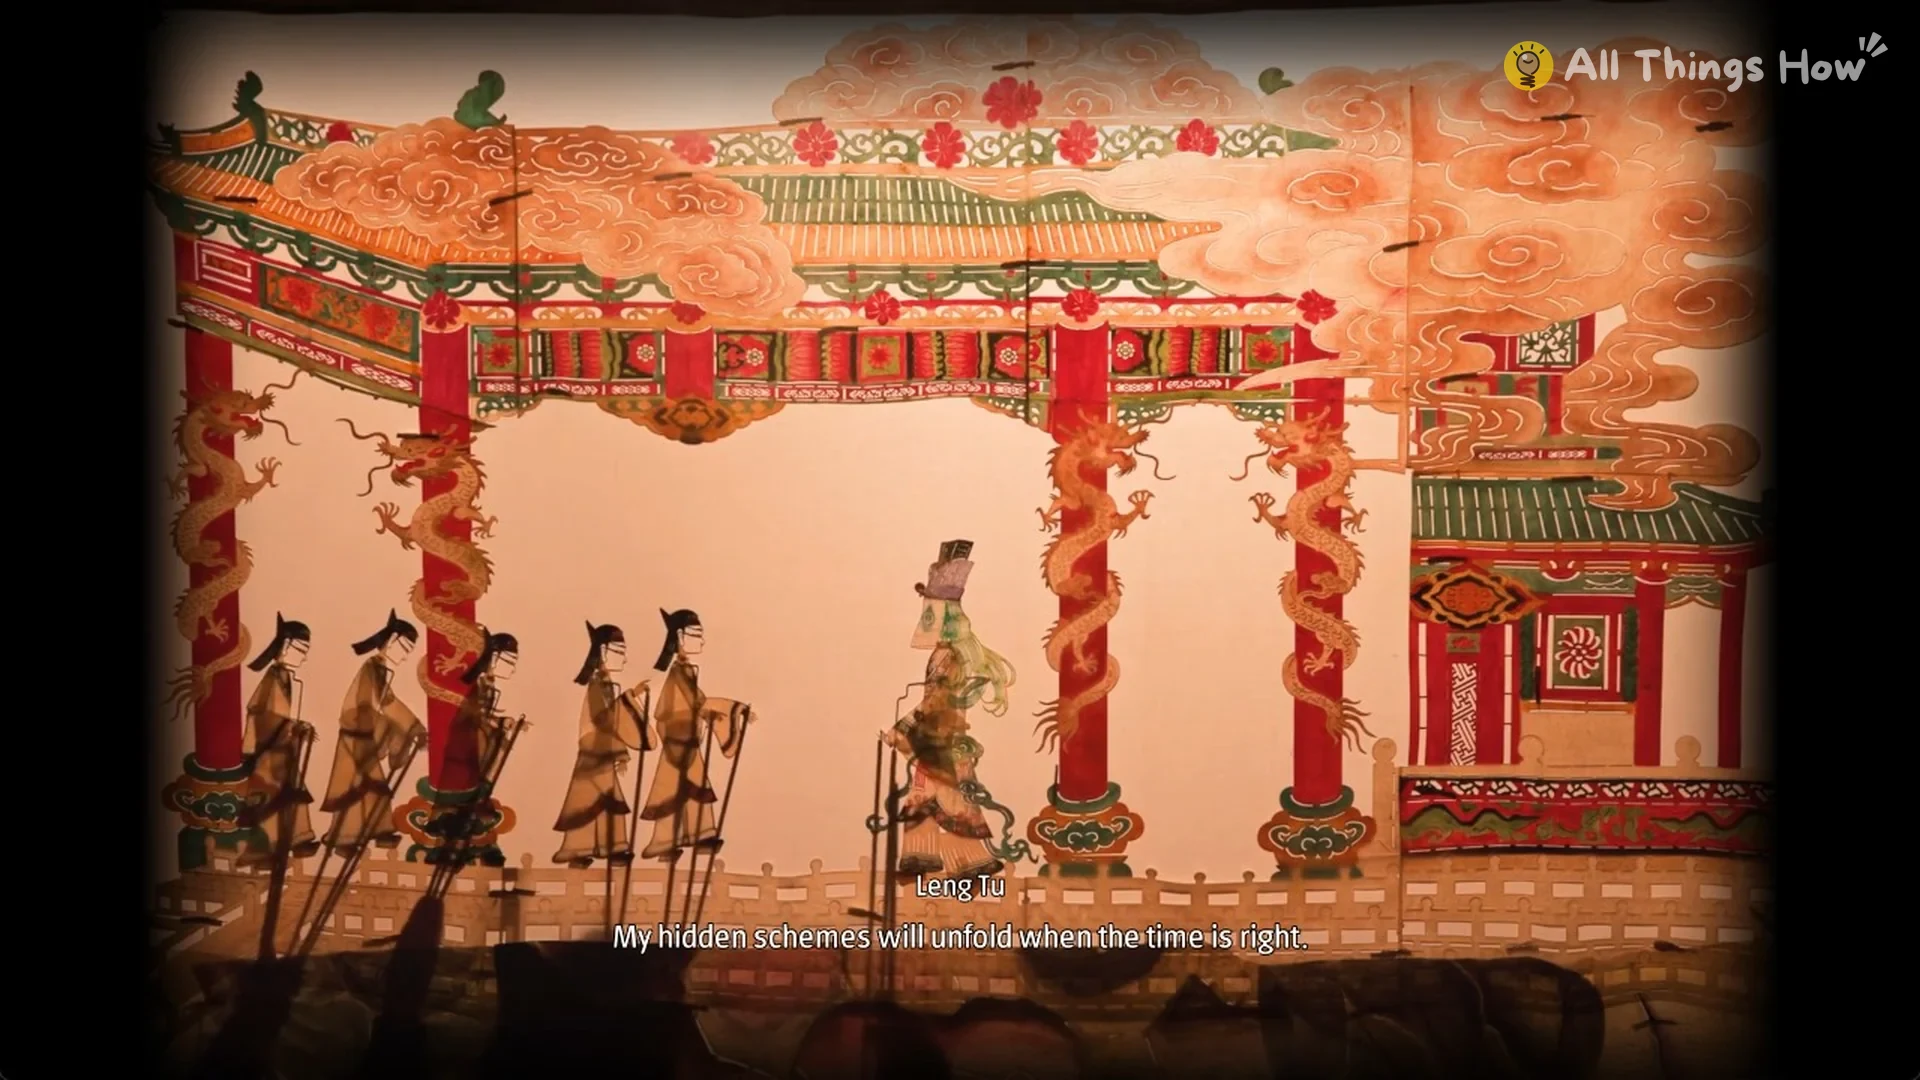
Where the shadow puppet play leaves you
Once Act 8 is over, the screen fades to black and you reappear at the Mirage Estate, in a red cave filled with broken puppet bodies, red ropes and lantern strings dangling from above.
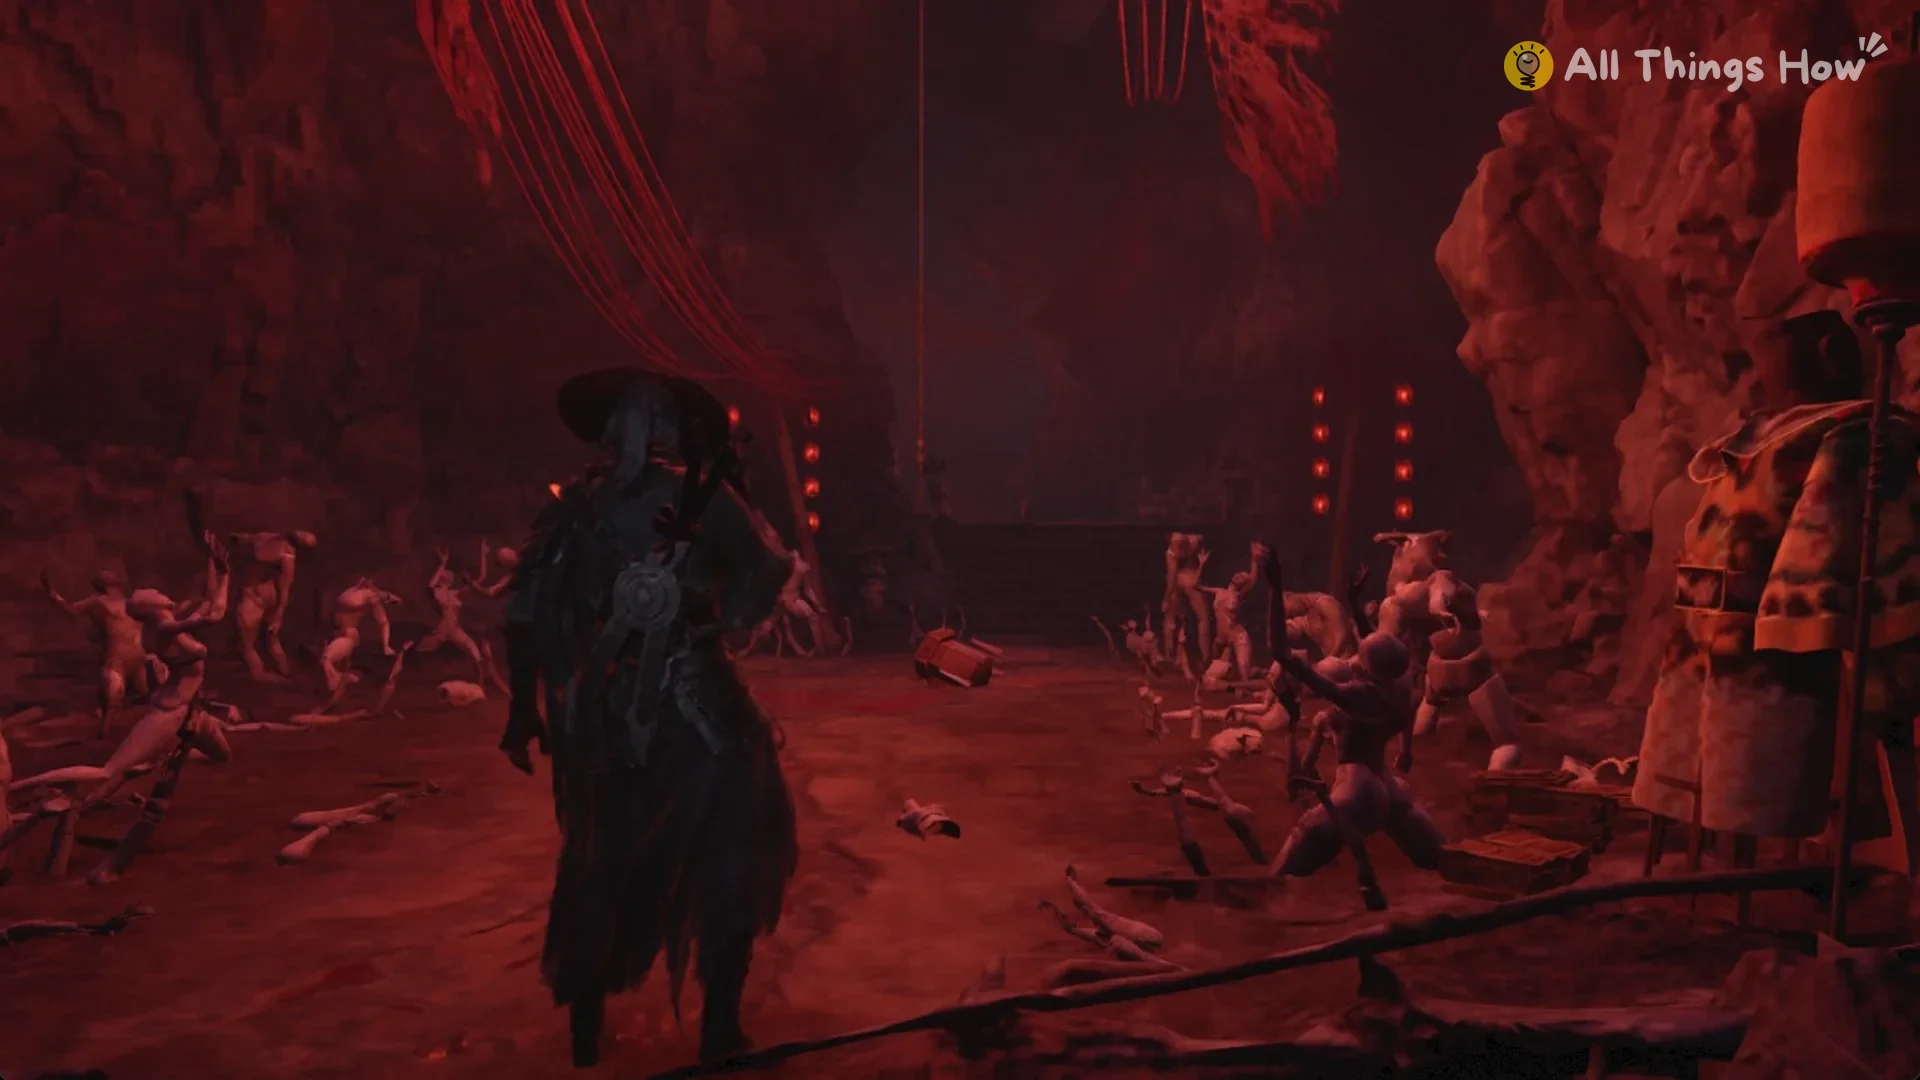
From there, the exit leads to the Mourning Hall bell, about 110 m away on foot; it’s the nearest bell for resting.