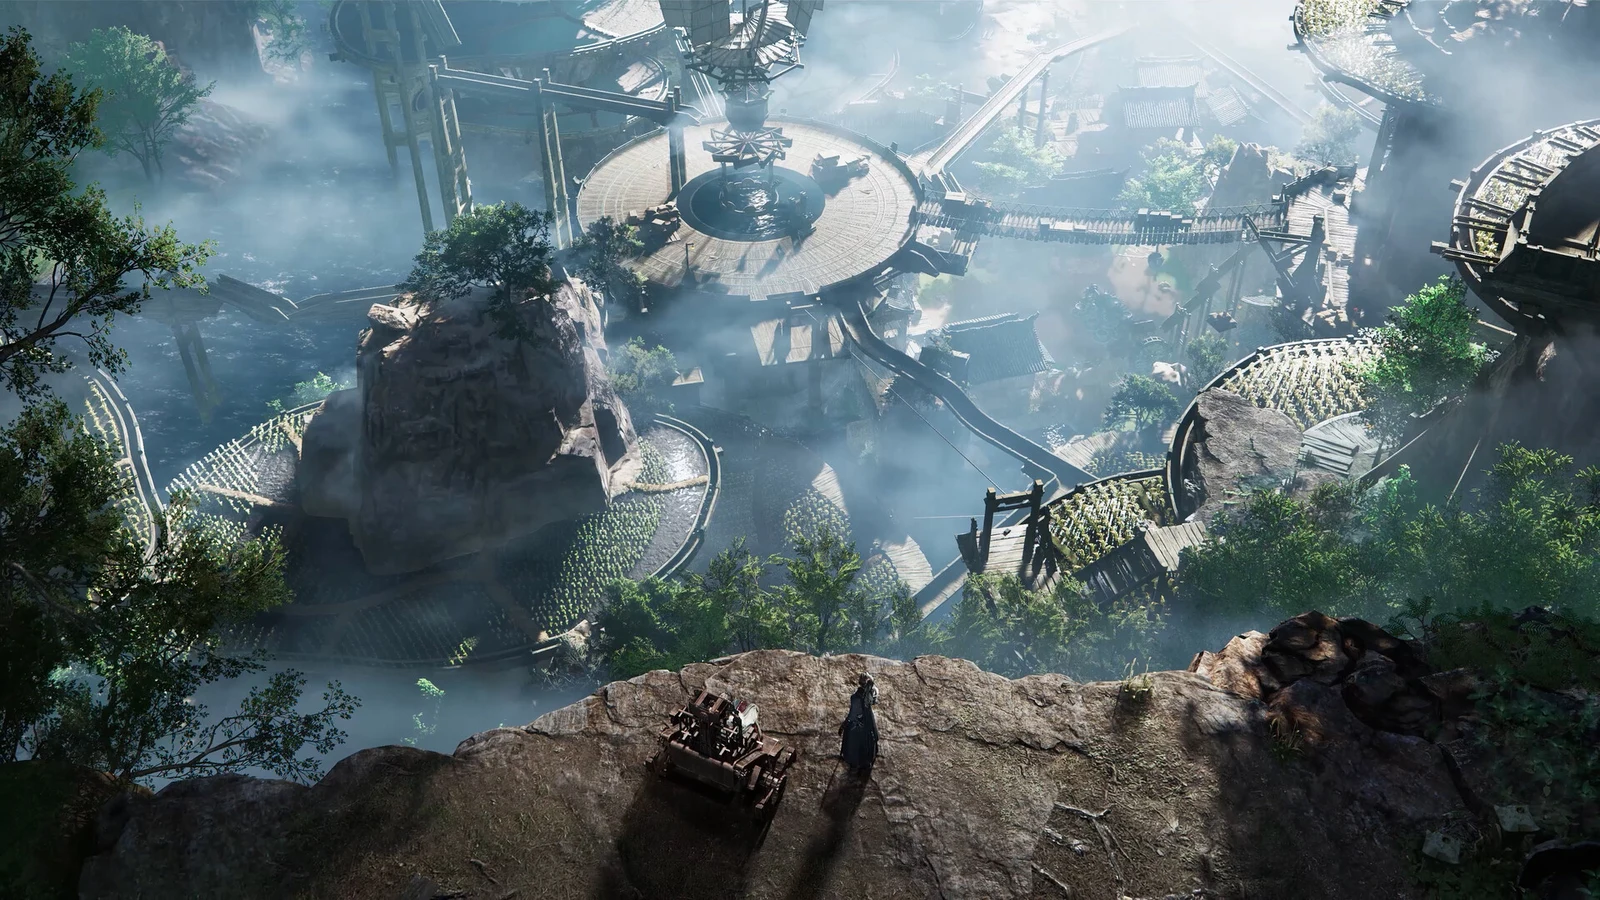
In Where Winds Meet, Skyward City Ruins is a Campaign side quest set in a crumbling mountain settlement housed inside a gigantic wooden bird. The quest came in Version 2.2, Perilous Eminence, which brings the Hidden Mountain storyline to a close. Expect calm traversal puzzles and a memory-based tale of the Mohist sect, followed by a multi-phase duel with Halcyon, the former Grandmaster.
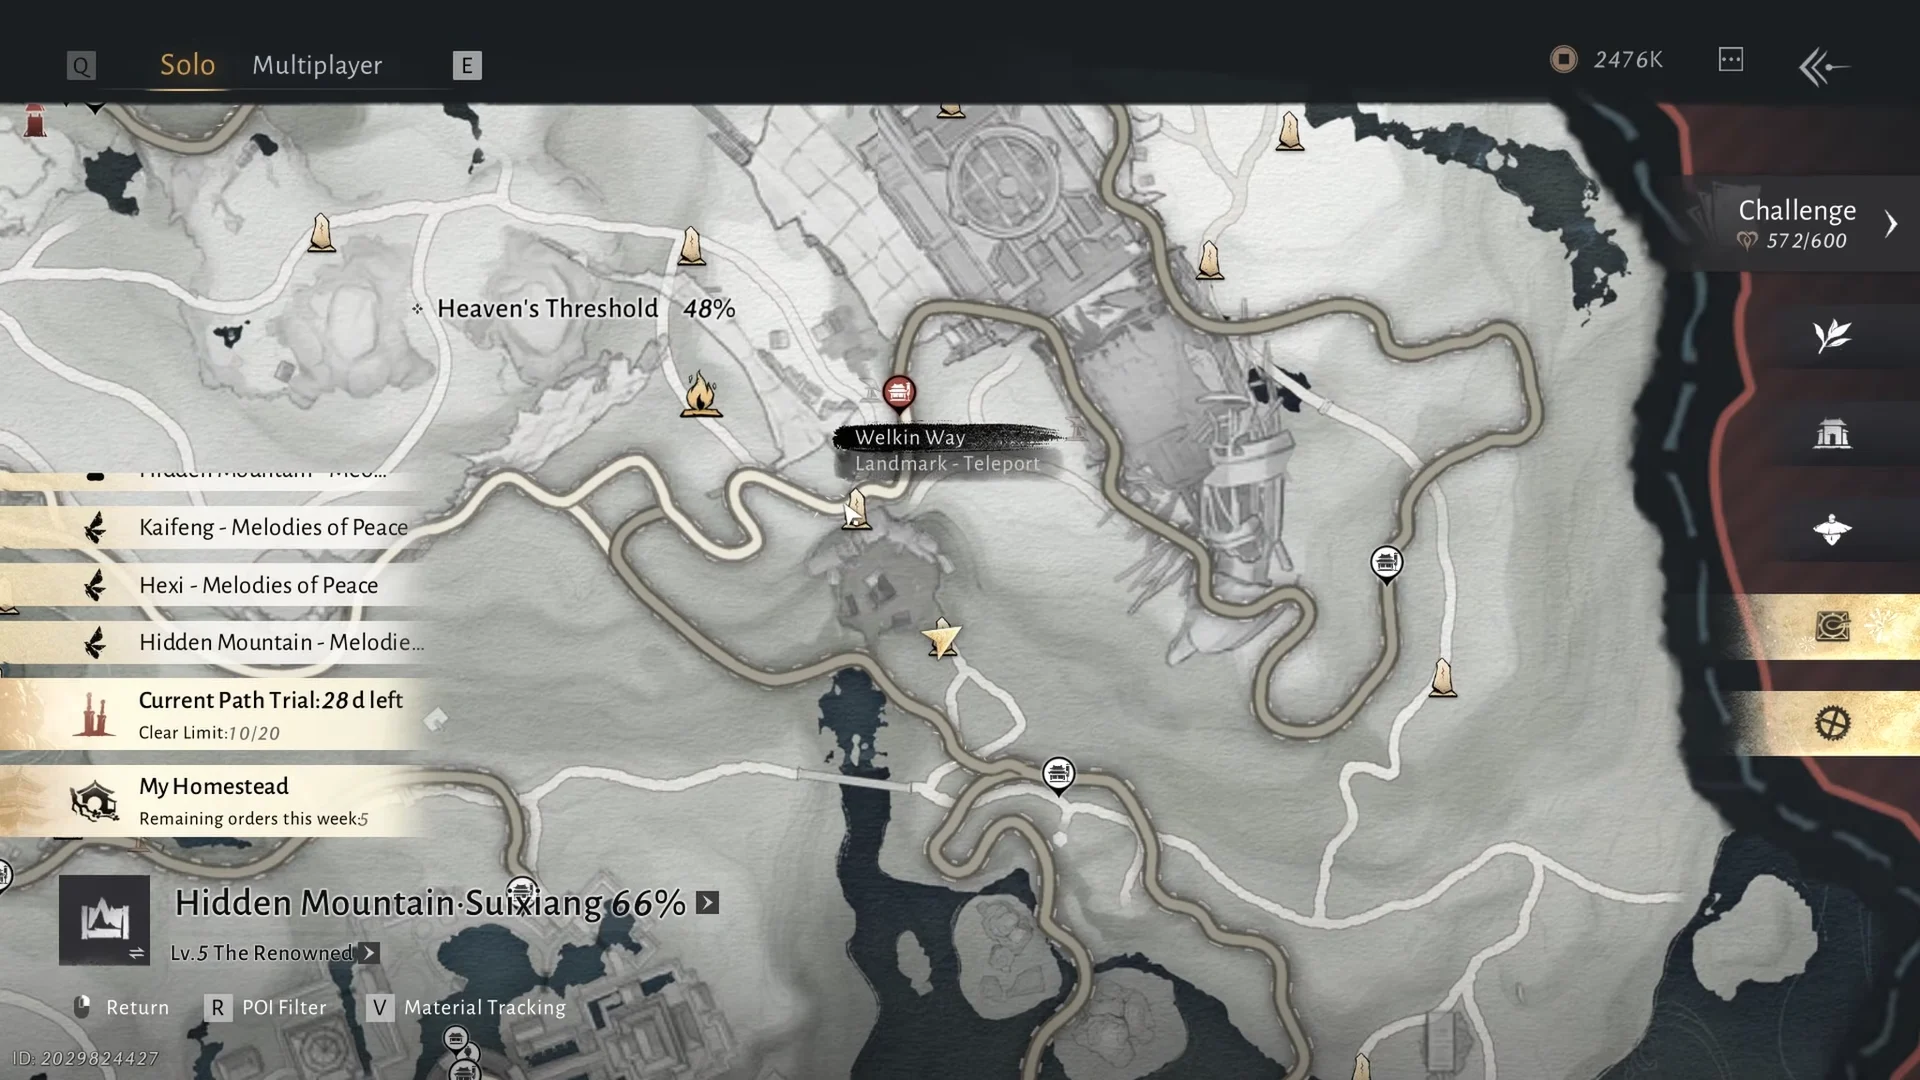
Quick answer: Skyward City Ruins is a Campaign quest in Heaven’s Threshold, Hidden Mountain. It begins at an overlook north of the Welkin Way Boundary Stone and ends when you inspect Halcyon’s corpse to unlock the repeatable campaign.
Where Skyward City Ruins sits in Heaven’s Threshold
The quest lives in Heaven’s Threshold, a subregion of Hidden Mountain. The starting point is a mountain overlook reached by following the path north from the Welkin Way Boundary Stone, positioned beside the enormous mechanical bird that dominates the skyline. Three Qiongqi Artificers occupy the overlook, and approaching them triggers the opening scene. A Reckless Qiongqi Artificer and a Cowardly Qiongqi Artificer argue over why the dead city has come back to life.
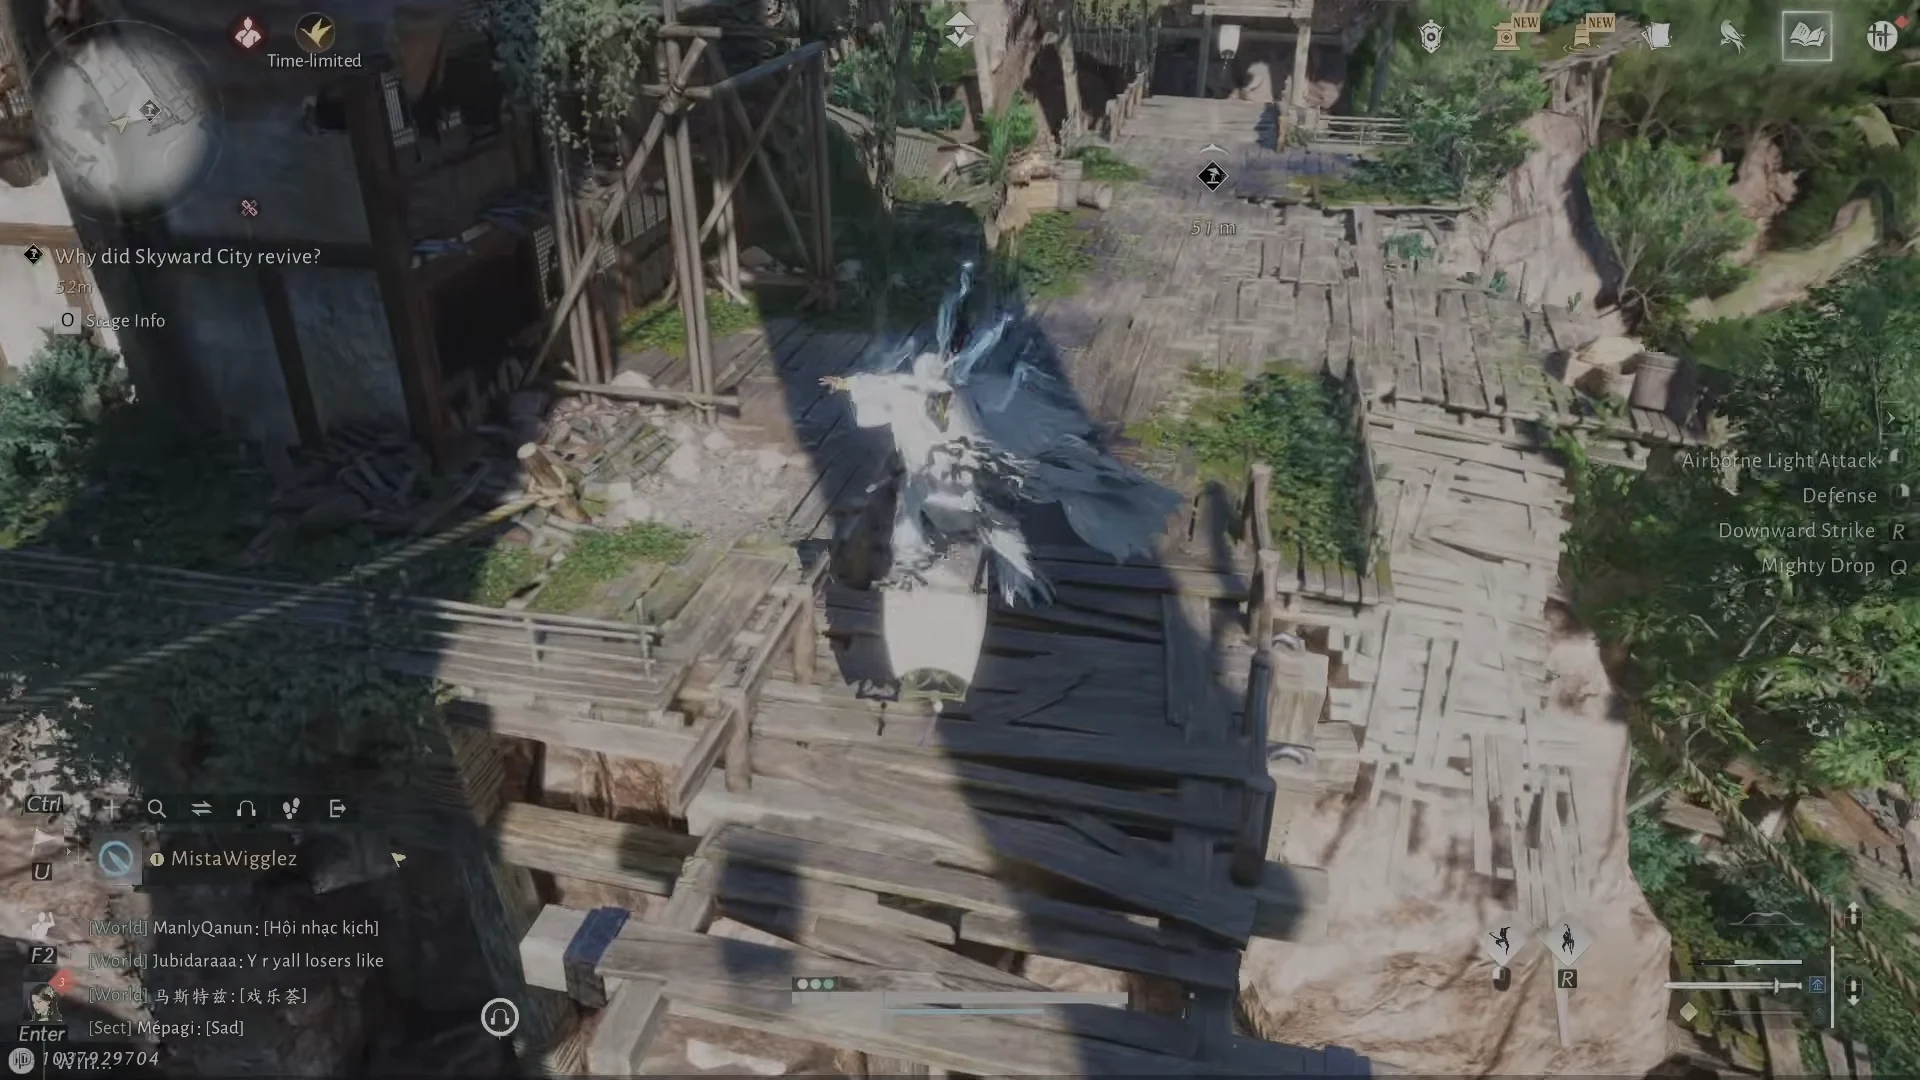
The Artificers can be fought or ignored without changing the outcome, so the encounter reads more as scene-setting than combat. From here the run turns almost entirely into a series of traversal problems strung along broken bridges and floating structures.
The four traversal tools the ruins keep reusing
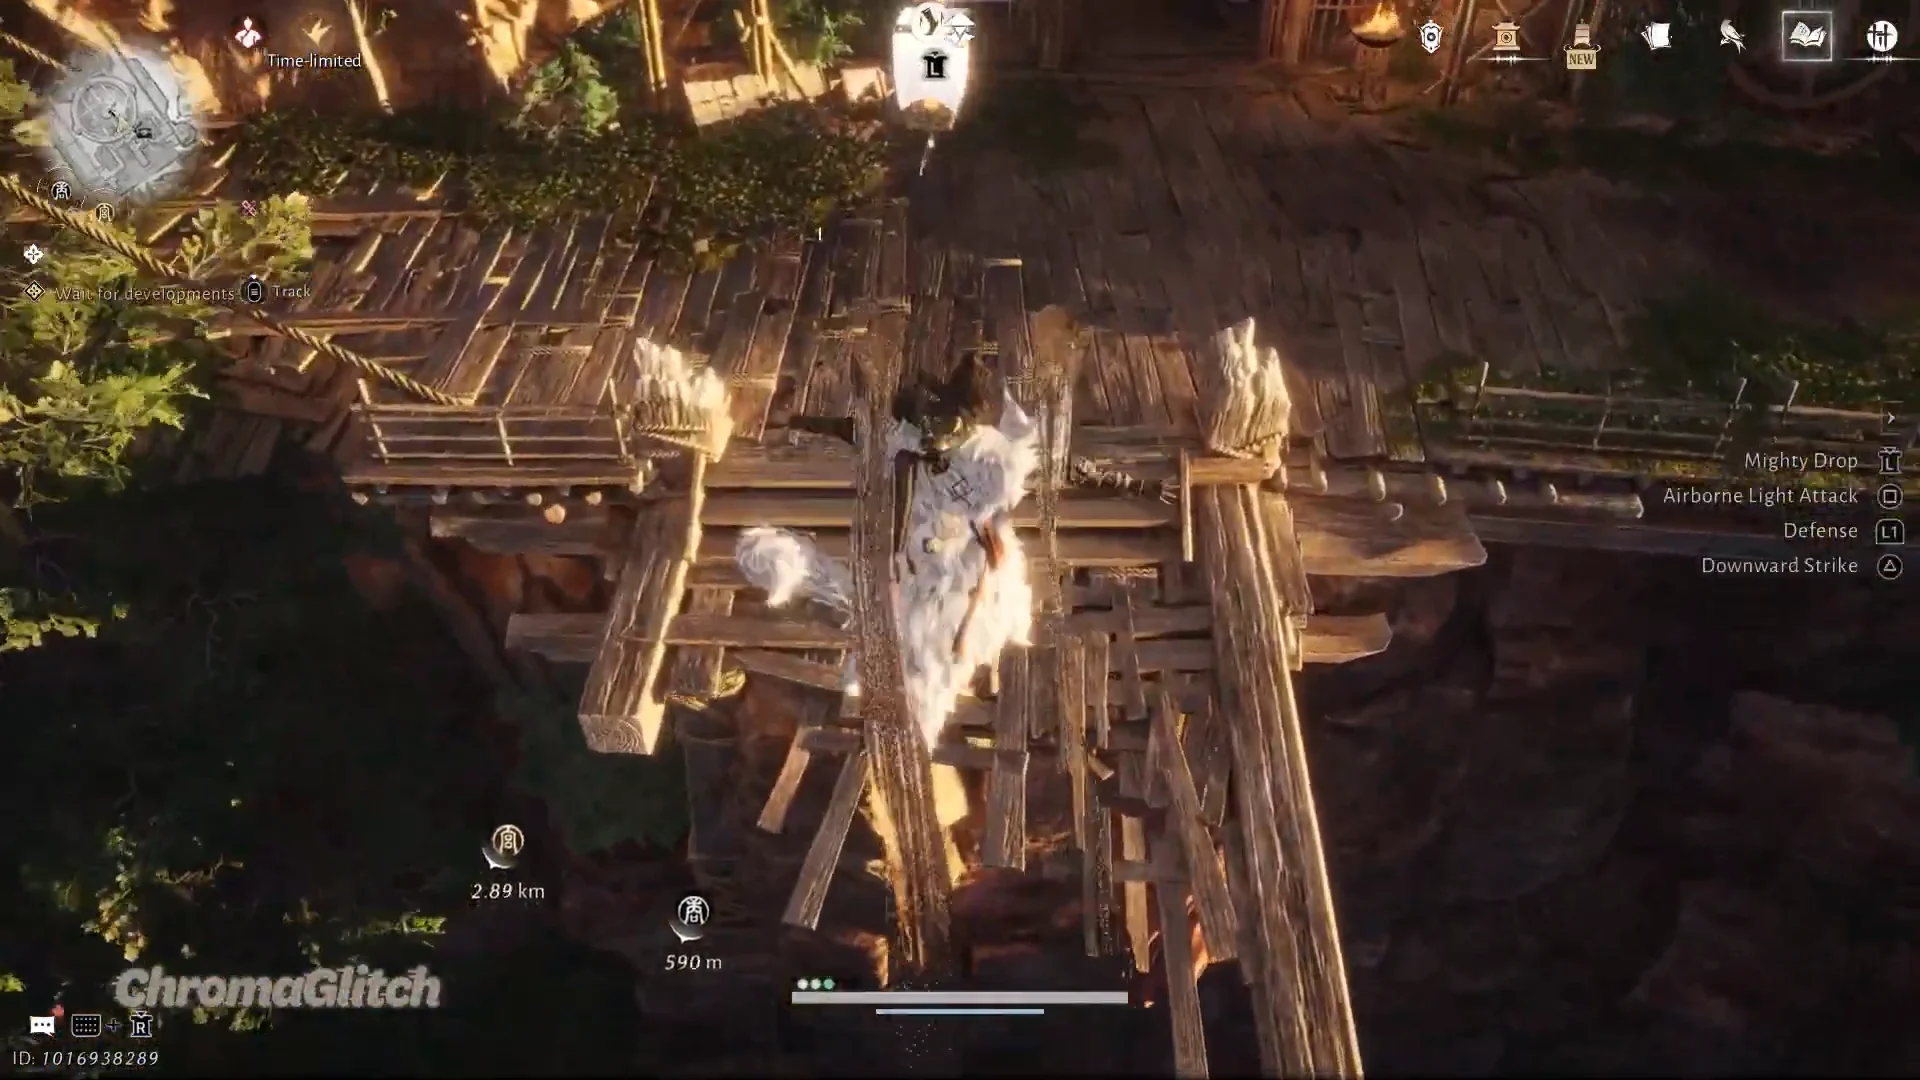
Very little inside Skyward City is an enemy problem. It is a gap problem, and the same four movement tools are rearranged over and over across the wooden hull and its floating outskirts.
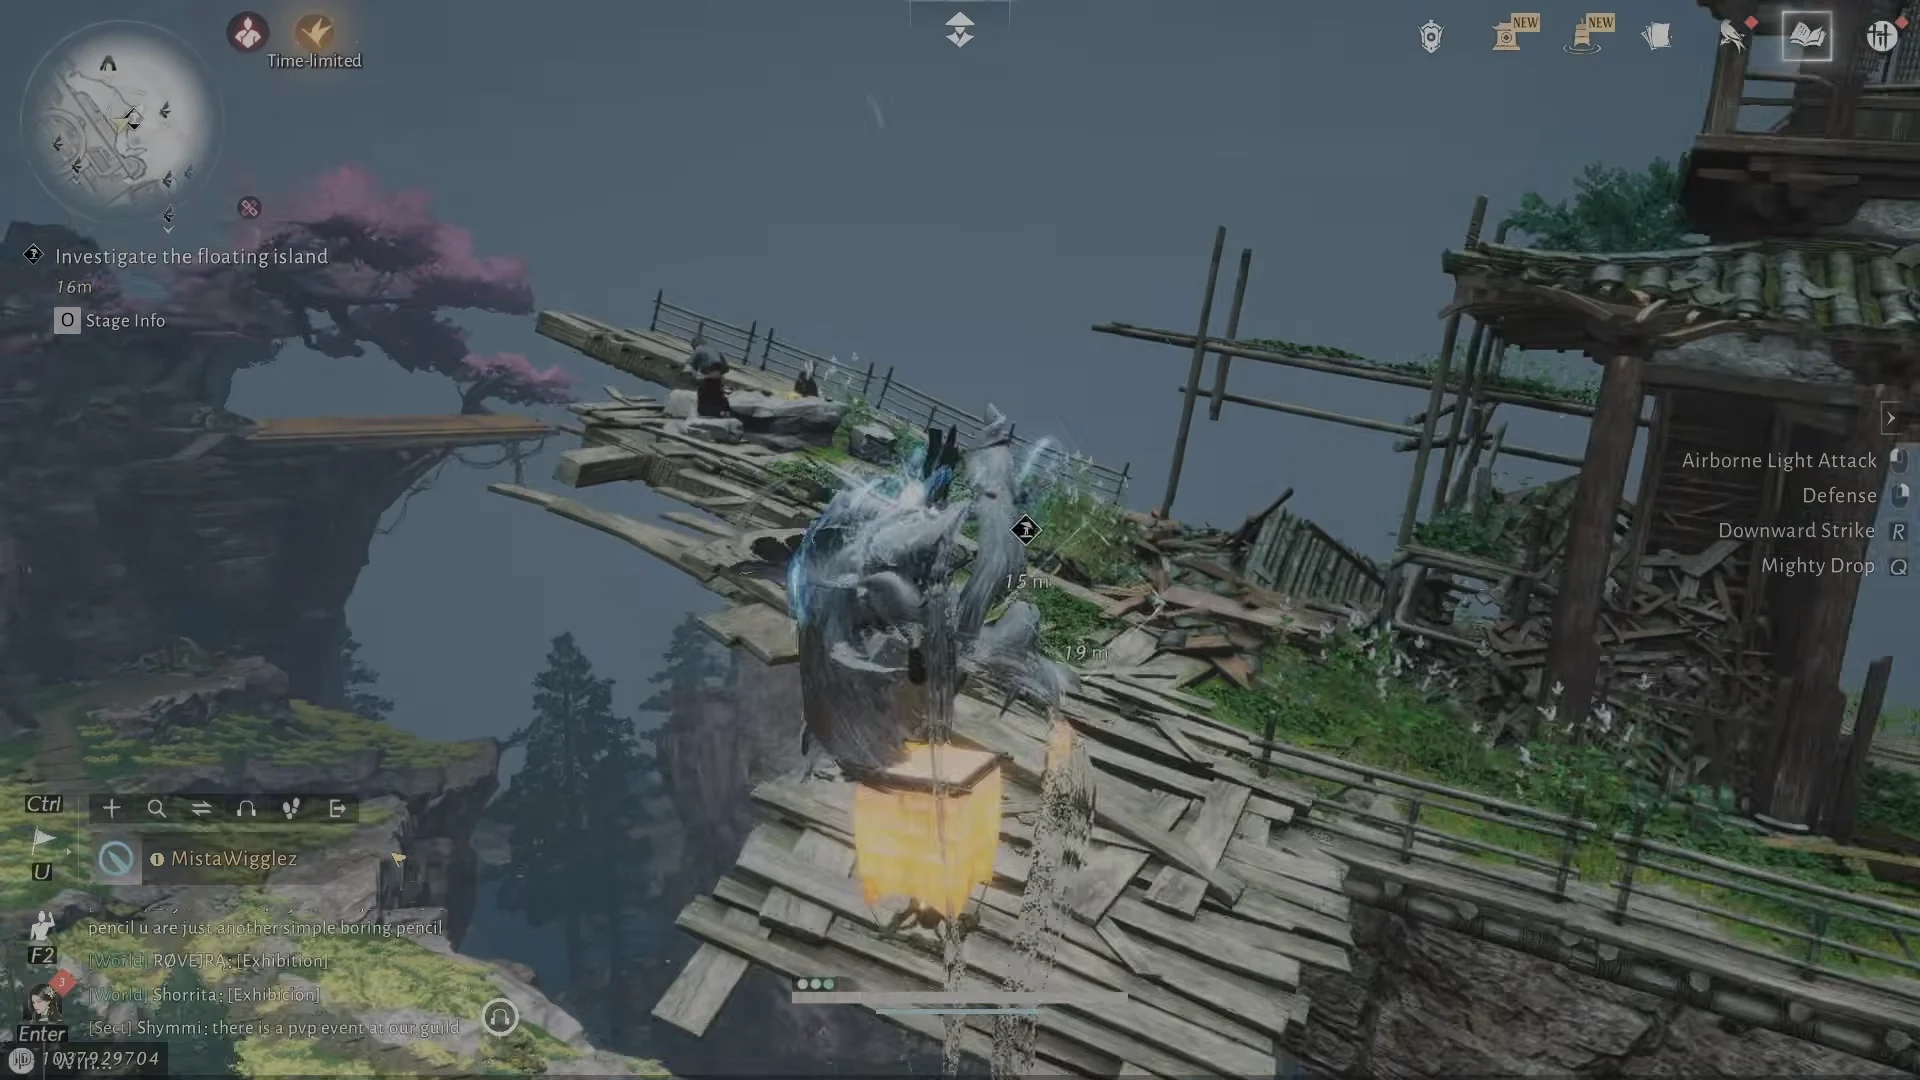
- Lanterns serve as airborne stepping stones, with Cloud Steps letting you leap from one to another.
- Zenith Box — a deployable gadget you lift and throw; it unfolds into a lantern you can jump onto.
- Ziplines — fixed anchors that carry you between the bird’s decks and back down to ground level.
- Gliding lets you make extended descents along the structure’s outer face and over the waterfall chasm.
The Zenith Box is the standout mechanic. A short tutorial explains that a thrown box unfolds into a platform, and that two boxes can be combined into a larger stepping surface for taller climbs. Because a box stays movable while it is in the air, you can nudge it into position mid-throw rather than walking back when the first toss lands short.
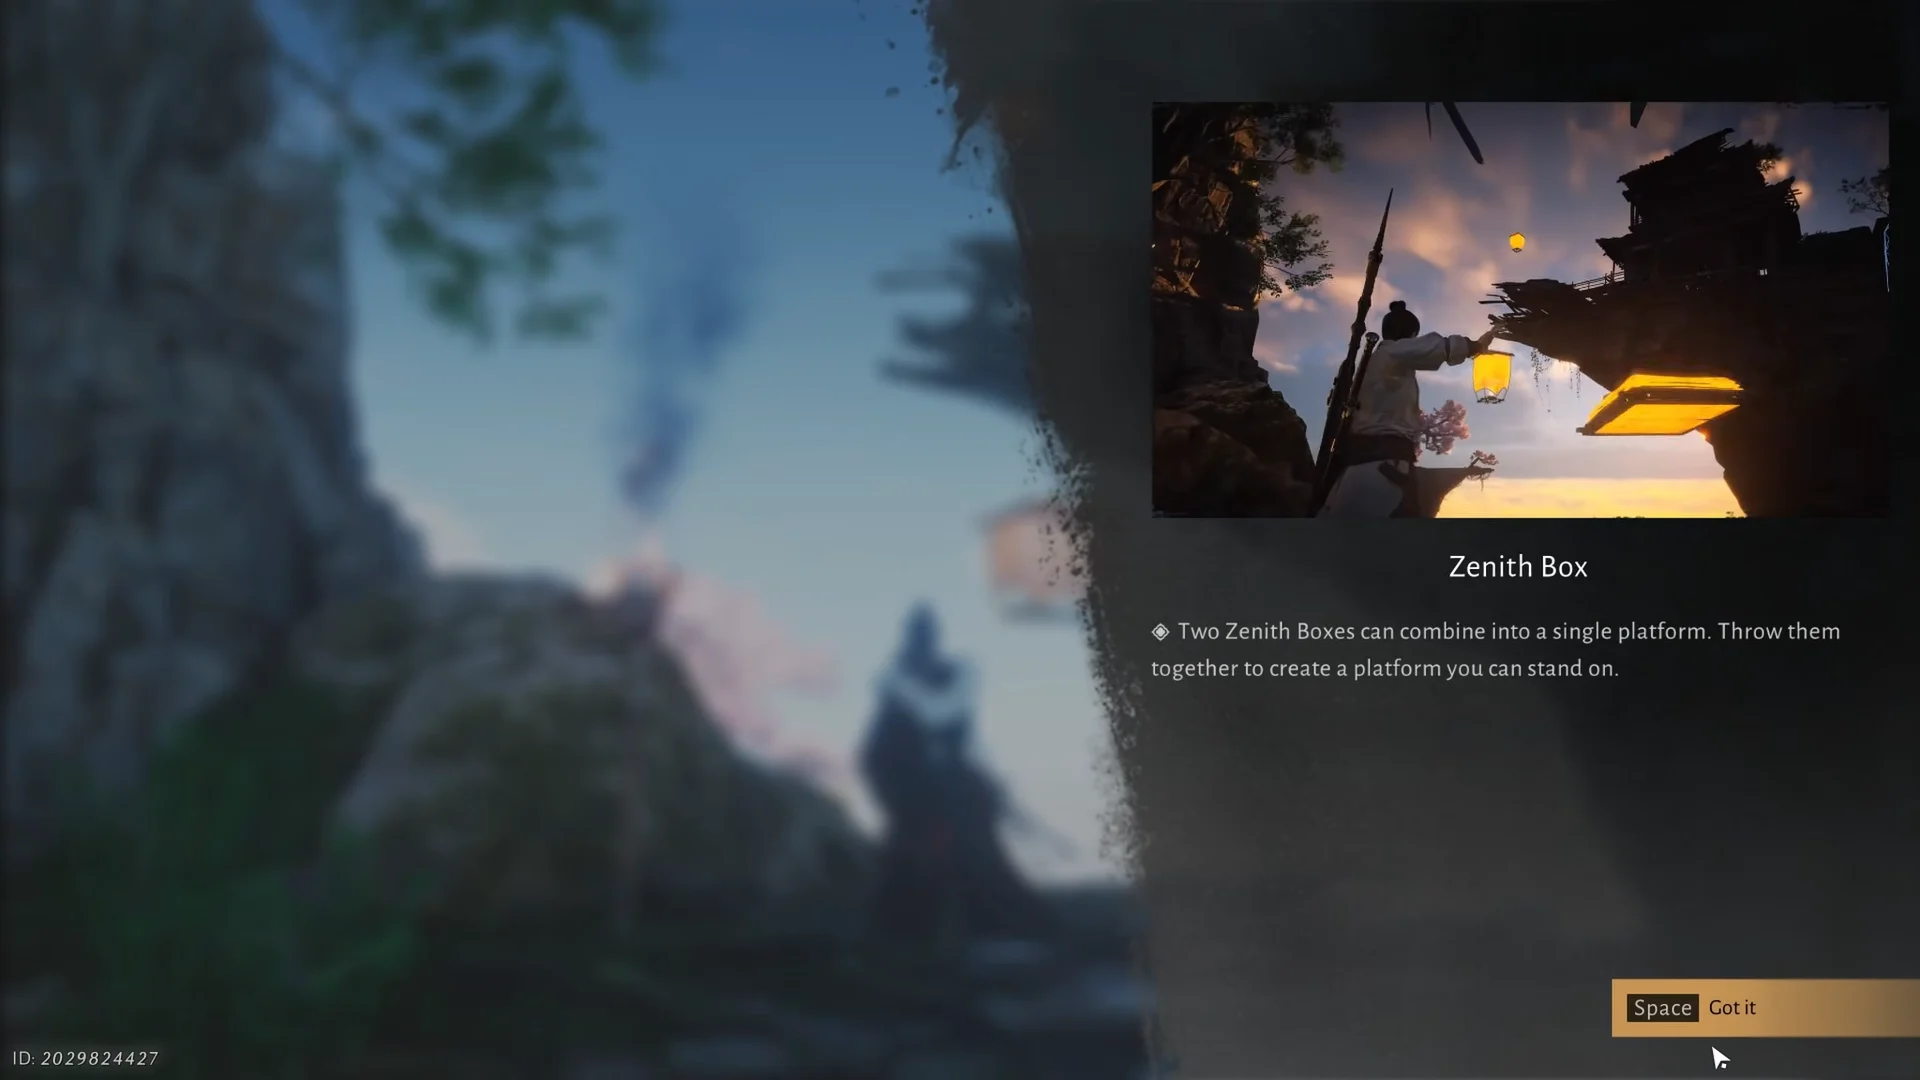
Throwing a Zenith Box does not lock it in place. As long as it stays within grabbable range, you can readjust it in mid-air, which matters most on the wide chasm crossings.
The monkeys and the memory of Mohist Hill
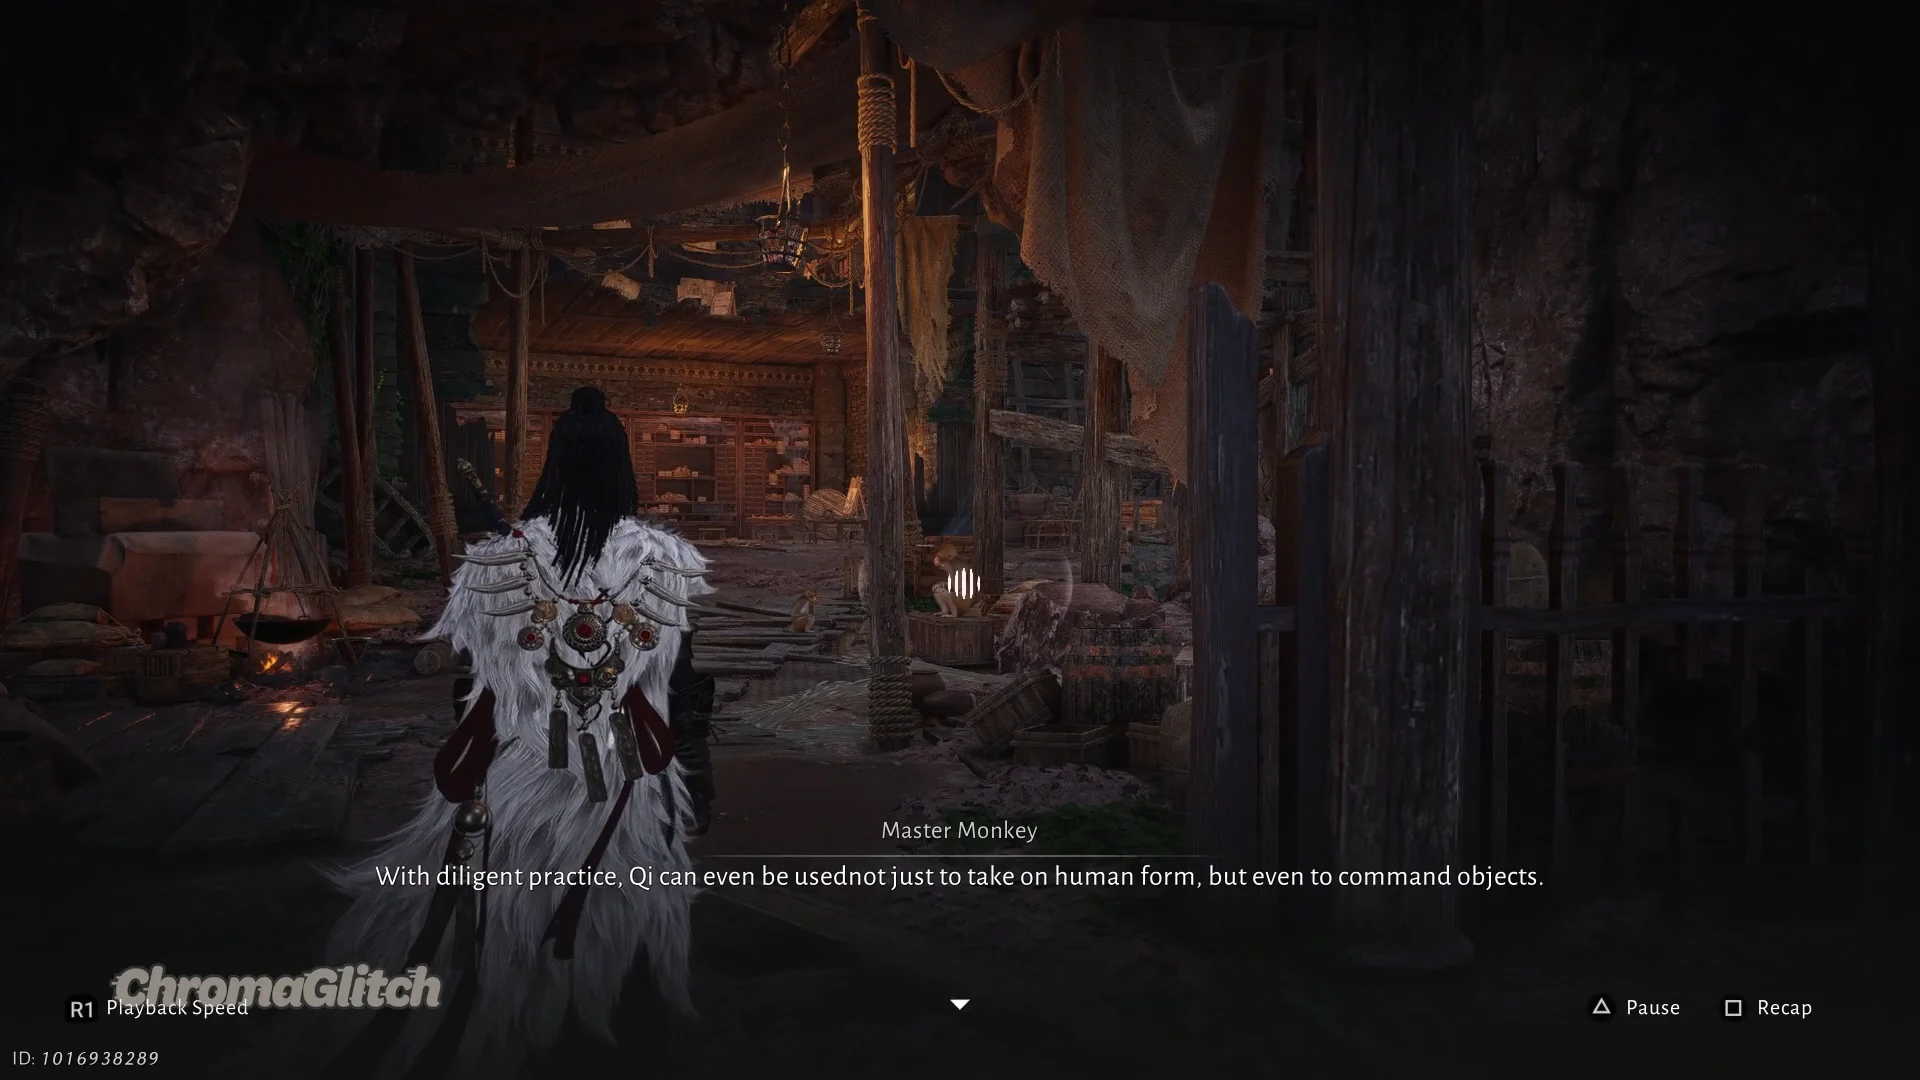
The story is told through the Mohist sect, whose members appear as talking monkeys: Chivalrous Monkey, Wise Monkey, Eloquent Monkey, Falcon, Swallow, and their teacher, Master Crane. The first you meet is the Chivalrous Monkey, reaching for the moon’s reflection in a pond. Grabbing that reflection yourself completes the moment, after which you eat a wild peach the monkey leaves behind and move on toward a floating pagoda.
Each stretch of the ruins is punctuated by a Fragrant Candle. Lighting one after a monkey conversation advances the memory chain, so the candles double as the quest’s progress markers. Along the way you find lore documents that fill in the sect’s history, including the Four Seasons Paintings, the Three Swords of Haven pages, the Mohist Hill Annals, Crane’s Journal, and Halcyon’s own journals.
Halcyon’s history takes focus: discovered as a baby in kingfisher cloth used for swaddling, she was brought up by Master Crane at Mohist Hill. The flashbacks follow her journey from novice disciple to Grandmaster, now running the Derivation Array at the city’s core. Candles, paintings, and spectral traces of Swallow and Falcon lead to the clash beyond a stone tunnel.
The Halcyon boss fight and its three phases
Halcyon is the campaign’s boss, rated a moderate challenge, and the fight moves through three distinct phases. Before it, a siege sequence sends you sprinting through laser fire and reacting to button prompts rather than trading blows, ending when you shoot explosive barrels with an arrow and the azure bird carries you to the Chamber of Derivation.
| Phase | What happens | How to respond |
|---|---|---|
| 1 (ground) | Fast lunging melee combos and homing projectiles | Parry her strikes and drain her Qi |
| 2 (aerial) | Raven pilots the Sun Crow against you on a mechanical bird | Shoot it and dodge; no kill needed |
| 3 (ground) | Long-range whip and unblockable strikes inside combos | Hit the deflect prompt, or dodge away |
The opening ground phase gives few clean windows for your own combos, so parrying is more reliable than out-damaging her. The aerial segment shifts to Halcyon’s earlier clash with Raven and hands you a mechanical glider to attack the Sun Crow. The Sun Crow shows a health bar, but dropping it to zero is not required; the sequence ends on its own and can even be skipped. The final phase returns to the ground with a more aggressive Halcyon whose unblockable attacks demand the deflect prompt or a roll away, since guarding cannot stop them.
Winning the encounter grants No Escape from Above and Mind Over Magnet, confirming that the fight has been recorded.
The secret chamber, the Unsent Gift, and completion
After the duel, Halcyon falls and hands you a key before her body on the arena disappears. A raised platform nearby leads to an elevator down into a hidden chamber at the ruins’ center, where her true corpse rests on a pedestal. Inspecting that corpse plays her final words and triggers the “Skyward City Ruins Campaign unlocked” screen, which confirms the quest completed and can now be replayed.
Before exiting the secret chamber, pick up the Unsent Gift from the table positioned on its left. This quest item is for the Wandering Tale A Full Heart Tonight; deliver it to Swallow on the balcony on the left side of the Mohist City Hall.
Rewards and repeat clears
The totals below cover everything earned across the quest and on completion, rather than a single lump sum at the end.
| Reward | Amount |
|---|---|
| Lingering Melody | 1 |
| Medicinal Tales | 1 |
| Mystic Insight Pill | 1 |
| Echo Jade | 55 |
| Hidden Mountain Exploration | 105 |
| Oscillating Jade | 5 |
| Enlightenment Point | Yes |
| Character EXP | 60,000 |
| Coin | 60,000 |
Once cleared, the campaign becomes repeatable, and each run carries a chance to drop the Face Ornament: Steadfast Veil. That cosmetic can also be bought in the Season Shop for 80 Appearance Tickets, which makes repeat farming optional for anyone who only wants the ornament.