
Though Windows has a long list of errors and issues that tend to pop up occasionally, what is rare is having no power options when you click on the Power icon. But when you go on to use the Power Troubleshooter to diagnose the problem in Windows 11, you see that it’s missing. But there’s no need to despair.
Typically, this issue arises when there’s a systemic issue with the OS or incorrect power configuration. Thankfully, there are several methods you can use to rectify the power issues in Windows 11, including a method to run the Power Troubleshooter.
1. Restore Default Power Plan
There is seldom a case for power plans suddenly disappearing. The most probable issue could be that someone else tampered with them, and due to improper configuration, no options are available.
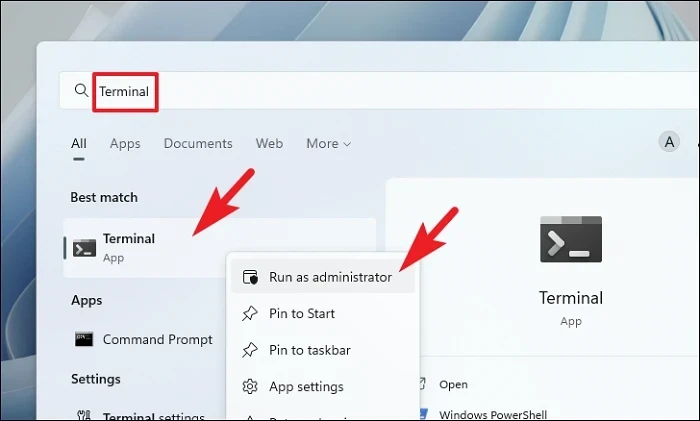
First, head to the Start Menu and type ‘Terminal’. Then, right-click on the ‘Terminal’ tile from the search results and select the ‘Run as administrator’ option.

A UAC (User Account Control) window will appear on your screen. If you are not logged in with an admin account, enter the credentials for one. Otherwise, click on the ‘Yes’ button.
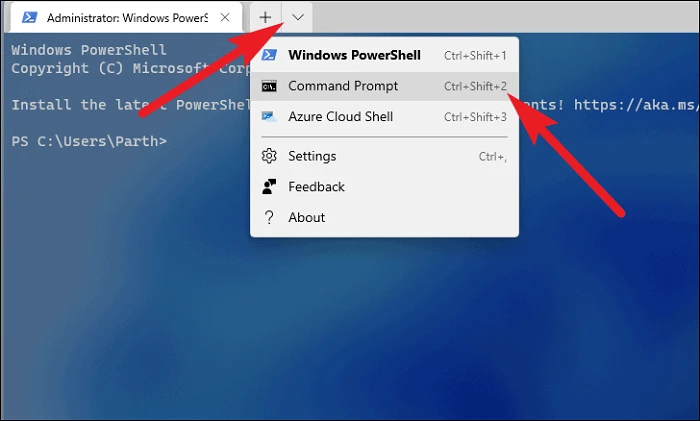
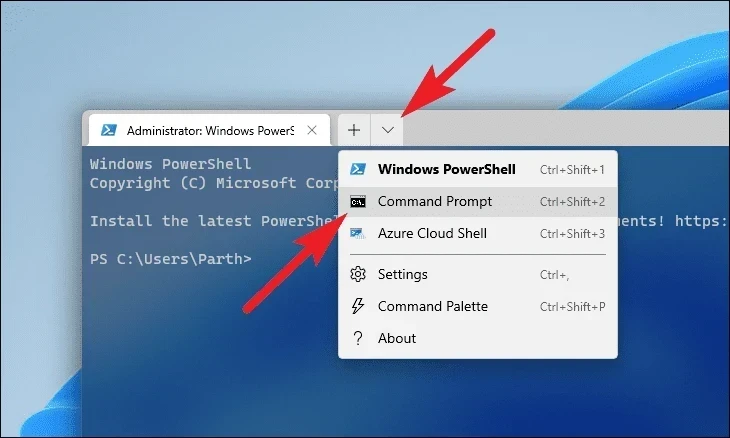
After that, click on the ‘chevron’ (downward arrow) and select the ‘Command Prompt’ option.
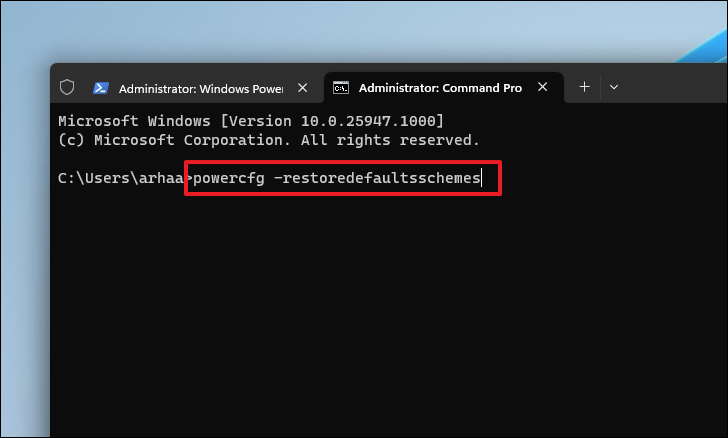
Now, type or copy and paste the below-mentioned command and hit Enter to execute it.
powercfg -restoredefaultschemes
You will not receive a confirmation of the command on screen. Once the command has been executed successfully, restart your PC and check if you can see the power mode options.
2. Run Power Troubleshooter
Since Power Troubleshooter is not always available in the Troubleshooter menu, we will showcase the process using the Terminal.
First, head to the Start Menu and type Terminal. Then, right-click on the Terminal tile from the search results and select ‘Run as administrator.’
Next, if you are not logged in with an admin account, enter the credentials for one. Otherwise, click on ‘Yes’ to proceed.

After that, click the chevron and select the ‘Command Prompt’ option. It will open Command Prompt in a new tab.
Then, enter the below-mentioned command and hit Enter to execute.
msdt.exe /id PowerDiagnostic
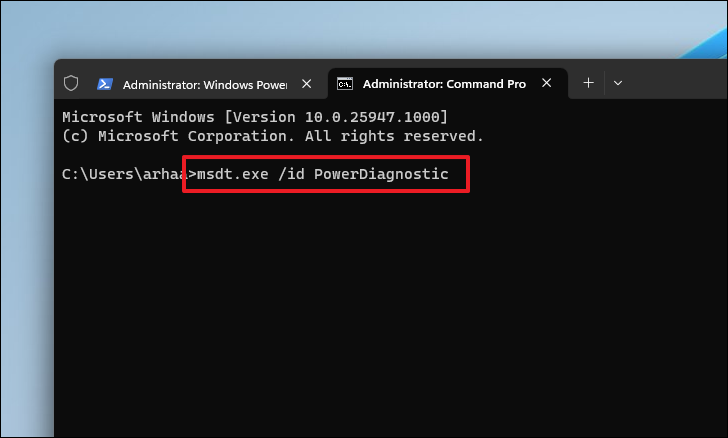
If a window prompts, click ‘Yes’ to run the troubleshooter.
3. Run SFC and DISM
System files could be corrupted due to incomplete Windows updates, improper uninstallation of third-party apps, or due to a virus/malware. However, it is an easy fix by running the DISM and SFC tools on your system.
First, head to the Start Menu and type ‘Terminal’. Then, right-click on the ‘Terminal’ tile from the search results and click the ‘Run as administrator’ option.

A UAC (User Account Control) window will appear on your screen. If you are not logged in with an admin account, enter the credentials for one. Otherwise, click on the ‘Yes’ button.

After that, click on the ‘chevron’ (downward arrow) icon and click the ‘Command Prompt’ option.

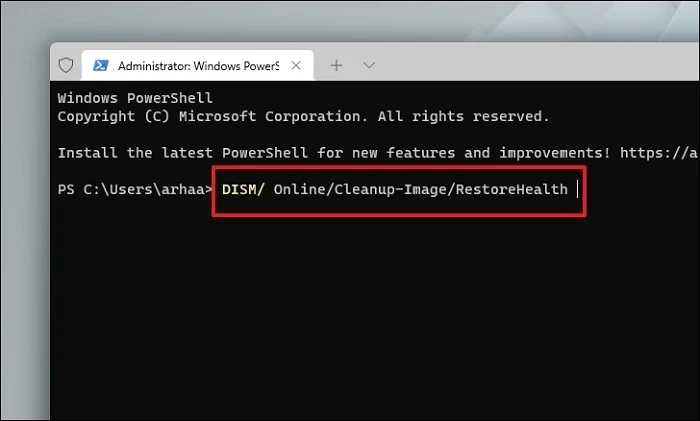
Then, type or copy and paste the below-mentioned command and hit Enter on your keyboard. This will restore the currently installed OS image on your device.
DISM/ Online/Cleanup-Image/RestoreHealth
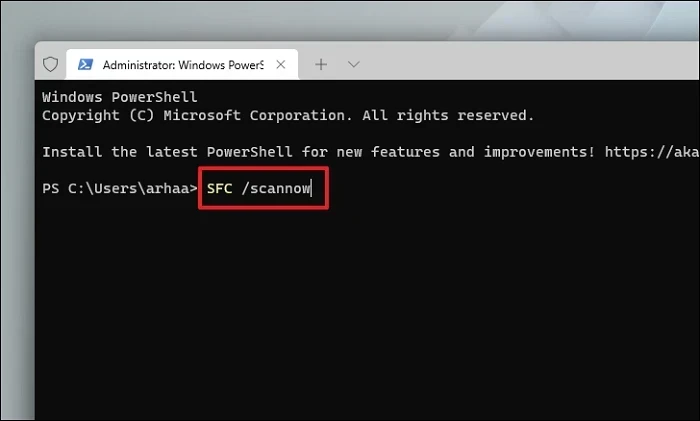
Afterward, type or copy and paste the following command to check and repair the system files on your PC.
SFC /scannow
After running the commands, exit Command Prompt and restart your PC. Then, check if the power issues were resolved.
4. Tweak the Power Settings from the Control Panel
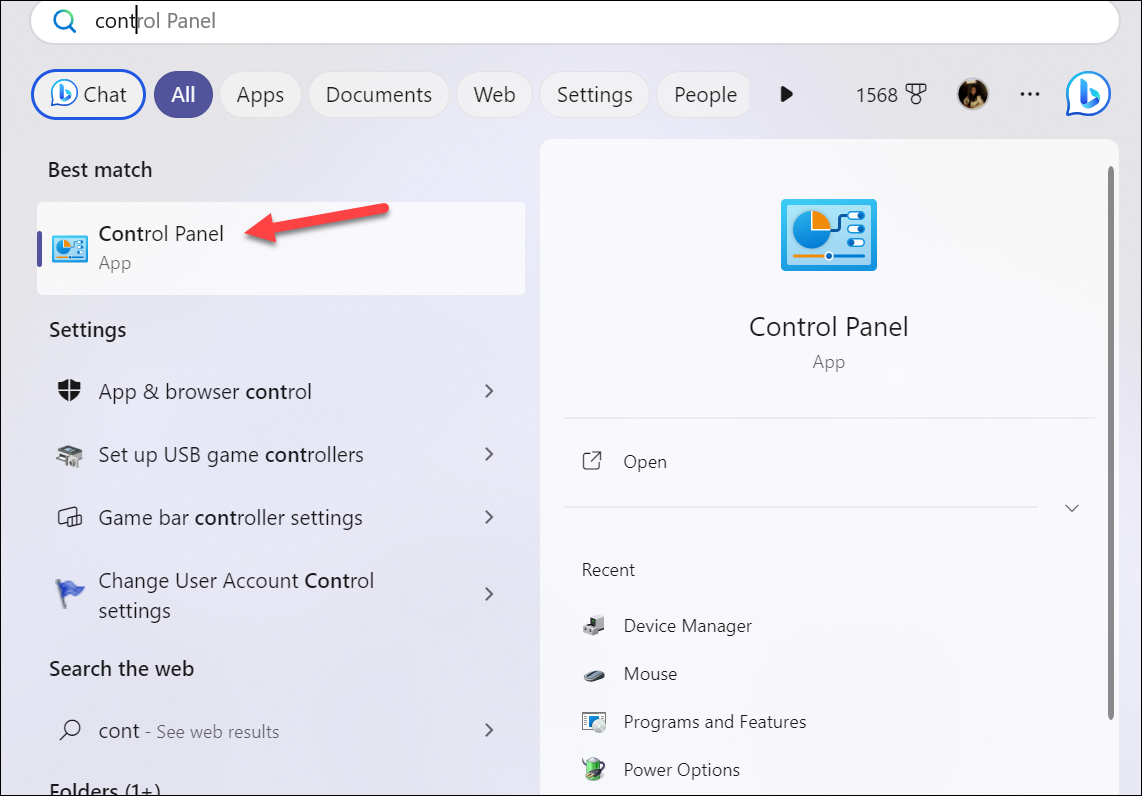
Click the Search icon and search for ‘Control Panel’.
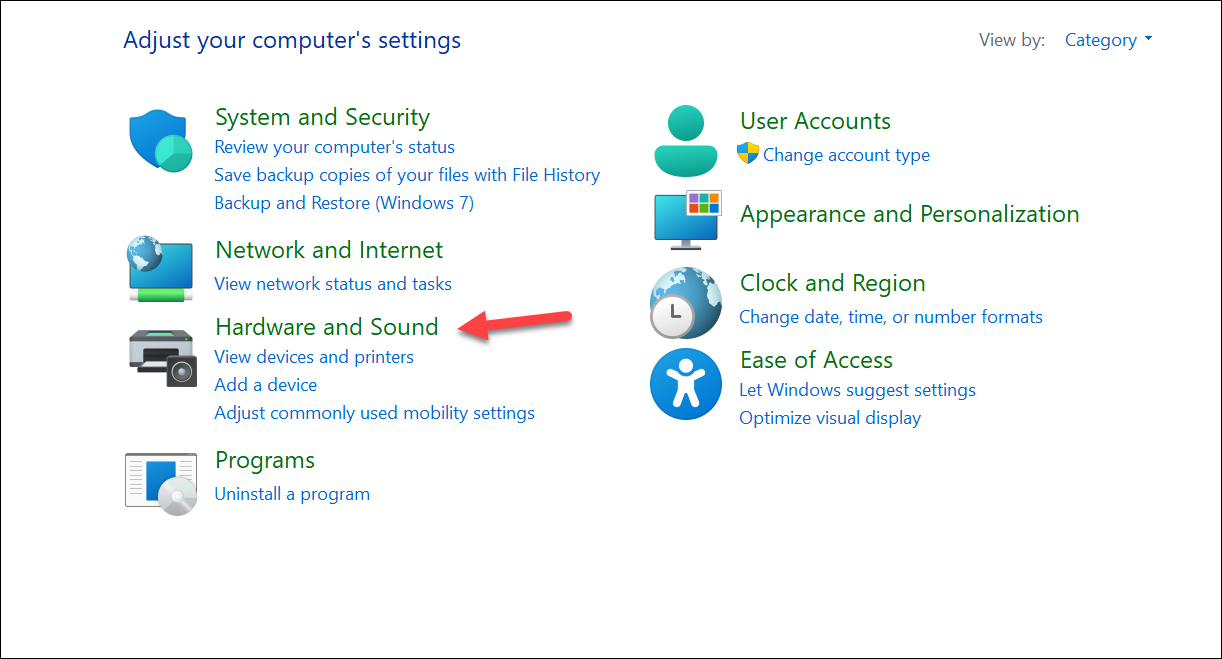
Then, go to ‘Hardware and Sound’ settings.
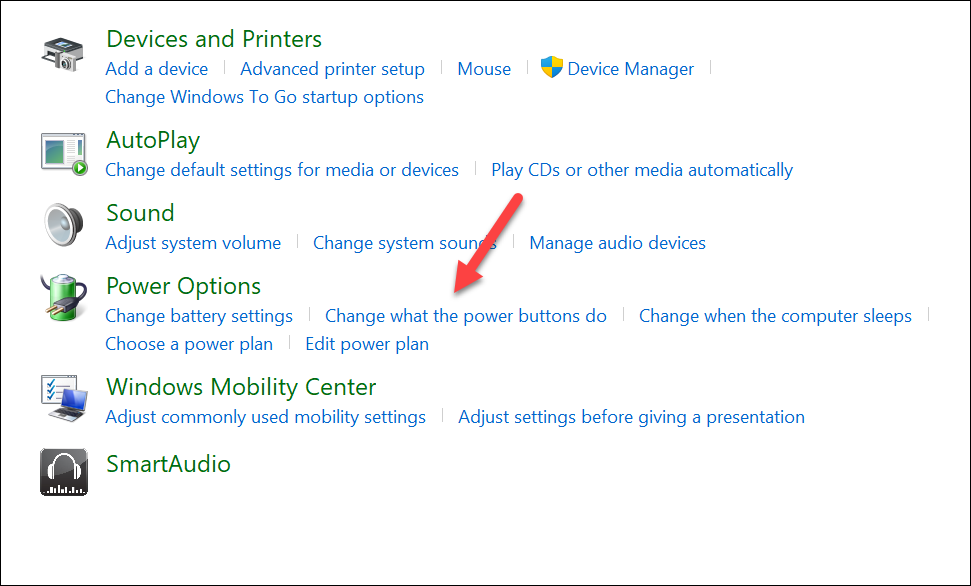
Go to ‘Power Options’ and click the ‘Change what the Power Options Do’ setting.
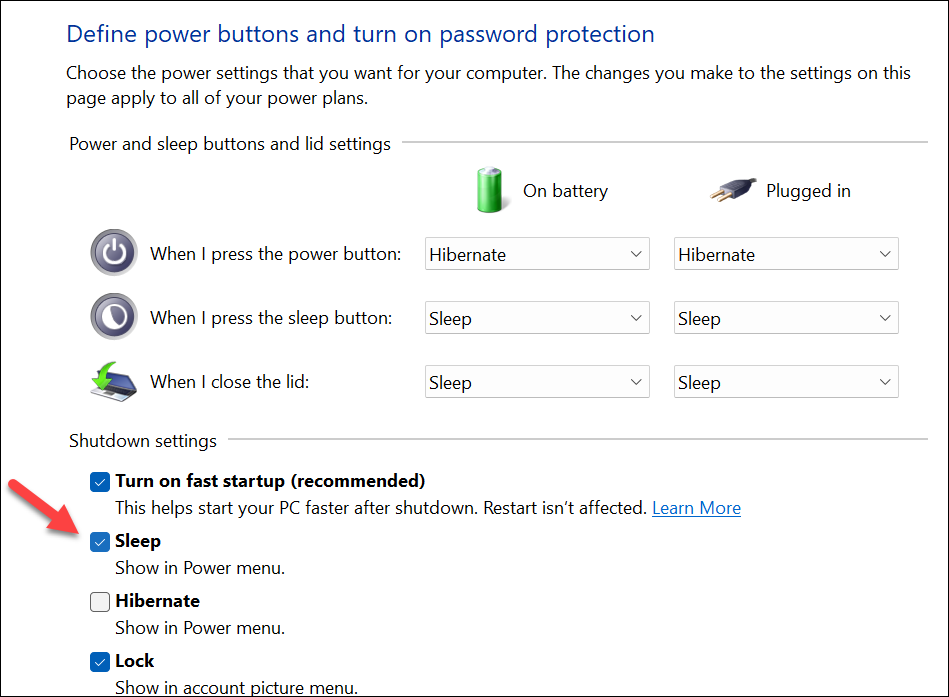
Then, click the option for ‘Change settings that are currently unavailable’.
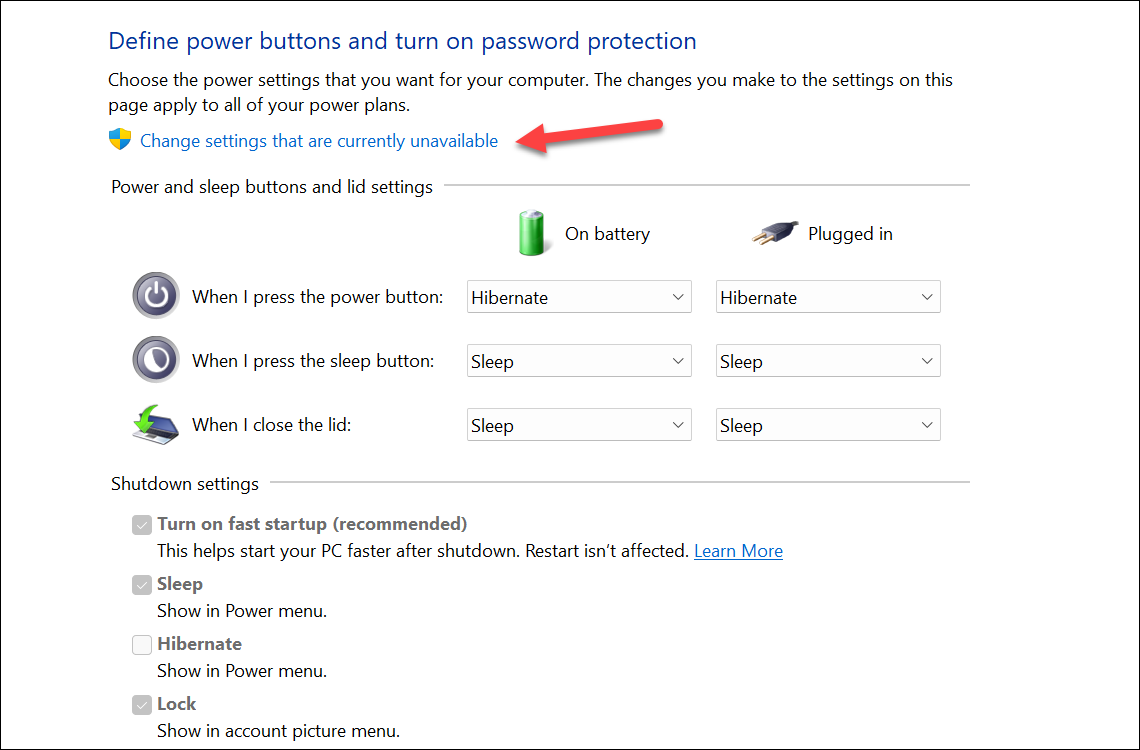
Finally, check the option for ‘Sleep’ (if it is already checked, uncheck and then check it again).
5. Tweak Registry Files
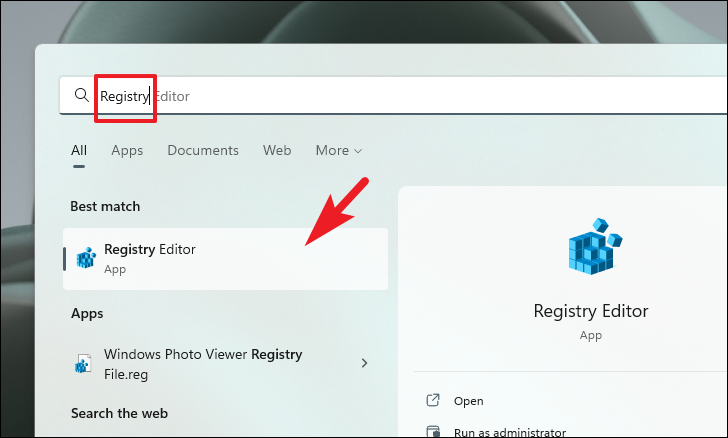
First, head to the Start Menu and type ‘Registry.’ Then, click on the ‘Registry Editor’ tile from the search results to proceed.
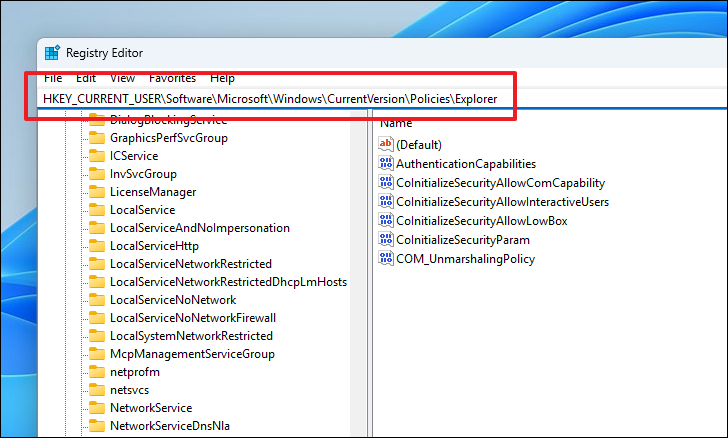
On the Registry Editor window, type or copy and paste the below-mentioned directory in the address and hit Enter.
HKEY_CURRENT_USER\Software\Microsoft\Windows\CurrentVersion\Policies\Explorer
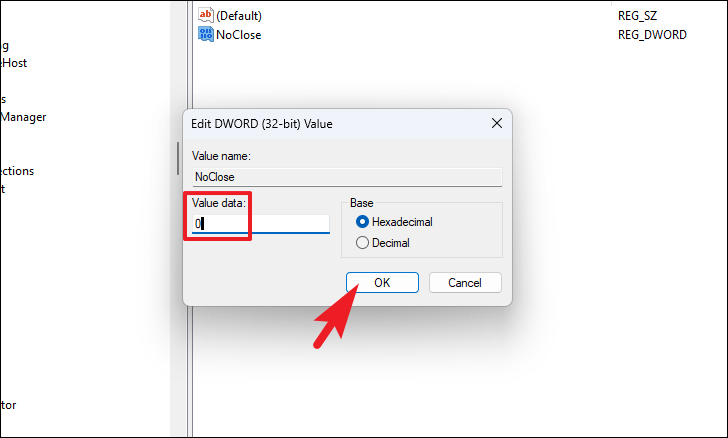
Then, on the right section of the screen, double-click on the ‘NoClose’ registry.
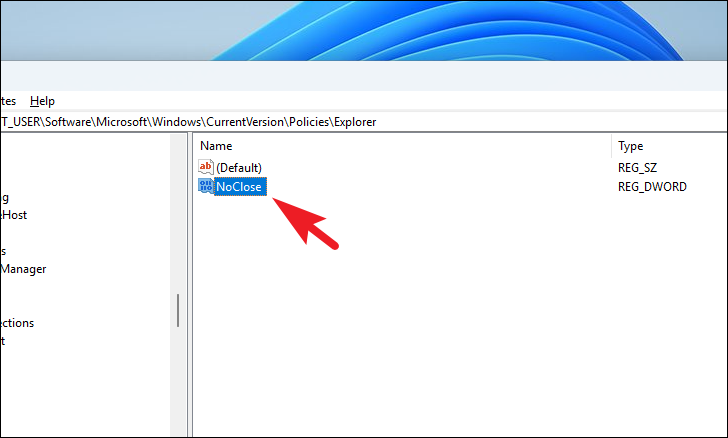
Next, overwrite the ‘Value’ field to 0 (Zero) and click ‘OK’ to apply changes.
Finally, restart your PC and check if the issue was resolved.
6. Edit Group Policy Settings
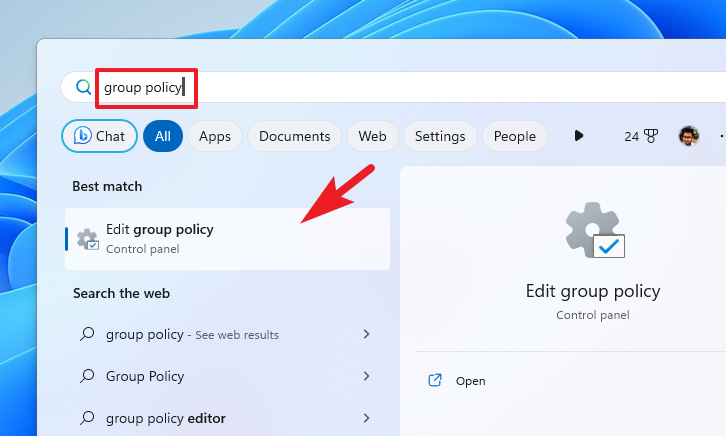
First, head to the Start Menu and type ‘Group Policy.’ Then, click on the ‘Edit group policy’ tile from the search results to proceed.
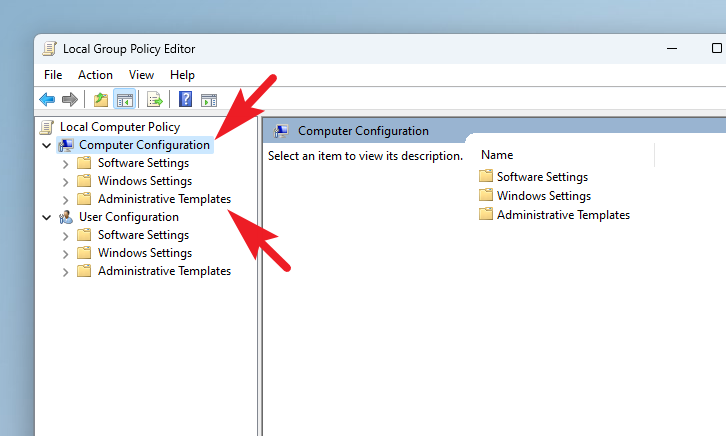
After that, select ‘Computer Configuration’ and then select ‘Administrative Templates’ from the left sidebar.
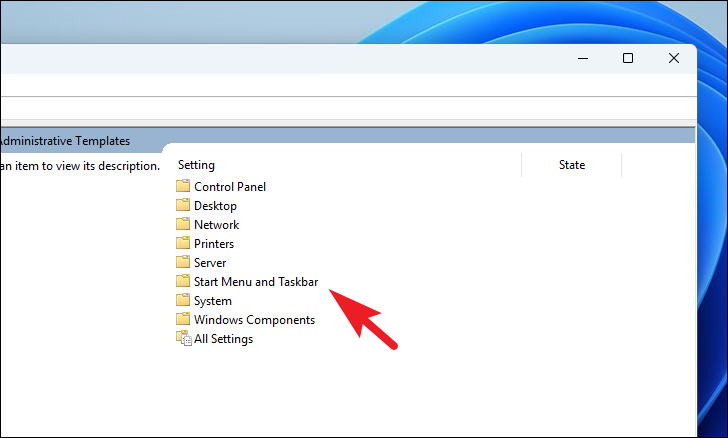
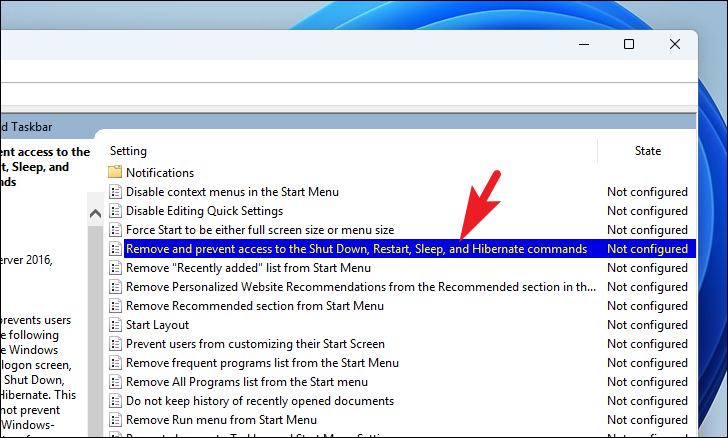
Next, from the right section of the window, click on ‘Start Menu and Taskbar’ to proceed.
Then, locate and double-click on the ‘Remove and prevent access to the Shut Down, Restart, Sleep, and Hibernate commands’ policy.
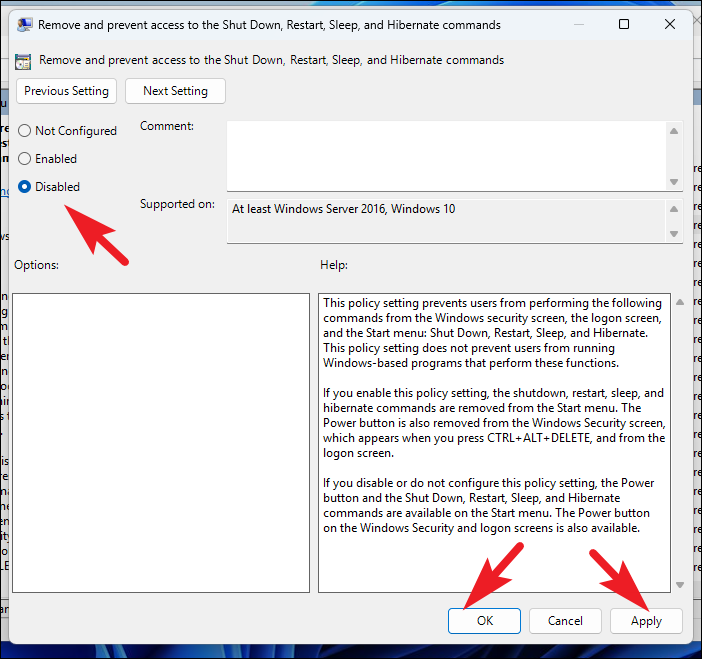
On the properties window, select the ‘Disabled’ option. Then, click ‘Apply’ and ‘OK’ to save the changes.
Once done, restart your PC from the Start Menu and check if the issue was resolved.
7. Perform a Clean Boot
A third-party software/service could also interfere with the power settings configuration and yield exceptional results. Clean boot loads the OS with only essential services and Microsoft-only software as a countermeasure.
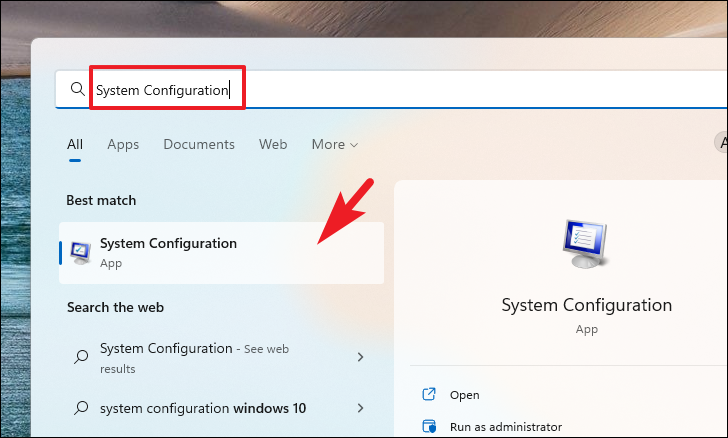
First, head to the Start Menu and type ‘System Configuration’ to perform a search. Then, click on the ‘System Configuration’ tile.
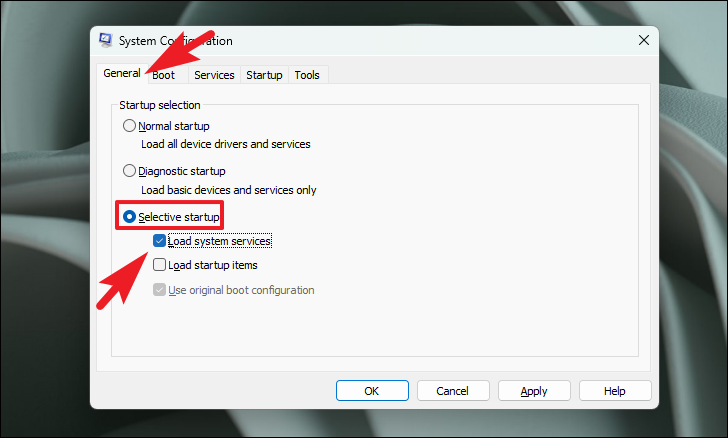
Then, select the ‘Selective startup’ option on the ‘General’ tab. Afterward, check the ‘Load system services’ option.
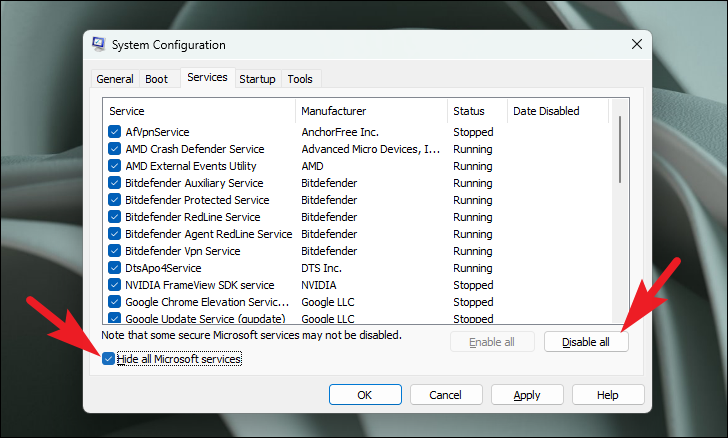
Head to the ‘Services’ tab and click the ‘Hide all Microsoft services’ option. After that, click on the ‘Disable all’ button.
Finally, restart your PC from the Start Menu and check if the issue has been resolved.
8. Roll Back to a System Restore Point
If you recently installed software or service on your PC, after which the Power options seem to malfunction, restoring your PC using a restore point can rectify the issue.
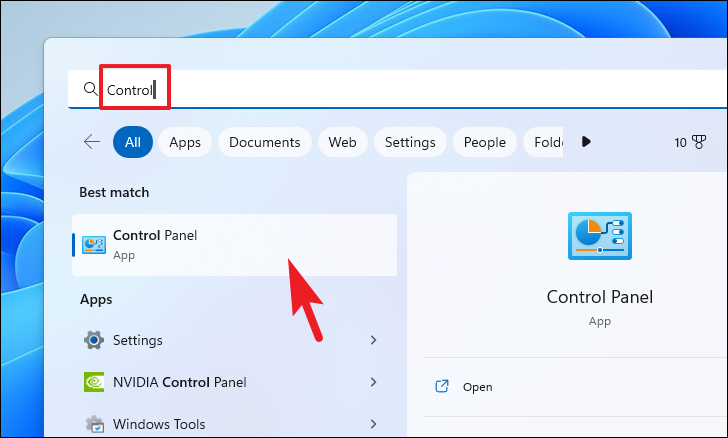
Head to the Start Menu and type ‘Control.’ Then, click on the ‘Control Panel’ tile from the search results to proceed.
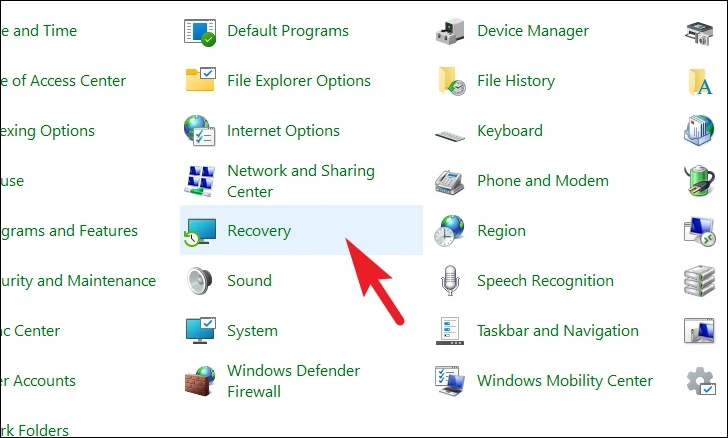
After that, locate and click on the ‘Recovery’ tile from the grid of icons.
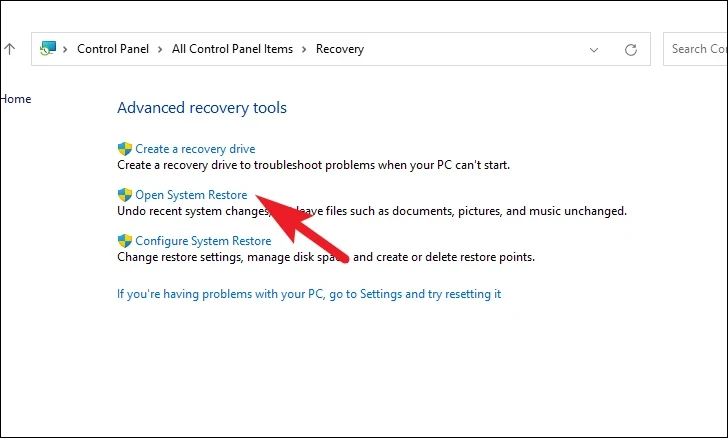
Next, click on the ‘Open System Restore’ option from the list. This will open a separate window on your screen.
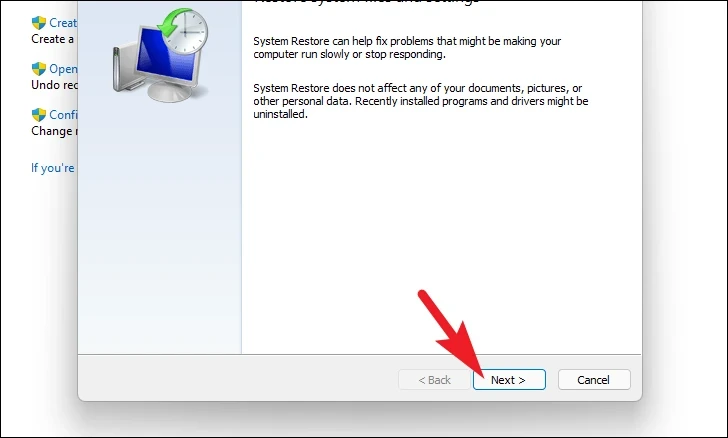
From the separately opened window, click on the ‘Next’ button.
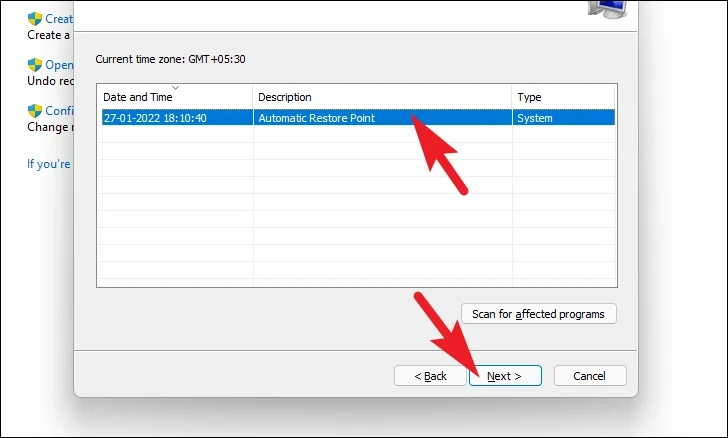
All created system restore points will be listed on the screen. Click to select the desired one and then click on the ‘Next’ button to initiate the rolling back process.
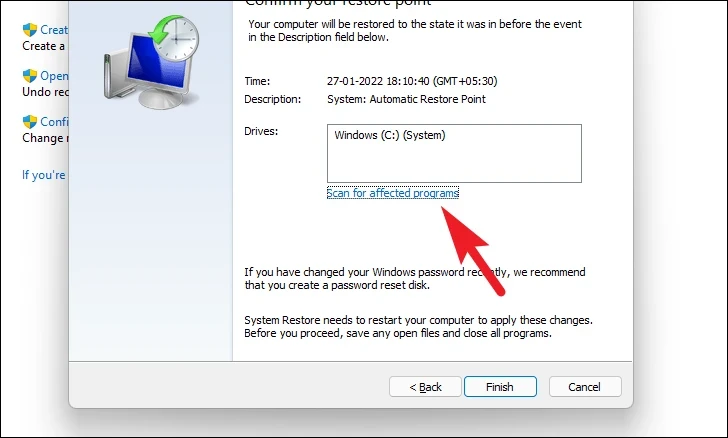
Next, a list of drives impacted by the rollback will be displayed, along with the timestamp of the restore point created. You can also check the programs that will be affected. Click on the ‘Scan for affected programs’ button. A new window will appear on the screen.
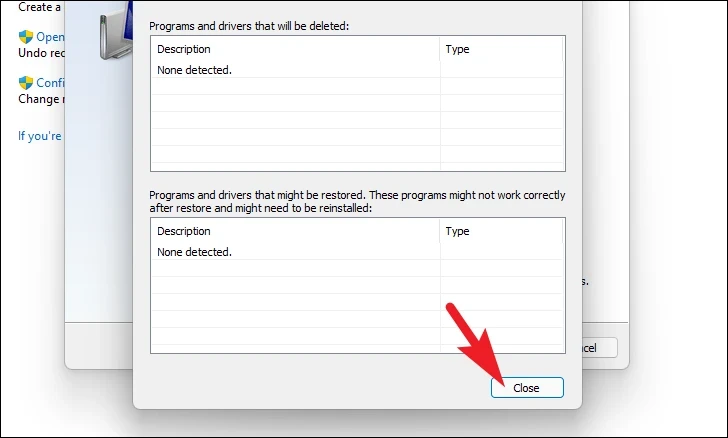
On the new window, you can view the programs that will be deleted and the ones that will be restored (since no programs will be affected on the test PC, the list in the screenshot below is empty). Click on the ‘Close’ button to navigate to the previous window.
Finally, click the ‘Finish’ button to initiate the rollback process.

9. Reset Your PC
If you do not have a restore point created, you can reset your PC. Resetting your PC will bring all the system settings to the factory default without tampering with your files, folders, and programs. This should bring back all the power options normally available in the OS.
First, head to the Settings app from the Start Menu.
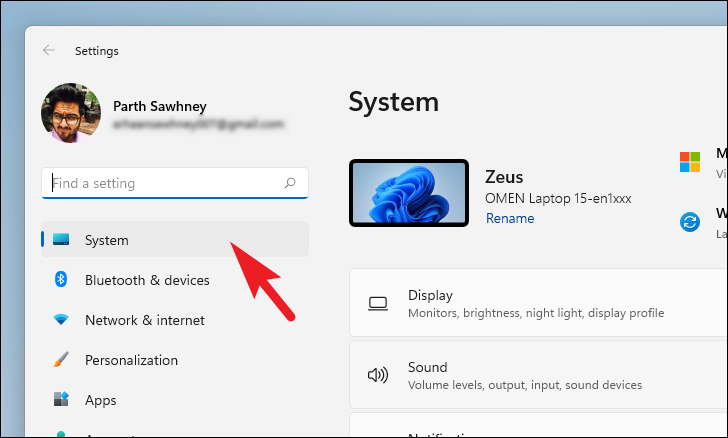
After that, make sure you have selected the ‘System’ tab from the left sidebar present on the Settings window.
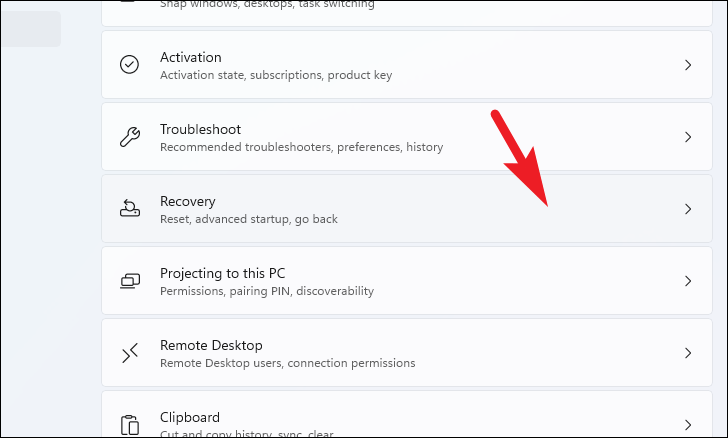
Next, from the right section of the window, scroll down to locate and click on the ‘Recovery’ tile to continue.
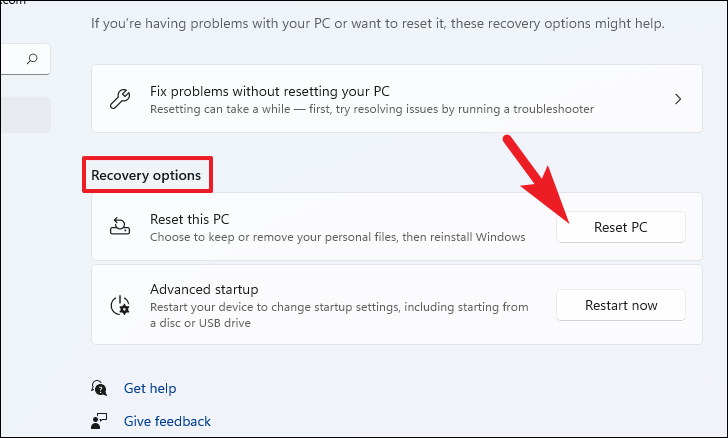
Now, locate the ‘Reset this PC’ tile under the ‘Recovery options’ section and click the ‘Reset PC’ button on the tile’s far right edge. This will open a separate window.
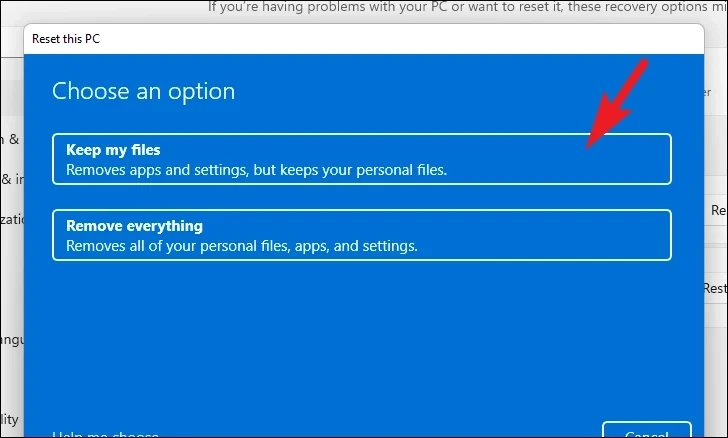
You will have two options on the separate ‘Reset this PC’ window. Choose ‘Keep my files’ by clicking on it to roll the system settings and apps to a fresh start while keeping your files and folders intact.
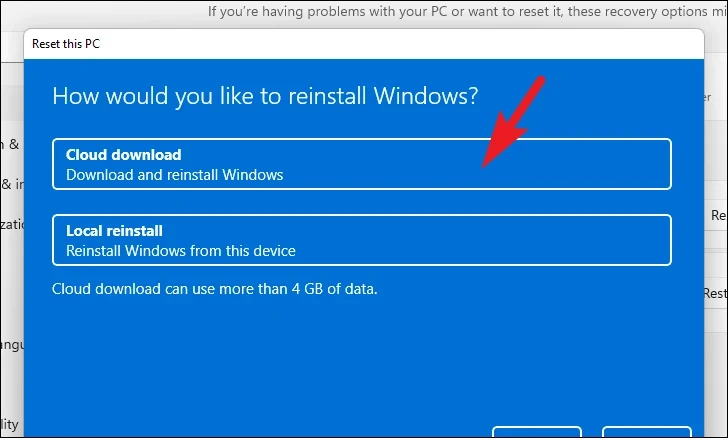
On the next screen, you must choose a method for reinstalling the operating system on your machine. Since there could be an issue with the copy already present on your system, it is recommended that you click on the ‘Cloud download’ option.
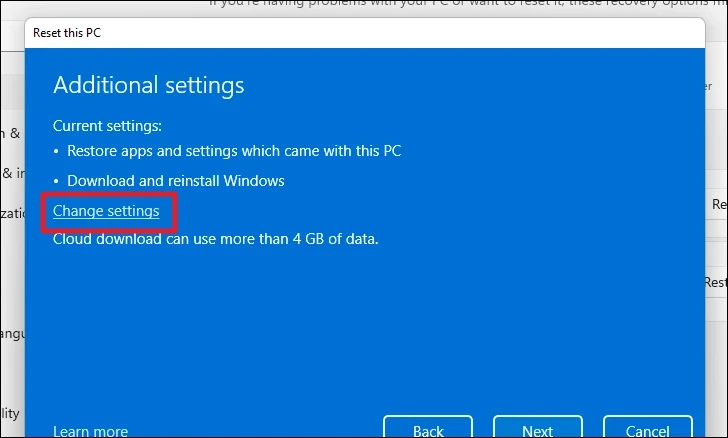
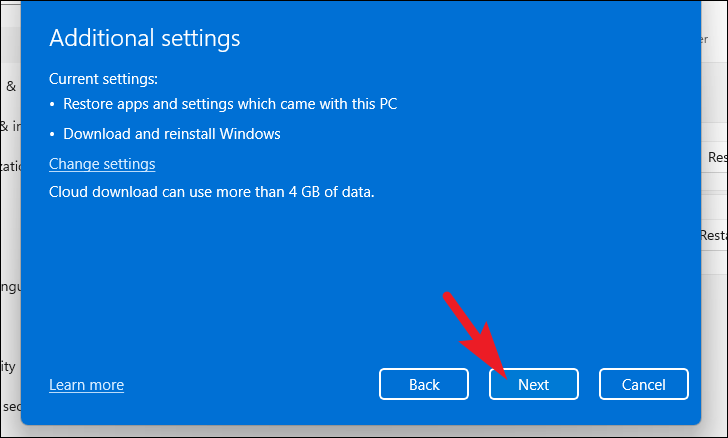
After that, Windows will list the settings that you have chosen. Suppose you wish to change any of it, click the ‘Change settings’ option to continue.
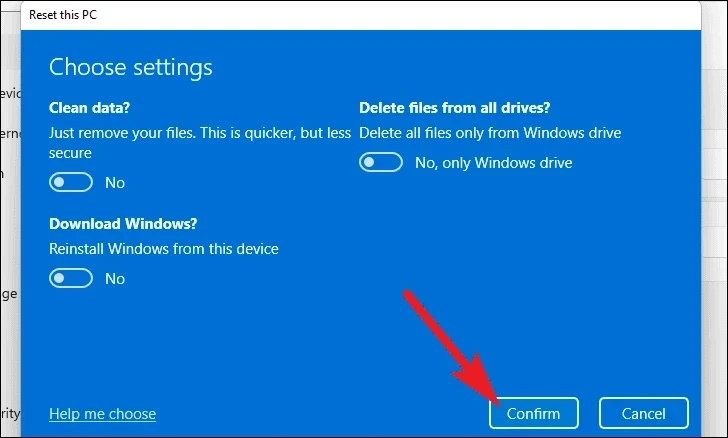
You can configure the following settings on the next screen. You can choose not to restore the apps and settings by clicking the ‘Restore preinstalled apps?’ toggle. You can switch from cloud download to the local installation by clicking on the ‘Download Windows?’ toggle. Once done, click ‘Confirm’ to proceed.
On the main screen, click ‘Next’ to proceed.
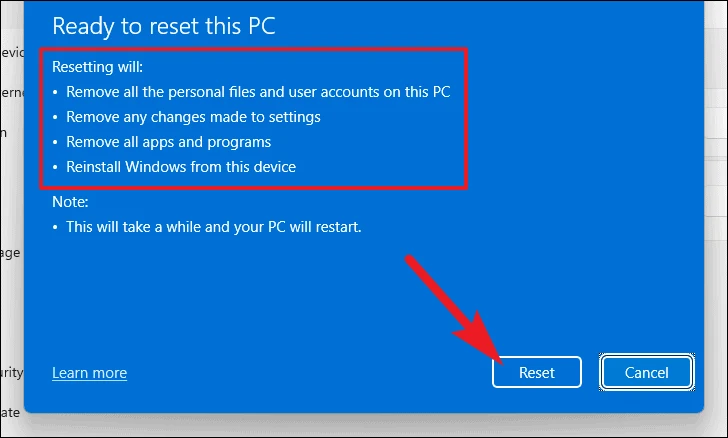
It might take a while for Windows to load the next screen. On the next screen, Windows will list the impact of resetting your PC. Read them carefully and click the ‘Reset’ button to start resetting. Your machine may restart several times, which is completely normal.
Having no power options can create an inconvenience since you can no longer adjust the performance delivery of your computer, more so if you own a laptop computer. That being said, we are sure you will be able to resolve the issue by the time you reach the end of this guide.