Windows Security is the built-in protection suite in Windows 11, and it runs Microsoft Defender Antivirus by default the moment you sign in. It handles real-time scanning, firewall controls, SmartScreen, ransomware safeguards, and account protection from one app. Turning it off is sometimes useful, such as when a known-safe file gets blocked or you are installing a different antivirus, but the way you disable it depends on whether you want a short pause or a lasting change.
Open the Windows Security app first
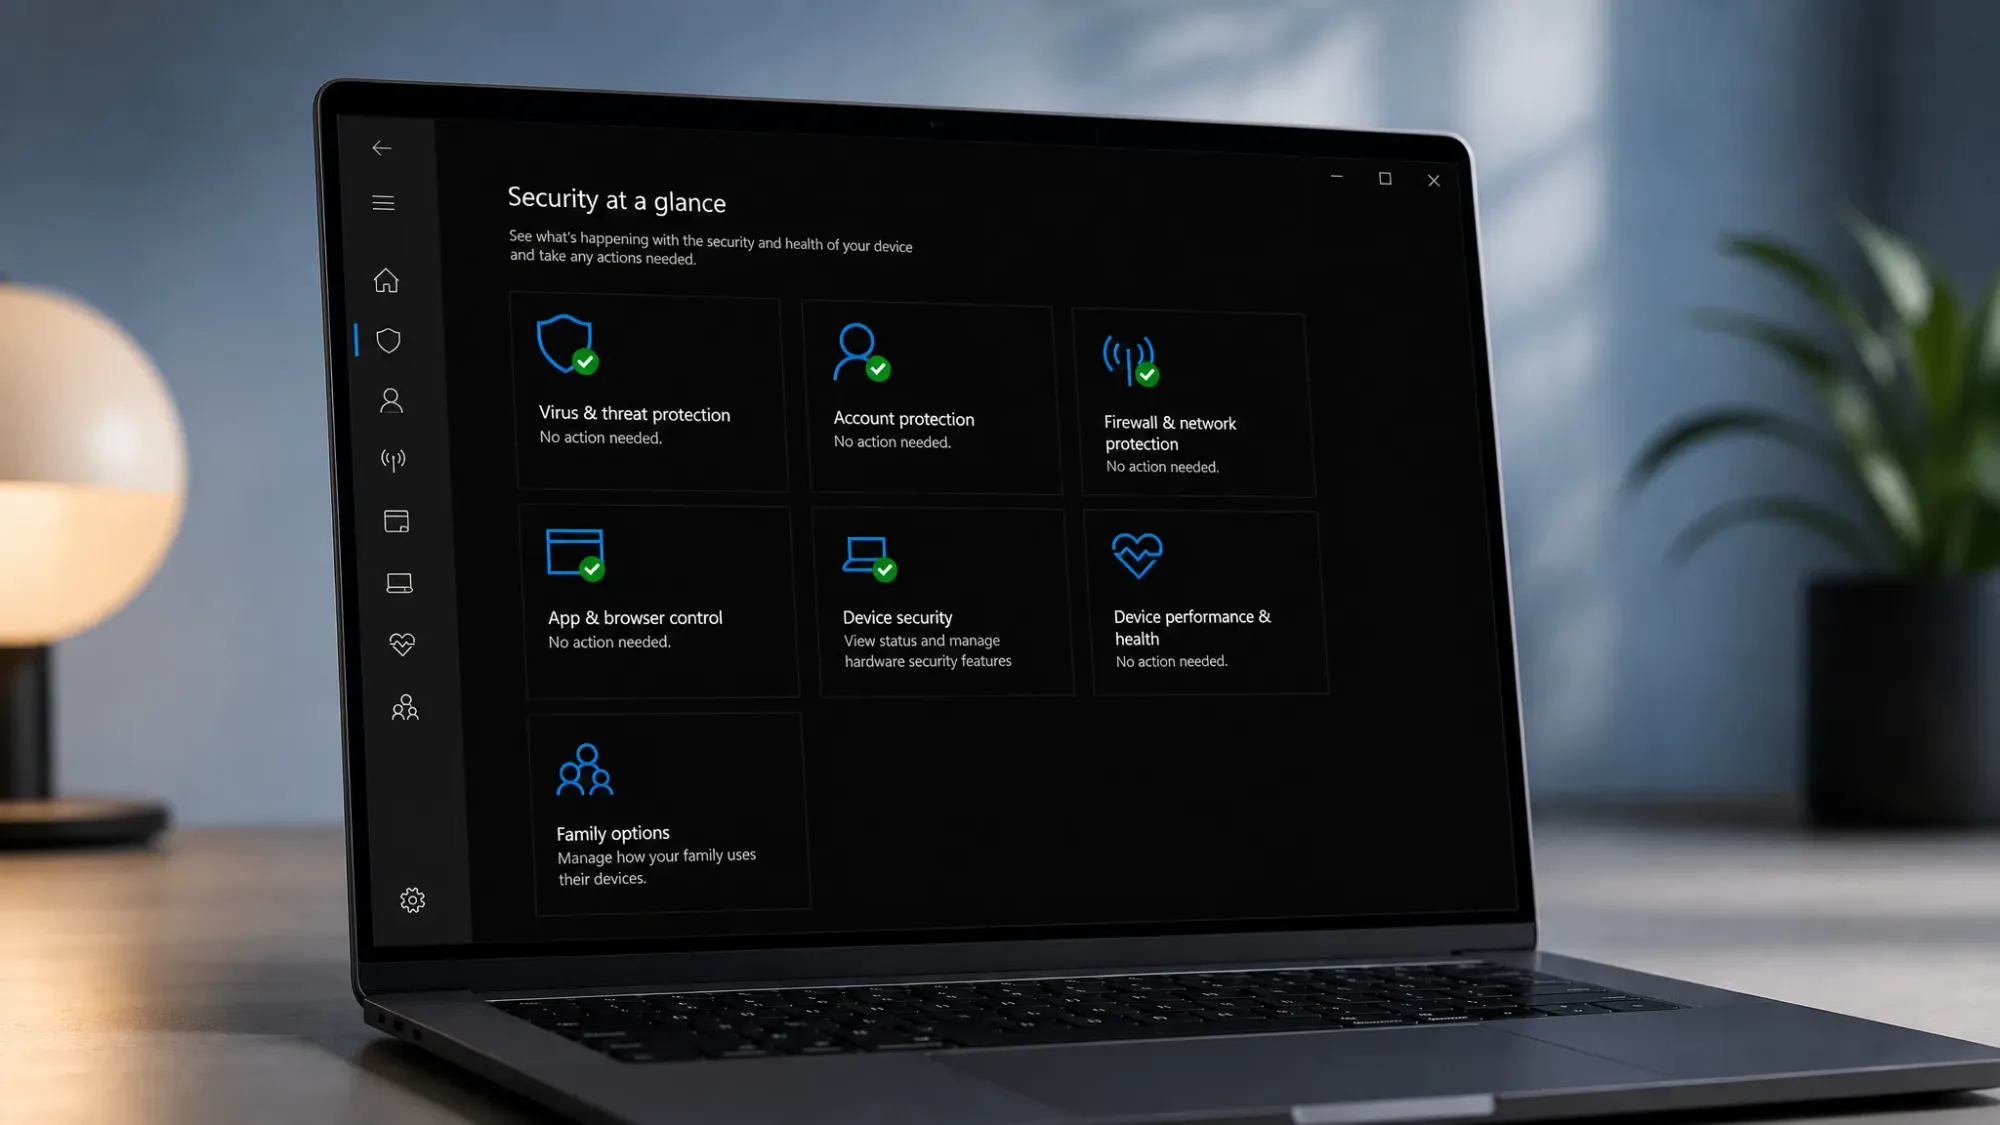
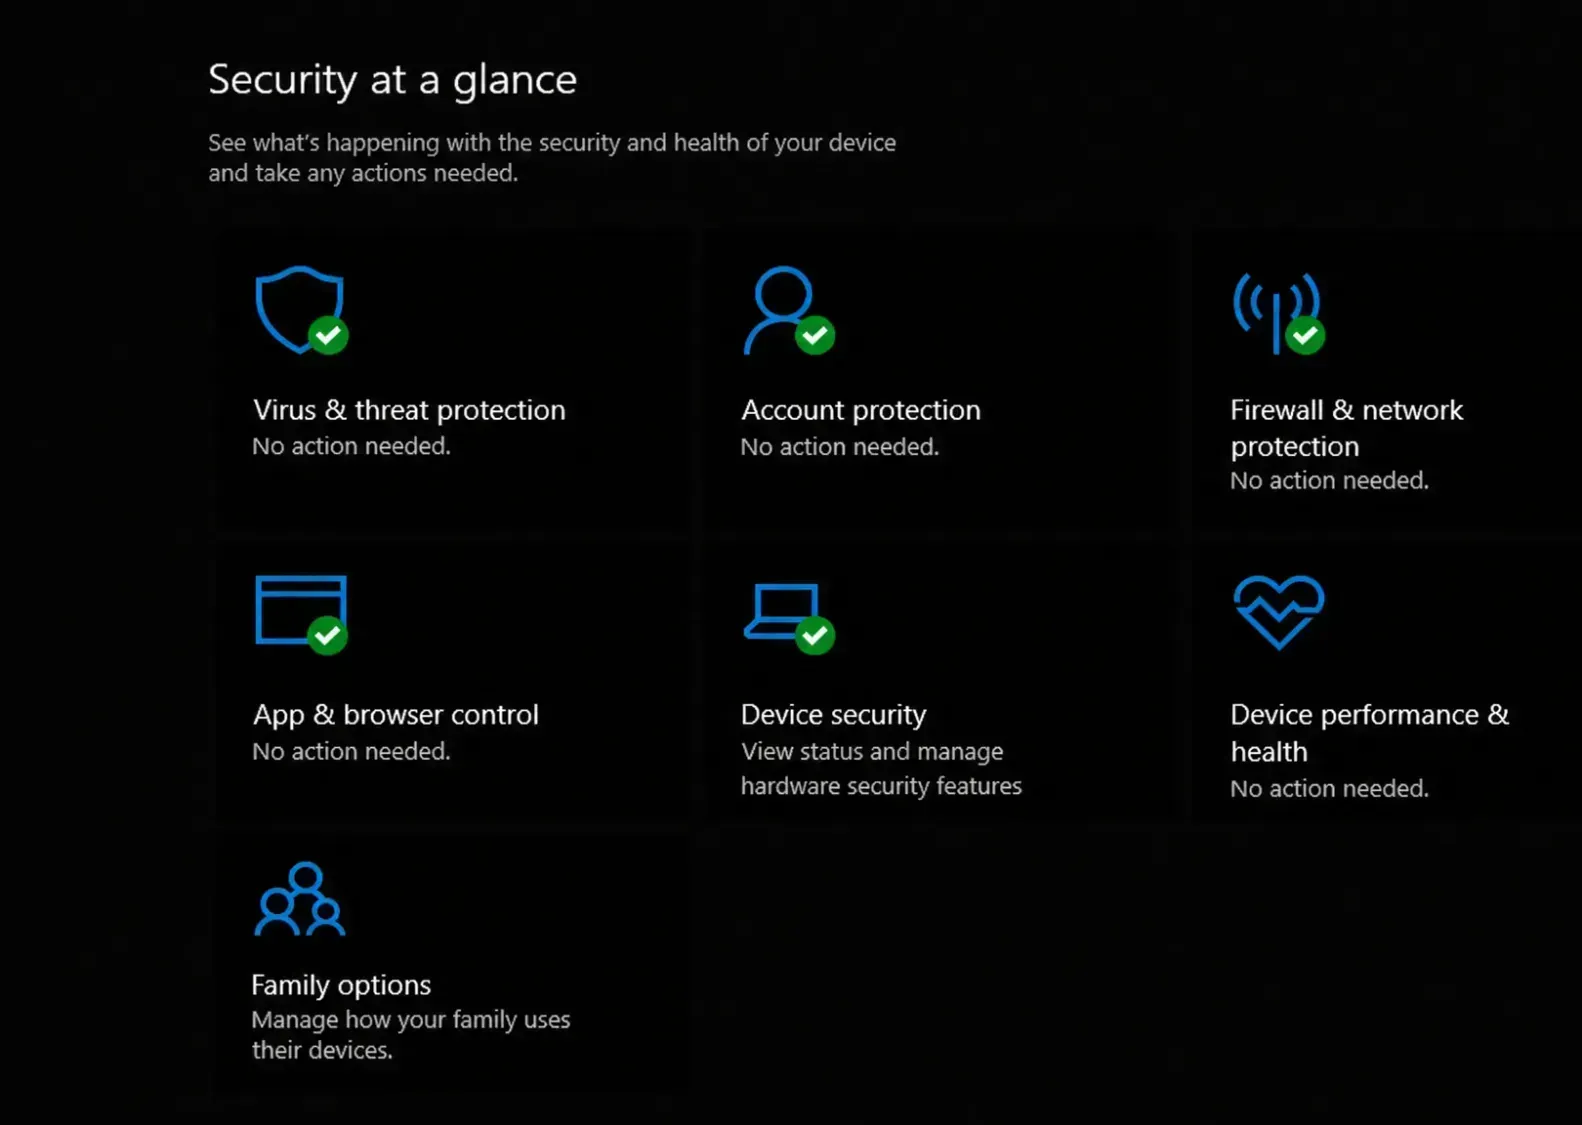
Every method starts in the Windows Security app, which is your central dashboard for Virus & threat protection, Firewall & network protection, Account protection, App & browser control, Device security, and more. You can read about what each area does on Microsoft’s Windows Security overview.
You can also reach the app from the shield icon in the taskbar corner, the Start menu’s All apps list, or by typing Windows Security into search.
Temporarily disable Windows Security (real-time protection)
This is the supported, reversible method. It pauses active scanning without uninstalling anything, which is ideal for installing a build or reaching a file you trust.
To turn it back on, return to the same screen and switch Real-time protection back to On.
Disable Tamper Protection before any lasting change
Tamper Protection blocks unauthorized changes to Defender settings. If it is on, Group Policy and registry edits get reversed the next time the PC reboots, so you must turn it off first.
On managed or work devices, this setting may be greyed out because it is controlled centrally. In that case, the change must come from IT, and local edits will be ignored.
Permanently disable Microsoft Defender on Windows 11 Pro (Group Policy)
Group Policy is the supported way to keep Defender’s antivirus off on Pro, Enterprise, and Education editions. The Local Group Policy Editor is not available on Windows 11 Home.
Computer Configuration > Administrative Templates > Windows Components > Microsoft Defender Antivirus.To reverse it, set the same policy back to Disabled or Not Configured and reboot. You can also re-enable antivirus from the Turn On button inside Windows Security without reopening the editor.
Windows 11 Home registry method (legacy and unreliable)
Windows 11 Home does not include gpedit.msc, so older guides point to a registry edit. Be aware that the DisableAntiSpyware key is a legacy setting. It is removed or ignored on many modern builds, and Tamper Protection can block it outright. Treat it as fragile and back up the registry or create a System Restore point first.
DisableAntiSpyware, and set its value to 1.Which method to use
| Method | Edition | Scope | Reverses on its own? |
|---|---|---|---|
| Real-time protection toggle | All | Temporary pause of scanning | Yes, after a short time or reboot |
| Group Policy (Turn off Microsoft Defender Antivirus) | Pro / Enterprise / Education | Lasting antivirus disable | No, stays off until changed |
| Registry (DisableAntiSpyware) | Home (legacy) | Lasting but unreliable | Possibly, after updates |
How to confirm it worked
Open Windows Security and check the Virus & threat protection area. If the antivirus is disabled through Group Policy or the registry, you will see Virus & threat protection listed as off, and you can switch it back on with a Turn On button when you want protection again. When only the real-time toggle is off, Windows shows repeated notifications urging you to turn it back on.
The shield icon in the taskbar does not disappear even after disabling the antivirus. That icon belongs to the overall Windows Security app, not just the antivirus engine, so it stays put. Other parts of the suite, such as the Microsoft Defender Firewall, also keep working unless you turn them off separately.
What happens to protection after you turn it off
With the antivirus disabled, you lose real-time scanning, automatic virus definition updates, and ransomware safeguards. If you are deliberately switching to a different product, install a reputable third-party antivirus first. Windows recognizes many of these products and turns off Microsoft Defender’s real-time scanning automatically. If you later uninstall that third-party app, Microsoft Defender Antivirus turns itself back on.
For a one-off blocked file, a safer alternative than disabling everything is to add a narrow exclusion under Virus & threat protection > Manage settings > Add or remove exclusions. That keeps global protection active while letting the specific file through. If you do disable protection, keep the off-window short and re-enable Tamper Protection once you are done.