

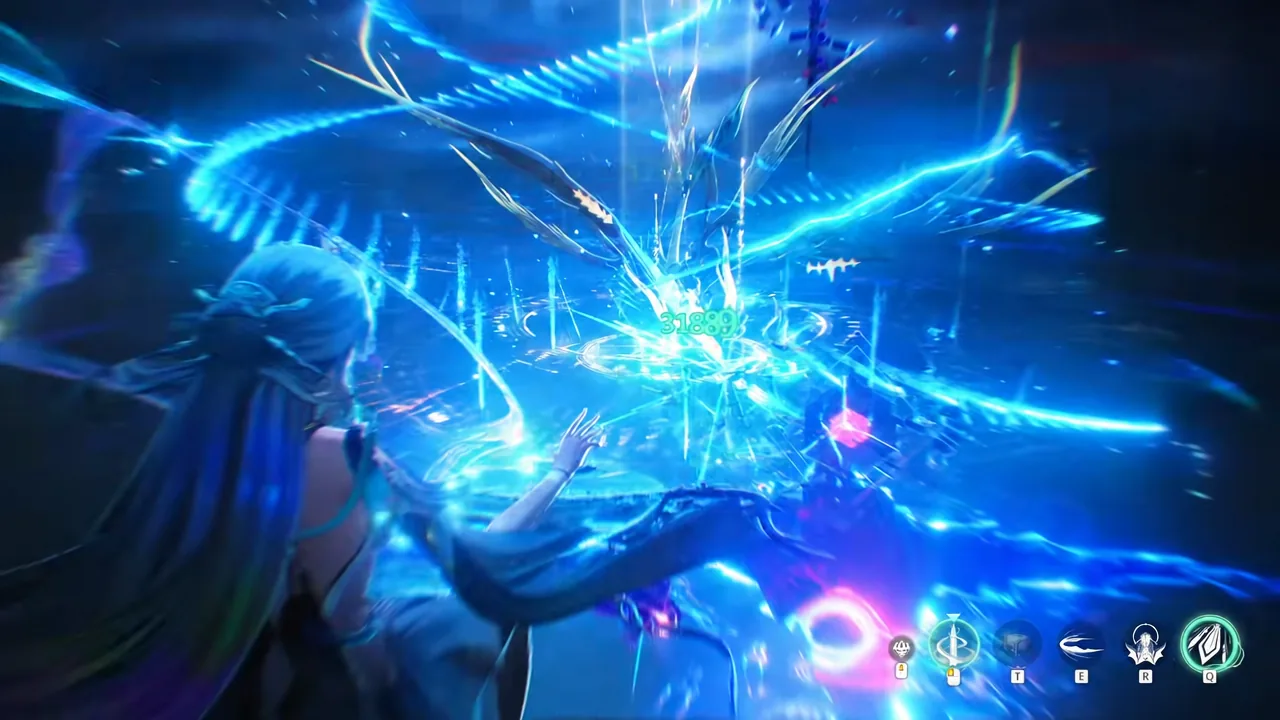
Hiyuki is back on a rerun banner in Wuthering Waves Version 3.6 Phase 2, sharing the spotlight with Mornye while Jingran headlines as the new arrival. She landed as the game’s first Glacio Chafe damage dealer and the 2nd Anniversary flagship, and several patches later she is still sitting in the top tier of main DPS options. The catch is that she has always been an expensive character to run properly, and 3.6 has added more competition at the top than she had at launch.
Quick answer: Pull Hiyuki if you can field her with Chisa or Lucilla and equip either Frostburn or Emerald of Genesis. If you have neither a negative-status support nor a strong sword to spare, the rest of your account will get more out of those pulls.
Where Hiyuki lands in the 3.6 tier rankings
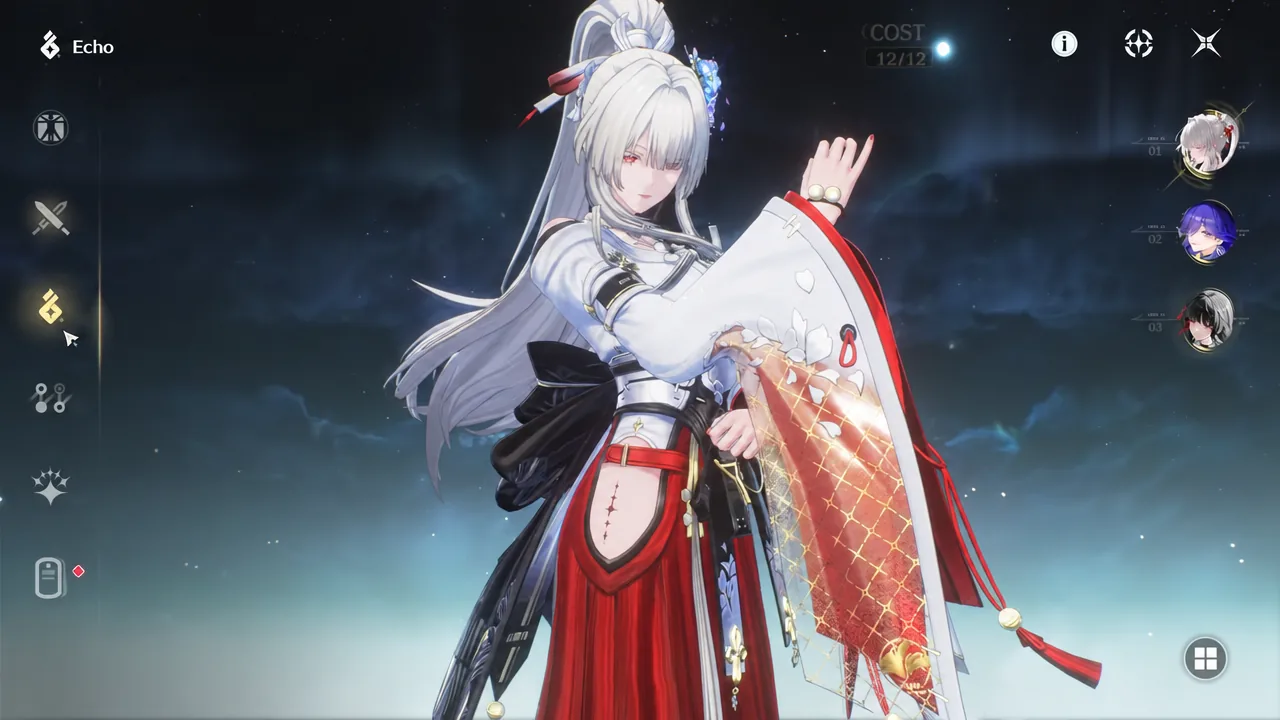
Hiyuki is a 5-star Glacio Sword Resonator from Limited Convene, voiced in English by Mei Mac. She still holds an SS ranking overall, as a Main DPS, and in both endgame modes — Tower of Adversity and Whimpering Wastes. In the Version 3.6 Main DPS rankings she shares Tier 1 with Aemeath, Yangyang-Xuanling, Qingxiao, and Jingran.
That is the important shift since her debut. She is not a lone hypercarry at the top anymore, but nothing has pushed her out of the top bracket either. At level 90 she brings 10,300 HP, 462 ATK, and 1,112 DEF before Forte bonuses, with the usual 5 percent Crit Rate and 150 percent Crit DMG baseline.
How Hiyuki’s Glacio Chafe and dual-form kit works
Hiyuki swaps between two stances. She starts in Present Self, where a three-hit basic chain and her Resonance Skill build Dedication, capped at 300 points. Once Dedication is full, her Heavy Attack fires three arrows, and the last one consumes 300 Dedication and opens up Foreclaiming: Inward Vision.
Casting that transitions her into Foreclaimed Self, grants 3 points of Frostharden Iai, and restores 50 Frostheart. In this form her basic chain extends to five hits, and almost everything she does is counted as Resonance Liberation DMG — which is why her damage scales off Resonance Liberation DMG rather than a normal attack bonus. With at least 100 Frostheart she can flash into Iai Stance and spend it on Basic Attack – Iai, which also carries a damage-negation window if an enemy connects during the animation.
Her Forte Circuit is the part that makes her hard to replace. While she is in the team, Glacio Chafe applied by nearby Resonators is converted into Glacio Bite, and each new stack triggers an instance of Glacio Bite DMG. Glacio Bite still counts as Glacio Chafe, so her own applications feed the same system. When Foreclaiming: Inward Vision or Basic Attack – Iai hits a target holding 10 or more stacks, she consumes 10 and triggers Frostbind.
The practical downside is length. Her full loop takes a while to assemble, and getting the payoff out of Foreclaiming: Blade Liberation means feeding it Snowforged Blade points first. She is a high-ceiling character, not a low-effort one.
Endstate Matrix clear times: Hiyuki against the 3.6 damage dealers
The Stability Accords challenge in the Endstate Matrix is a useful stress test because every team fights the same four level 90 bosses back to back — Mourning Aix Lamenting Shadow, Myriad Snare: Rustfire Chassis, Sentry Construct: Gargoyle, and Tempest Mephis: Mourning Thunder. All four setups below cleared 4/4 for the same 10,823 points, so the only meaningful difference is how long each one took.
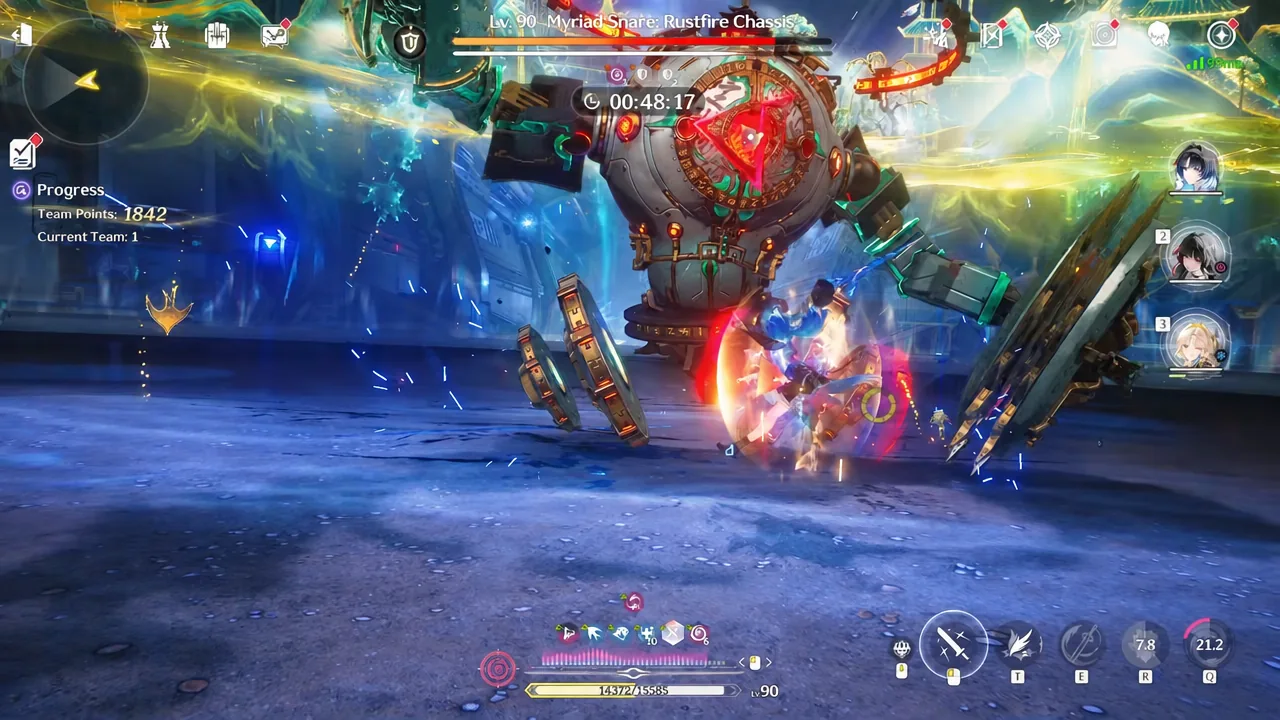
Hiyuki ran with Chisa and Lucilla, using Frostburn, Kumokiri, and Freeze Frame respectively. She finished the gauntlet in roughly three minutes and ten seconds, slower than the Qingxiao and Yangyang-Xuanling teams but ahead of Aemeath.
| Team lead | Supports | Approx. clear time |
|---|---|---|
| Yangyang-Xuanling | Suisui, Chisa | ~2:45 |
| Qingxiao | Mornye, Denia | ~2:47 |
| Hiyuki | Chisa, Lucilla | ~3:09 |
| Aemeath | Chisa, Denia | ~3:34 |
Read those numbers with the matrix modifiers in mind. The Sentry Construct in this rotation carries Glacio resistance, which directly cuts Hiyuki’s output on the third stage. Aemeath had a matching problem on the second boss, which resists Fusion damage and left her without a dedicated skill to lean on. Neither result is a clean ceiling comparison — it is a snapshot of one buff and resistance set.
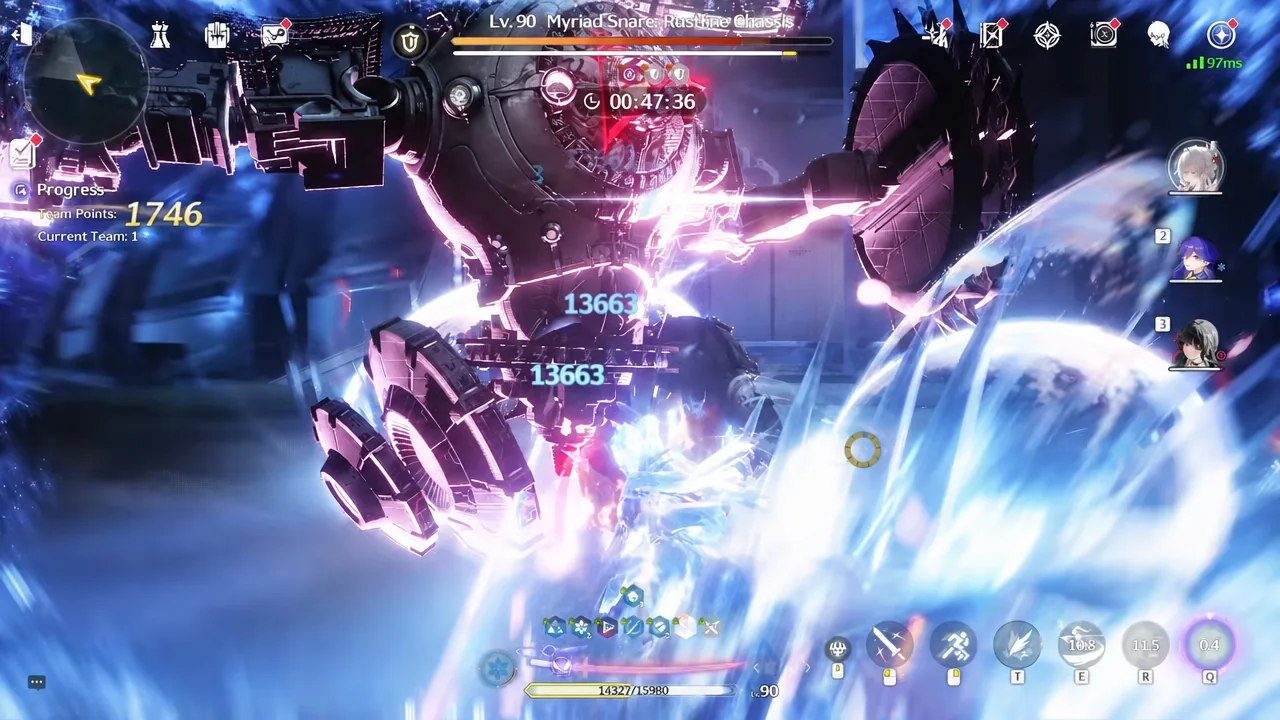
The takeaway for a pull decision: Hiyuki still clears the same content at the same score, on a schedule competitive with the newest releases, even on a matrix that actively works against her element.
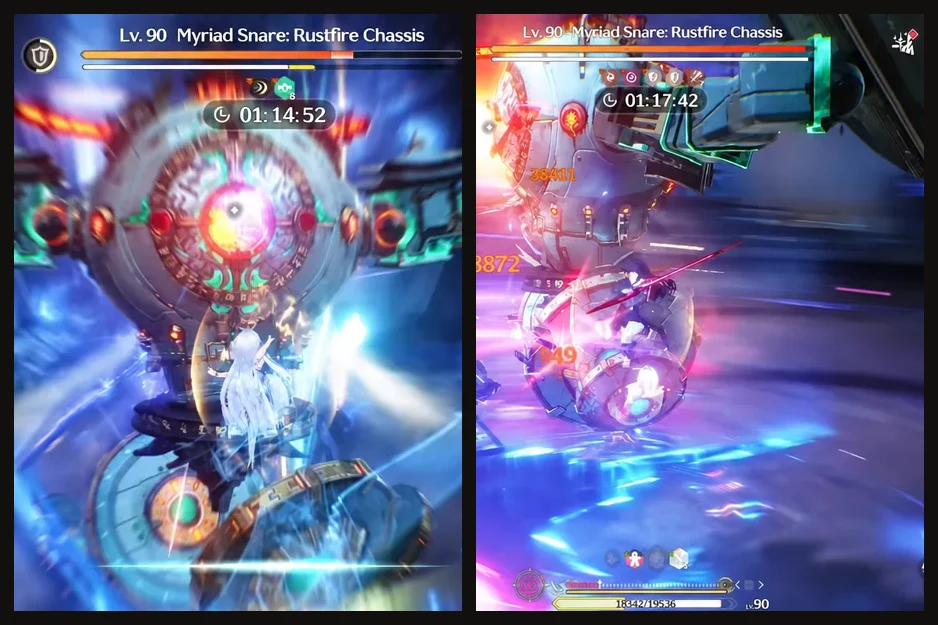
The real cost: Hiyuki’s weapon and team requirements
Frostburn is her signature and the clear best in slot. It adds 12 percent ATK, amplifies Glacio DMG by 28 percent when she applies Glacio Chafe, lets her Resonance Liberation DMG ignore 10 percent of enemy DEF, and amplifies Glacio Chafe DMG by 20 percent for six seconds while she is the active Resonator.
Emerald of Genesis is the standard fallback and the one most players actually run. Damage calculations for the gap between the two land somewhere between roughly 13 and 20 percent depending on the calculator and echo spread, with about 17 percent the most frequently cited figure. That is a real loss, but it is not the kind of gap that locks her out of endgame content.
| Weapon | Why it works on her |
|---|---|
| Frostburn (5★) | Signature. Glacio amplification tied to Chafe application plus DEF ignore on Liberation DMG. |
| Emerald of Genesis (5★) | Best non-signature option. 12.8% Energy Regen and stacking ATK after Resonance Skill. |
| Ages of Harvest (5★) | Crit Rate substat with stacking ATK and Liberation DMG. |
| Red Spring (5★) | 12% ATK with Basic Attack DMG stacking. |
| Feather Edge (4★) | Budget fallback, roughly 75–80% of signature performance. |
Teammates matter more than the weapon. Hiyuki benefits enormously from Resonators built around negative statuses, and Chisa and Lucilla are her strongest partners. Chisa applies Havoc Bane, which feeds her stack generation, and Lucilla adds off-field pressure. Lynae works as a flexible general sub-DPS if you are missing those two. If none of those are on your account, a large chunk of Hiyuki’s kit sits idle.
Note: if your pull budget only covers one thing, the support usually pays off more than the sword. A well-built team with Emerald of Genesis beats a solo Hiyuki holding Frostburn.
Hiyuki build: echoes, main stats, and substat priority
She builds like a conventional ATK-scaling DPS despite the Chafe mechanic. Run the 5-piece Wishes of Quiet Snowfall set with Reminiscence: Threnodian – Voidborne Construct as the main echo, which passively grants 12 percent Glacio and Resonance Liberation DMG Bonus — both stats she scales with — and is a summon-type echo that slots cleanly into her combo. Freezing Frost with Lampylumen Myriad is the stopgap while you farm.
| Slot | Main stat |
|---|---|
| 4-Cost | Crit Rate or Crit DMG |
| 3-Cost ×2 | Glacio DMG (ATK% if you are short on ATK) |
| 1-Cost ×2 | ATK% |
For substats, push toward a roughly 70:250 crit ratio, get Energy Regen to around 120 percent, then stack Resonance Liberation DMG Bonus and ATK% with whatever is left. Skill leveling goes Basic Attack first, then Resonance Skill, Resonance Liberation, Forte Circuit, and Intro Skill last.
Which Hiyuki sequence nodes are worth pulling for
S0 clears everything. The nodes below are upgrades, not requirements, and the value drops off sharply after the first two for most accounts.
| Node | Effect and value |
|---|---|
| S1 | Stacks of Herald of Revival boost Purge of Frost by up to 80 percent. The clear sweet spot. |
| S2 | Recovers 40 Dedication after four seconds out of combat. Best for quick-swap play. |
| S3 | Dedication and ATK stacks after Intro Skill, up to 50 percent ATK. |
| S4 | Team-wide 20 percent Attribute DMG Bonus for 20 seconds. |
| S5 | Liberation DMG multiplier up 120 percent. |
| S6 | Additional 45 percent multiplier and 71 percent higher Dedication consumption bonus. |
When to skip the Hiyuki rerun
Skip if you have a fully invested Carlotta and no interest in rebuilding a Glacio core, if you cannot commit to Chisa or Lucilla, or if you dislike long execution-heavy rotations. Her combo demands practice, and a sloppy loop wastes most of what makes her strong.
Pull if you need a main DPS at all, want stronger Tower of Adversity and Whimpering Wastes results, or already own the supports that feed her Glacio Chafe engine. For new accounts, she remains one of the better DPS units to build around, with the caveat that her support pool is narrower than most.
Nothing in 3.6 has knocked Hiyuki out of the top tier — she still clears the same endgame content at the same scores as the newest damage dealers, even on a matrix that resists her element. What has changed is that she now has company up there, so the question is less about her raw power and more about whether your roster can pay her entry fee.





