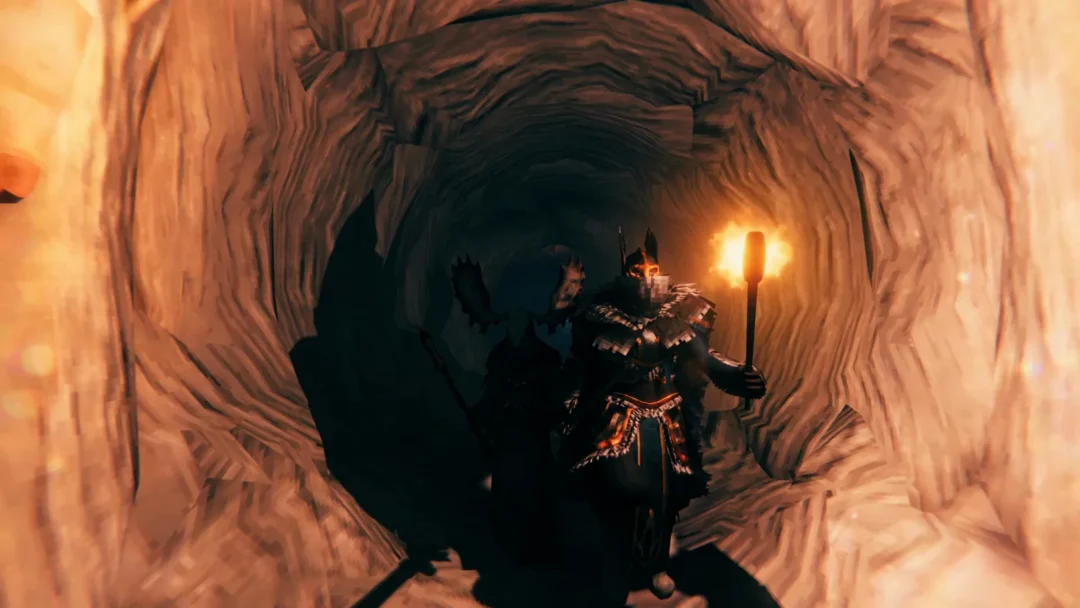
Qingxiao is a 5-star Aero sword Resonator built around a two-stance loop, a stacking debuff called Mindlock, and a burst state named Ephemeral Transcendence. Most players will run her at S0R1 — no Sequence Nodes, one copy of her signature weapon — and that configuration changes how her damage actually lands compared to the other Main DPS units sitting at the top of the roster.
Quick answer: At S0, put Glint of Clouds on Qingxiao before chasing her first Sequence Node. The weapon is a guaranteed pull, and its five stacks of Aero DMG Bonus plus 10% DEF ignore feed every skill in her damage window, while S1 mostly adds Crit Rate and a second Swordlight Ward.
How Qingxiao’s damage engine works: stances, Mindlock, and Ephemeral Transcendence
Her Basic Attack chain alternates between Sheathed Stance and Drawn Stance. Damage dealt in Sheathed Stance builds Qin Heart, damage in Drawn Stance builds Sword Cadence, and both cap at 100 points. When they are full, Heavy Attack – Stringblade unlocks, consumes both meters, and drops her into Ephemeral Transcendence.
Inside that state, her Basic Attacks and Dodge Counters are enhanced and build Heart Sword Intent. At full Heart Sword Intent, Heavy Attack – Heaven’s Reckoning: Ephemeral Transcendence becomes available, spends the meter, and ends the state. That final hit is the payoff of the whole rotation.
Mindlock is the multiplier on top. It stacks up to 15 times, applied whenever a team member inflicts Tune Strain – Interfered on the target. Each stack amplifies damage from Heavy Attack – Stringblade, Basic Attack and Dodge Counter during Ephemeral Transcendence, Heaven’s Reckoning, and her Resonance Liberation by 2% — with an extra 5% per stack for the first seven. Heaven’s Clarity adds three stacks when she casts Heavy Attack – Stringblade and raises the next Heaven’s Reckoning multiplier by 100%, though swapping to another Resonator cancels that bonus.
Note: Swordlight Ward is what keeps the loop from breaking. At S0 it holds one stack, granted by Intro Skill – Tonality Shift or Heavy Attack – Stringblade, and consuming it gives interruption immunity plus 60% damage reduction for one second, once per second.
S0R1 explained: Glint of Clouds versus Sequence Node 1
Glint of Clouds is a sword with 500 base ATK and 36% Crit Rate. At R1 it grants 12% ATK, and each application of Tune Strain – Shifting adds 11.2% Aero DMG Bonus for two seconds, stacking five times with a 0.5-second trigger interval. Hitting the cap extends that bonus to 30 seconds and makes her Aero damage ignore 10% of the target’s DEF for the duration.
Her first Sequence Node takes a different route. It adds 16% Crit Rate, raises the Swordlight Ward cap to two stacks, grants a stack on Heavy Attack – Stringblade, and loads 25 stacks of Exorcising Seal on entering combat. Those seals convert into Juque Perdition, an Aero hit worth 400% of her ATK counted as Basic Attack damage, triggerable once per second, with each consumed stack raising the target’s damage taken from that hit by 4% for two seconds.
| Investment | What it gives | Why it matters at S0 |
|---|---|---|
| Glint of Clouds (R1) | 12% ATK, up to 5 stacks of 11.2% Aero DMG Bonus, 30s extension at max stacks, 10% DEF ignore | Scales every Aero hit in the rotation and is a guaranteed pull on the weapon banner |
| Sequence Node 1 | 16% Crit Rate, second Swordlight Ward stack, 25 Exorcising Seal stacks, Juque Perdition (400% ATK) | More survivability and coordinated damage, but the character banner runs on a 50:50 |
For raw output per pull spent, the weapon wins. The Aero DMG Bonus and DEF ignore apply to her entire kit rather than a single added attack, and the banner cost is fixed instead of gambling on a 50:50.
How to confirm the Glint of Clouds buff is running
The weapon effect only pays off at five stacks, and Qingxiao applies Tune Strain – Shifting through her own skill damage, once per skill per target. Open your rotation with Intro Skill – Tonality Shift and cycle Severing Note casts into the Stringblade chain so the stacks land before you commit to Heavy Attack – Stringblade.
You know it worked when the Aero DMG Bonus buff icon stops refreshing every two seconds and sits on a 30-second timer instead. That longer timer is the marker for the DEF ignore being active, and it is the window you want Heaven’s Reckoning to land in.
Two things commonly cut the damage short. Swapping away from Qingxiao after Heavy Attack – Stringblade removes the Heaven’s Clarity multiplier increase on her next Heaven’s Reckoning, and firing Heaven’s Reckoning before Mindlock has climbed leaves most of the amplification on the table.
Hazard Tower Floor 4 comparison: Qingxiao, Yangyang: Xuanling, Hiyuki, and Aemeath
The clearest read on where she lands comes from running the same content with each top-end carry. Hazard Tower Floor 4 pits teams against Sigillum: Homebound Starfarer and the Fallacy of No Return Tethys System, both on a timer, so rotation length matters as much as raw multipliers.
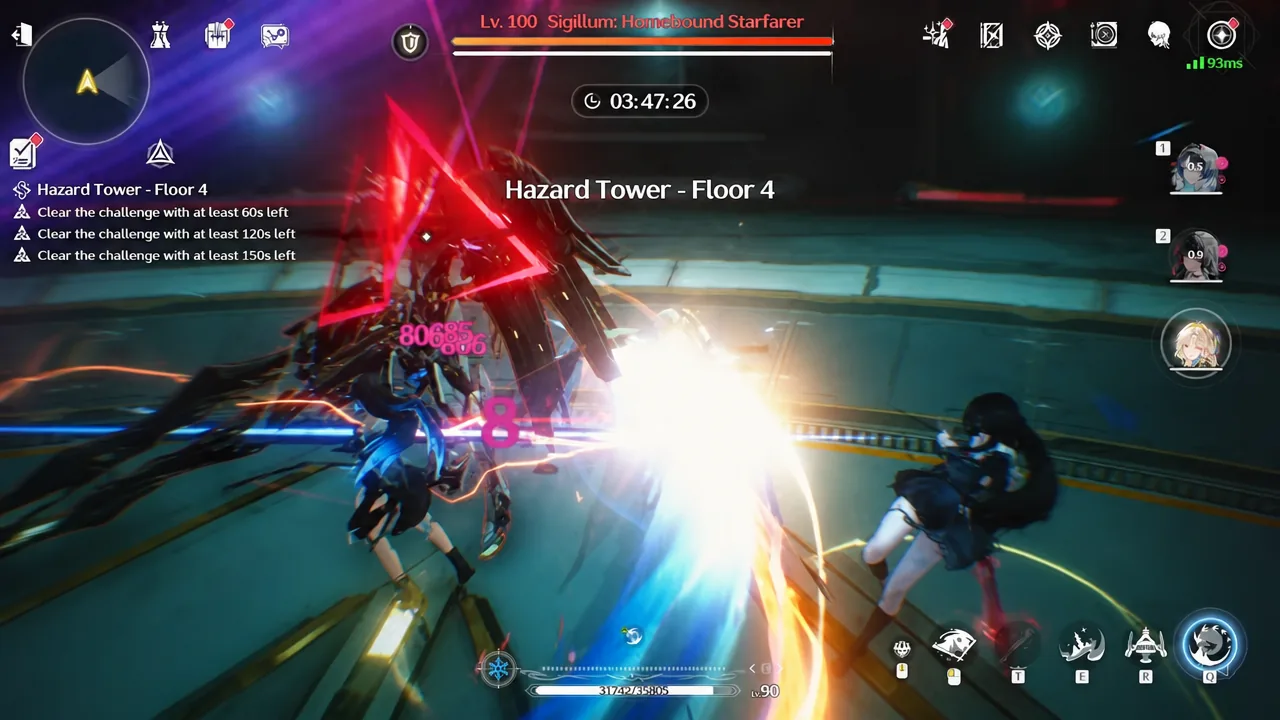
Qingxiao runs the floor alongside Denia and Mornye, using Glint of Clouds with a Calamity Effigy echo build. Denia carries Forged Dwarf Star with a Voiding Moth set, and Mornye brings Starfield Calibrator with Phantom: Reactor Husk. Denia and Mornye both apply Tune Strain, which is what keeps Mindlock climbing while Qingxiao holds the field. Heart of Evil’s Purge is the other echo set commonly slotted on her.
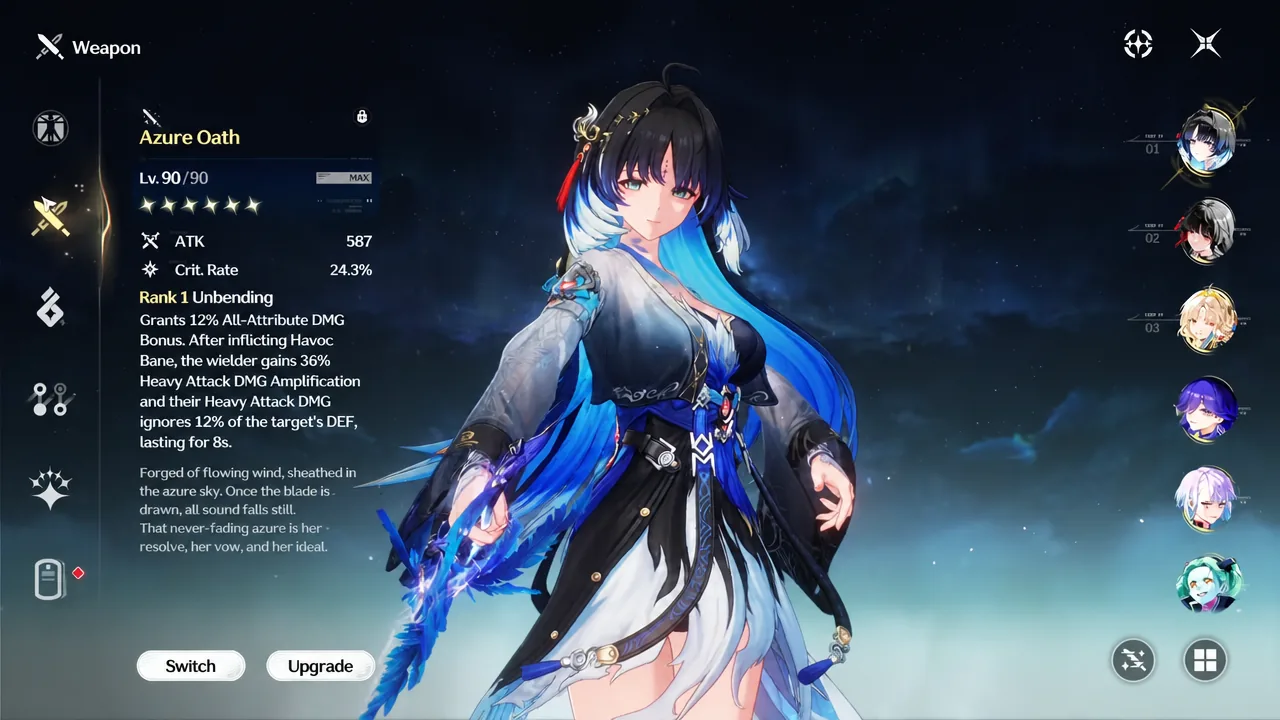
Yangyang: Xuanling takes the Havoc route with Chisa and Suisui. She runs Azure Oath with a Thousand-Puppet Pavilion echo setup, Chisa pairs Kumokiri with the Fallacy of No Return set, and Suisui supports with Variation and Phantom: Forbidden Bastion.
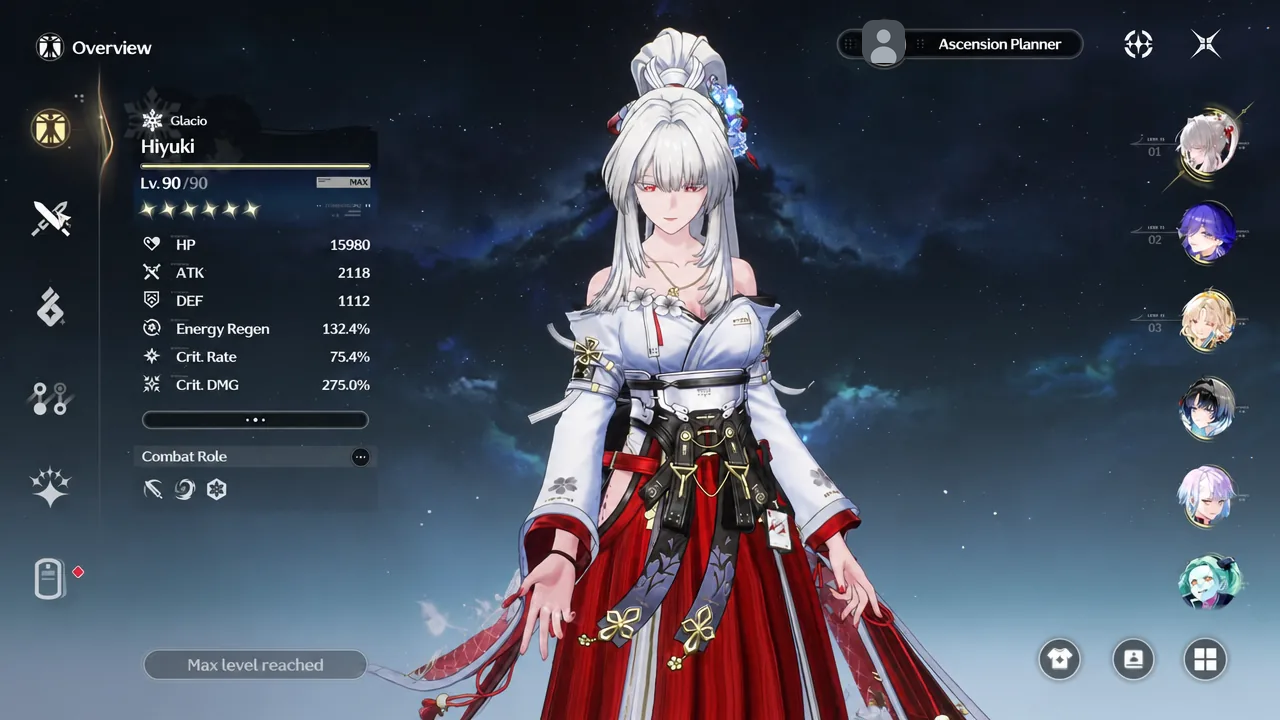
Hiyuki fields a Glacio core with Lucilla and Suisui. Her build uses Frostburn with the Summoned Aleph 1’s Creation set, while Lucilla pairs Freeze Frame with a Glommoth echo setup and Suisui repeats the same support kit.
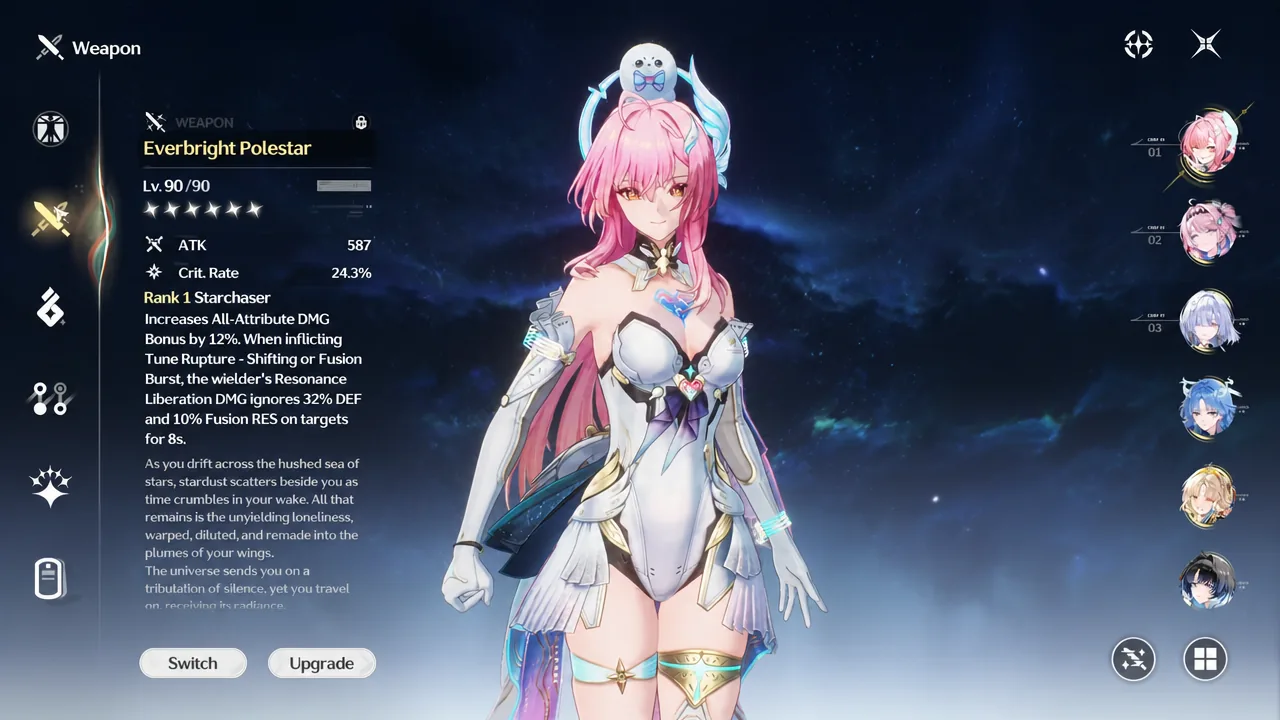
Aemeath takes the Fusion slot with the same Denia and Mornye backline that supports Qingxiao, which makes the two the most direct comparison of the group.
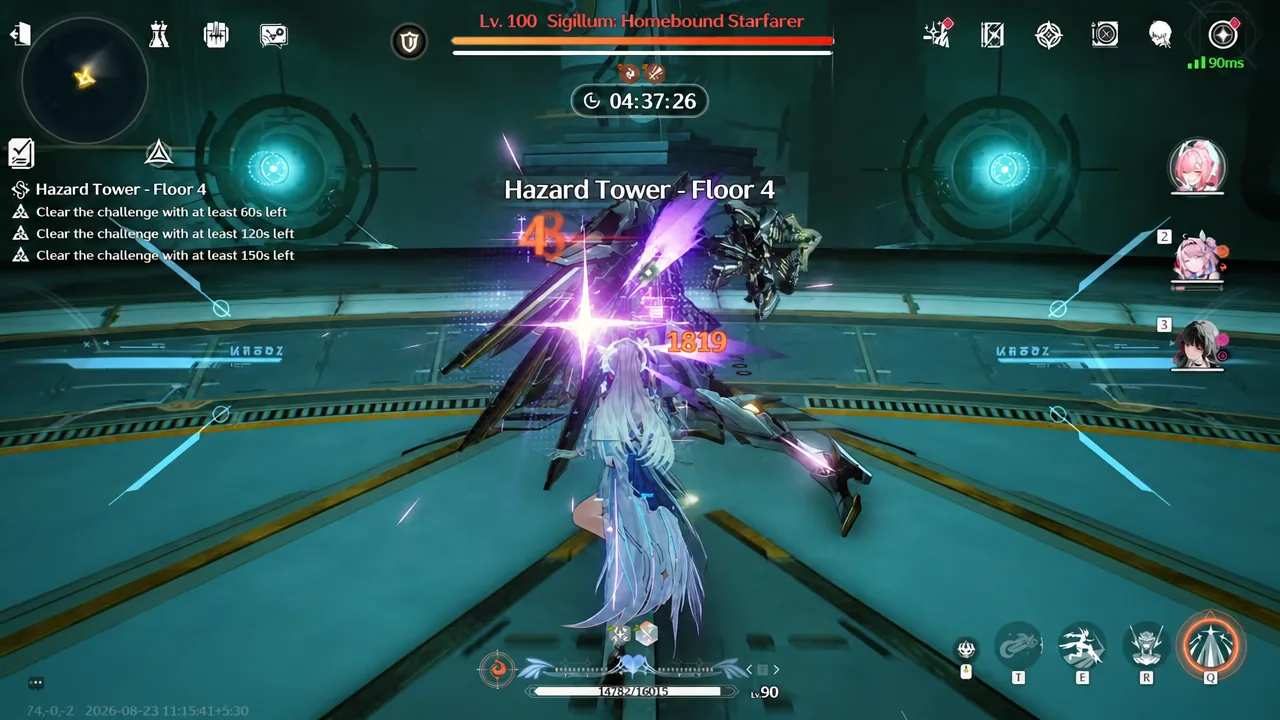
Her build centres on Everbright Polestar with a Phantom: Sigillum echo set. Denia swaps to a Reminiscence Kronoclaw setup in that lineup while keeping Forged Dwarf Star, and Mornye stays on Starfield Calibrator with Phantom: Reactor Husk.
| Carry | Weapon and echo set | Team |
|---|---|---|
| Qingxiao | Glint of Clouds, Calamity Effigy | Denia, Mornye |
| Yangyang: Xuanling | Azure Oath, Thousand-Puppet Pavilion | Chisa, Suisui |
| Hiyuki | Frostburn, Summoned Aleph 1’s Creation | Lucilla, Suisui |
| Aemeath | Everbright Polestar, Phantom: Sigillum | Denia, Mornye |
Where Qingxiao sits among the S-tier Main DPS units
Qingxiao sits in the S tier as a Main DPS, in the same bracket as Yangyang: Xuanling, Aemeath, Lucilla, Hiyuki, Denia, Lucy, Luuk Herssen, Sigrika, Augusta, and Lynae. That grouping is worth reading carefully, because it means the gap between her and the other three carries is smaller than the gap between any of them and the A-tier options below.
What separates her in practice is team dependency of a very specific kind. Mindlock only climbs when someone applies Tune Strain – Interfered, and her Inherent Skill adds an extra stack whenever that happens against an Overlord Class or Calamity Class target. Pair her with Resonators who apply Tune Strain frequently and her ceiling rises; drop her into a team that does not, and the amplification never reaches its useful range.
Her Outro Skill – Lingering Song also deals Aero damage equal to 800% of her ATK, which matters if you rotate her out rather than parking on her for the whole fight. At S0R1, the practical takeaway is straightforward — build the Tune Strain support around her first, get the weapon stacks capped before the burst window, and only then consider whether her Sequence Nodes are worth the pulls.