The Pacifist challenge in Against the Odds, the opening mission of 007 First Light, asks you to move through the Central Camp while neutralizing only two soldiers. Every other guard in the camp must be left untouched, which forces a careful stealth route through the hostage buildings B4 and G9. It is one of nine challenges in the mission, and clearing all of them unlocks the Iceland outfit for use in TacSim.
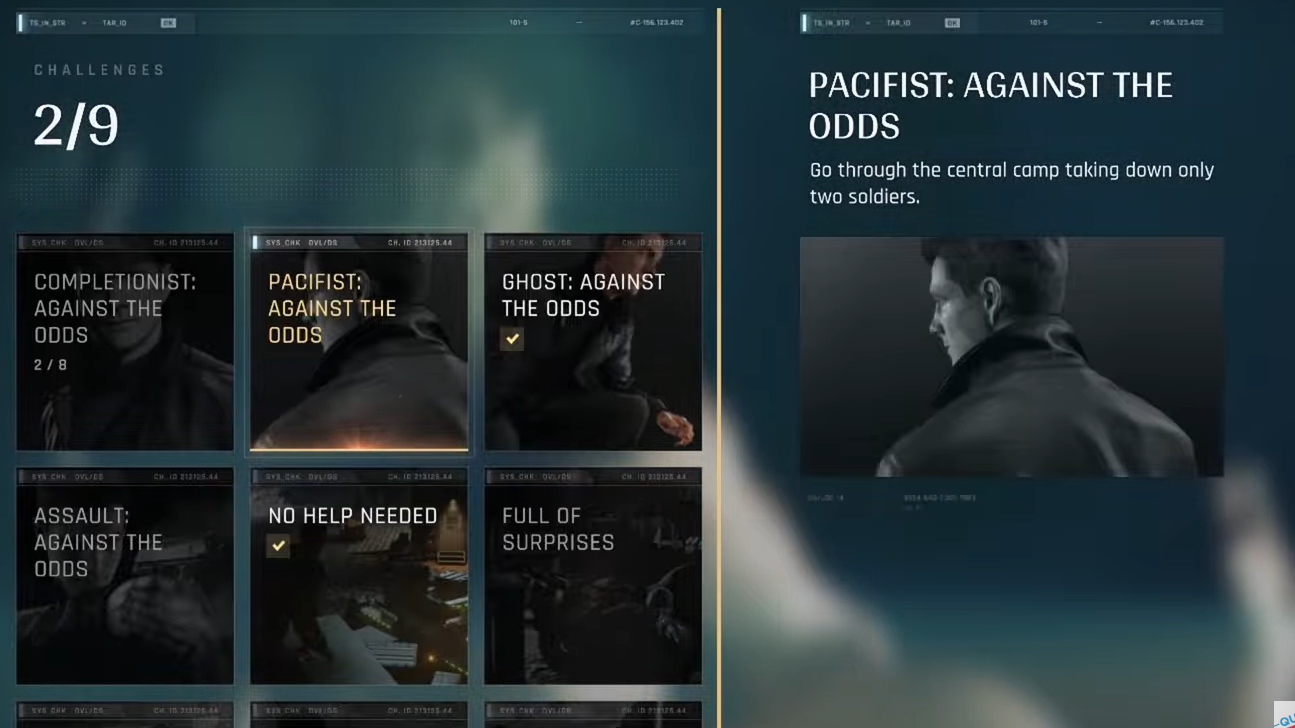
Pacifist challenge requirements in Against the Odds
The challenge is tracked entirely within the Central Camp section, so you do not need to replay the earlier beach and decontamination segments. Reload from the Central Camp checkpoint (Checkpoint 6) through Select Chapter whenever you want a fresh attempt.
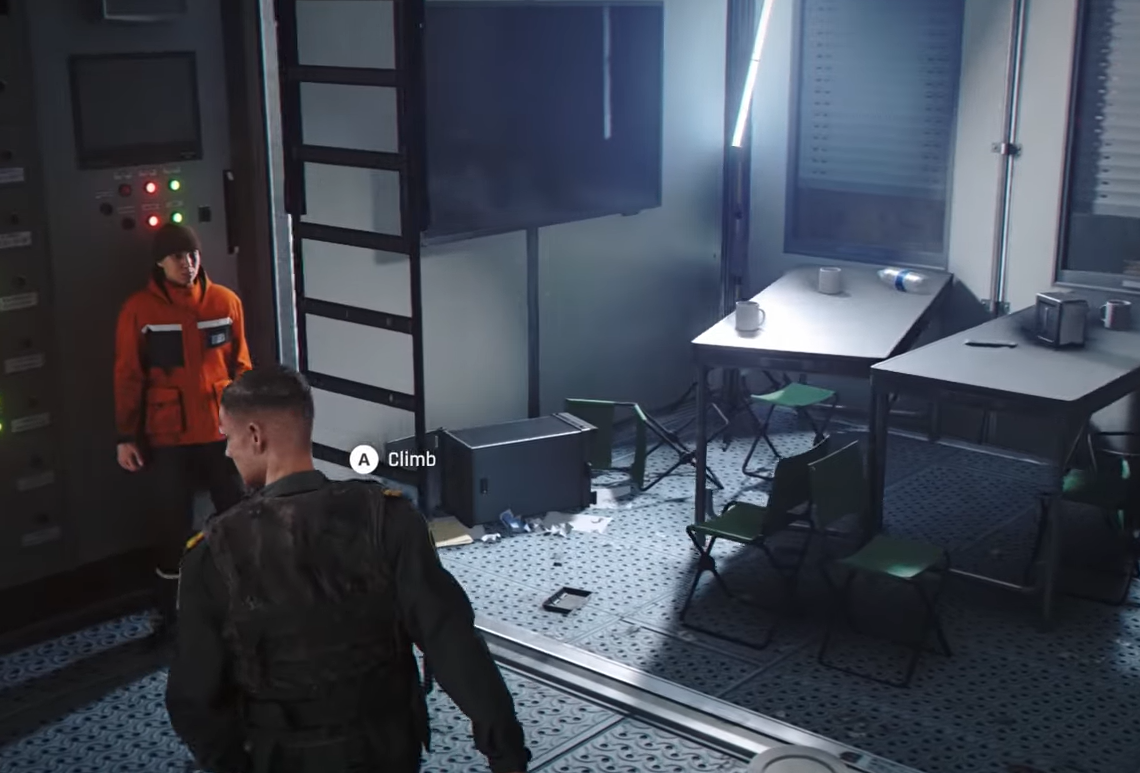
The two soldiers you are allowed to remove are the ones holding the captives. One stands inside container B4, and the other stands inside container G9. These are the same two guards you must deal with to free the hostages and progress, so the kills serve double duty.
| Detail | Value |
|---|---|
| Mission | Against the Odds (prologue) |
| Section | Central Camp |
| Allowed takedowns | 2 (B4 guard and G9 guard) |
| Stacks with | Ghost, No Help Needed, Scenic Route |
| Failure trigger | Taking down any third soldier |
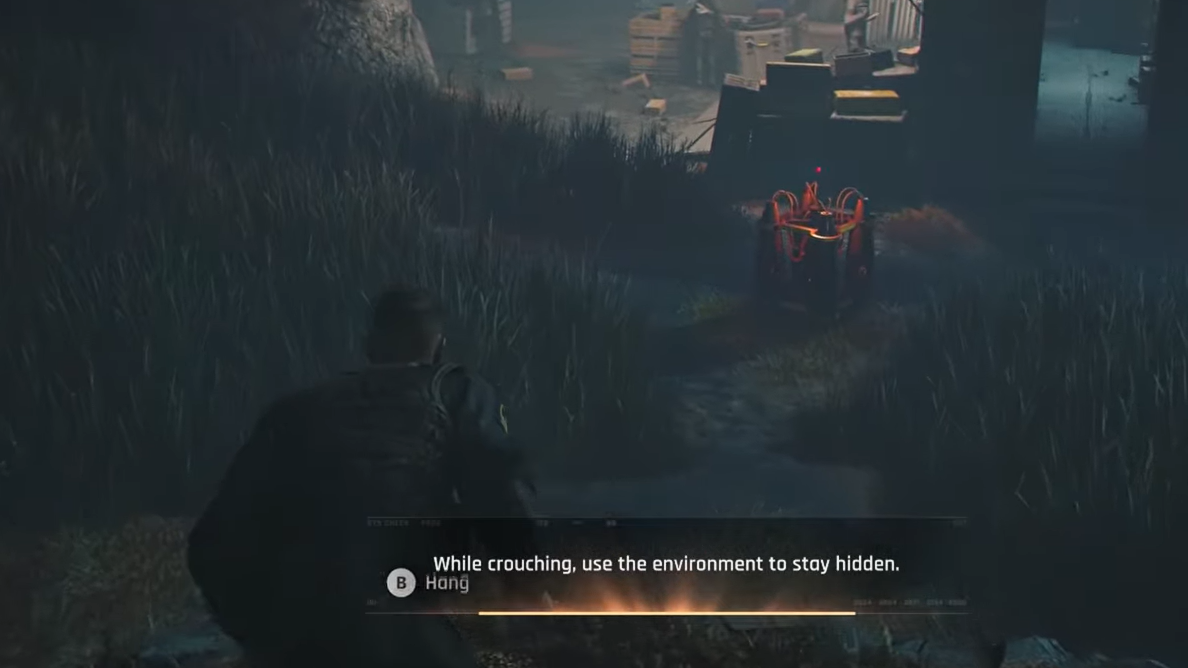
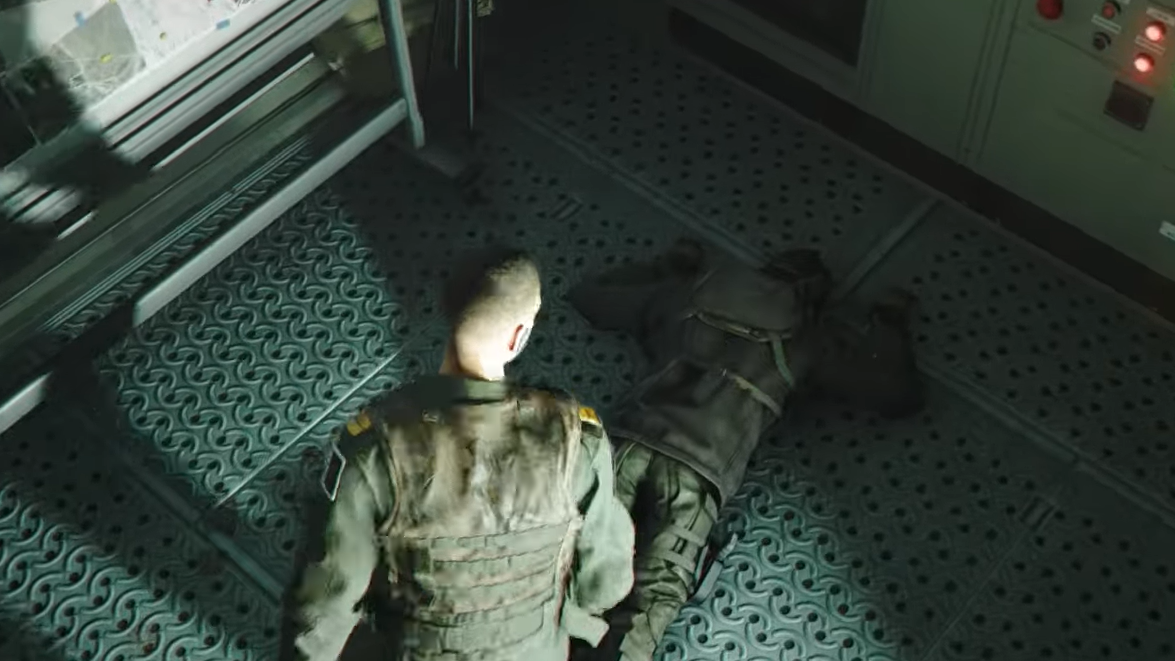
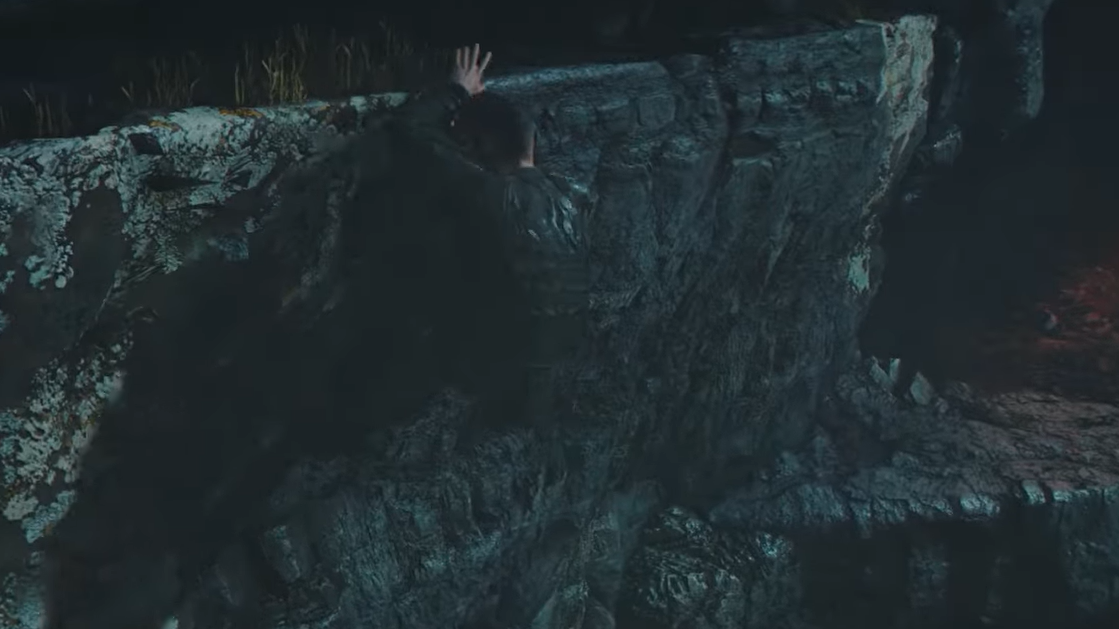
Pacifist route through the Central Camp (B4 then G9)
This path keeps you on the edges of the camp and limits you to exactly two takedowns. Avoid the BT65 laptop and the ATV the entire time, since using either counts as a distraction and breaks the No Help Needed condition you can earn alongside Pacifist.
How to confirm the Pacifist challenge completed
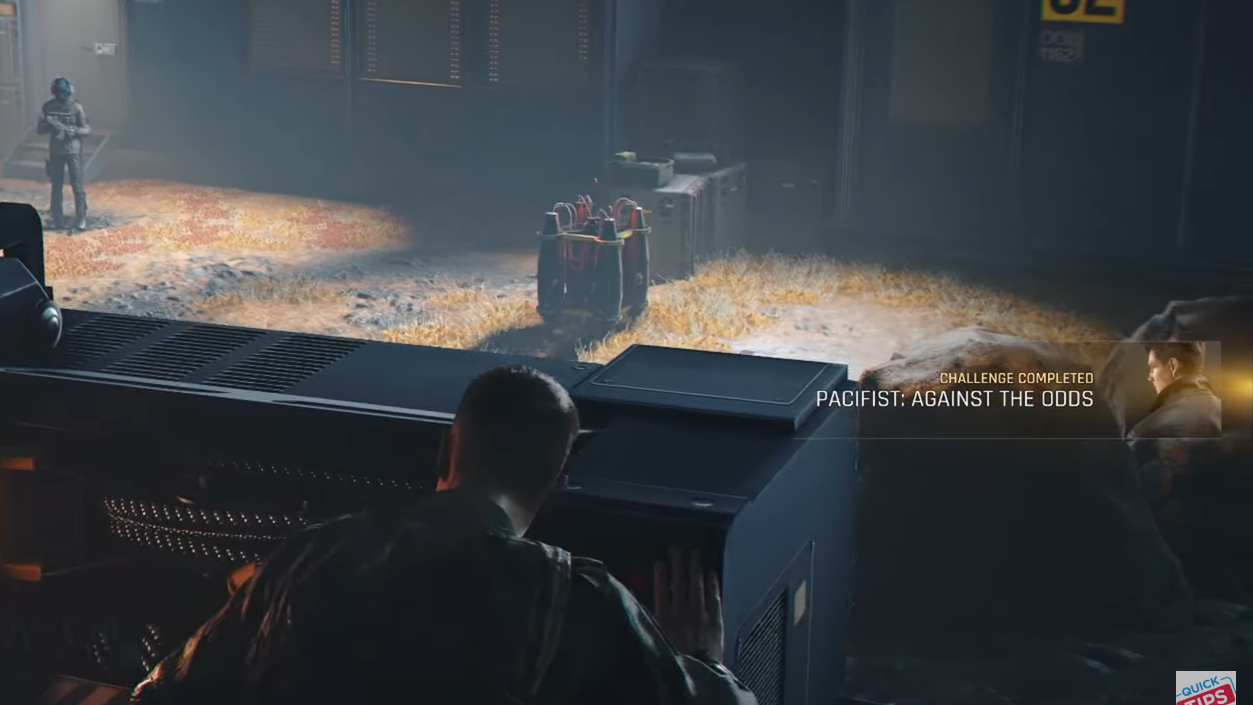
Interacting with the mast wires on the B4 roof finishes the run. At that moment the challenge registers as complete, and if you ran the route undetected and used no distractions, Ghost and No Help Needed clear at the same time. You will see the challenge tracker tick over in the mission summary.
Why the Pacifist challenge fails (and how to avoid it)
The challenge only fails for a small set of reasons. Check these before reloading.
| Reason | Fix |
|---|---|
| Took down a third soldier | Reload the Central Camp checkpoint. Only the B4 and G9 guards may be eliminated. |
| Attacked the guard in B2 | Walk past him without engaging; he is not one of your two targets. |
| Engaged extra guards near G9 | Stay on the crevice and cliff route; do not enter open guard patrols. |
If you are also chasing Ghost and No Help Needed in the same attempt, remember that getting spotted breaks Ghost and touching the ATV or BT65 Control Station breaks No Help Needed, even though neither affects the Pacifist count on its own. Keeping all three intact simply means staying hidden, leaving distractions alone, and limiting yourself to the two hostage guards.