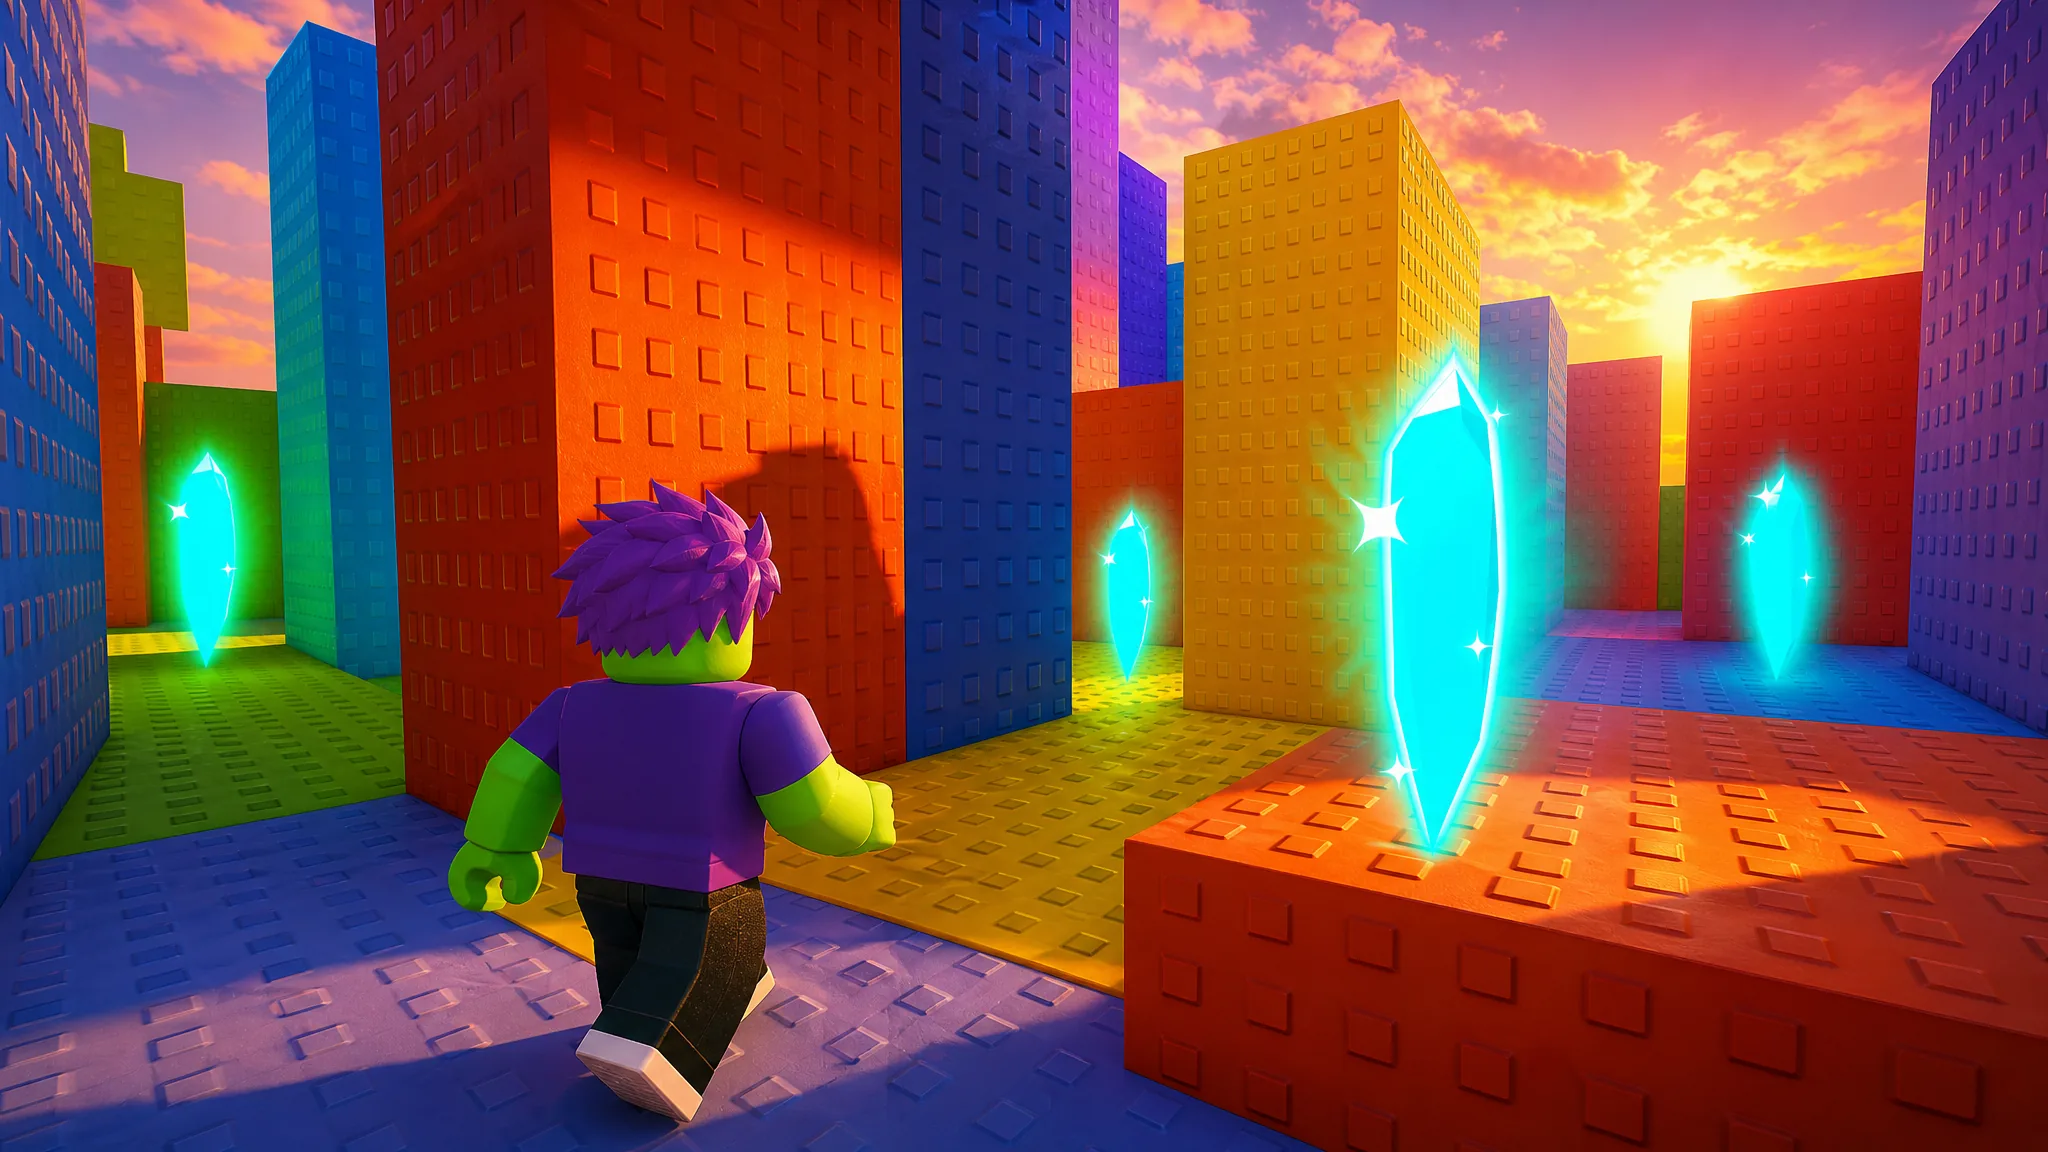
There are nine Sunken Shards scattered across +1 Speed Monkey Escape, hidden from the starting lobby all the way to the tsunami stage near the end of the course. Grabbing every one hands you a free x2 Speed Treadmill for training, which speeds up how fast your monkey builds permanent momentum between runs.
Quick answer: Collect all nine shards in order (two near spawn, one in an early-stage gap, one behind a wall at Stage 4, one on top of Stage 4, one in the Stage 6 water, two at the green platforms in Stage 7, and one in the center of the tsunami stage). When the counter reads “Collected 9/9 Sunken Shards!” the x2 Speed Treadmill is yours.
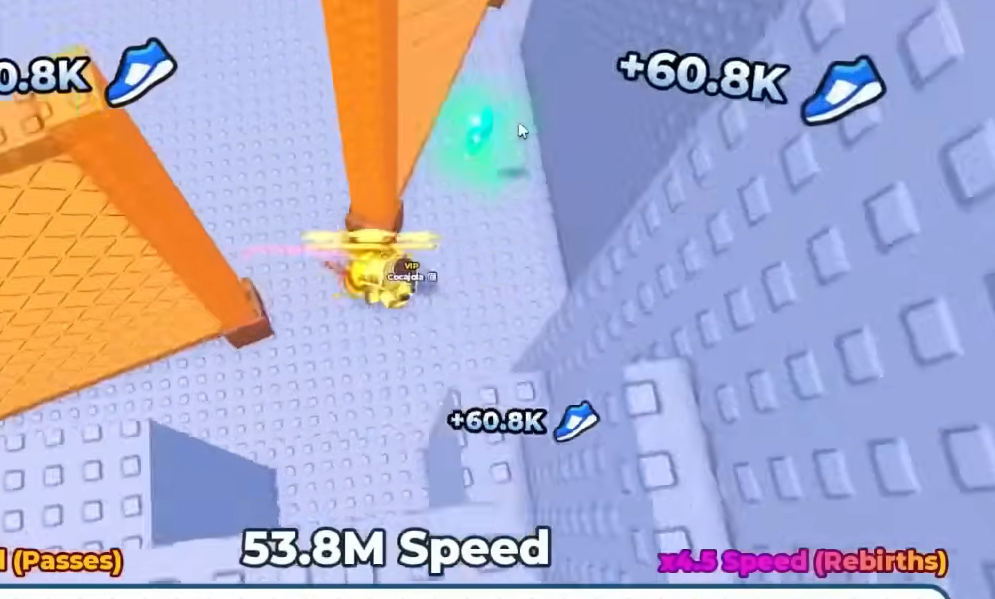
All 9 Sunken Shard locations in +1 Speed Monkey Escape
Some shards sit in plain view once you know where to look, while others force you to drop off the course on purpose. Speed matters here. A few pickups sit behind boosters and walls you can only clear with enough movement speed built up, so come back to them if your monkey is still slow.
| # | Location and how to reach it |
|---|---|
| 1 | Near spawn, look behind the “UPGRADES” sign / Top Robux Leaderboard on the left side of the main lobby. |
| 2 | Use the vertical jump booster near spawn to reach the elevated ledge by the “+128 Speed” sign, then grab the shard in the corner. |
| 3 | In the early stages, drop into the gap between the grey block platforms and collect it as you fall. |
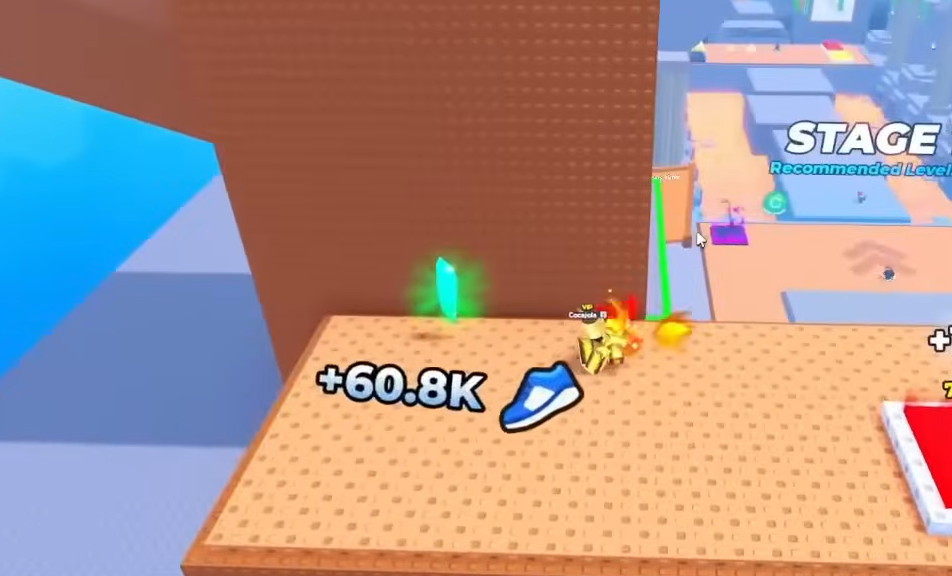
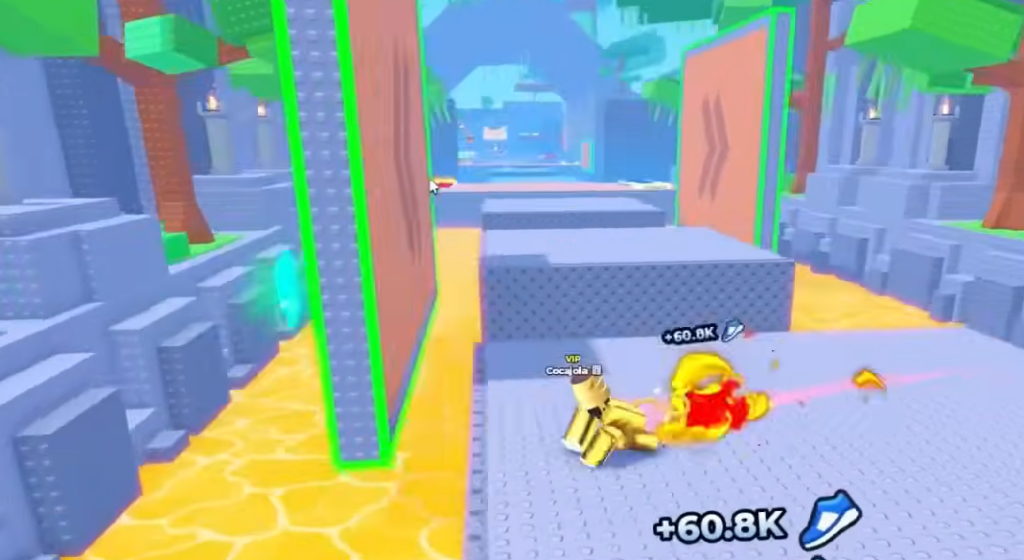
| 4 | At the start of Stage 4, go behind the green-rimmed wall (a large wooden block) to find the shard tucked behind it. |
| 5 | Ride the vertical boosters to the top of Stage 4, then head along the path toward Stage 5 to pick it up on the track. |
| 6 | At the Stage 6 water stage, drop into the water by the center platform to grab the shard underneath. |
| 7 | At Stage 7, drop into the first green pit / check the central green platform at the end of the stage. |
| 8 | Right beside shard 7, drop into the second green pit / the adjacent platform’s side ledge. |
| 9 | On the tsunami stage, jump to the center platform while dodging the waves and grab the final shard in the open floor. |
Shards 3 and 6 both require you to fall off the intended path, so you will die and respawn back at Stage 1 after grabbing them. That is expected. Decline any “Revive!” prompt and simply run the course again to reach the next shard.
Fastest order to grab the shards near spawn
The Stage 4 and Stage 5 shards
Stage 4 holds two shards close together. The first sits behind the green-rimmed wall at the start of the stage, so slip behind that block before continuing. The second is on top of the Stage 4 structure. Use the vertical boosters at the start to reach the upper level, then head toward the left side to find it just before the Stage 5 starting area.
You need real speed to clear the boosters and the long ramp here, and Stage 5 also throws a rolling boulder at you. If you keep dying before the shard registers, train up your speed first, then come back for these two.
The Stage 6, Stage 7, and tsunami shards
Stage 6 is the water stage with floating platforms above a shark-filled pool. Jump to the center platform, then drop into the water beside it to claim shard 6. The two Stage 7 shards are grouped at the green platforms near the end of that stage. Drop into the first green pit for one, then into the second pit right next to it for the other.
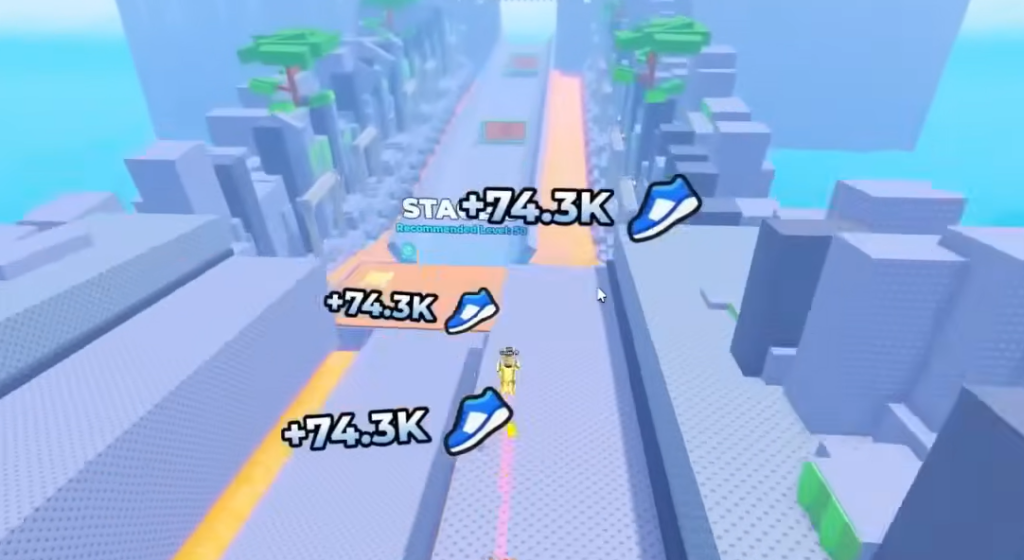
The final shard is on the tsunami stage. Jump across the center platforms while avoiding the waves rushing at you, and the ninth shard is waiting in the open floor near the middle. Grab it to complete the set.
How to confirm you collected all nine and claim the reward
Each pickup pops an on-screen message that counts your progress, from “Collected 1/9 Sunken Shards!” up to “Collected 9/9 Sunken Shards!” Once you see the 9/9 message, the x2 Speed Treadmill is unlocked and added for free, giving you a faster way to train between runs.
The shards do not reset if you die, so a missed shard is simply one you have not reached yet. If your counter is stuck below nine, you are almost always short on the fall-off pickups (shards 3 and 6) or the speed-gated ones on Stage 4 and Stage 5. Retrace those spots, and if you need more movement speed to clear a booster, train first and return.
You can start hunting them straight from the game’s page on +1 Speed Monkey Escape.