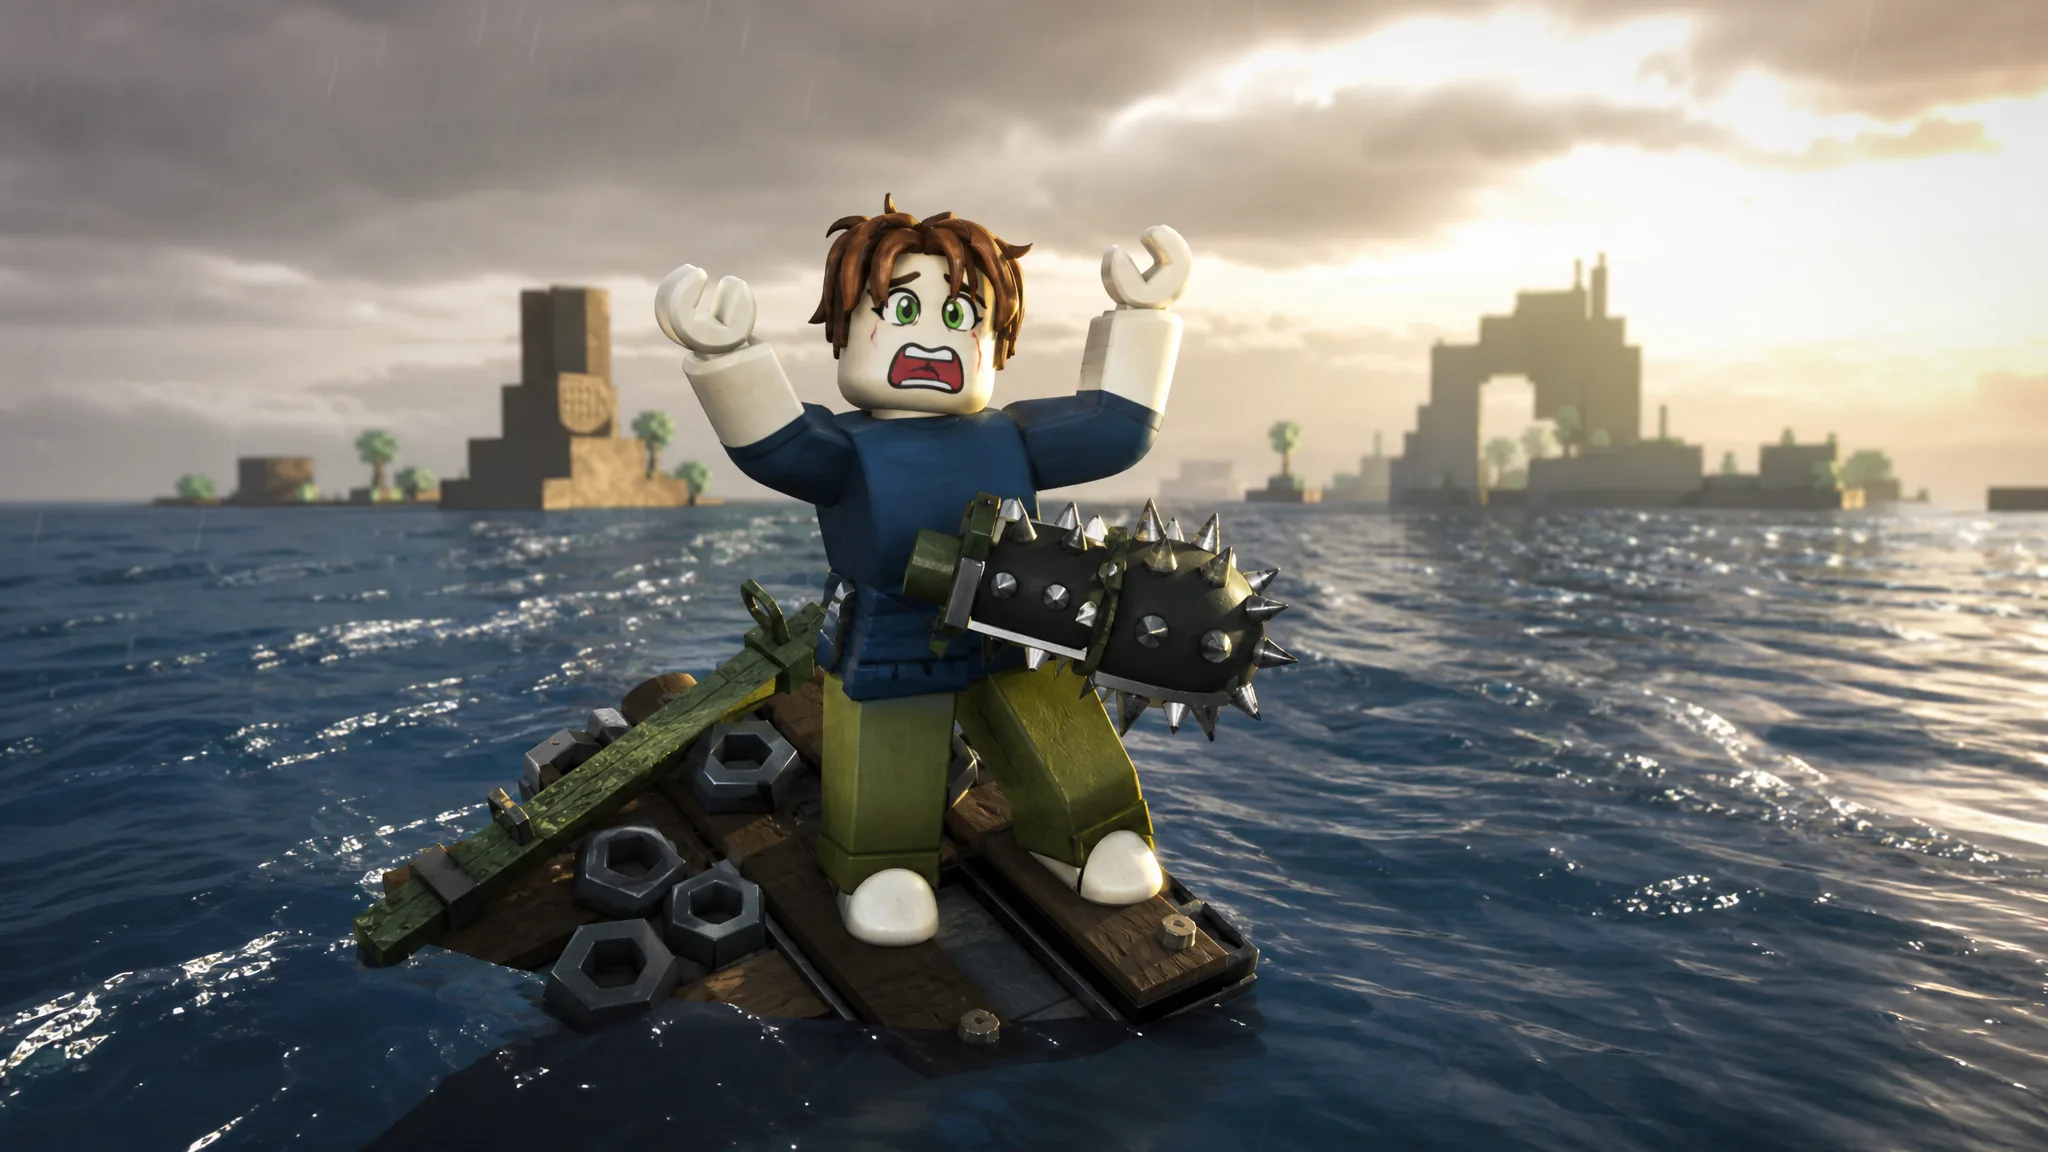
Badges in 100 Days at Sea act as milestone markers for everything from your first harpoon grab to defeating end-game bosses. They are more than cosmetic bragging rights. Each badge you unlock can be claimed for Pearls, the currency you spend on classes and Class Shop rerolls, which makes badge hunting a practical part of building a stronger run.
Quick answer: Unlock a badge by meeting its in-game condition during a run, then return to the lobby, open the Badges menu, and claim the Pearl reward once. Most badges pay out roughly 20–30 Pearls each.
How badges and Pearl rewards work
Every badge has one specific trigger. Some fire the moment you cross a day threshold, others require boss kills, chest counts, or hidden objectives across special regions. The unlock happens automatically during play, but the Pearl payout does not.
To collect what a badge is worth, you claim it from the lobby after the run. Each reward can only be claimed once per badge. Unlocked badges can also be equipped in the lobby to show on your profile if you want to display progress.
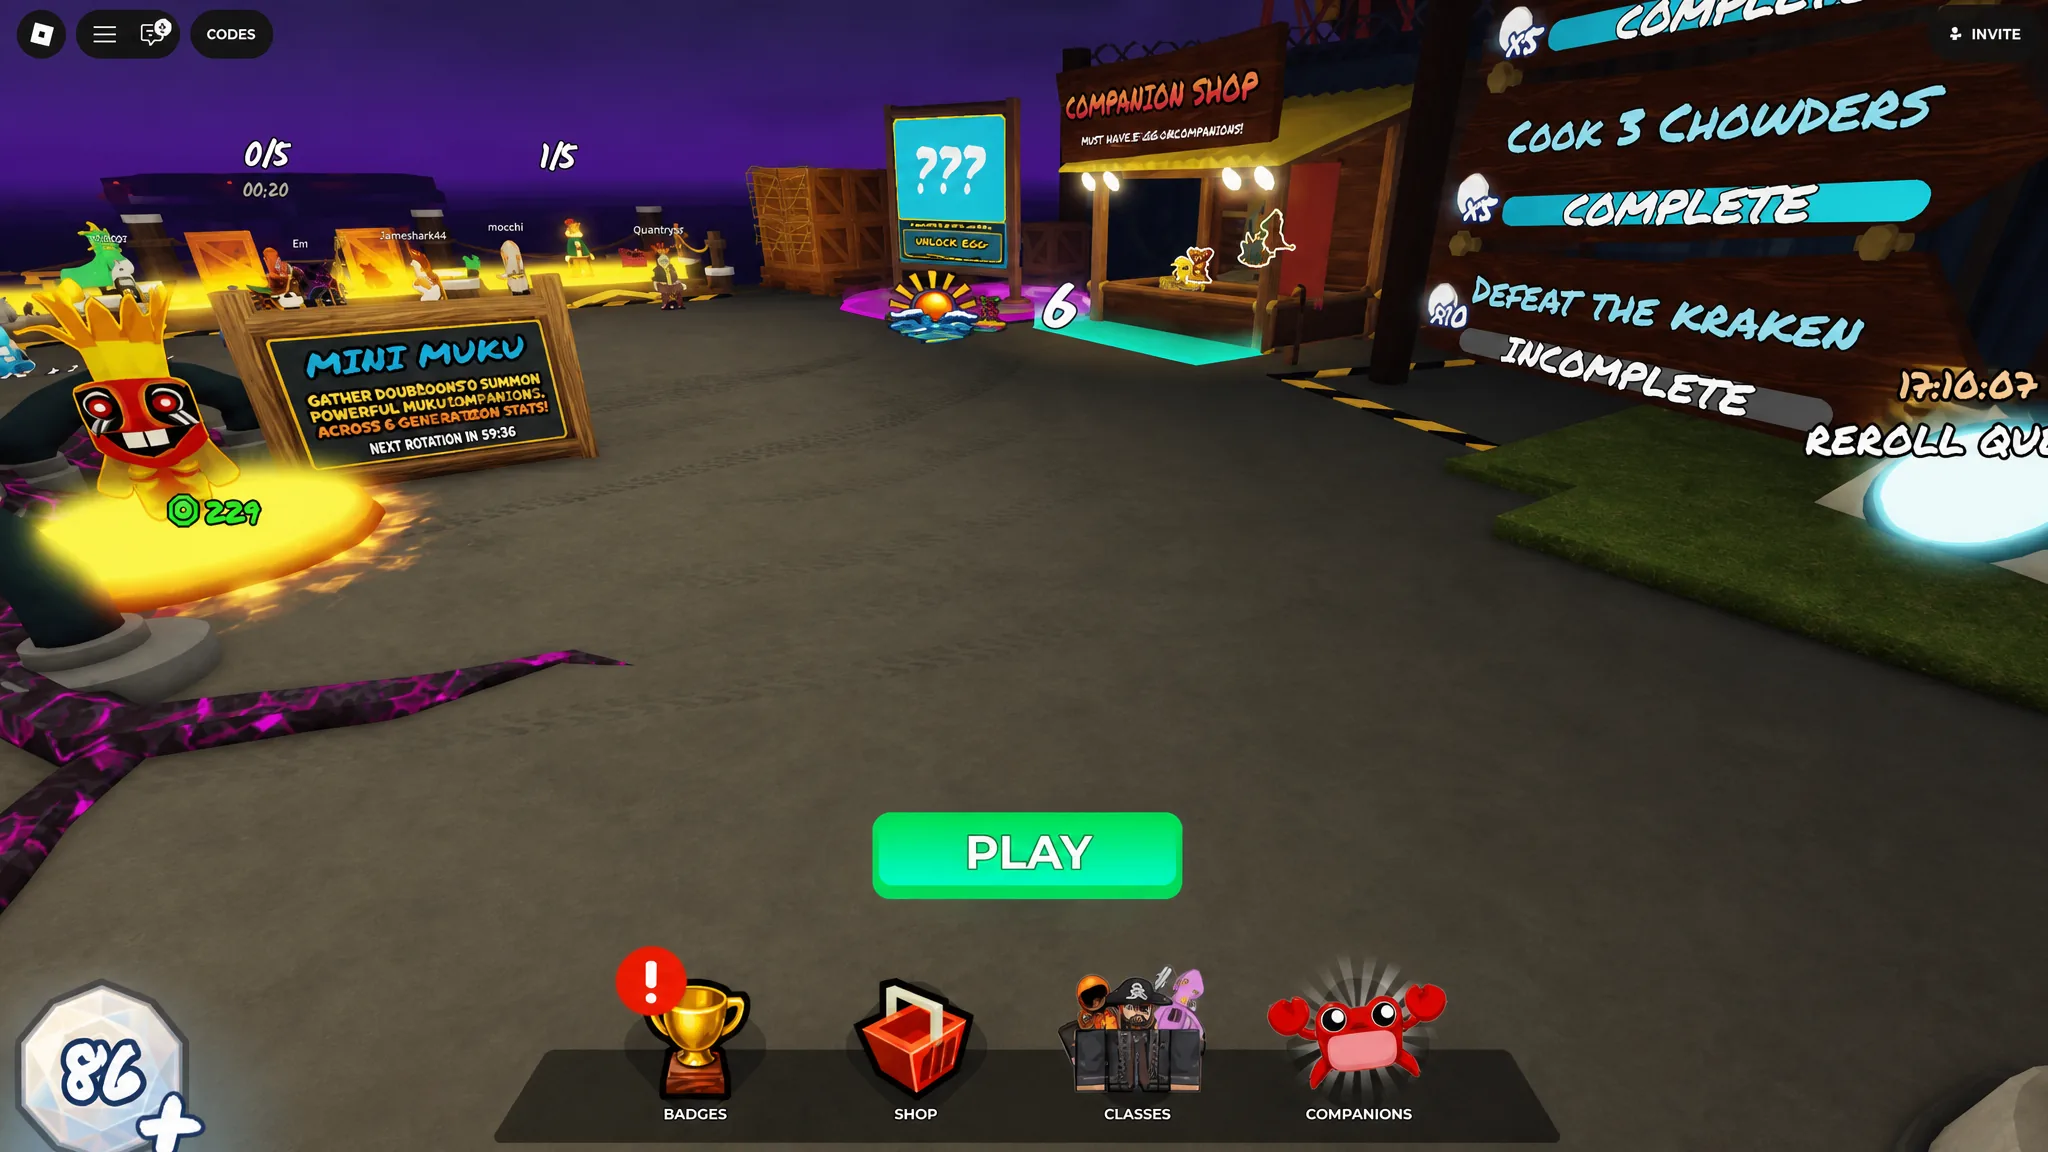
Note: You know the Pearls landed when your balance goes up after claiming. If nothing changes, the reward was likely already claimed on that account, since each badge pays out only once.
Day survival badges
These are the backbone of any run. Each threshold you reach on the calendar unlocks the matching badge, all the way up past Day 100 into extreme long-haul survival territory. Reaching Day 500 is the hardest of the set.
| Badge | How to unlock |
|---|---|
 Out At Sea | Play the game for the first time |
 Just Getting Started | Survive Day 1 |
 Survive 5 Days | Reach Day 5 |
 Survive 10 Days | Reach Day 10 |
 Survive 20 Days | Reach Day 20 |
 Survive 30 Days | Reach Day 30 |
 Survive 40 Days | Reach Day 40 |
 Survive 50 Days | Reach Day 50 |
 Survive 60 Days | Reach Day 60 |
 Survive 70 Days | Reach Day 70 |
 Survive 80 Days | Reach Day 80 |
| Survive 90 Days | Reach Day 90 |
| Rescued! | Reach Day 100 |
| Stranded | Reach Day 250 |
| Gone Missing | Reach Day 500 |
Group survival badges
These reward reaching Day 100 with a set crew size. Since a full server allows five players, there is a badge for each group size from solo up to a group of five. You can chase them in any server with friends.
| Badge | How to unlock |
|---|---|
| All Alone | Survive 100 days completely solo |
| Blunder Buddies | Survive 100 days in a duo |
| Three’s a Party | Survive 100 days in a trio |
| Four Is Plenty | Survive 100 days in a group of four |
| And They Were Crewmates… | Survive 100 days in a full group of five |
Bonfire badges
Bonfire levels track long-term crew progress. Levels 1 through 7 unlock as you push the bonfire higher, while the last three are condition-based. Bonfire Master is one of the toughest early challenges because it demands the max bonfire level before Day 3.
| Badge | How to unlock |
|---|---|
 Bonfire 1 | Reach Bonfire Level 1 |
| Bonfire 2 | Reach Bonfire Level 2 |
| Bonfire 3 | Reach Bonfire Level 3 |
| Bonfire 4 | Reach Bonfire Level 4 |
| Bonfire 5 | Reach Bonfire Level 5 |
| Bonfire 6 | Reach Bonfire Level 6 |
 Bonfire 7 | Reach Bonfire Level 7 |
| Bonfire 8 | Burn 1,500 items in a single session |
| Bonfire 9 | Reach the maximum Bonfire Level with four or more players |
| Bonfire Master | Reach the maximum Bonfire Level before Day 3 |
Exploration and cooking badges
A handful of badges reward the basic survival loop and the parts of the map you visit. Hooked! and We Cookin are among the easiest wins in the game, while Magellan asks you to tour every island within one session.
| Badge | How to unlock |
|---|---|
 Hooked! | Grab an object with your harpoon |
| We Cookin | Cook your first chowder using the Cooking Pot |
| Magellan | Visit every island in a single session |
| Arctic Rescue | Rescue all penguins in the Ice Biome |
Combat and boss badges
Combat badges cover raids, rival rigs, and the game’s major bosses. Some require a gun or a specific number of kills, while others tie to region-specific fights like the Squid Boss and the Ice Biome boss.
| Badge | How to unlock |
|---|---|
| Firepower | Obtain a gun from a chest |
| They’ll Be Back! | Survive a Ghost Raid |
 Third Bell Rung | Defeat the Ghost Galleon three times in a single run |
| There Can Be Only One | Find and defeat all three rival rigs in a single session |
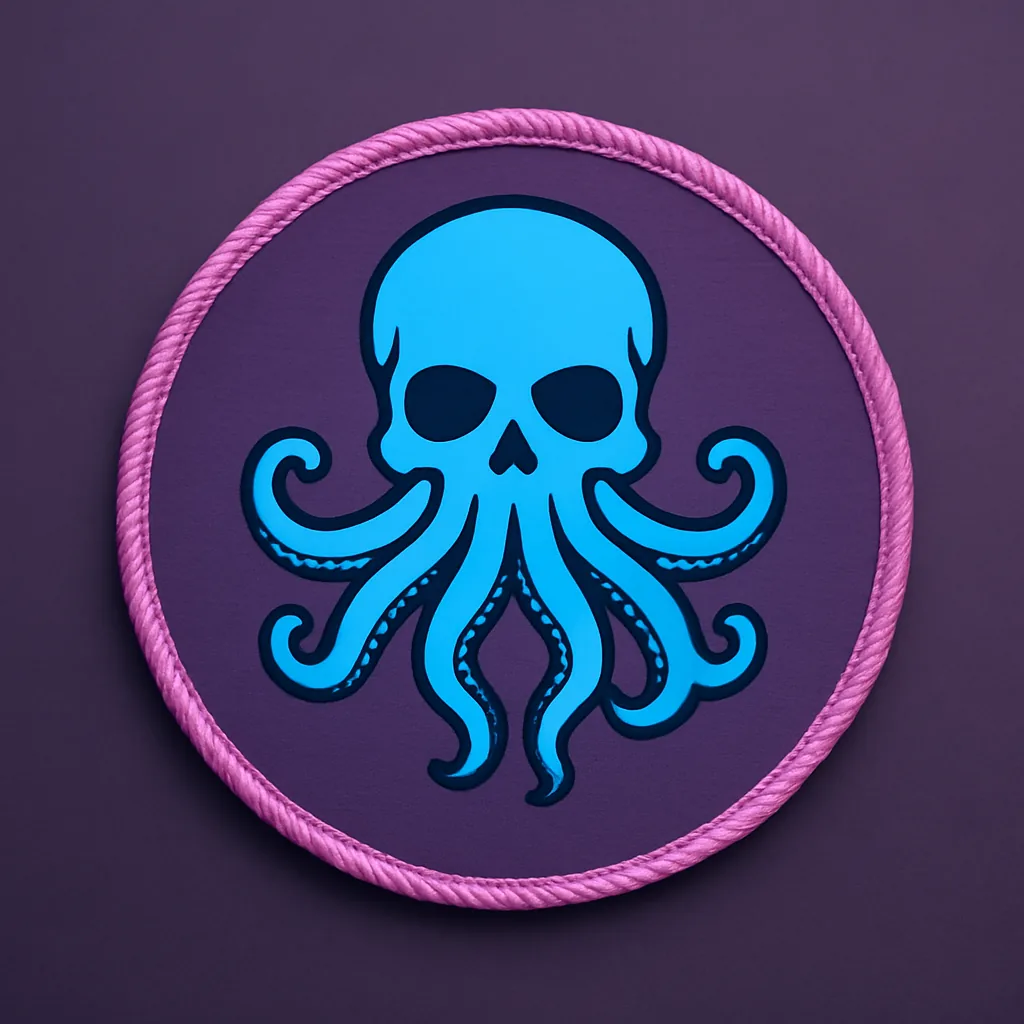 Arms of Victory | Defeat the Squid Boss |
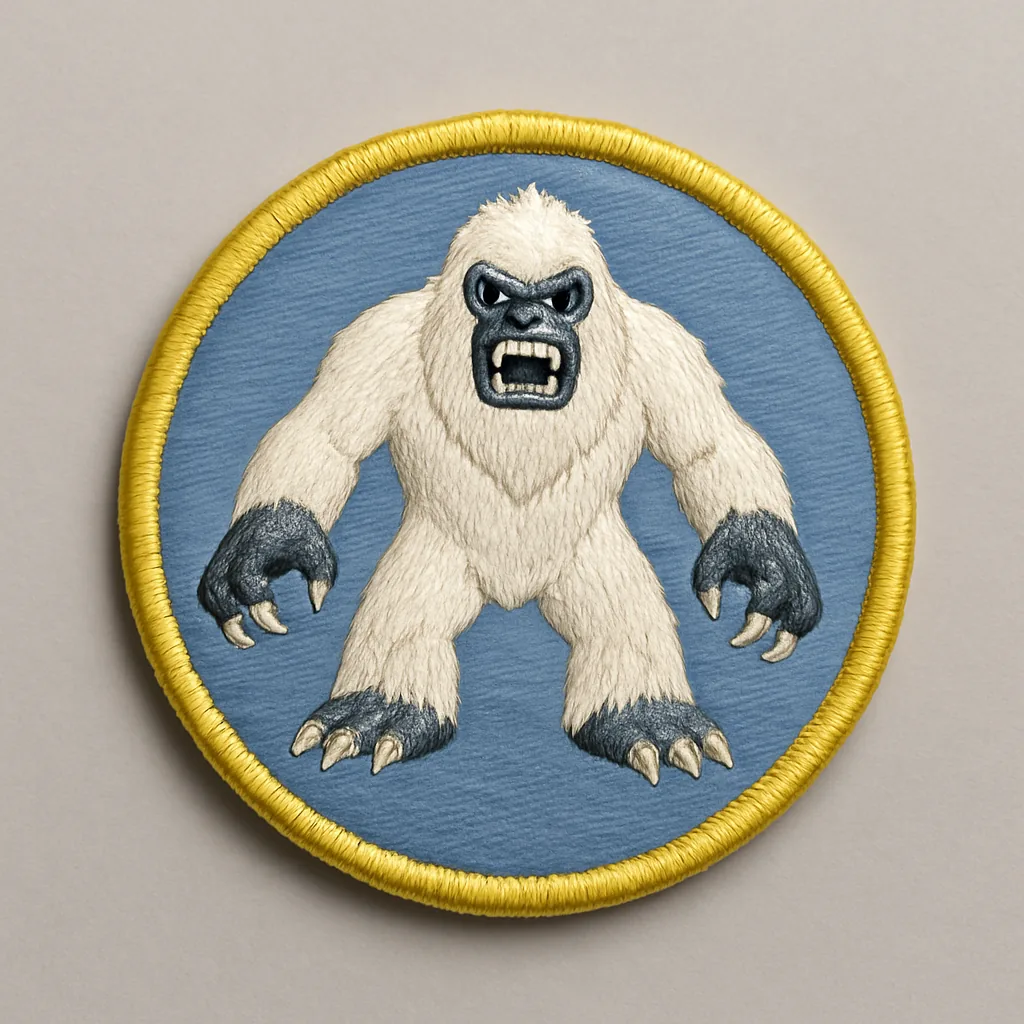 King of the Snow | Defeat the Ice Biome boss |
Wealth and looting badges
These reward spending and chest opening. Mr Money Bags and Plunderer are single-run challenges, while Money Marauder counts chests across every run you play.
| Badge | How to unlock |
|---|---|
| Mr Money Bags | Spend 1,000 Doubloons in a single run |
| Plunderer | Open 100 chests in a single run |
| Money Marauder | Open 500 chests across all runs |
Challenge Mode badges
Challenge Mode runs through six tiers, each with its own badge. These are among the rarest in the game, with completion rates dropping sharply as the tiers climb.
| Badge | How to unlock |
|---|---|
| Challenge 1 | Complete Tier 1 of Challenge Mode |
 Challenge 2 | Complete Tier 2 of Challenge Mode |
 Challenge 3 | Complete Tier 3 of Challenge Mode |
| Challenge 4 | Complete Tier 4 of Challenge Mode |
| Challenge 5 | Complete Tier 5 of Challenge Mode |
| Challenge 6 | Complete Tier 6 of Challenge Mode |
Volcano badges
The volcano region has its own gated fight. You unlock the volcano itself by throwing three golems into it, then take on the Lord of Lava for the second badge.
| Badge | How to unlock |
|---|---|
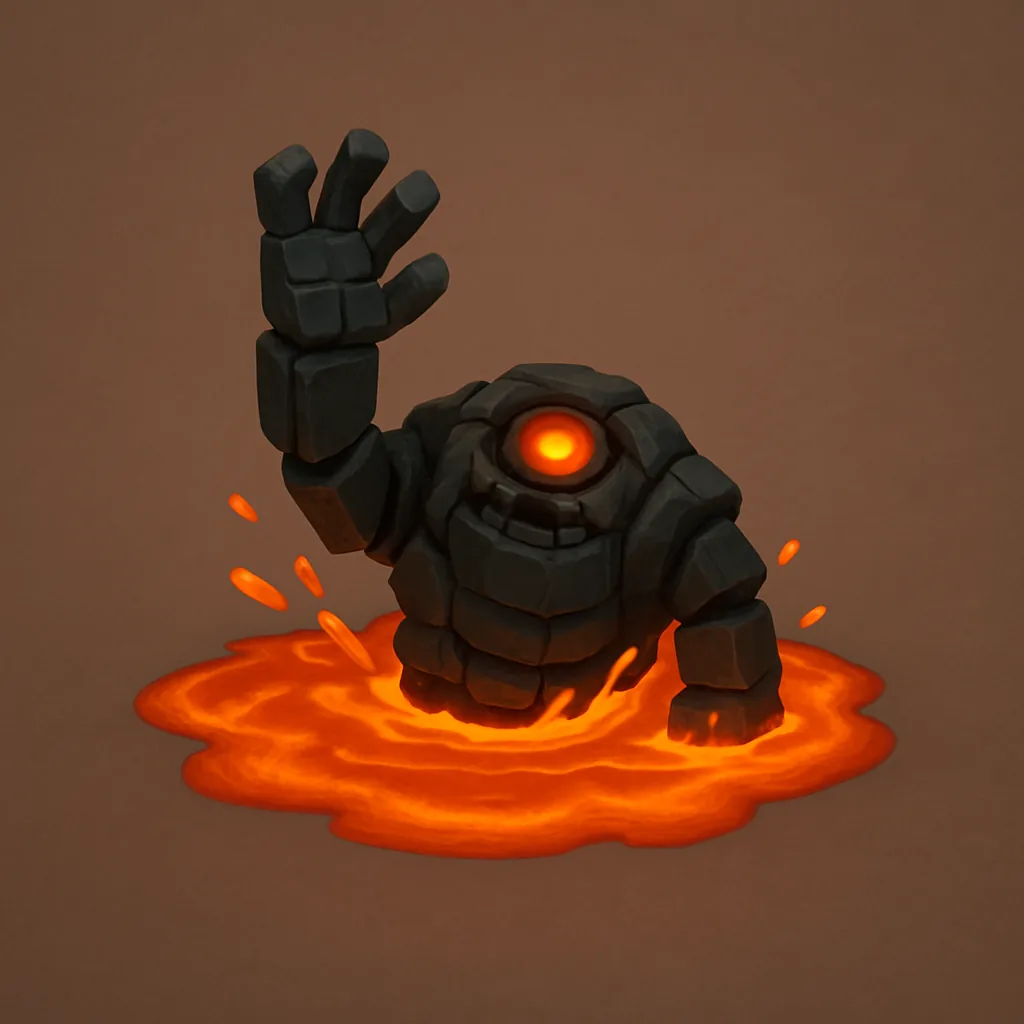 Cooking With Golems | Unlock the volcano by throwing three golems into it |
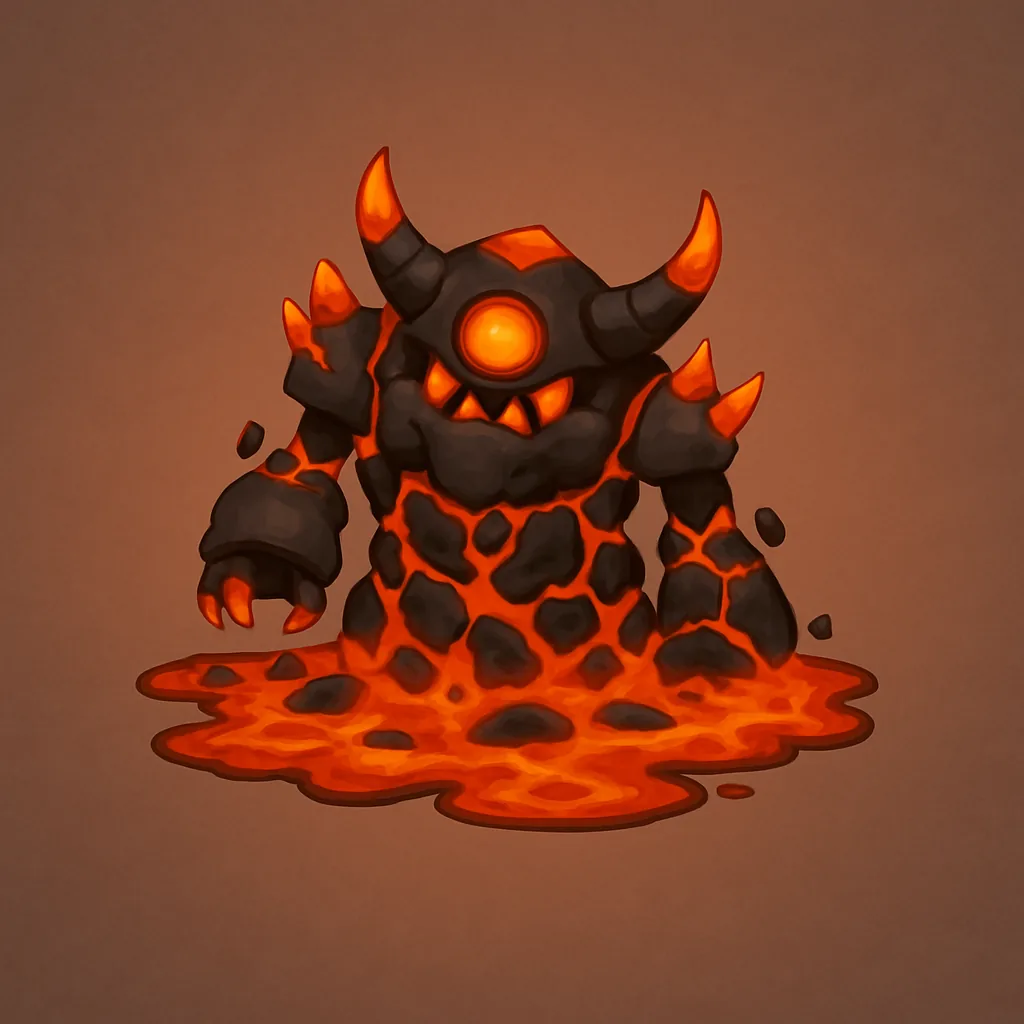 Beat the Heat | Defeat the Lord of Lava boss |
Alien and UFO badges
The alien content adds a batch of event-style badges. A few reward feeding and combat objectives, while Thinking With Lasers hinges on solving a laser mirror puzzle aboard the Mothership.
| Badge | How to unlock |
|---|---|
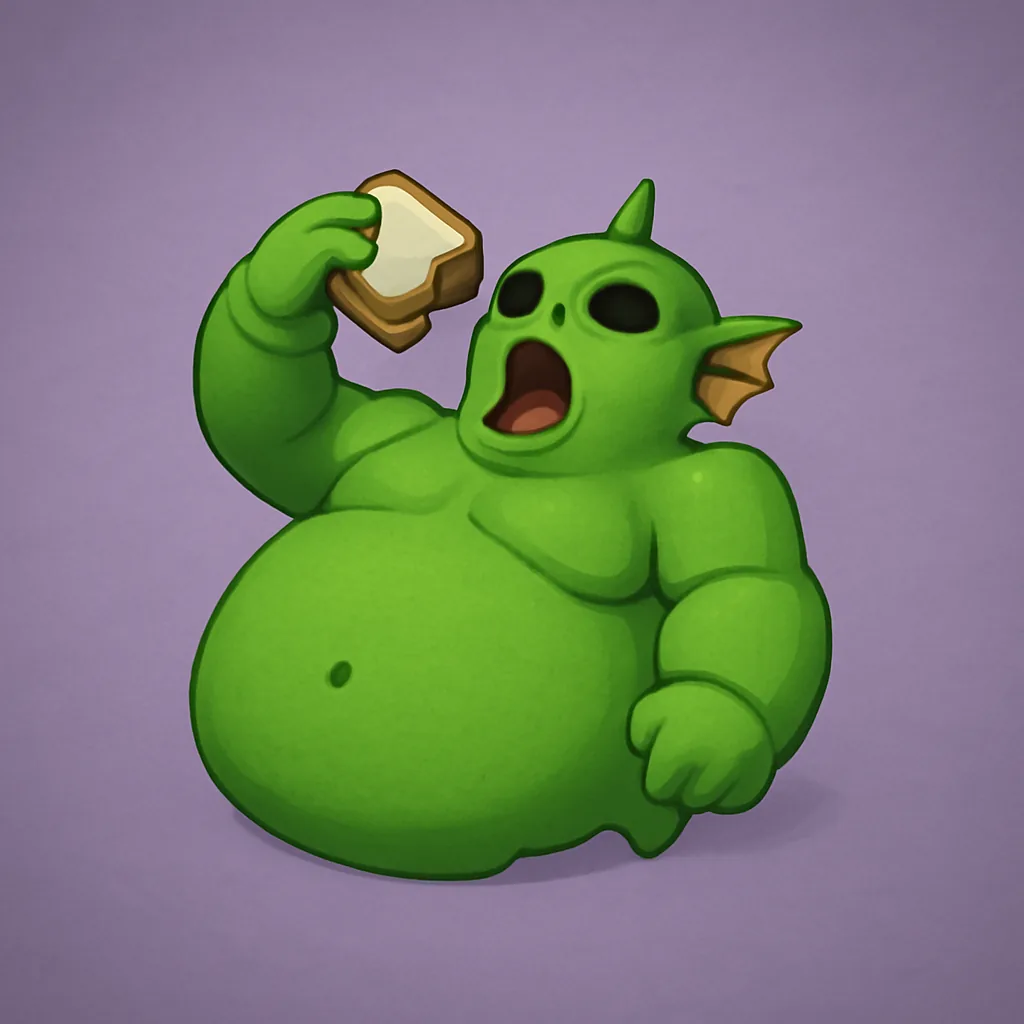 Feeding the Greedy | Give Glorbus all the food it needs |
 Grand Theft UFO | Repair and escape using the UFO |
 Thinking With Lasers | Complete the laser mirror puzzle aboard the Mothership |
 Get Off My Planet | Kill 1,000 aliens |
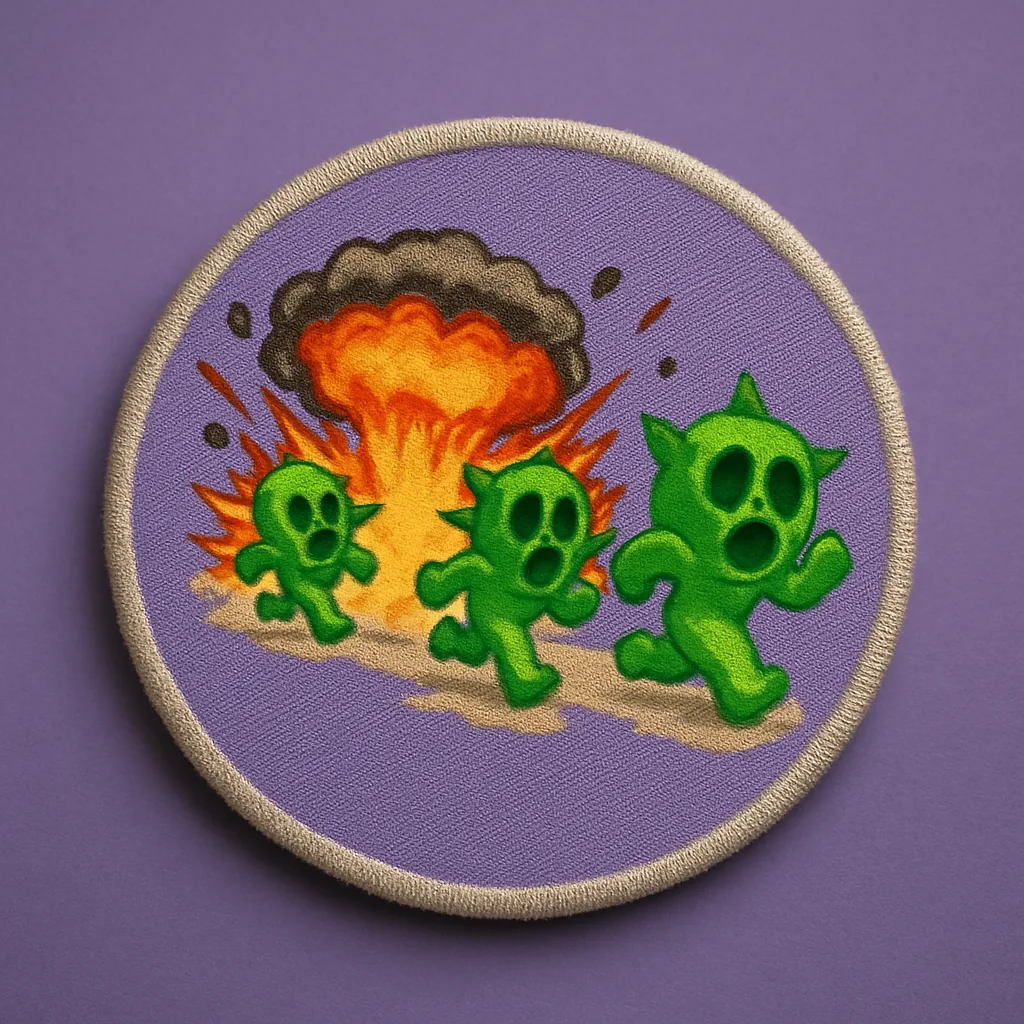 Abandon Ship! | Destroy all alien ships |
Corruption badges
The corruption set is built around a rising multiplier plus a dungeon boss. Reaching higher multipliers unlocks each tier, and defeating the Corruption Dungeon boss is its own separate badge.
| Badge | How to unlock |
|---|---|
 Corruption Most Foul | Defeat the Corruption Dungeon boss |
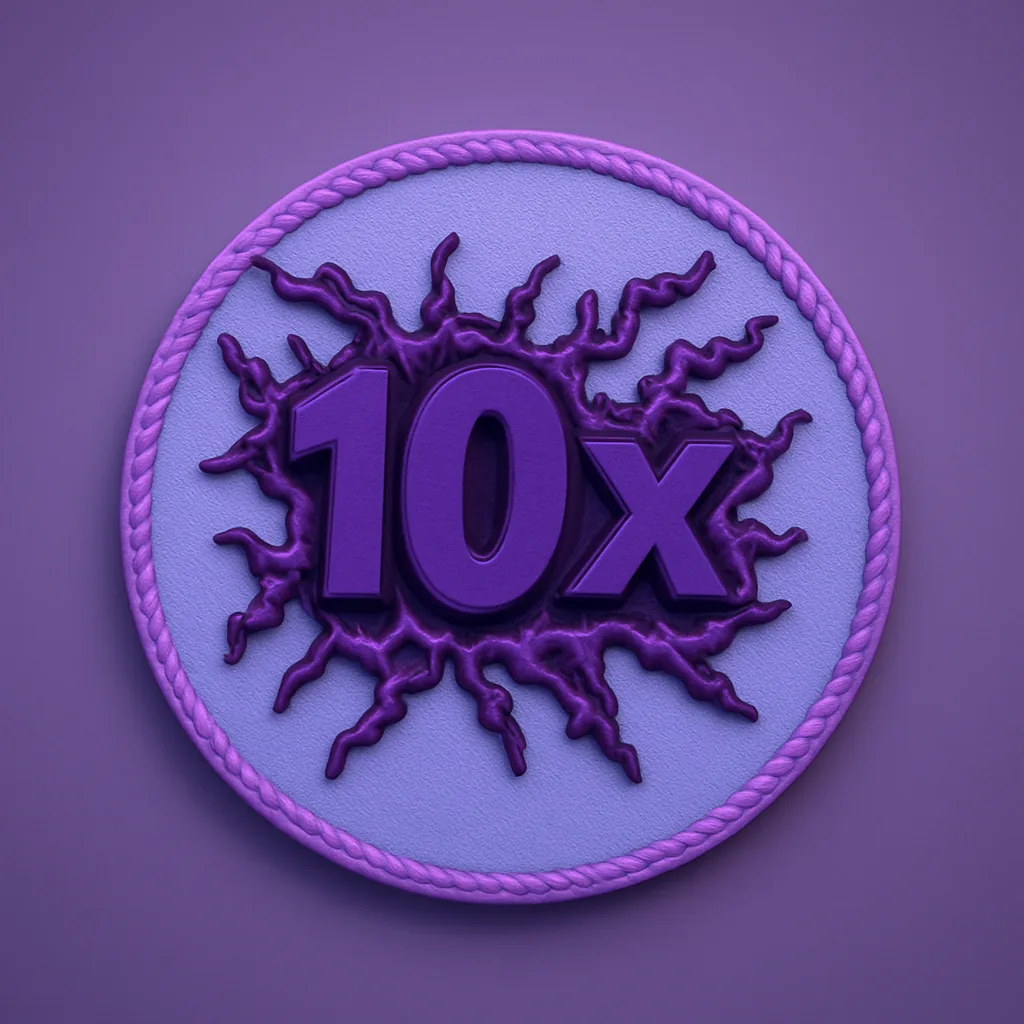 Time Corrupted | Reach a 10× Corruption multiplier |
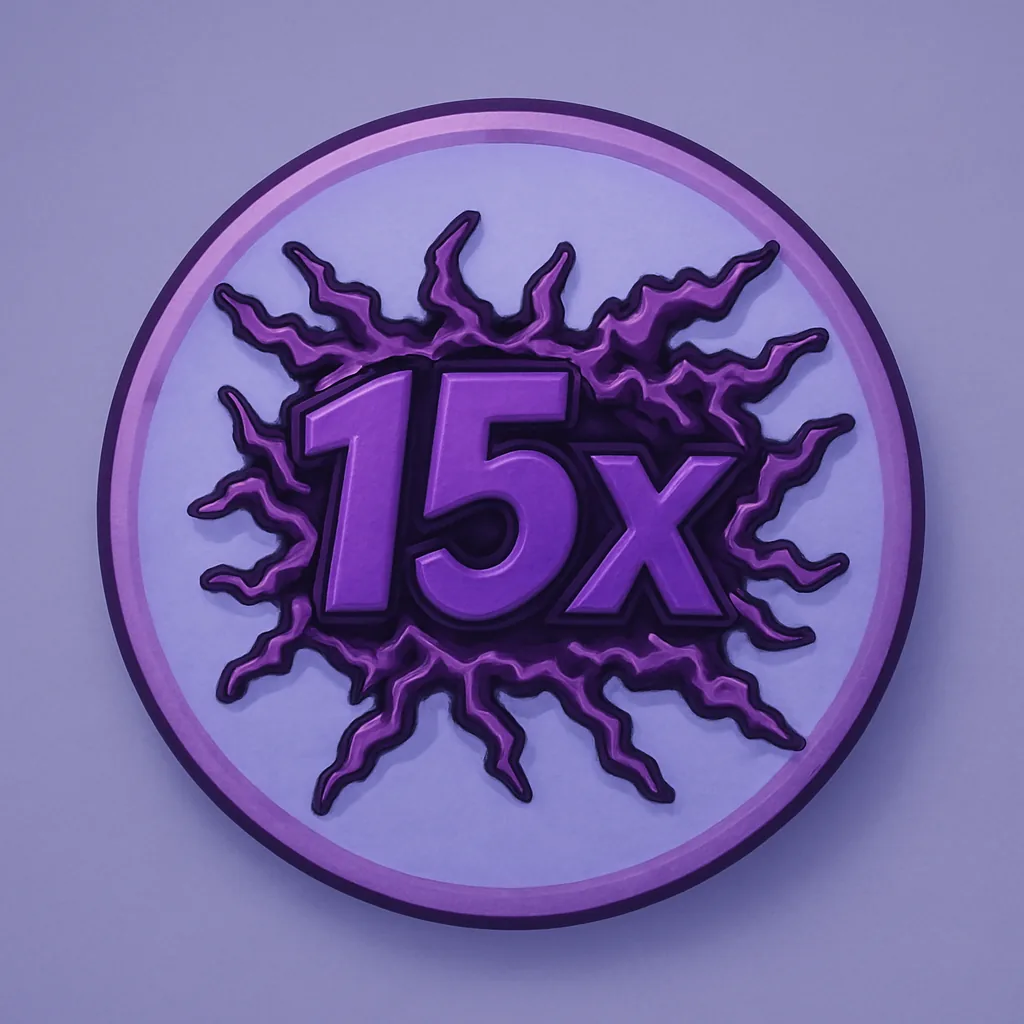 Too Corrupt to Fail | Reach a 15× Corruption multiplier |
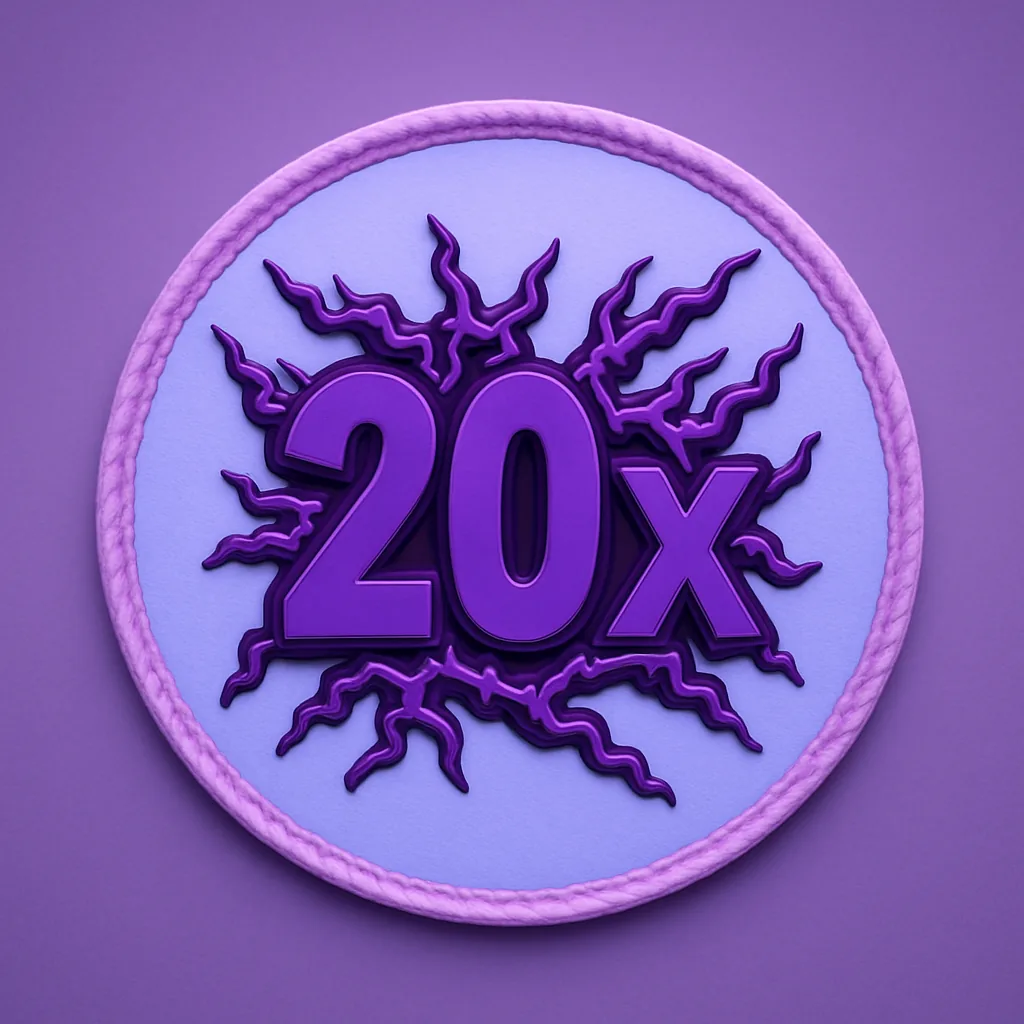 The Corruption Consumes | Reach a 20× Corruption multiplier |
Which badges are hardest to get
Gone Missing sits at the top of the difficulty ladder because it requires surviving all the way to Day 500, far past the game’s 100-day goal. Bonfire Master is the standout early-game wall since it forces max bonfire before Day 3. The higher Challenge Mode tiers and the corruption multiplier badges also thin out quickly, with only a small fraction of players clearing them.
Because every badge feeds Pearls back into class unlocks, the fastest way to build a stronger loadout is to knock out the easy day, bonfire, and exploration badges first, then use those Pearls on a survival or combat class before attempting the harder boss and challenge badges. You can jump straight into a run from the official 100 Days At Sea Roblox page and start collecting from Day 1.