

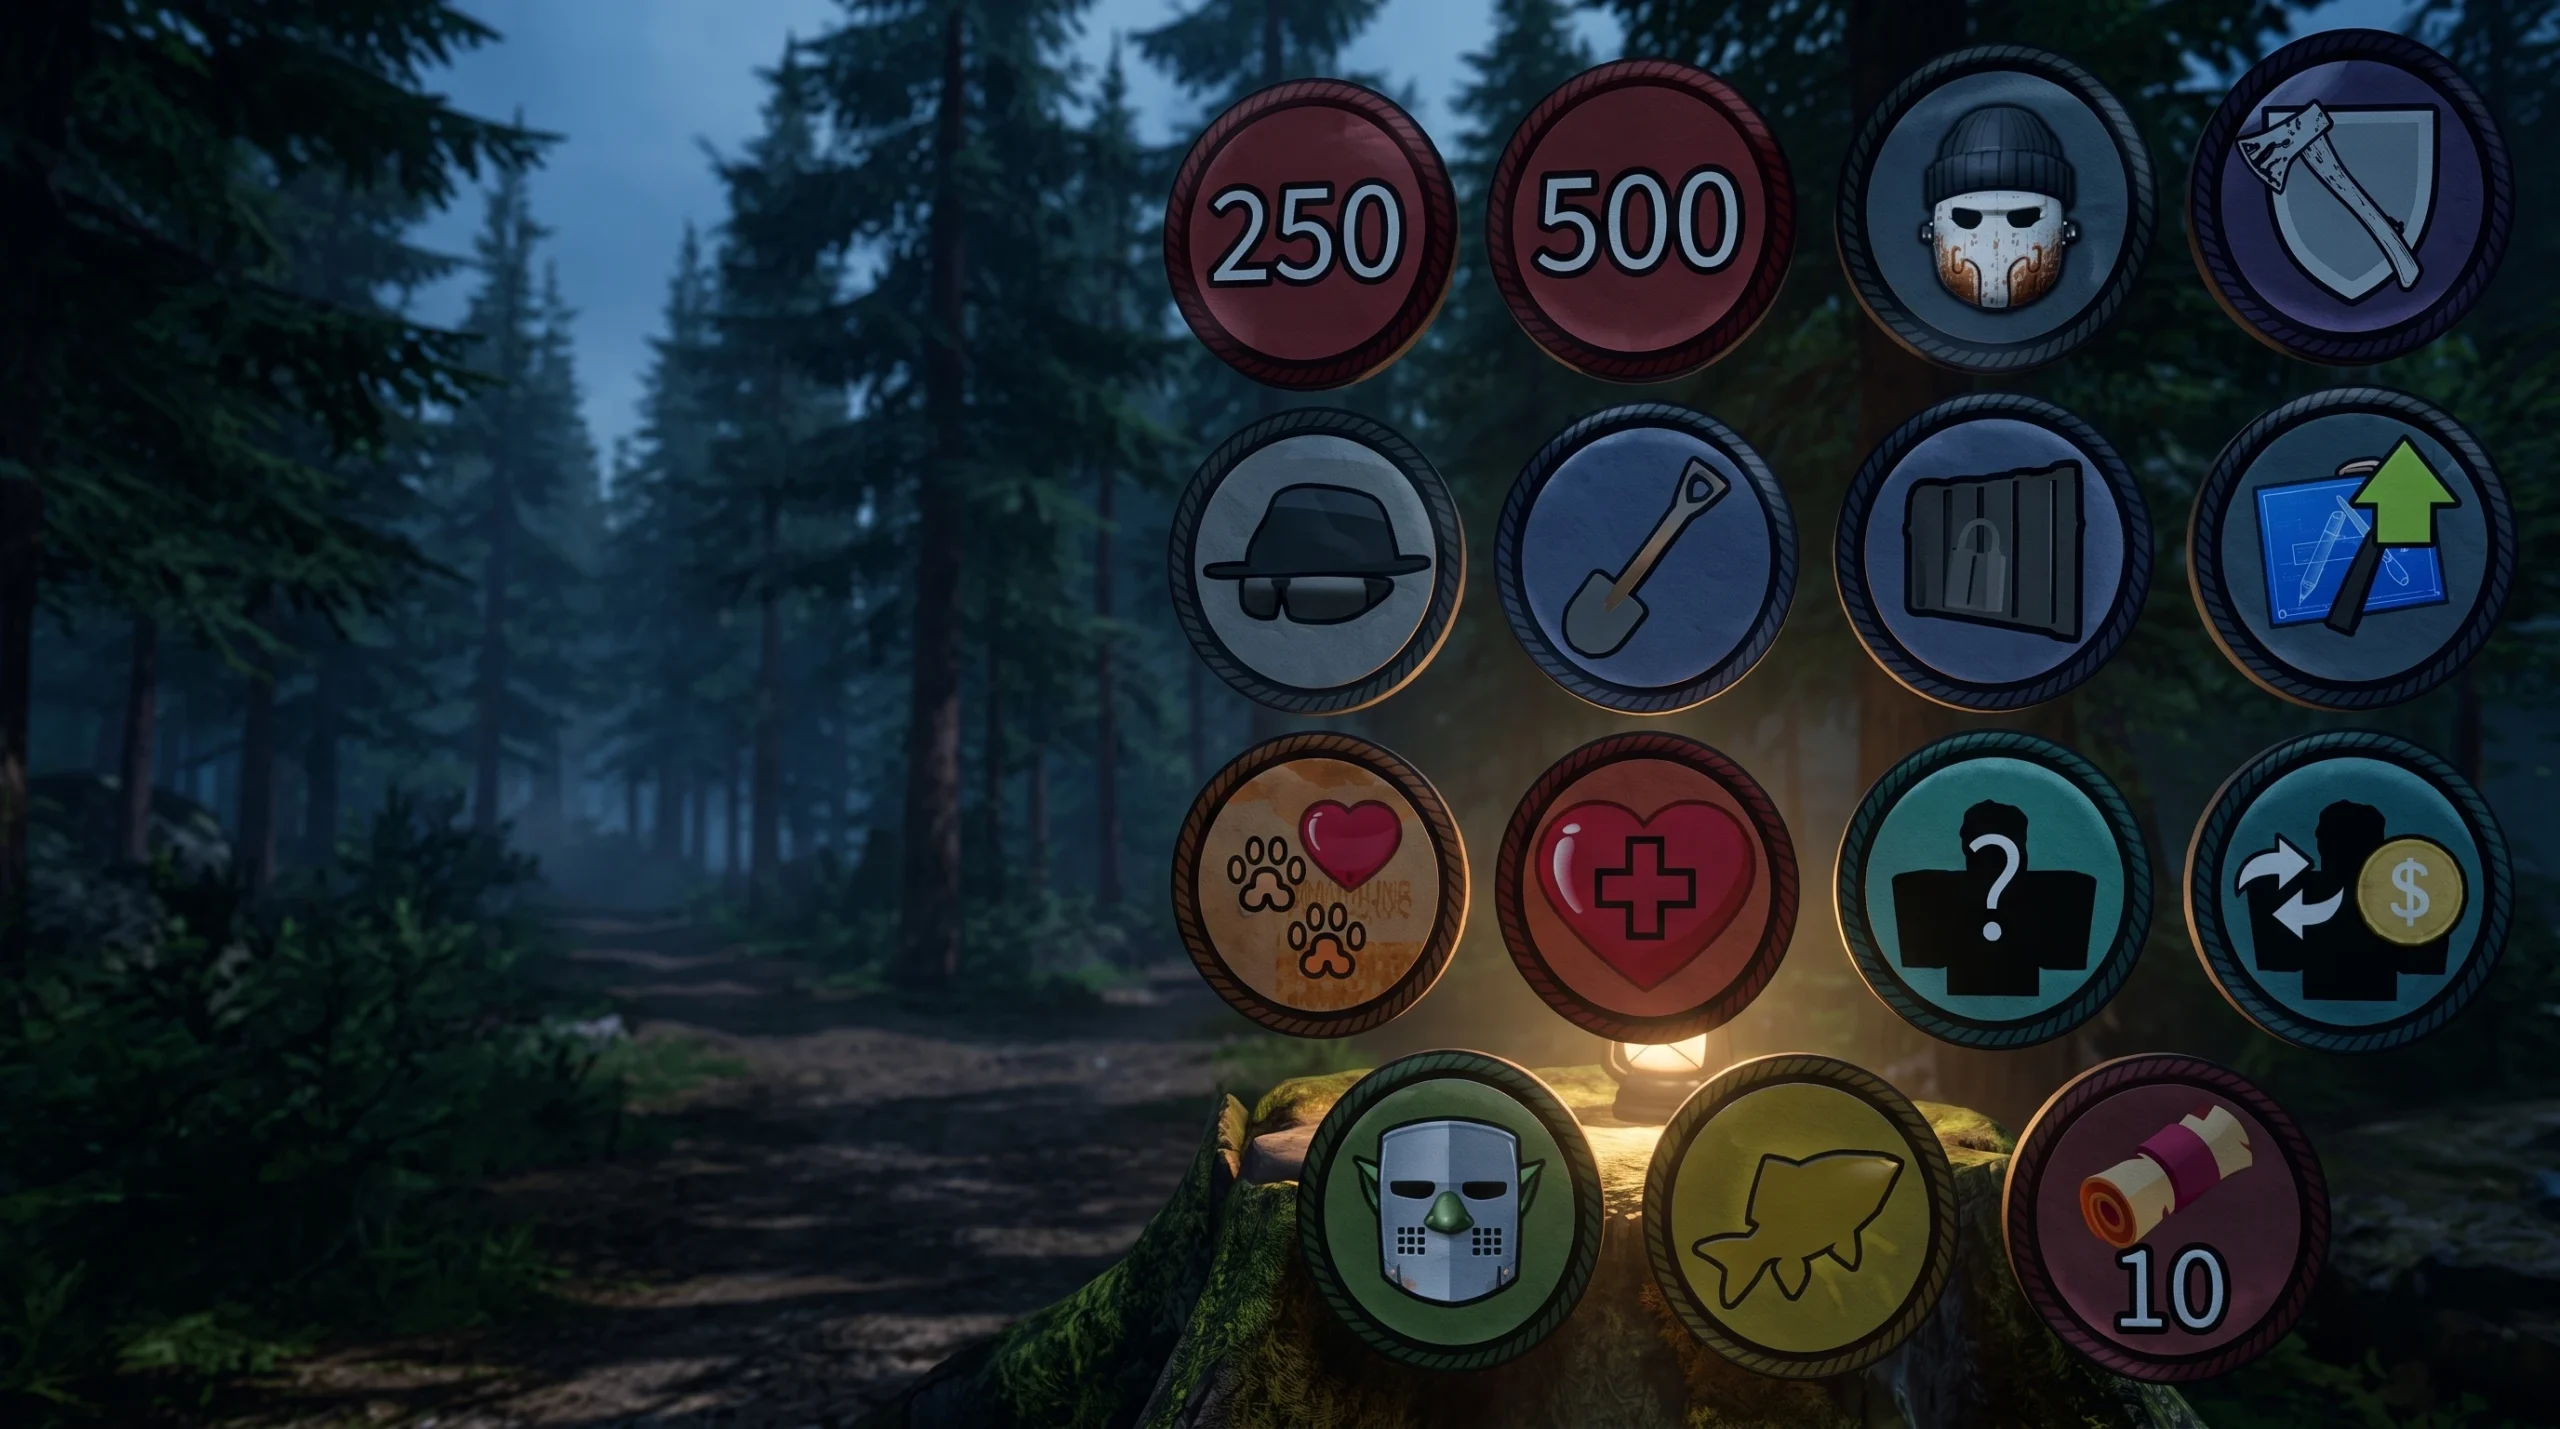
Badges in 99 Nights in the Forest work as permanent achievements. Each one unlocks the first time you meet its exact condition, and most hand you Diamonds, the premium currency used to buy new classes. Once earned, a badge can be equipped in the lobby so it sits next to your name. This is the full list of what triggers each badge and what it pays out.
Quick answer: A badge unlocks the moment you complete its listed condition for the first time (reach a day count, defeat a boss, upgrade a system, or finish a quest). You know it worked when the badge notification appears and the Diamond reward is added to your balance.
Survival milestone badges (Day 10 to Day 500)
The survival badges are the simplest source of early Diamonds. Each one triggers when your run reaches the listed day for the first time, so a single long game clears the whole chain up to Day 100. The two Determined badges then push far past that. Keep your campfire fueled during daylight hours, and prioritize fire upgrades and steady food so night attacks do not end a run.
| Badge | Condition | Difficulty | Diamonds |
|---|---|---|---|
| Survive 10 Days | Reach day 10 | ★ | 2 |
| Survive 20–100 Days | Reach each 10-day milestone (20 through 100) | ★★ | 4 each |
| Determined I | Survive 250 days in one run | ★★★★ | 8 |
| Determined II | Survive 500 days in one run | ★★★★★ | 8 |
Determined I and II need automated food, strong defenses, and reliable healing. Falling back into a repeatable routine of harvesting, patrolling, and reinforcing is what carries these long runs, and careless mistakes are the main reason they fail.
Combat and boss badges
These badges test fights against specific enemies. Combat comes naturally on one of the first few nights, while the boss badges each require reaching a particular biome or event.
| Badge | Condition | Difficulty | Diamonds |
|---|---|---|---|
| Combat | Defend your campfire from cultists | ★ | 2 |
| Beastmaster | Defeat the Frog King | ★★ | 2–4 |
| Usurpation | Defeat the Cultist King in the volcanic biome | ★★ | 4 |
| Xenology | Defeat the Alien Mothership | ★ | 2 |
The Frog King appears during the Frog Invasion, so bring poison-resistant gear and healing for the multiple phases. The Cultist King lives in the volcanic biome, where fire-resistant equipment and mobility matter against its area attacks. The Alien Mothership is reached through UFO teleporters, and laser weapons work best against alien enemies.
Fire, crafting, and support badges
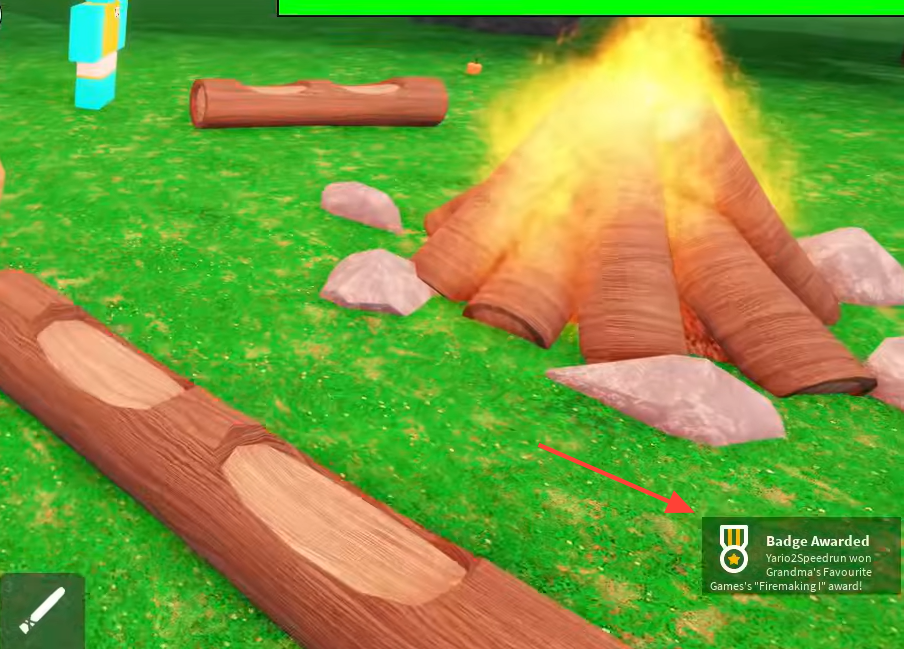
Base progression badges reward upgrading your campfire and crafting bench. Fire upgrades also give permanent benefits, and Firemaking IV reveals the entire map once the campfire is maxed. Add wood and fuel during safe daylight hours to avoid nighttime interruptions.
| Badge | Condition | Difficulty | Diamonds |
|---|---|---|---|
| Firemaking I | Upgrade the fire to level 3 | ★ | 2 |
| Firemaking II | Upgrade the fire to level 4 | ★ | 2 |
| Firemaking III | Upgrade the fire to level 5 | ★ | 2 |
| Firemaking IV | Fully upgrade the campfire to reveal the map | ★★ | 4 |
| Crafting | Upgrade the crafting bench to level 4 | ★ | 2 |
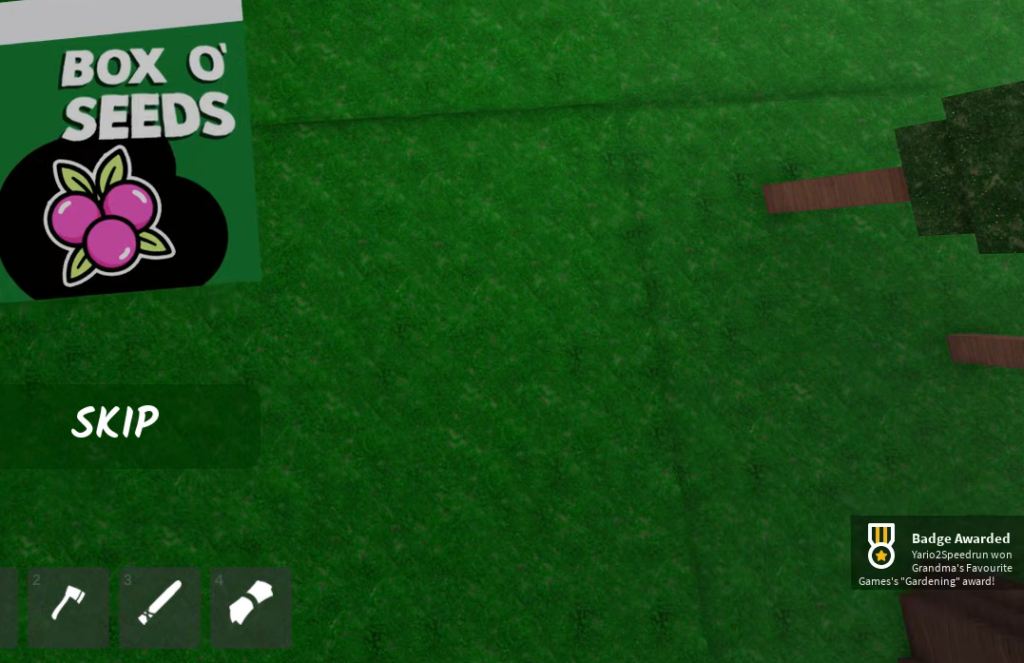
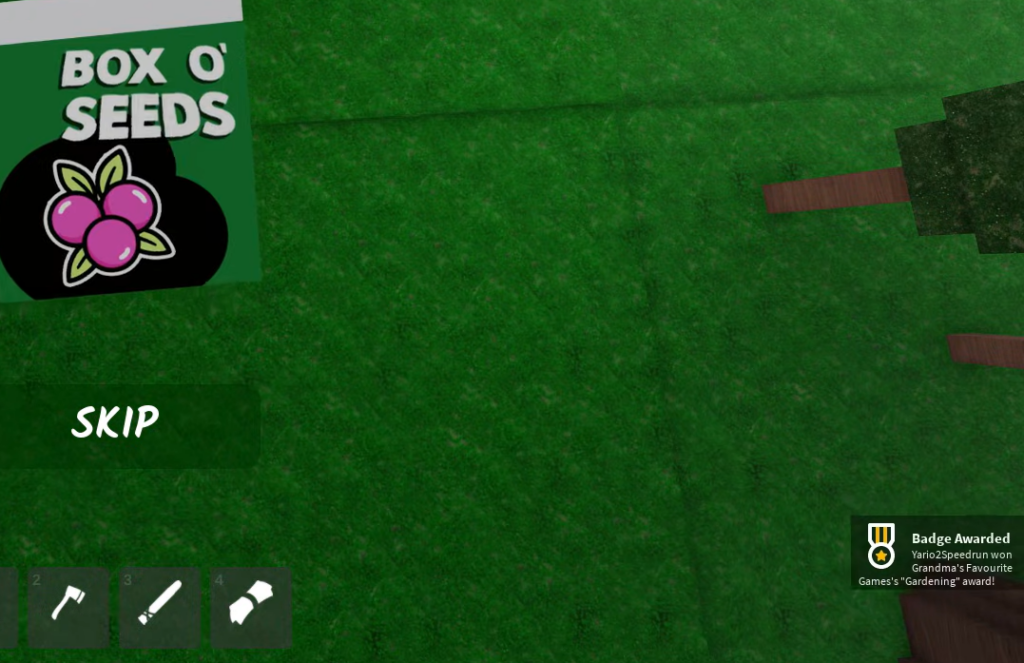
| Gardening | Buy a box of Seeds from the Fairy | ★ | 2 |
| First Aid | Revive a dead teammate with a Bandage or Medkit | ★ | 2 |
The Fairy spawns randomly, often near the Mushroom house, and you pay for the seed box with flowers. The crafting menu sits by the starting campfire, and a level 4 bench opens up important mid-game items. First Aid only registers in a team game, since it needs a downed teammate to revive.
Exploration and quest badges
Quest badges send you across the map to clear areas, finish trader questlines, or track down NPCs. Bring heavy weapons and healing before tackling the strongholds.
| Badge | Condition | Difficulty | Diamonds |
|---|---|---|---|
| Infiltration | Clear the Cultist Stronghold | ★★ | 4 |
| Hunting | Complete all of the Pelt Trader’s quests | ★★ | 4 |
| Orienteering | Locate and save the 4 missing children | ★★ | 4 |
| Reconstruction | Bring a carrot to the noseless snowman in the snow biome | ★★ | 4 |
The Cultist Stronghold is a large stone building, and its final room holds a Juggernaut Cultist, so save your best weapon. The Pelt Trader shows up near your camp from night two, usually by the Missing Children Board, and swaps items for the specific pelt shown in his box. For Orienteering, follow the children’s cries during daylight and escort each one back while avoiding the Deer Monster.
Challenge and lifestyle badges
These badges change how you play a full 99-day run. Several can be stacked in one careful game, but a few conflict, so plan before you commit to a long session.
| Badge | Condition | Difficulty | Diamonds |
|---|---|---|---|
| Teamwork | Survive 99 days with a team of 5 | ★★★★ | 8 |
| Self-Preservation | Survive 100 days without rescuing any missing children | ★★ | 4 |
| Vegetarian | Survive 99 days without eating any meat | ★★ | 4 |
| Swiftness | Survive 99 days in under 90 minutes | ★★ | 4 |
| Durability | Survive 99 days without dying once | ★★★ | 6 |
| Humiliation | Die by stepping on a bear trap | ★★ | 4 |
Vegetarian means eating only fruits, vegetables, and crops, and any stew that contains meat still counts against you. Humiliation is the one badge that wants you to fail, since you have to die on a bear trap you placed, ideally with a teammate nearby to revive you afterward.
Orienteering and Self-Preservation cannot be earned in the same run. One needs you to save all four missing children, the other needs you to save none. Choose your side before starting a long game.
Snow, fishing, volcano, and meteor badges
Later biomes and features added their own badge sets, many of which pay furniture and Blue Flame fire on top of Diamonds. These require reaching the matching area or system before their conditions can trigger.
| Badge | Condition | Reward |
|---|---|---|
| Knitting | Craft 10 warm items of clothing | 5 + Icy Throne furniture |
| Ice Sculpting | Find the Ice Temple and break the treasure from the ice | 6 |
| Wilderness Hunting | Defeat 10 Mammoths and 20 Polar Bears | 10 + Snowman furniture |
| Baiting | Upgrade your Fishing Rod to max level | 4 |
| Fishing | Catch 100 Fish | 5 |
| Trophy Fishing | Complete the fish index board in the Fishing Hut | 6 |
| Deep Sea Fishing | Catch 30 Sharks | 10 + Fishbowl furniture |
| Supporting | Kill 50 enemies while near a teammate | 5 + Restaurant table |
| Cooking | Cook 50 meals in a crock pot or chef station | 5 + Blue Flame fire x3 |
| Engineering | Build 50 structures | 5 + Blue Flame fire x3 |
| Hunter | Get 50 Pelt drops from animals | 5 + Bearskin Rug |
| Resourcefulness | Drop a dead teammate inside the Volcano’s lava | 5 + Blue Flame fire x3 |
| Pest Control | Kill 100 Scorpions | 5 + Volcano Mini furniture |
| Metal Working | Craft 50 ammo boxes at the Ammo Furnace | 5 + Blue Flame fire x3 |
| Volcanology | Deposit 150 Cultists inside the Volcano’s lava | 5 + Lava Fountain furniture |
| Astrogeology | Craft 5 items at the Meteor Anvil | 5 + Blue Flame fire x3 |
| Astrophysics | Craft, place, and open an obsidiron chest | 5 + Crater Rug furniture |
| Exogeology | Defeat 20 Meteor Crabs | 5 + Meteor Lamp furniture |
| Seismology | Mine 25 meteor crystals | 5 + Blue Flame fire x3 |
Meteor content appears after meteor showers, when the Meteor Anvil, craters, crabs, and crystals become available. The volcano badges revolve around lava deposits and the Ammo Furnace, so both require reaching the volcanic biome first.
Taming and seasonal event badges
Taming badges use the Taming Flute, while limited-time event badges tie to seasonal content and may only be earnable during their windows.
| Badge | Condition | Reward |
|---|---|---|
| Taming | Use a Taming Flute to tame an animal | 2 |
| Husbandry | Use a Taming Flute to tame a powerful animal | 4 |
| Halloween Rune Token | Trick or Treat at 1 Halloween House | — |
| Halloween Key Token | Trick or Treat at 5 Halloween Houses | — |
Start Taming with easy animals like bunnies, using the matching flute and food. Husbandry needs a Strong Taming Flute and specific food to tame powerful creatures such as Bears, Mammoths, or Hellephants, which can then fight alongside you. Thanksgiving badges tied to inviting guests have also been listed, with rewards up to 15 Diamonds for the largest guest count.
How to confirm a badge unlocked and stack them efficiently
A badge is confirmed when it pops on screen and the Diamond reward lands in your balance. From there you can equip it in the lobby, where it displays beside your name. Diamonds only pay out on the first unlock, so repeating a condition does not grant more.
The fastest way to build Diamonds is to clear the easy 2-Diamond badges early, then chain compatible challenges in a single run. A cautious 99-day game aimed at Durability can also complete Vegetarian and Swiftness at the same time, since all three reward careful, efficient play. Just remember the Orienteering and Self-Preservation split before you lock into a long session, and treat Humiliation as a quick one-off whenever a bear trap is handy.





