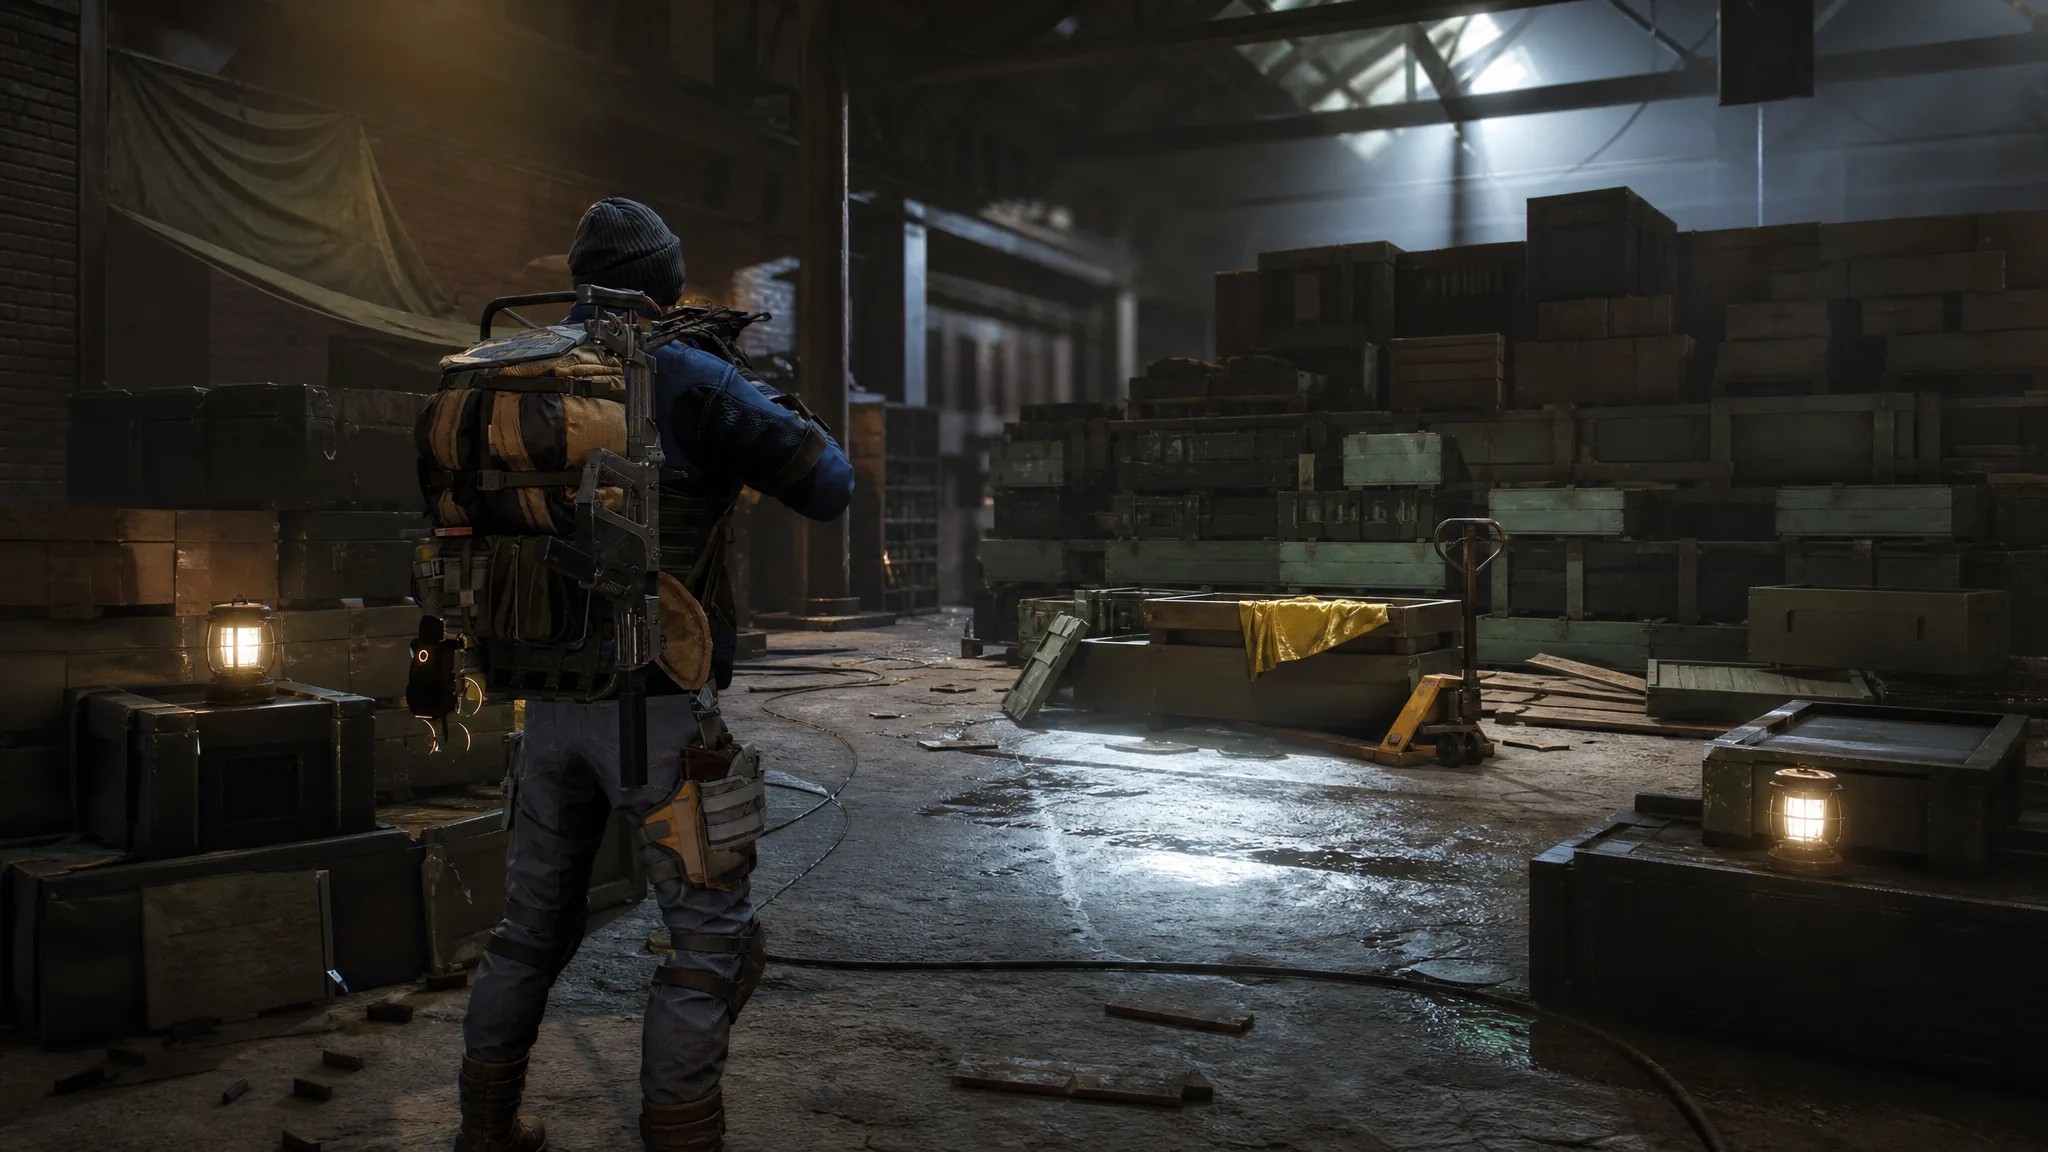
Locked safes in The Division Resurgence, labeled encrypted crates in-game, hold superior gear, crafting materials, Phoenix Credits, and Basic Credits. Each uses a four-digit keypad, and the combination almost always sits within a few meters of the safe on a poster, chalkboard, sticky note, store sign, or graffiti tag. Most codes are the same for every player, but three of them are generated per character and must be read from your own Cryptic Clues.
Quick answer: Enter the four digits on the safe’s keypad; the code is written on a clue near each safe. For the three randomized crates, open Inventory > Collectibles > Cryptic Clues and read your personal Code Clue (numbers 4, 8, and 11) since those combinations differ for every account.
All confirmed safe codes in The Division Resurgence
Twenty-one encrypted crates have been mapped so far, out of 33 tied to the New York City Collector commendation. Eighteen use fixed codes that work on any character. The three marked as random pull their combination from a Code Clue collectible unique to your save, so do not copy those digits from anyone else.
| Location | Code | Clue source |
|---|---|---|
| Clinton, near Lazarus Rest safehouse entrance | 0616 | First floor of a building on the main road |
| Clinton, north end (Christmas tree lobby) | 0115 | Code Clue 5 collectible |
| Clinton, west of Lazarus Rest (school buses nearby) | Randomized | Read your Code Clue 11 |
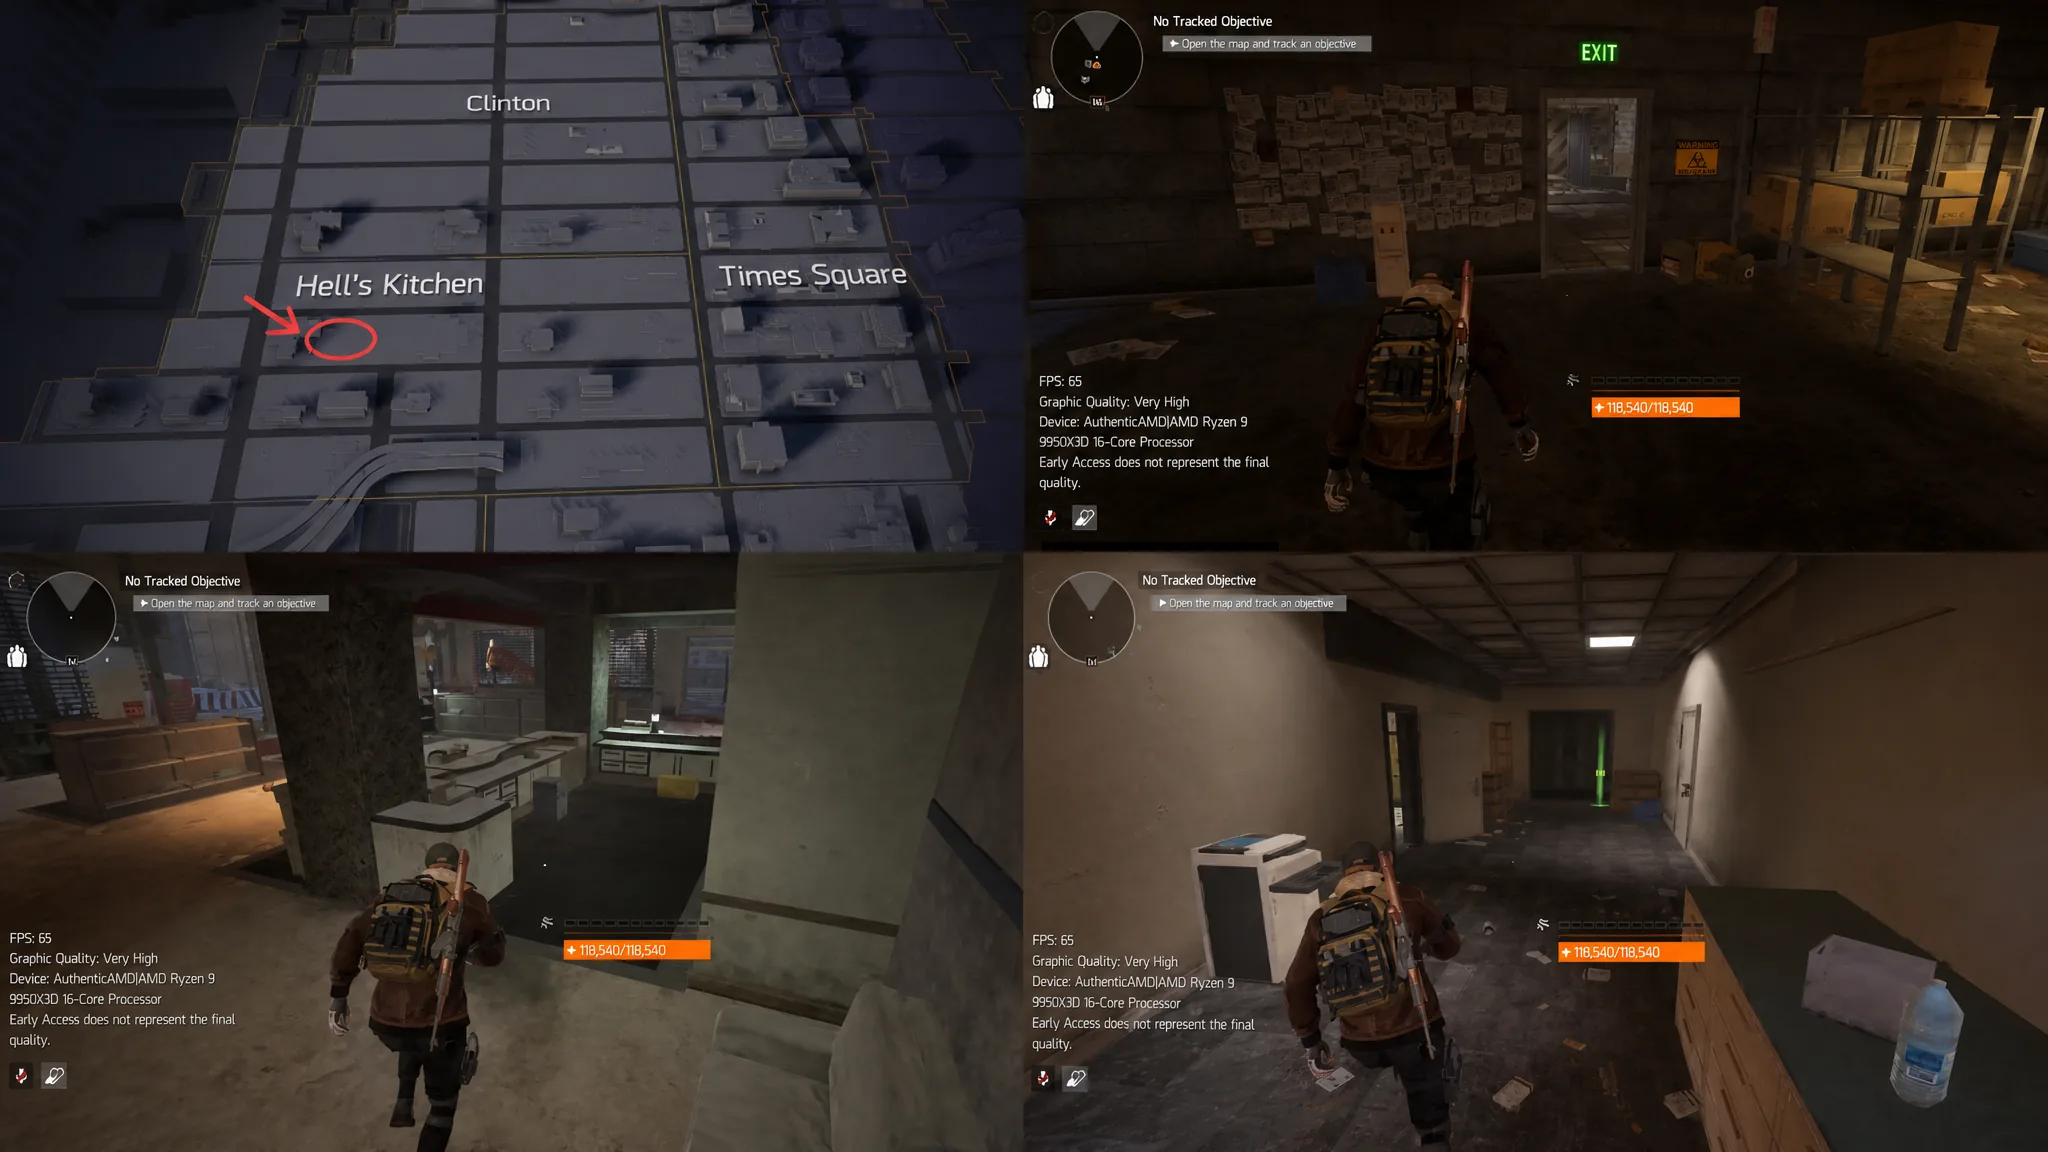
| Building near Safe #2, cubicle with notice boards | 7723 | Written on the notice board |
| Skyscraper dividing Clinton and Times Square | 0115 | Beside the counter near a small Christmas tree |
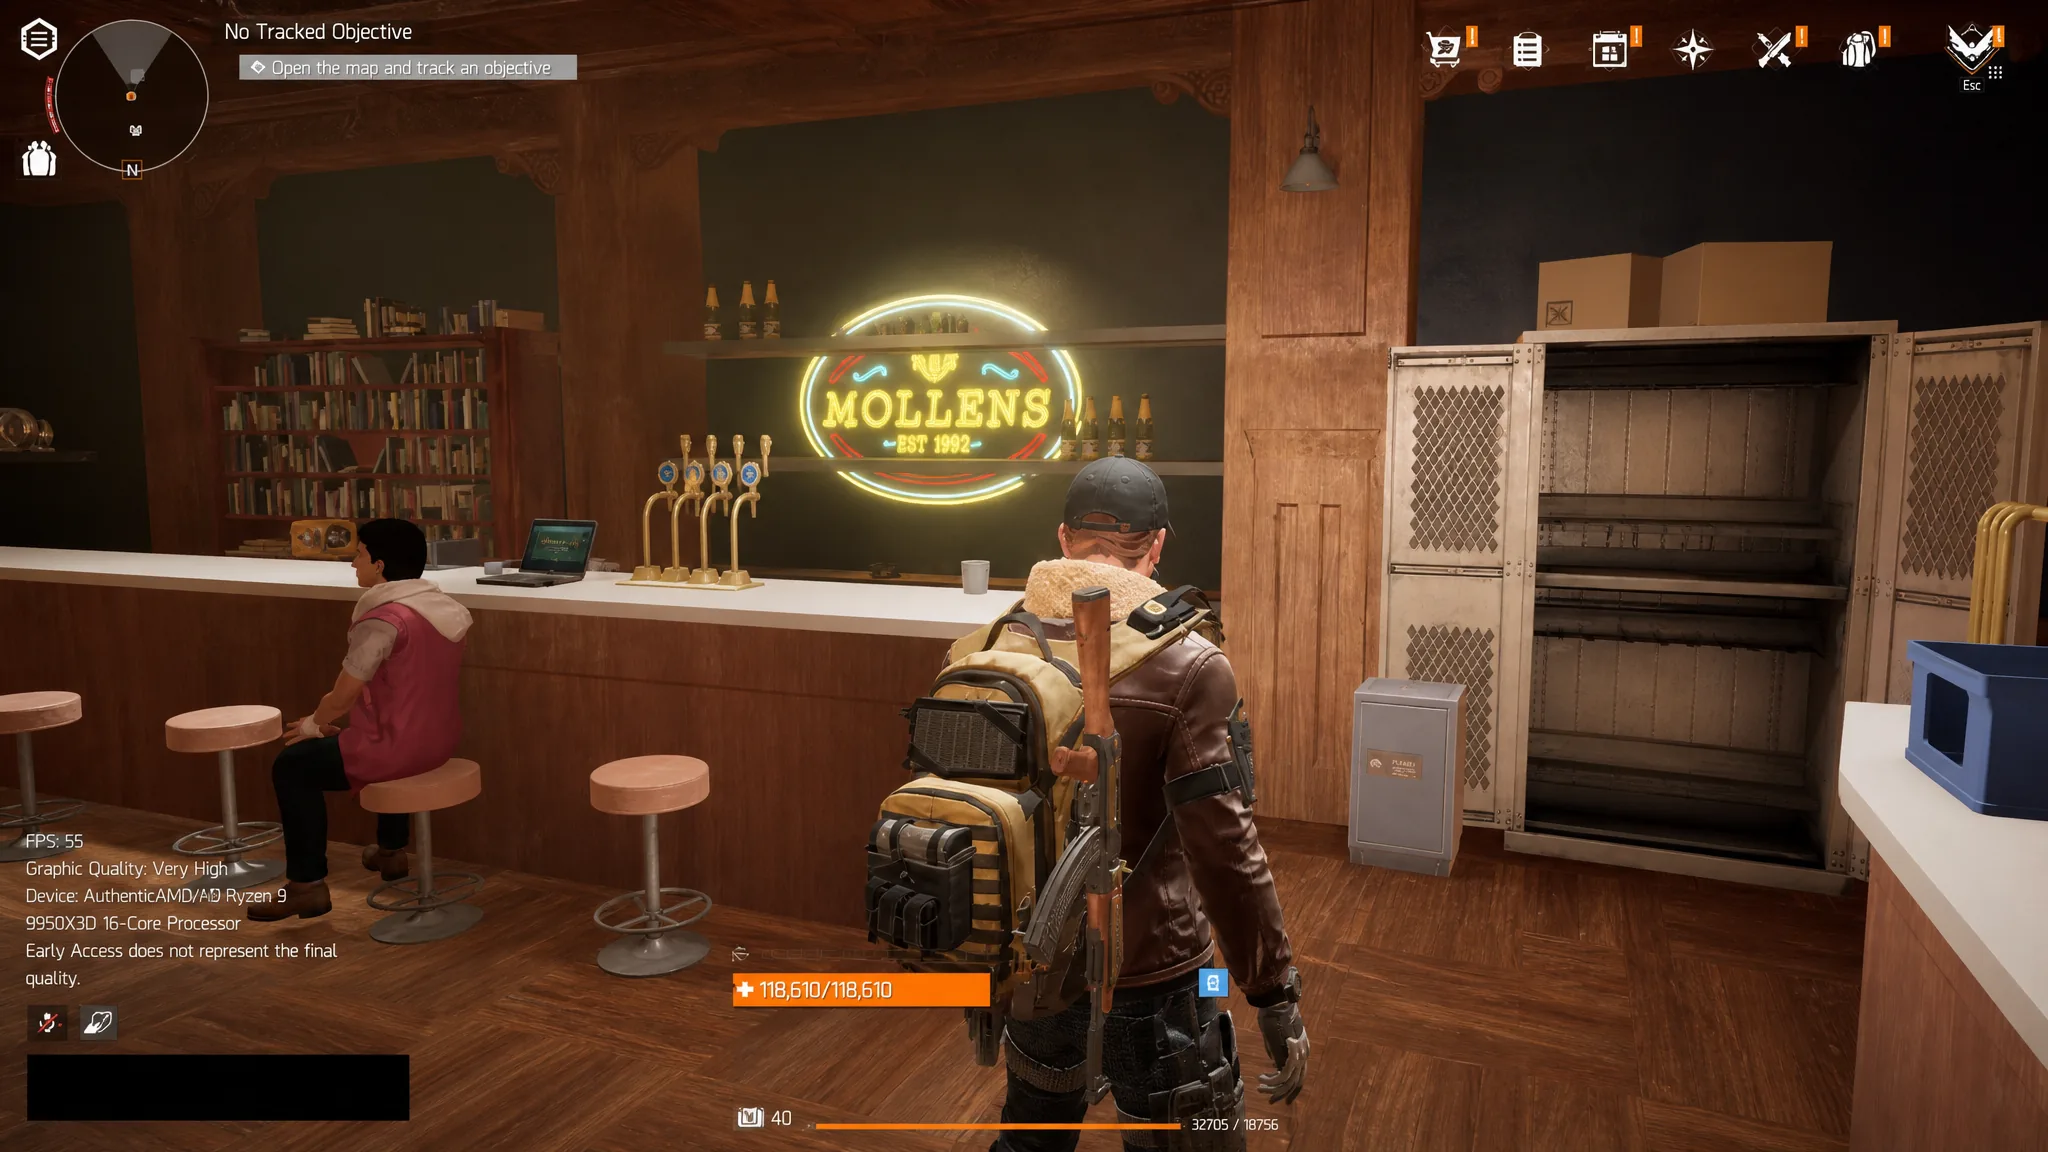
| Autumn’s Hope safehouse, bar/reception | 1883 | “Established” year on the sign behind Mullins |
| Dante’s Run safehouse, clothing store counter | 7716 | Promotional poster on the pillar/desk |
| Hell’s Kitchen flyovers toward Hudson Yards | 1845 | Spray-painted tag on the wall |
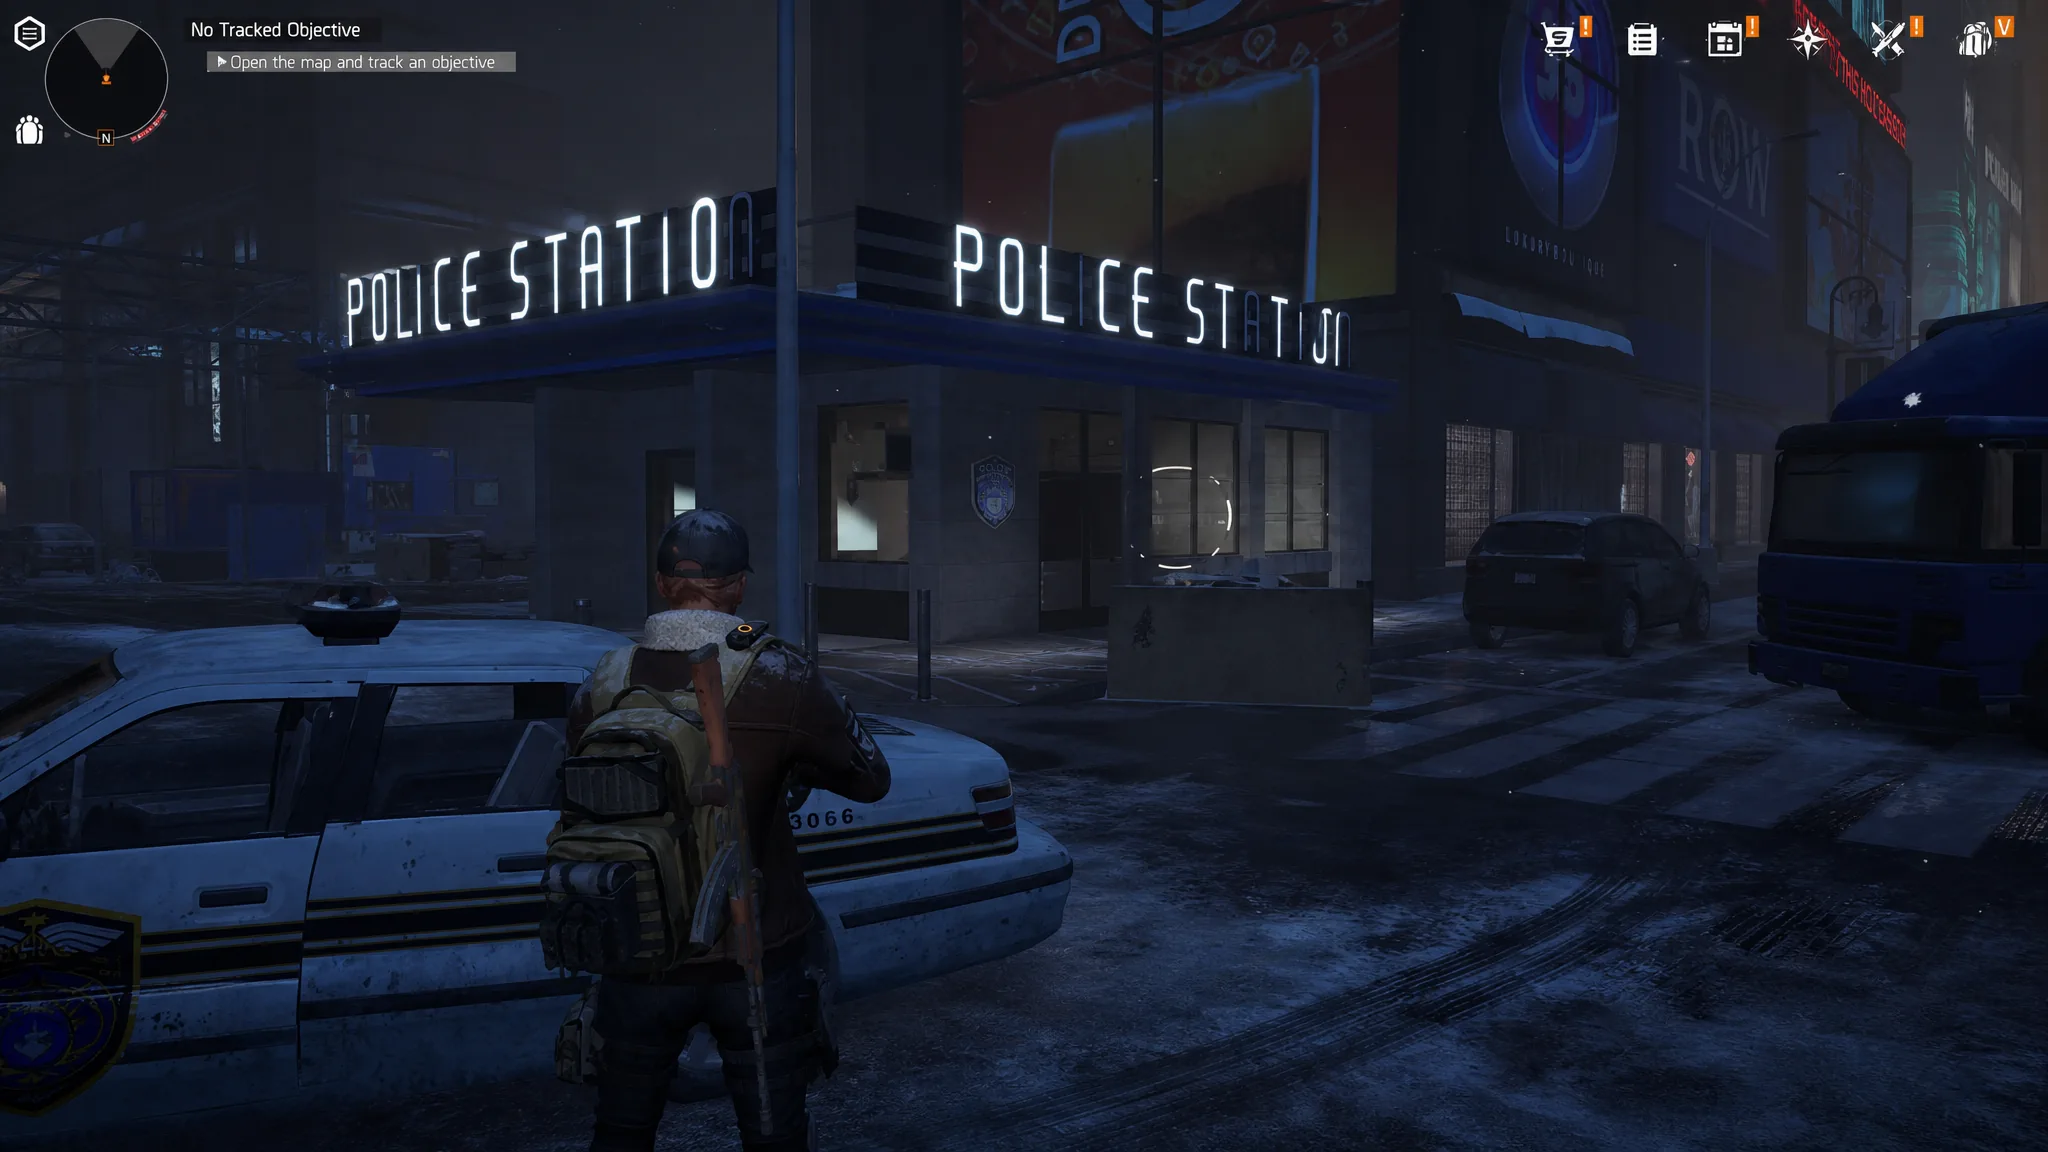
| Times Square south entrance, police station | 1450 | Investigation/whiteboard inside |
| Kerman Station safehouse, locker area | 7069 | Sticky note pinned near the lockers |
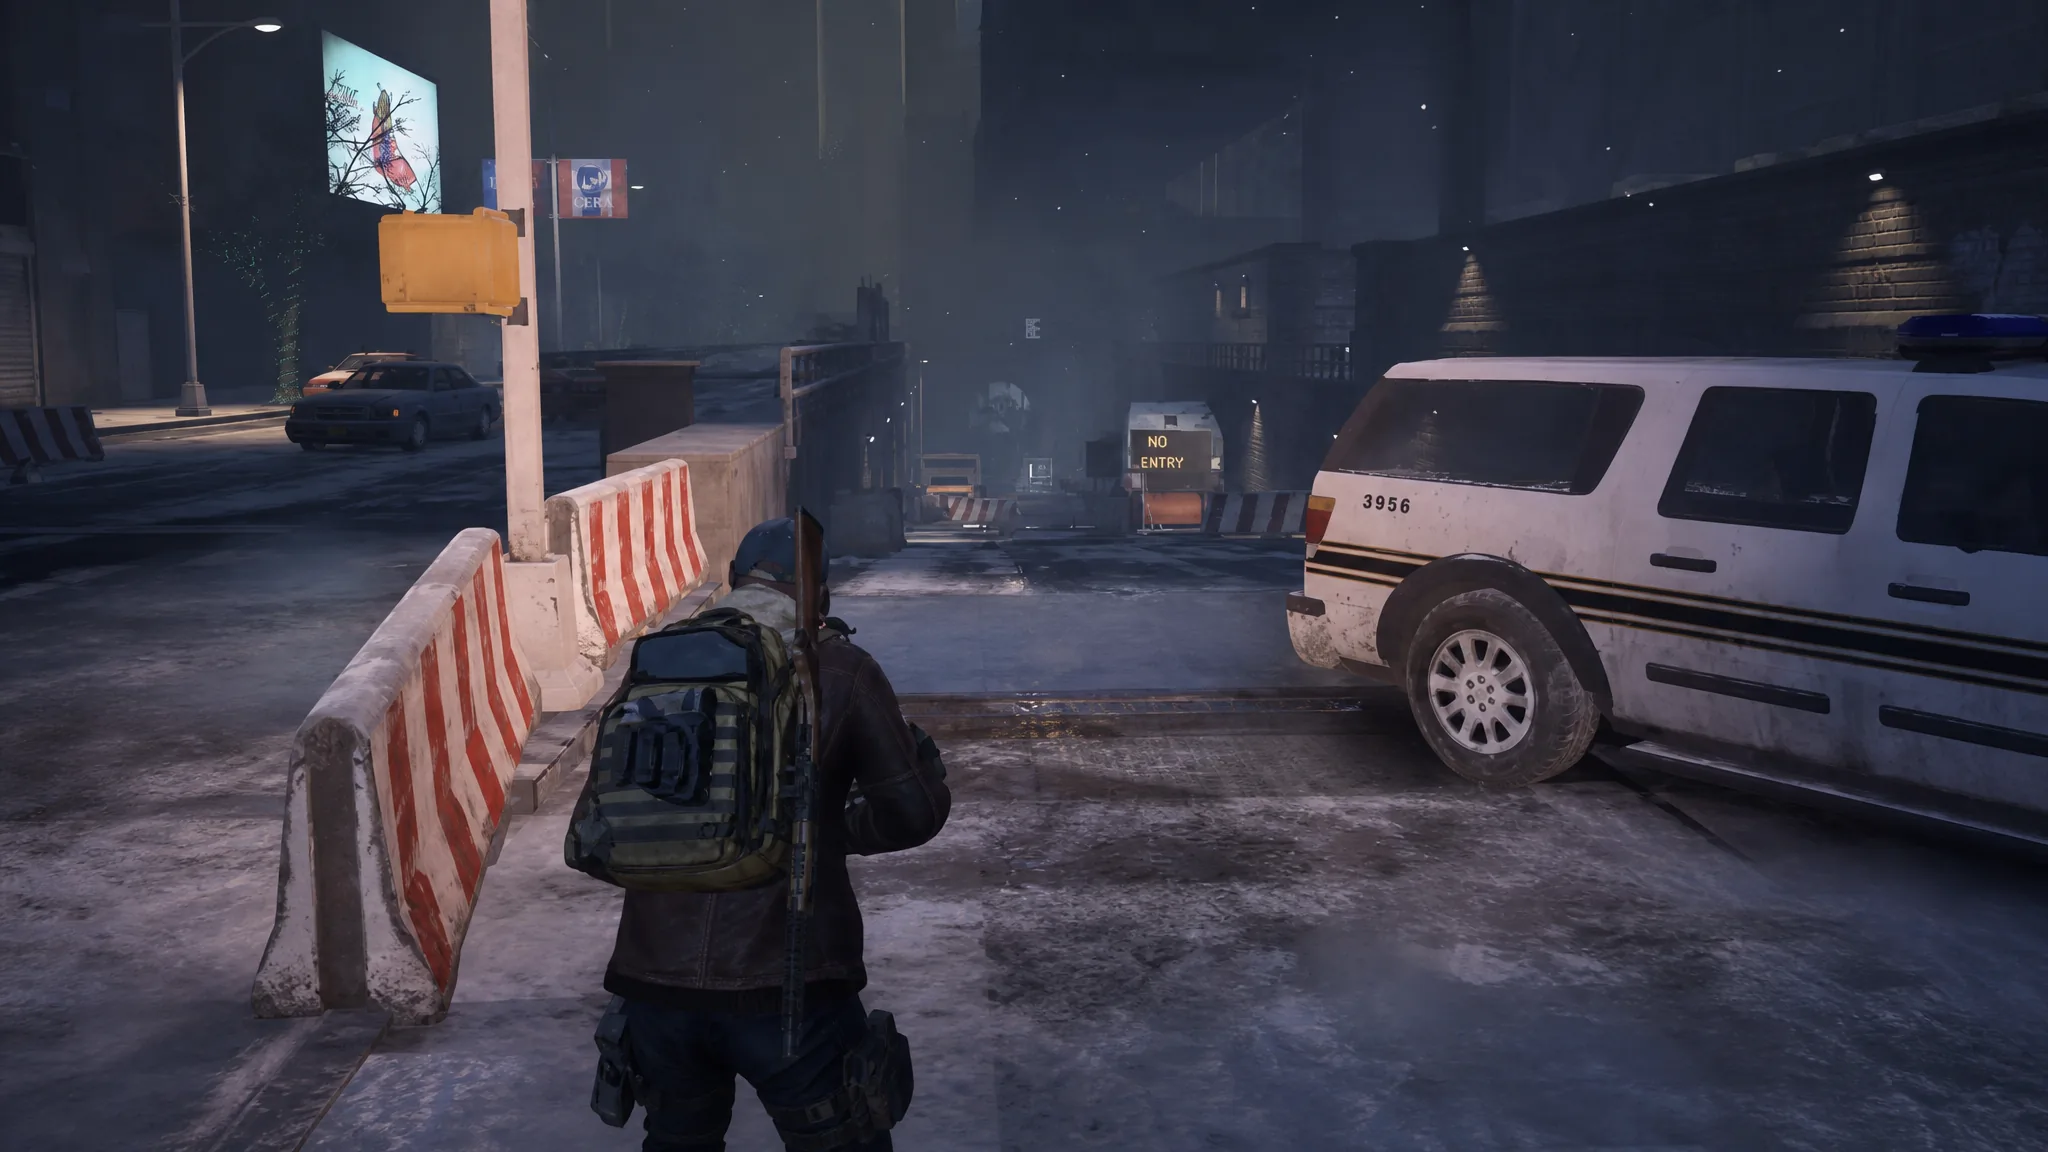
| Abandoned train yard where the flyovers end | 1124 | Inside an abandoned train car |
| Spring Blossom Settlement, top-floor office | 3580 | Chalkboard to the right of the safe |
| The Cavern safehouse, near the glowing wall light | Randomized | Read your Code Clue 8 (often 9363) |
| Apartment outside The Cavern, second-floor bedroom | 0115 | Static |
| NYC Base of Operations dormitories | 1350 | Paper on the notice board |
| Supermarket outside the Base of Operations | 1987 | Wine advert year above the safe |
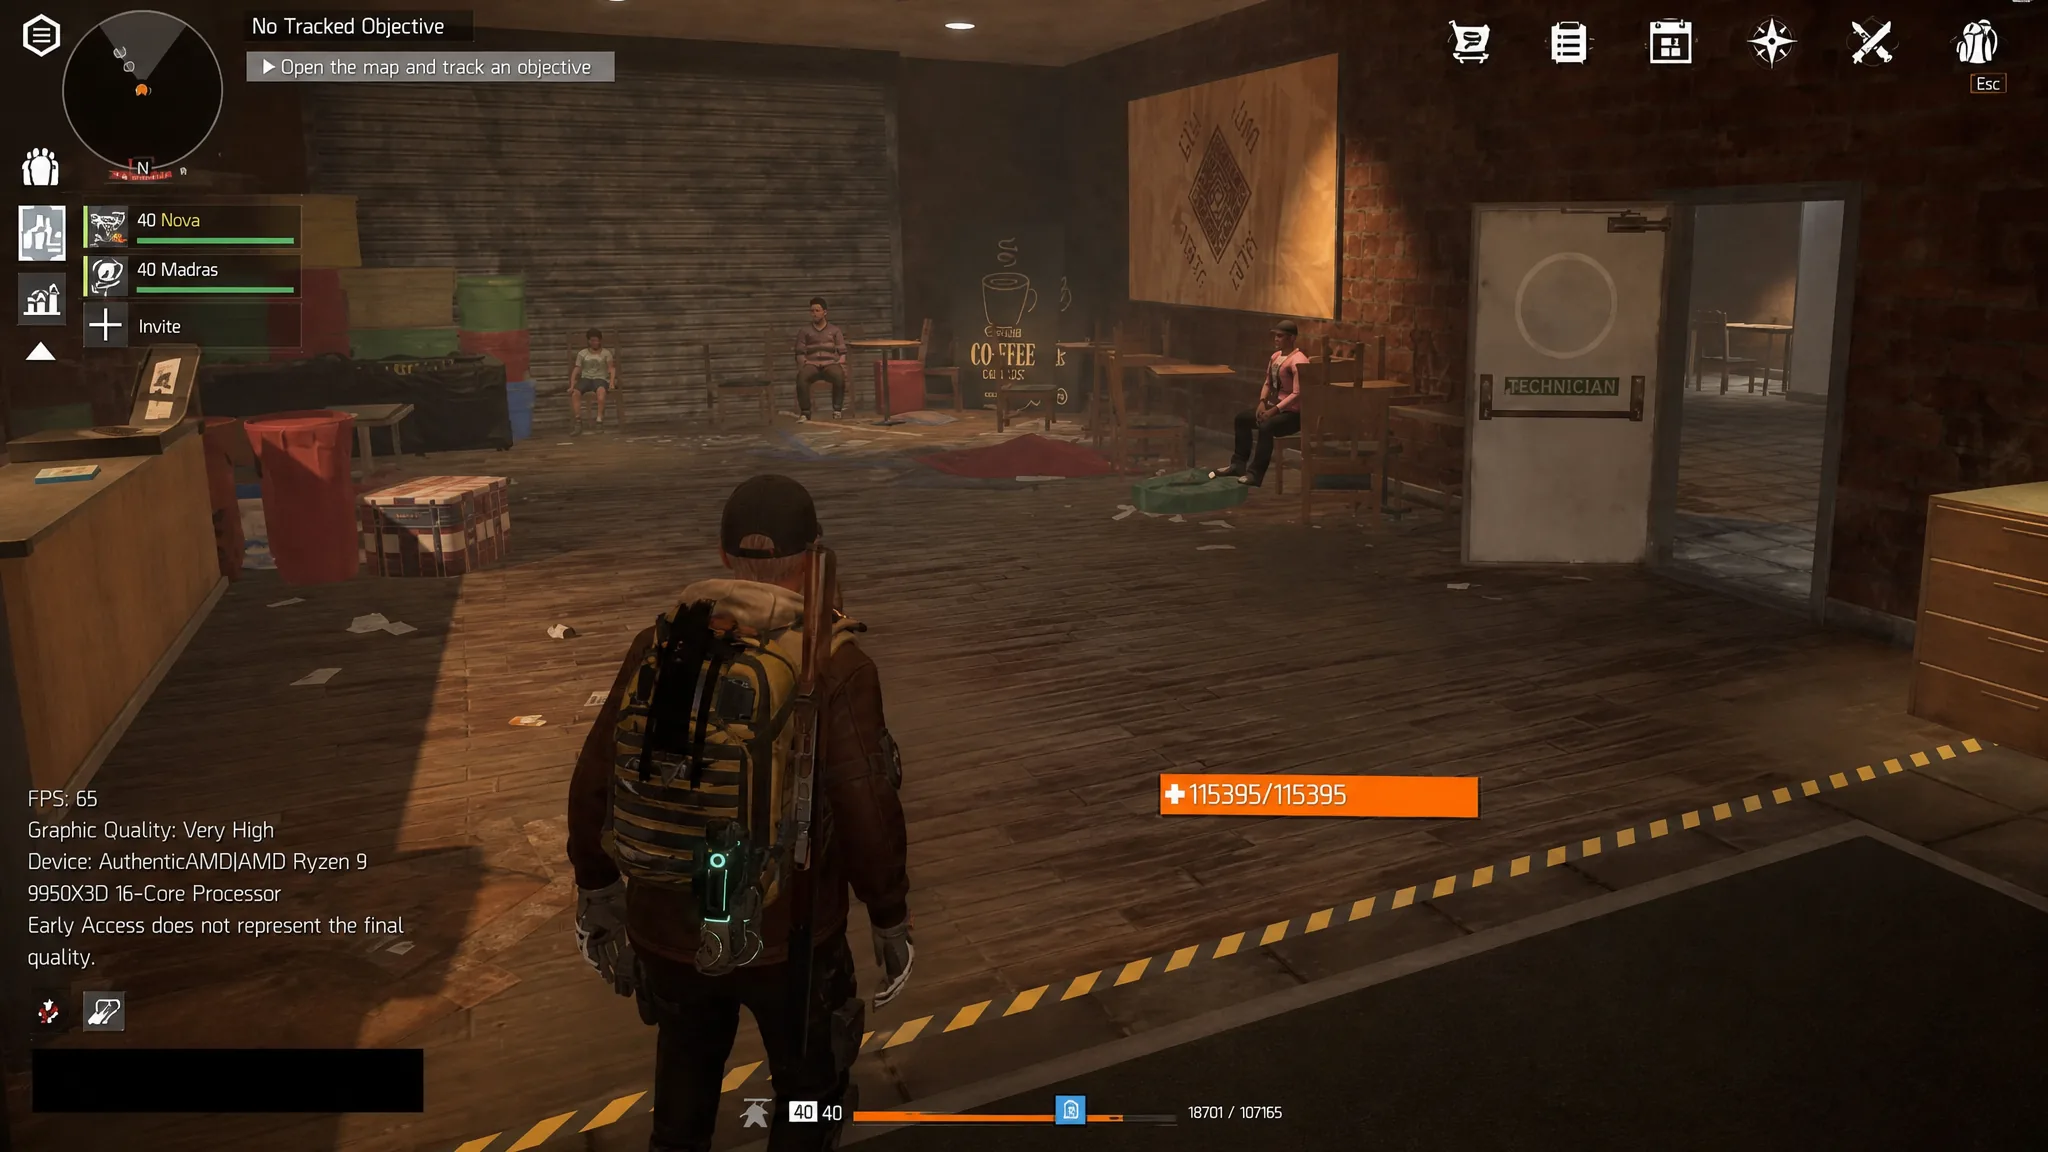
| Coffee shop in front of the supermarket | 1122 | Shop poster on the wall |
| Serotentia tent near Madison Field Hospital | 1105 | “Birthday Gift” Code Clue 10 collectible |
| South alley off the Serotentia route | Randomized | Read your Code Clue 4 |
| Statue holding a book, east of the Base of Operations | 2010 | Roman numerals MMX on the book |
| Building with lockers, east of the Base of Operations | 0078 | Code inside an open locker |
| Tenderloin, restaurant near the Furniture Store | 0123 | Just outside the kitchen |
The three randomized crates
Three safes never share a code between players. Typing a stranger’s numbers on these will always fail. The crate west of Lazarus Rest pulls from Code Clue 11, the Cavern safehouse crate uses Code Clue 8, and the alley crate near Serotentia uses Code Clue 4. Open your Collectibles menu, find the matching Cryptic Clue, and the four digits shown there are yours alone.
Note: Some players see 9363 on the Cavern crate through Code Clue 8, but treat the clue text in your own game as the authority since the number can differ.
Fastest cluster: five crates around the Base of Operations
The NYC Base of Operations and its surrounding streets hold five crates within a short walk of the fast travel point. This is the quickest sweep once fast travel is unlocked.
Safehouse and settlement crates
Open-world crates across the map
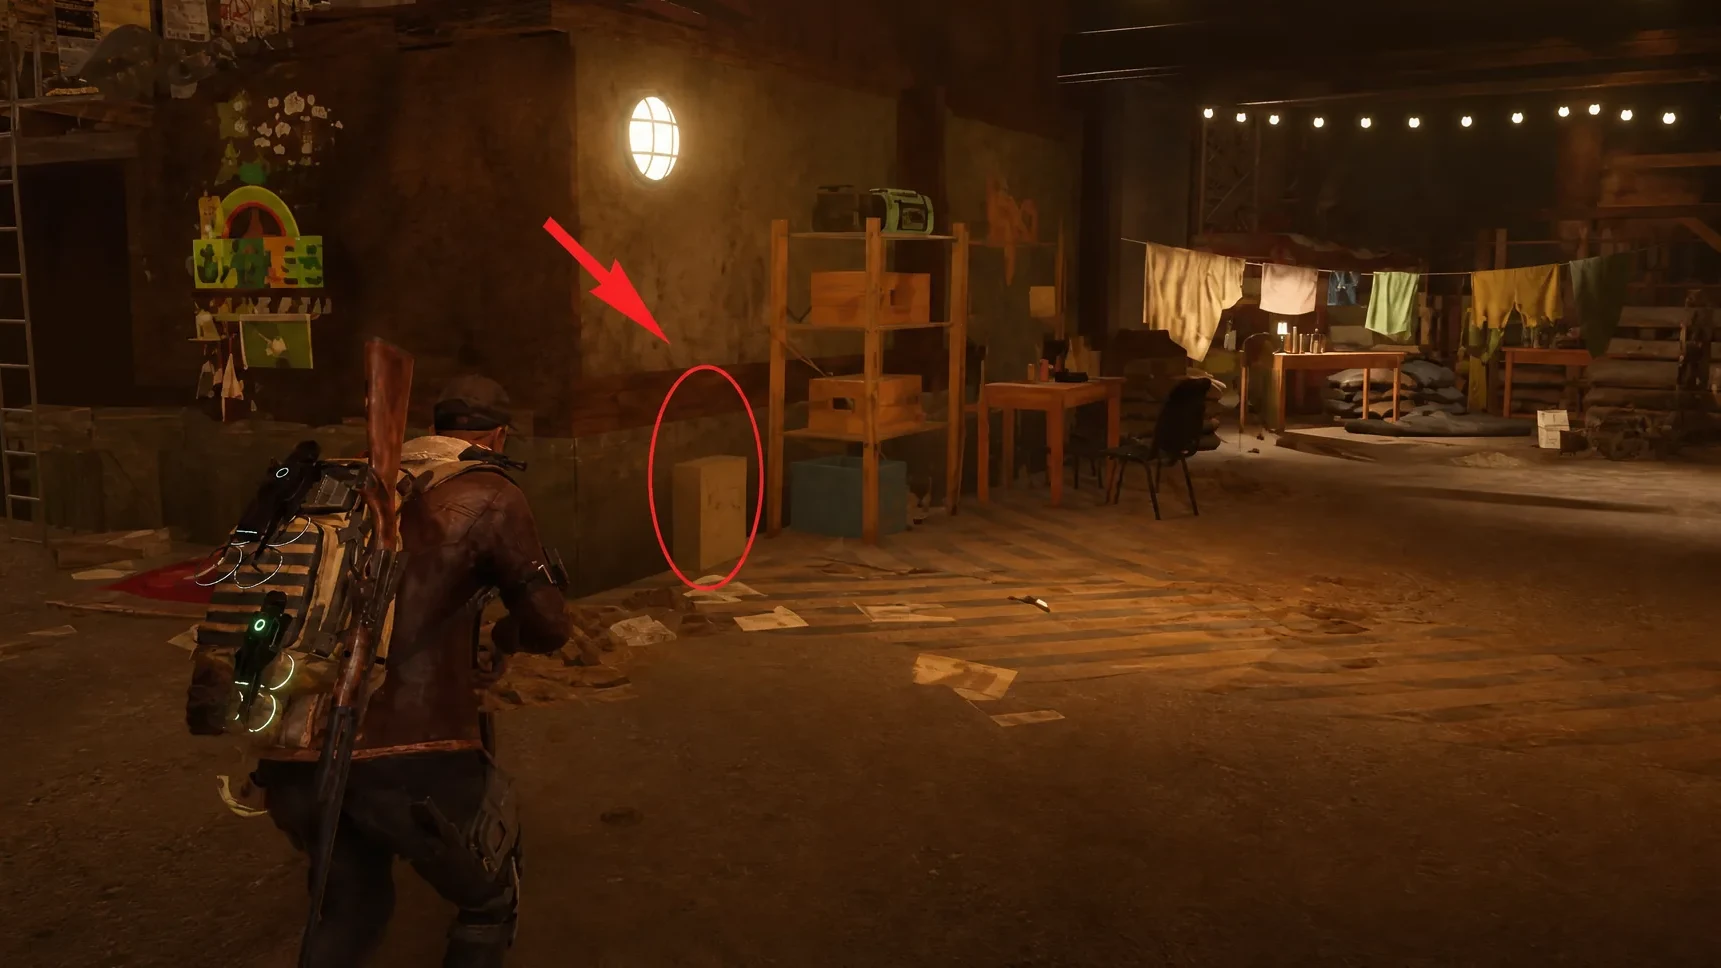
Several crates sit out in the districts rather than in hubs. The statue crate east of the Base of Operations is the trickiest to read. Its code hides on the book held by a statue of a man, printed as the Roman numerals MMX, which convert to 2010. The safe is on the right side of the statue, past the NPCs.
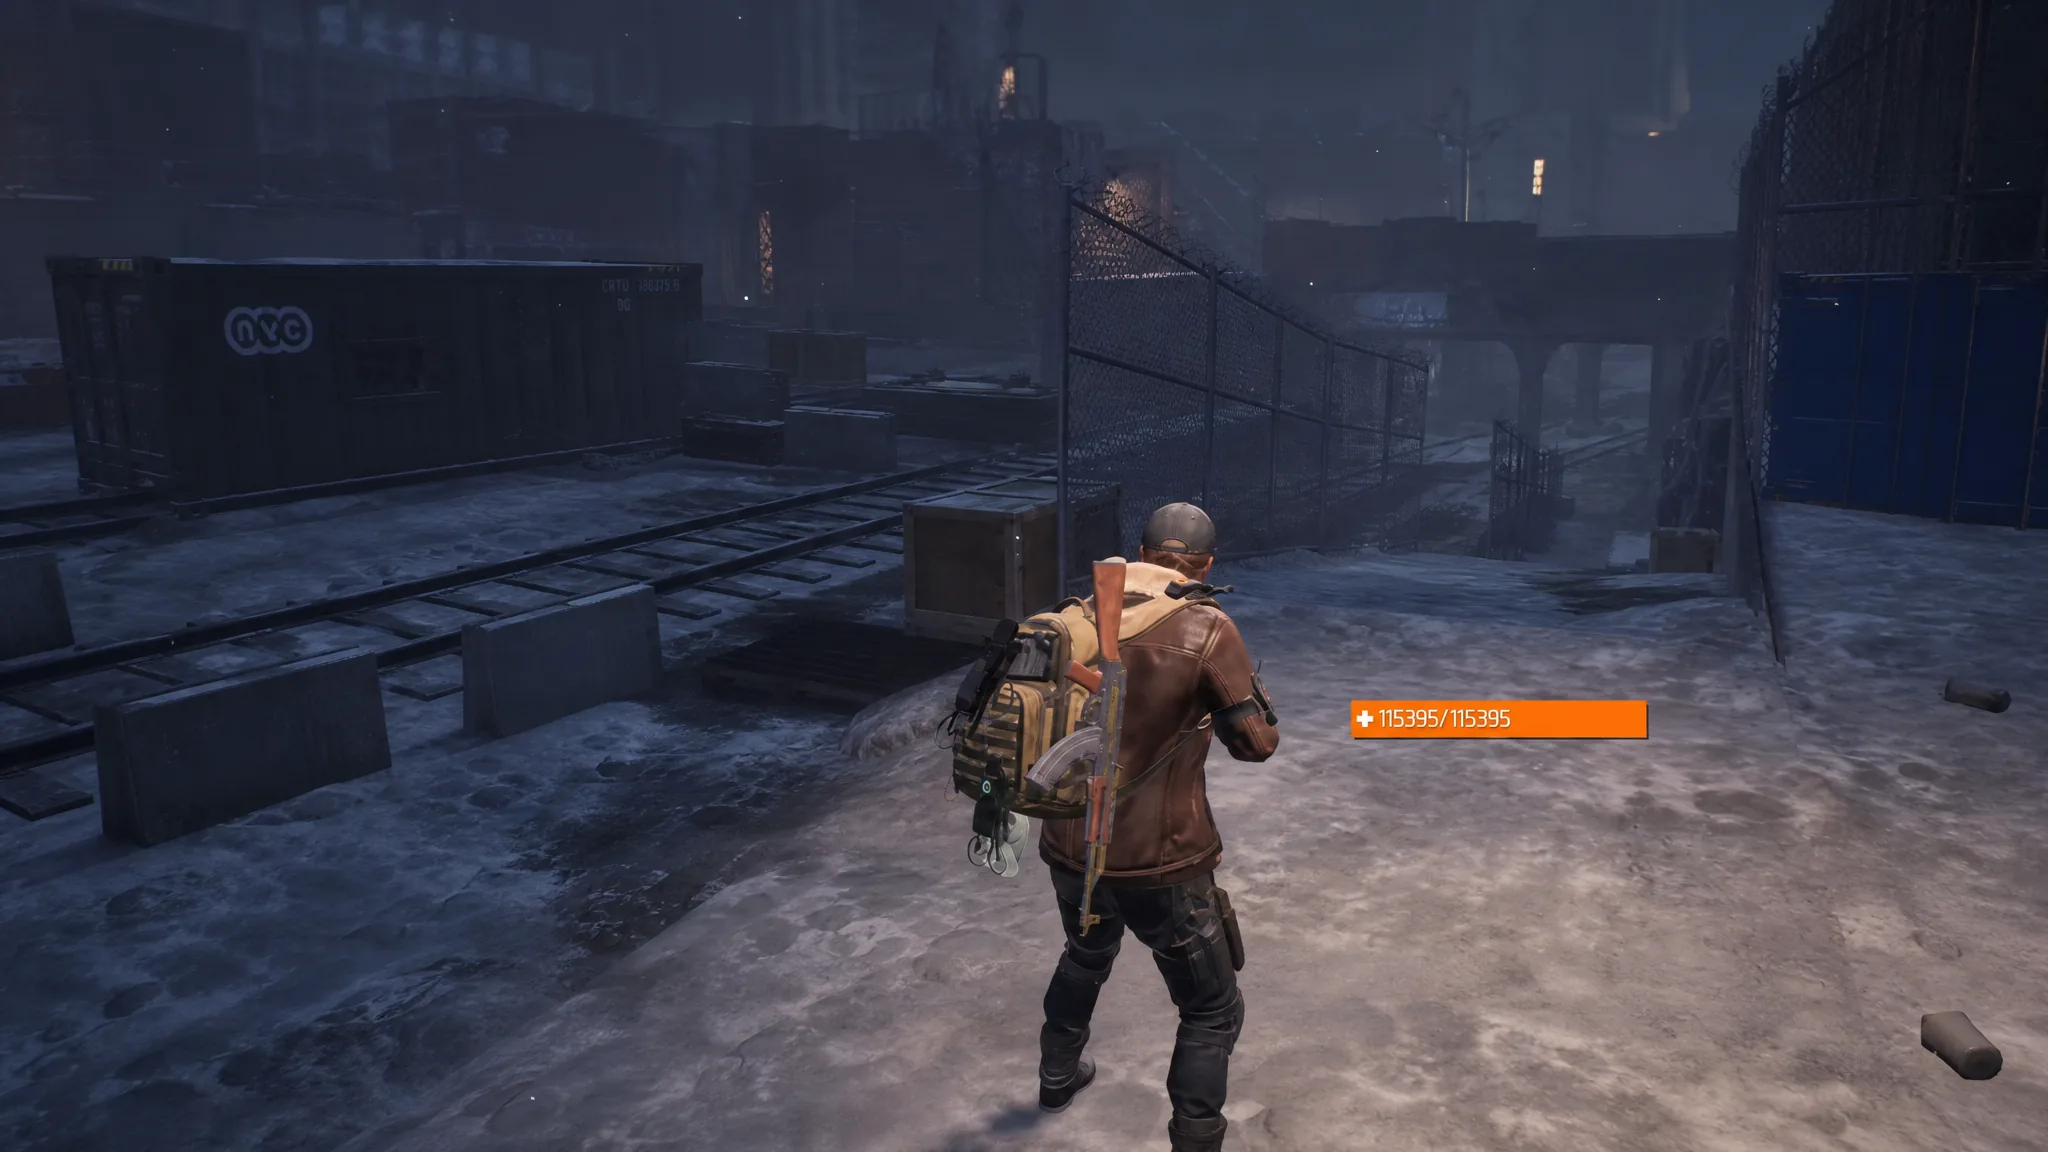
From the street the statue faces, take a right and enter the first building past the Fitness and Gym. An open locker inside holds the code 0078 for the safe near the garbage dumpster. Farther out, the abandoned train yard where the flyovers end holds a crate inside one of the derelict train cars, opened with 1124. The final tracked crate sits in a restaurant on the far east side of Tenderloin near the Furniture Store, just outside the kitchen, using 0123.
Commendation rewards for opening crates
Beyond the loot inside, opening crates feeds four exploration commendations. The New York City Collector track requires 33 crates plus a 42-artifact objective, so every Code Clue collectible you grab counts toward both goals.
| Commendation | Requirement | Reward |
|---|---|---|
| Code Tracker | Open 5 crates | 2 points, 15 Phoenix Credits |
| Detective’s Journey | Open 10 crates | 3 points, 20 Phoenix Credits |
| Decipherer | Open 21 crates | 4 points, 30 Phoenix Credits |
| New York City Collector | Open 33 crates (plus 42 artifacts) | 5 points, NYC Collector Title Card |
Why a code fails and how to confirm success
When the four digits are correct, the keypad accepts them, the safe opens, and its rewards drop straight into your inventory. World crates are one-time loot per character; once opened, a safe stays open and cannot be looted again.
The two most common reasons a code does not work are simple. You may be at a look-alike safe that belongs to a different puzzle, so confirm the exact location before typing. Or the crate is one of the three randomized ones, in which case only your own Code Clue (4, 8, or 11) will open it. If a safe will not accept any interaction, check the map for a nearby Cryptic Clue icon that needs to be collected first.
Twelve crates from the 33-crate commendation remain unmapped, so the list above covers the confirmed set. Clear hostiles before approaching any safe, since interacting leaves you exposed to ambush, and keep a few inventory slots free so you never leave materials behind in a contested area.