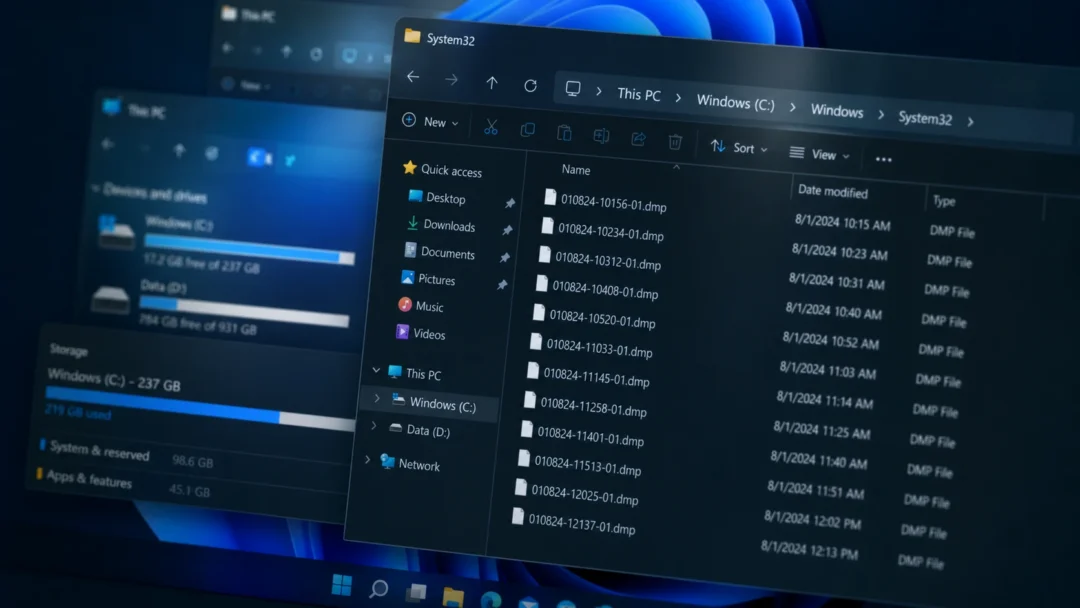
Encountering the “Kernel Security Check Failure” BSOD error on Windows 11 can be frustrating, as it often leads to sudden system crashes and potential data loss. This error typically stems from issues like outdated drivers, corrupt system files, or hardware malfunctions. In this comprehensive guide, we will explore various methods to resolve this error and help you restore your system’s stability.
What causes the ‘Kernel Security Check Failure’ error on Windows 11?
Understanding the root causes of this error is crucial for effective troubleshooting. Common factors contributing to the “Kernel Security Check Failure” error include:
- Outdated or incompatible drivers.
- Corrupt system files.
- Hardware malfunctions or incompatibility.
- Issues with system memory.
- Running an outdated version of Windows.
With this knowledge, let’s delve into the methods to fix the error.
1. Update drivers
Outdated or incompatible drivers are a common cause of the “Kernel Security Check Failure” error. Updating your drivers ensures that your hardware components communicate effectively with Windows 11.
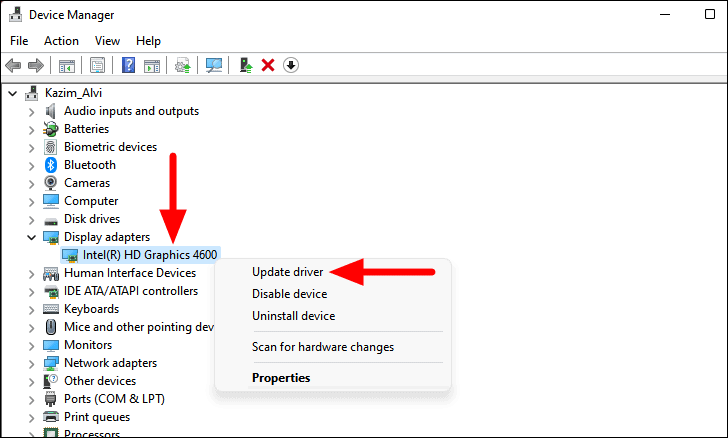
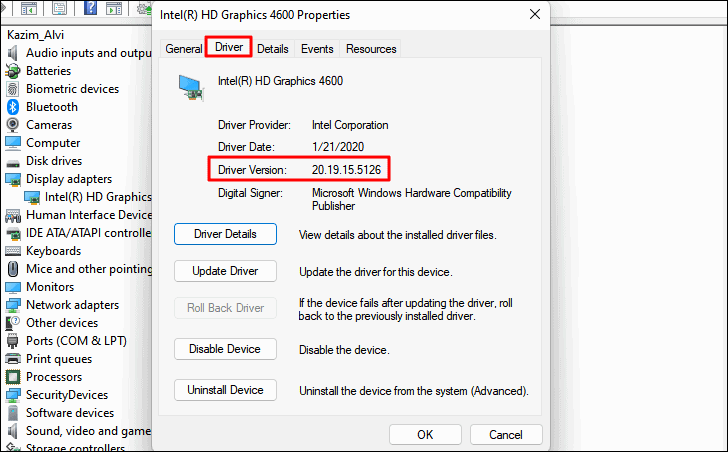
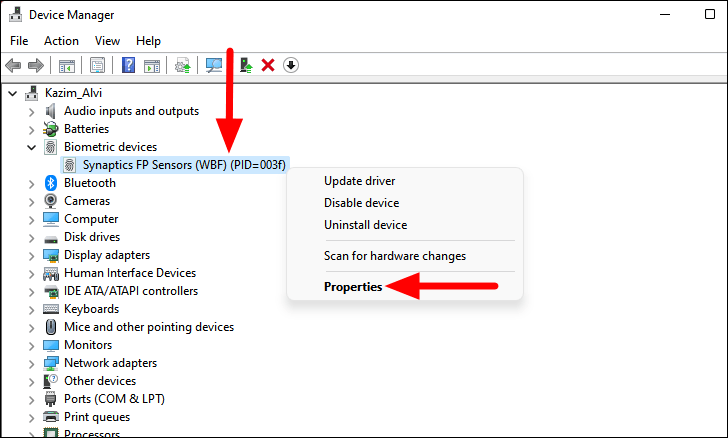
Method 1: Update drivers using Device Manager.
WINDOWS + S to open the Search menu. Type Device Manager and select the relevant result to open it.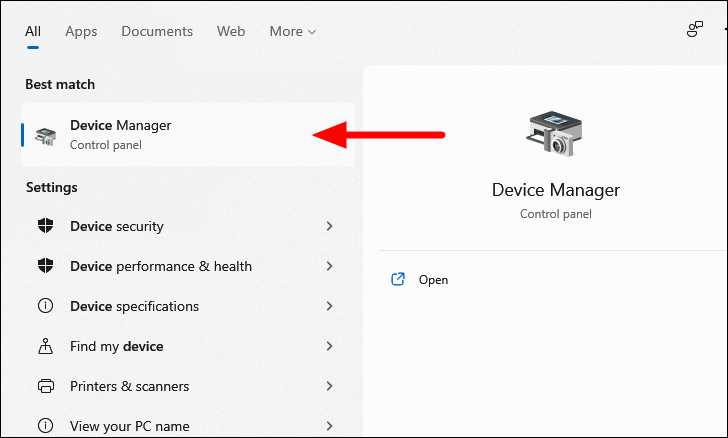

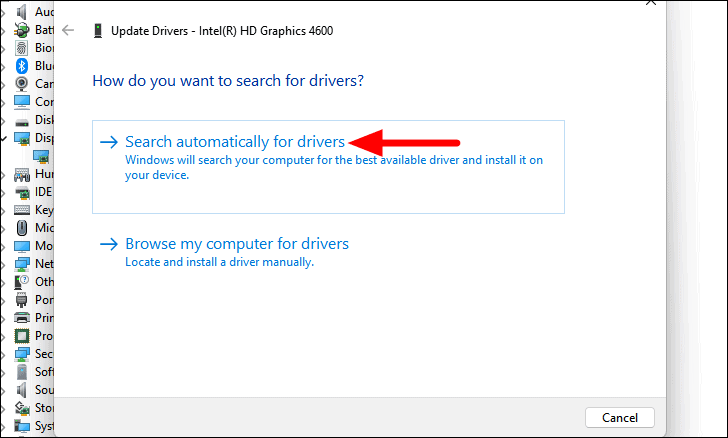
If Windows doesn’t find a new driver, proceed to the next method.
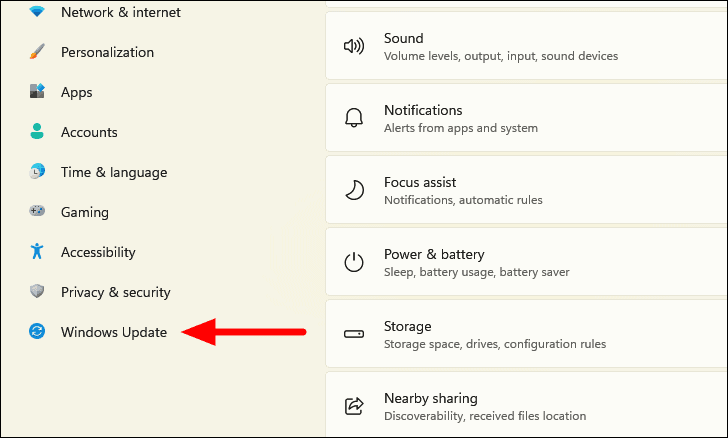
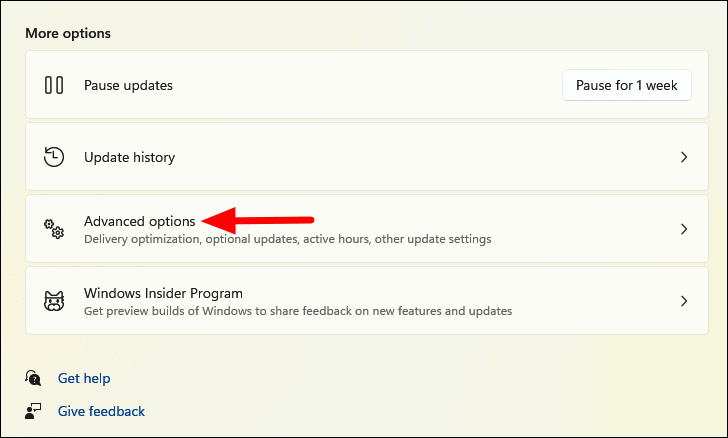
Method 2: Install driver updates from Windows Update.
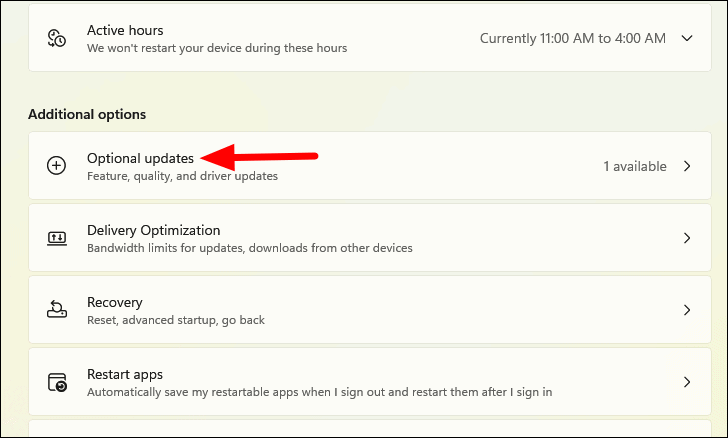
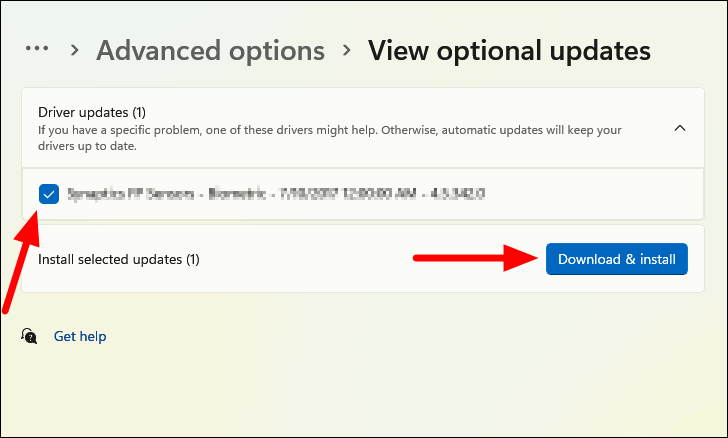
If no updates are found, proceed to the manufacturer’s website to download the latest drivers.
Method 3: Download updated drivers from the manufacturer’s website.

After updating your drivers, check if the “Kernel Security Check Failure” error persists.
2. Run SFC scan
Corrupt system files can trigger the BSOD error. The System File Checker (SFC) scan can detect and repair these files.
Windows Terminal in the Search menu. Right-click and select Run as administrator. Click Yes on the User Account Control prompt.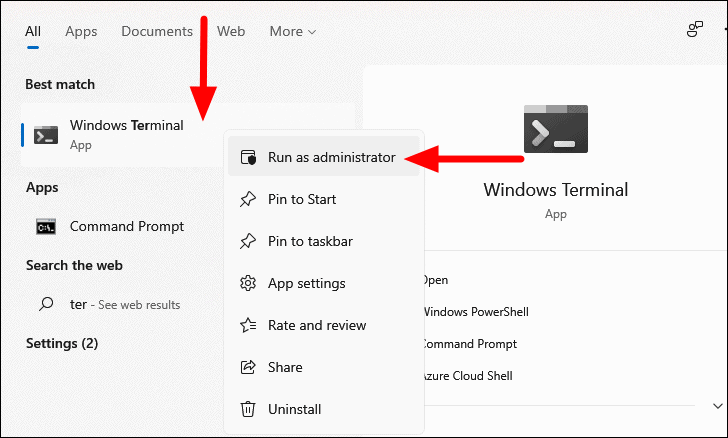
CTRL + SHIFT + 2.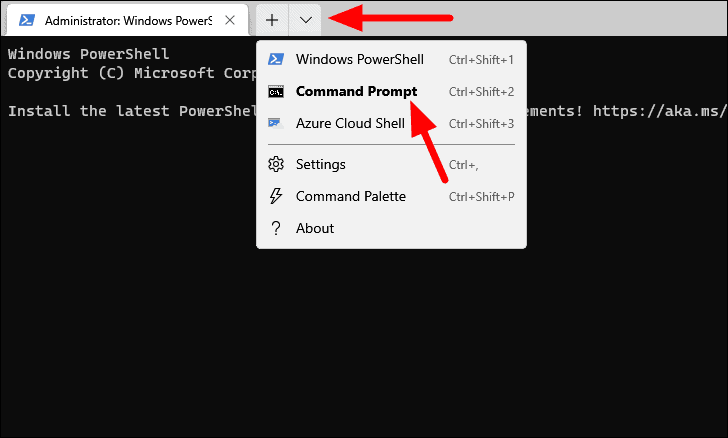
sfc /scannow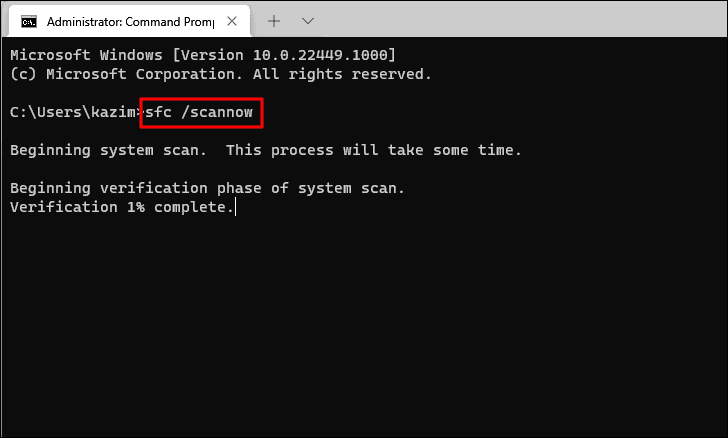
The scan will begin and may take some time. Once completed, you will be informed if any corrupt files were repaired. Restart your computer and check for the error.
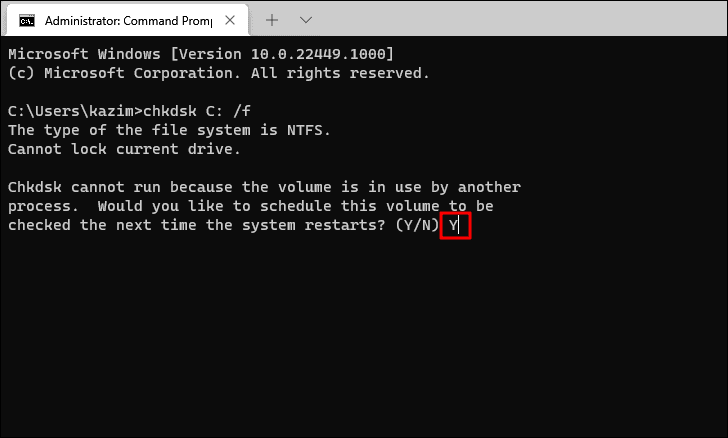
3. Run Check Disk
The Check Disk utility scans your entire drive for errors and fixes them. It’s more comprehensive than the SFC scan.
chkdsk C: /f
4. Run Windows Memory Diagnostic Tool
Issues with your system’s memory can cause the BSOD error. The Windows Memory Diagnostic Tool can detect and fix memory problems.
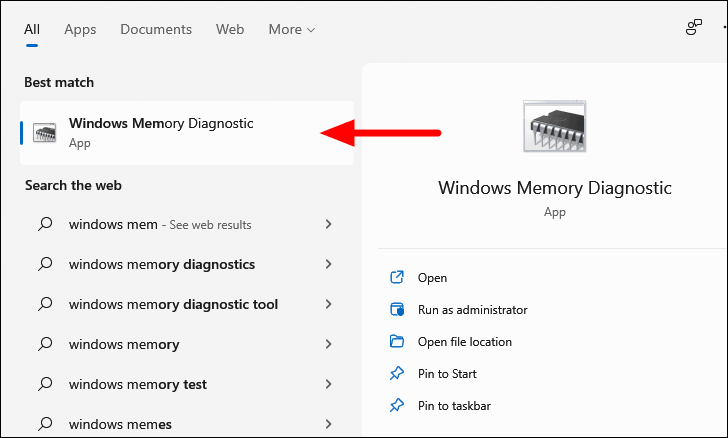
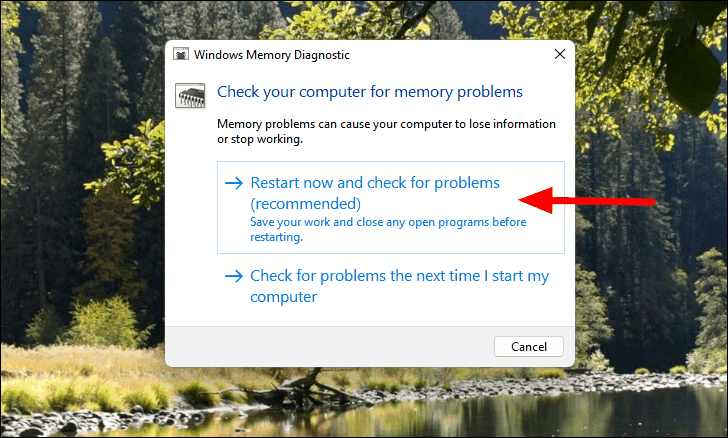
The system will reboot, and the tool will run automatically. Once completed, check if the error persists.
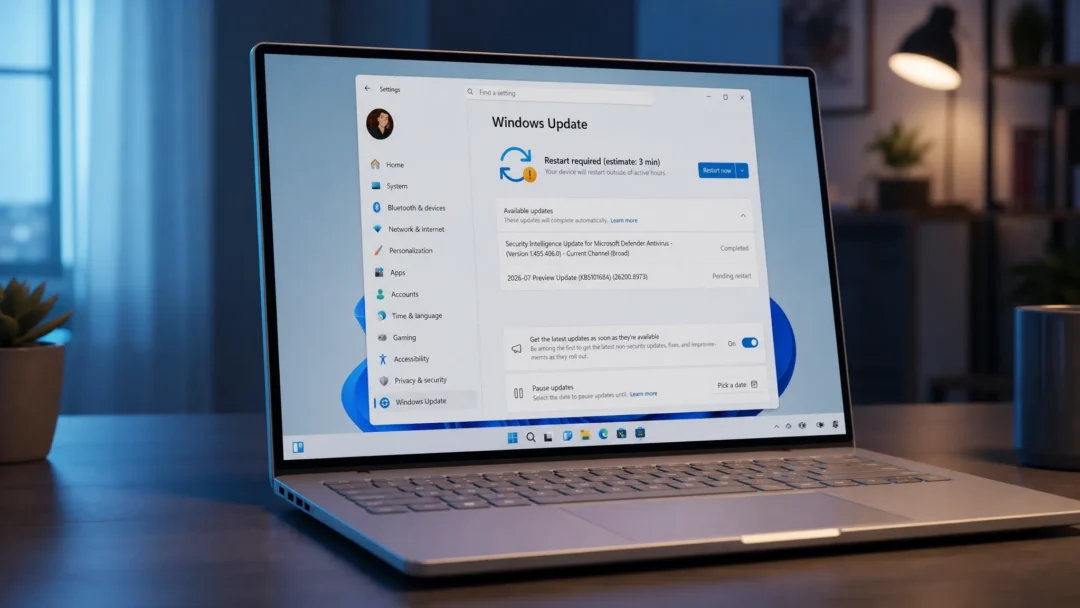
5. Update Windows
Running an outdated version of Windows 11 may lead to system errors. Updating Windows can fix known bugs and improve system stability.
WINDOWS + X and select Settings. Alternatively, press WINDOWS + I.

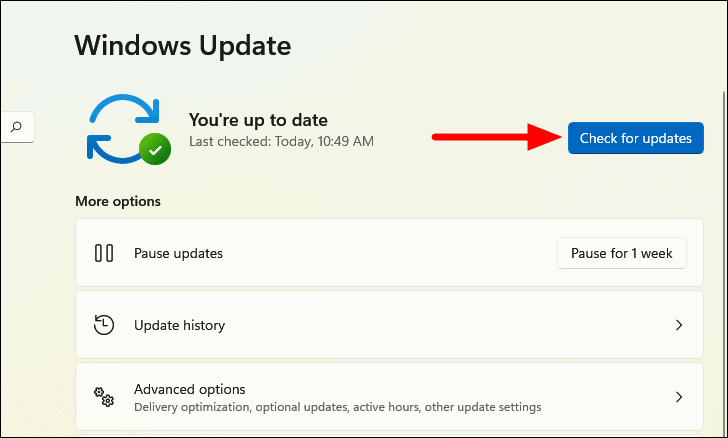
After updating, restart your computer and see if the BSOD error is resolved.
6. Roll back driver update
Sometimes, a recent driver update may cause the error. Rolling back to the previous driver version can fix the issue.
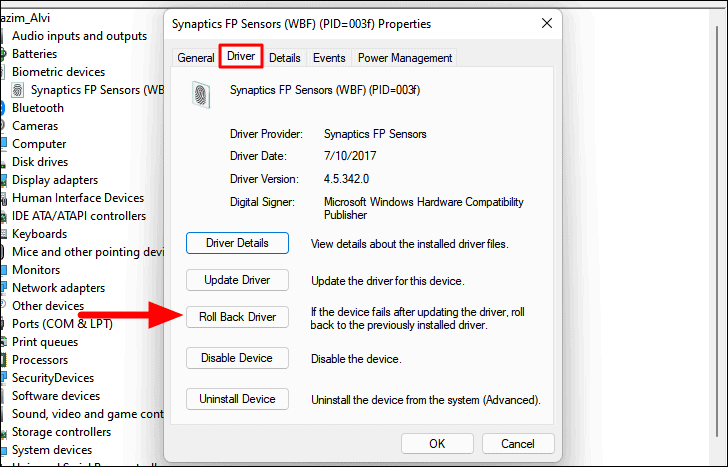
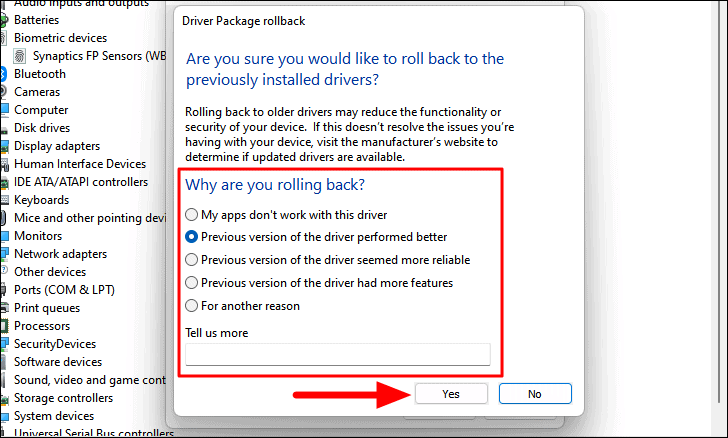
After rolling back, restart your computer and check if the error is fixed.
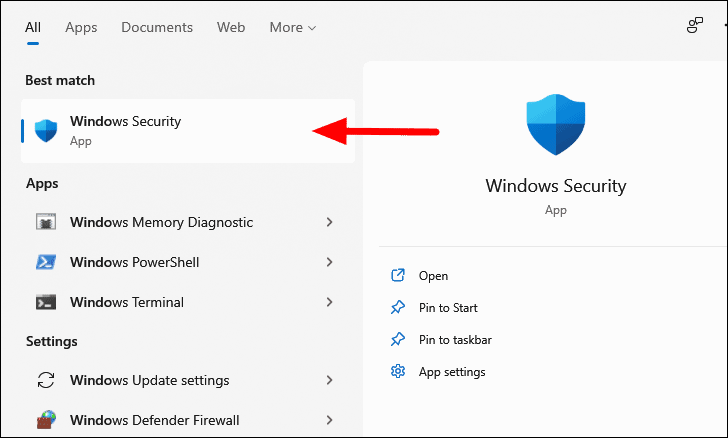
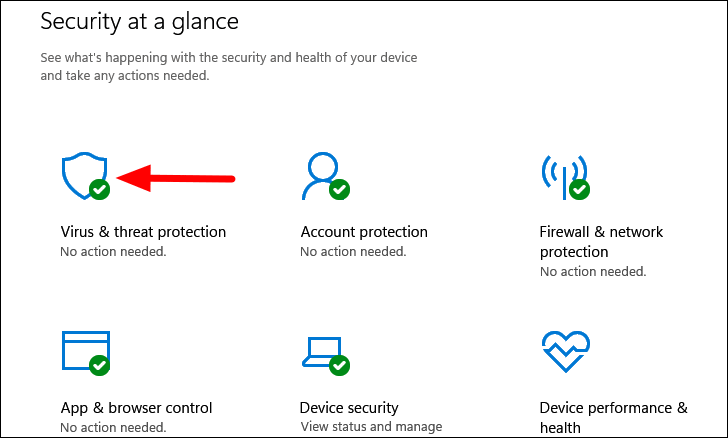
7. Scan your computer for viruses
Malware or viruses can interfere with system processes leading to BSOD errors. Running a full system scan can detect and remove threats.
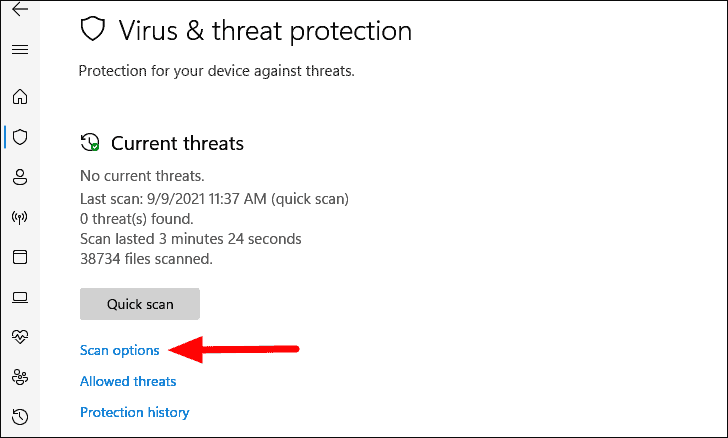

After the scan, follow any prompts to remove detected threats. Restart your computer and check for the error.
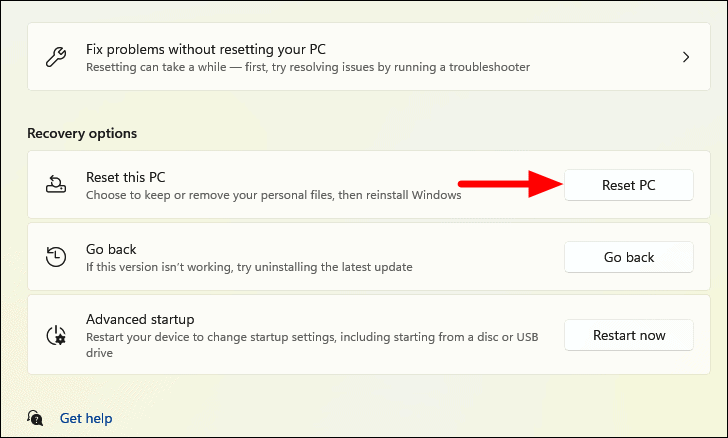
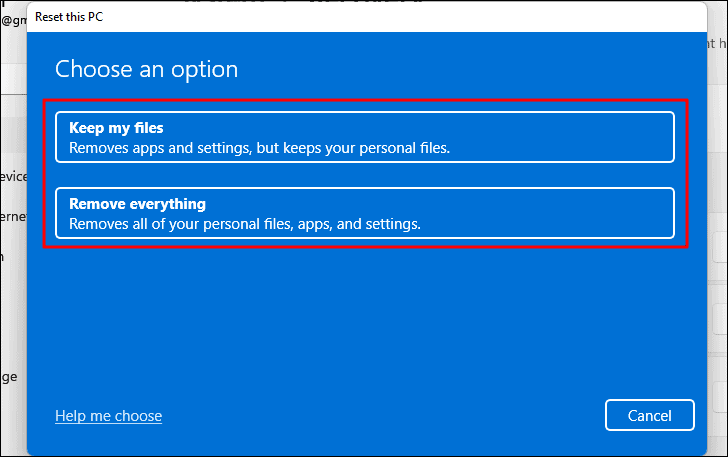
8. Reset Windows
If the error persists after trying all methods, resetting Windows is a viable option. This process reinstalls Windows and can fix deep-rooted issues.
WINDOWS + I and select System from the left sidebar. Click on Recovery on the right side.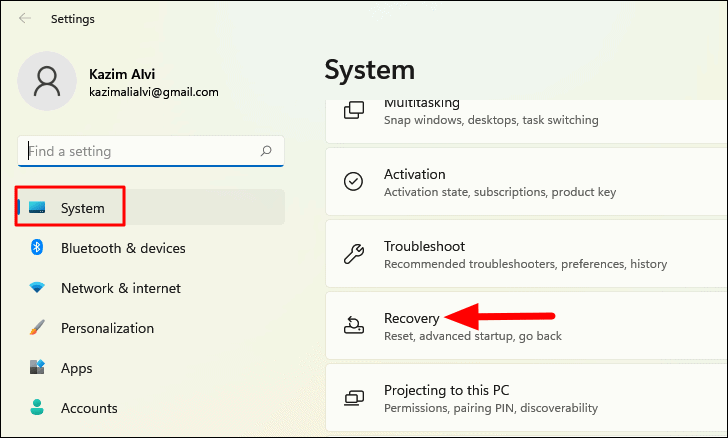

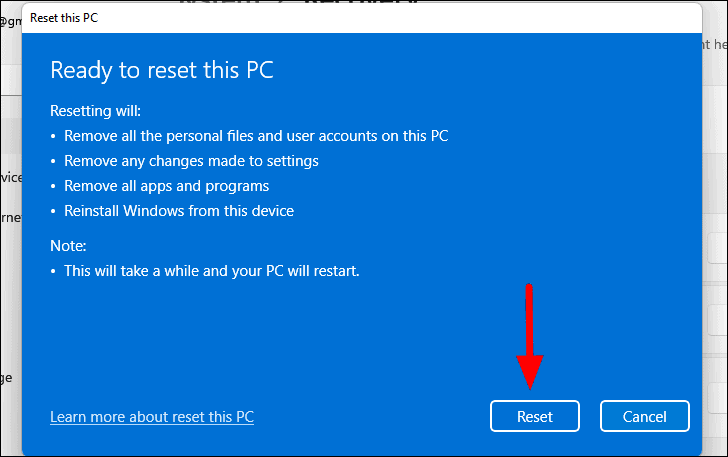
The reset process will take some time. Once completed, your system should be free of the error.
By following these methods, you should be able to resolve the “Kernel Security Check Failure” error and restore your Windows 11 system to optimal performance.