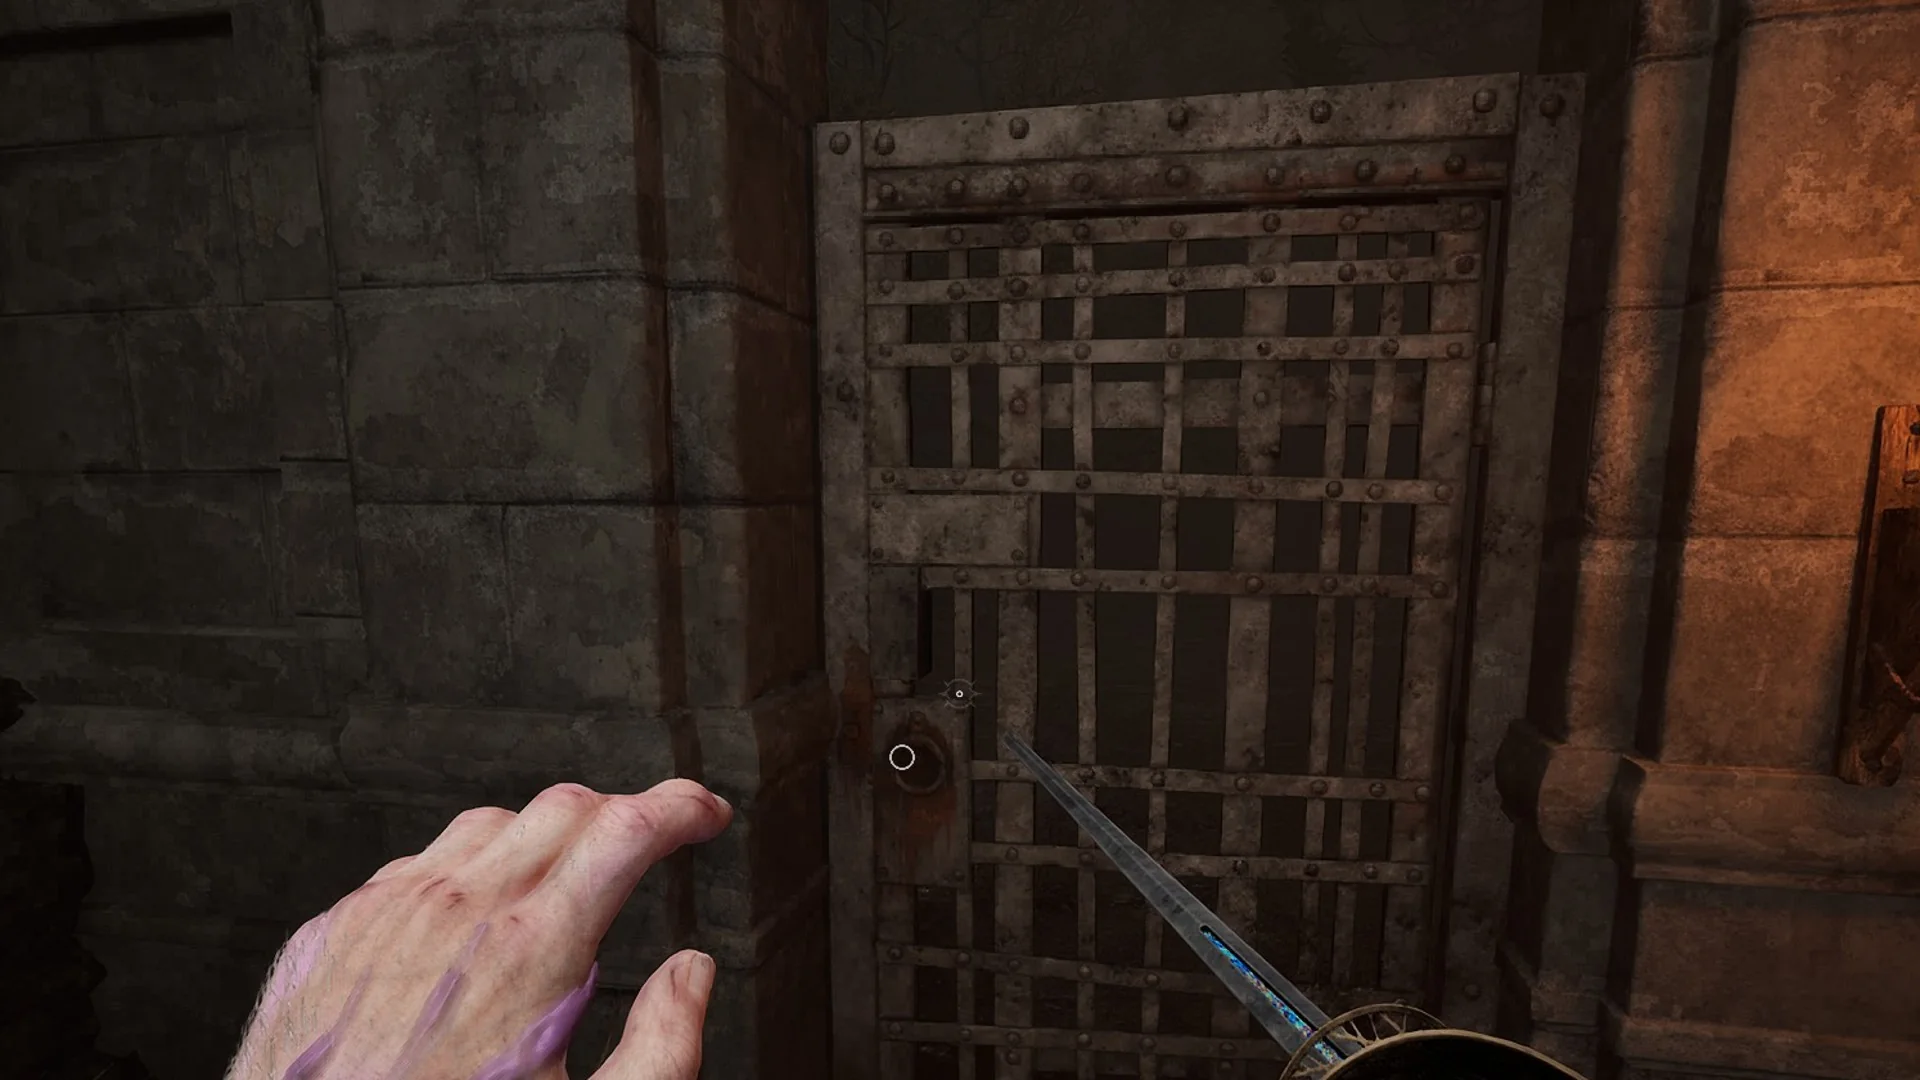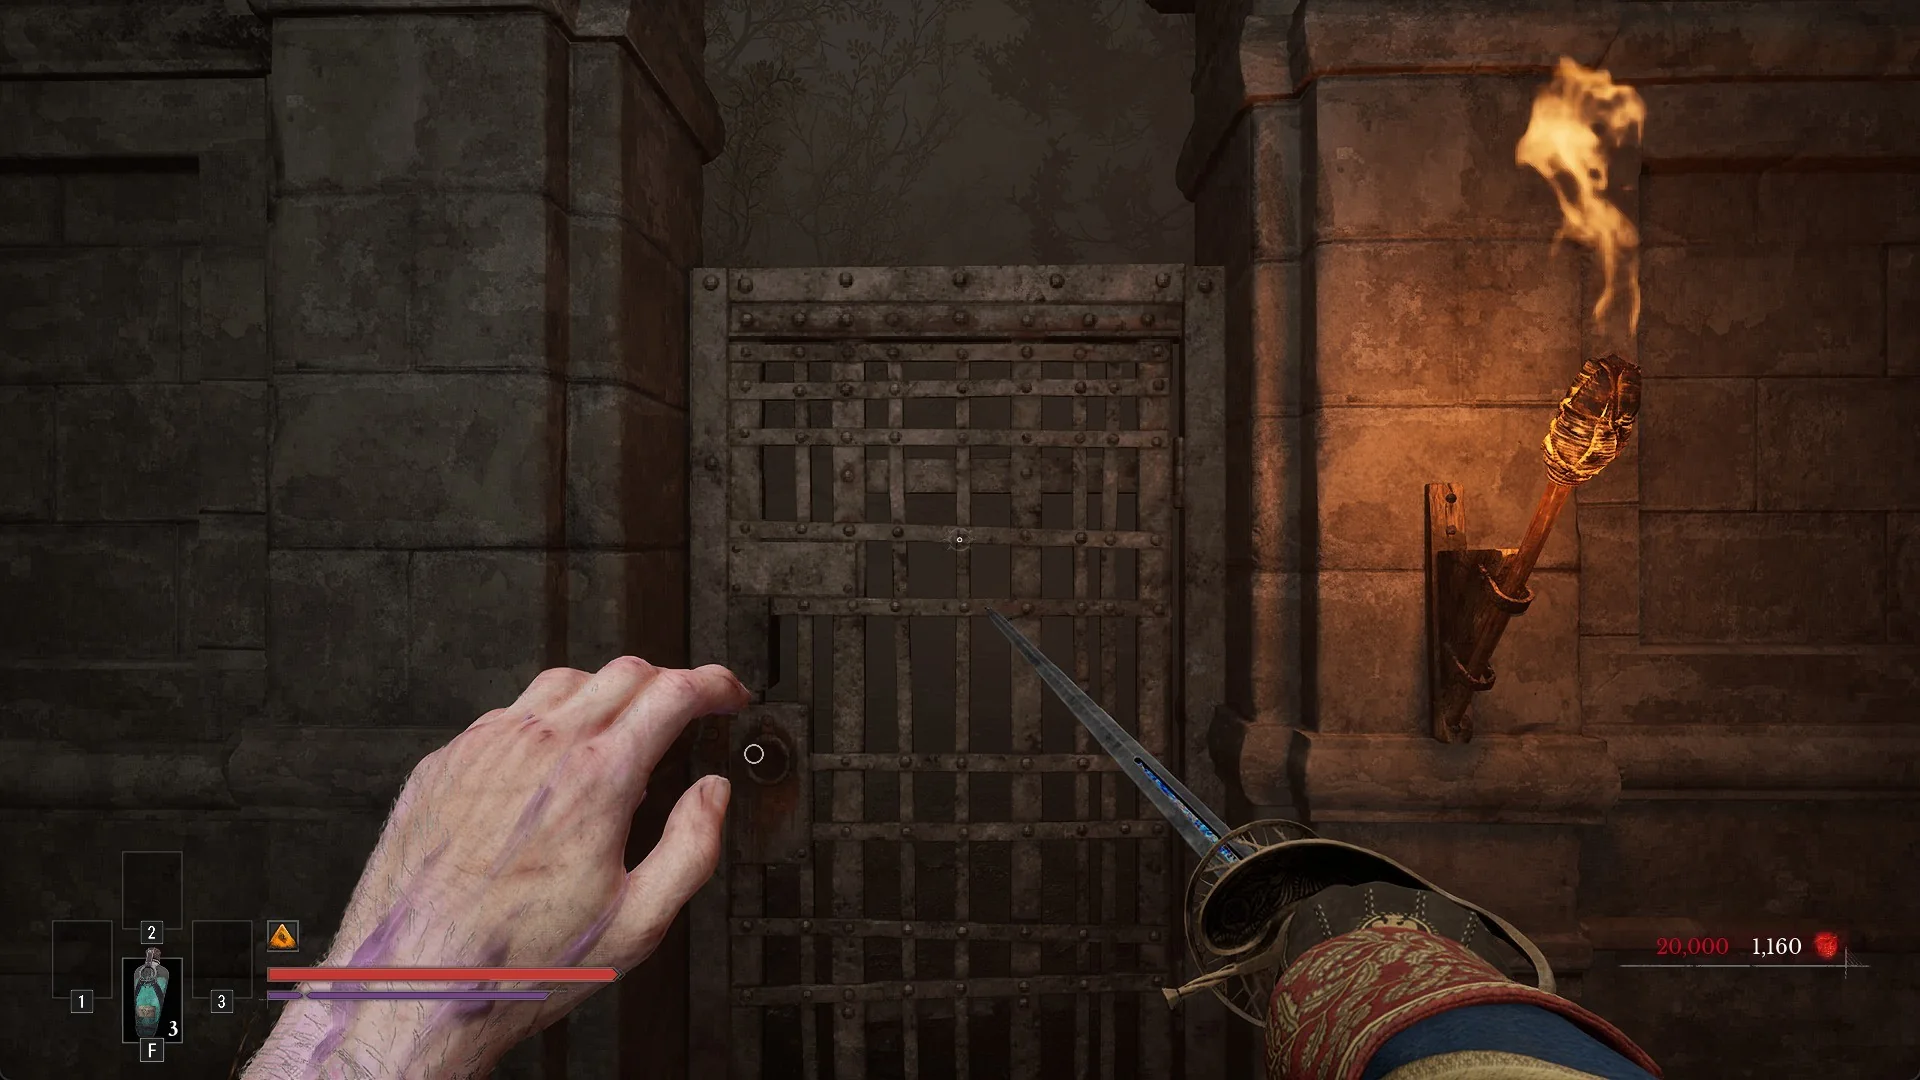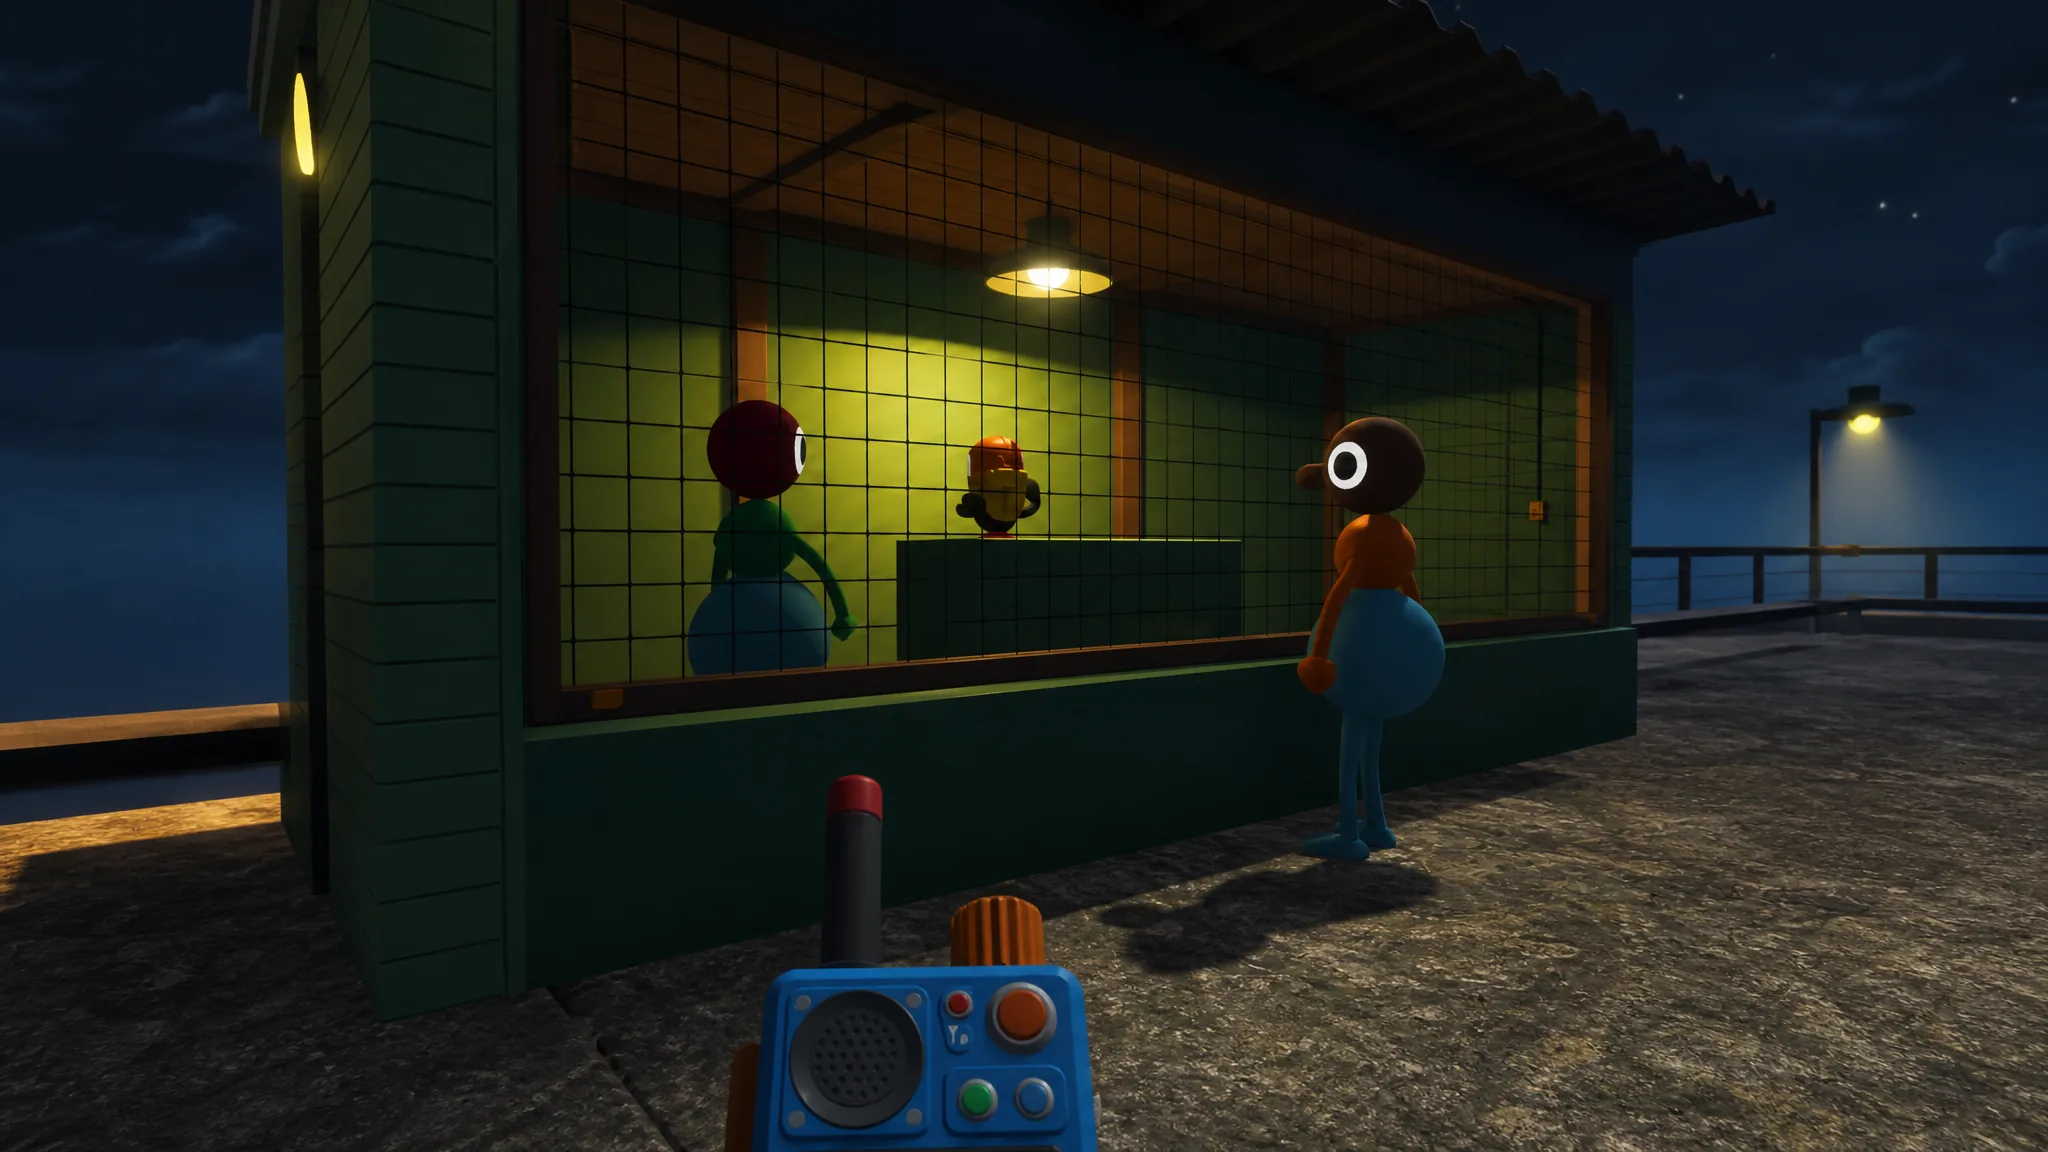
The Red Tower sits at the top of the hill just past the starting area, and you can spot it by the red key cutter waiting at its base. To claim the key on its roof, you have to clear five separate puzzles scattered around the tower. Finish all five and you can shape the key, then use it to open the Map Room, which hands you the island map that makes the rest of the game far easier to navigate.
Quick answer: Complete the Green Room, Yellow Maze, Train Station Cannon, Basketball Court, and Mountain Gesture puzzles in any order, insert all five collectibles into the terminal at the top of the tower, take the released key through every cutter on the path down to the gym, then use the finished key on the terminal at the blue tunnel with red stairs to open the Map Room.
How to reach the Red Tower
From the starting area, follow the path that climbs the hill directly opposite the gym. The red key cutter at the tower’s base is your landmark, and the structure itself is shaped like an upside-down cone. Climb to the top and you’ll find a terminal with a key locked behind five empty slots.
From that vantage point, look toward the shoreline. You can see all five puzzle locations spread across the area. There is no fixed order, so you can approach them however your group prefers. The sequence below simply moves through them cleanly. Every puzzle assumes at least two players, since each one depends on splitting up and communicating.
| Puzzle | Core action | Useful gear |
|---|---|---|
| Green Room | One player reads symbols, the other presses them | Walkie-talkie |
| Yellow Maze | Hand a timer across the maze, place it on the green pot | None |
| Train Station Cannon | Fire a timer, chase it, throw it back to the platform | None |
| Basketball Court | Throw light bulbs through baskets until every light is green | None |
| Mountain Gesture | Perform gestures on five platforms, match cards at the overlook | Binoculars, walkie-talkie |
Green Room puzzle
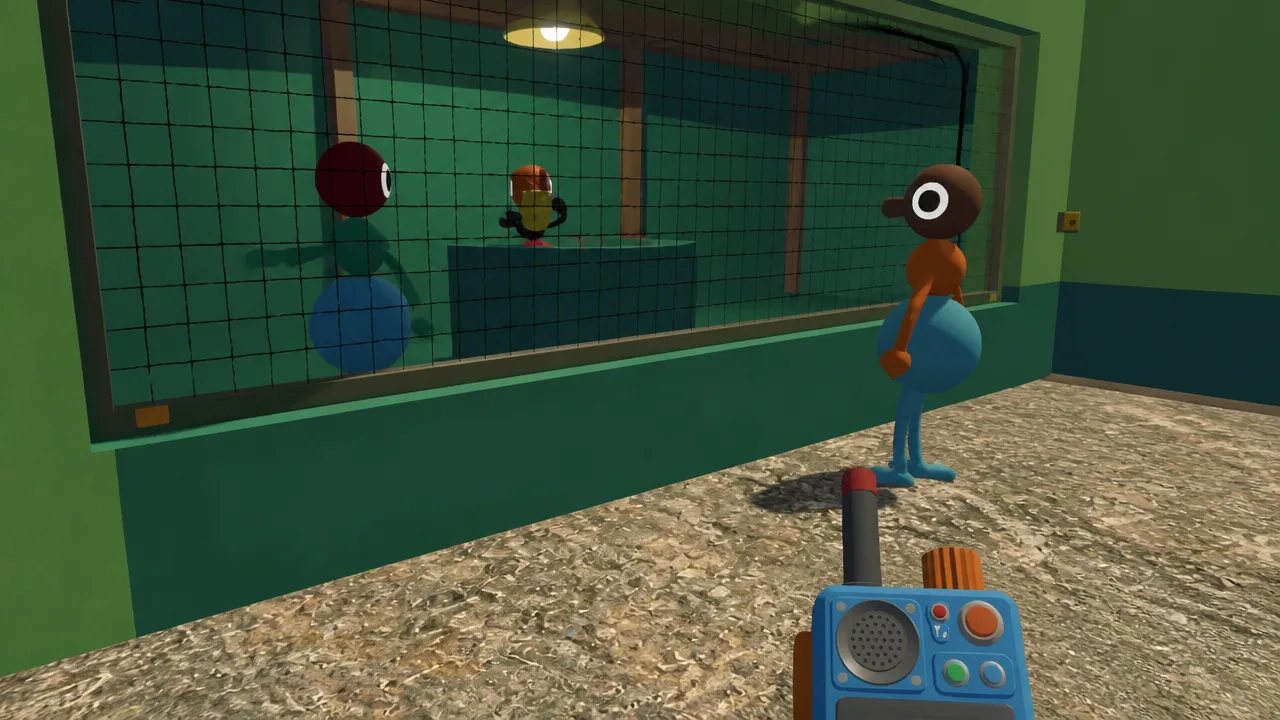
This is a communication test between two people. One player goes inside the green room and closes the door, where a terminal displays a sequence of symbols only they can see. The player outside stands at a panel and presses buttons but cannot see the screen. Neither view overlaps, so a walkie-talkie makes this far smoother.
Yellow Maze puzzle
The Yellow Maze is easy to spot from the tower with binoculars, and it’s one of the simplest challenges here. Inside, the path forks. The left route leads to a red wind-up timer, and the right route leads to a green pot with a circular indent in the middle.
Train Station Cannon puzzle
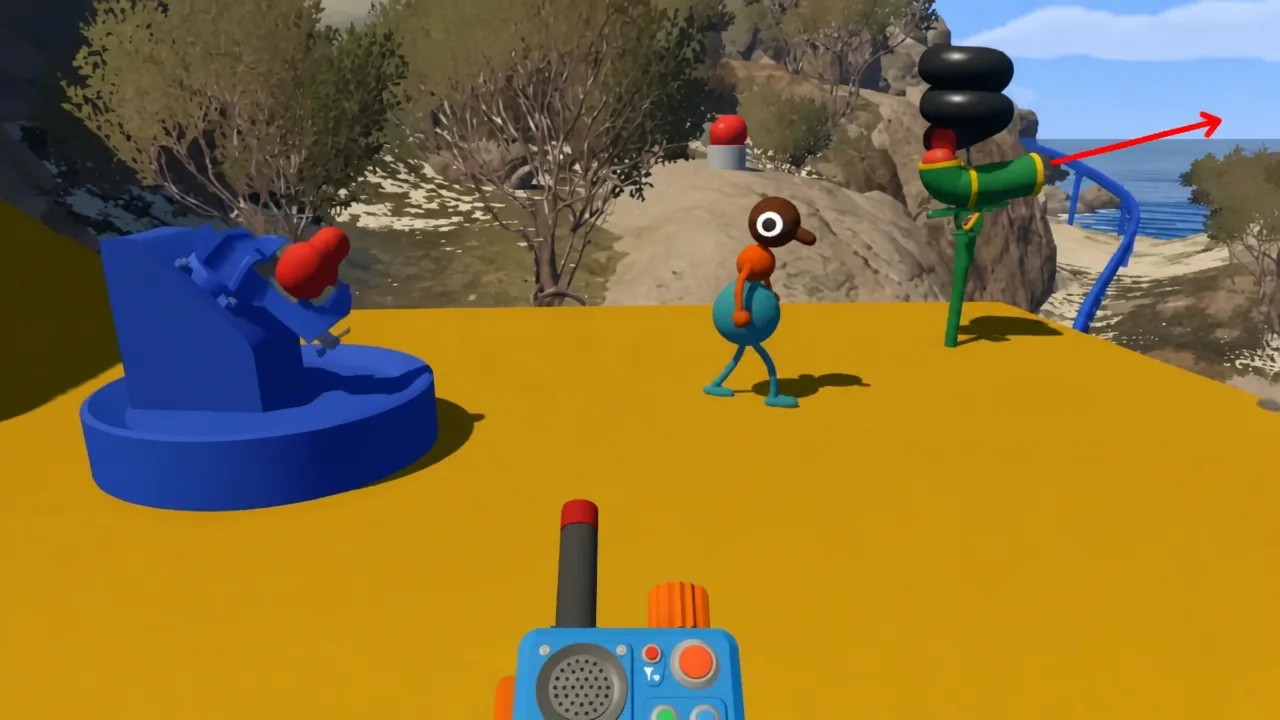
This one has the tightest timing of the group. There’s a cannon that launches a wind-up timer a long distance, a yellow platform, and a green pot like the maze. Get into position before you fire, because the timer starts ticking the instant it launches.
Basketball Court puzzle
The Basketball Court is the most straightforward challenge in the Red Tower. There’s no hidden trick or split roles here. Both players pick up the light bulbs scattered across the court and throw them through the baskets overhead. Keep shooting until every light on the board flips to green, and the collectible drops.
Mountain Gesture puzzle
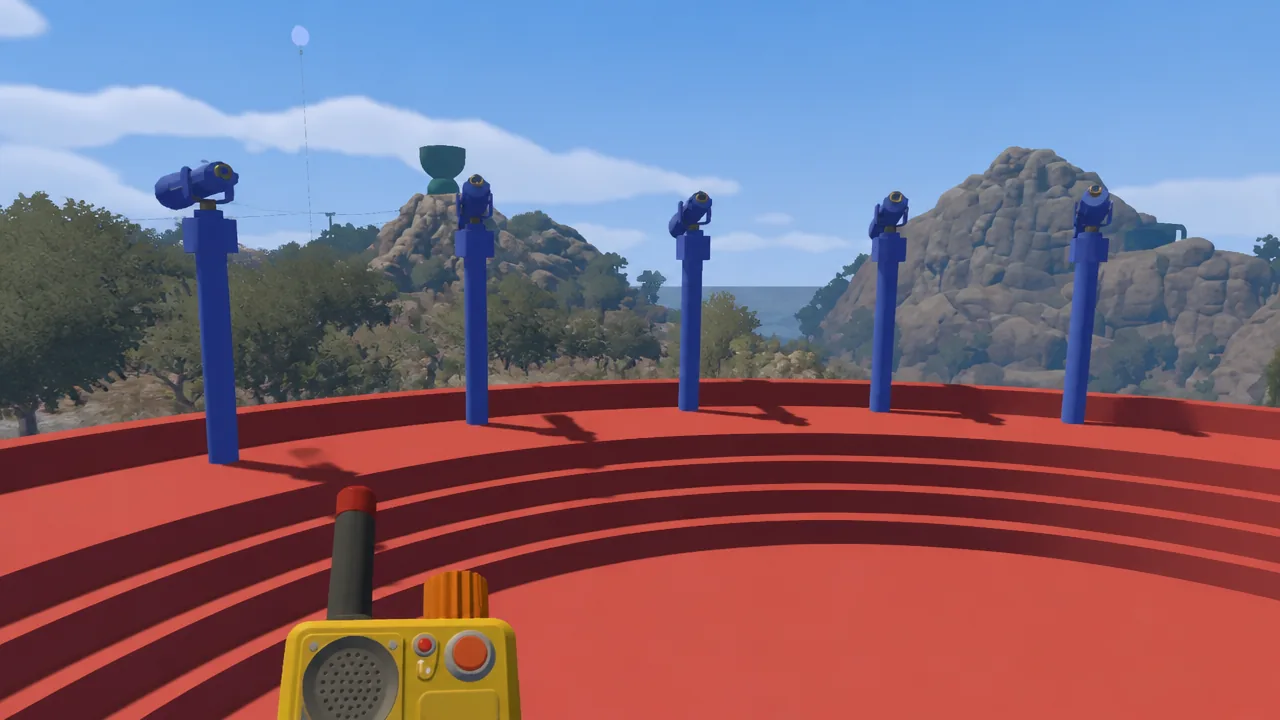
This is the longest of the five and needs the most coordination. One player stays at the overlook point and watches five platforms across the mountain through the telescopes. The other travels to each platform and performs a physical gesture. Before that second player sets off, make sure they carry binoculars, since the puzzle won’t work properly without them, and a walkie-talkie helps enormously.
Shape the key and open the Map Room
With all five collectibles in hand, return to the top of the Red Tower and insert them into the terminal. That releases the key, but it comes out blank and won’t open anything yet.
You’ll know it worked when the tunnel door opens and you enter a room holding a full-scale diorama of the island, with everything you’ve completed already marked by flags. On a nearby bench, pick up the foldable map and the compass. Carry the paper map with you, because the coordinate puzzles ahead, including the 4166, 1899 puzzle near the Green Tower, can’t be solved without it.
Note: If the key seems to fit the terminal but nothing happens, it’s still blank or only partly shaped. Head back to the last cutter you used and follow the path until you’ve run the key through every filing station.