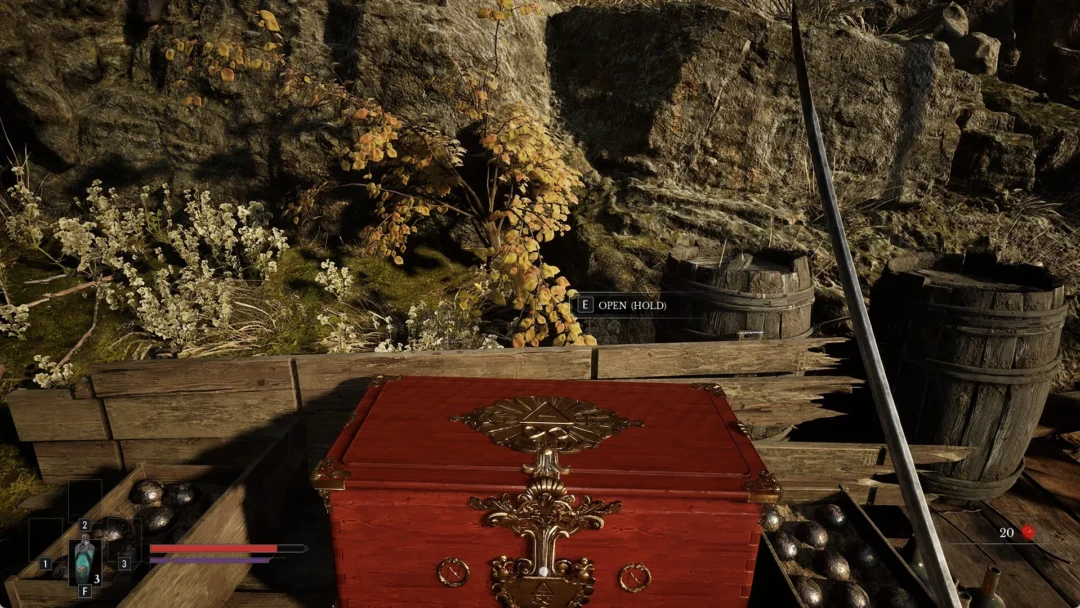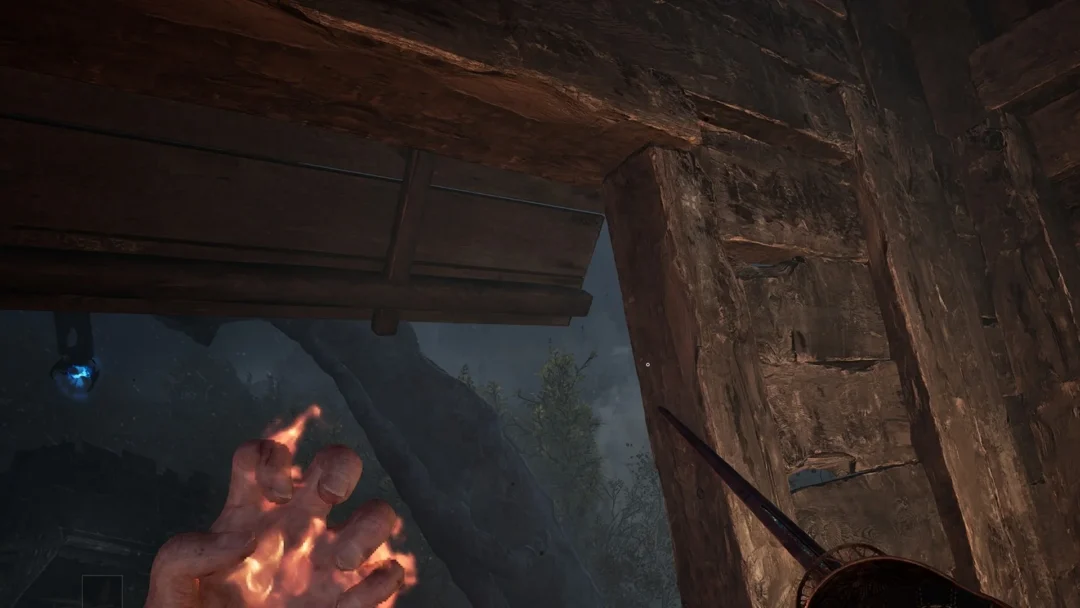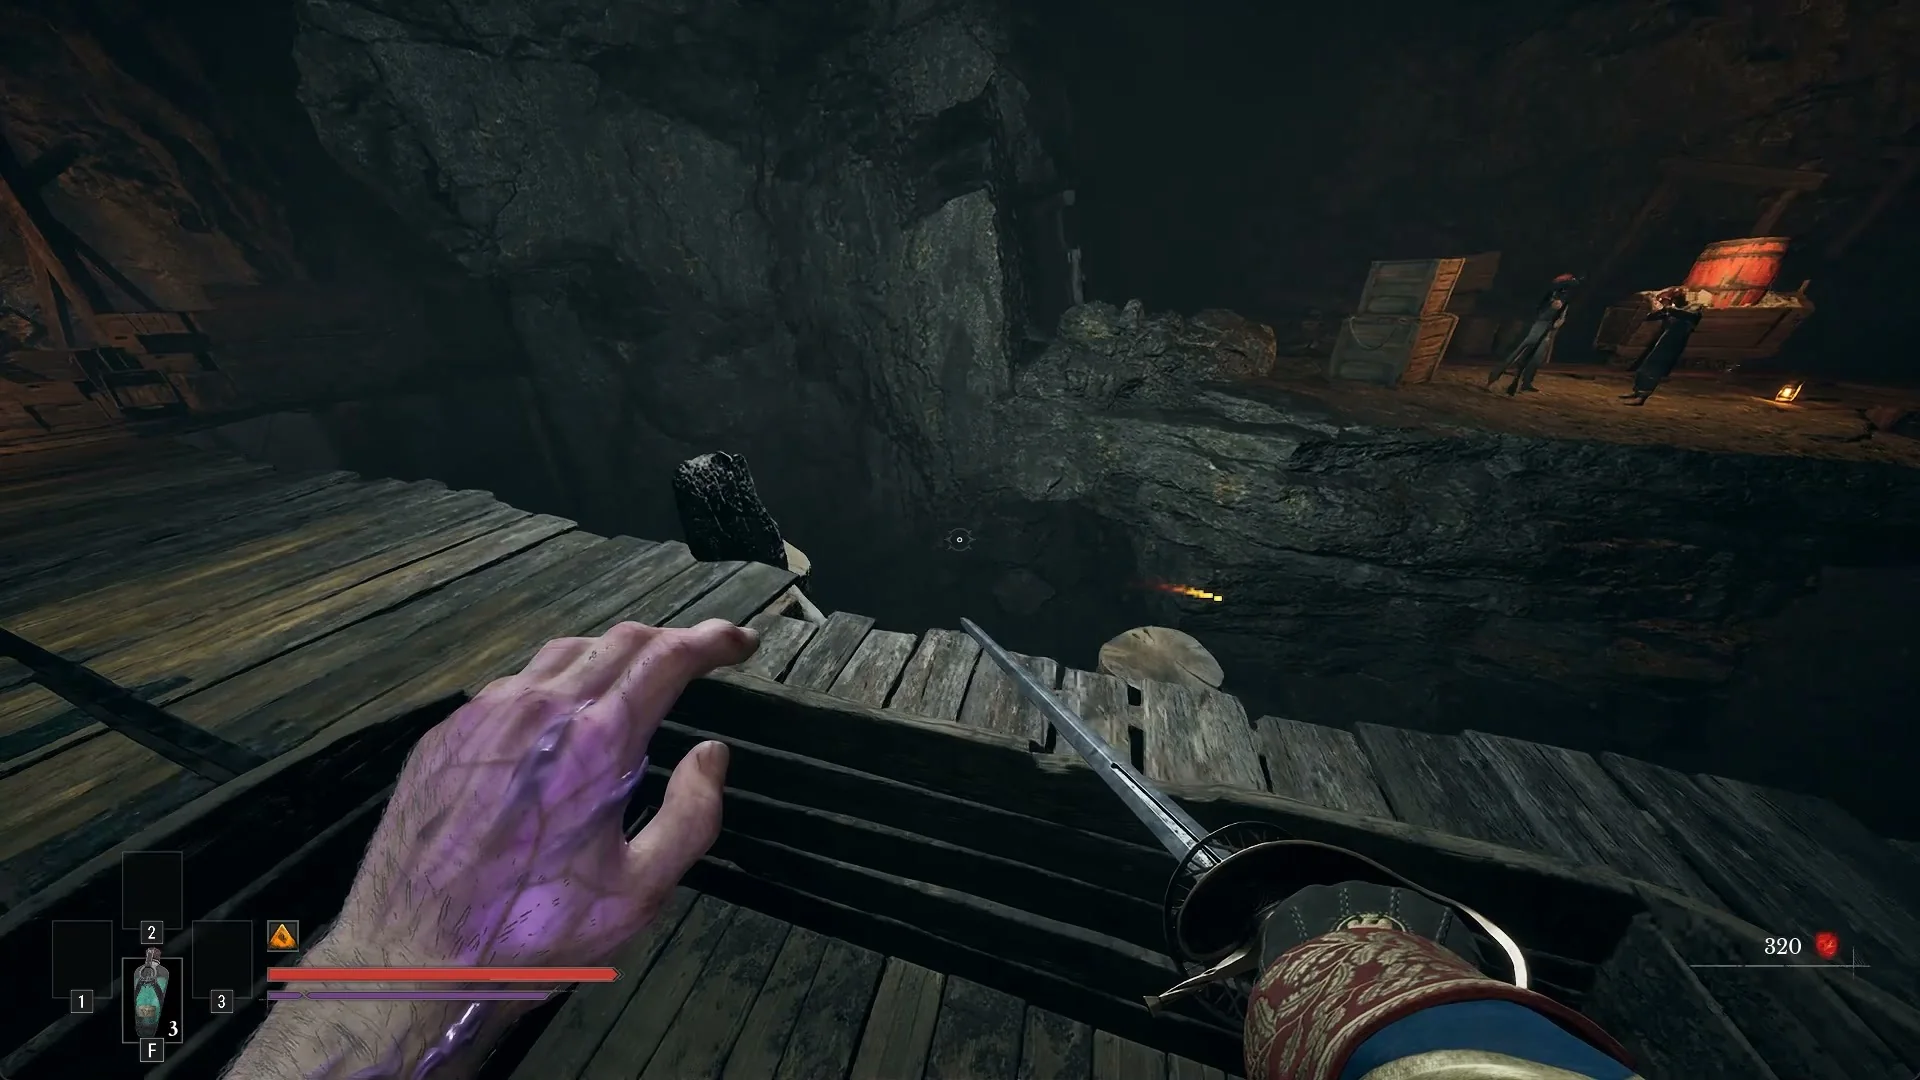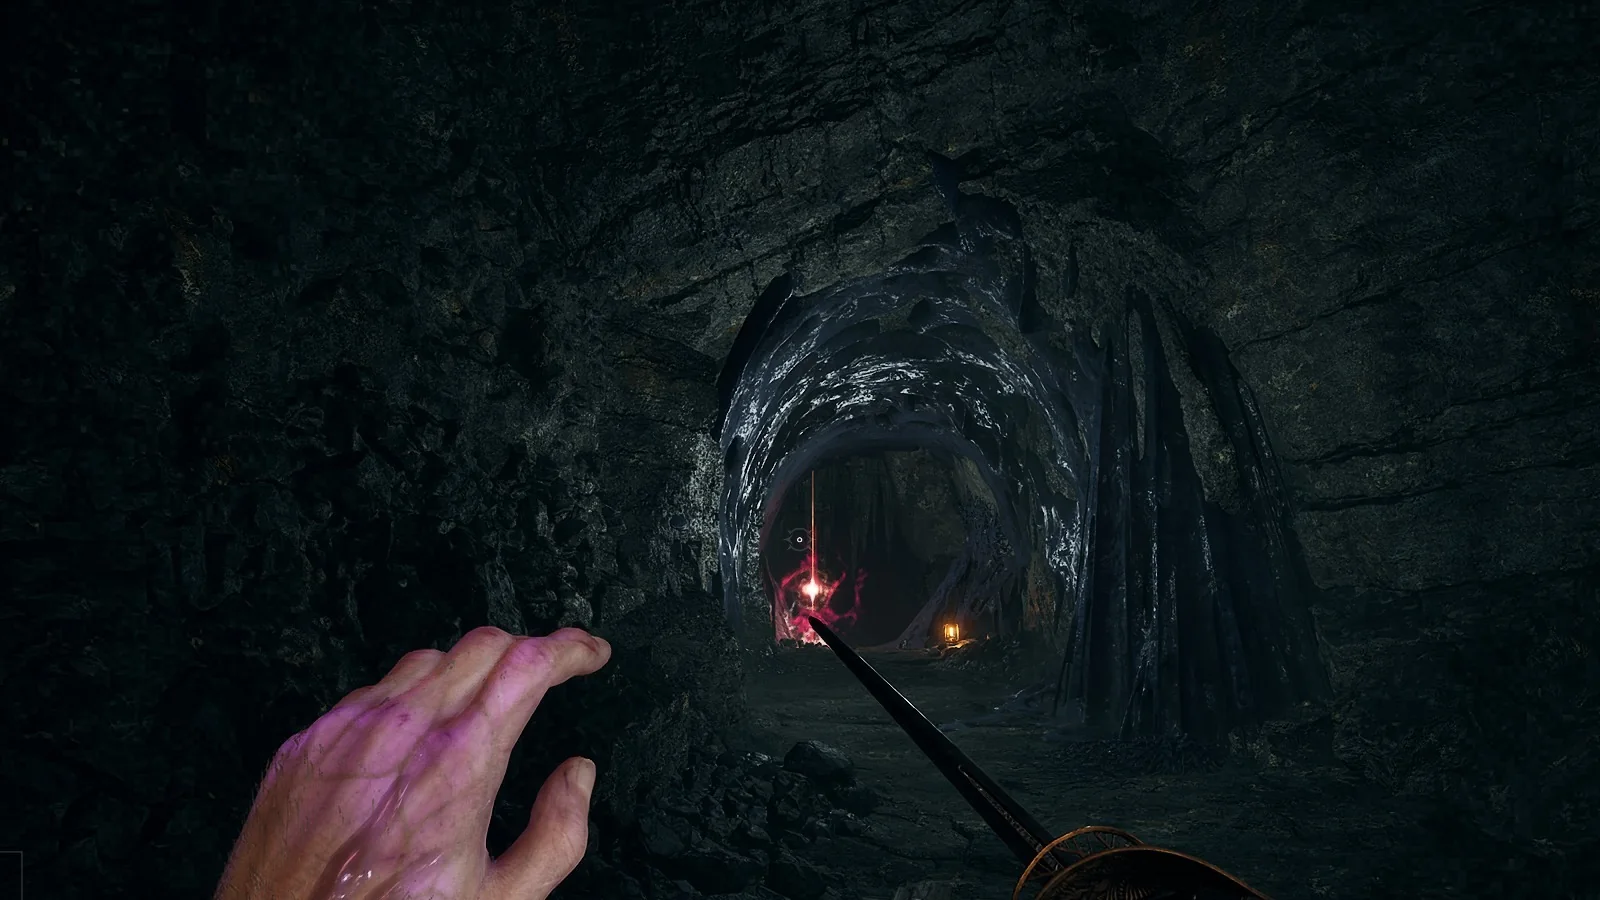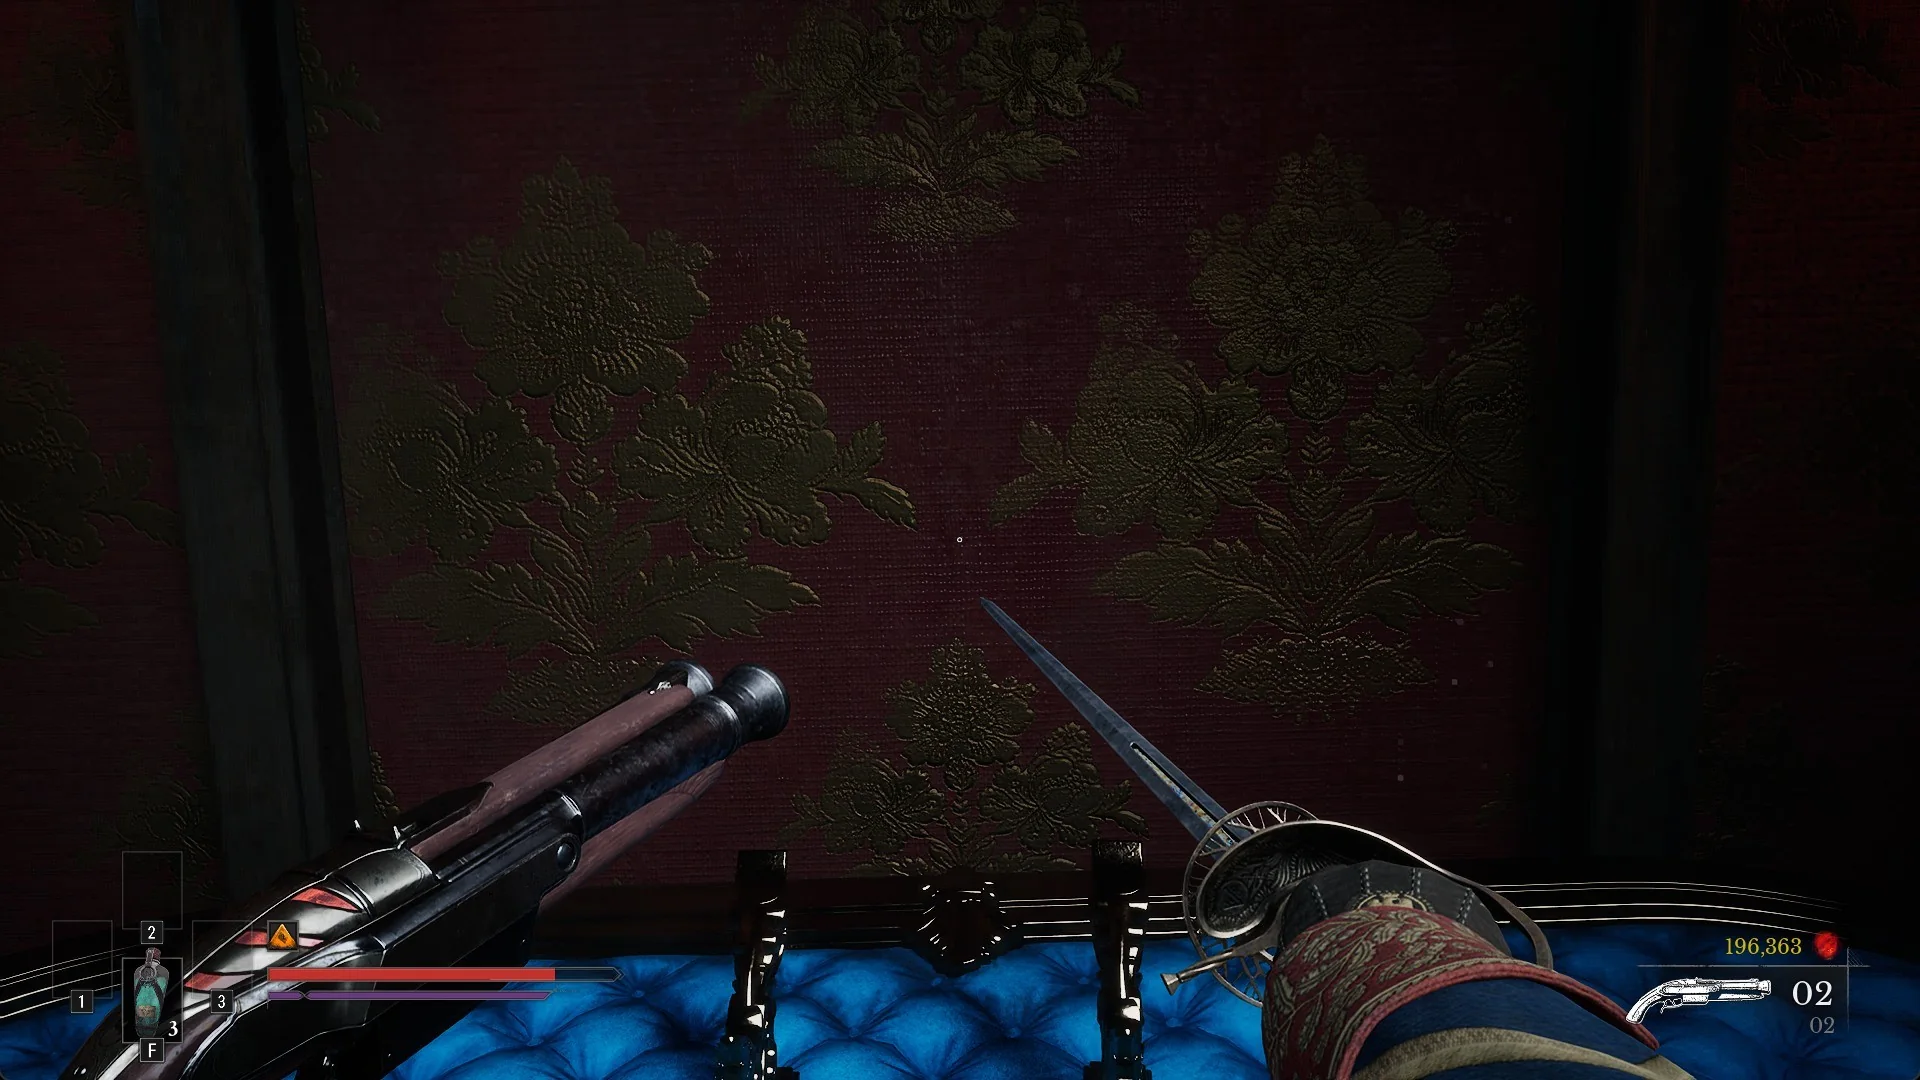
The Arsenal in Valor Mortis holds nine weapons, split across three right-hand melee weapons, three left-hand firearms, and three Transmutations. Here is where all nine land, and which upgrades are worth the materials.
Quick answer: The Saber is the best all-round melee weapon; pair it with the Pistol. The Saber blocks and parries, scales hardest, and carries the game’s highest Critical Attack multiplier.
Rankings weigh damage growth, Posture damage per hit and per parry, parry access, Nephtoglobin Weak Point coverage, and how much each upgrade board adds. Values are the PC version’s at launch (version 1.0, October 2026) and can shift with patches. For every level’s values, see the full weapon stats and upgrade boards.
All 9 Valor Mortis weapons, ranked
| Rank | Weapon | Type |
|---|---|---|
| 1 | Saber | Melee |
| 2 | Pistol | Firearm |
| 3 | Claymore | Melee |
| 4 | Blunderbuss | Firearm |
| 5 | Fire Transmutation | Transmutation |
| 6 | Rapier | Melee |
| 7 | Stasis Transmutation | Transmutation |
| 8 | Musket | Firearm |
| 9 | Shield Transmutation | Transmutation |
Upgrade caps vary by category: melee weapons and firearms reach level 10, while Transmutations stop at level 5. Every weapon has a set location; use the Valor Mortis weapons map to track them all.
Levels cost only upgrade materials, never Catalysts, and you raise them at James’s Iron Bench. Which attribute you invest in changes how far each weapon scales:
- Might ranks add +3% Melee Damage and +5% Critical Damage per rank.
- Sufferance ranks add +3% Transmutation Damage per rank.
- The Endurance column’s repeatable node adds +1% firearm damage per rank.
Full instructions for spending those materials are in the walkthrough on how to upgrade weapons.
Best melee weapon: Saber, Claymore or Rapier
| Weapon | Damage (L1 → L10) | Posture/hit | Perfect parry Posture |
|---|---|---|---|
| Saber | 20 → 60 | 5 | 100 |
| Claymore | 50 → 100 | 15 | No parry |
| Rapier | 25 → 45 | 3 | 150 |
Saber
Make the Saber your first choice and keep it as your mainstay. You can use it to block or parry, its damage triples as you upgrade it, and its 15x Critical Attack multiplier is the game’s highest; every other weapon has a 10x multiplier. The Arsenal describes it as “Universal / No clear strengths or weaknesses. / Focused on balance between offence and defence.” Charging a heavy attack takes 0.5 seconds. Its upgrades suit this balanced approach: Advanced Swordsmanship at level 2 makes “Every fifth consecutive Attack deals increased damage and restores Endurance.”, Second Wind at level 8 means “Parrying restores Recoverable Health.”, and Expert Swordsmanship at level 10 adds “Every third consecutive Attack deals increased damage and restores Health.”
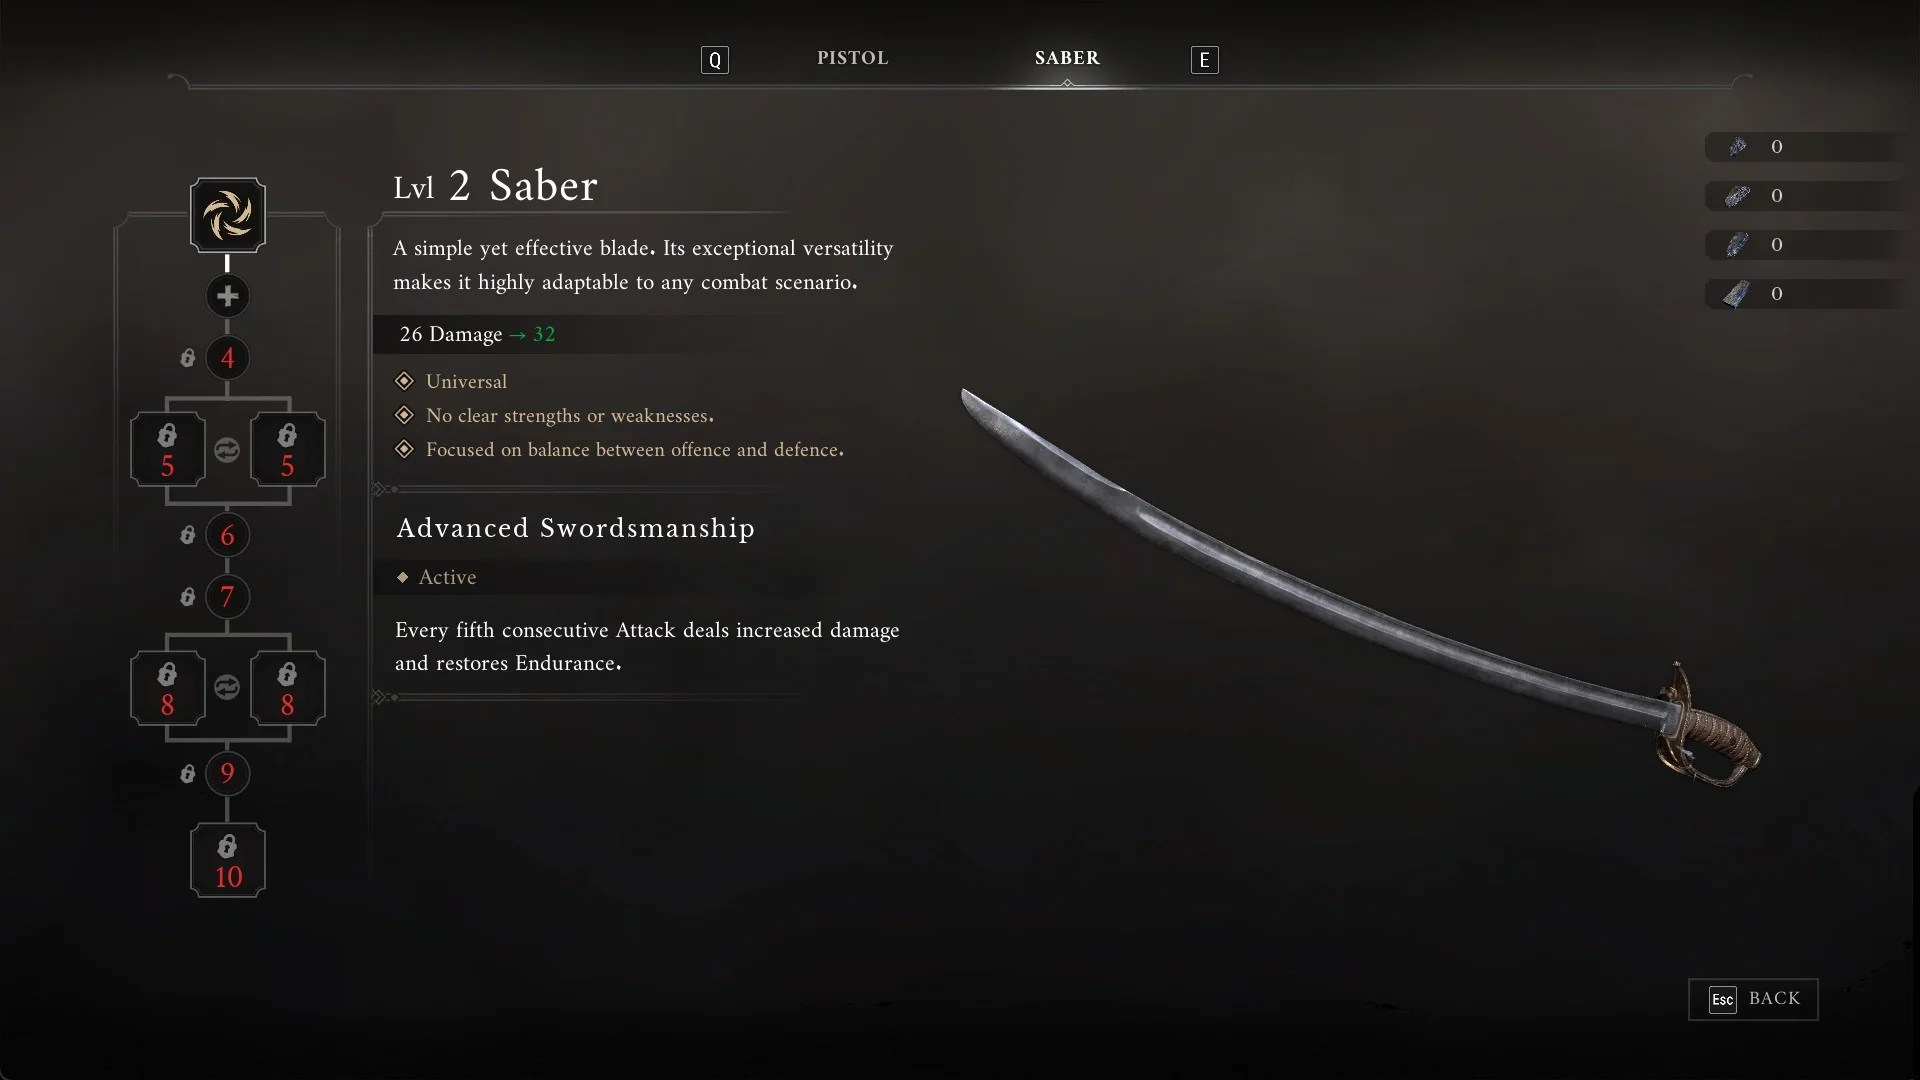
Since the Saber has no piercing damage, Nephtoglobin Weak Points are beyond its reach. Bring a firearm to deal with red weak spots, growths, and wires blocking paths, or the Rapier for Nephtoglobin Weak Points.
Claymore
Of the melee weapons, the Claymore deals the highest damage: every swing inflicts three times the Saber’s Posture damage, and its attacks also carry built-in ignite and stasis channel hits. Its Arsenal description reads “A heavy, devastating weapon that seamlessly blends physical strikes with Nephtoglobin-infused attacks, at the cost of the ability to Parry.” The upgrade board supports both defense and aggression: Rampage at level 2, a choice of Bulwark or Willpower at level 5, Flesh Wound at level 8 to reduce damage while attacking, and Bloodlust at level 10, which means “Health is restored when spending Rampage.” The Claymore falls behind the Saber only because surrendering parry is a steep tradeoff in a game focused on parrying.
Rapier
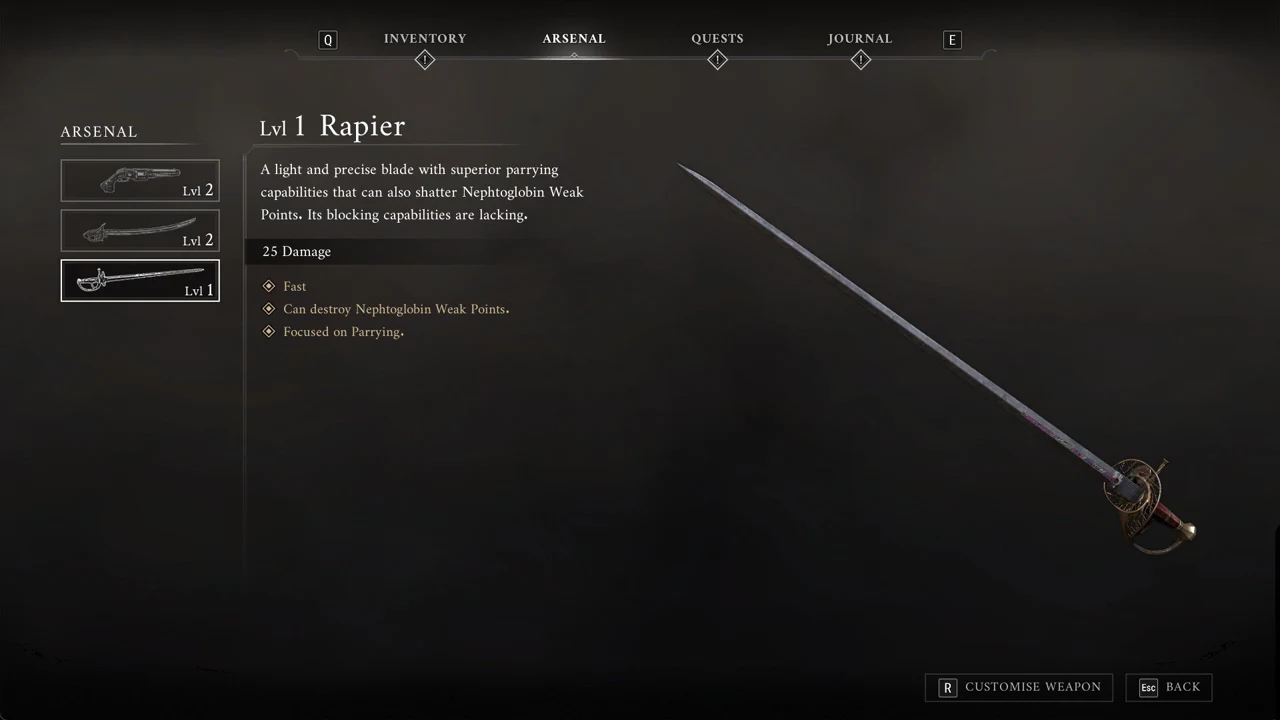
The Rapier is the specialist for players who parry everything. Its perfect parry fills far more Posture than the Saber or Claymore, and it can shatter Nephtoglobin Weak Points that the Saber cannot touch. The trade-offs are real: it has the lowest damage growth of the three blades, a long two-second heavy charge, and weak blocking. The tutorial puts it plainly, noting that “Parrying with the Rapier is more powerful, but the downside is that it can’t block enemy attacks properly.” Its parry payoffs stack up through the board, ending with Vigorous Terza at level 10, which “Restores Health on a successful Parry.”
Best firearm: Pistol, Blunderbuss or Musket
| Weapon | Damage (L1 → L10) | Posture/shot | Rounds / reload |
|---|---|---|---|
| Pistol | 30 → 60 | 10 | 5 / 4s |
| Blunderbuss | 150 → 350 | 3 per pellet | 2 / 3.5s |
| Musket | 150 → 300 | 20 | 1 / 2.5s |
Pistol
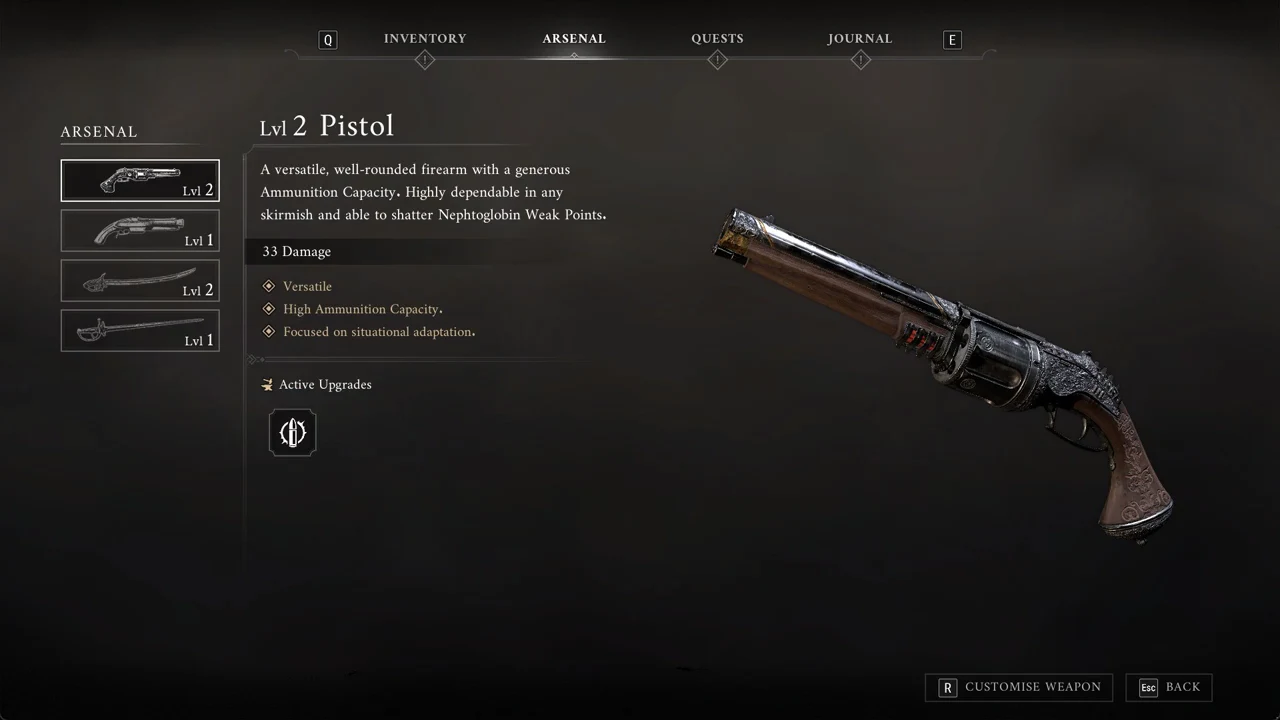
The Pistol is the firearm to carry by default. It holds more rounds than the others, fires fast, and its Arsenal text describes it as “A versatile, well-rounded firearm with a generous Ammunition Capacity. Highly dependable in any skirmish and able to shatter Nephtoglobin Weak Points.” That last trait is why it pairs so well with the Saber, clearing the red weak spots your blade cannot reach. At level 2 it unlocks Nephtoglobin Infusion — Bullet, where you “Hold [Reload] to infuse your Firearm with a Posture-breaking bullet.” At level 10, Automatic Mayhem “Drastically increases the rate of fire.” Resting at a Lantern refills its rounds. You pick it up in Chapter II, the Valley of Ashes.
Blunderbuss
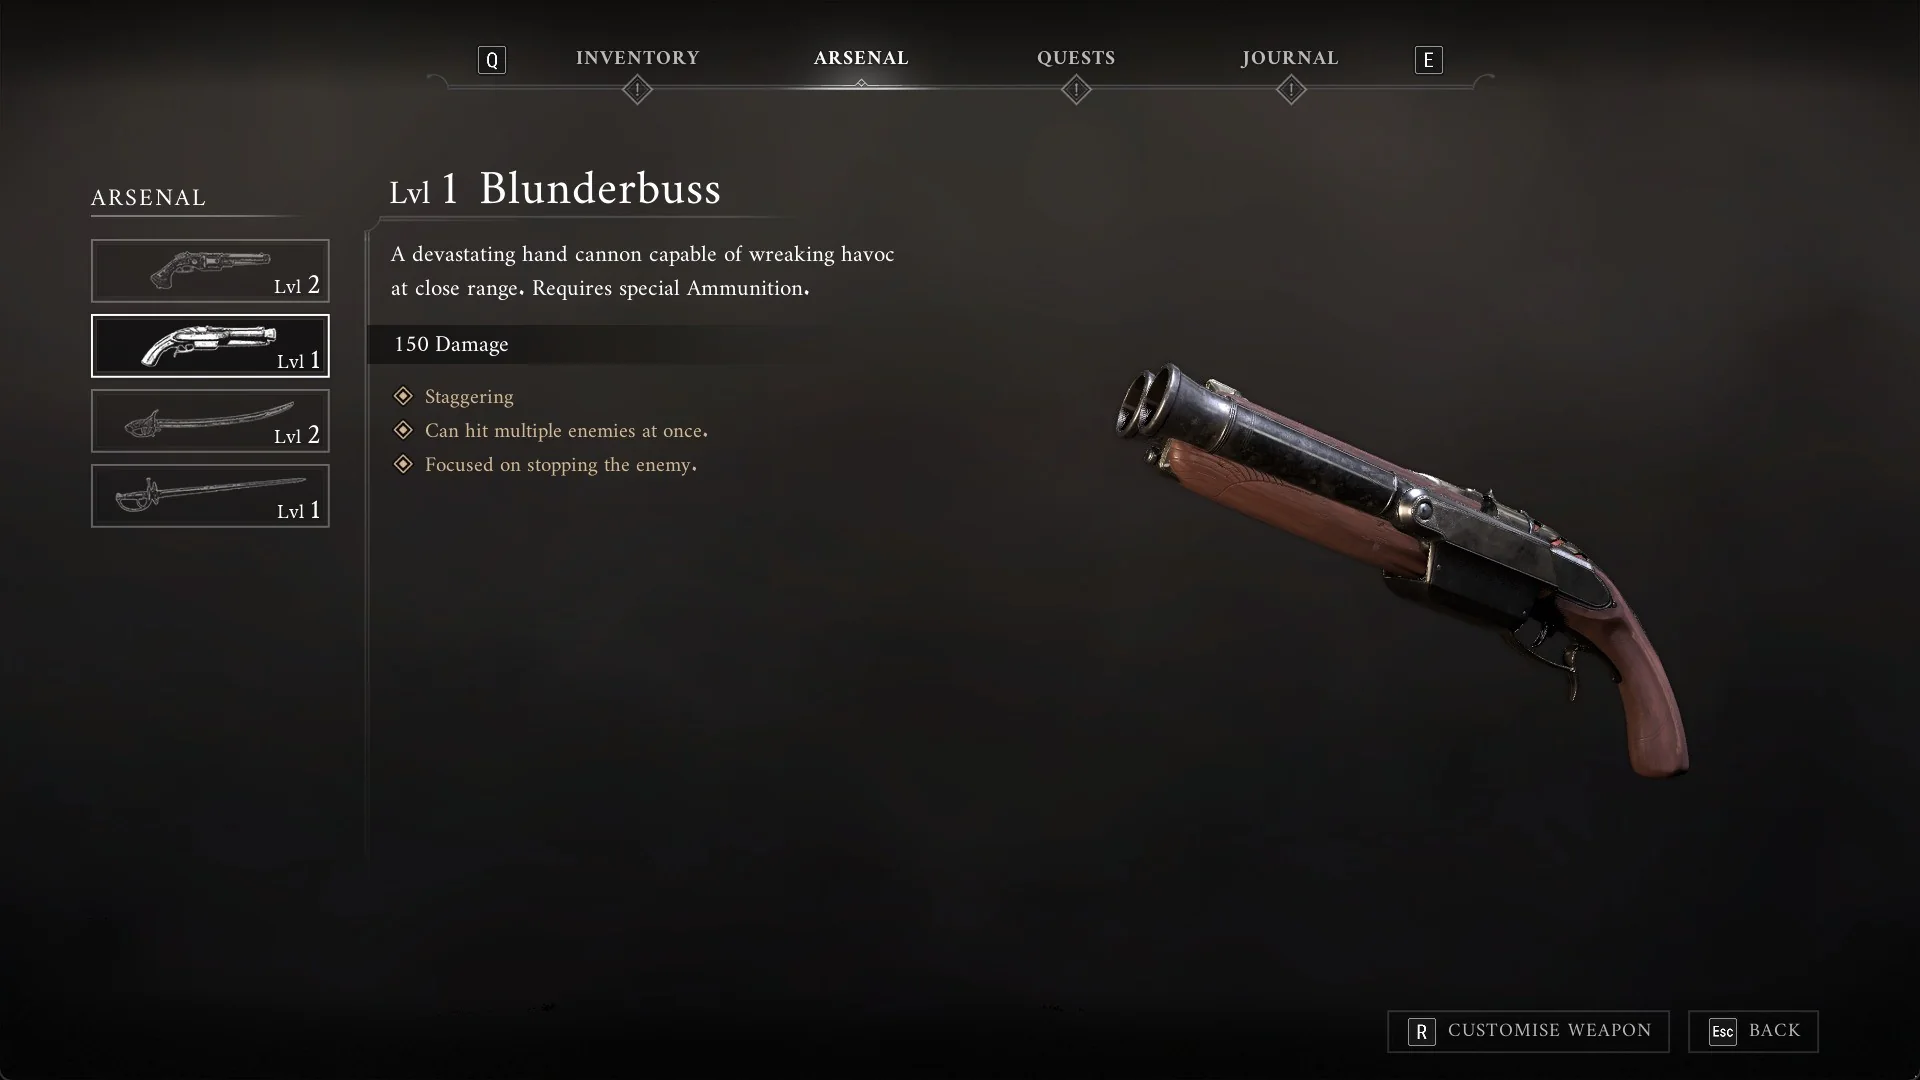
It is a crowd-stopper, described as “Staggering / Can hit multiple enemies at once. / Focused on stopping the enemy.” At level 2, Showstopper means “Shots interrupt Unblockable Attacks.”, which makes it a strong partner for a weapon that cannot block those. Later picks widen or lengthen the spread, add a Stasis grenade through Nephtoglobin Infusion — Grenade at level 8, and boost rear Posture damage with Back-Breaker at level 10. It needs Special Ammunition, and you find it in Chapter III, the Fallen Village, in a house on a round table.
Musket
The Musket is the single-shot specialist, built as “A precise and deadly long-range Musket built for absolute lethality.” It deals the most Posture damage per shot of any firearm and hits hardest at range, but it carries one round and is slow to work with in a close fight. Puncture at level 2 means “Shots pierce enemies.”, and it gains an explosive round, a Bayonet or Scope choice, and extra capacity further up. It also needs Special Ammunition, and you pick it up in the Vale of Wrath in Chapter V.
Best Transmutation: Fire, Stasis or Shield
| Weapon | Scaling (L1 → L5) | Role |
|---|---|---|
| Fire | 5 / 15 / 4 → 10 / 20 / 6 | Ignite, damage over time |
| Stasis | Factor 1.0 → 1.5 | Freeze enemies and gears |
| Shield | Factor 1.0 → 1.75 | Block attacks and hazards |
Fire Transmutation
Fire is the most useful Transmutation to get early. Its description is “A Fire Transmutation that can Ignite enemies. Ignited enemies take damage over time. The transmutation can also Ignite other objects in the world.”, and its traits are “Volatile / Can deal damage over time. / Focused on eliminating hordes of enemies.” At level 2, Brittleness increases the melee damage dealt to ignited enemies; at level 5, Unstable Blaze makes “Ignited enemies explode when shot at.” Fire has no effect on Nephtoglobin Weak Points. Get it in Chapter I from the altar at Onslaught Arch.
Stasis Transmutation
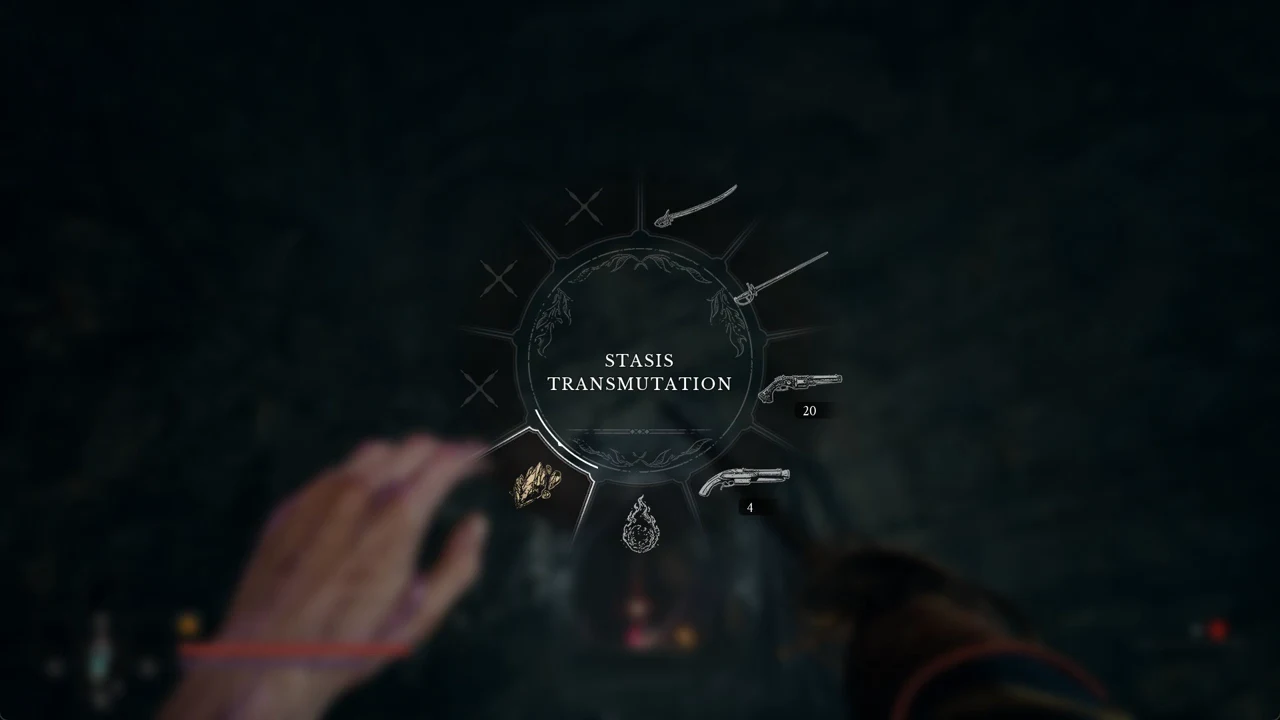
Stasis is “A Stasis Transmutation that can stop enemies and moving gears. Attacking enemies frozen in Stasis deals massive damage.” It also freezes the spinning gears and cogs that block some routes, which makes it as much a traversal tool as a combat one. At level 4 you choose between Control, which lets you grapple toward enemies frozen in Stasis, and Hex: “The Stasis effect no longer decays over time.” You take it in Chapter IV, in the Caverns.
Shield Transmutation
Shield sits last because it arrives late, at the University, and leans toward defence. It is “A Shield Transmutation that can protect against enemies and environmental hazards.”, and it is what you need to cross poison. Counter Blast is built in, which “Stores damage taken while the Shield is active. Releases it back at enemies upon deactivation.”, and at level 4 Impenetrable Defence “Protects from Unblockable Attacks.”
Best weapon pairings
Saber + Pistol is the balanced default. The Saber handles the bulk of your fighting, and the Pistol breaks the Nephtoglobin Weak Points the Saber cannot hit.
Rapier + Blunderbuss suits a parry-first playstyle. The Blunderbuss’s Showstopper interrupts the Unblockable Attacks the Rapier cannot block properly, covering its weakest moment.
Claymore + Fire or Stasis is the heavy-damage route. The Claymore already channels its own ignite and stasis hits, so pairing it with a matching Transmutation stacks that pressure further.