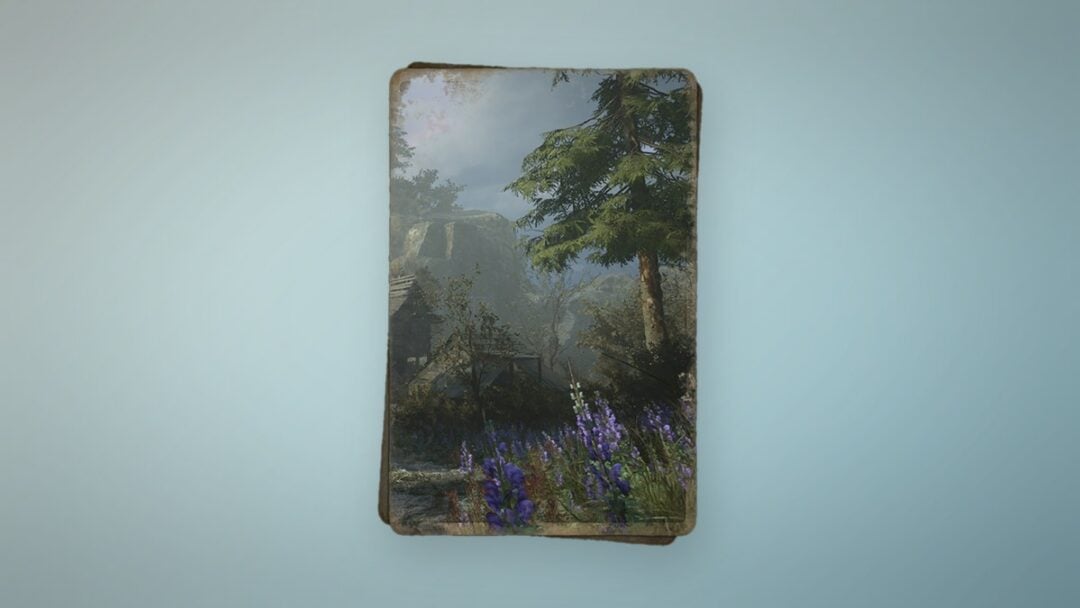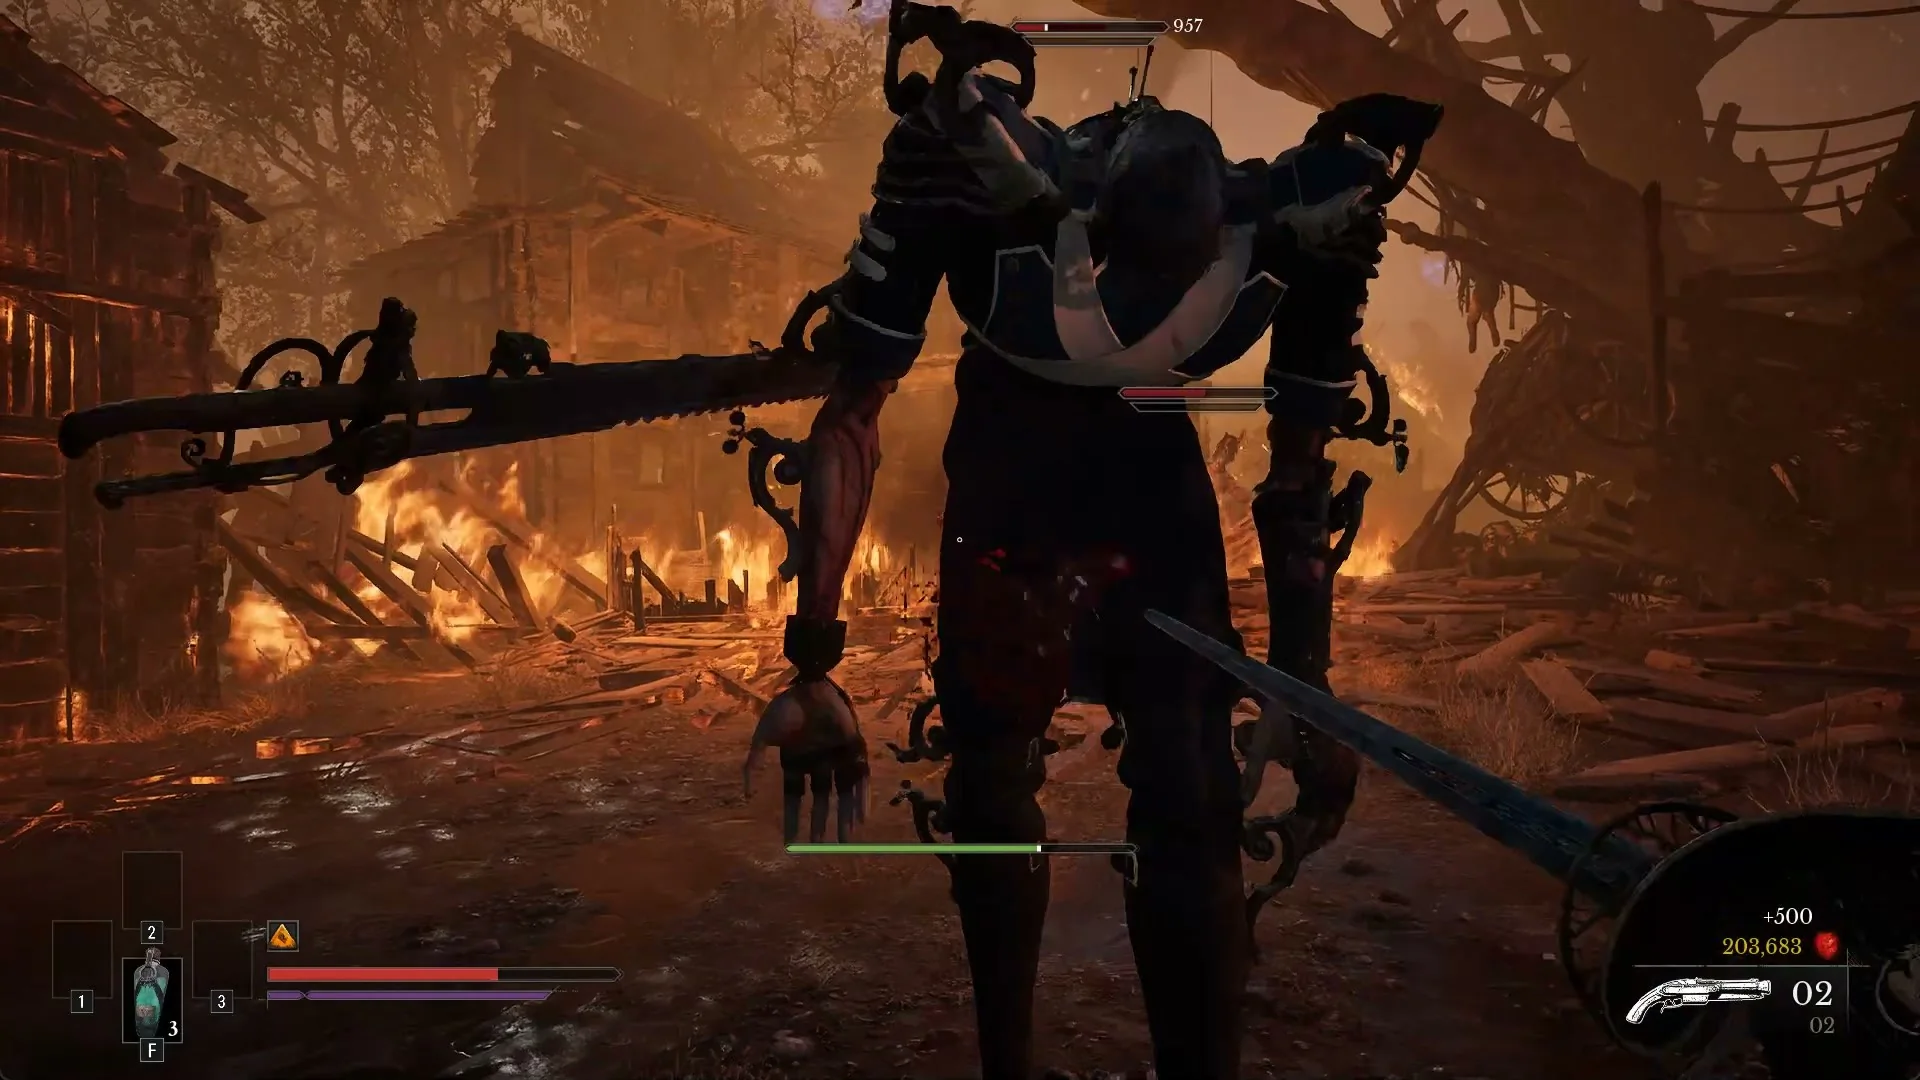
Beyond the main bosses, Valor Mortis scatters stronger one-off versions of its normal enemy types. These elites carry far more health and Posture than the regular version, pay out thousands of Catalysts, and each one leaves a guaranteed pickup: an Amber, a key, or both. Sixteen of them matter for collection, and since they are placed once, each drop is a one-time grab.
Quick answer: Sixteen one-off elites across seven regions each drop a guaranteed Amber, key, or both, with 600 to 3,500 health and 350 to 2,000 Posture. Take the drop before you leave the area.
What makes an enemy an elite
An elite is a reinforced copy of a normal enemy type. It uses the same body and weapon as its common version but has much higher health and Posture, and it rewards thousands of Catalysts instead of the usual handful. The 16 listed below are the ones that hand over a fixed Amber or key when they fall.
They never return. Resting at a Lantern revives every normal enemy on the map, but these elites are set down once and stay dead. That makes their drop a single opportunity, so clear the enemies around one and collect the item before you move on.
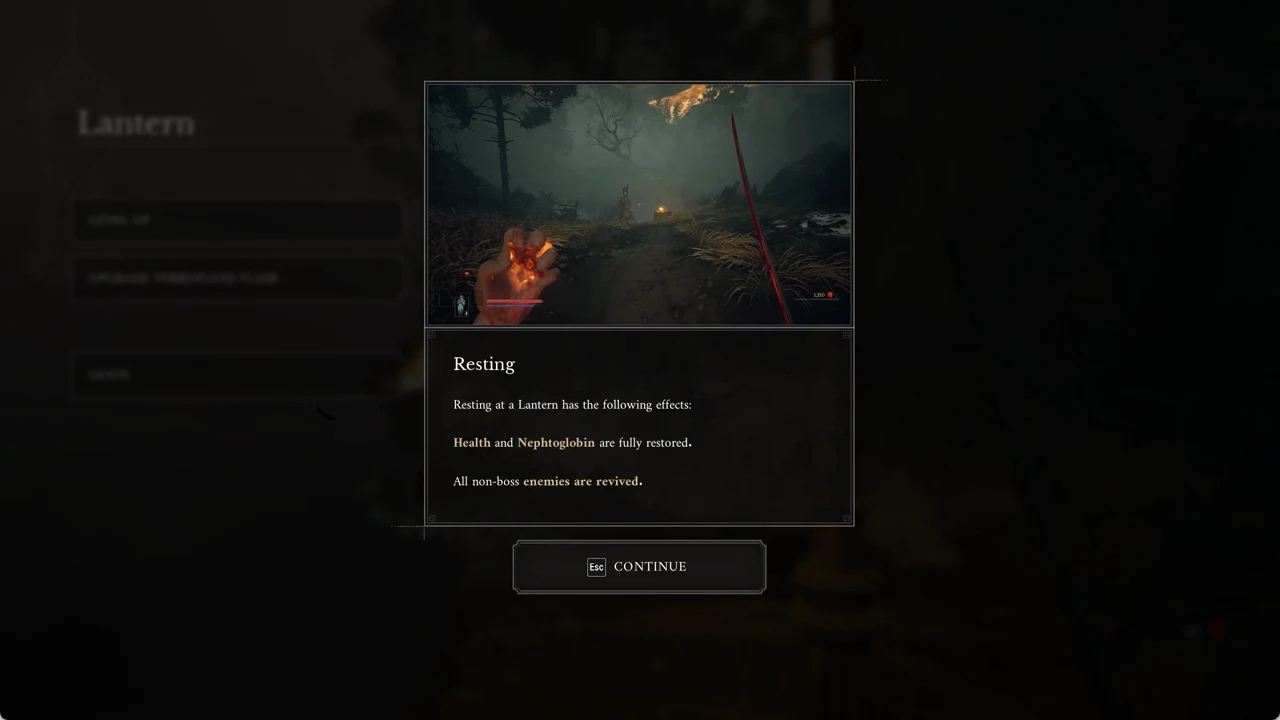
Build the Posture meter by striking foes, shooting them, and landing perfectly timed parries; fill it to break an enemy and trigger a Critical Attack. Elite enemies have 350 to 2,000 Posture.
Every elite drop by region
The list runs in story order of the regions.
| Region | Enemy | Health | Posture | Catalysts | Drop |
|---|---|---|---|---|---|
| Caverns map | Shambling Civilians elite (scythe) | 700 | 350 | 3,000 | Dominatus Amber + Pure Blade Material |
| Vale of Wrath map | Volunteers (two swords) | 650 | 500 | 500 | Wagon Key |
| Vale of Wrath | Eternal Guardsman | 1,750 | 500 | 2,100 | Beekeeper’s Hut Key |
| Vale of Wrath | Risen Sapeur elite (axe) | 1,400 | 1,000 | 6,000 | Equivalent Exchange Amber |
| Vale of Wrath | Volunteers elite (two-handed) | 1,500 | 900 | 7,000 | Wound that Heals Amber |
| Cursed Hollow map | Howler elite | 600 | 400 | 6,000 | Warrior’s Fury Amber |
| Cursed Hollow | Shambling Civilians elite (scythe) | 800 | 350 | 7,000 | Headman’s Key |
| Cursed Hollow | Cannonhand elite | — | — | — | Wound that Heals Amber |
| The Outskirts map | Volunteers elite (two swords) | 2,000 | 1,200 | 15,000 | Glass Soldier Amber |
| The Outskirts | Risen Duellist elite | 1,200 | 700 | 10,000 | Harbour Residence Key + Distilled Blade Material |
| City of Orphans map | Risen Lancer elite | 960 | 2,000 | 275 | Bottomless Well Amber |
| City of Orphans | Volunteers elite (two-handed) | 3,000 | 700 | 10,000 | Bountiful Harvest Amber |
| University map | Remnants of the Iron Regiment elite | 3,500 | 600 | 13,000 | Payback Amber |
| University | Howler elite | 840 | 400 | 700 | Warrior’s Fury Amber |
| Fortress map | Remnants of the Iron Regiment elite | 1,950 | 600 | 9,000 | Fire Breathing Amber |
| Fortress | Eternal Guardsman elite | 3,200 | 1,600 | 20,000 | Glass Soldier Amber |
You can see the full set of 29 drops in the roundup of all 29 Ambers, and the separate main fights in the breakdown of all 10 bosses.
Enemy notes and resistances
Eternal Guardsman (the masked fencers)
Their Journal entry describes them as “always positioned behind advancing lines, as though guiding the flow of battle itself” and adds that “Some Fencers are different from others — they transform into plague-powered beasts in the midst of battle by crushing a small vial in their hand.” The Fortress elite leads this list in toughness, with 3,200 health, 1,600 Posture, and 20,000 Catalysts; its resistances are 40% to firearms, 30% to ignite, and 70% to ignite build-up. Standard Eternal Guardsmen have 700 to 2,450 health depending on the area and yield 1,200 to 2,700 Catalysts.
Seven Eternal Guards carry an emblem tied to a side quest. If you are chasing those, follow the Oathbound quest guide to collect all seven.
Where to find the Eternal Guardsman in the Vale of Wrath
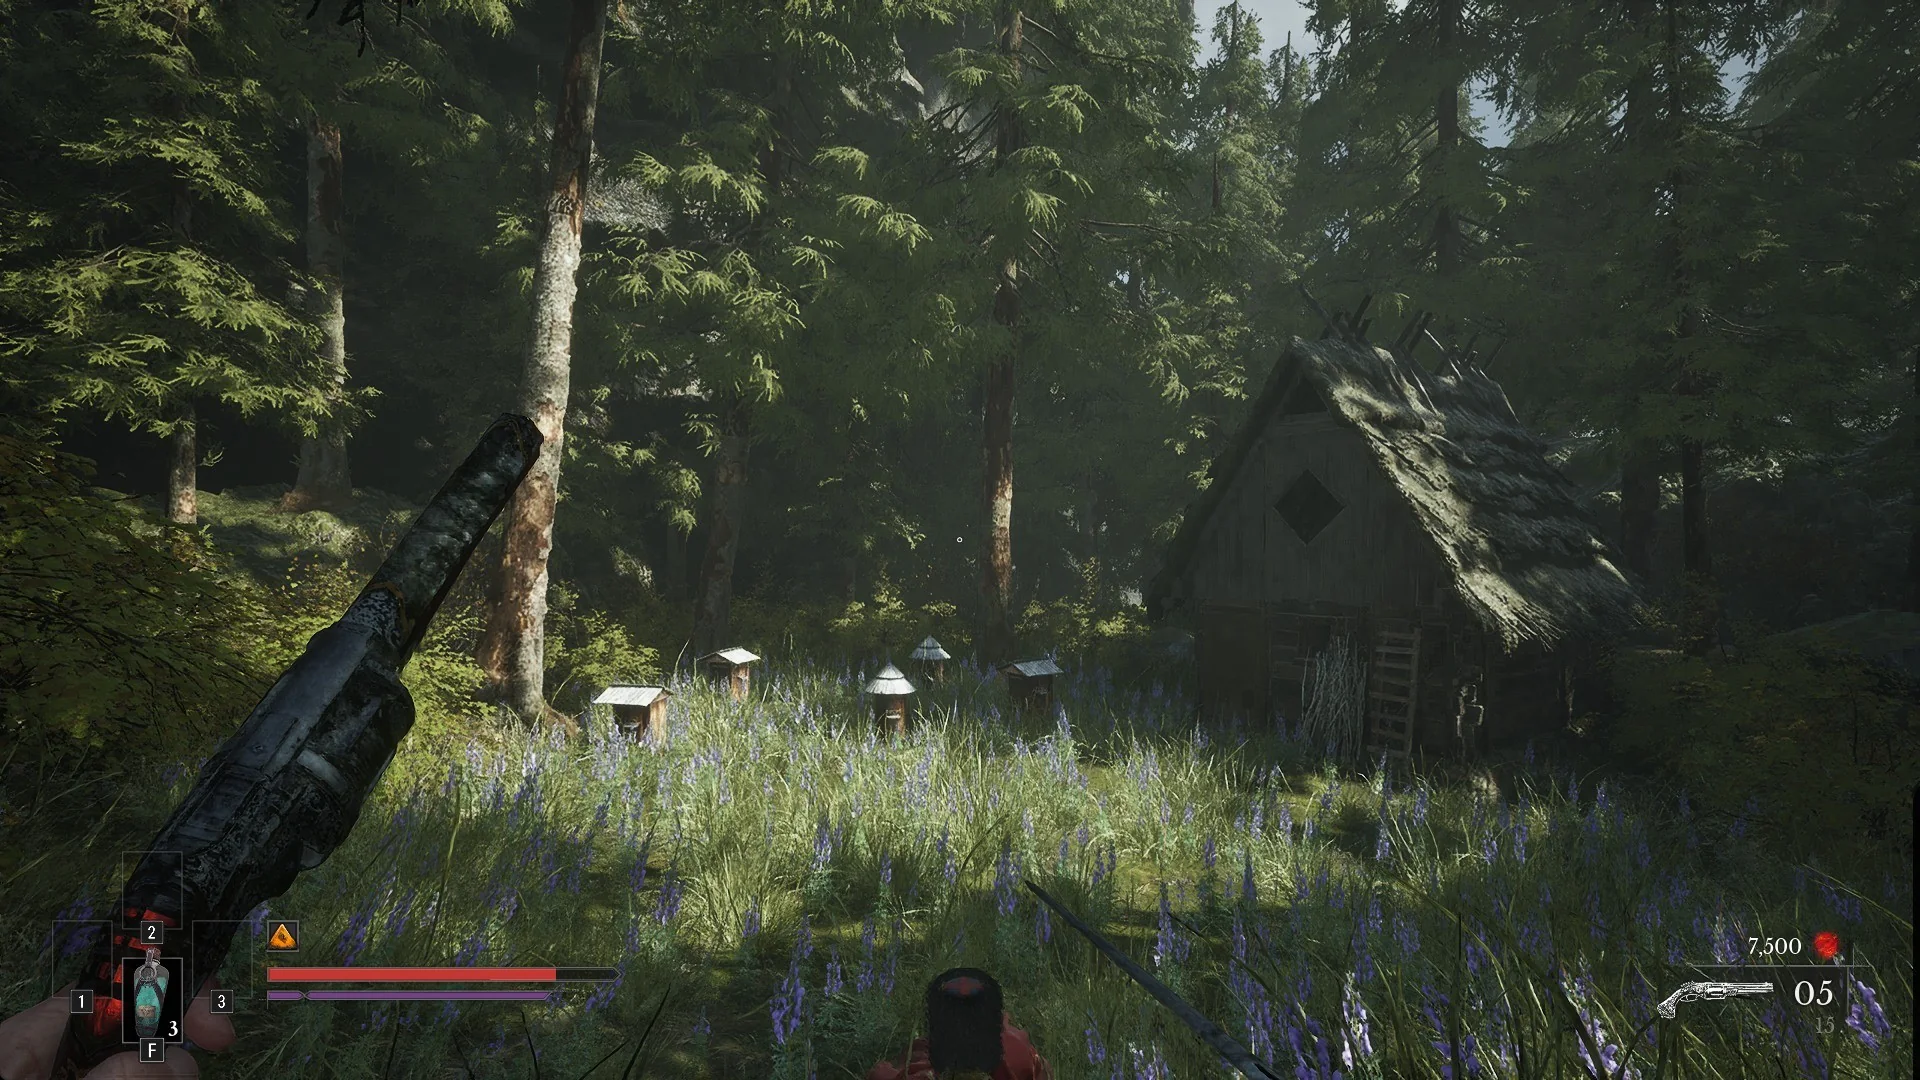
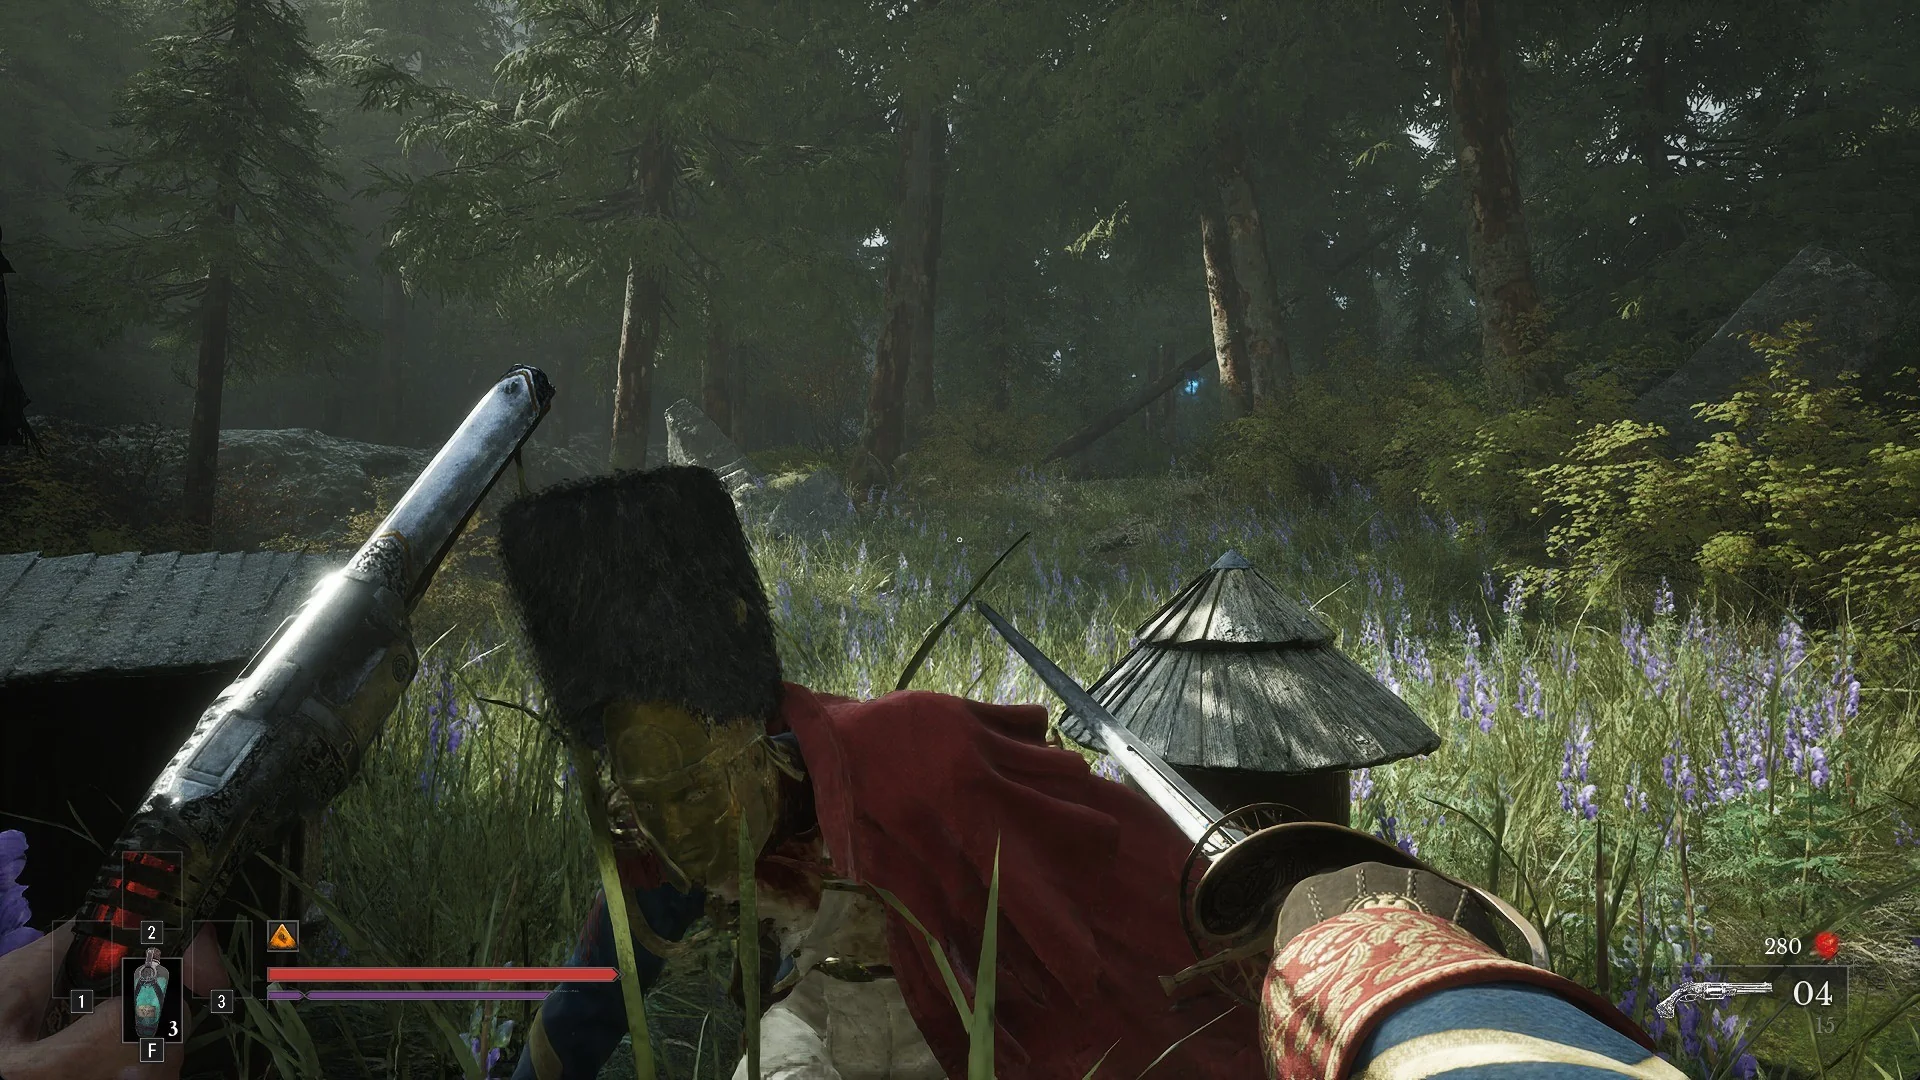
Look for a meadow of beehives and purple lupins set beside a locked beekeeper’s hut. It sits in the Vale of Wrath, roughly 150 m west of the Wolfsbane Field Lantern. Head toward it along the ridge path that drops down into the meadow from the east.
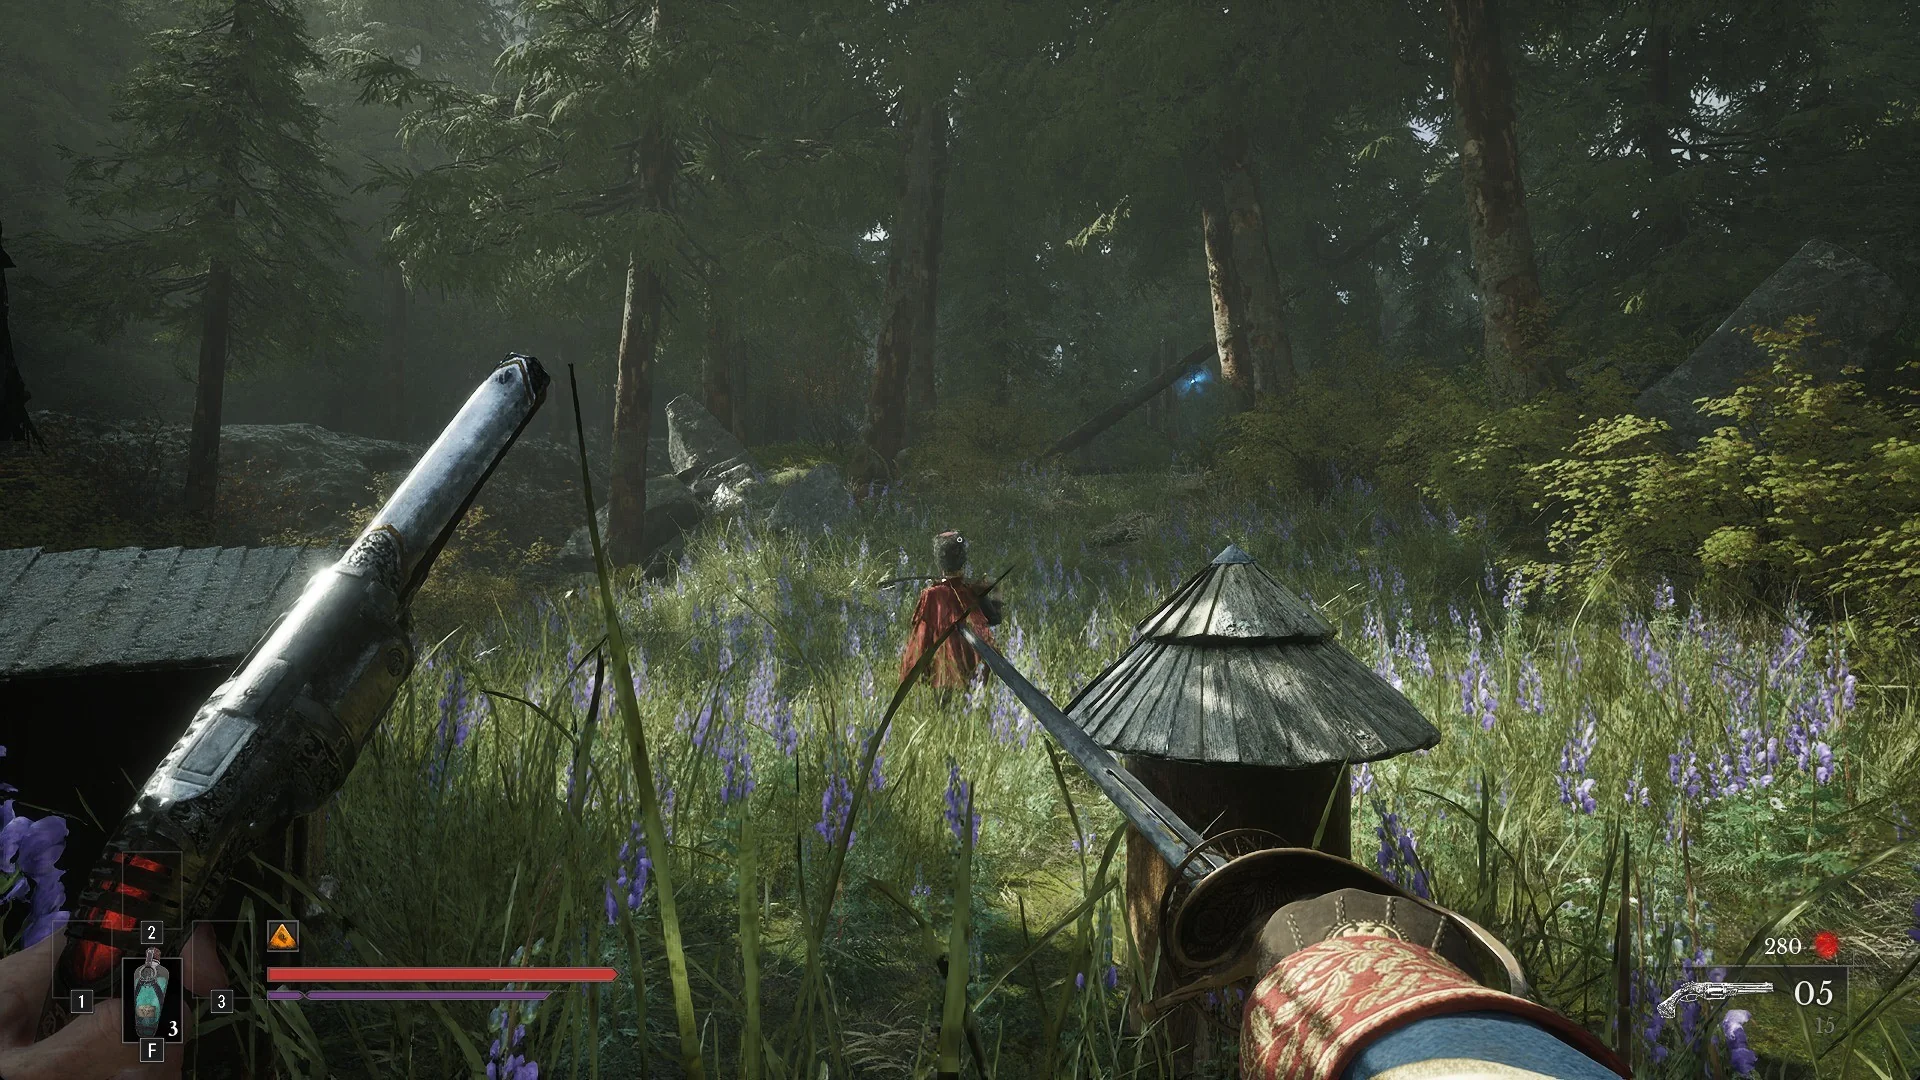
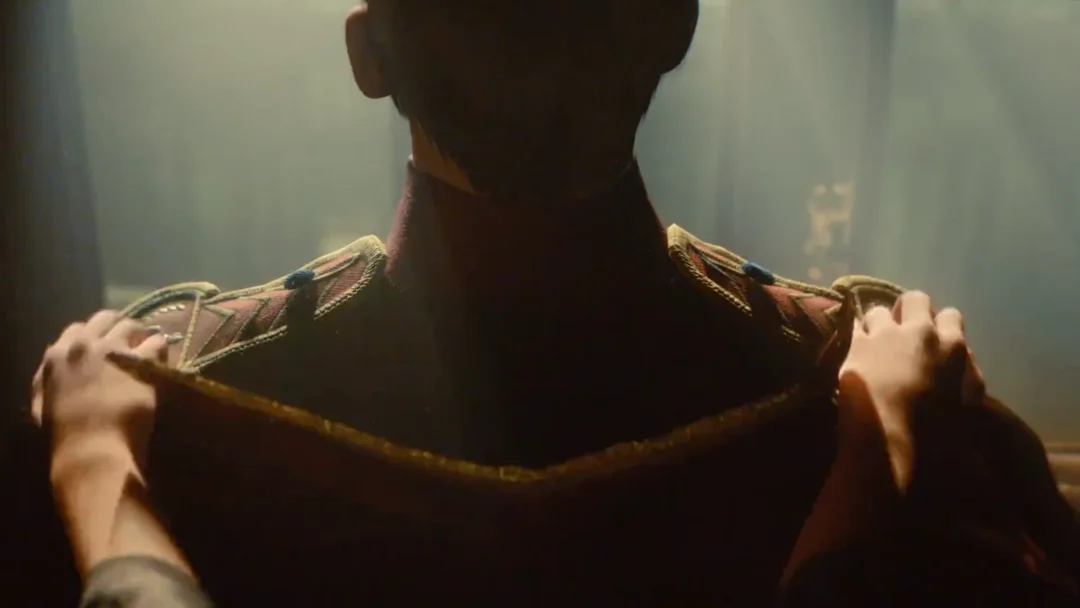
He is not standing in the meadow from the start. The Eternal Guardsman shows up once you come down that ridge path to the meadow, and he does so whether or not you have the side quest tied to the hut. You will know him on sight: a red-coated figure in a tall bearskin hat and a gold mask, carrying a sabre.
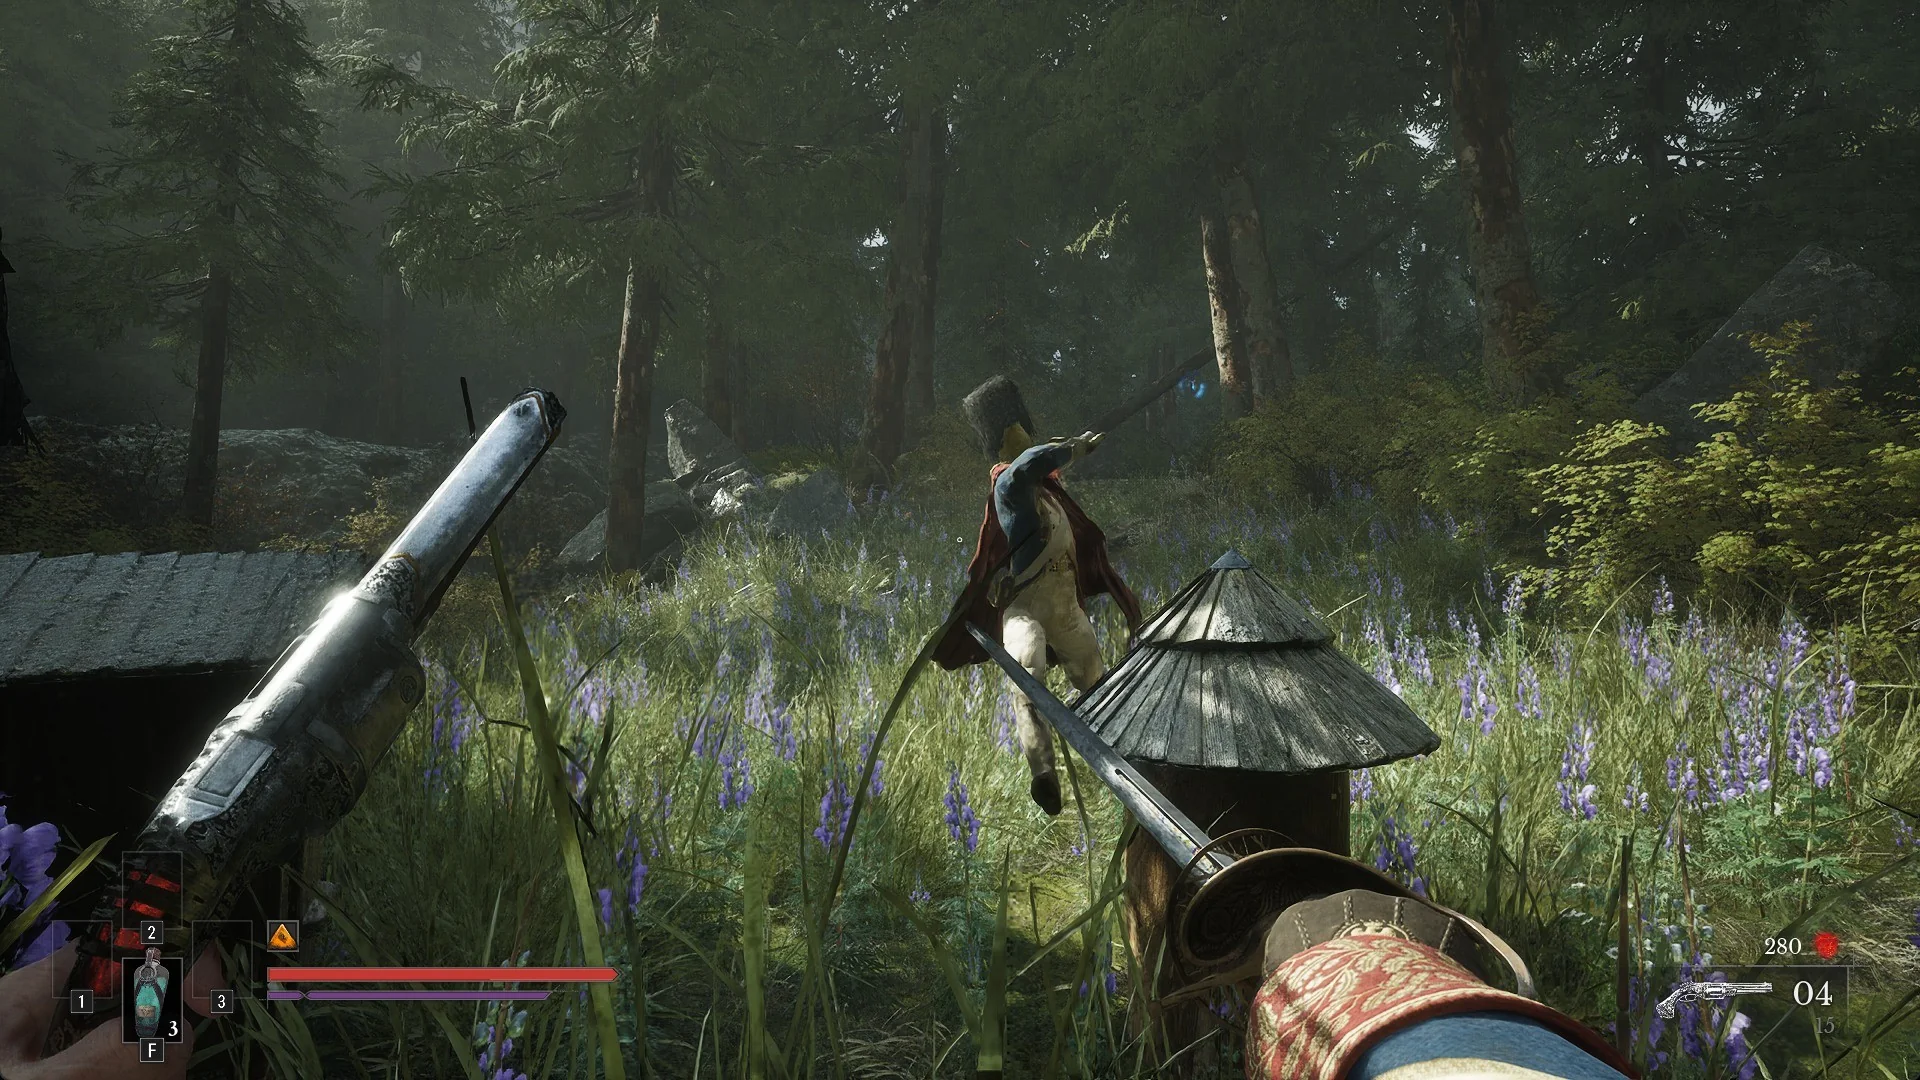
Open fire from range and he closes the gap fast. A single Pistol shot is enough to set him off: he sprints straight at you, lunges, and raises the sabre overhead. One of those swings dropped a 140-health William to about 90, so do not expect to trade blows with him for long.
He has 1,750 health, 500 Posture and 4 Stasis segments, and pays 2,100 Catalysts. He resists firearms by 30%, explosions by 50%, ignite by 20% (ignite build-up 50%) and infection by 30%, but has no melee resistance, so close in with your blade. A Critical Attack on him lands for 613 and a backstab for 700.
Dodge these moves rather than raising your guard, because they go through a block:
- The follow-up to his poke
- His backstep
- A Nephto leap
- A Nephto slam
- A grab
- His shot
Everything else can be blocked: his left and right swings, the poke, the backstep slash and stab, the rush jump, the Nephto charge, the Nephto combo, and the stab-slash combo.
What the Eternal Guardsman does up close and what he drops
Up close, the Eternal Guardsman swings his sabre in fast horizontal cuts and raised overhead strikes, chaining them so he keeps pressure on you between dodges. Stay patient and punish the gaps after his swings.
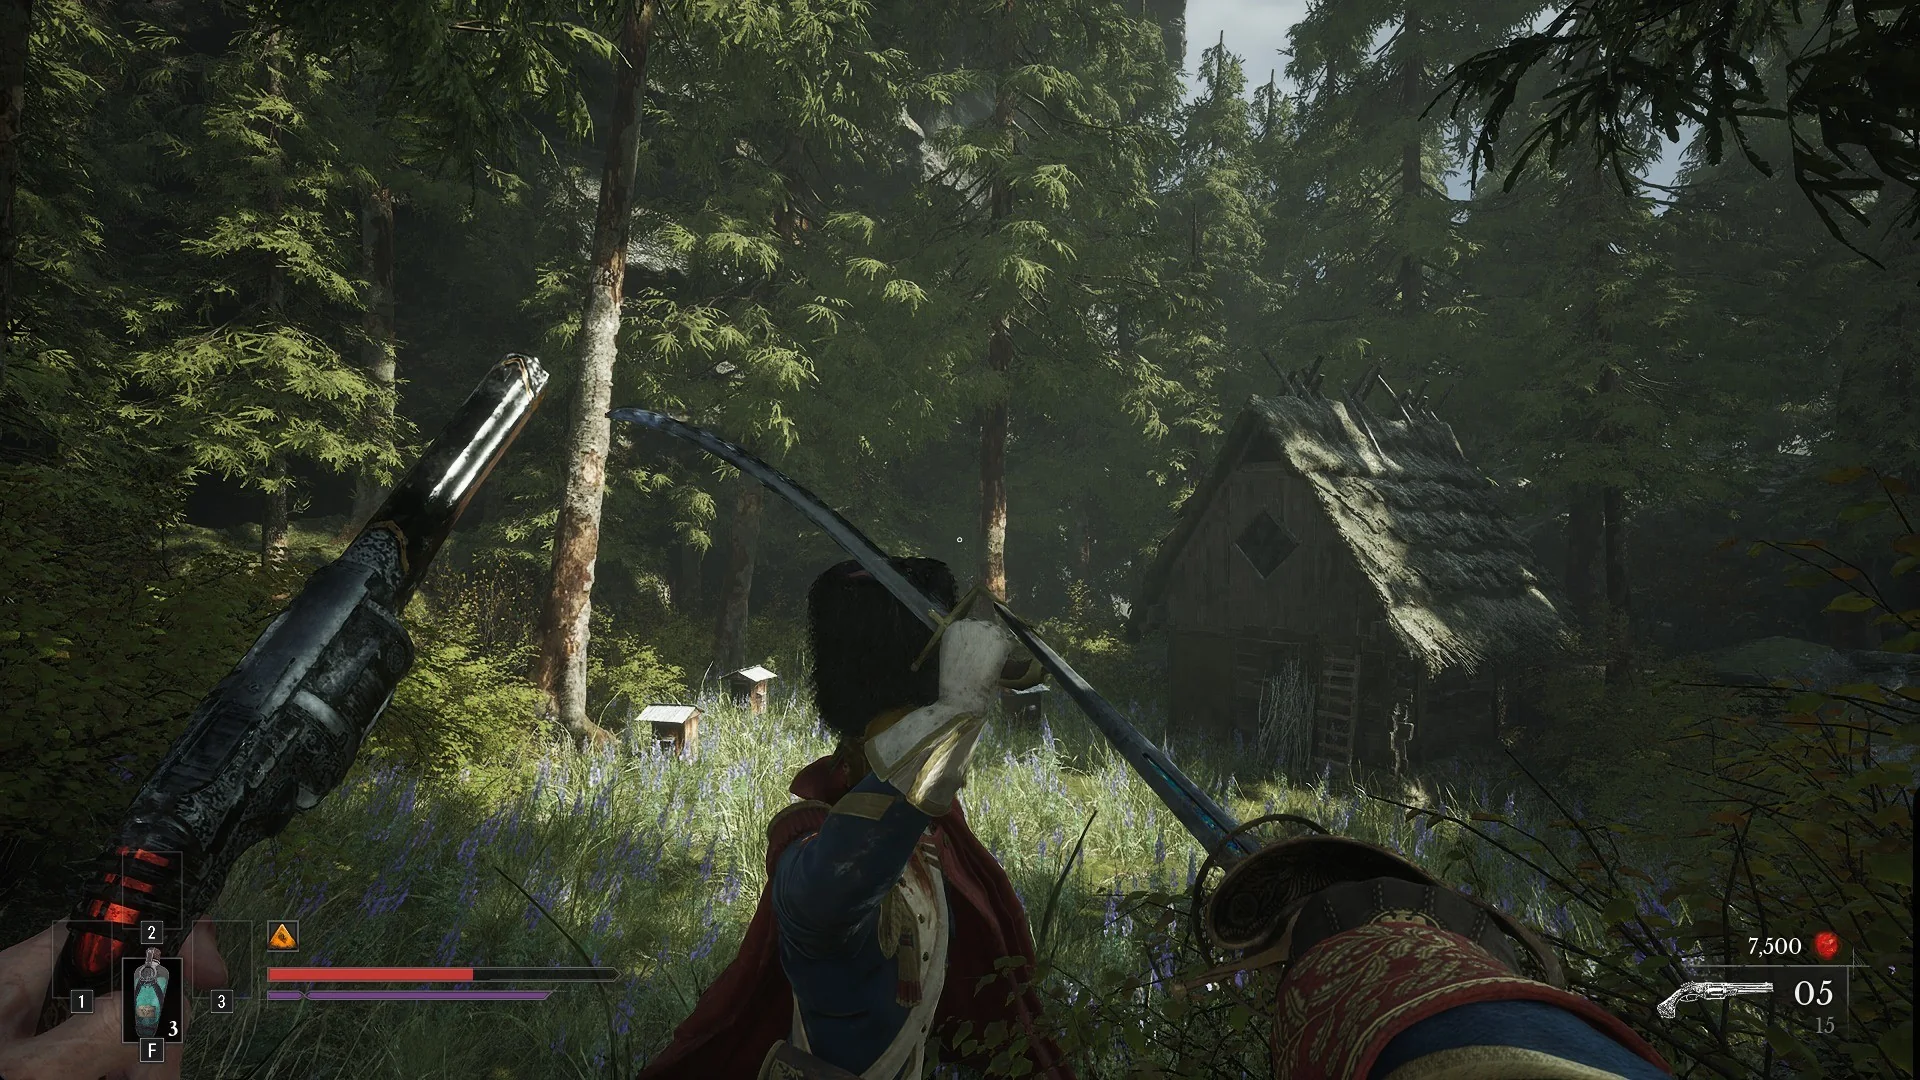
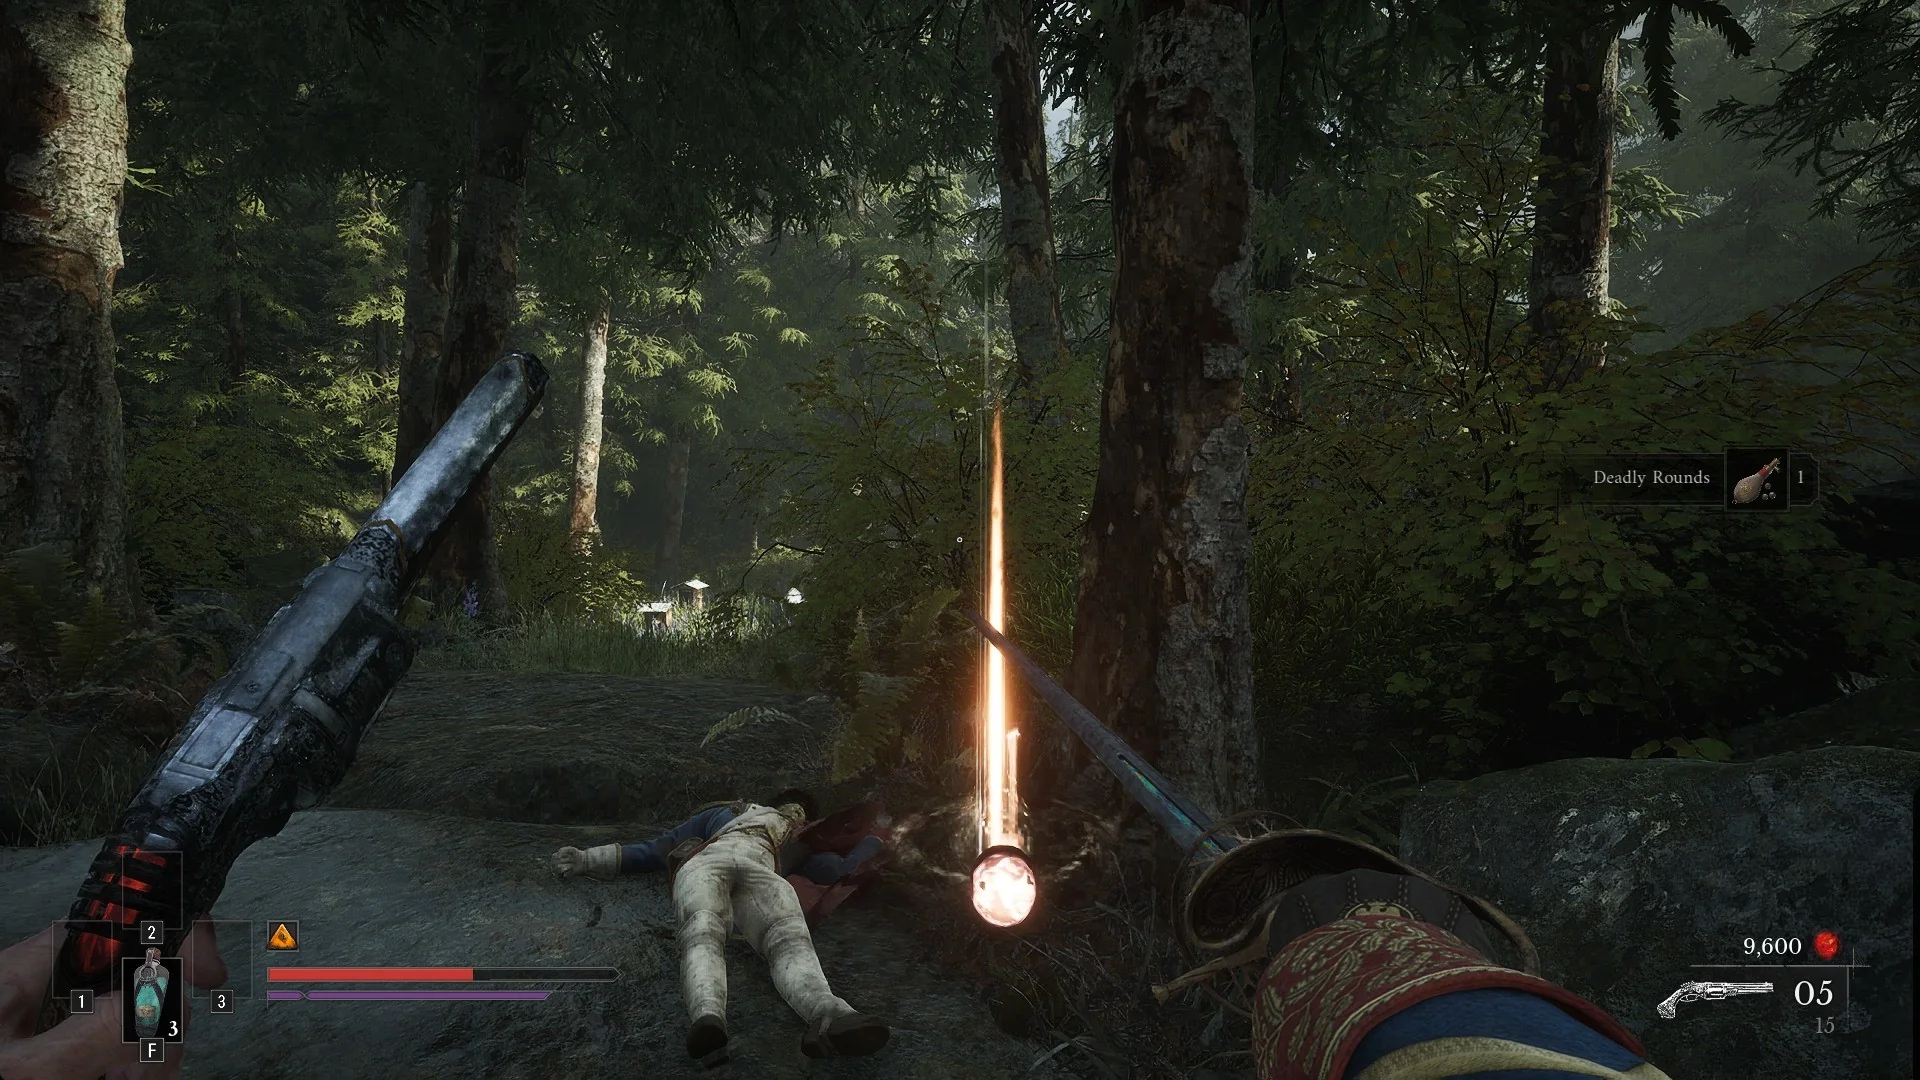
When he falls, you get 2,100 Catalysts, the toast “Beekeeper’s Hut Key / ADDED TO INVENTORY”, and a “NEW ENTRY ADDED TO THE JOURNAL” message, plus a glowing drop on the ground beside his body: “Deadly Rounds” x1, which you take with E. The Beekeeper’s Hut Key opens the beekeeper’s hut beside the meadow.
Both the hut and the Guardsman belong to The Deserter side quest (see The Deserter walkthrough). For the region’s other locks, see every key and what it opens.
Volunteers
Volunteers are colossi carrying exotic weapons, from paired swords to two-handed blades and rifles. The Journal reads: “So far, I have encountered several such warriors, each using a different and exotic weapon.” The two-handed elite in the City of Orphans has the most health of any Volunteer here at 3,000, and it resists firearms, explosions, and ignite 30%.
Where to find the dual-sword Volunteer in the Vale of Wrath (Wagon Key)
Follow the road through the Poisoned Camp and he appears right in front of the locked Eternal Guard wagon, a dark wooden carriage with a gold “N” in a laurel wreath on the door, about 25 m from the Poisoned Camp Lantern. He is a tall Volunteer in a blue coat with white cross straps and a metal face cage, carrying a sword in each hand, with one arm mutated into a swollen red plague limb. He has 650 health and 500 Posture.
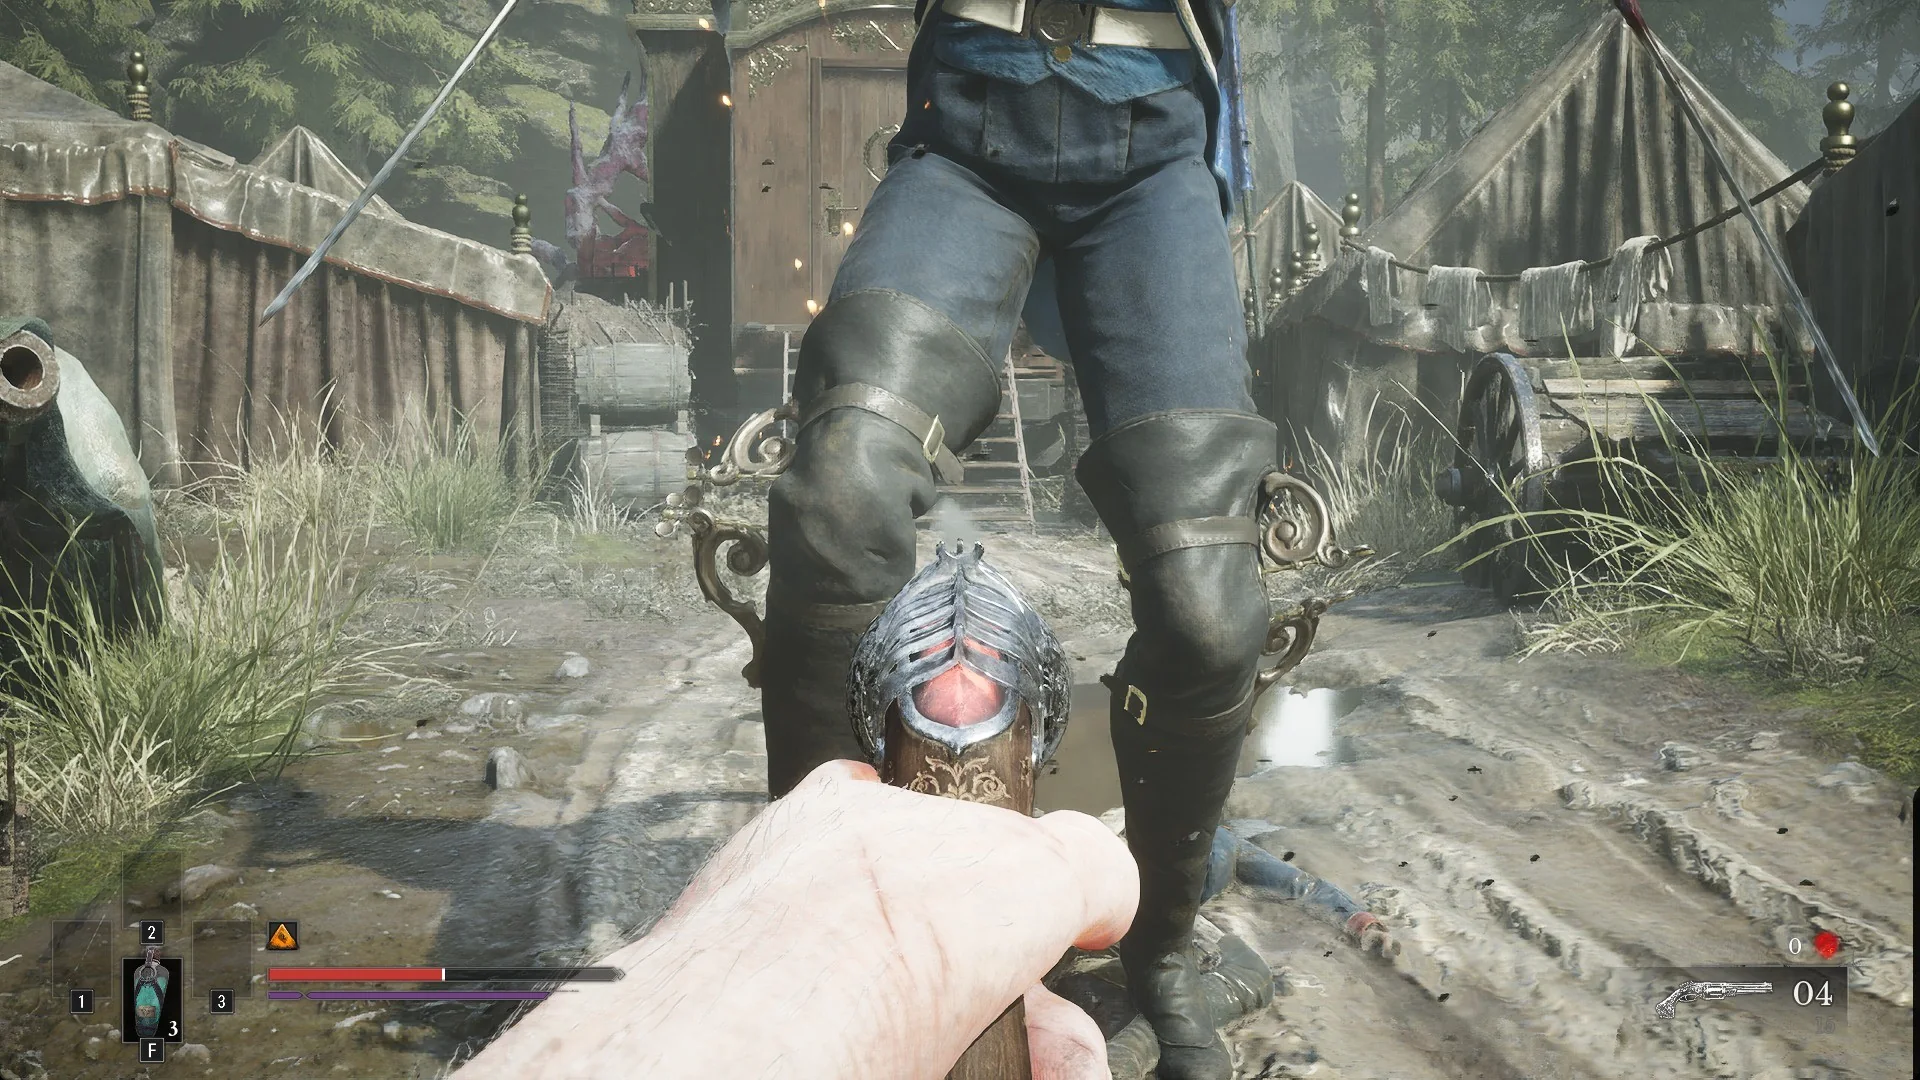
From roughly 10 m away, he reaches you in about a second and thrusts with both swords. He then chains into broad sweeps and crossing cuts. The approach flows quickly into the combo, so keep moving.
Apart from his sword attacks, he can thrust out the mutated plague arm to seize you; keep an eye out for this grab.
When he drops, you get 500 Catalysts and the Wagon Key goes straight into your inventory, with nothing to pick up off the ground. The key reads “A heavy carriage key to the Eternal Guard wagon.” and opens the carriage behind him, which holds a red salon and Captain Lefèvre’s letter. For the full breakdown, see the Wagon Key and the Eternal Guard wagon details.
Where to find the two-handed Volunteer with the burning sword (Wound that Heals)
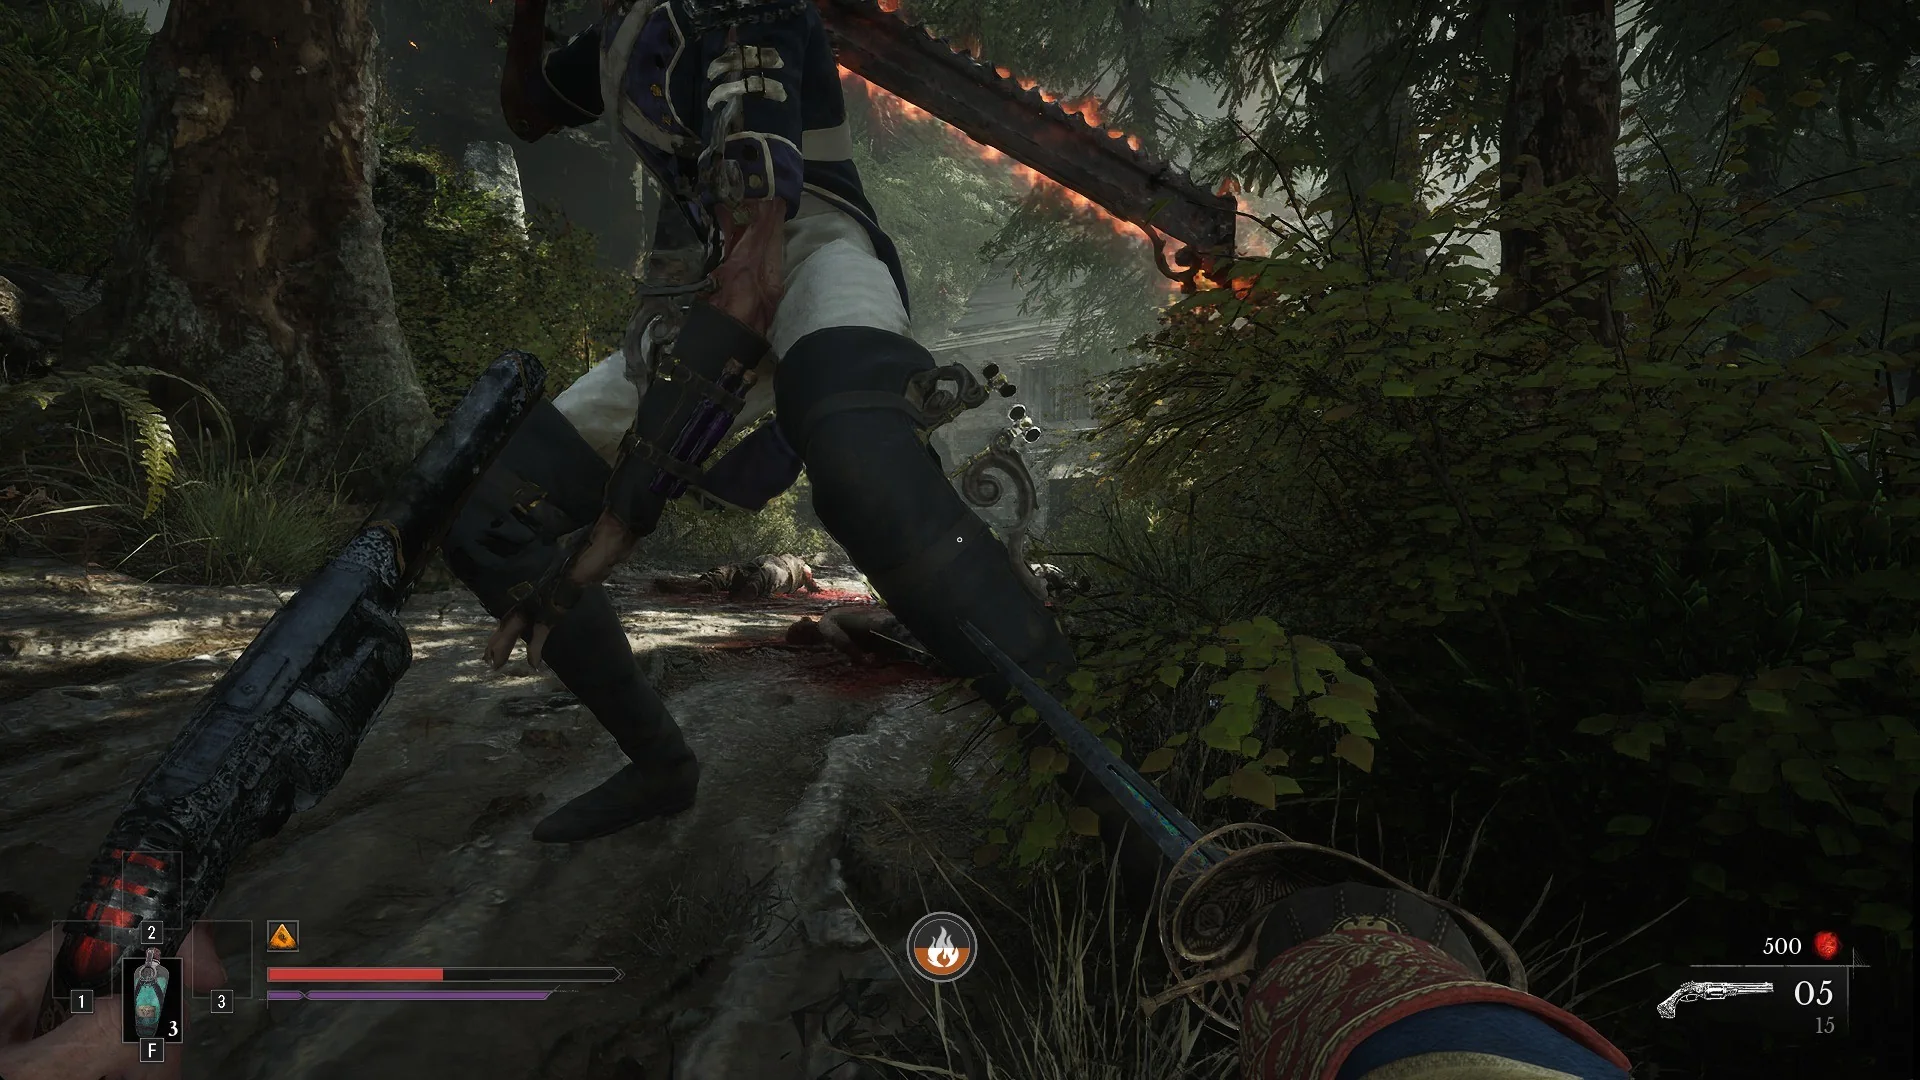
Around 110 m south of the Poisoned Camp Lantern, a trail descends through the forest beside a log cabin. He appears among the dead soldiers as you approach the cabin. This tall Volunteer wears a white-and-blue uniform and carries a massive two-handed sword, its blade glowing red-hot. He notices you slowly and only engages at close range. His stats are 1,500 health and 900 Posture.
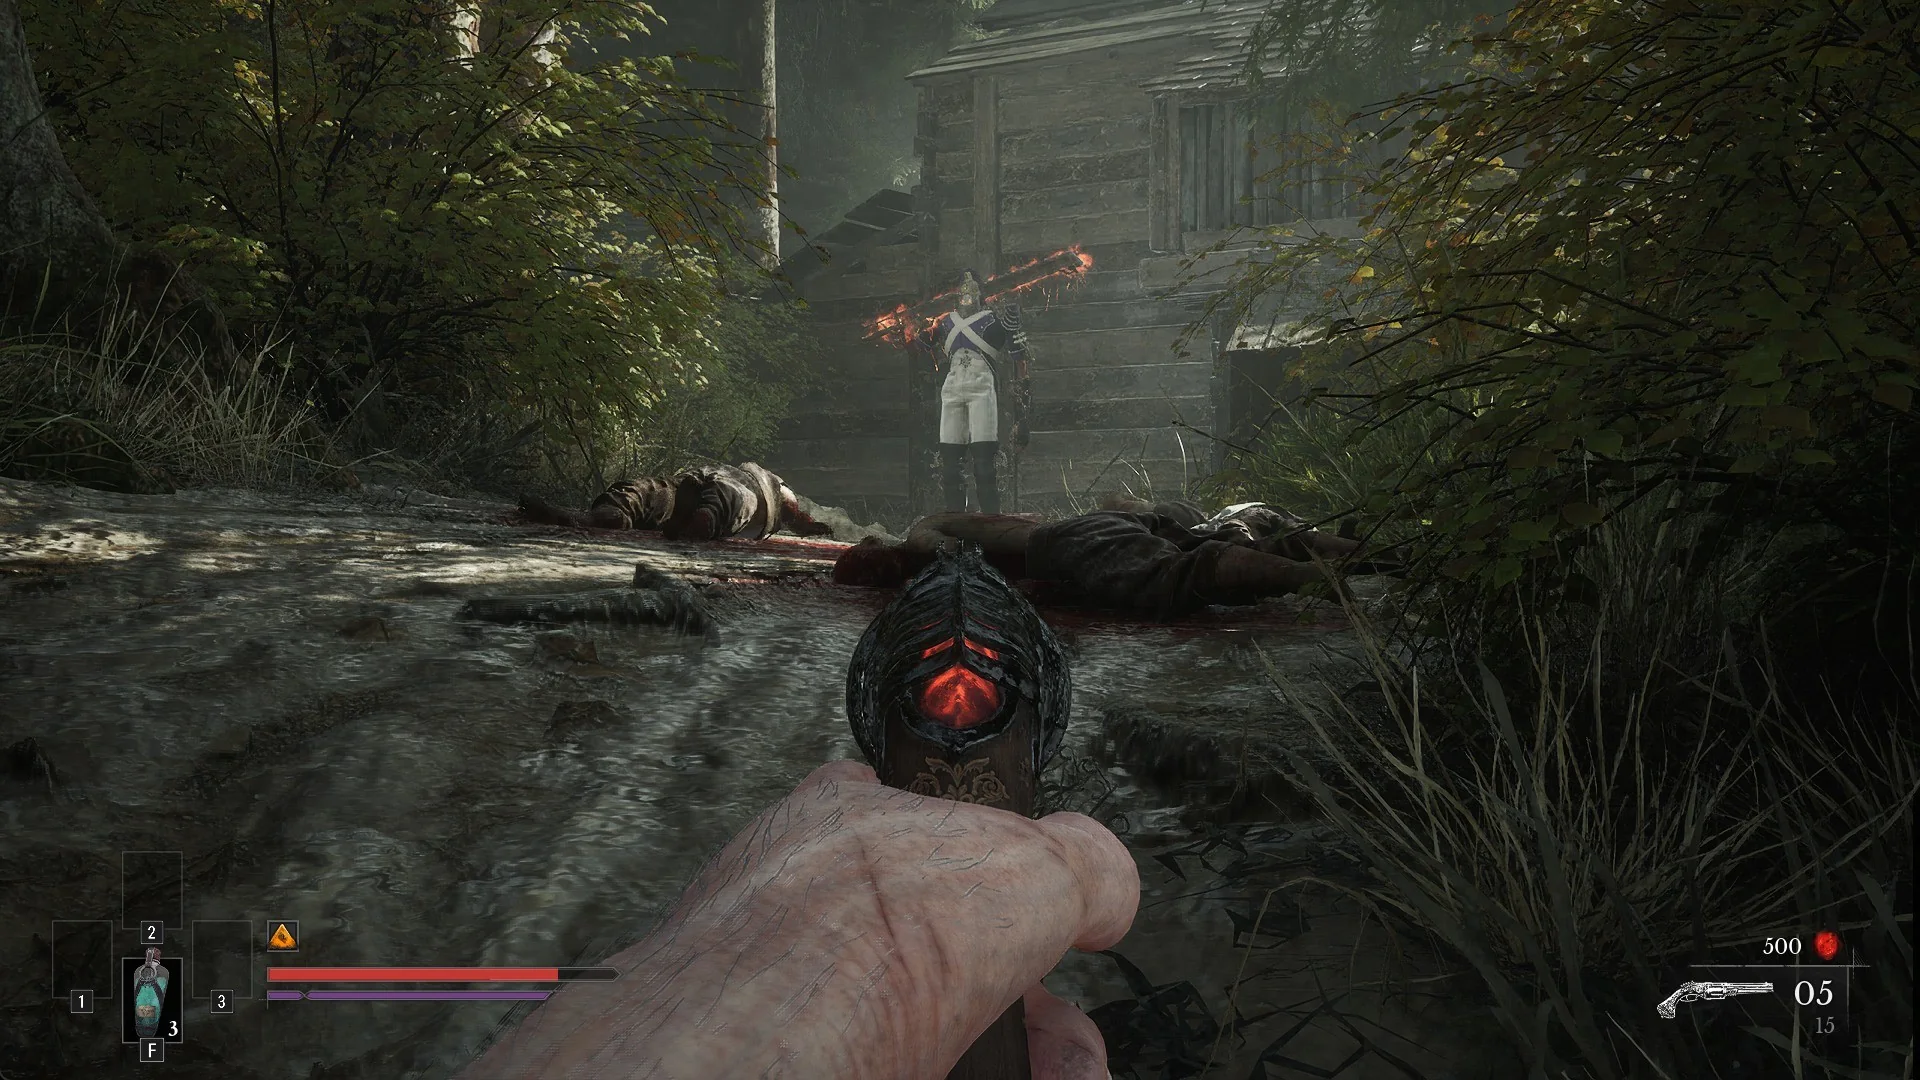
He rushes toward you with the flaming sword held low, then sweeps it overhead in a broad arc of fire. This overhead attack is his most committed swing.
A hit from his fiery swing ignites you. The Burning flame icon shows at the screen’s bottom, and your Health continues to drain after impact, extending the damage beyond the attack.
Watch for him to draw the blade back over his shoulder before the heavy strike, and dodge during that tell.
His defeat awards 7,000 Catalysts along with the Wound that Heals Amber. It is added to your inventory automatically, accompanied by a “Wound that Heals” toast. Its description says “Slowly regenerate lost Health over time.” See how to get Wound that Heals for the full item rundown.
Remnants of the Iron Regiment
These troops are fused to the artillery they wield. Each elite has 50% firearm resistance and 30% explosion resistance, and neither is vulnerable to backstabs.
Howler
Howlers are man-and-hound packs. The Journal warns that “these creatures hunt in packs — the attack is always synchronised and sudden.” The elites cannot be backstabbed, and the University Howler shrugs off Fire.
Risen elites and Shambling Civilians
The Risen Lancer elite has just 960 health, but its 2,000 Posture makes it the hardest enemy on this list to break; backstabs cannot hit it. Focus on health damage instead of trying to break its Posture. The Risen Sapeur elite has 1,000 Posture and is unaffected by Fire. At 700 Posture, the Risen Duellist elite drops the Harbour Residence Key. The Shambling Civilians elites wield scythes and sickles; both have an easily broken 350 Posture.
Amber effects
- Dominatus — “Restores Health when performing Critical Attacks.”
- Equivalent Exchange — “Allows you to sacrifice Health when Nephtoglobin is depleted.”
- Wound that Heals — “Slowly regenerate lost Health over time.”
- Warrior’s Fury — “Killing an enemy increases your movement speed and damage for a short while.”
- Glass Soldier — “Increase Melee damage dealt at the cost of more damage taken.”
- Bottomless Well — “Slowly regenerates lost Nephtoglobin over time.”
- Bountiful Harvest — “Picking up Nephtoglobin Remnants restores Health.”
- Payback — “Getting hit when low on Health causes a Stasis explosion.”
- Fire Breathing — “Attacking while Dodging causes a burning explosion.”
Dominatus, Wound that Heals, Warrior’s Fury, Glass Soldier, Bottomless Well, and Bountiful Harvest rank up when you pick up a second copy. That is why both Glass Soldier elites and both Warrior’s Fury elites are worth killing rather than just one of each.
Keys and what they open
- Wagon Key — “A heavy carriage key to the Eternal Guard wagon.”
- Beekeeper’s Hut Key — “The beeswax-stained key to the beekeeper’s hut which became a deserter’s hideout.”
- Headman’s Key — “An engraved key that unlocks the headman’s house.”
- Harbour Residence Key — “It might open one of the harbour houses.”
How to bring an elite down
Parry to build Posture, then cash in the Critical Attack when the meter breaks. The Saber’s Critical Attack multiplier is 15x, while the other weapons sit at 10x, so a clean break is where most of your damage comes from.
Remnants, Eternal Guardsmen, and Volunteers resist firearms, so fight them with melee and use Fire only against those without Fire resistance. First clear the regular enemies around an elite so you can concentrate on breaking it; collect its drop before leaving the area.