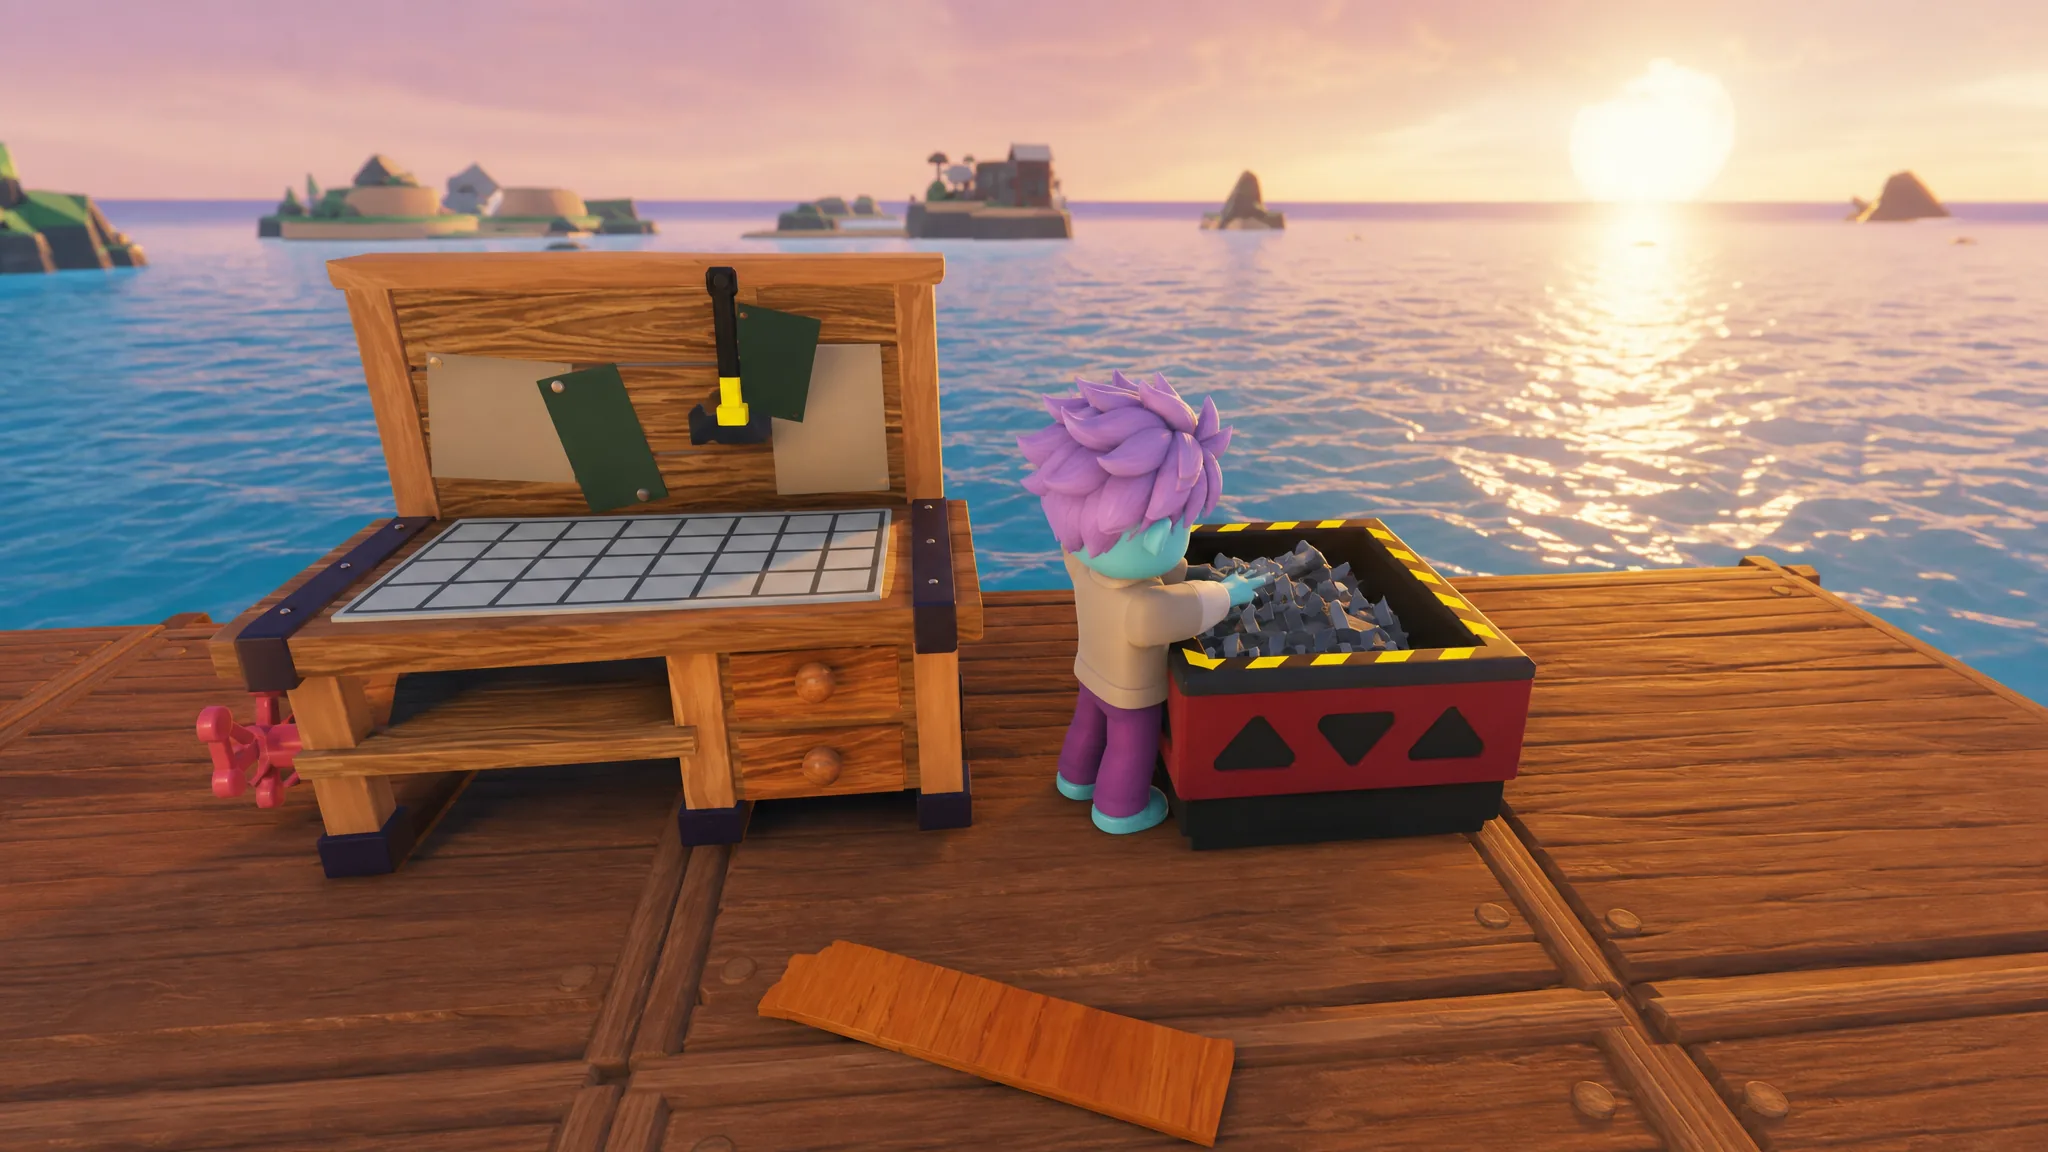
Your raft in 100 Days at Sea starts as a bare wooden platform, and the crafting table bolted to it is what turns that platform into a working base. Everything you can build sits behind your bonfire level, so knowing exactly what each item costs and when it unlocks lets you plan a run instead of reacting to it.
Quick answer: Level your bonfire to match the tier you want. A bonfire at level 5 unlocks every recipe up to Tier 5, and a level 7 bonfire opens the entire table. Feed Wood, Metal, and Glue into the crusher built into the crafting table, then craft.
How crafting tiers unlock in 100 Days at Sea
The crafting system is split across seven tiers. Each tier is gated behind your bonfire, and the bonfire level and the tier number line up one to one. A bonfire at level 3 gives you everything through Tier 3, a level 6 bonfire gives you Tier 6, and so on.
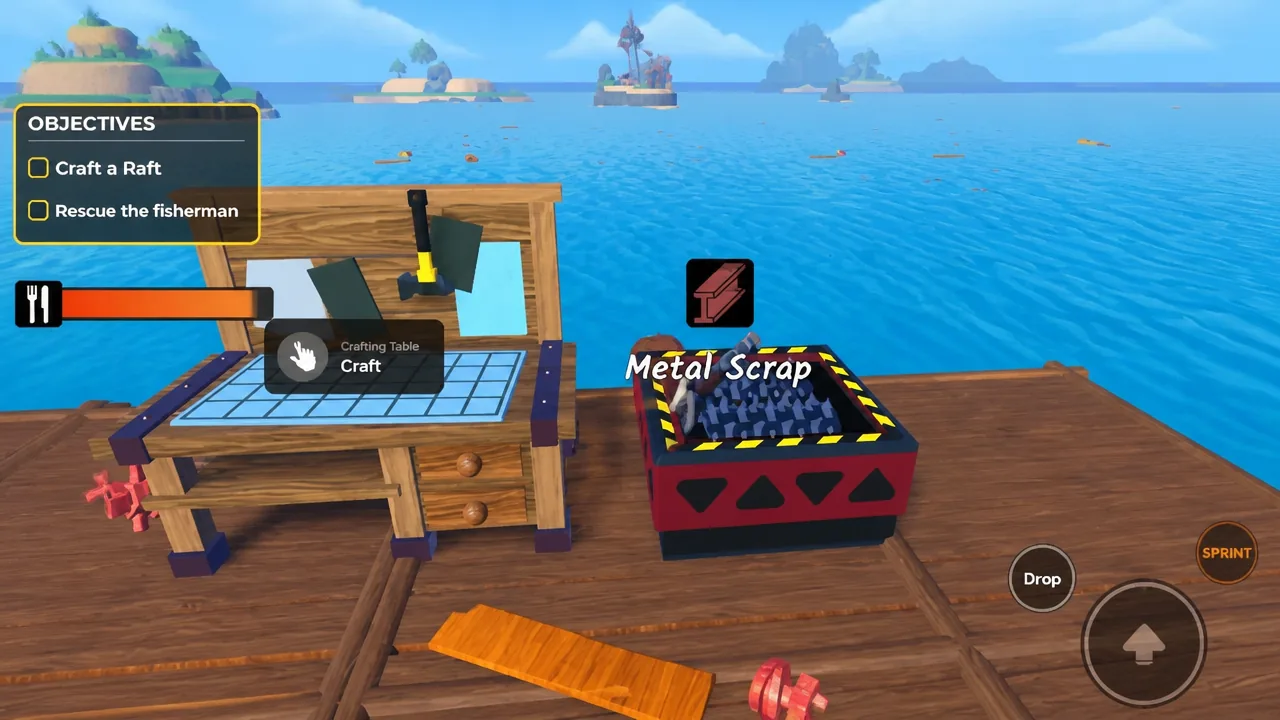
Before anything gets built, your raw materials go through the crusher, which is part of the crafting table itself. Some recipes also have to be unlocked separately before they appear as an option, so a missing recipe is not always a bug.
A handful of items carry a craft limit, meaning you can only have one active at a time. If a recipe vanishes from the menu after you build it, that limit is why. Destroy the item and the slot reopens, so you are never locked out for good, just restricted to one live copy.
The three crafting materials and where they come from
Every recipe is paid for with some mix of three materials. Wood and Metal cover the bulk of your building, while Glue only shows up on higher-tier gear.
| Material | How you get it |
|---|---|
| Wood | Harpooned from wooden debris floating around your base |
| Metal | Pulled from metal items in the water and gathered on islands |
| Glue | Dropped by pirate corpses left after a fight |
Every crafting item by bonfire level
Costs are listed as Wood / Metal / Glue. A dash means that material is not required for the item.
Bonfire Level 2
| Item | Wood | Metal | Glue |
|---|---|---|---|
| Wooden Wall | 5 | — | — |
| Wooden Window | 5 | — | — |
| Wooden Stairs | 5 | — | — |
| Corner Stairs | 5 | — | — |
| Wooden Door | 6 | — | — |
| Tree Plot | 7 | — | — |
| Sundial | 10 | — | — |
| Radio | 4 | 4 | — |
Bonfire Level 3
| Item | Wood | Metal | Glue |
|---|---|---|---|
| Wrench | — | 3 | — |
| Storage Bin | 12 | — | — |
| Watchtower | 12 | — | — |
| Sawmill | 10 | 2 | — |
| Map Radar | 9 | 4 | — |
| Dinghy | 10 | 4 | — |
| Potion Table | 10 | 5 | 1 |
| Crab Trap | 12 | 8 | — |
| Pump Jack | 10 | 15 | — |
| Pizza Oven | 30 | 10 | — |
Bonfire Level 4
| Item | Wood | Metal | Glue |
|---|---|---|---|
| Ladder | 3 | — | — |
| Metal Fence | — | 5 | — |
| Metal Gate | — | 5 | — |
| Magnet | 10 | 30 | — |
Bonfire Level 5
| Item | Wood | Metal | Glue |
|---|---|---|---|
| Metal Door | — | 5 | — |
| Metal Window | — | 9 | — |
| Metal Wall | — | 10 | — |
| Spike Trap | 5 | 5 | 5 |
| Jetski | 15 | 15 | 2 |
| Ammo Factory | 30 | 20 | 4 |
| Oil Drill | 35 | 20 | 5 |
| Cannon | 15 | 30 | 4 |
| Galleon Bell | 20 | 20 | 10 |
Bonfire Level 6
| Item | Wood | Metal | Glue |
|---|---|---|---|
| Grenade Factory | 30 | 20 | 4 |
| Lightning Rod | 15 | 30 | 8 |
| Kraken Arm | 30 | 30 | 12 |
Bonfire Level 7
| Item | Wood | Metal | Glue |
|---|---|---|---|
| Autoturret | 15 | 35 | 8 |
| Corrupted Portal | 50 | 50 | — |
| Yacht | 60 | 35 | 10 |
| Galleon | 75 | 50 | 20 |
What to craft first for a stable run
Because every recipe is gated behind your bonfire, raising that level is the single action that unlocks the most progress. Push it up as quickly as you can, then work through the items that keep your materials and defense running on their own.
Tip: Hold onto your Glue. Early items barely need it, but Tiers 5 through 7 lean on it heavily, so spending it too soon slows down your best gear.
Keep the crusher fed, watch your bonfire level, and stay alert while you craft, since hostile mobs can close in on the raft while your attention is on the menu. With Magnets and a Sawmill running, the rest of the table becomes a matter of time rather than scarcity.