Deadpool is the wildcard of the Marvel Tokon: Fighting Souls roster. He mixes guns, katanas, grenades, and fourth-wall gags into one kit, and he even spends his own health to hit harder. That makes him rewarding once you understand his systems, which is why he sits at a three-star ease-of-use rating rather than being a pick-up-and-play character.
Quick answer: Build the Healing Gauge by taking damage and using Meat Shield until it fills, which unlocks Fourth Wall Attacks that upgrade his Medium skills into stronger versions. Use Trigger Happy at range, Slice N Dice up close, Faulty Grenade to control space, and save Deadpool Corps (100 Skill Gauge) to refill the Healing Gauge or close out a round.
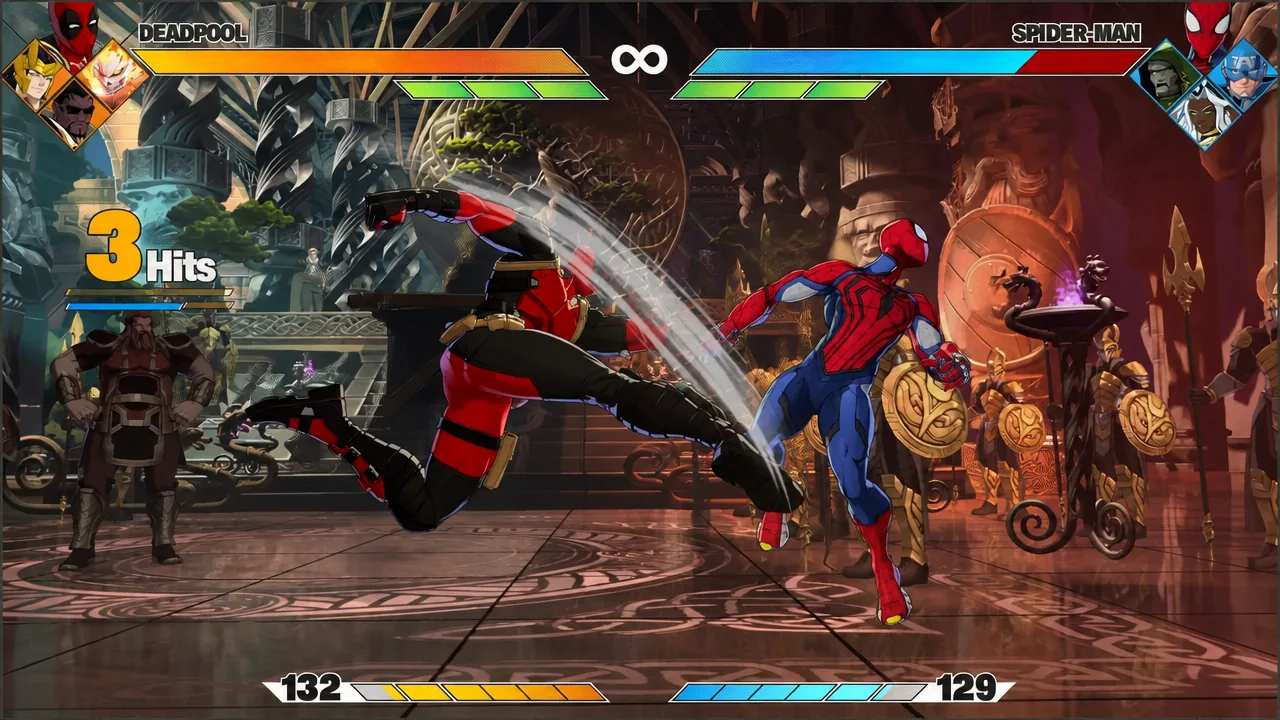
Healing Gauge and Fourth Wall Attacks: Deadpool’s core mechanic
The single most important thing to track with Deadpool is the Healing Gauge, which sits separate from his normal health bar. You fill it by taking damage and by using Meat Shield, along with a few other actions. This ties directly into his healing-factor identity, where getting hurt feeds his offense instead of just chipping him down.
Once the Healing Gauge is full, it unlocks his Fourth Wall Attacks. These transform the Medium versions of his existing skills into brand-new moves that deal more damage. In practice, that means a full gauge is a temporary power spike, so plan your bigger openings around it rather than dumping the resource at random.
Note: Because taking damage feeds the gauge, Deadpool’s defense doubles as setup. Trading a little health to charge the meter is often worth it when the payoff is an upgraded Fourth Wall move.
Faulty Grenade rotation and how each type behaves
Faulty Grenade is Deadpool’s unpredictable tool. It hands you one of three grenade types in a fixed rotation, so you never fully choose which one comes out, but you can read the cycle and time your throws accordingly.
| Grenade type | Effect | Best use |
|---|---|---|
| Standard | Causes an explosion | General burst damage |
| Incendiary | Leaves flames on the ground that hurt nearby enemies | Damage over time and zoning |
| Stun | Immobilizes the enemy for a few seconds | Opening a punish or combo |
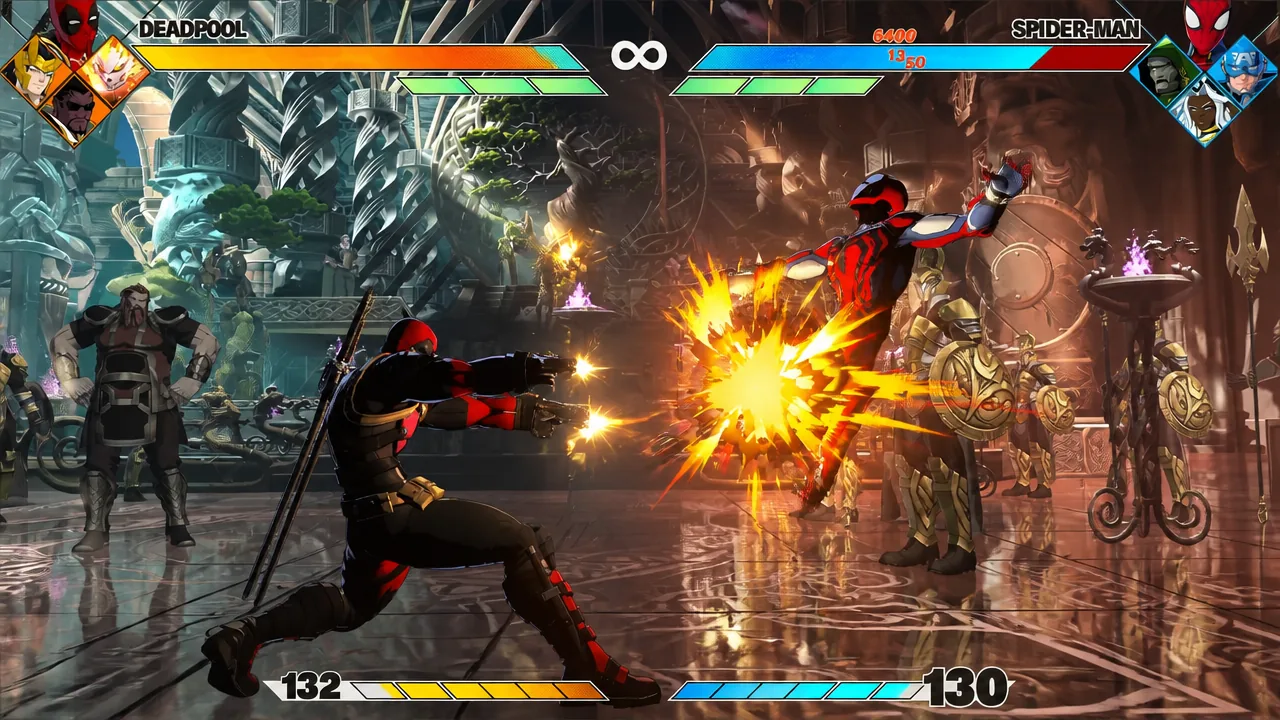
The incendiary variant is the standout for controlling space. As long as the opponent stays close to the fire, they keep taking damage, which makes it a strong way to force movement and set up your next hit.
Best Deadpool combos: Light, Medium, and Heavy chains
All three of Deadpool’s basic chains are three-hit strings, but each one ends differently. Knowing where each string leaves the opponent helps you pick the right one for the situation.
| Combo | Sequence | Finish |
|---|---|---|
| Light | Fist, katana, leg | Kick that launches the enemy upward |
| Medium | Kick, katana slash, gunfire | A barrage of bullets |
| Heavy | Katana slash, kick, dual-katana spin | Twin-blade swirl for heavy damage |
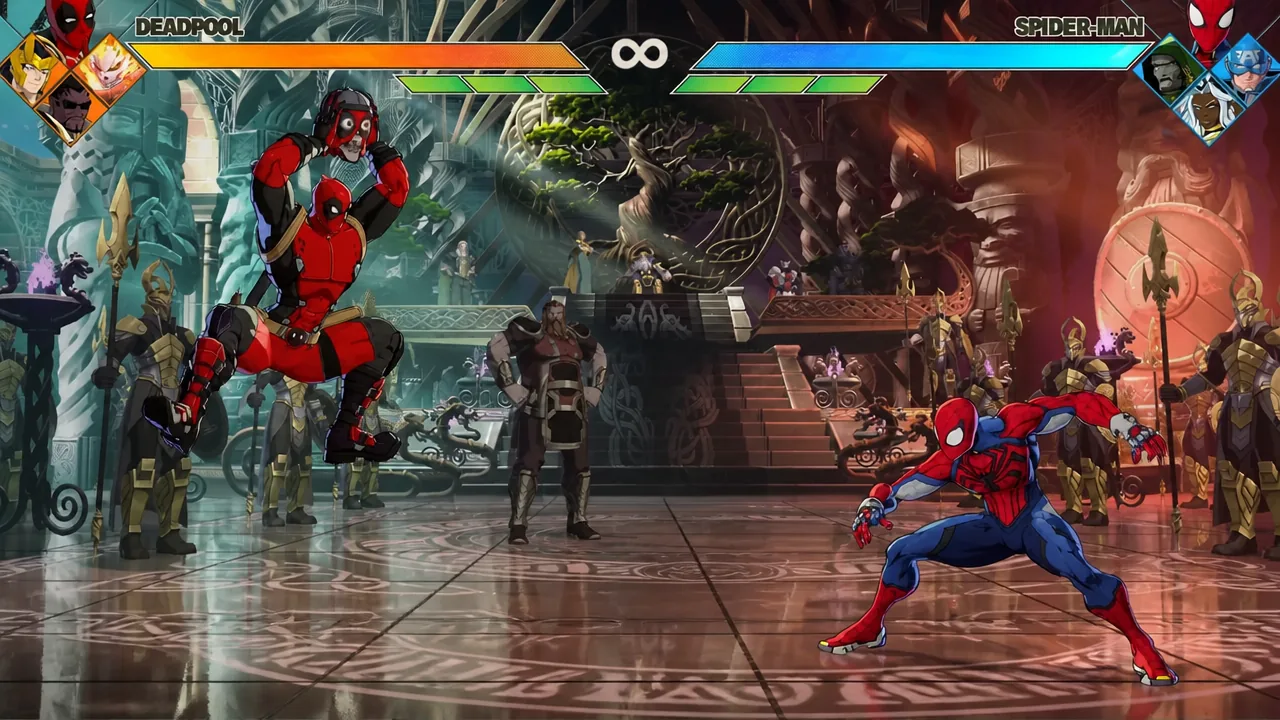
The Light chain’s launcher is your gateway into air follow-ups, while the Heavy chain’s spinning finisher is the biggest single payoff of the three. Lean on the Medium string when you want the gunfire ender to keep pressure at a slight distance.
Super and Ultimate: Fever Dream and Deadpool Corps
Fever Dream is Deadpool’s Super Skill, and it costs only 50 Skill Gauge. When it lands, he slams the opponent from several directions for significant damage, making it an efficient way to cash in a smaller meter for a strong hit.
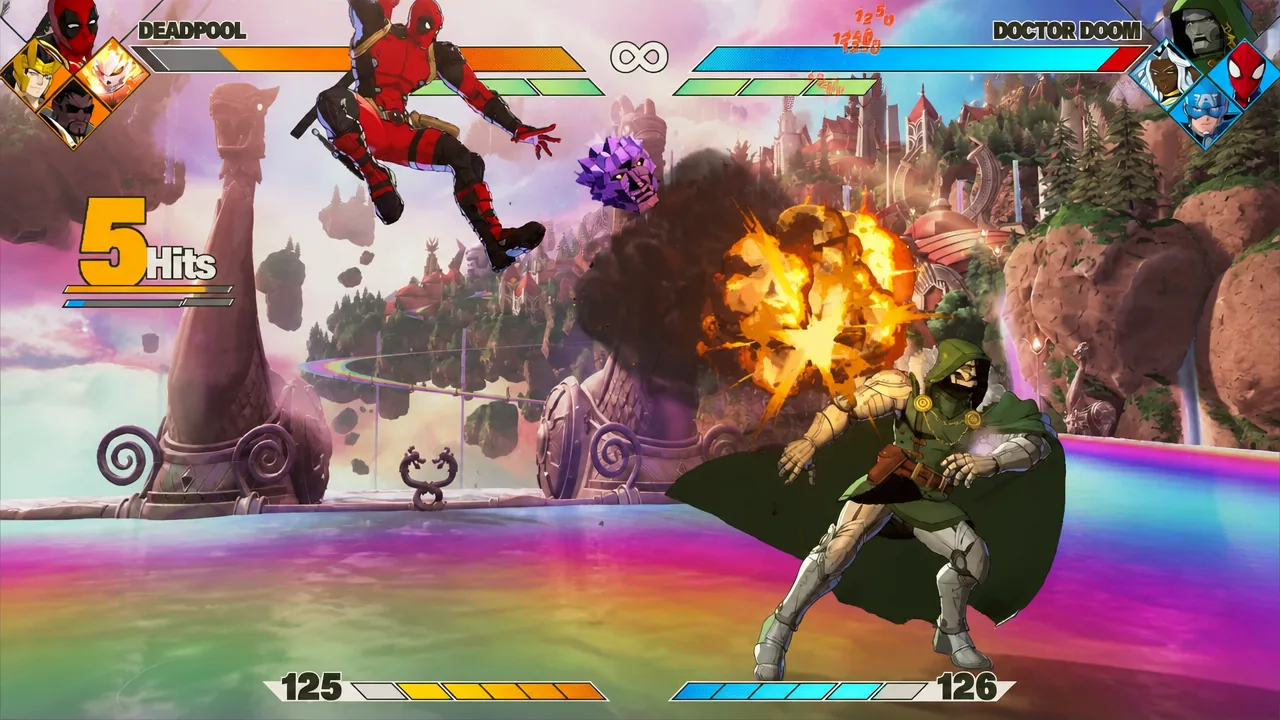
Deadpool Corps is the Ultimate Skill and costs 100 Skill Gauge. It summons multiple alternate versions of Deadpool to pile onto the opponent at once. Crucially, part of your Vital Gauge transfers into the Healing Gauge when you use it, so it doubles as a refill tool.
Save Deadpool Corps for one of two moments: a decisive finish when the opponent is nearly out, or when you want to top off the Healing Gauge quickly and get back to unleashing Fourth Wall Attacks.
How to play Deadpool: Range, mobility, and pressure
Deadpool is a hybrid who can operate at any distance. Trigger Happy covers long range with gunfire, while katana skills like Slice N Dice give him a solid close-range game. Switching between pistols and blades lets him answer both zoners and rushdown characters without changing his core plan.
For movement and defense, Headpool Hover keeps him airborne, which helps you reposition and dodge. Headpool doubles as a projectile too, so it serves both escape and offense depending on how you use it.
Tip: Treat the Healing Gauge as your rhythm. Trade and pressure to fill it, spend a full gauge on Fourth Wall Attacks for the damage spike, then use Deadpool Corps to reset the loop when the meter runs low.
Full Deadpool ability list
- Meat Shield
- Collateral Damage
- Faulty Grenade
- Headpool Hover
- Roman Cancel
- Trigger Happy
- Chimichanga Chop
- Slice N Dice
- Death From Above
- Fourth Wall Attacks
- Fever Dream (Super Skill)
- Deadpool Corps (Ultimate Skill)
- Tokon Assemble
Deadpool joined the base roster as part of the Samurai Outriders, the anti-hero team led by Ghost Rider. He was designed as a high-risk, high-reward fighter who spends his own health to deal damage, leaning on guns, grenades, and swords. If you want a first look at how he plays alongside his teammates, the reveal trailer sets the tone.
Master the Healing Gauge first, respect the grenade rotation, and use your two meter dumps deliberately. Do that, and Deadpool’s chaos turns into a consistent, high-damage game plan rather than a gamble.