
Safe Mode is an essential tool in Windows 11 for troubleshooting various system issues. By starting your computer in Safe Mode, you can load the basic drivers and services needed to run Windows, without any third-party applications or unnecessary drivers. This environment is ideal for diagnosing and fixing problems that might prevent Windows from starting or functioning correctly.
Types of Safe Mode in Windows 11
Windows 11 offers three different types of Safe Mode, each designed for specific troubleshooting scenarios:
- Safe Mode: This mode starts Windows with a minimal set of drivers and services. It doesn’t load any third-party software or unnecessary drivers, providing a basic environment for troubleshooting. The display might look different because the graphics drivers aren’t loaded, resulting in larger icons and less sharp images.
- Safe Mode with Networking: In addition to the minimal set of drivers and services, this mode includes the network drivers and services you need to access the internet and other network resources. While networking is enabled, it’s advisable to avoid browsing the internet unless necessary for troubleshooting.
- Safe Mode with Command Prompt: This mode doesn’t load the standard Windows graphical interface (GUI). Instead, it starts with a Command Prompt window. This option is useful for advanced troubleshooting using command-line tools.
Knowing which type of Safe Mode to use is crucial for effective troubleshooting. Now, let’s explore various methods to boot Windows 11 into Safe Mode.
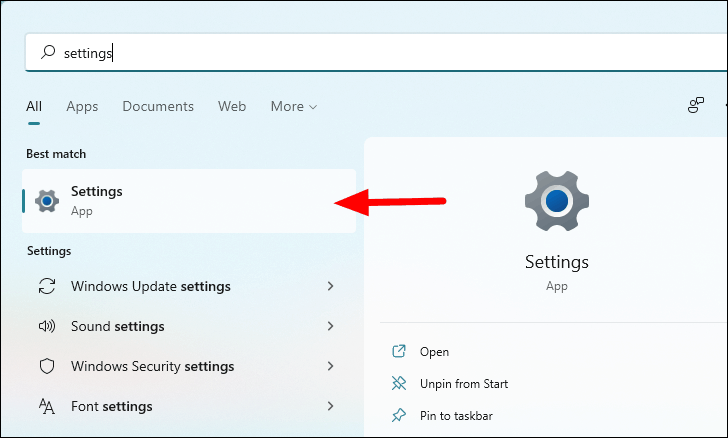
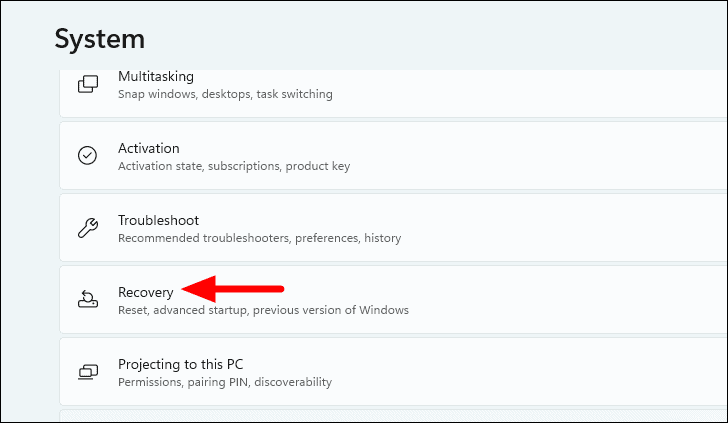
Boot into Safe Mode Using Settings
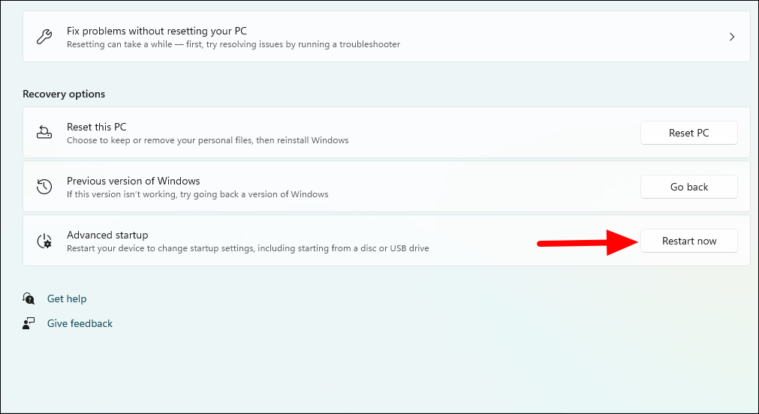
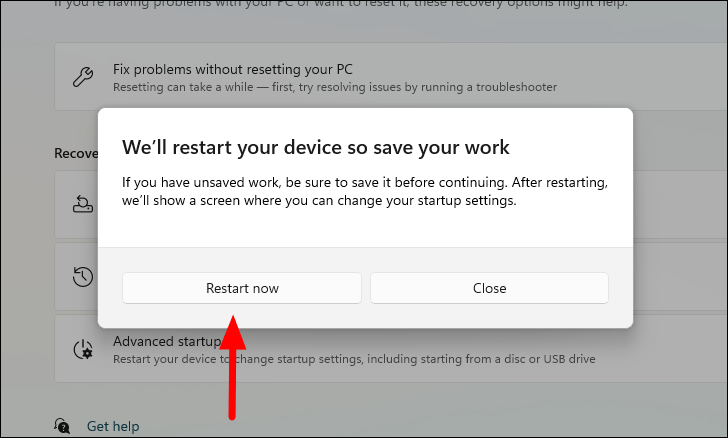
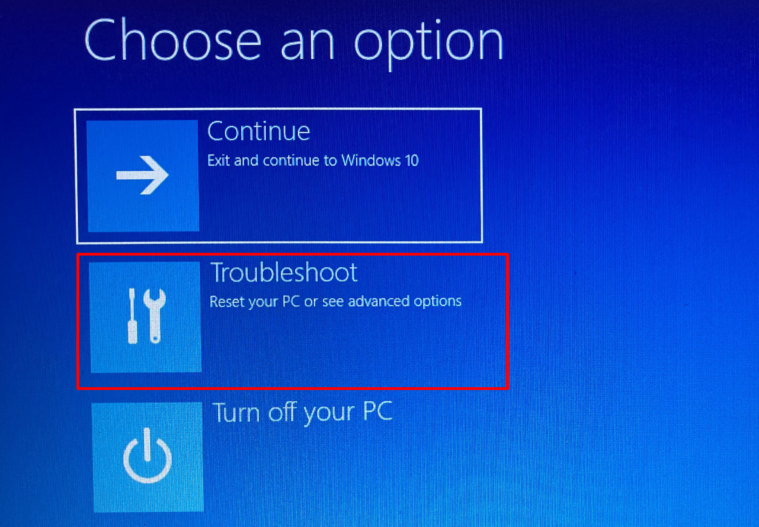
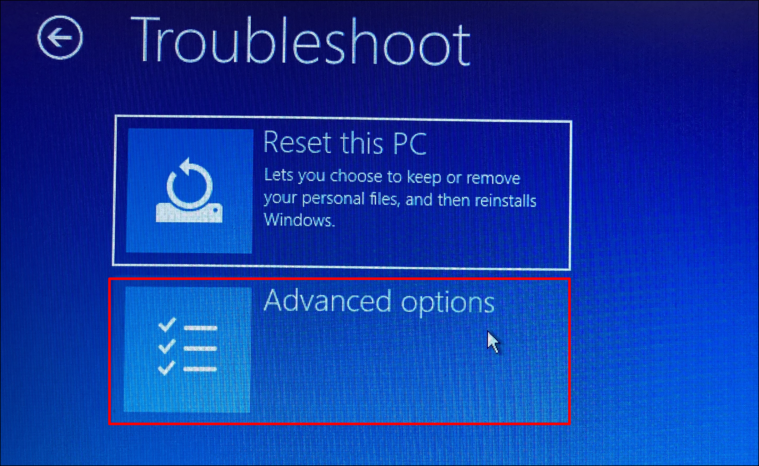
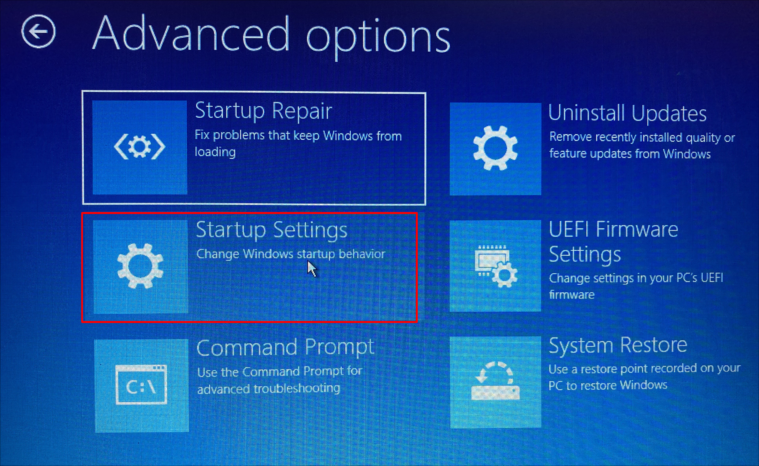
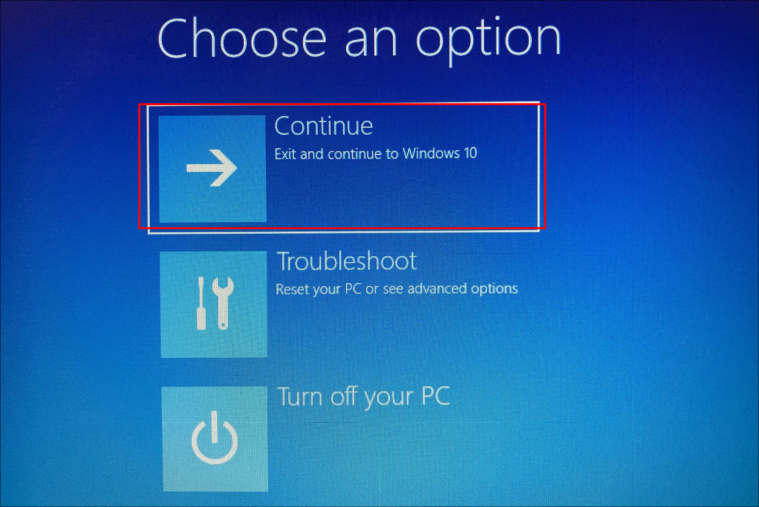
Navigate to Safe Mode in Windows RE

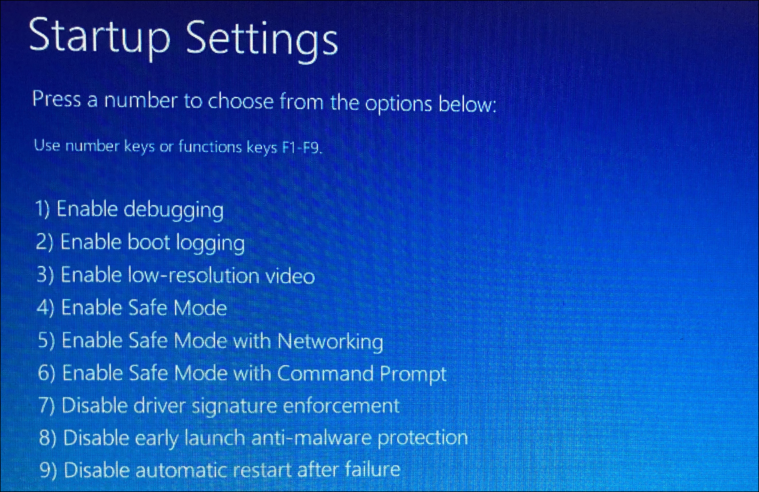
- Press
4orF4for Safe Mode. - Press
5orF5for Safe Mode with Networking. - Press
6orF6for Safe Mode with Command Prompt.
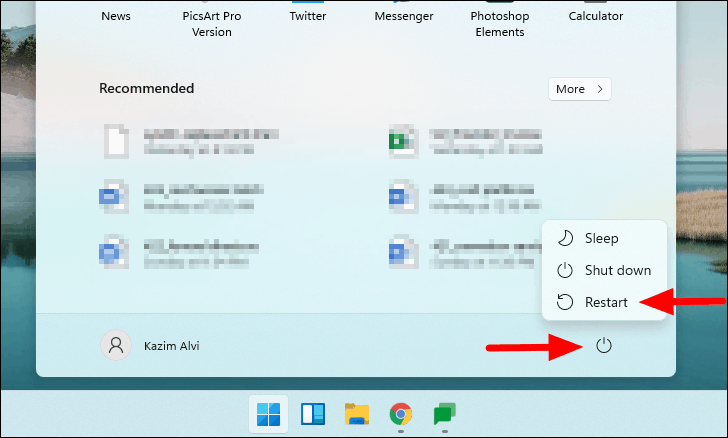
Boot into Safe Mode from the Start Menu
Boot into Safe Mode from the Sign-in Screen
If you’re unable to sign in to your account, you can access Safe Mode from the sign-in screen.

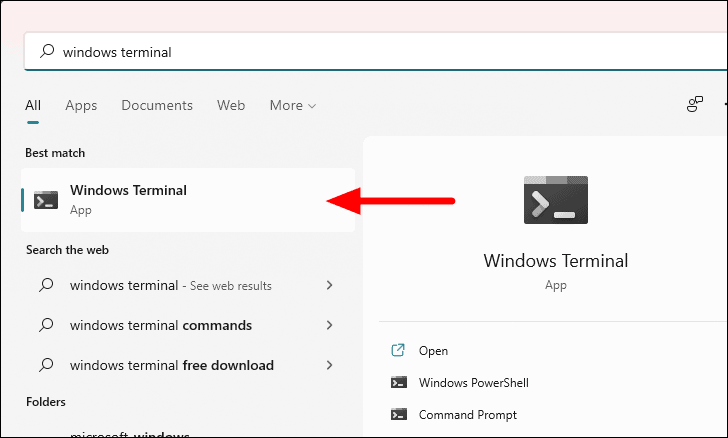
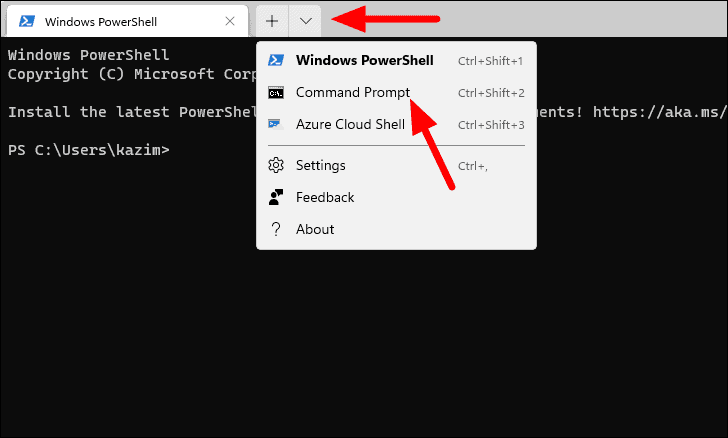
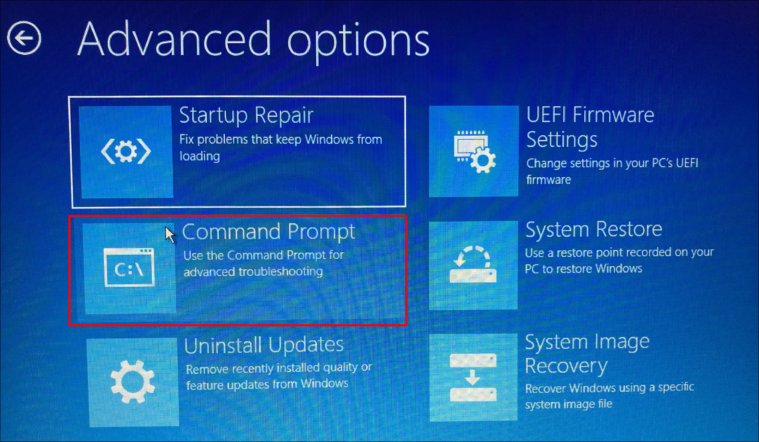
Boot into Safe Mode Using Command Prompt
You can also use Command Prompt to enter Windows RE and then boot into Safe Mode.
shutdown.exe /r /o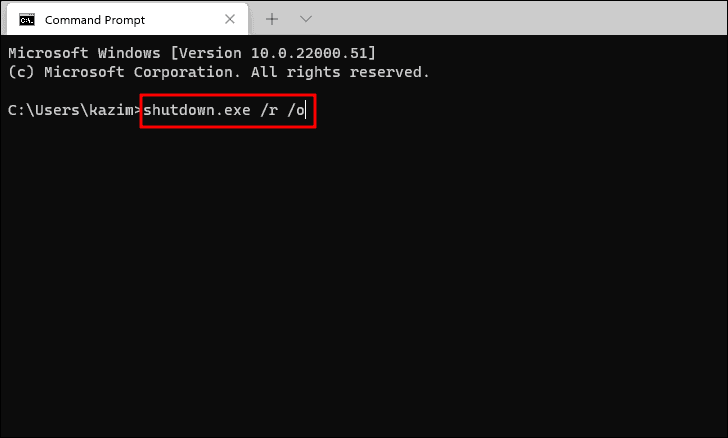
Set Windows to Boot into Safe Mode Permanently
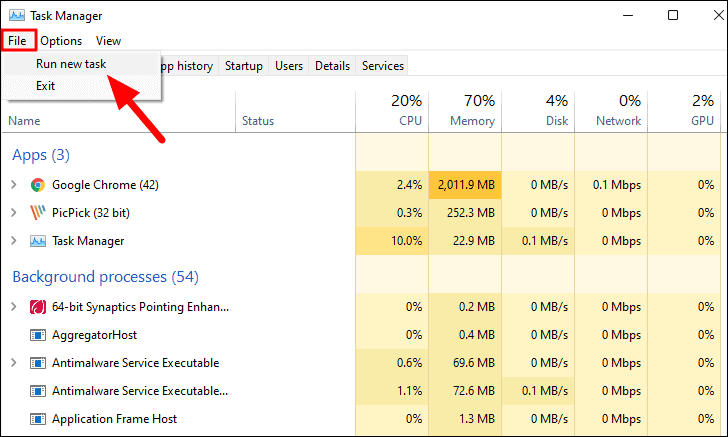
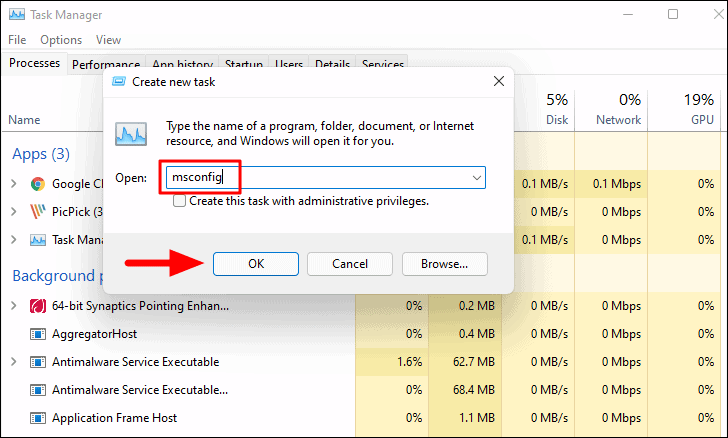
If you need Windows 11 to boot into Safe Mode every time it starts (useful for ongoing troubleshooting), you can configure it using System Configuration.
Windows + R to open the Run dialog box. Type msconfig and click OK to open System Configuration.
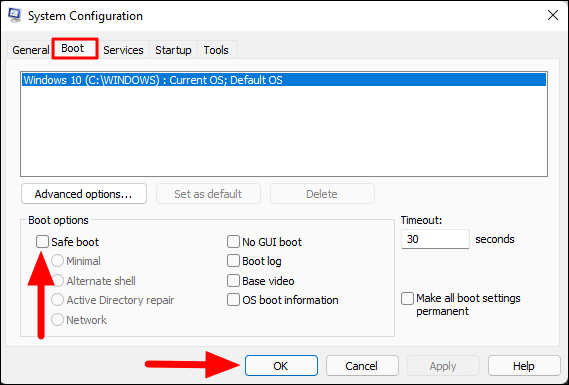
- Minimal: Normal Safe Mode.
- Alternate shell: Safe Mode with Command Prompt.
- Network: Safe Mode with Networking.
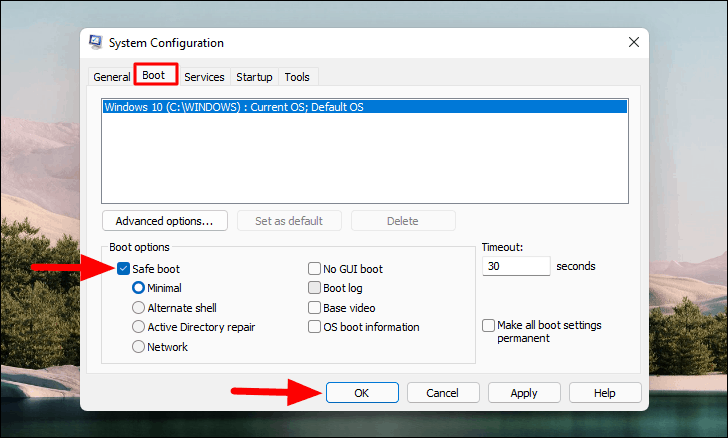

Windows 11 will now start in Safe Mode every time you turn on your computer. To revert this setting, repeat the steps above and uncheck the Safe boot option.
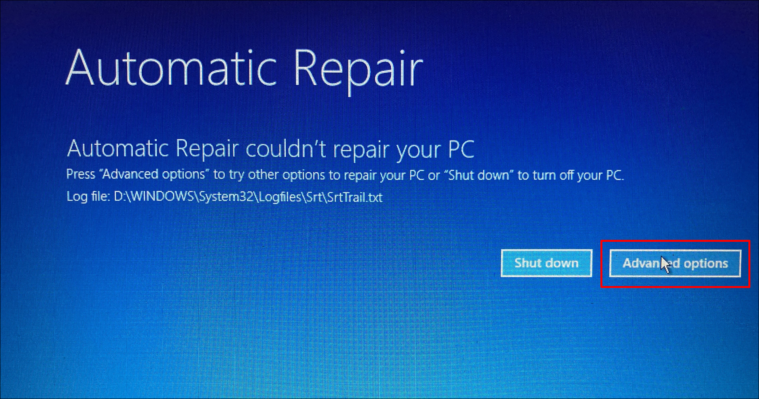
Boot into Safe Mode When Windows Can’t Start Normally
If Windows 11 fails to start correctly, you can force it into Safe Mode using a series of interrupted startups.

Boot into Safe Mode Using a Bootable USB Drive
If you’re unable to boot Windows at all, you can use a bootable Windows 11 USB drive to access Safe Mode.
Note: You might need to change the boot order in your BIOS or UEFI settings to boot from the USB drive.
F9, F12, or Esc). Select the USB drive from the list of boot devices.


bcdedit /set {default} safeboot minimal
Windows 11 will now start in Safe Mode every time you turn on the computer. To stop this, use System Configuration to disable Safe Boot.
File Explorer Crashes in Safe Mode: How to Fix
Some users experience issues where File Explorer (explorer.exe) keeps crashing in Safe Mode, making it difficult to perform necessary tasks. If you encounter this problem, here’s how to resolve it.

By using these methods, you can boot Windows 11 into Safe Mode to troubleshoot and resolve various system issues. Safe Mode provides a controlled environment that can help you identify and fix problems that might be affecting your computer’s performance or functionality.


