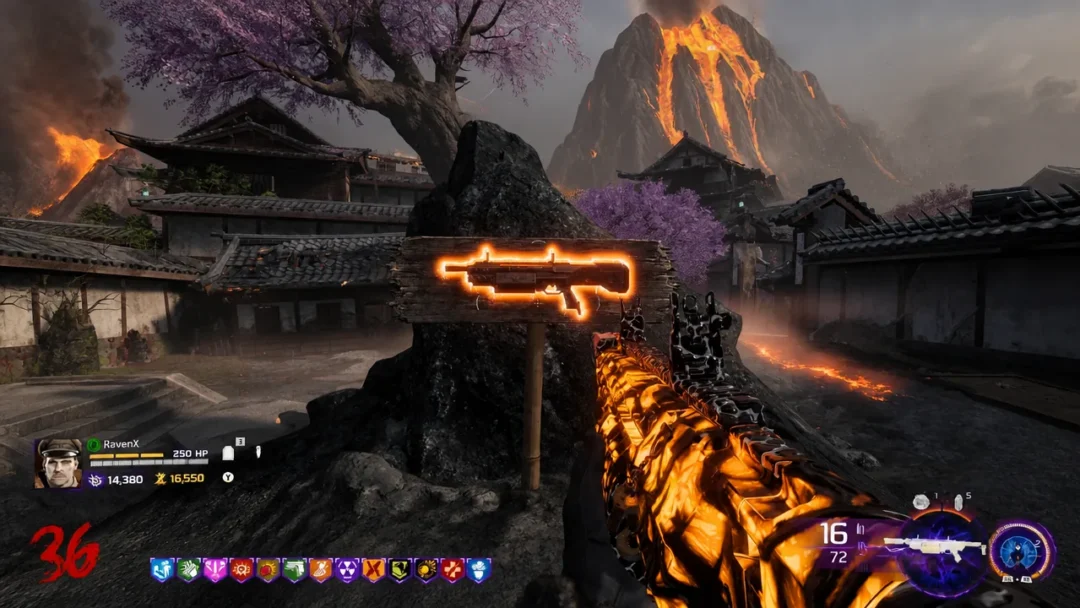
Camp Edward’s main quest on Alpha Omega runs entirely through Rushmore, a computer AI in Operations that hands you tasks and accepts the codes you find. Completing the full chain takes you from powering the map to sealing the Avogadro inside the APD device. Everything below is the required order and the exact triggers that move you from one phase to the next.
Quick answer: Turn on power, clear four vents to unlock Pack-a-Punch, activate Rushmore one round later, then feed him clock codes, escort a red crawler, retrieve Marlton’s 115 canister, install a server, input painting codes, rewire the bunker power, rebuild Peter McCain from A.D.A.M. parts, escort the blue orb, and defeat the Avogadro in the APD Control fight.
Note: The quest only works Online (Classic). Rushmore will not activate offline or with mutations enabled, and difficulty must be normal with no modifiers.
Power and Pack-a-Punch (required before Rushmore)
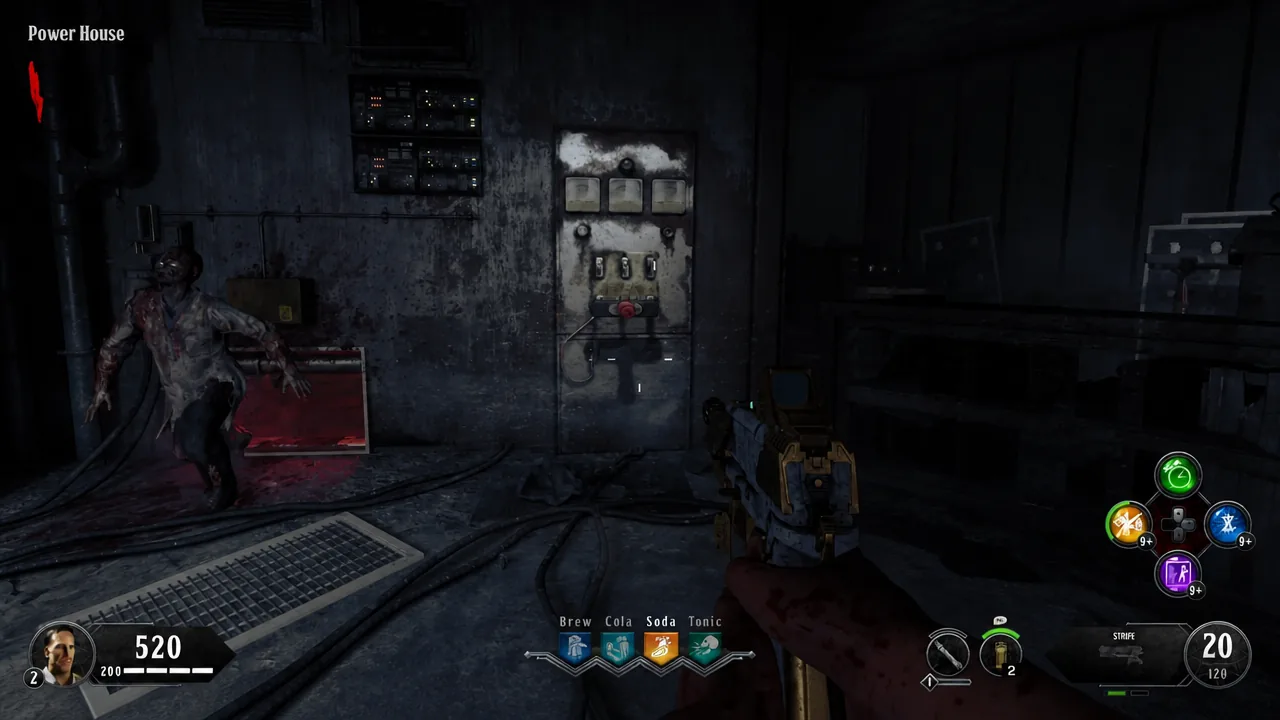
The power switch sits in the Power House at the end of the Cul-de-sac, the garage building with the red car behind the Nuketown sign. Flip it, and the map brightens immediately.
Head down into the bunker and enter the Generators room. Interact with the red-screen console to start a timed ventilation lockdown. Stay in the room and survive until it ends, then a message will state the ventilation systems could not be cleared.
Return to the surface. Four of the six houses will be leaking green nova gas. Go to each of those houses and hold Interact on its Ventilation Unit until the gauge on top turns from red to green. Once all four vents are cleaned, Pack-a-Punch unlocks in the Beds area of the bunker.
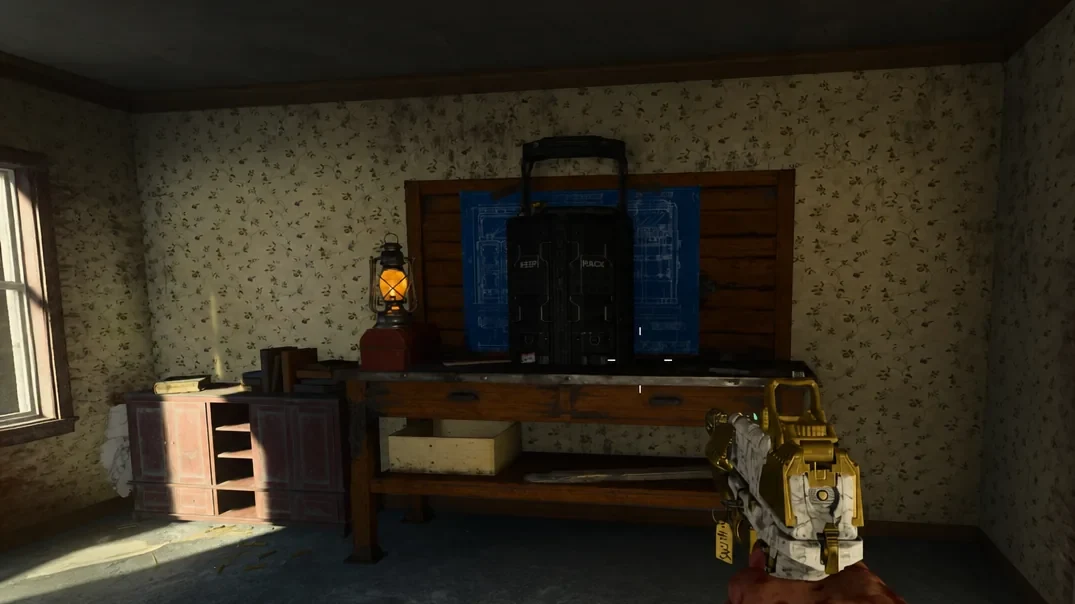
Vents can clog again later in the game, indicated by an alarm and a house filling with gas. When that happens Pack-a-Punch locks until you clear it, and if you delay, more vents clog, up to four at once.
After Pack-a-Punch is active, wait one full round. Rushmore will start shouting for you to report to Operations. Interact with the large green monitors on the first floor of Operations to activate him and begin the quest.
Recommended builds before you start
Neither the Riot Shield nor the Telepads are strictly required, but both make the escort and server phases far smoother. The Shield protects your back during clock and painting steps; the Telepads are used directly in the server phase and speed up the map.
Riot Shield parts (build at Green House Upstairs)
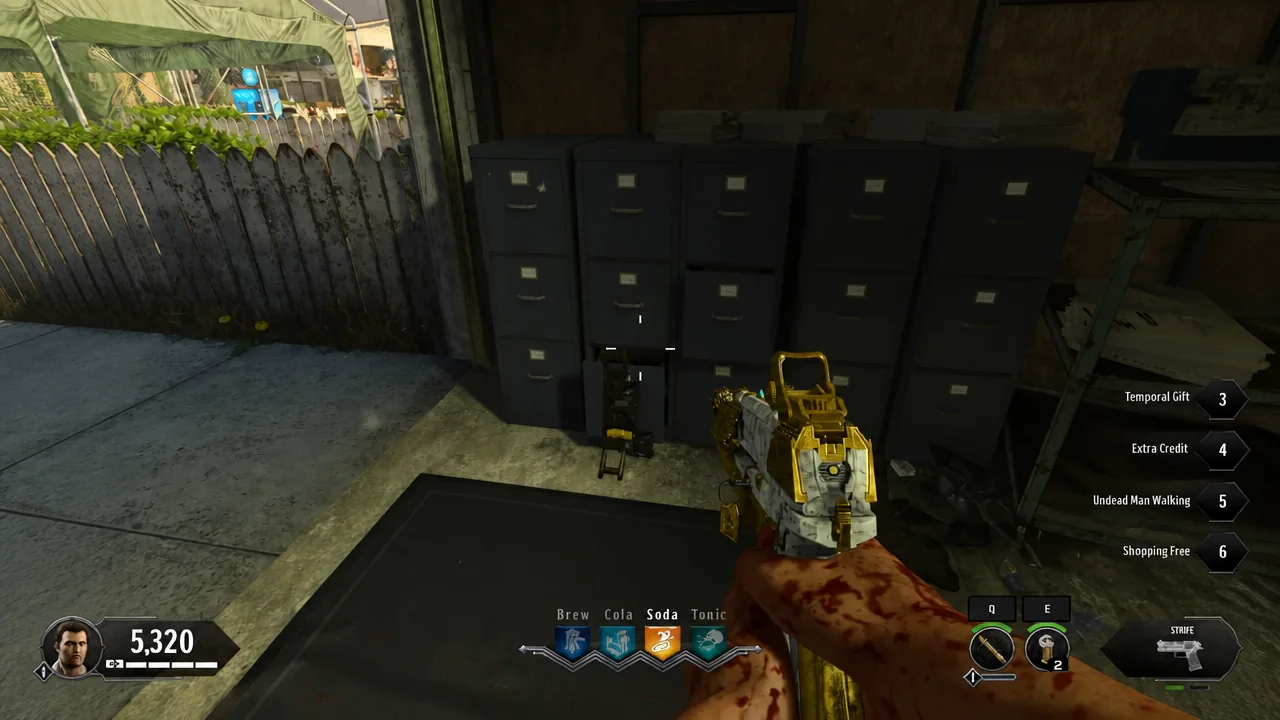
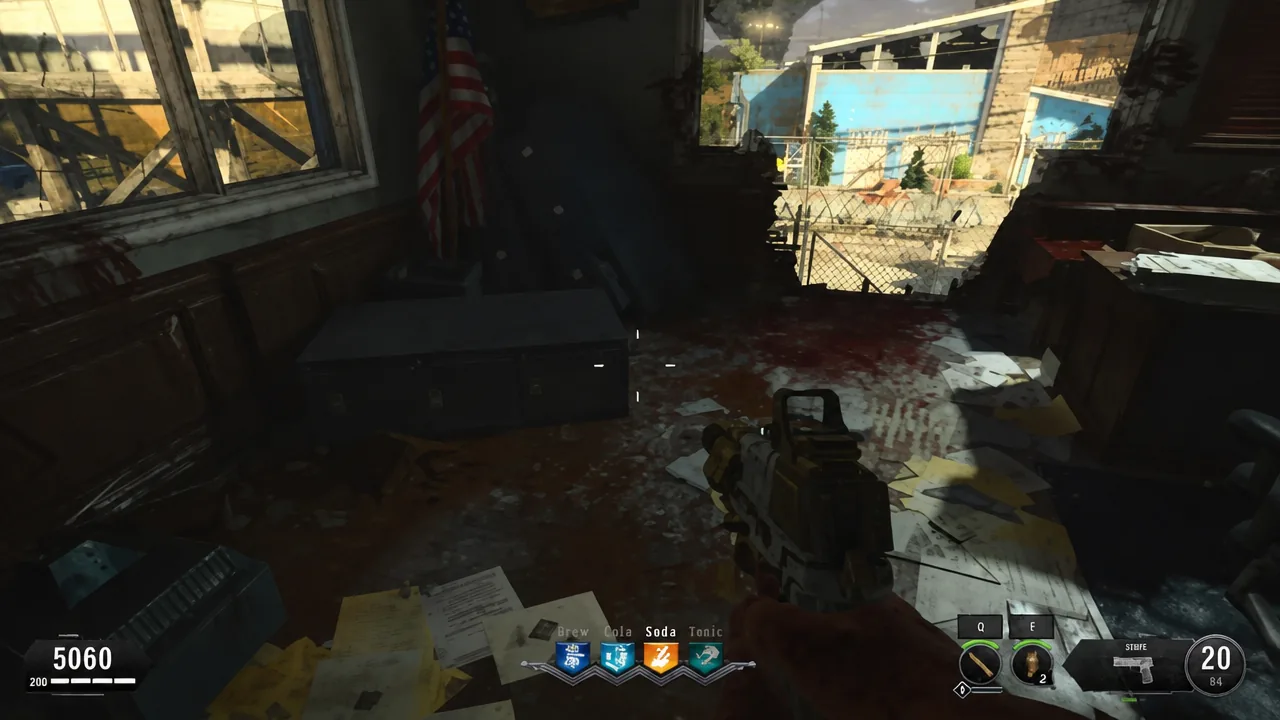
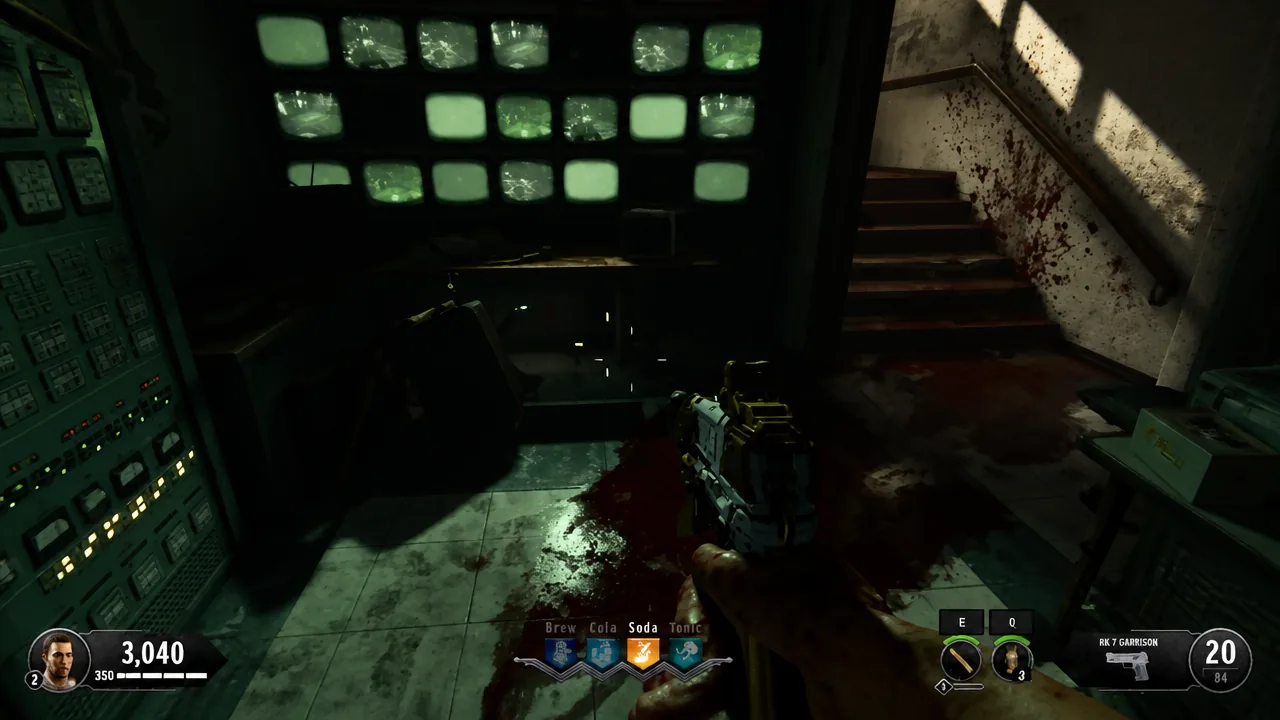
Three parts, each with three possible spawns. Collect one of each and craft at the Green House Upstairs table.
| Part | Possible locations |
|---|---|
| Part 1 | Operations: table by the stairs; table upstairs by the desk and collapsed wall; by the cabinets in the garage |
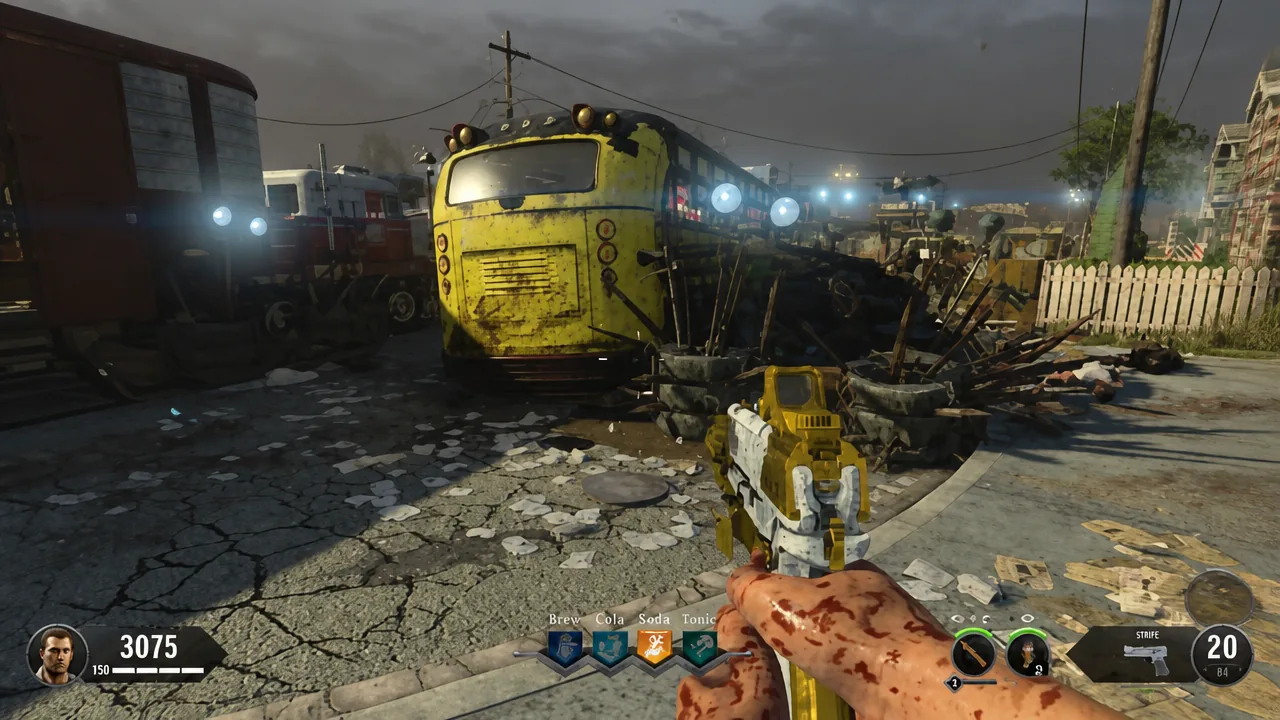
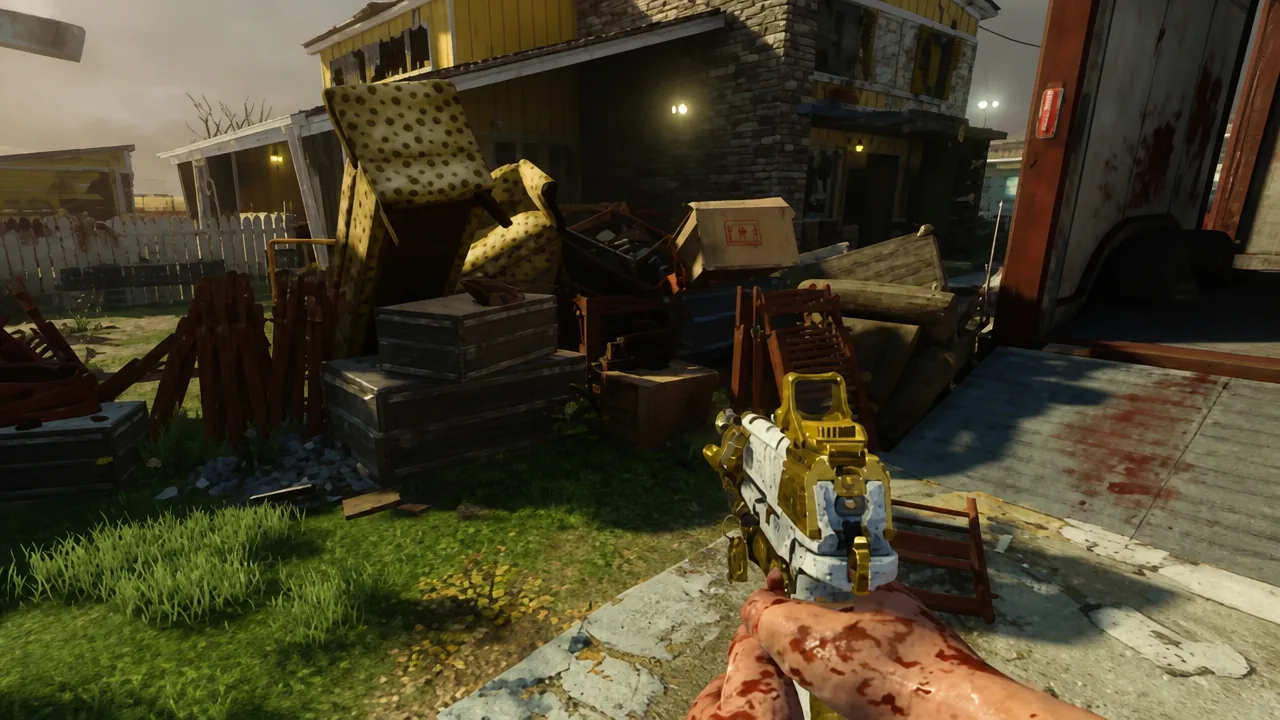
| Part 2 | Cul-de-sac: leaning on the green car; against the back of the school bus; by the trashed furniture behind the truck |
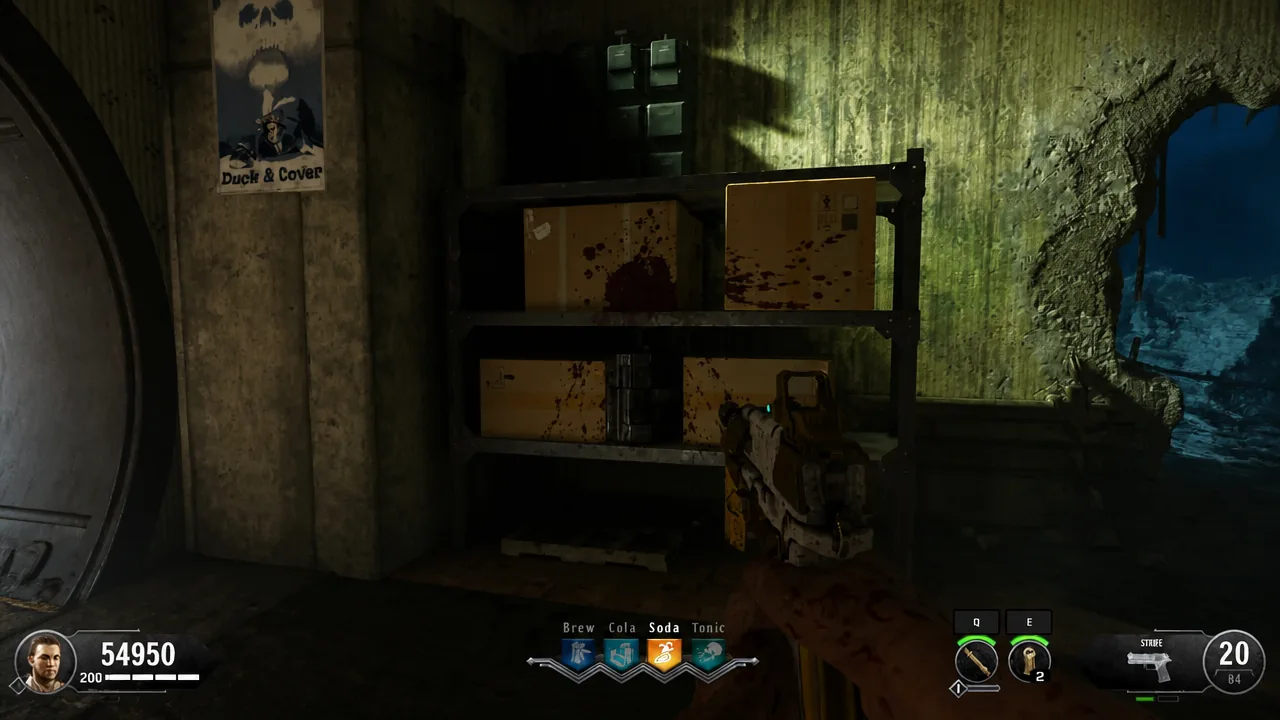
| Part 3 | Beds: shelf by the Generators entrance; leaning on a shelving unit; near the Diner entrance by the yellow couches |
Telepad parts (build at APD Control)
Three parts, each with three spawns. Build the Telepads in the APD Control room in the bunker.
| Part | Possible locations |
|---|---|
| Part 1 | Green House Downstairs (right of the front door, or in the kitchen by the barrier); balcony above the front door |
| Part 2 | Generators: toward the Beds entrance; by the Broken Arrow logo on the wall; by the main generator |
| Part 3 | Transfusion Facility: in the locker; at the surgery chair; in the backyard by the boxes and cement bags |
Set the clocks and give Rushmore the final code
Buy the Galvaknuckles from the wallbuy in the back of the truck in the Cul-de-sac (5,000 points). Turn on subtitles first, since this step relies on hearing a spoken code.
| Letter | House |
|---|---|
| A | Yellow House |
| B | Green House |
| C | Prisoner Holding |
| D | Transfusion Facility |
| E | Operations |
| F | APD Interrogation |
Free wonder weapon: After this step, a Porter’s Mark II Ray Gun is available upstairs in Operations, plus a free Pack-a-Punched gun in the Prisoner Holding weapon locker.
Escort the red Nova Six crawler
Talk to Rushmore again, then head to the Generators room until a glowing-red Nova Six crawler spawns. It dies from a single bullet, so do not shoot near it. Lead it slowly from Generators to the Transfusion Facility. Stay close, or it loses interest and returns to the bunker.
When it reaches the facility it climbs through a side window and the step completes. If it dies or wanders off, retry on the next round.
Activate Sgt. A.D.A.M. and take Marlton’s 115 canister
Retrieving the missing canister requires activating Sgt. A.D.A.M. first, which means entering four codes into Rushmore’s keypad in the order he requests them.
| Code | Where to find it |
|---|---|
| Operation Toy Soldier | Always 7626. On the desk left of Rushmore in Operations |
| Sawyer | APD Interrogation: behind a TV on the desk, below the stairs, or on the upstairs computer desk |
| McCain | APD Control: melee the stack of papers to reveal the code |
| Pernell | Grab the key from the Key Box in Solitary, then open the desk drawer in Yellow House Upstairs |
Enter 7626 first, then Sawyer, McCain, and Pernell in the order Rushmore names them, all within about a minute. He confirms Sgt. A.D.A.M. is activated.
Find Sgt. A.D.A.M. in the Storage room and activate him (first use free, 3,000 points afterward). Take him upstairs to the Diner, to the locked metal door where Marlton is hiding. Once A.D.A.M. arrives, Marlton is intimidated and drops a 115 canister through the door. Carry it to the Transfusion Facility and place it on the shelf with the other canisters.
Install the server in Operations
Talk to Rushmore, then place one Telepad in the Power House (left of the power switch) and another in the Prisoner Holding area near Brew. Wait for the electric-infused Nova Six crawler to spawn.
Let that crawler zap the panel to the left of the Power House Telepad. This opens the case behind the glass so you can grab the server. The moment you take it, a timer starts, so step onto the Telepad and sprint to Operations. Deposit the server in the rack on the wall to the right of the MOG shotgun wallbuy. You can repeat this as many times as needed if the timer runs out.
Find the three painting codes
Talk to Rushmore, then Pack-a-Punch a weapon to get the Brain Rot ammo mod. Shoot a zombie with Brain Rot to turn it friendly, then lead it to a gas-covered painting so it smacks the painting and reveals a code. There are three paintings.
- Green House Upstairs
- Beds area
- Lounge area
Enter all three codes into Rushmore’s keypad quickly. Correct input cuts the power across the whole map and starts the rewiring phase.
Restore the bunker power
Six electrical panels in the bunker each have a lever. Set each lever to the position below. When all are correct, the lights on the panels turn from red to green.
| Panel | Lever position |
|---|---|
| Diner | Up |
| Beds | Up |
| Generators | Up |
| Lounge | Down |
| Storage | Down |
| Solitary | Down |
With every panel green, return to the Power House and flip the switch to restore power, then talk to Rushmore.
Rebuild Peter McCain from A.D.A.M. parts
Talk to Rushmore, then find a sparking A.D.A.M. mannequin around the map. Interact with it to begin a lockdown. When the lockdown ends the mannequin explodes and drops a piece. Do this three times. The spawn locations follow a fixed chain based on the first mannequin.
| First mannequin | Second | Third |
|---|---|---|
| Yellow House Backyard | Diner | Prisoner Holding |
| Green House Backyard | Lounge | Transfusion Facility |
After three lockdowns, take the pieces to the APD Interrogation room and place them on the mannequin in the chair to rebuild Peter McCain.
Escort the blue orb to APD Interrogation
Speak with Peter McCain, then look for a floating blue orb, either in the Yellow House Upstairs or the Beds area. Escort it back to APD Interrogation, then interact with Rushmore for the final time to unlock the boss fight.
Defeat the Avogadro
Interact with the same APD Control terminal, and the door that trapped the Avogadro opens to reveal a crystal. Pick it up to trigger the ending cutscene, which confirms the quest is complete.
Optional Rushmore keypad codes
Once Rushmore is active, his keypad accepts a long list of optional codes for free rewards, difficulty changes, power-ups, and voice lines. The numbers never change, so several rewards can be collected repeatedly.
| Code | Effect |
|---|---|
| 2265 (BANK) | Gives 1,000 points |
| 6662 (NOOB) | Lowers zombie difficulty to Round 1 |
| 3279 (EASY) | Undeadman Walking for 5 minutes |
| 8463 (TIME) | Freezes zombies for 10 seconds |
| 6853 (NUKE) | Spawns a Nuke power-up |
| 7225 (PACK) | Spawns a Bonfire power-up |
| 3667 (DOOR) | One free barrier purchase |
| 7433 (SHED) | Unlocks the Yellow House backyard shed for free |
| 4867 (GUNS) | Random gun every 15 seconds |
| 2739 / 7632 / 2652 | Brew / Soda / Cola perk 50% off |
| 7664 (SONG) | Plays the secret song “I Am The Well” |
| 8333 (TEDD) | Unlocks Tedd to interact with |
These optional codes only work in Online/Classic play, the same restriction that applies to Rushmore and the main quest. Work through the phases in order, keep a notepad handy for the randomized codes, and the whole chain runs cleanly from power to the final crystal.