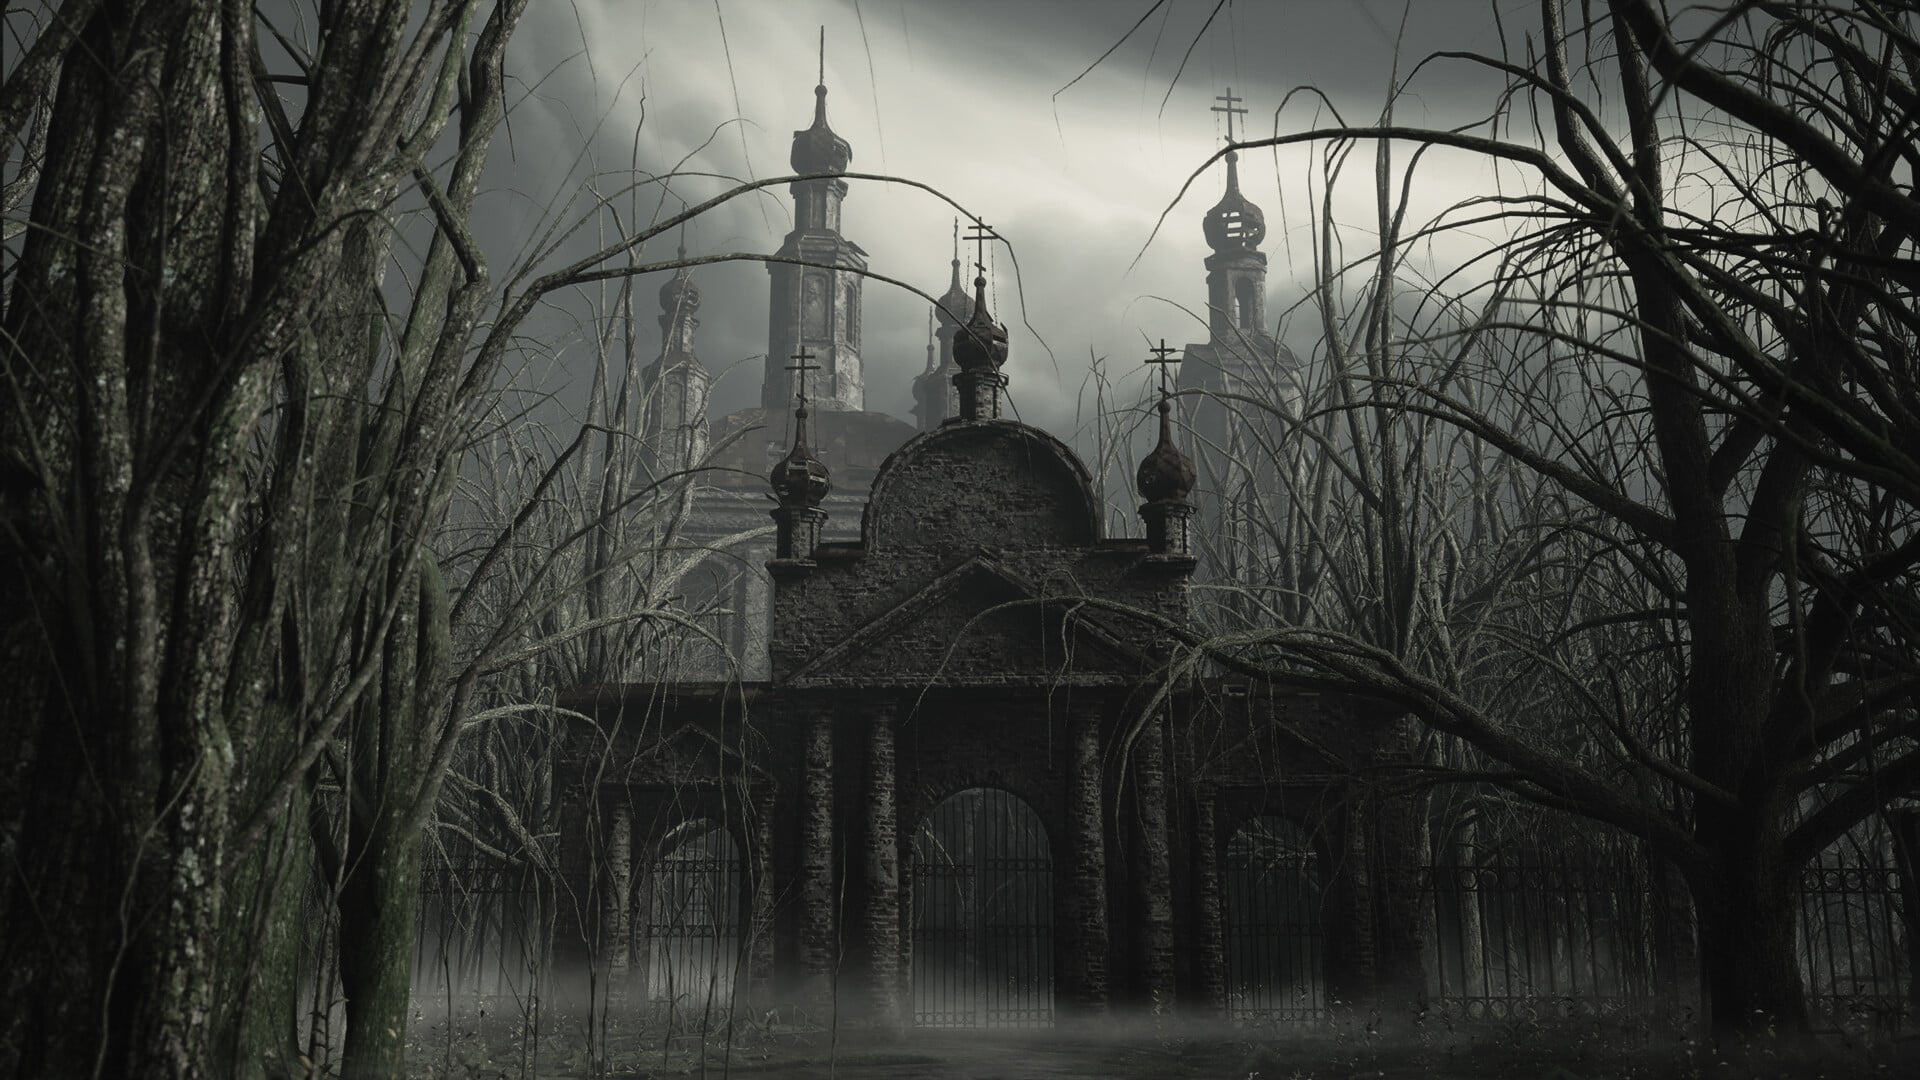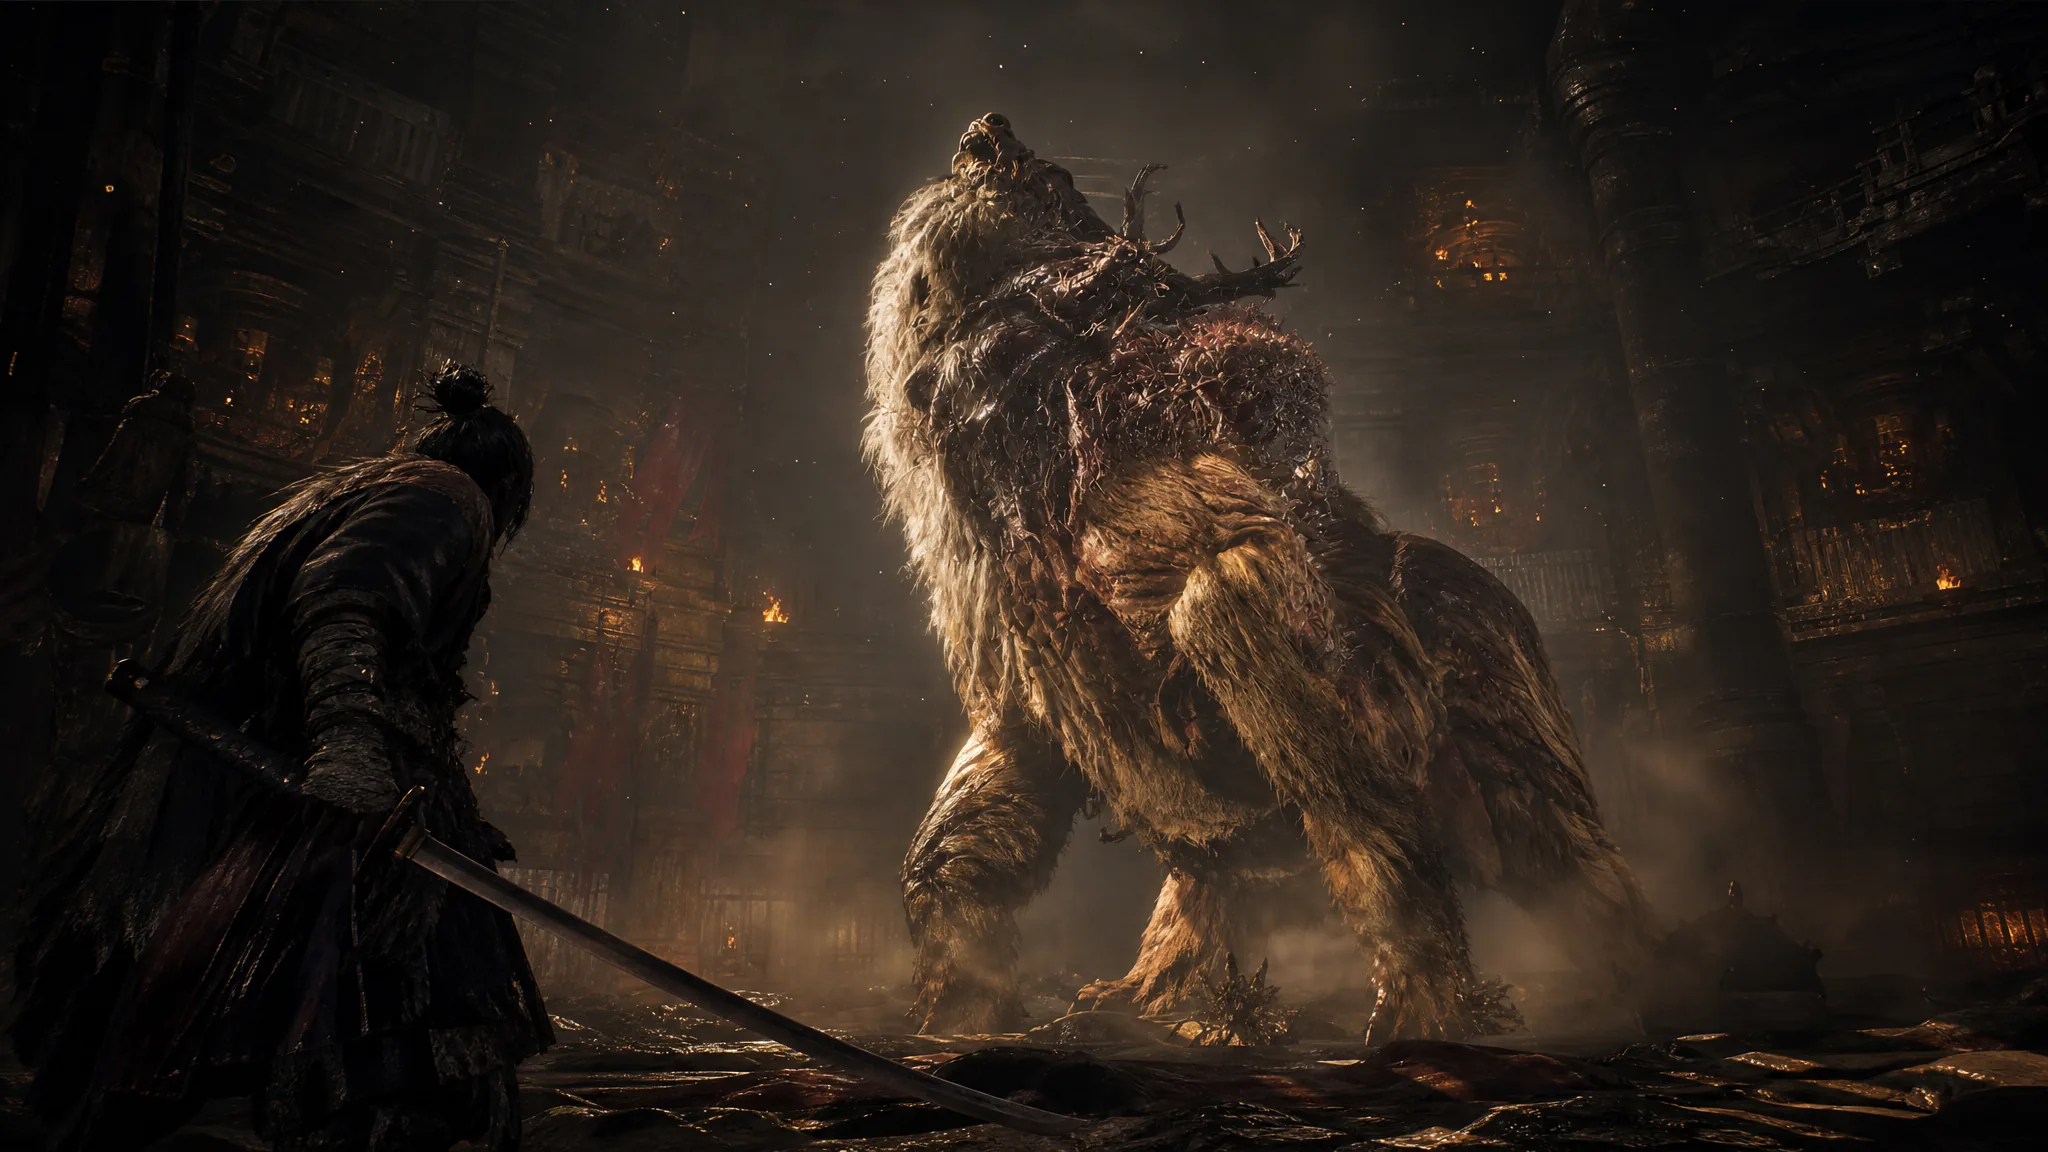
The Level 32 Rangifer waits at the center of the Matsukawa Colony, the last obstacle before Chapter 5: Branching Paths wraps up. This is a Nushi you have already fought twice, so it brings no surprise attacks. The catch is a hard elemental switch and a second health bar that can heal itself if you play too slowly.
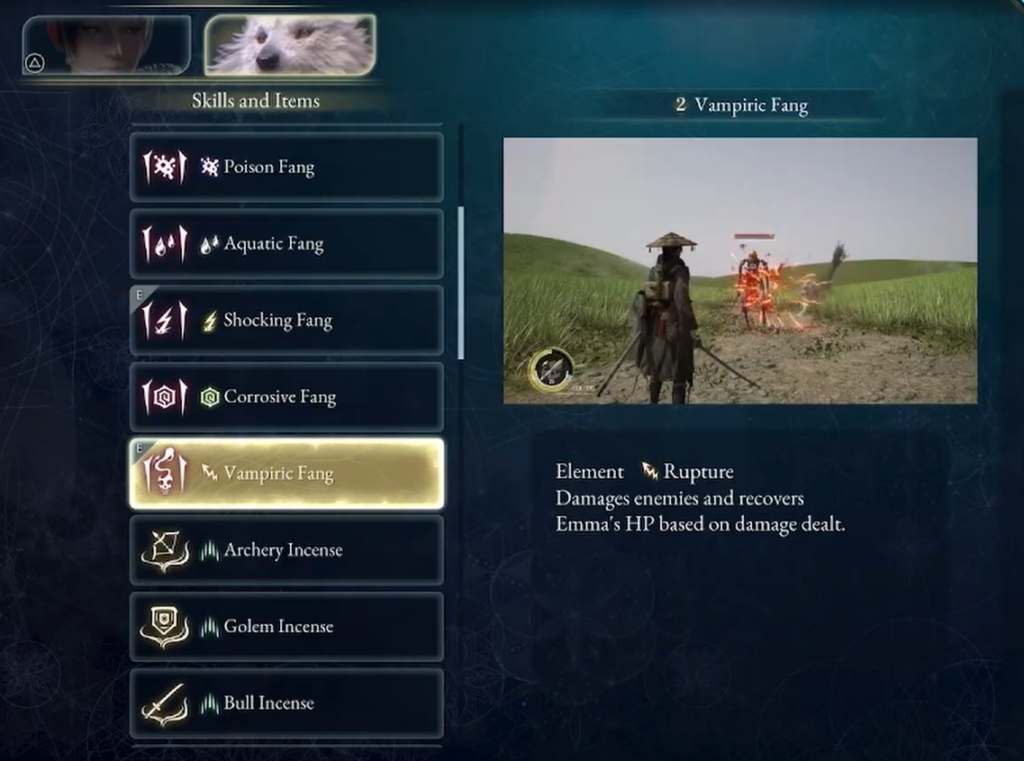
Quick answer: Equip Lightning weapons on Emma (Thunderware Sword+3, Spring Thunder Crossbow+7) and set Koo up with Vampiric Fang, then parry the horn swings, dodge the unblockable stomps and roots, and grapple straight to Rangifer’s head when it tries to heal in phase two.
Where the fight starts and what you get
Rangifer appears once you interact with the Control Panel in the Matsukawa Colony: Central Area room and step back out. You cannot fast-travel or return to the Cleanse Walker at that point, so rest and restock before you flip the switch. Beating it closes the chapter and hands over two upgrades.
| Detail | Value |
|---|---|
| Location | Center of the Matsukawa Colony (Central Area) |
| Level | 32 Nushi |
| Weakness | Lightning |
| Health bars | Two (second phase heals) |
| Reward 1 | Sakura Javelin II (Bloom Art, fires three javelins) |
| Reward 2 | Finisher: Sakura (Blade Art) |
Gear check before you trigger it
This version of Rangifer swaps its old flame weakness for Lightning, so anything that shocked earlier bosses is now dead weight. Bring Lightning Arrows and Bolts along with a Lightning melee weapon, and lean on Koo to refill your health mid-fight.
| Character | Recommended setup |
|---|---|
| Emma | Thunderware Sword+3 (Tempest), Spring Thunder Crossbow+7, Zangetsu Bow+3, Entanglement Stones for the ranged windows |
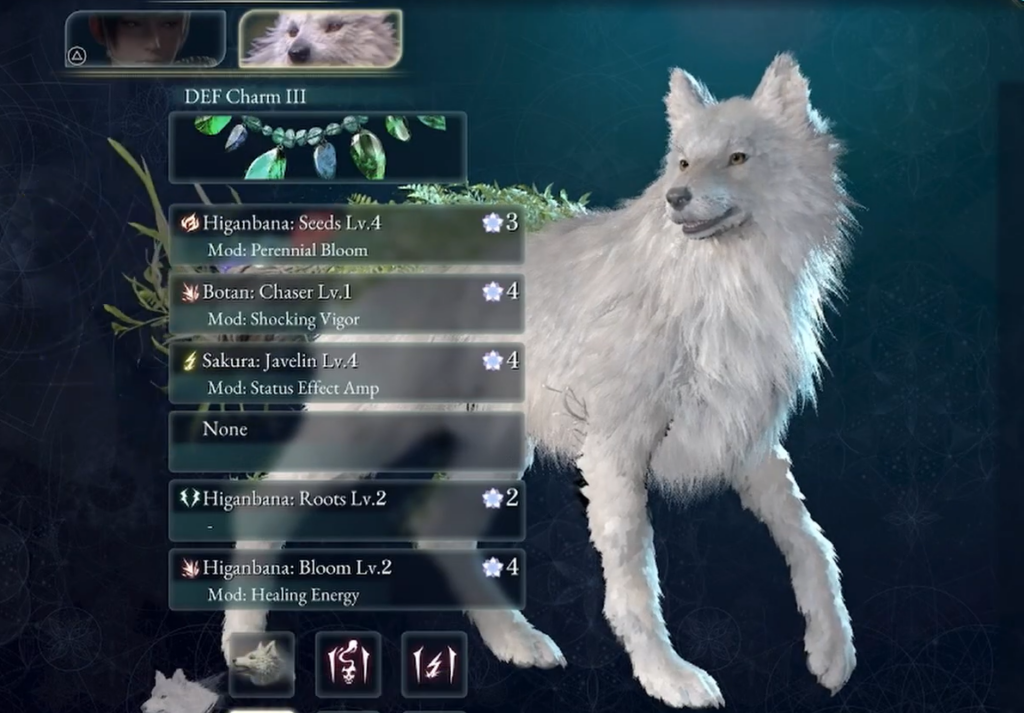
| Koo | Vampiric Fang for HP recovery, DEF Charm III, Lightning 3, Higanbana Seeds, Sakura Javelin for closing distance |
Vampiric Fang is the key charm here. Because it siphons health back to Emma, you can trade a little more aggressively during the long stretches where Rangifer keeps its distance.
Rangifer’s moveset and how to answer it
The attack list is identical to the second encounter, but at Level 32 the moves come out faster and in less predictable order. Learn which strikes you parry and which you can only dodge, because guessing wrong on the unblockable moves costs a big chunk of health.
| Attack | Response |
|---|---|
| Horn Swing (3, sometimes 4 swipes) | Parry each hit to build stagger; strike when it lowers its head afterward |
| Rock Throw | Dodge — cannot be parried; often used when you back away |
| Seed Projectile | Parry or dodge; three-projectile version can be parried from range |
| Hoof Slam | Dodge back or to the side; a perfect dodge sets up a punish |
| Summon Trees / Roots | Dodge only — vines sprout from the ground in a line |
If Rangifer starts glowing, brace for the four-hit horn combo. Parry all four to keep your stagger meter climbing instead of eating the full string.
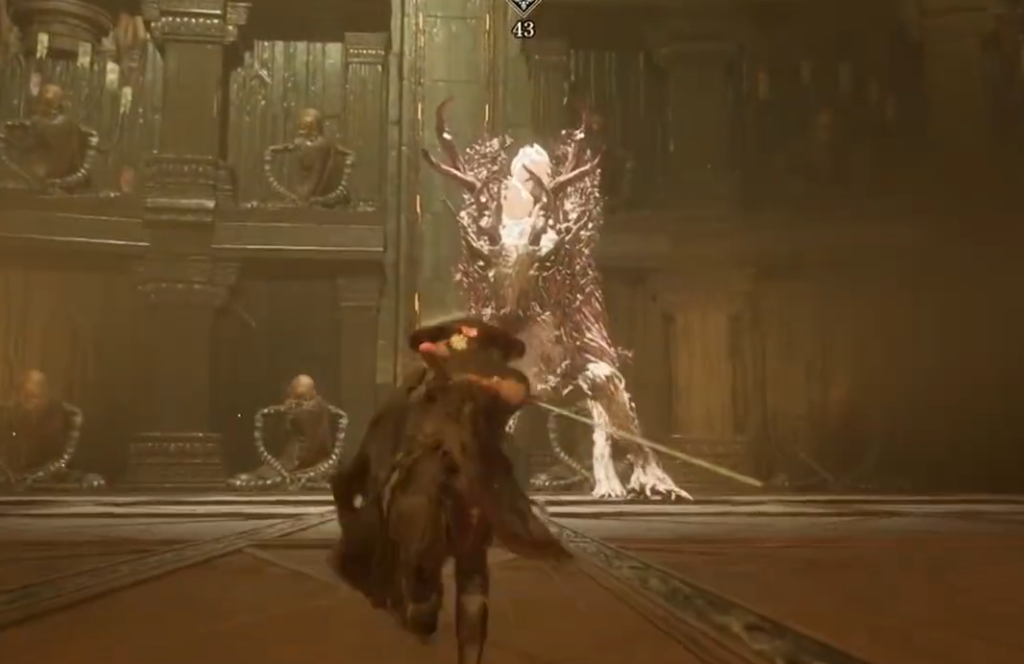
Phase one: drain the first bar
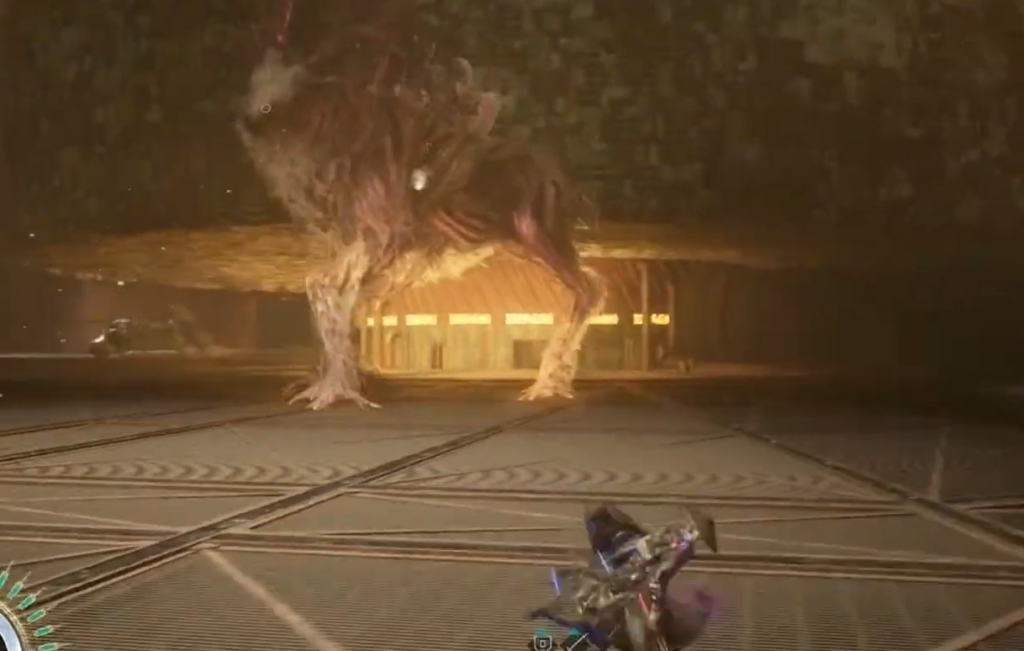
Phase two: the tree form and the heal
Rangifer shifts into a tree-like form for its second bar, and the mix leans harder on unblockable stomps and root lines. Keep your HP topped up from the end of phase one, because the openings are shorter and the punishes hit harder.
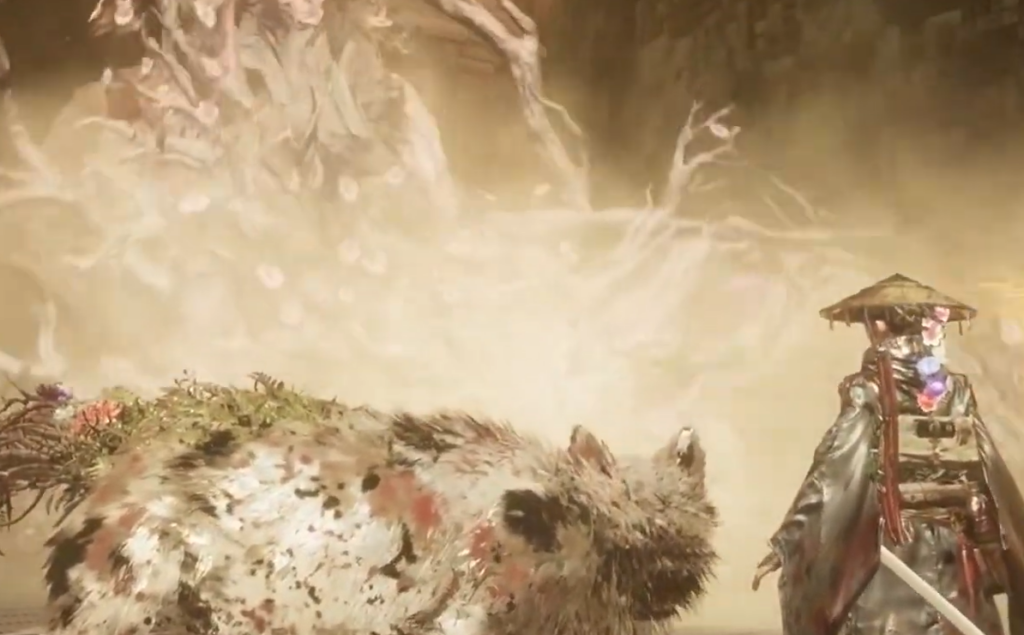
You will know it worked when control returns to the Cleanse Walker and the reward screen shows Sakura Javelin II Lv. 1 and Finisher: Sakura Lv. 1. Both can be leveled at the skill menu right after, so upgrade them before you move on to Chapter 6.
The whole fight rewards patience over aggression. Punish only the head-down recovery windows, respect the moves you cannot parry, and never let the phase-two heal run its course, and the Level 32 Rangifer folds about as cleanly as its earlier versions did.