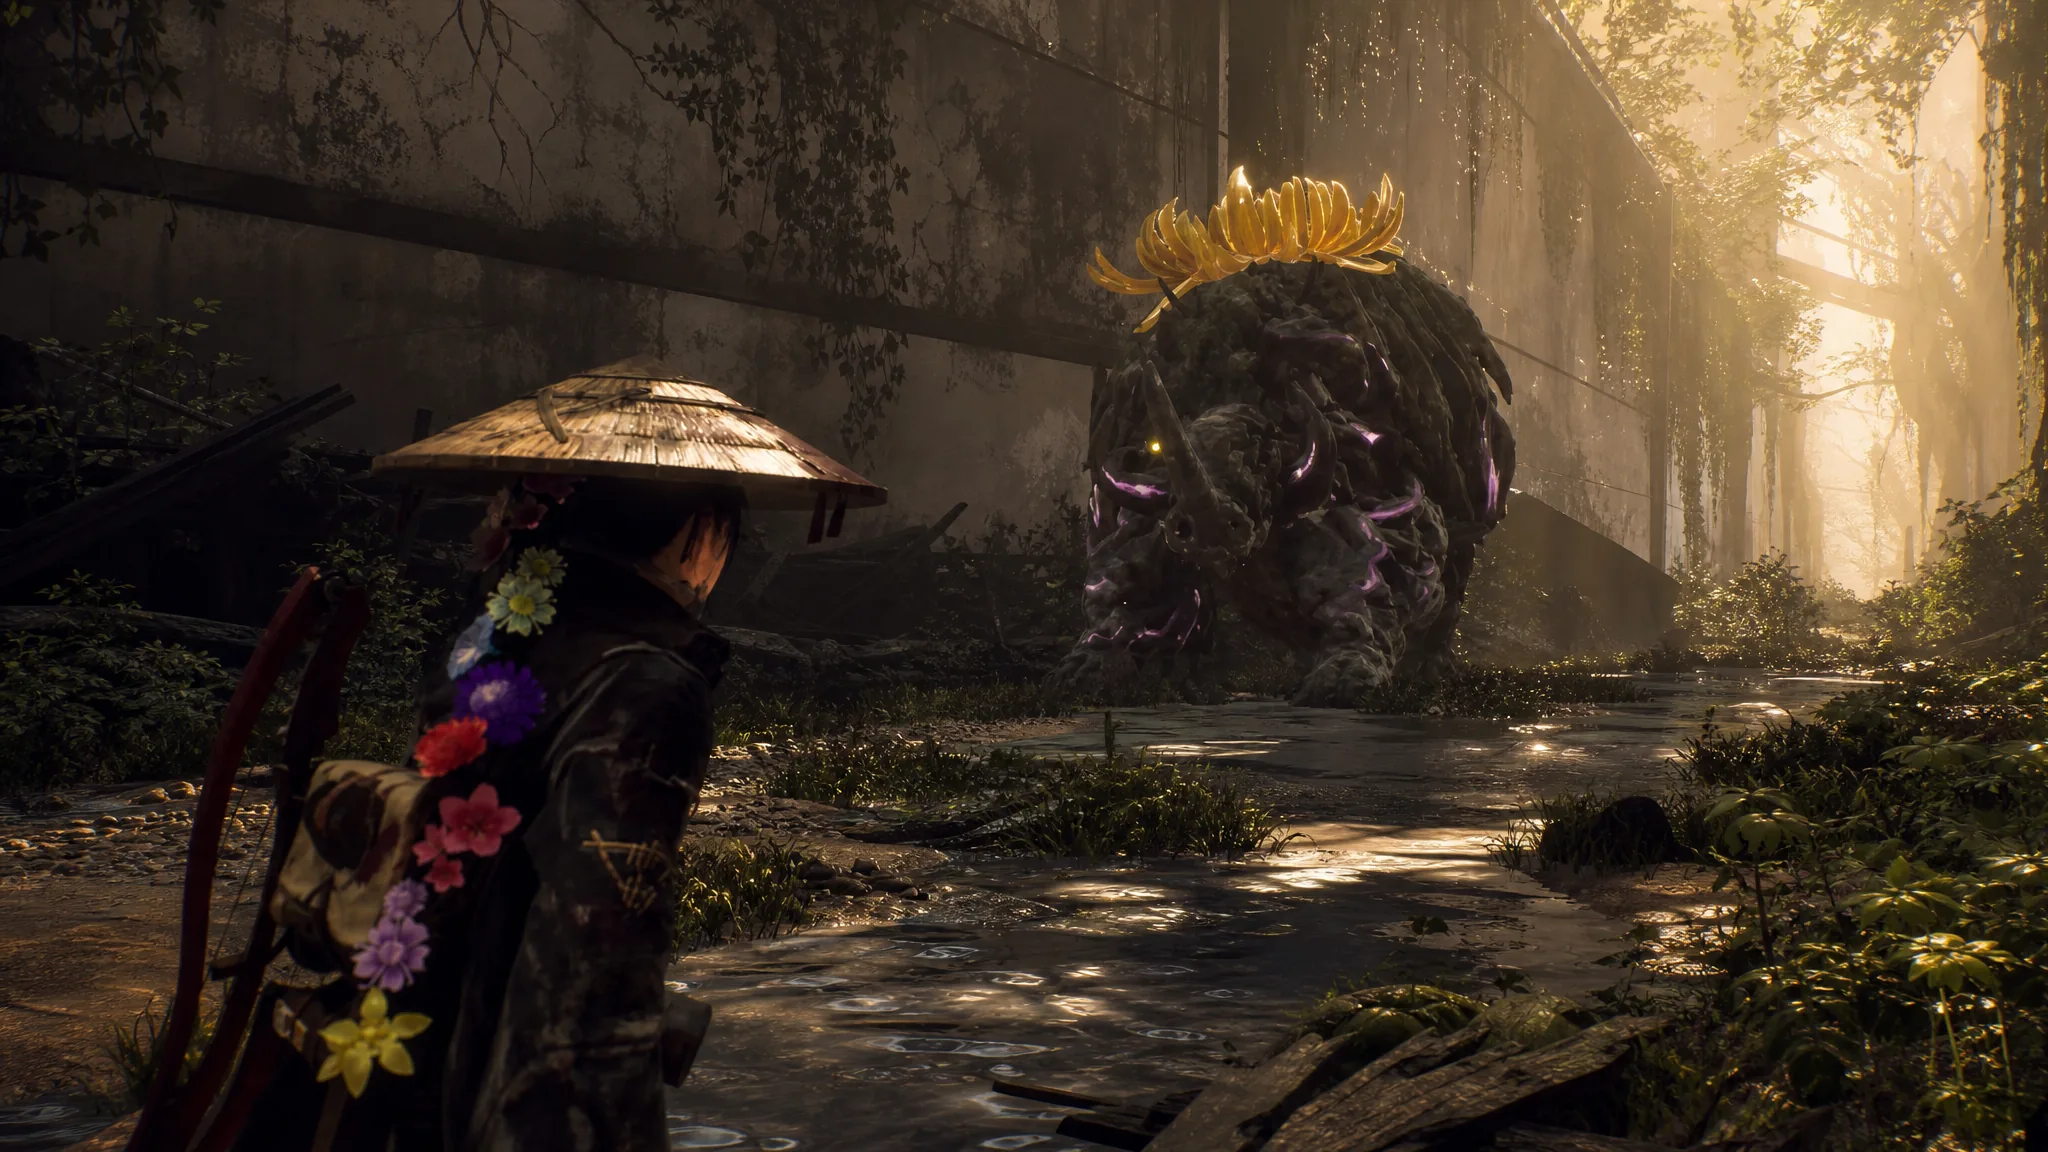
The Erymanth is the giant boar-like Nushi that guards the twelfth chapter of Beast of Reincarnation, The Firmament. It ambushes Emma on the road to the City Center, just before she can reach the Administrator, and it fights almost entirely with its enormous tusks. As an endgame boss, its hits carry serious weight, but its moves are slow to wind up and easy to read once you know what to watch for.
Quick answer: Stay close and parry the Erymanth’s tusk swings, which are its most frequent attack. After a swing or a flurry, punch back with your melee weapon on its snout. Use the Rangifier’s Nushi Skill to pin it in place or the Corvus’ corrosive Nushi Skill to wear it down, and dodge its charge, spike volley, and ground slam when it creates distance.
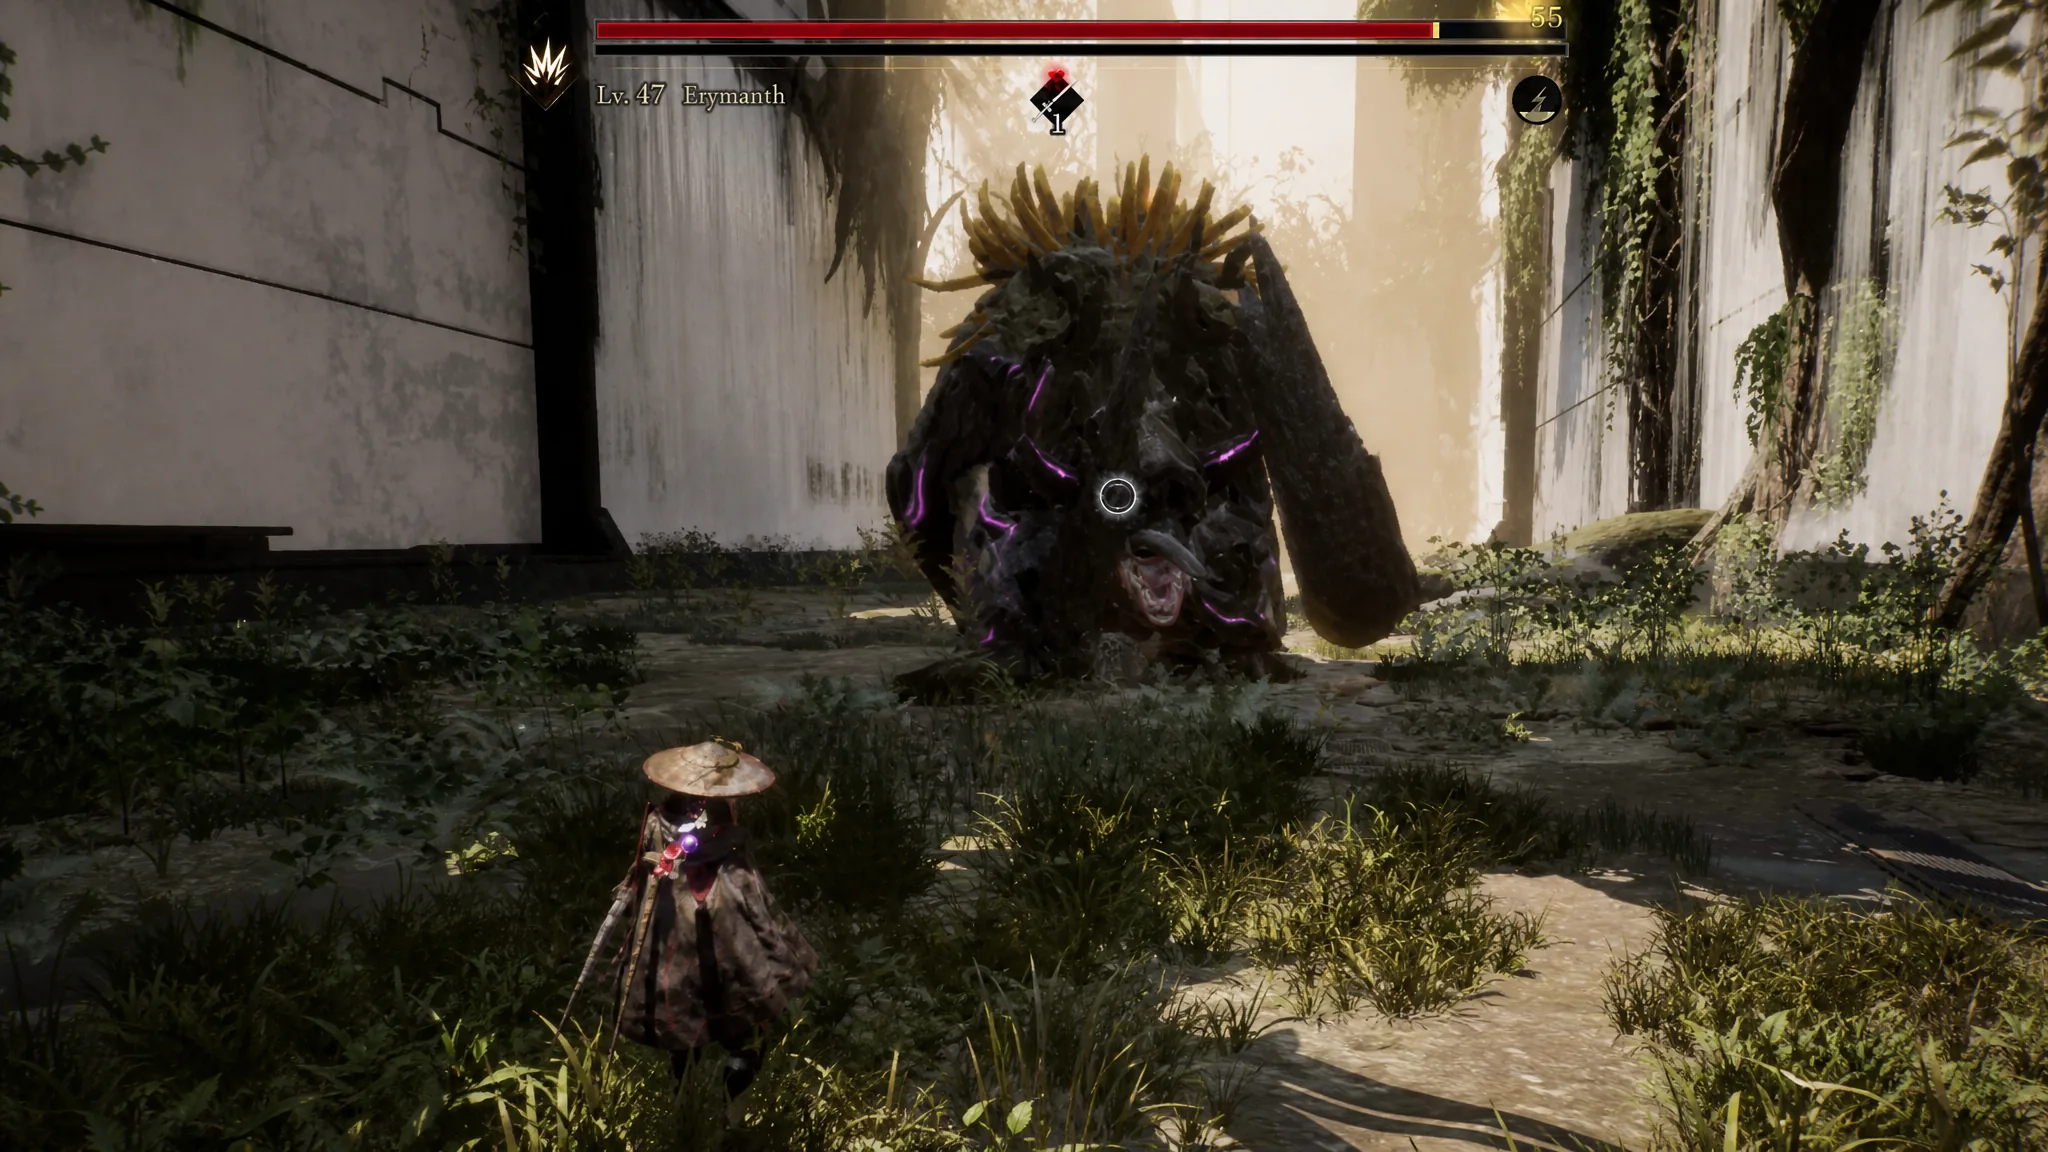
Erymanth attacks and how to answer each one
The Erymanth telegraphs its moves well in advance, which is what makes the fight manageable despite the damage it deals. It leans heavily on tusk swings and only reaches for its other moves when there is enough space between it and Emma. Closing that gap keeps it locked into the attack you most want to see.
| Attack | How to counter |
|---|---|
| Tusk swipe at Emma | Parry it — this is its most common move |
| Firing back spikes as projectiles | Dodge; it only uses this at range |
| Tusks-first charge to impale | Dodge to the side; happens at range |
| Tusk slam that spawns ground spikes | Dodge out of the spike spread |
Phase one: pin it down and punish the tusks
Phase two: bigger tusks, bigger punishment
In the second phase the Erymanth’s tusks grow even larger, and a single hit from them now takes roughly half of Emma’s health. Its area attack also shifts to something closer to the Ursa Nushi’s, so parking next to it and mashing parry is no longer safe on its own.
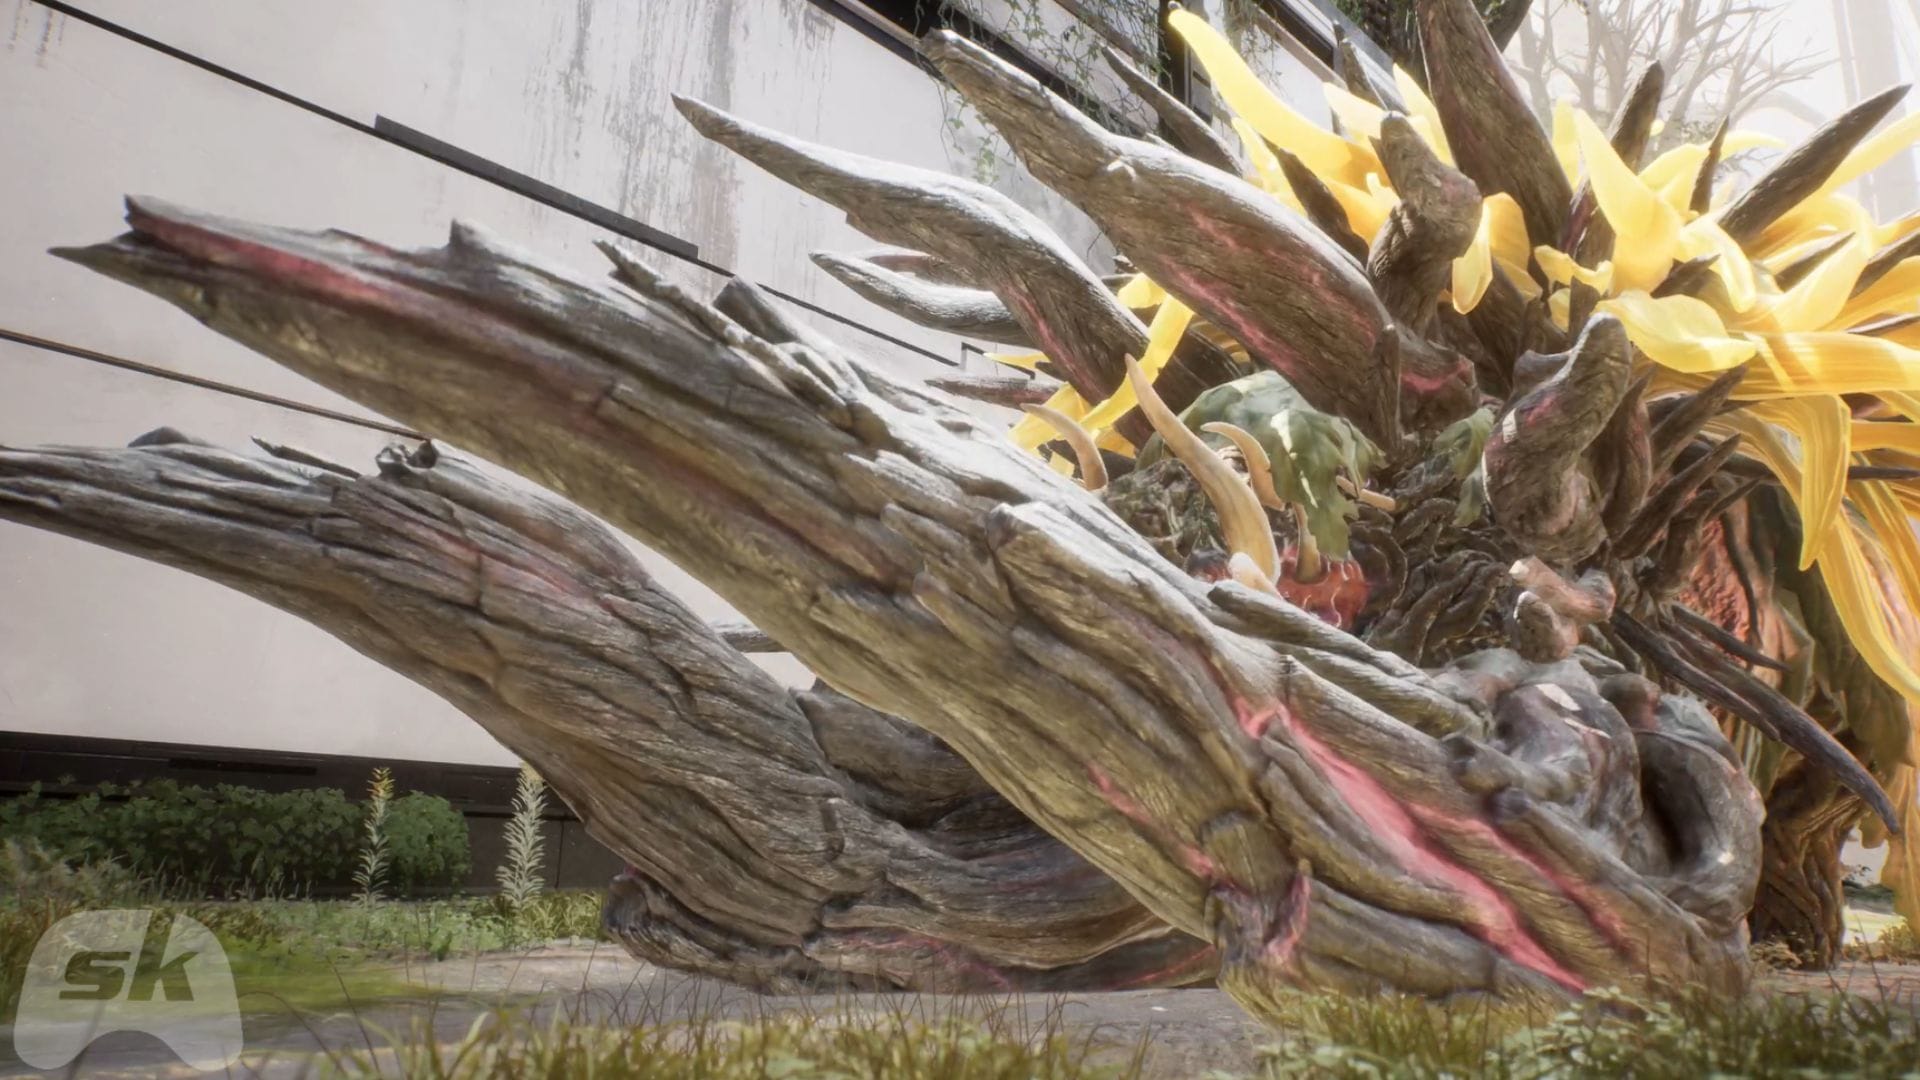
Parrying is still the answer, because the boar keeps favoring its tusk swings even with the new AoE. If your timing has held up to this point, block the swing, wait out the flurry, and land a few clean blows on its snout after each sequence. Repeat that loop and stay alert for the wider area attack, and its health will steadily fall until it goes down.
Note: Because a tusk hit now costs about half your bar, prioritize survival over greed. Take the guaranteed snout hits after a parry rather than reaching for extra swings you cannot guarantee.
By this stage Emma and Koo have enough upgrades, and you have enough experience with parry timing, to trade evenly with the Erymanth. Once the second phase ends, the road to the Administrator opens back up and you can carry on through The Firmament.