A pile-up spot is a position on a map where zombies bunch together below or in front of you and cannot land a hit. On Black Ops 2 Zombies, these spots let you farm points, push for high rounds, and grind Shotgun Rank without dying. Each map has its own trigger, and some need a specific weapon or buildable before the spot works.
Quick answer: Get into the exact position listed for your map, bring any required gear first, and confirm the spot is holding when the horde gathers below or in front of you and stops swinging. If a zombie can still reach you, you are slightly out of place.
What you need before each pile-up spot
Some spots work with an empty inventory, while others fail without a Wonder Weapon or a buildable. Line up the required gear before you commit to a spot so you are not left exposed mid-round.
| Map | Required gear | Location |
|---|---|---|
| Nuketown | None | Green House balcony, above the closed door |
| Die Rise | None (Sliquifier helps) | Collapsed building with the sunken floor |
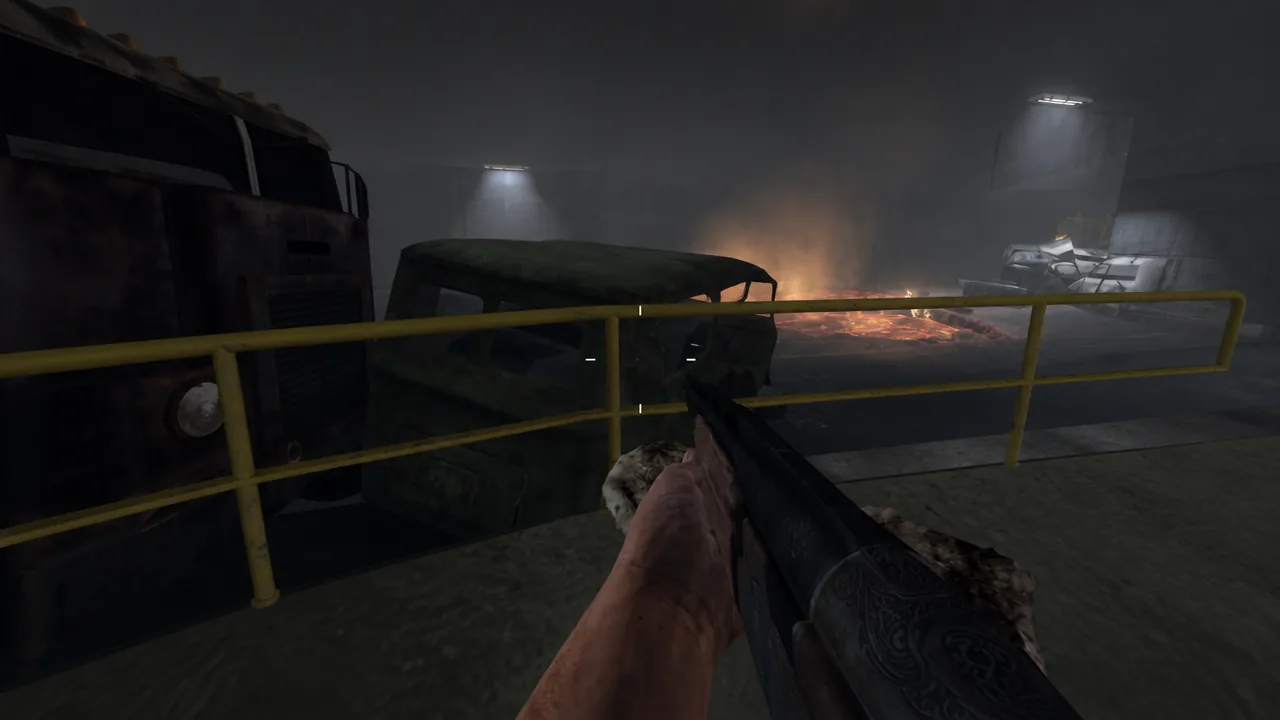
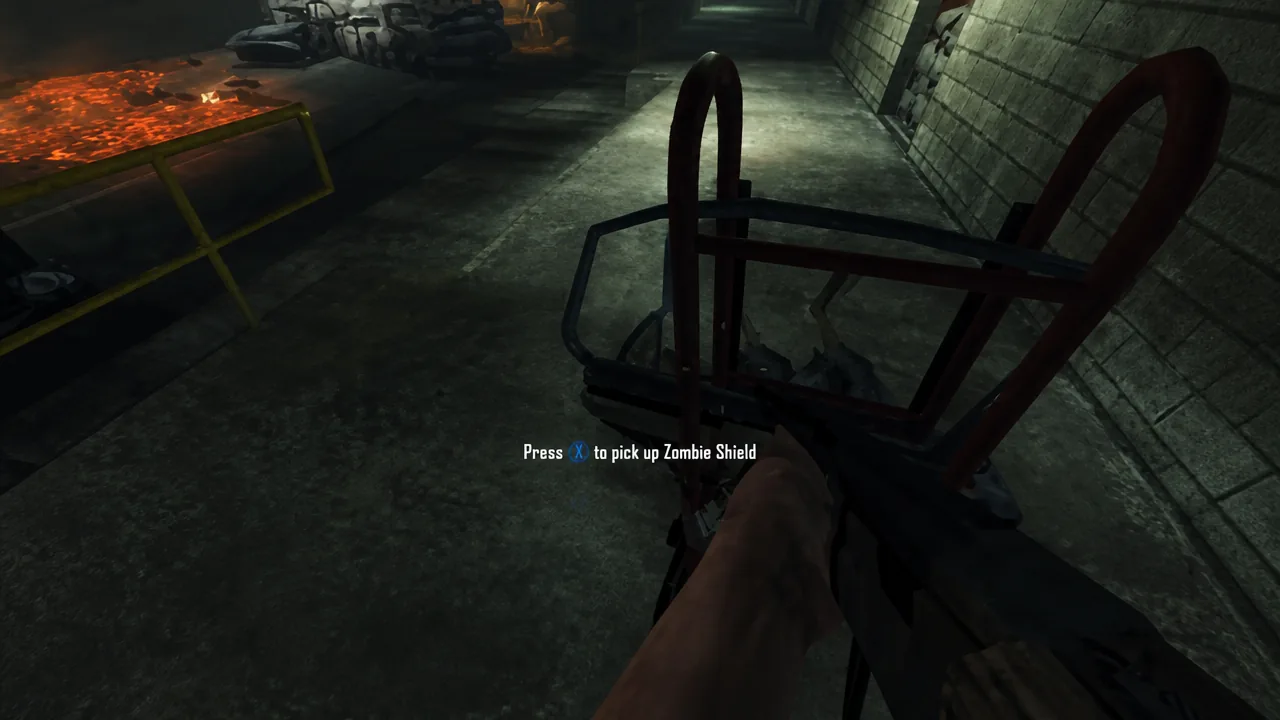
| TranZit | Zombie Shield | Underground tunnel between Diner and Bus Depot |
| Buried | Paralyzer | Town center, by the fountain and tree |
| Mob of the Dead | None | Michigan Avenue walkway grates |
| Origins | None | Generator 4, using a Panzersoldat grab |
Nuketown pile-up on the Green House balcony
This is the easiest spot to set up because it needs no gear. The one rule that matters is the kitchen door. If you open the door leading out from the kitchen into the backyard, the spot will not hold.
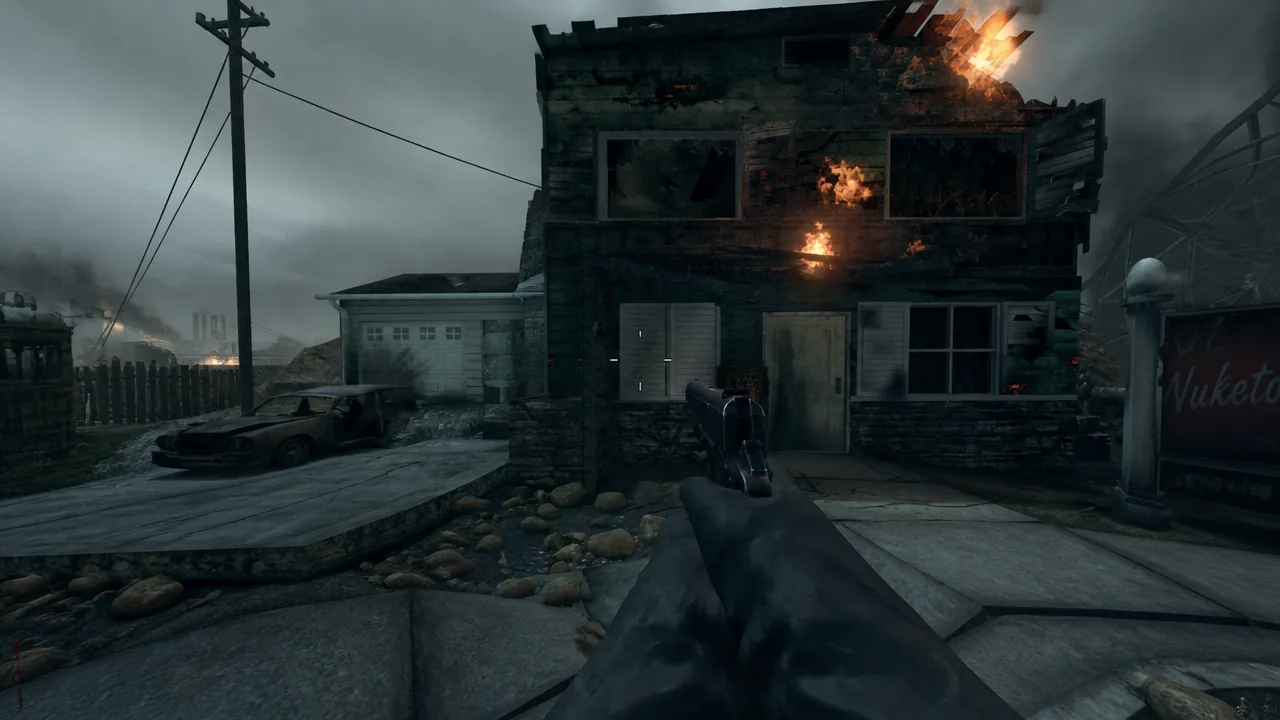
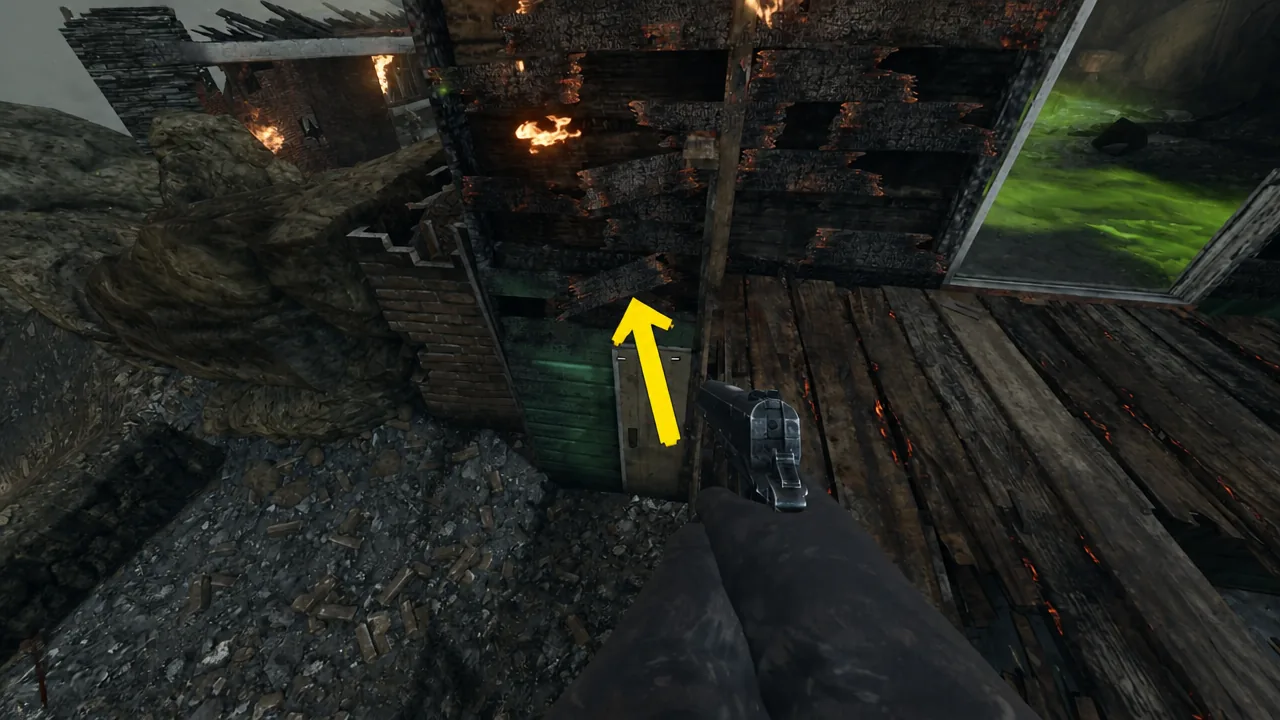
You can leave this spot and return to it whenever you want, as long as that door stays closed. If you ever open it, the spot breaks for the rest of the game.
Die Rise pile-up in the sunken floor building
Die Rise has many glitch spots tied to the Trample Steam, but this one is easy to enter and exit and needs no buildable at all. It is a clean way to stack zombies and clear them quickly.
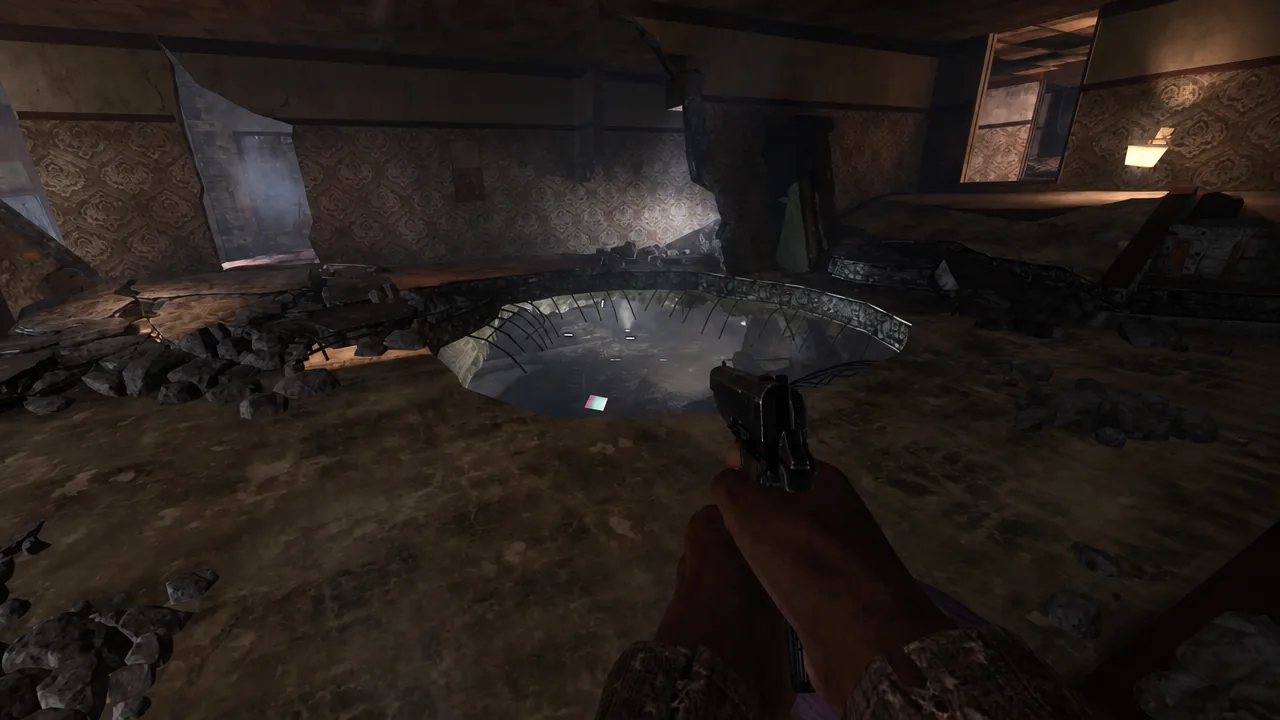
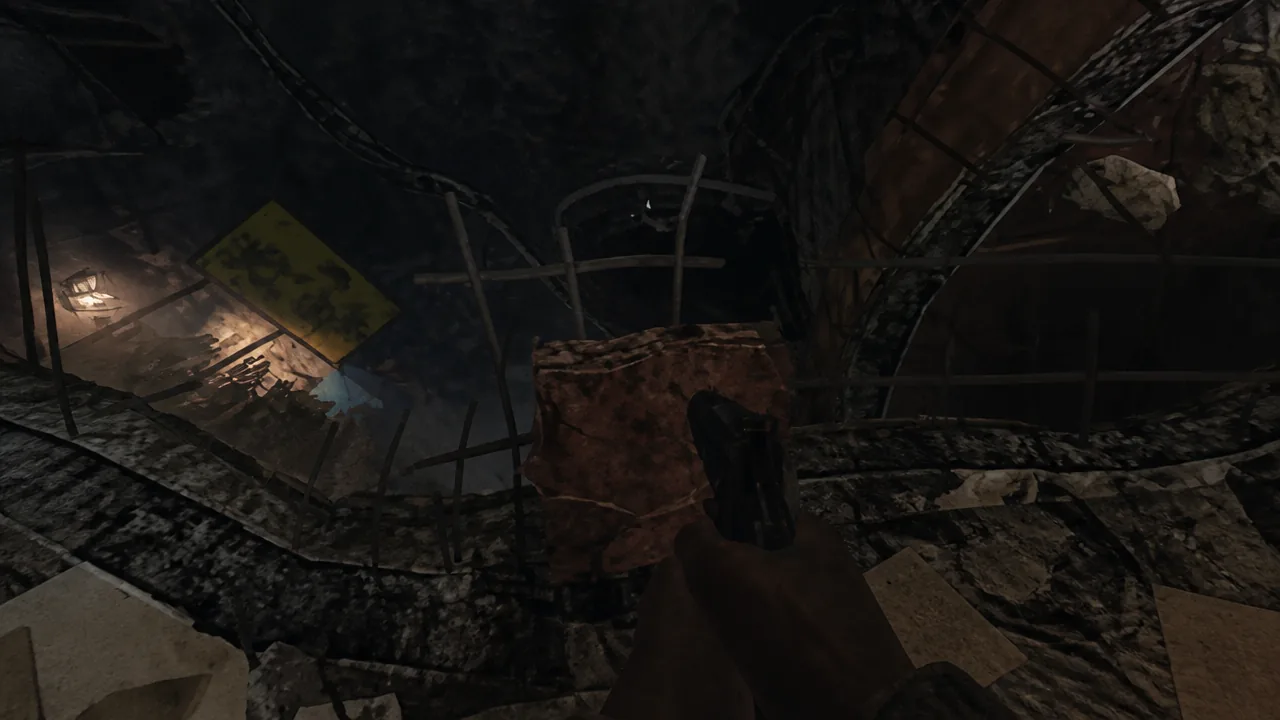
Tip: The Sliquifier makes this spot far more efficient because a single puddle liquefies the crowd gathered below. You can pick up power-ups by edging forward slightly.
TranZit pile-up in the underground tunnel
This spot depends on the Zombie Shield, so build it first. All the parts sit around the Diner area past the Bus Depot, and you can track them down with the Zombie Shield parts locations guide.
Buried pile-up in the town fountain tree
Buried has several pile-up options, but the reliable one uses the Paralyzer, the map’s Wonder Weapon from the Mystery Box. You need it before this spot works, since it floats you up into the tree.
Once you are perched in the tree, the zombies gather underneath you and stay stuck there while you shoot down.
Mob of the Dead pile-up on the Michigan Avenue grates
This spot sits on the metal grating walkway near the Gondola, where a section of the pathway has no railing just before the Afterlife box. It works with no gear, though the Blundergat clears the crowd faster.
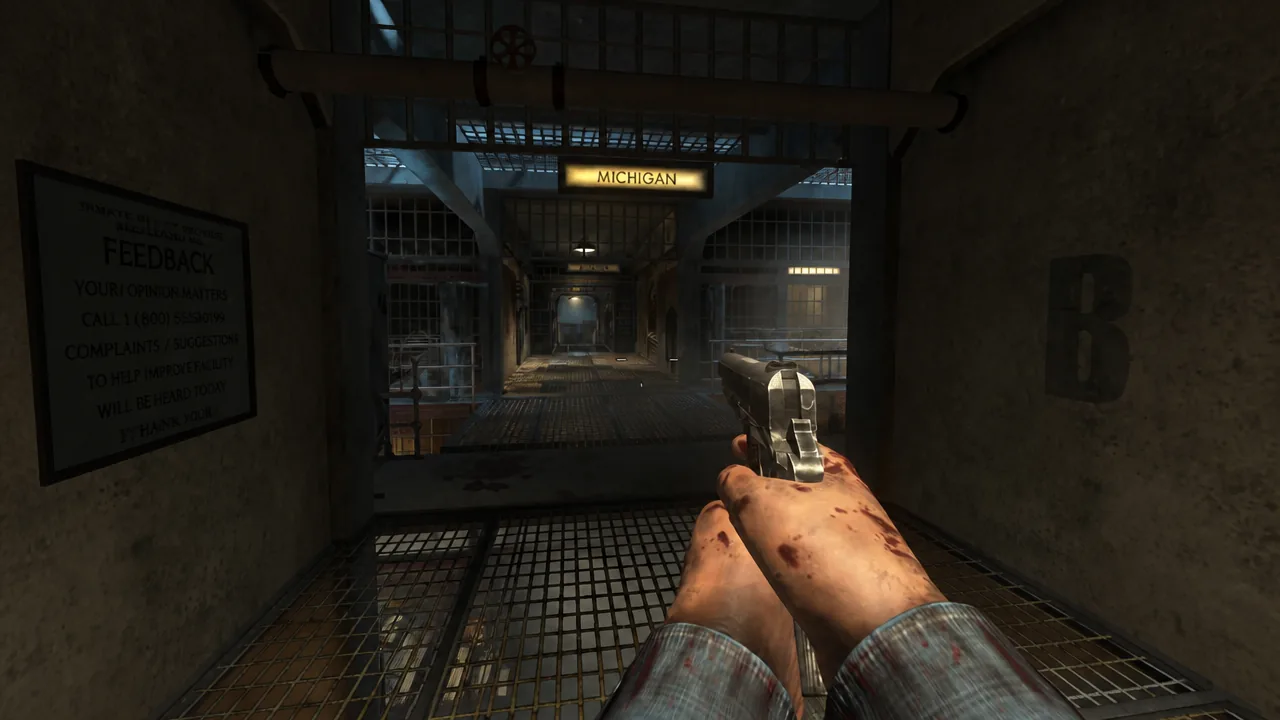
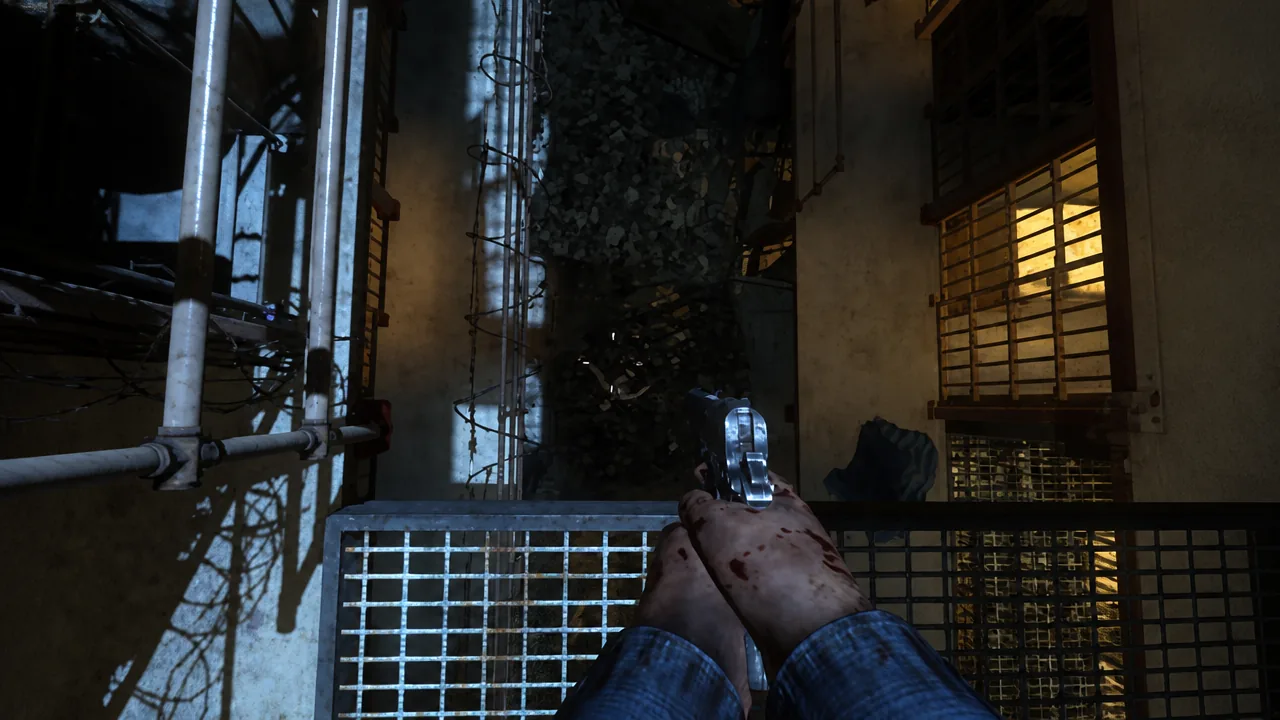
Note: Getting the alignment right matters here. Line up your view with the vertical railing post, watch for zombies arriving from the right side since they can still reach you, and shoot them the moment they appear.
Origins pile-up using the Panzersoldat grab
Origins is the most timing-dependent spot because it relies on the Panzersoldat, the flying boss that starts spawning every few rounds after round 8. You use his claw grab to slip into the pile-up state.
How to know the spot is working and why it fails
You have it right when the horde clusters below you or in front of you and stops swinging, and you can shoot down freely. If zombies are still landing hits, adjust your footing by a small step and try again. Several spots take a few attempts before you settle in the exact position.
The most common ways these spots break are specific and avoidable:
- Nuketown: Opening the kitchen door ends the spot permanently.
- Mob of the Dead: Zombies arriving from the right side can still hit you, and Brutus can attack in some corner variants. Do not jump while glitched, or the horde immediately breaks free.
- Origins: Mistiming the claw shot cancels the grab instead of dropping you into the spot.
Work through each map with its required gear ready, and treat the Nuketown and Die Rise spots as your safest starting points since they need nothing extra. Once you are comfortable holding a horde in place, the higher rounds and leaderboard climbs come down to ammo and patience.