
When collaborating on an Excel workbook, it’s essential to monitor any modifications made by contributors. Excel’s Track Changes feature allows you to see what changes were made, who made them, and when they occurred, ensuring transparency in shared workbooks.
By default, Excel does not keep a record of changes in worksheets, so it’s challenging to identify alterations without enabling tracking. Activating the Track Changes feature highlights revisions, providing an outline of edits made by any user. This guide explains how to track changes in Microsoft Excel.
How to turn on track changes in Excel
Before sharing your completed Excel worksheet for review, it’s important to enable the Track Changes feature. This allows you to monitor any edits made by collaborators and decide whether to accept or reject those changes after the review process.
Note that the Track Changes feature is considered a legacy option and may not be available in Excel 2019 and Microsoft 365. It is accessible in the Review tab of Excel 2016 and earlier versions.
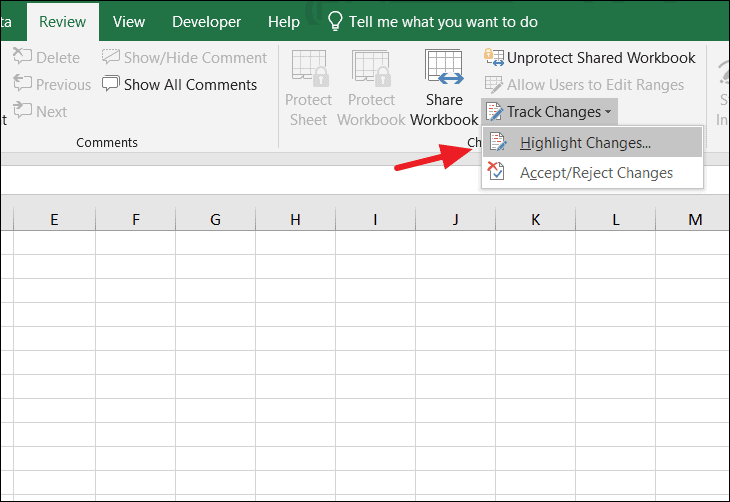
Review tab on the ribbon. Click on Track Changes, and from the drop-down menu, select Highlight Changes.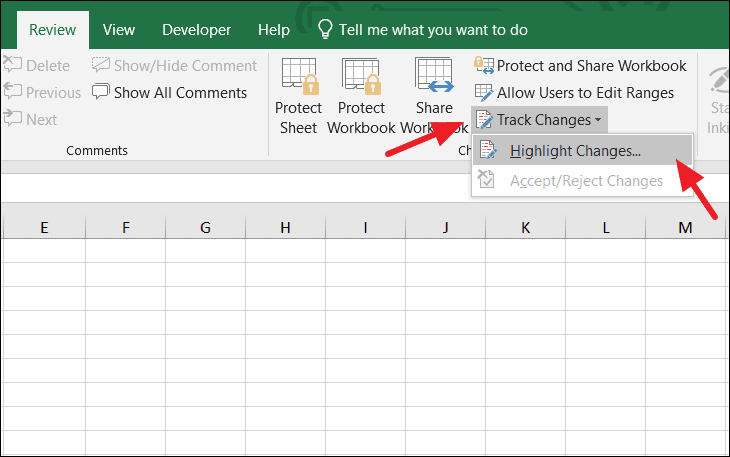
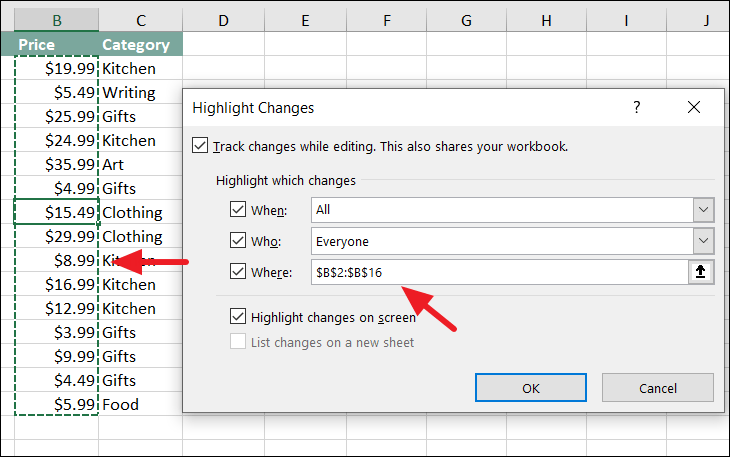
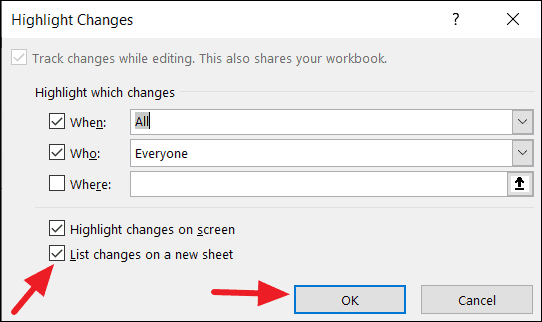
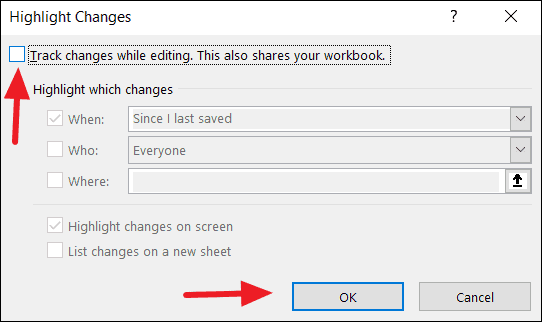
Highlight Changes dialog box that appears, check the option labeled Track changes while editing.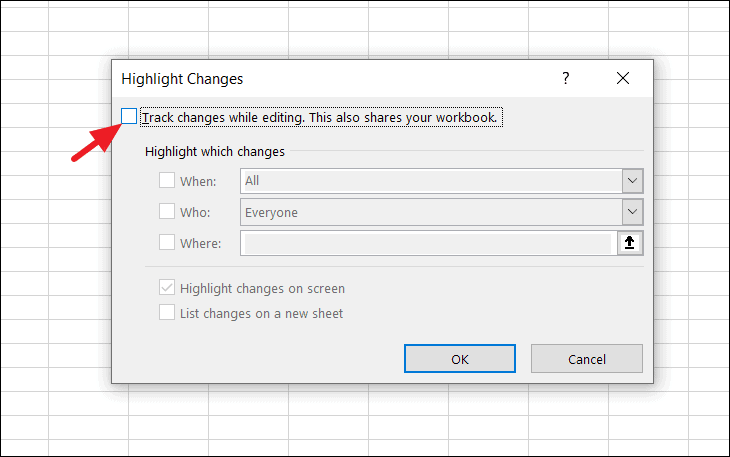
Since I last saved, All, Not yet reviewed, or Since date for a specific date. Select All to track all changes.
Everyone to track changes made by all users. Alternatively, you can choose to track changes made by specific individuals.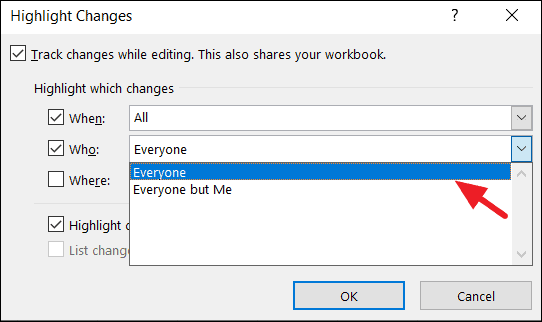
Highlight changes on screen option is checked, then click OK.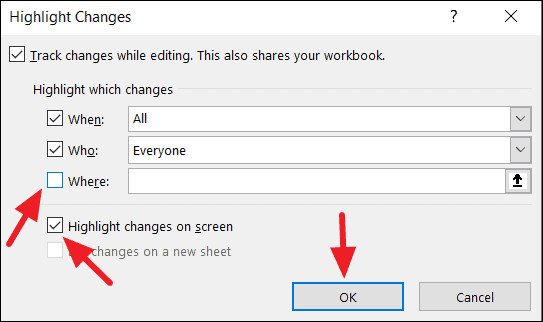
Note: If you prefer to track changes in a specific range of cells, enter the desired cell range in the Where field before clicking OK.
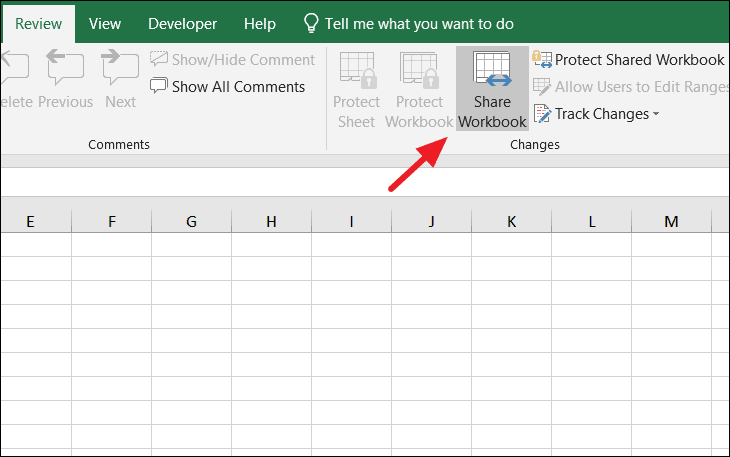
Share Workbook dialog box, ensure that the option Use the old shared workbooks feature instead of the new co-authoring experience is checked, then click OK.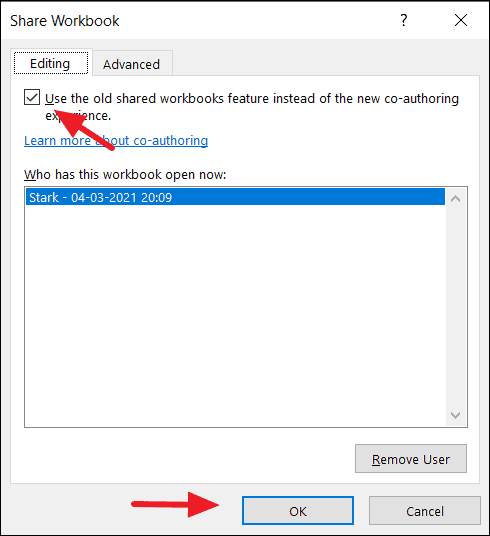
Review tab, click on Protect Shared Workbook. In the dialog box that appears, check the option Sharing with track changes to prevent others from disabling the tracking. Click OK to proceed.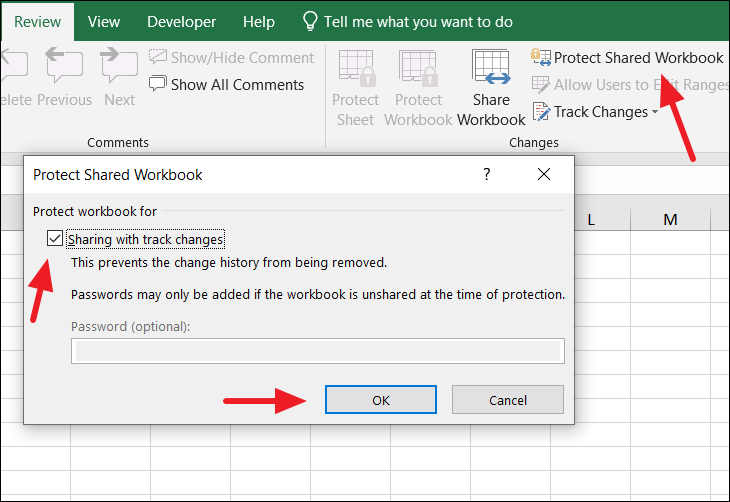
How to view and accept or reject changes
Once your collaborators have made edits to the workbook, you can review their changes and decide whether to accept or reject them.
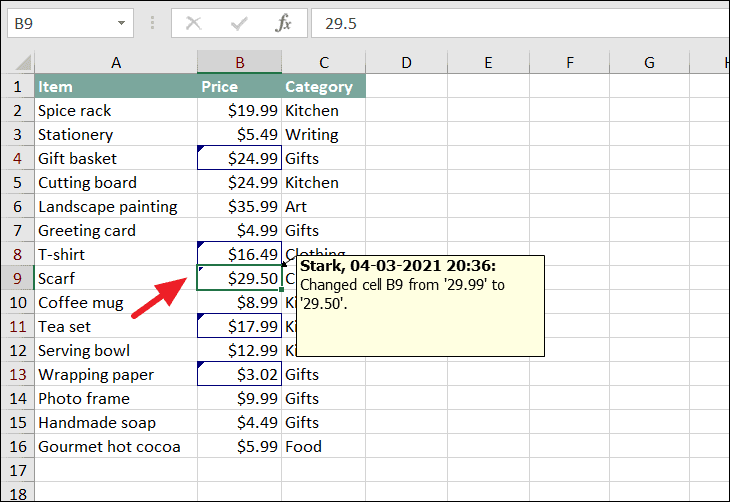
Changes made to the worksheet are indicated by a colored border around the modified cells and a small triangle in the upper-left corner of each cell.
To view details of a change, hover your cursor over the cell with the triangle indicator. A comment box will display showing what was changed, who made the change, and when it was made. If multiple reviewers have edited your worksheet, each will be represented by a different color.
Review tab, click on Track Changes, and select Accept or Reject Changes from the drop-down menu.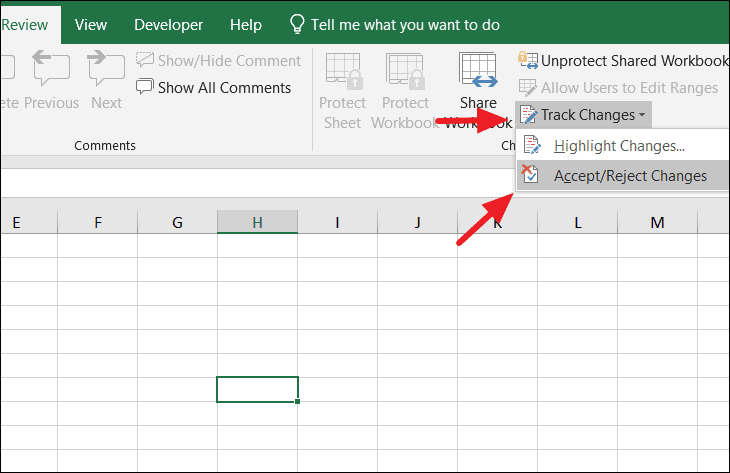
Select Changes to Accept or Reject dialog box, specify the changes you want to review, or simply click OK to view all changes.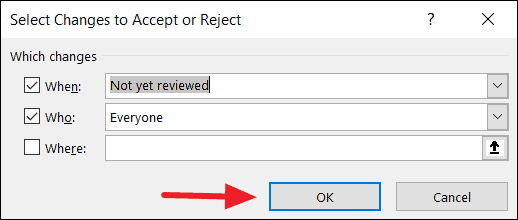
Accept or Reject Changes dialog box will appear, displaying each change one at a time. You can choose to Accept or Reject each change individually, or select Accept All or Reject All to apply your decision to all changes. The dialog will show details such as which cell was modified, the original value, and the new value.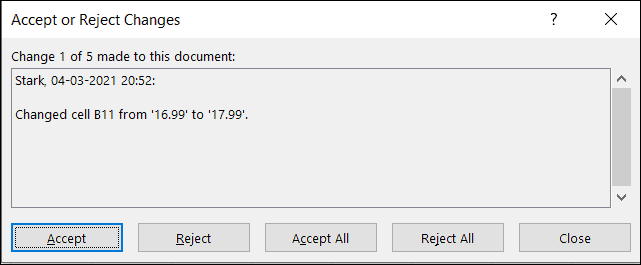
When you click Accept, the change is applied to the worksheet. If you choose Reject, the cell will revert to its previous value.
Creating a separate file to list changes history
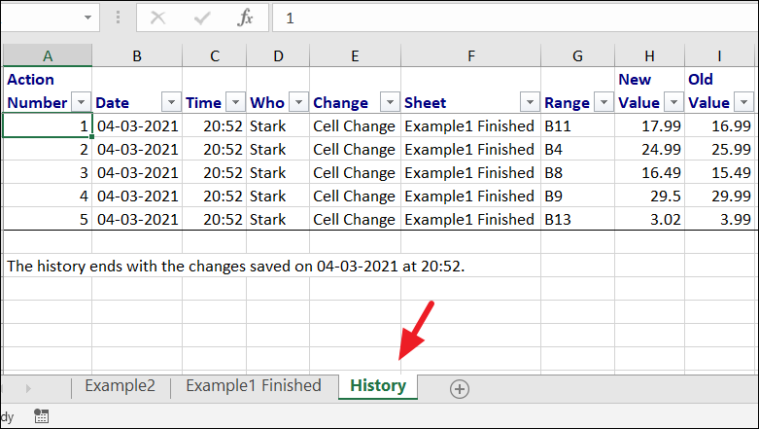
If you prefer to view all changes in a consolidated list, Excel allows you to create a separate worksheet called History that details every modification made to the workbook.
Excel will generate a new worksheet named History, containing a comprehensive list of all changes, including the cell references, original values, new values, who made the changes, and when they were made.
To remove the History sheet, simply save the workbook again. Excel will delete the history worksheet upon saving.
How to turn off track changes in Excel
Once you have completed reviewing and managing all changes, you may want to disable the Track Changes feature to prevent further tracking and remove all change indicators from the worksheet.
Review tab, click on Unprotect Shared Workbook.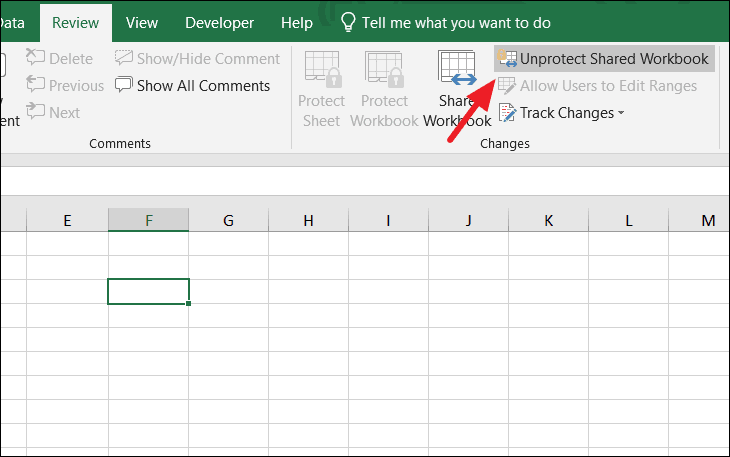
Track Changes is now disabled, and Excel will no longer monitor edits to your workbook.
By utilizing Excel’s Track Changes feature, you can effectively collaborate with others while maintaining control over modifications made to your workbooks. Understanding how to enable, review, and disable this feature ensures a smooth collaborative experience.


