JoJo’s Bizarre Adventure: Golden Spirit is a tactical auto-battler where six fighting styles, an 11-panel formation grid, and skill synergies decide each match. Because a damage dealer, a frontline anchor, and a support are asked to do completely different jobs, one flat list would hide who is actually worth building. The rankings below score each fighter inside the role it fills best.
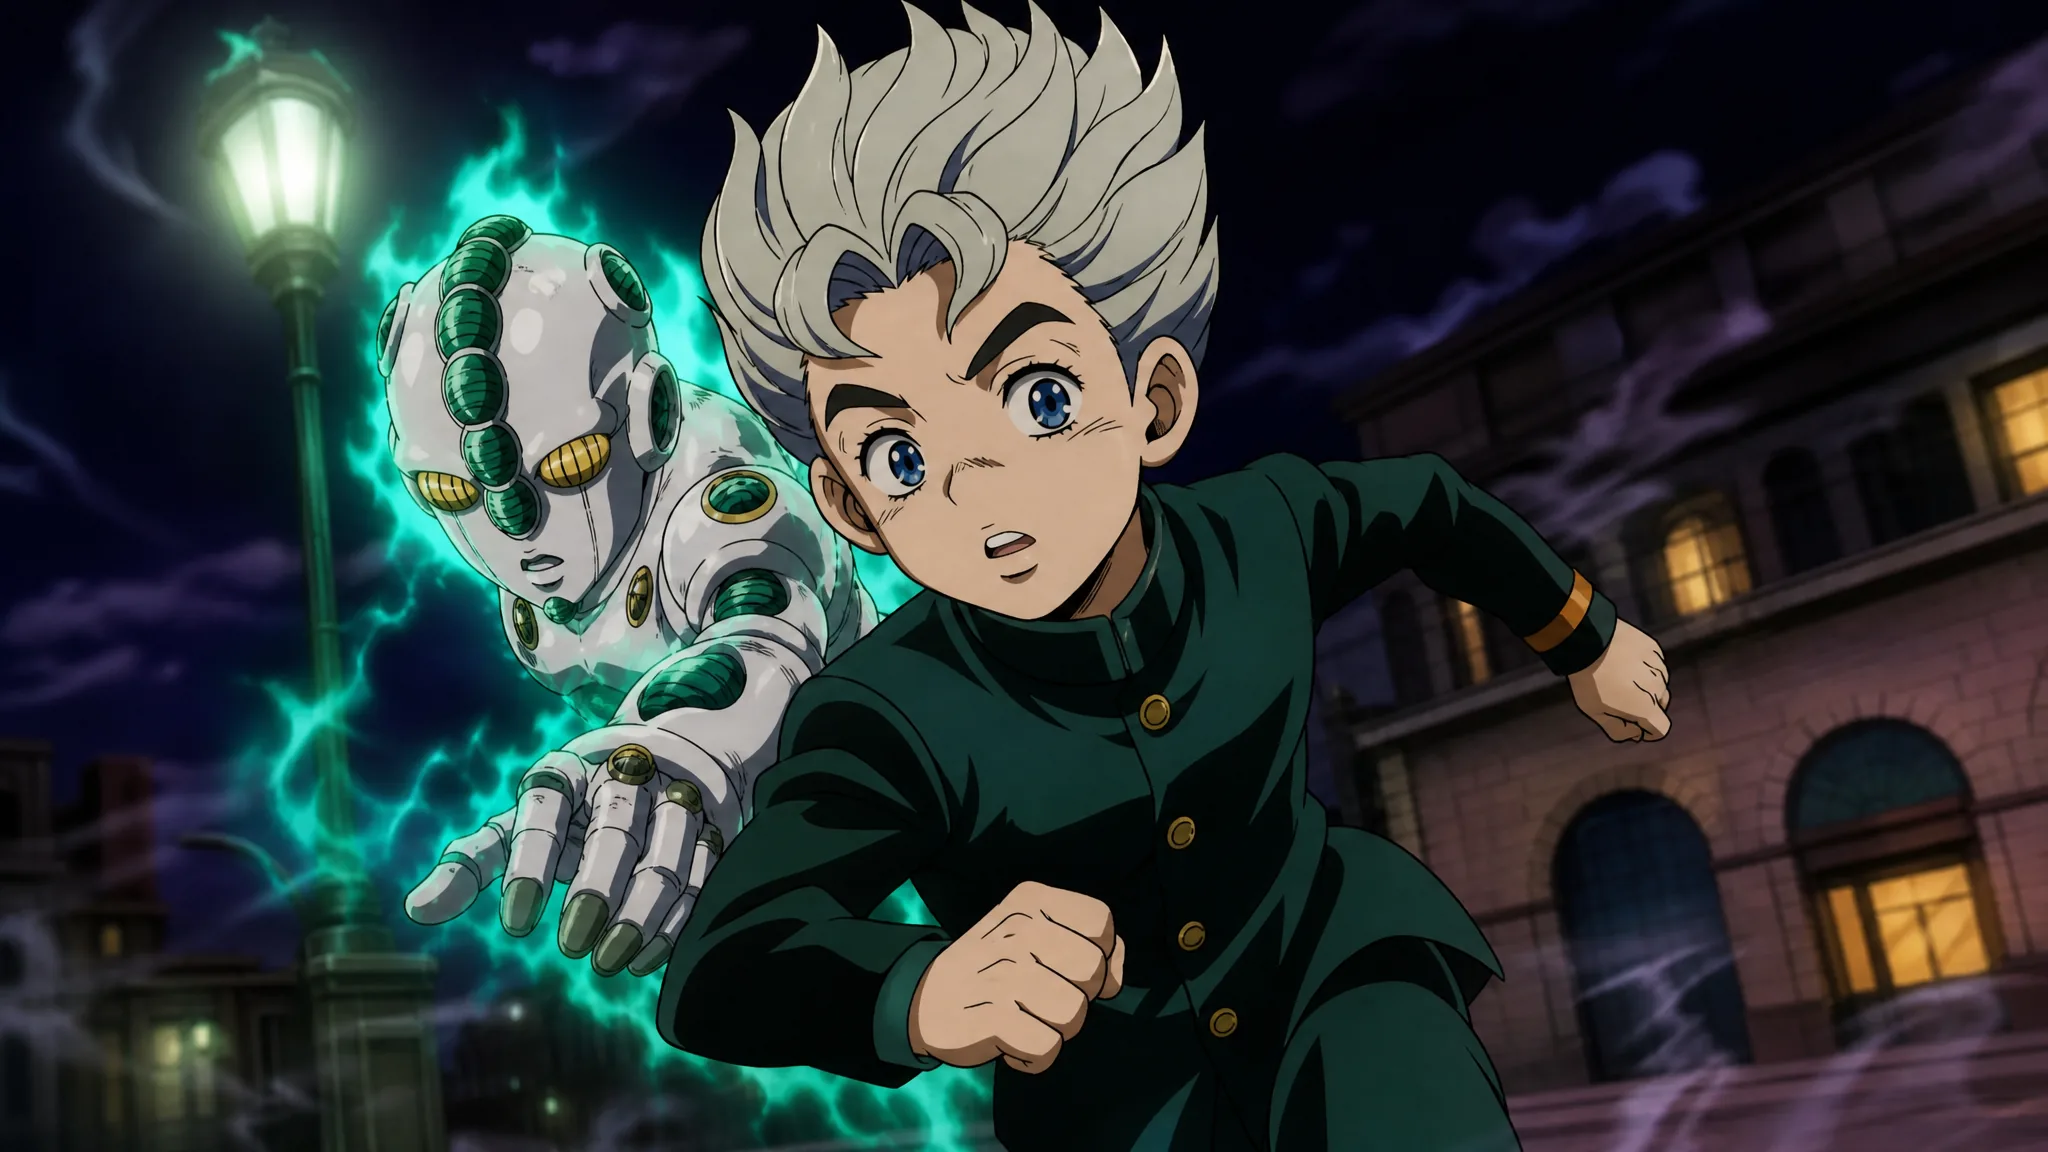
Quick answer: Build around the S+ picks first — Caesar Anthonio Zeppeli and Koichi Hirose for damage and control, Ermes Costello and Jonathan Joestar for the frontline, and Giorno Giovanna and Tonio Trendy for support. Everything below S is playable, but those six give the strongest core.
Placements weigh boss and single-target output, area damage, crowd control, survivability, Arena disruption, consistency across modes, and how much investment or team support a unit needs to reach its ceiling. These rankings reflect the final Closed Beta balance as the game launches worldwide (excluding Japan) on August 13, 2026. Launch-day tuning may shift individual spots.
Golden Spirit tier list summary
Tiers run from S+ (best in role) down to C (narrow and easily countered). Read them within each column, not across — an A-tier support is not weaker than an A-tier damage dealer, just judged against a different job.
| Tier | Damage & Control | Tank & Bruiser | Support & Enabler |
|---|---|---|---|
| S+ | Koichi Hirose, Caesar Anthonio Zeppeli | Ermes Costello, Jonathan Joestar | Giorno Giovanna, Tonio Trendy |
| S | Pet Shop, N’Doul, Mohammed Avdol, Johngalli A., Hol Horse, F.F., Cioccolata, Bruno Bucciarati | Santviento | Joseph Joestar, Kenzou, Robert E. O. Speedwagon |
| A | Diavolo, Secco, Tarukus, Prosciutto, Akira Otoishi, Guido Mista, Viviano Westwood, Melone, Chaka, Sports Maxx, Pesci, Narancia Ghirga, Formaggio, Mario Zucchero, Anjuro Katagiri, Blueford | Leone Abbacchio, Ghiaccio, Rudol von Stroheim | Lisa Lisa, Will A. Zeppeli, Lang Rangler |
| B | Gwess, Captain Dragon, Squalo, Straizo, Sale, Shigekiyo Yangu, Leaky Eye Luca | Rubber Soul | — |
| C | Mariah | — | — |
Damage and control characters ranked
Damage picks are judged on boss pressure, area clear, and Arena value. Caesar Anthonio Zeppeli tops the role because Bubble Cutter Gliding stacks penetrating hits and Attack Speed while Bubble Lenses adds ricocheting area damage, and his Hamon punishes Vampires and Zombies. Koichi Hirose sits beside him as a control engine, turning an ally into the center of repeated area attacks and Immobilize, though he needs enemies to cluster and allies to trigger Onomatopoeia.
Below them, the S group splits between clean single-target carries and control specialists. Hol Horse and Johngalli A. can out-race more flexible units against one boss but fall apart the moment crowd control interrupts their channel. Pet Shop, Cioccolata, and Mohammed Avdol trade some raw ceiling for reliable status pressure that works in nearly every fight.
| Character | Tier | Why it lands here |
|---|---|---|
 Caesar Anthonio Zeppeli (SSR, Ranged) Caesar Anthonio Zeppeli (SSR, Ranged) | S+ | Penetrating basics, ricocheting bubbles, guaranteed Immobilize at max level, and a Hamon edge against undead. |
 Koichi Hirose (SSR, Special) Koichi Hirose (SSR, Special) | S+ | Area damage plus delayed control through Onomatopoeia and Smack; needs clustered enemies to peak. |
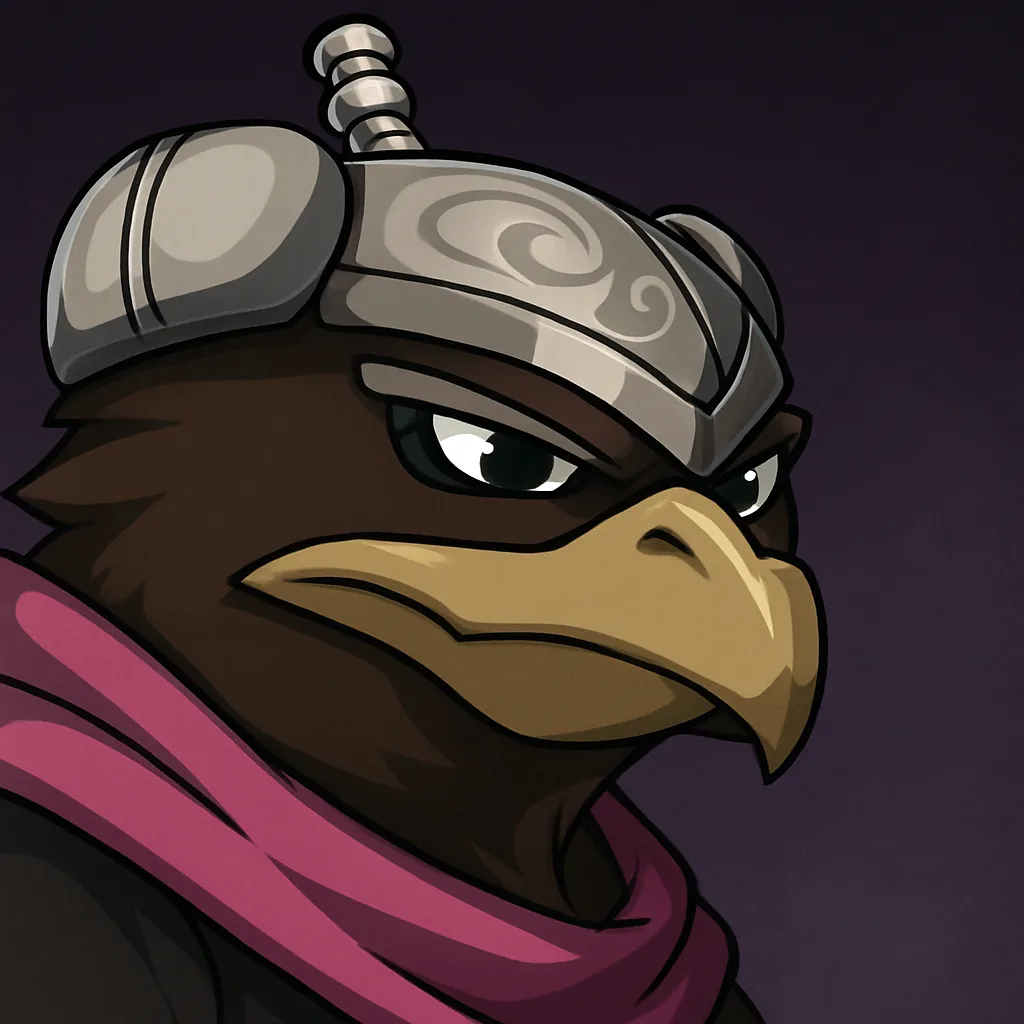 Pet Shop (SR, Special) Pet Shop (SR, Special) | S | Line damage, Freeze on Chilling targets, and stored enhanced attacks; wants Chill set up first. |
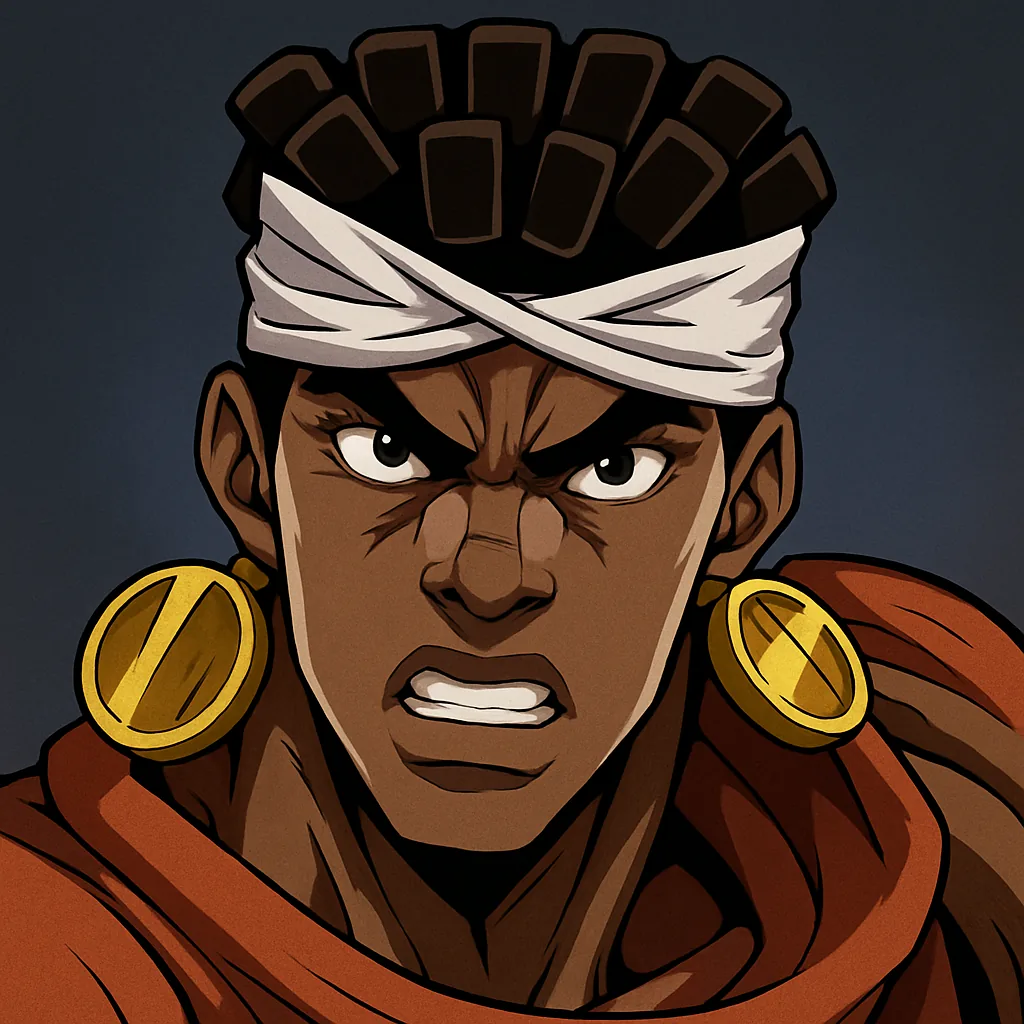 Mohammed Avdol (SSR, Special) Mohammed Avdol (SSR, Special) | S | Full-team Burn, Immobilize, and Energy refunds; peak output comes in Ultimate windows. |
 Bruno Bucciarati (SSR, Agility) Bruno Bucciarati (SSR, Agility) | S | A 21-second Stealth opener, guaranteed Stun, and a five-second banish for Arena disruption. |
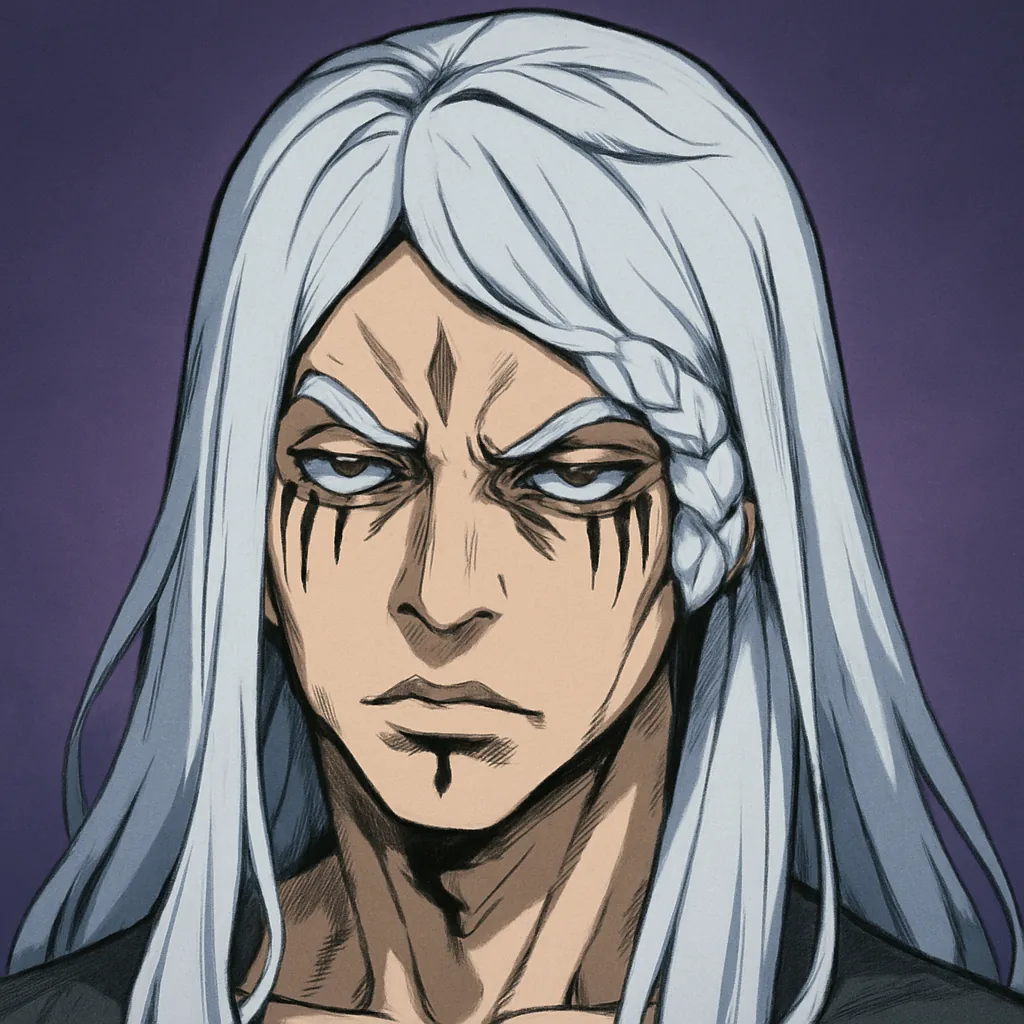 Johngalli A. (SR, Ranged) Johngalli A. (SR, Ranged) | S | A 2000% Attack payload against durable single targets; the Ultimate is interruptible and offers no area. |
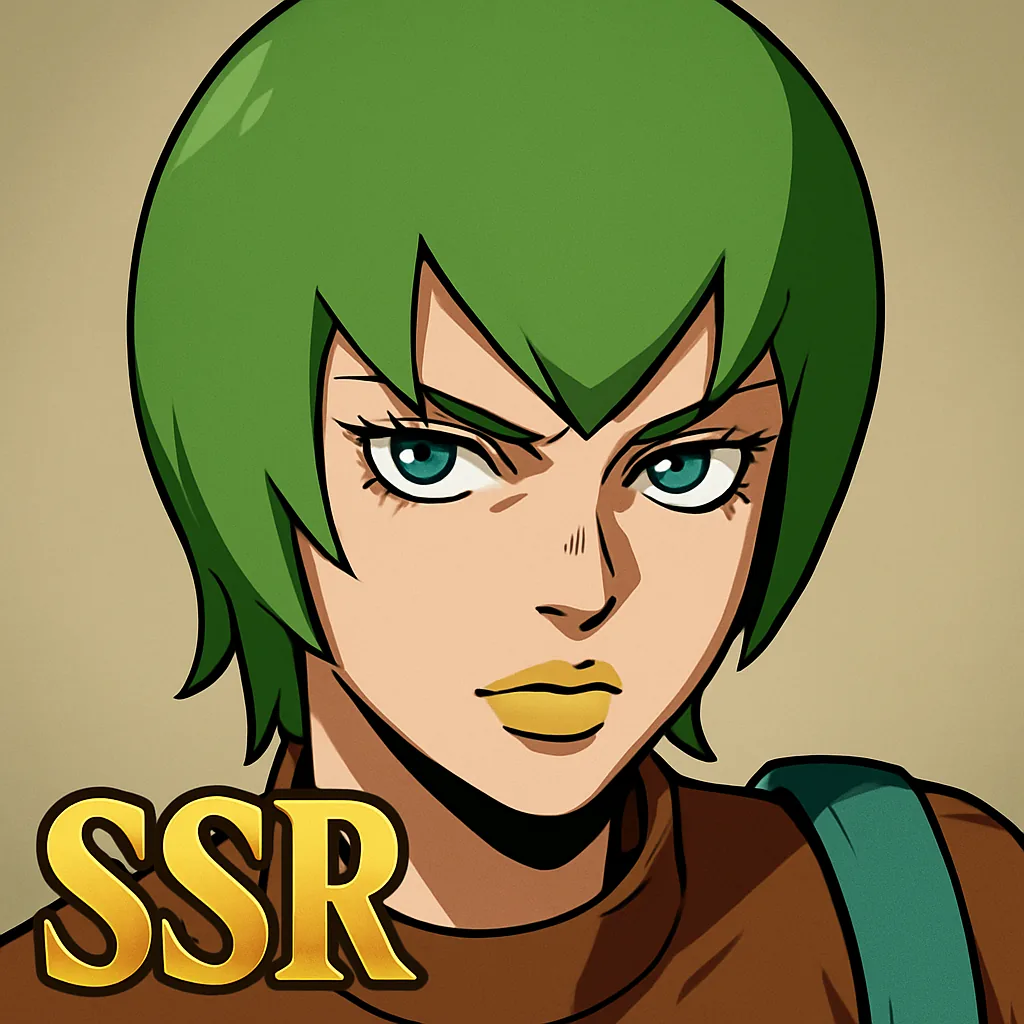 F.F. (SSR, Ranged) F.F. (SSR, Ranged) | S | A persistent Colony attacker and strong recovery; single-target focused, and the Colony ignores badge effects. |
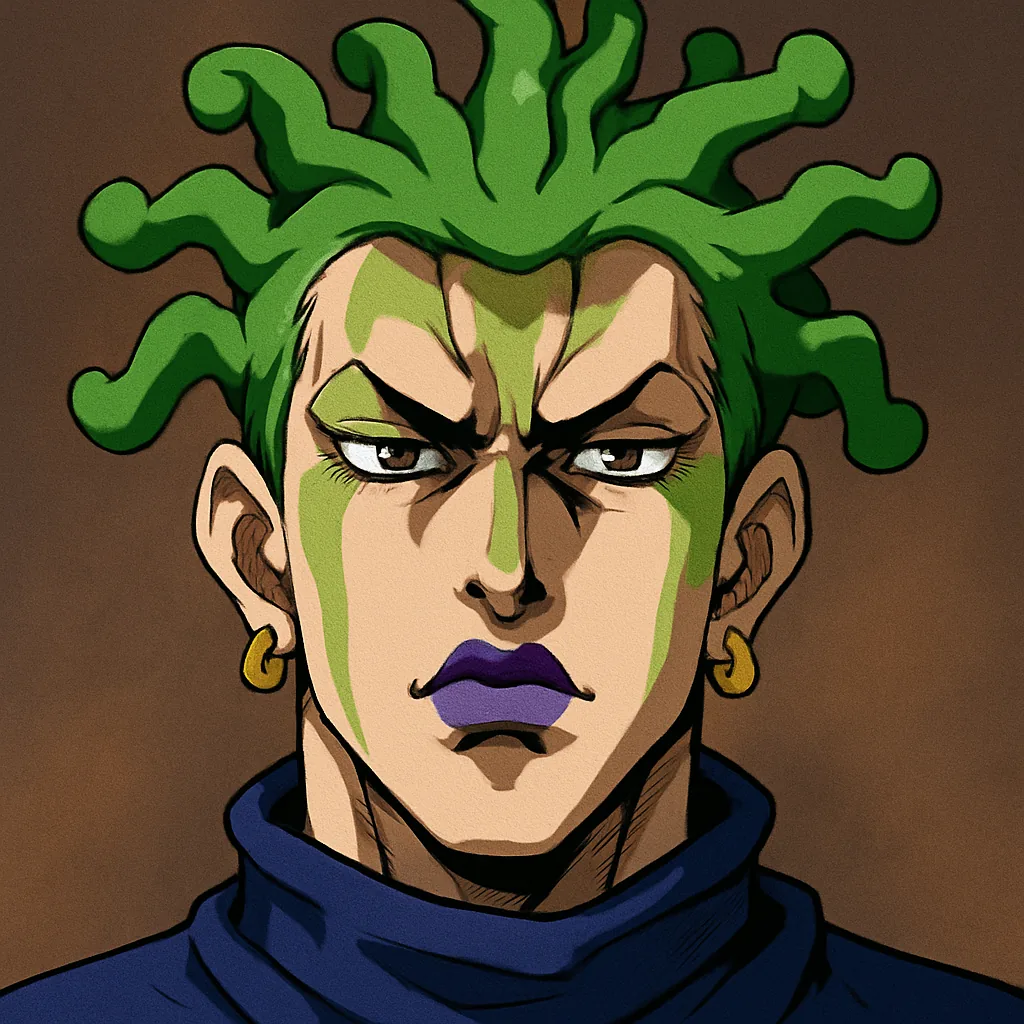 Cioccolata (SSR, Special) Cioccolata (SSR, Special) | S | Battlefield-wide Mold Infection and Effect Res reduction; his statuses vanish when he leaves the field. |
 Hol Horse (SR, Ranged) Hol Horse (SR, Ranged) | S | Elite boss ceiling through Attack Marks, Defense penetration, and crit Energy; any control breaks his channel. |
 N’Doul (SR, Agility) N’Doul (SR, Agility) | S | Repeated Stun chances and heavy Energy denial; Shields shut down his best skill and his channel can be interrupted. |
 Diavolo (SSR, Agility) Diavolo (SSR, Agility) | A | A durable assassin with a Stealth opener and Isolated payoff, but no meaningful area damage. |
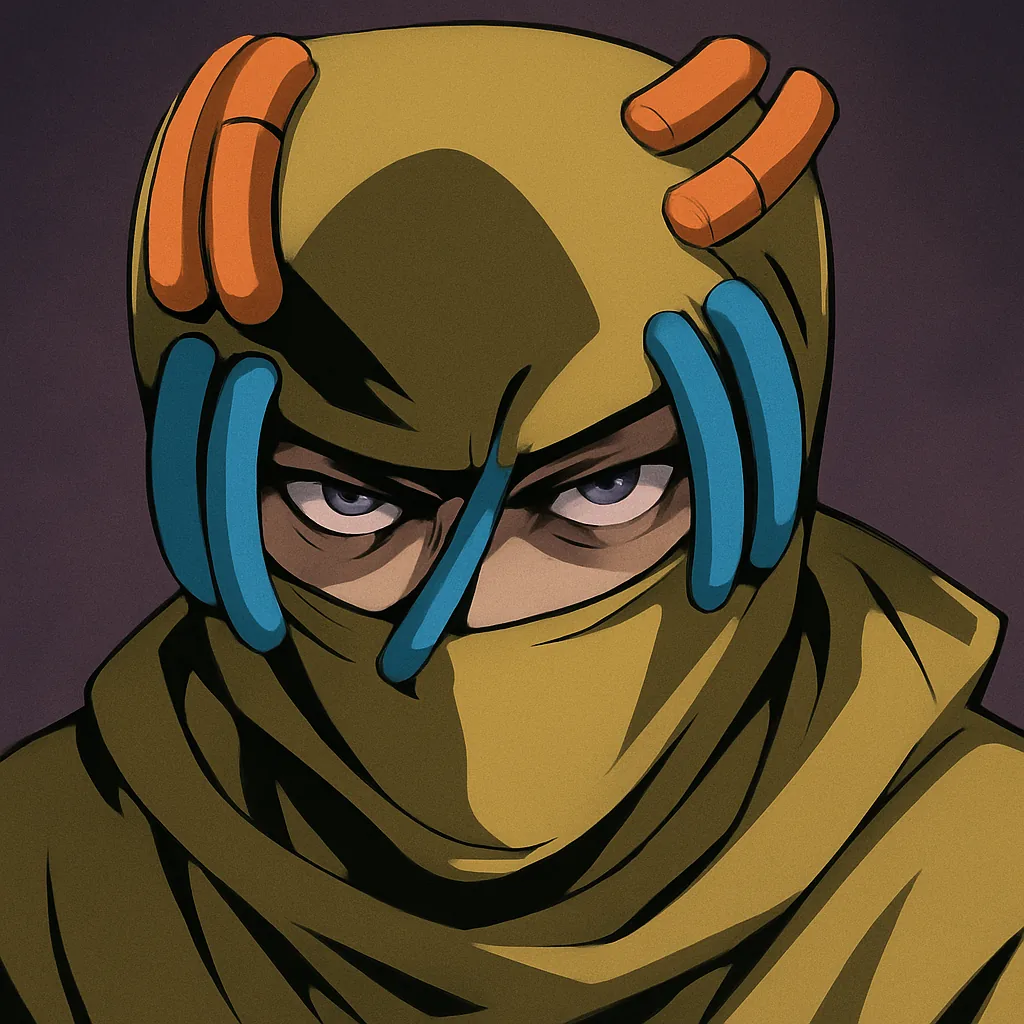 Secco (SR, Assault) Secco (SR, Assault) | A | Grounds and softens enemies inside his Ultimate area; spread-out foes cut his impact. |
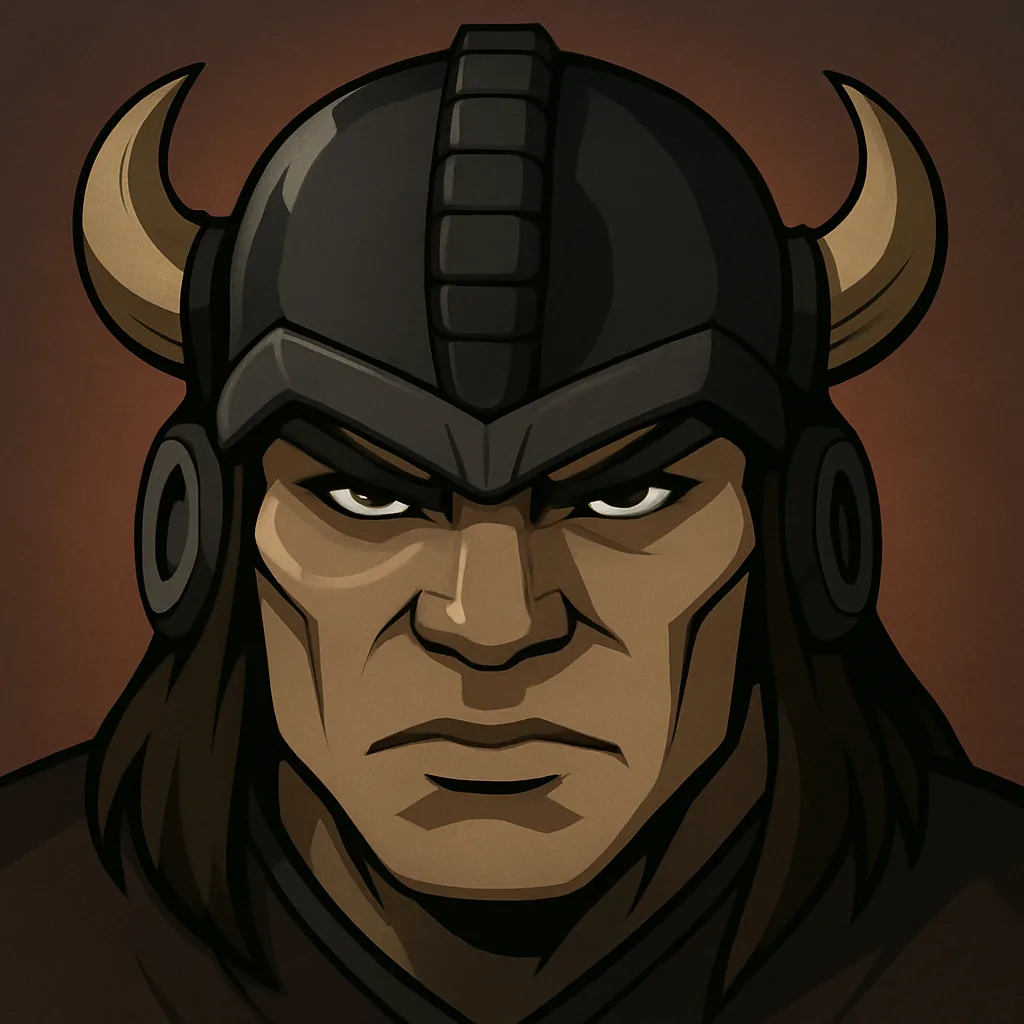 Tarukus (SR, Assault) Tarukus (SR, Assault) | A | Heavy single-target damage, guaranteed Suppress, and a sub-20% execute; almost no team-wide value. |
 Prosciutto (SSR, Assault) Prosciutto (SSR, Assault) | A | Team-wide Senility and executes; ordinary damage lags when foes stay above the threshold. |
 Akira Otoishi (SR, Agility) Akira Otoishi (SR, Agility) | A | Energy drain that scales his Ultimate plus a one-time revive; no area or ally protection. |
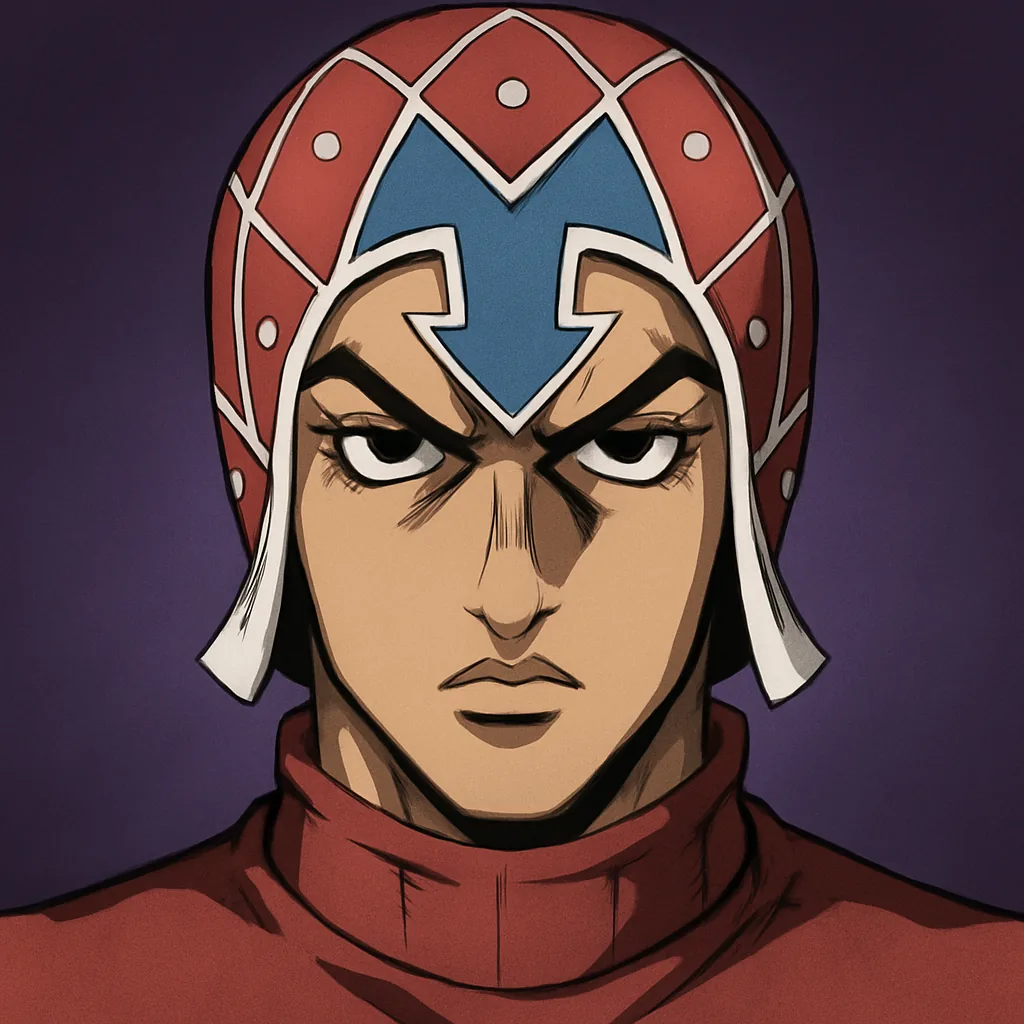 Guido Mista (SR, Ranged) Guido Mista (SR, Ranged) | A | Strong single-target bursts with Defense penetration; must stay stationary and misses every fourth attack. |
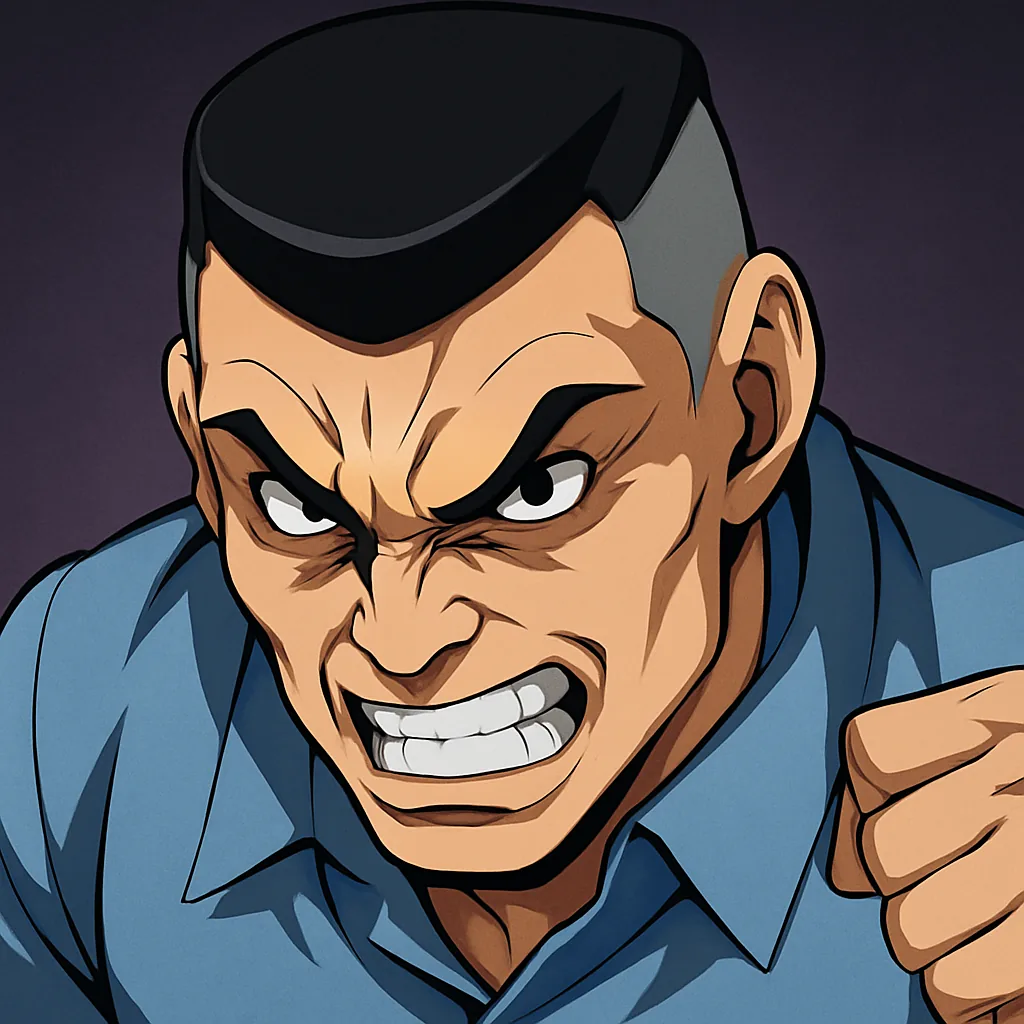 Viviano Westwood (SR, Assault) Viviano Westwood (SR, Assault) | A | Guaranteed Stun and bonus damage on Burning targets; needs Burn support and offers no protection. |
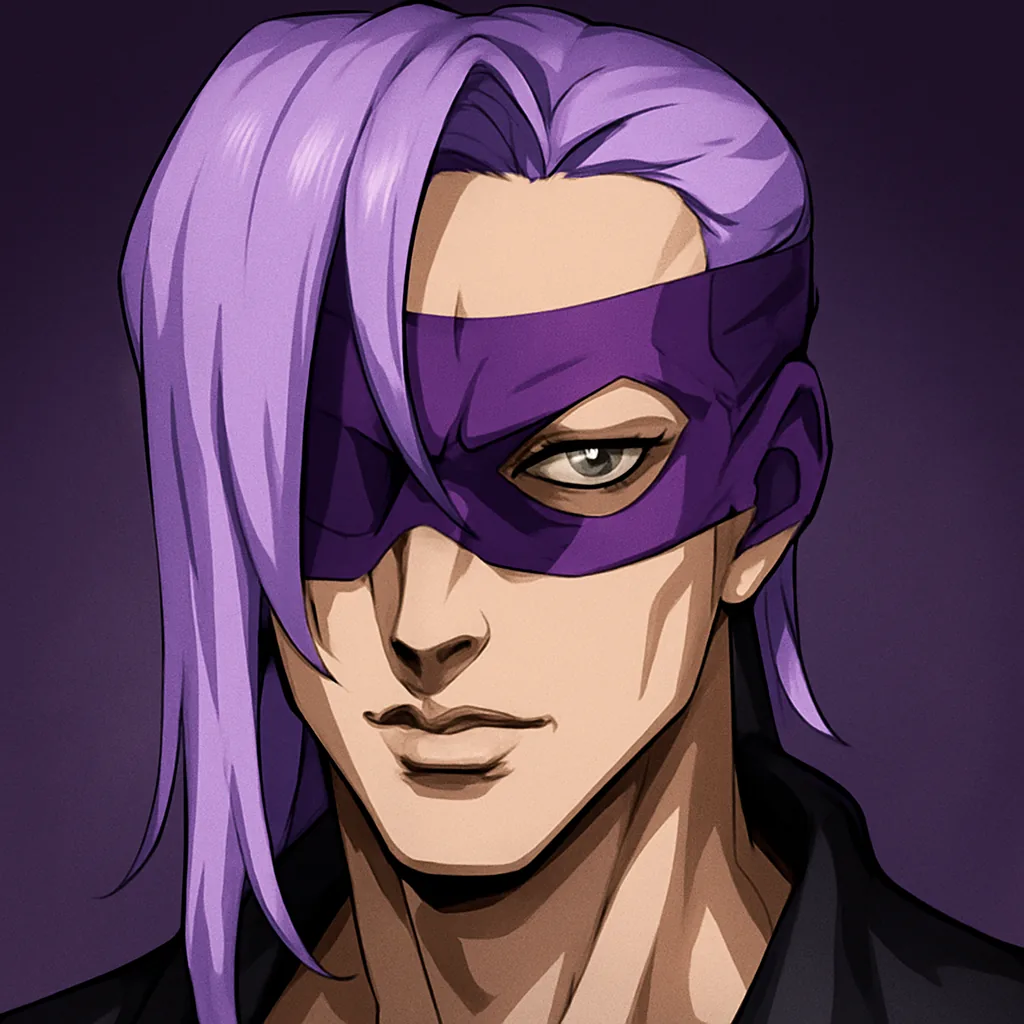 Melone (SR, Agility) Melone (SR, Agility) | A | Babyhead grows over time and can Silence; single-target only, and Melone flees if the doll falls alone. |
 Chaka (SR, Assault) Chaka (SR, Assault) | A | Snowballs Attack and Attack Speed with Defense penetration; needs time or assists and lacks hard control. |
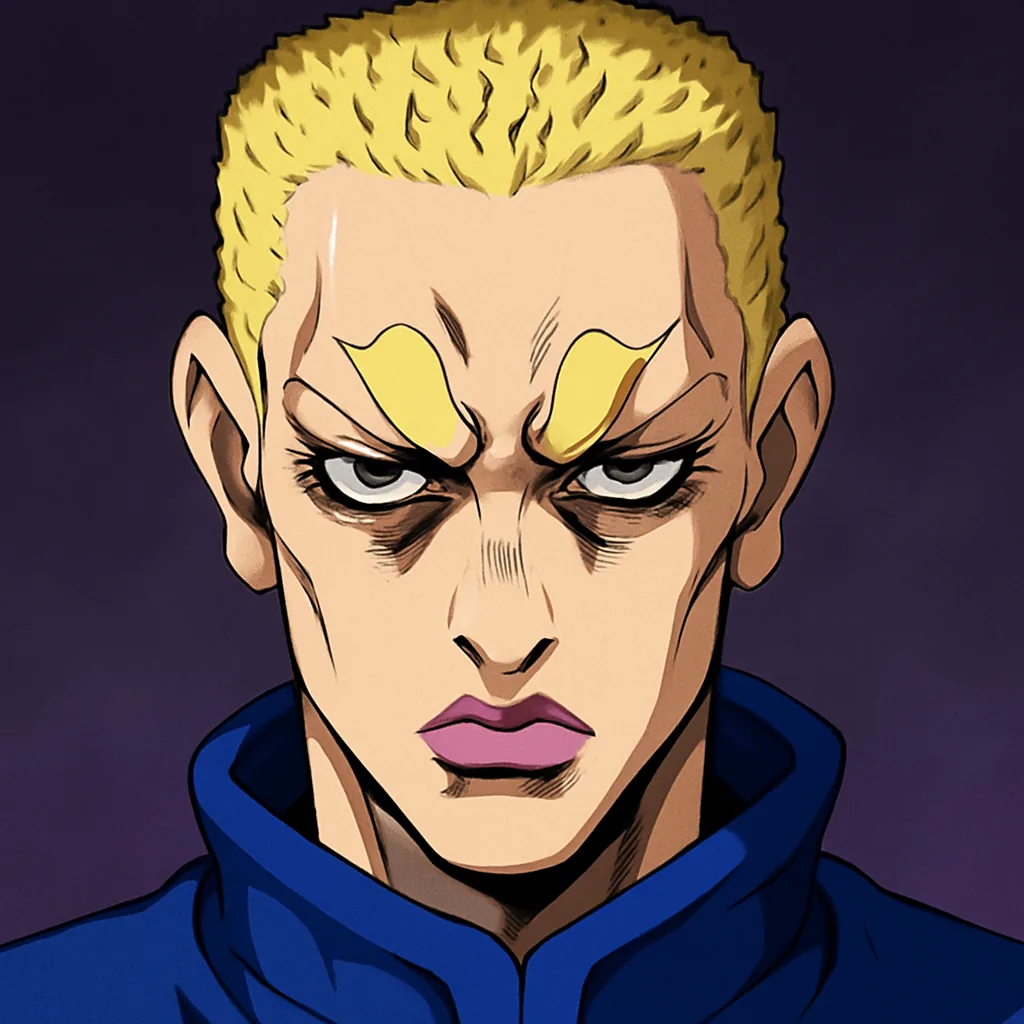 Sports Maxx (SR, Assault) Sports Maxx (SR, Assault) | A | Multi-target Defense Down and Bleed plus a post-death window; random targeting hurts consistency. |
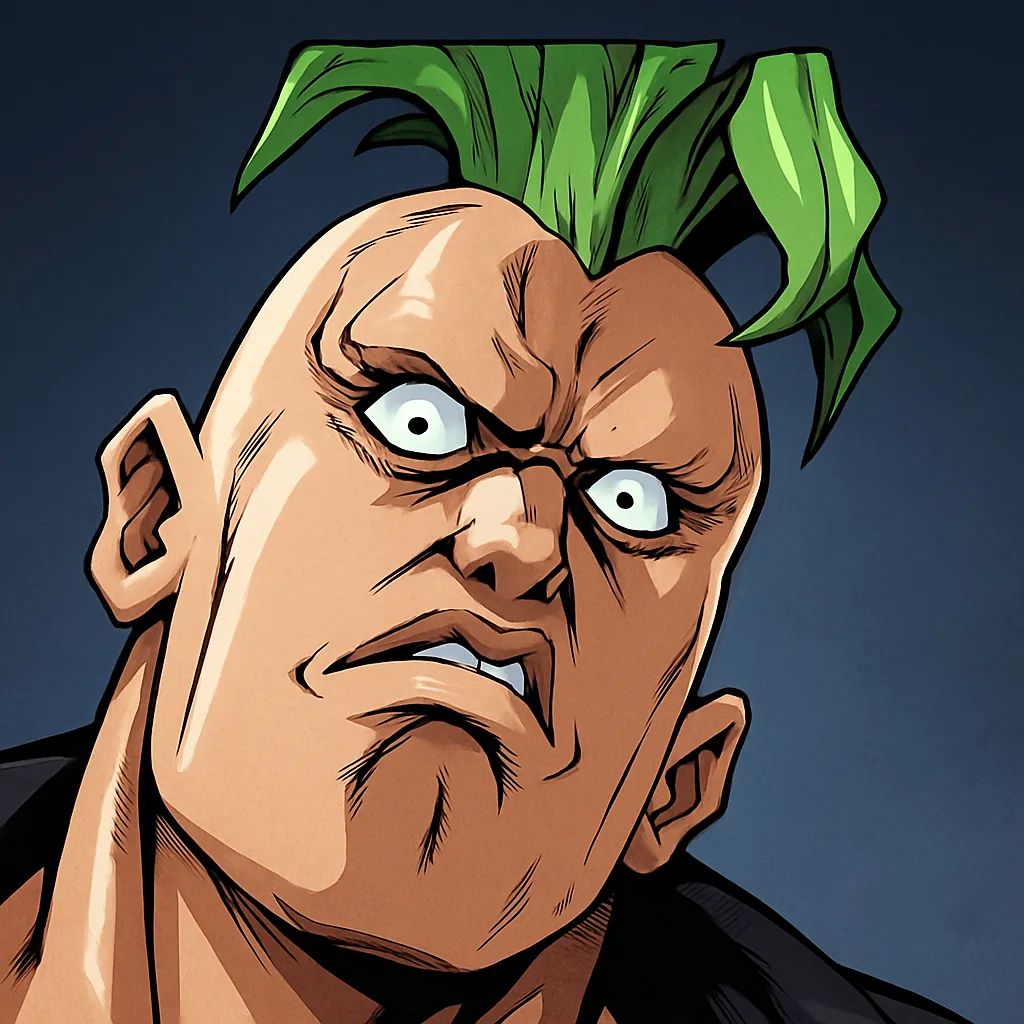 Pesci (R, Support) Pesci (R, Support) | A | Can open with a full Ultimate, locking one enemy in a three-second Stun; no area and easily interrupted. |
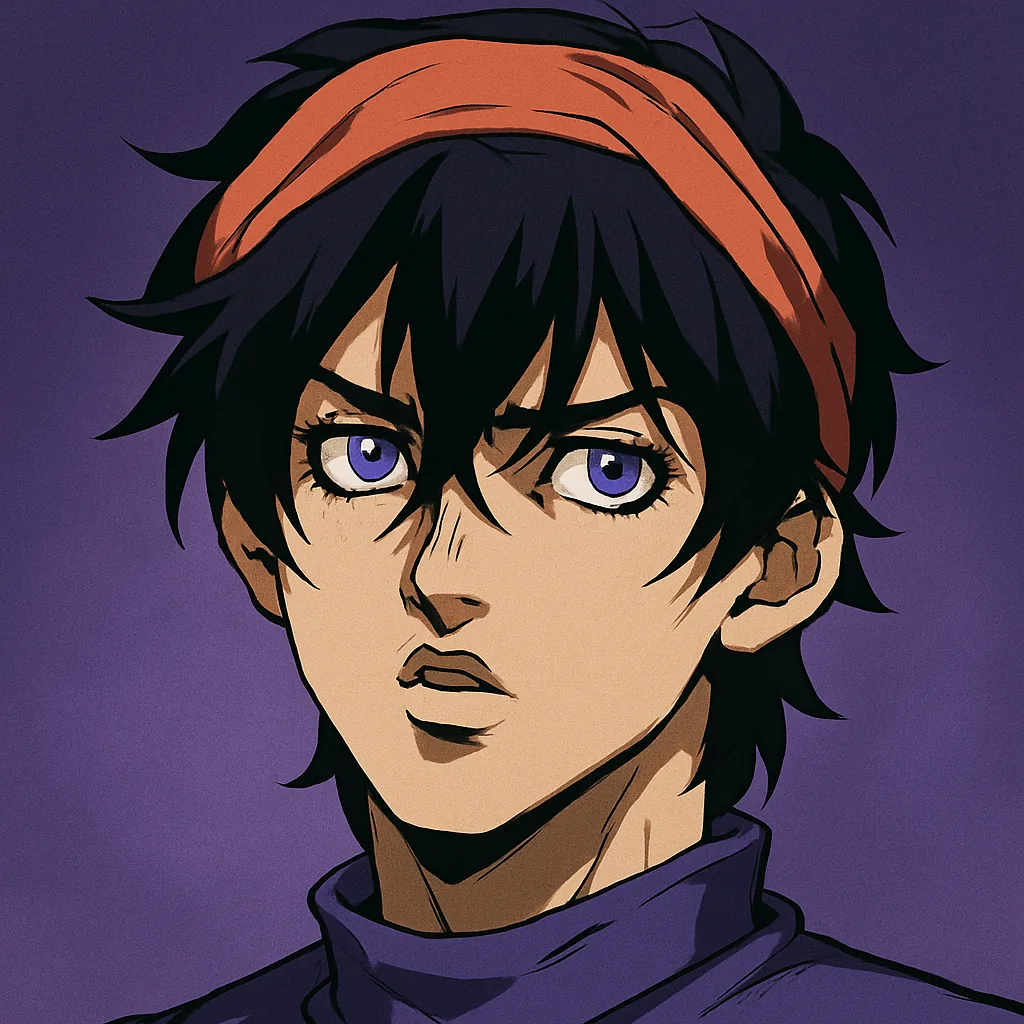 Narancia Ghirga (SR, Special) Narancia Ghirga (SR, Special) | A | Immediate area damage, Burn, and allied Effect Hit; single-target output is only moderate. |
 Formaggio (SR, Agility) Formaggio (SR, Agility) | A | Guaranteed four-second Stun and a Shrink; the low-HP comeback fires once and sustained damage is modest. |
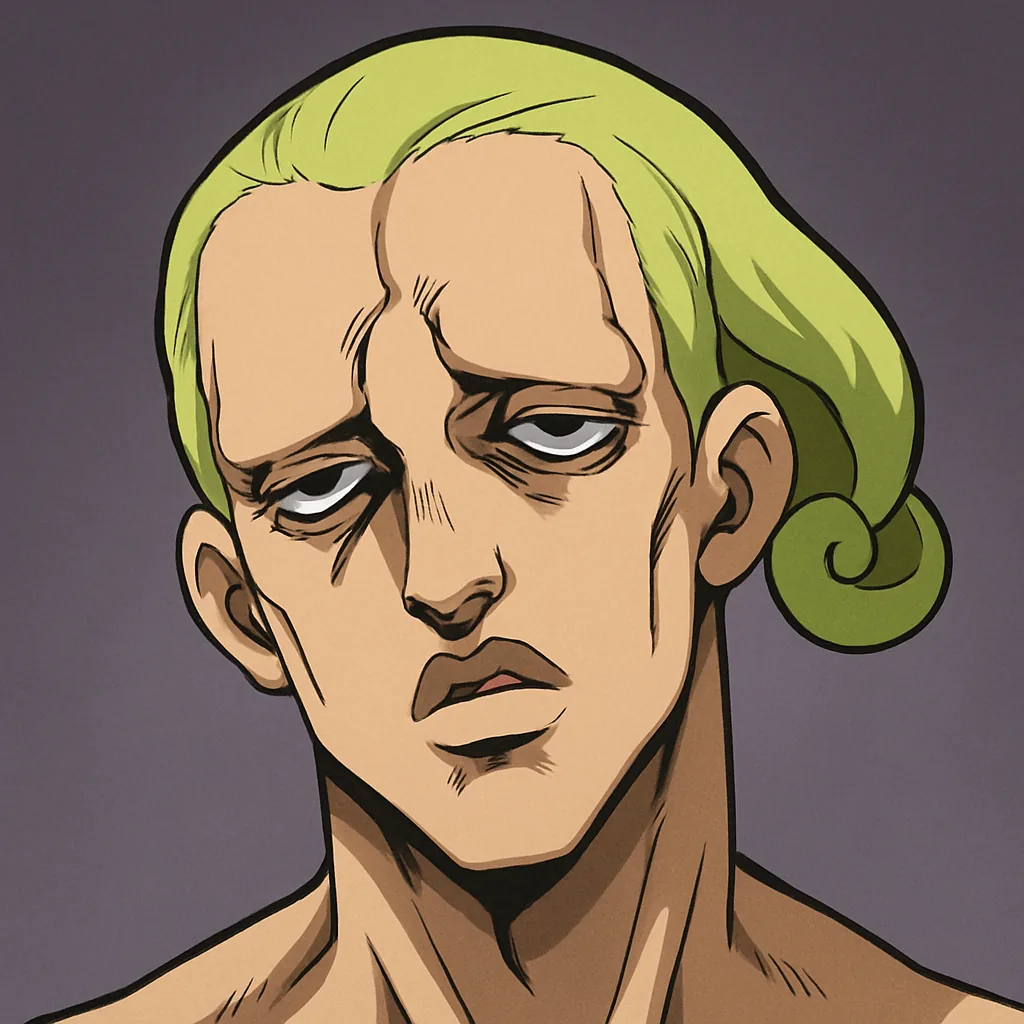 Mario Zucchero (SR, Agility) Mario Zucchero (SR, Agility) | A | Instantly breaks Shields before Deflate; a five-second Stealth window and no area or support otherwise. |
 Anjuro Katagiri (R, Special) Anjuro Katagiri (R, Special) | A | Wide Dampness and missing-HP damage; needs setup time and brings no control or sustain. |
 Blueford (R, Assault) Blueford (R, Assault) | A | A budget finisher with missing-HP scaling and Defense Down stacks; melee only and no hard control. |
 Gwess (R, Agility) Gwess (R, Agility) | B | A long five-second Shrink; any control on Gwess removes every Shrink she applied. |
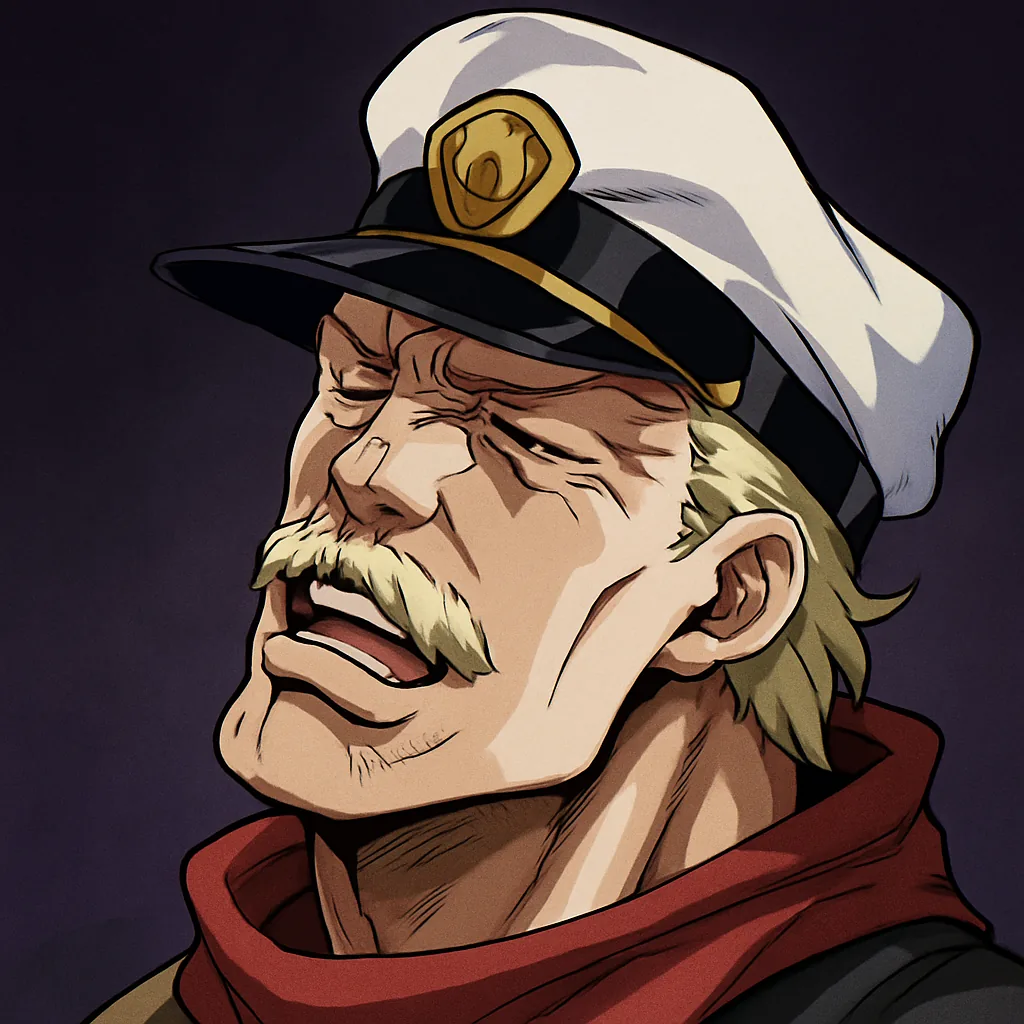 Captain Dragon (SR, Special) Captain Dragon (SR, Special) | B | Area damage and allied Debuff Proficiency; the four-second channel blocks basics and invites interruption. |
 Keicho Nijimura (SR, Ranged) Keicho Nijimura (SR, Ranged) | B | Summons steady bodies to absorb attention; summoned attacks skip his extra skill and badge effects. |
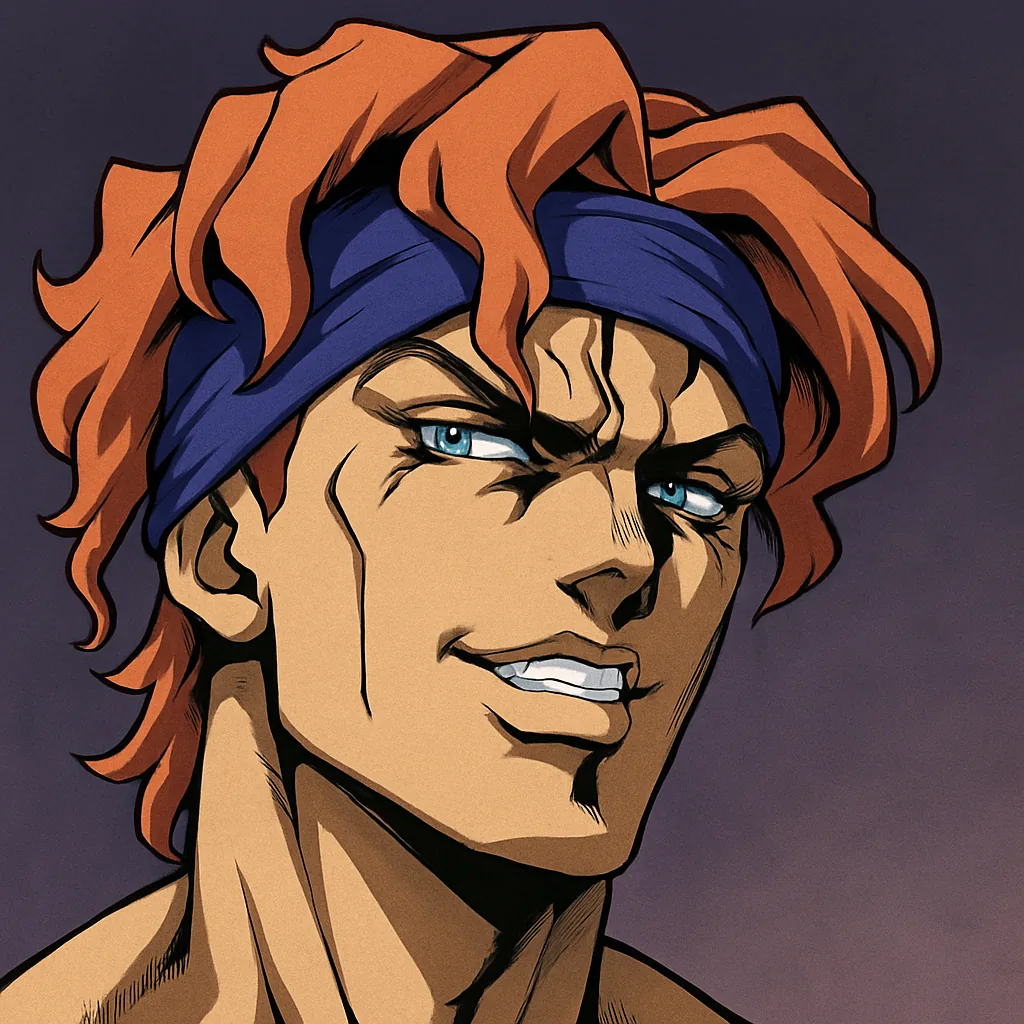 Squalo (R, Agility) Squalo (R, Agility) | B | Four seconds of Silence and Energy removal on one target; interruptible and useless against extra enemies. |
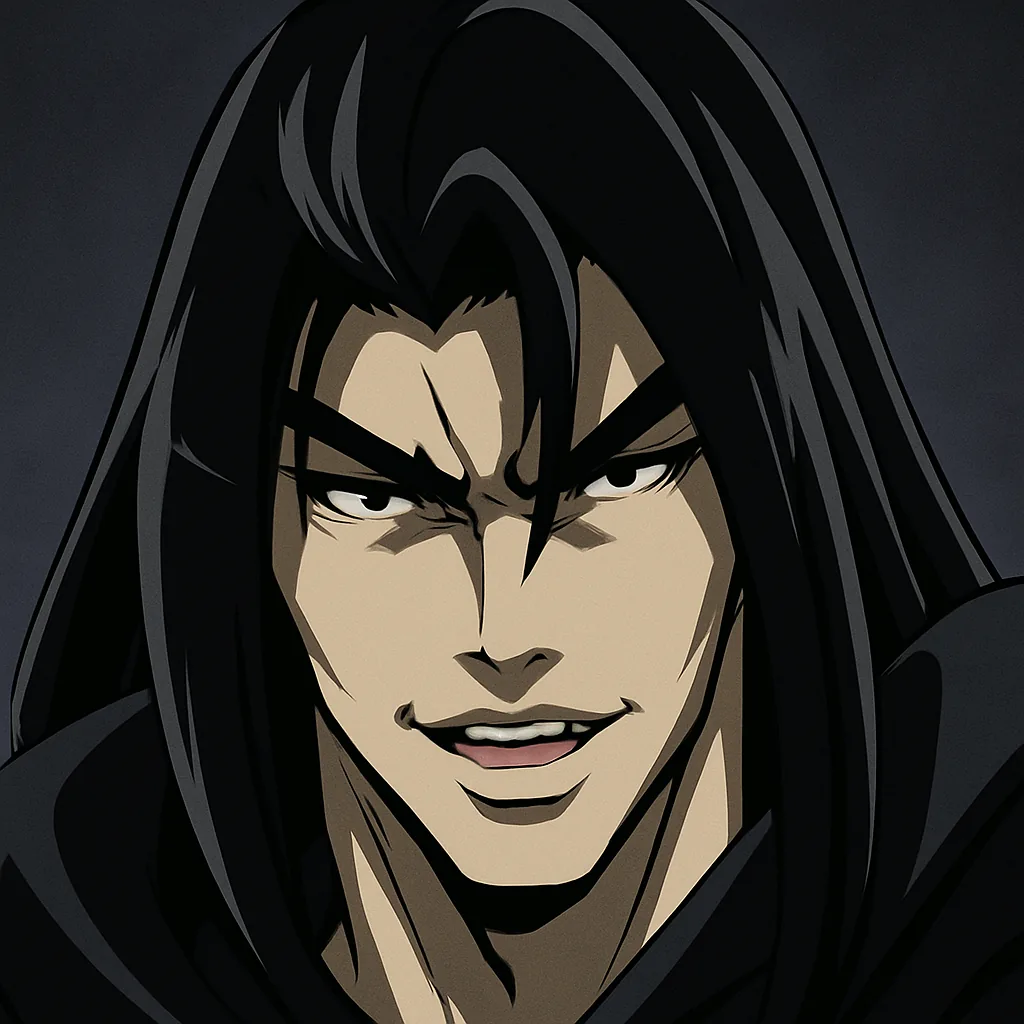 Straizo (R, Agility) Straizo (R, Agility) | B | A line attack and self-healing that neutralizes Hamon bonuses; damage drops per enemy hit, no control. |
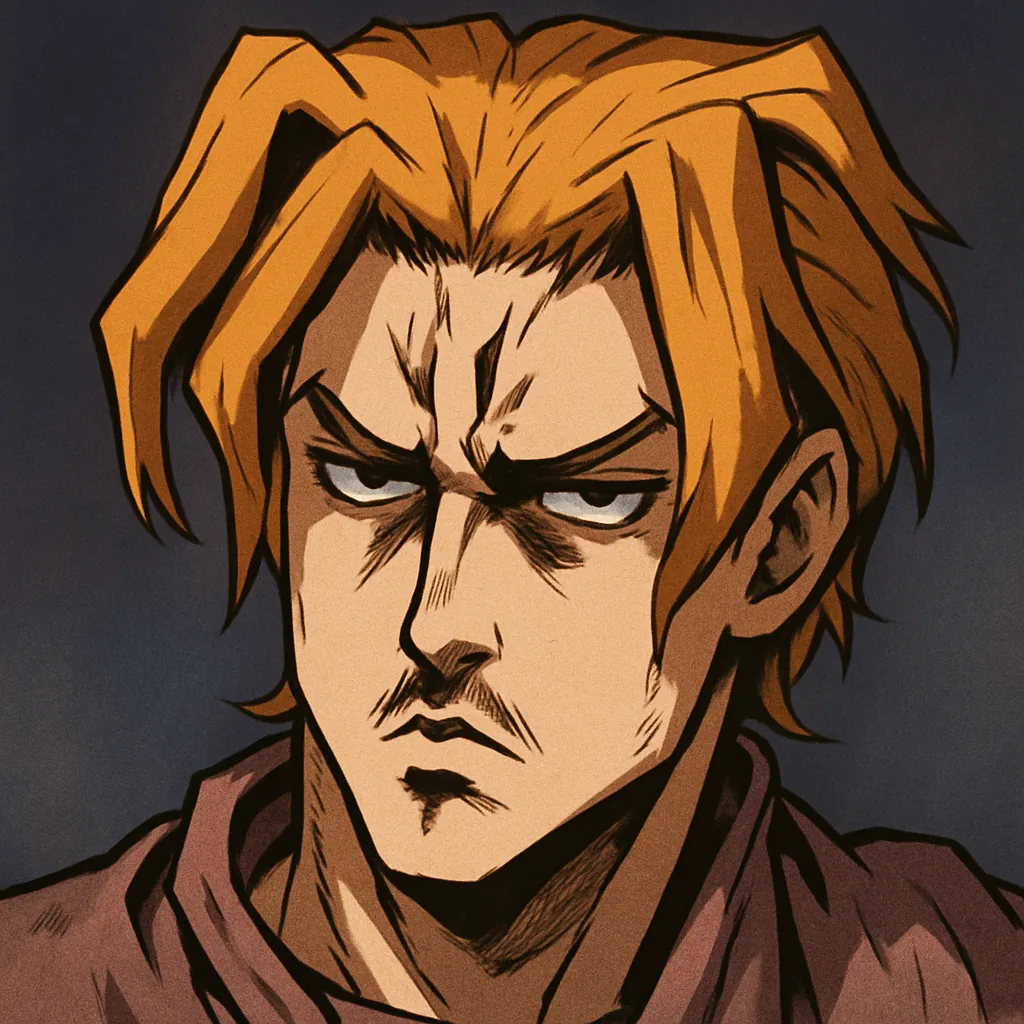 Sale (R, Ranged) Sale (R, Ranged) | B | A 1500% shot and a guaranteed Immobilize; the main attack is easy to interrupt with no area support. |
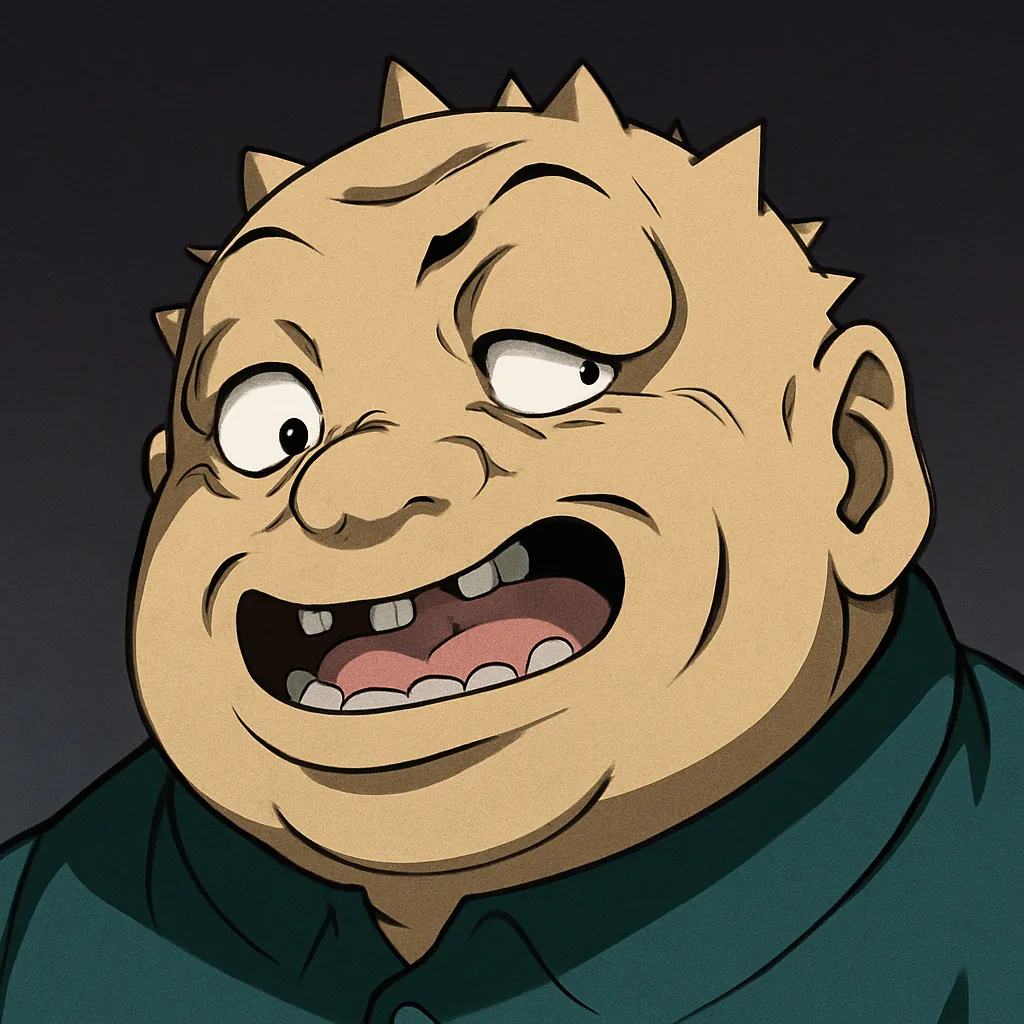 Shigekiyo Yangu (R, Special) Shigekiyo Yangu (R, Special) | B | Heavy area Energy denial when that matters more than damage; the channel is control-vulnerable. |
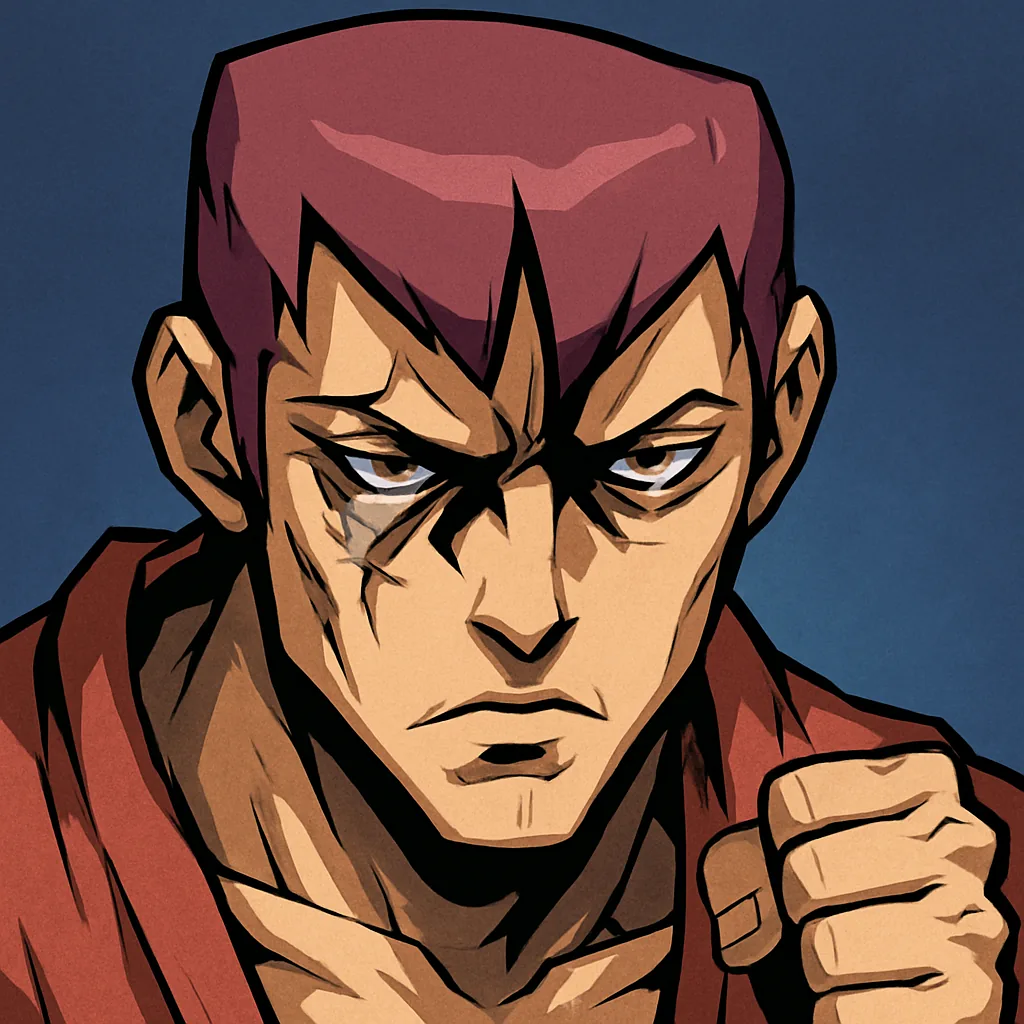 Leaky Eye Luca (R, Assault) Leaky Eye Luca (R, Assault) | B | Simple area damage on a short loop; needs assists to ramp and offers no control or sustain. |
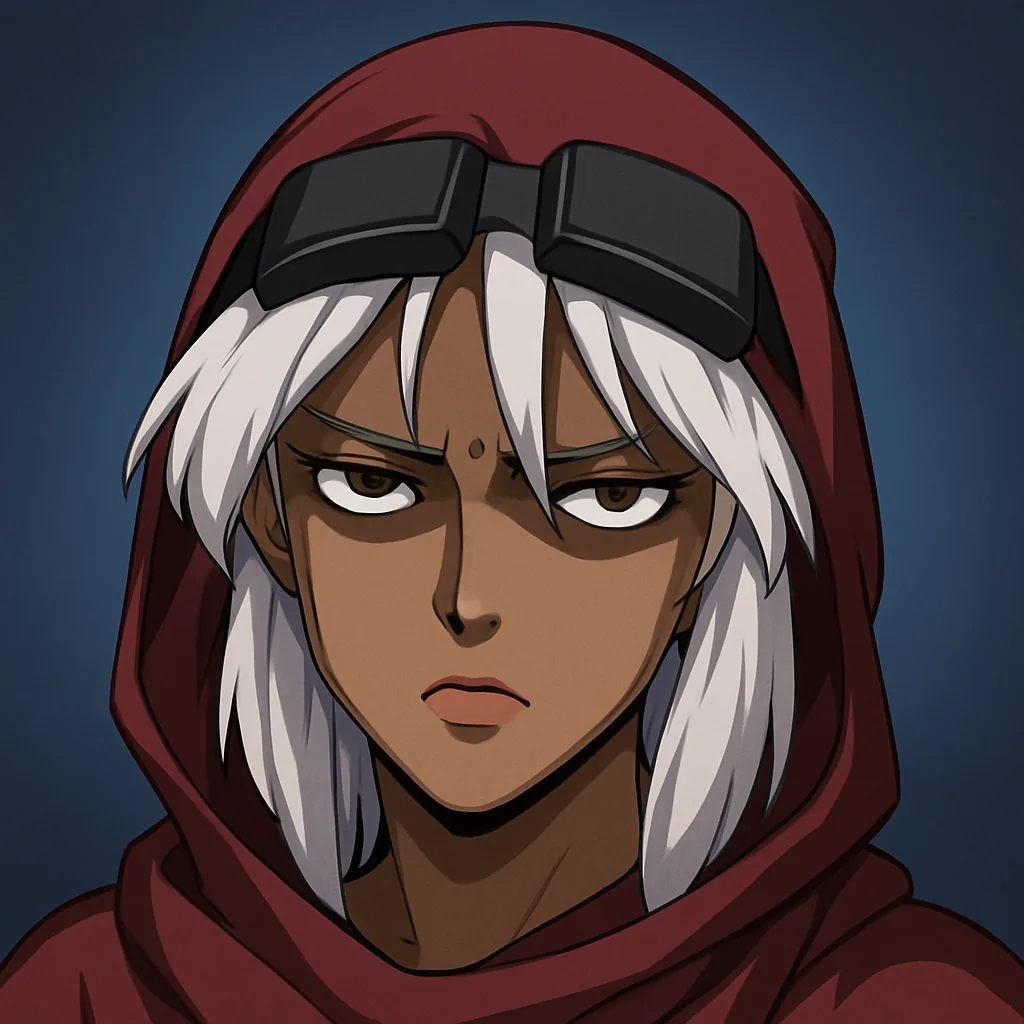 Mariah (R, Support) Mariah (R, Support) | C | Multi-target Stun when foes cluster and she is untouched; any control strips all her Magnetic Force stacks. |
Tank and bruiser characters ranked
Frontline scores come down to damage soaked, ally protection, emergency saves, disruption, and resistance to different attack types. Ermes Costello and Jonathan Joestar lead because they share protection with the whole team. Ermes refreshes Shields and can rescue the lowest-HP ally while Stunning nearby enemies. Jonathan layers Shields, HP sharing, and a lethal-damage rescue that redirects the attacker to himself. Santviento is the best pure self-sustain anchor, but he keeps all of that survivability to himself.
| Character | Tier | Why it lands here |
|---|---|---|
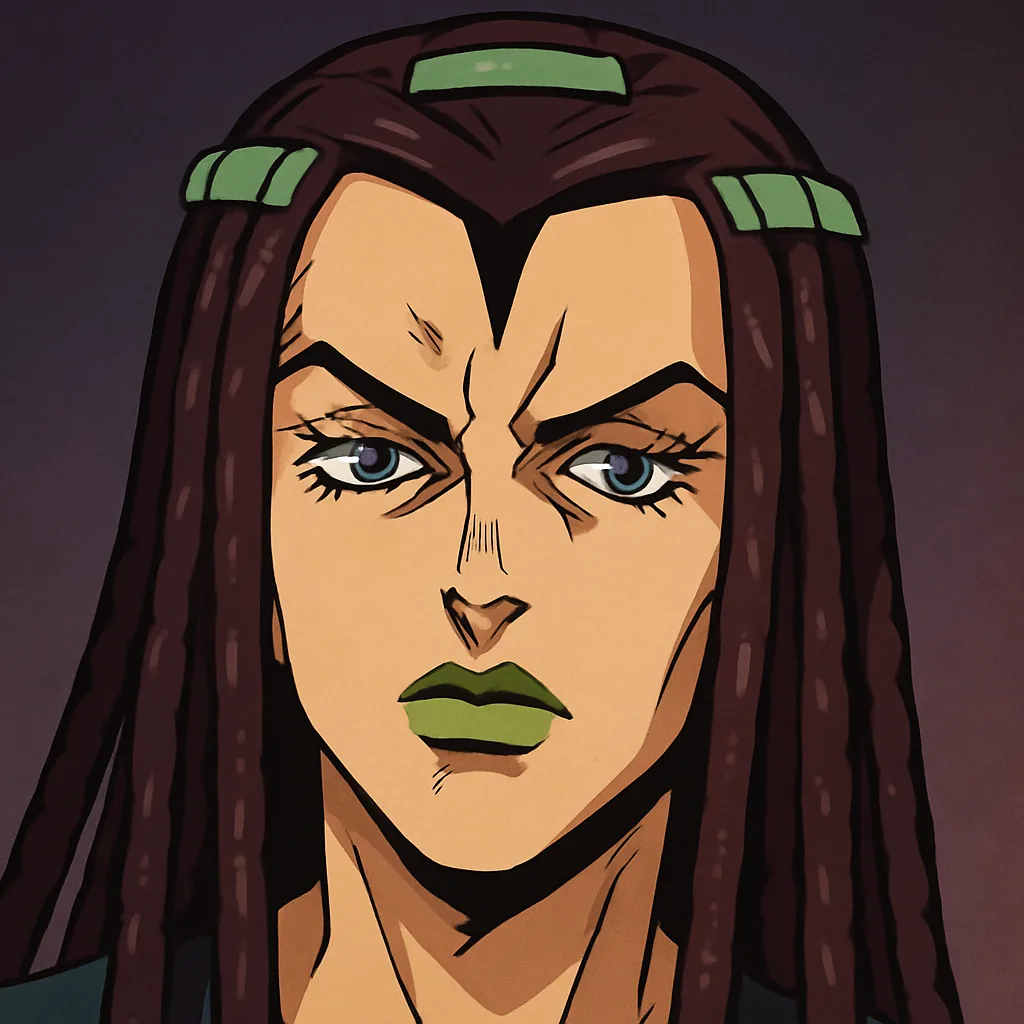 Ermes Costello (SSR, Defense) Ermes Costello (SSR, Defense) | S+ | Opening Shield, refreshed protection, and a low-HP rescue with a four-second Stun; the best team shielder. |
 Jonathan Joestar (SSR, Defense) Jonathan Joestar (SSR, Defense) | S+ | Shields, HP sharing, and a lethal-damage save in one kit; protection is range-dependent and his damage is modest. |
 Santviento (SR, Defense) Santviento (SR, Defense) | S | Massive scaling heals and stacking Defense Up; unmatched self-sustain but no ally protection. |
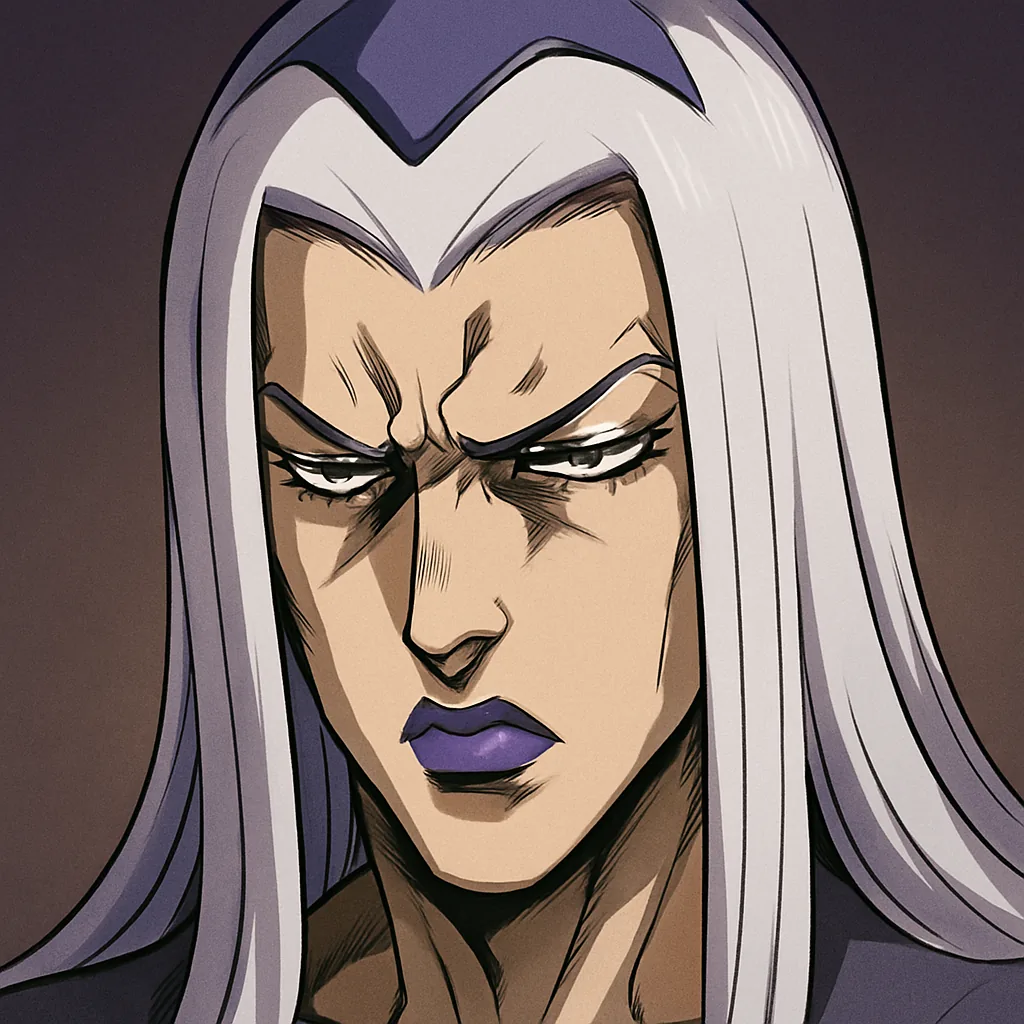 Leone Abbacchio (SR, Defense) Leone Abbacchio (SR, Defense) | A | Aggro redirection and huge Shields against predictable focus; weak when several allies are hit at once. |
 Ghiaccio (SR, Defense) Ghiaccio (SR, Defense) | A | Up to 35% ranged resistance for allies plus Freeze; loses much of his value outside ranged-heavy matchups. |
 Rudol von Stroheim (SR, Defense) Rudol von Stroheim (SR, Defense) | A | Strong personal durability and self-healing; his repair Stuns him for three seconds and he shields no one else. |
 Rubber Soul (R, Defense) Rubber Soul (R, Defense) | B | A budget melee counter that converts damage into healing; no Shields, control, or ally protection. |
Support and enabler characters ranked
Supports are measured on healing, cleansing, Energy generation, damage amplification, and control that keeps a carry alive and firing. Giorno Giovanna is the standout because he feeds Energy to the whole team and heals for up to 70% of his own Max HP, with a flexible offensive Ultimate as an alternative. Tonio Trendy matches him through continuous area healing that grows permanently and removes up to five debuffs at once. Note that neither of the top damage-focused enablers replaces a dedicated cleanser if your team is drowning in debuffs.
| Character | Tier | Why it lands here |
|---|---|---|
 Giorno Giovanna (SSR, Support) Giorno Giovanna (SSR, Support) | S+ | Team-wide Energy, big single-target healing, and a damage Ultimate; the kit has no Cleanse. |
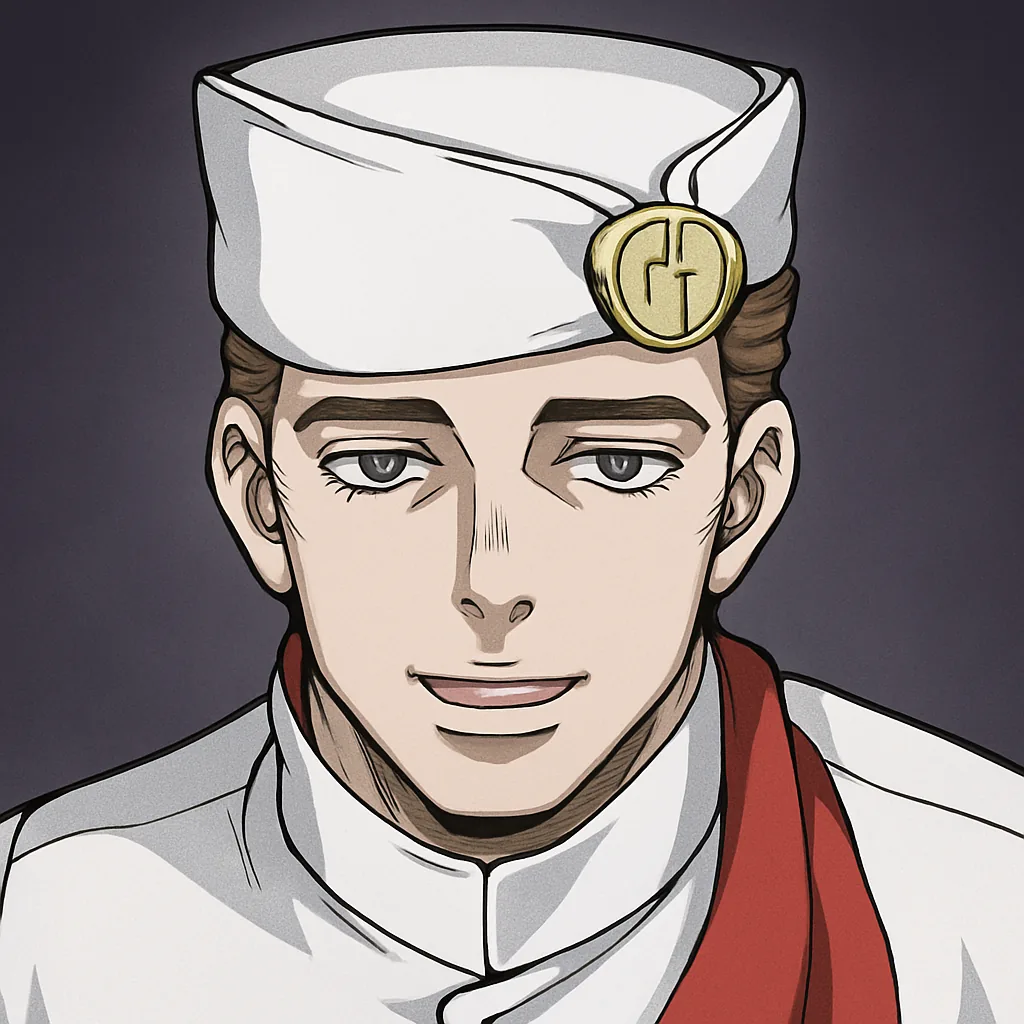 Tonio Trendy (SR, Support) Tonio Trendy (SR, Support) | S+ | Growing area healing plus up to five debuff removals; strong control can briefly disable his passive heal. |
 Joseph Joestar (SR, Support) Joseph Joestar (SR, Support) | S | Stun, pull, and damage transfer that multiplies area attacks; no healing and little direct damage. |
 Kenzou (SR, Support) Kenzou (SR, Support) | S | Team Crit Rate, Crit Resistance shred, and guaranteed Silence; non-crit teams gain far less. |
 Robert E. O. Speedwagon (SR, Support) Robert E. O. Speedwagon (SR, Support) | S | Debuff removal, team Shields, and healing tied to those Shields; his own damage is negligible. |
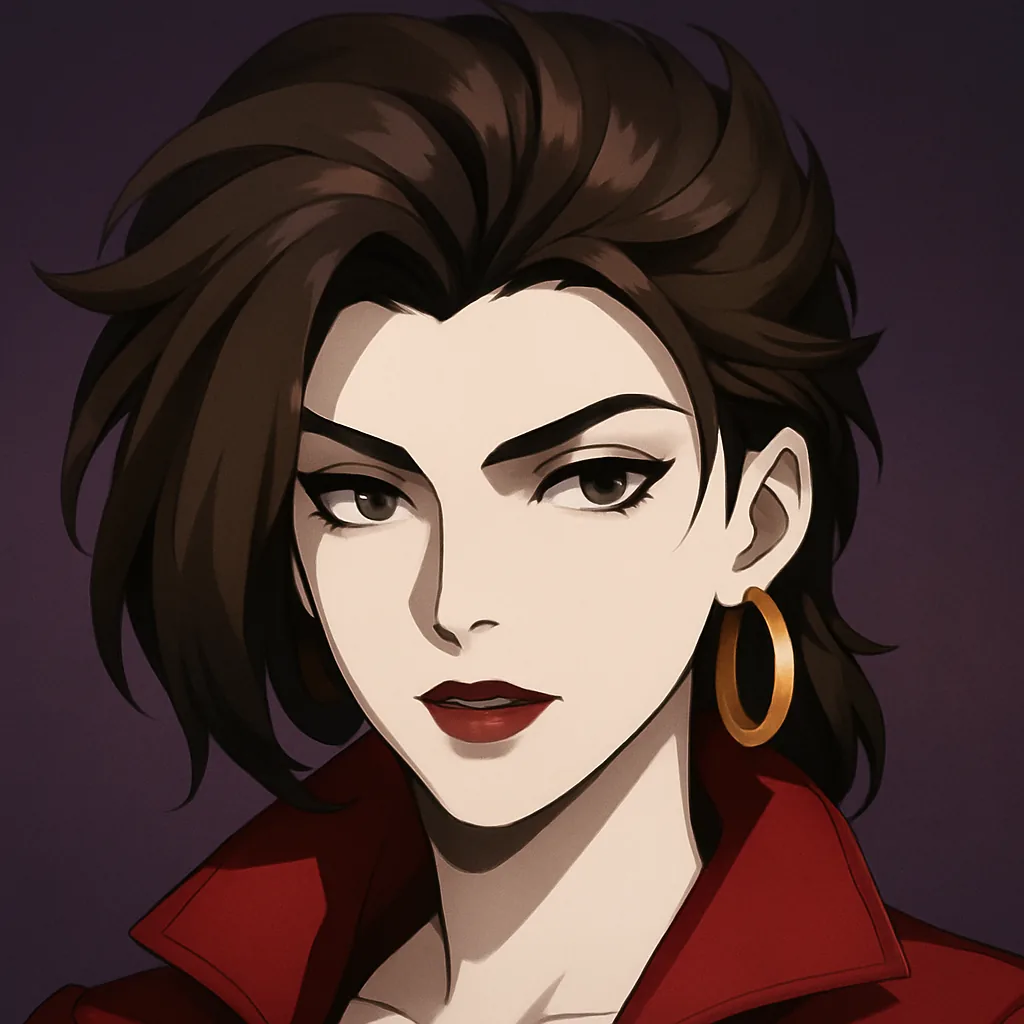 Lisa Lisa (SR, Assault) Lisa Lisa (SR, Assault) | A | A four-second Stun and heavy Energy for the top-Attack ally; no team healing or Cleanse. |
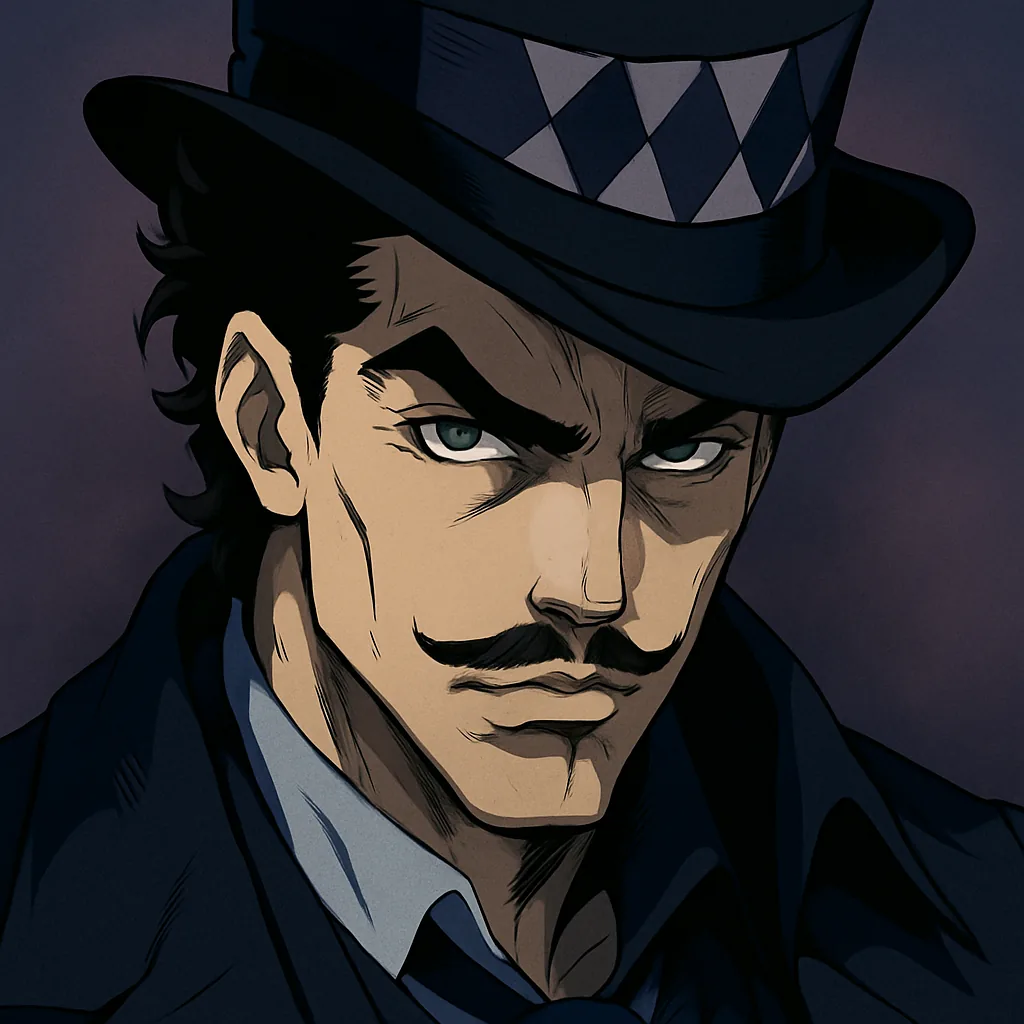 Will A. Zeppeli (SR, Support) Will A. Zeppeli (SR, Support) | A | Single-ally healing, Energy, and Attack Up plus a guaranteed Stun; lacks Cleanse and area support. |
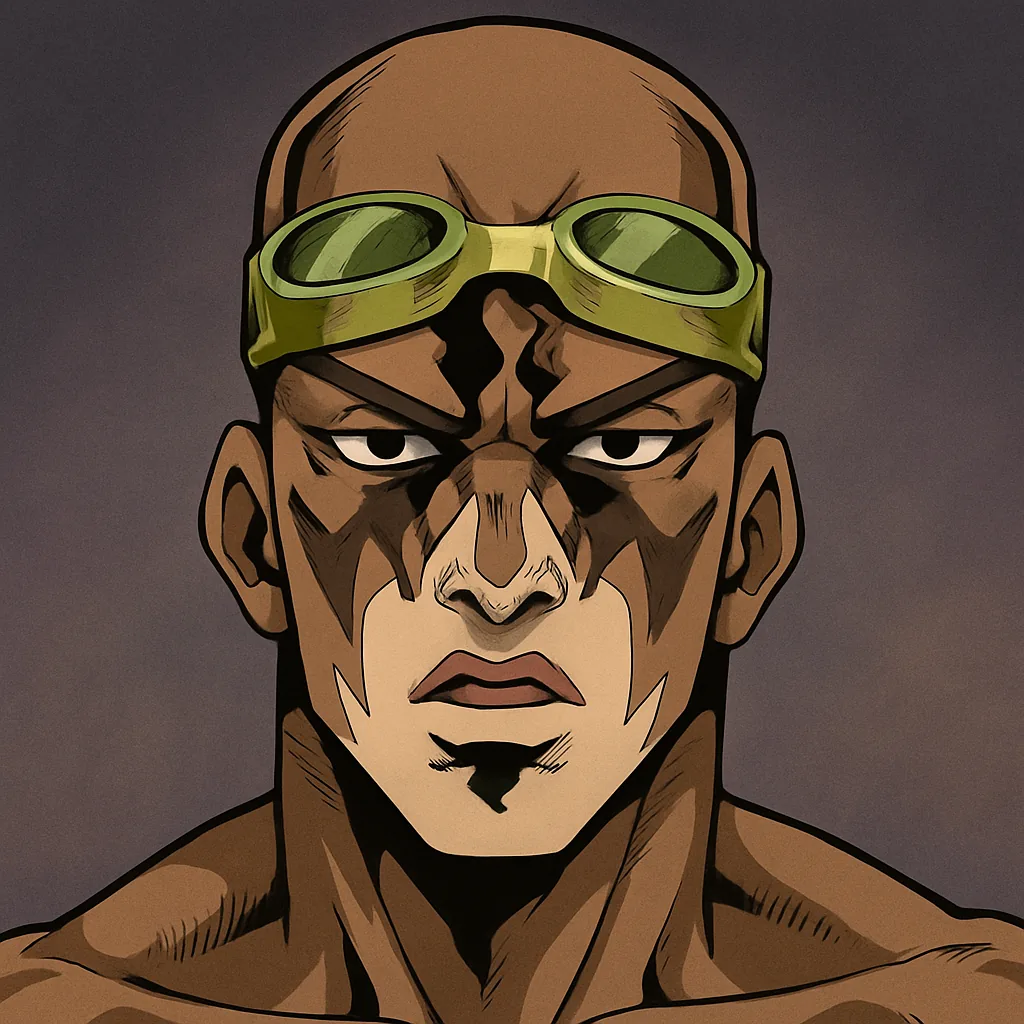 Lang Rangler (SR, Support) Lang Rangler (SR, Support) | A | Up to 45% more ranged damage taken inside his zone and team Attack Speed; weak when enemies leave the zone. |
How to use these rankings
Pick one reliable carry, one frontline anchor, and one support before filling the rest of your six-slot formation. A lower-tier unit can still be the correct answer for a specific fight — a Shield-heavy enemy makes Mario Zucchero valuable, ranged-focused opponents lift Ghiaccio and Lang Rangler, and pure Energy denial favors Shigekiyo Yangu. Because these placements mirror the final Closed Beta balance, expect small shifts once the first live patches land, and re-check your core team after any update that touches the S and S+ picks.