Ziplines finally made it into Grounded 2 with the Into the Abyss update, and they let you rig up a personal fast-travel web across Brookhollow Park. The catch is that neither the blueprint nor the Zip.R tool you need to ride them just drops into your lap. You have to earn both by climbing to a hidden zone called the Crow’s Nest and then digging the Zip.R out of a very tall, very dangerous tree.
Quick answer: Climb to the Crow’s Nest at the top of the Pergola, grab the Pergola Optical Disk, slot it into a Research Station (Ranger Station), then buy the Zipline recipe for 2,500 Raw Science. To actually ride ziplines, collect the Zip.R tool from inside the hanging shoes in the Gnarly Bark area.
What you need before you start
Both the blueprint hunt and the tool hunt are heavy vertical climbs full of spiders and other bugs. Bring the right mounts and a way to survive falls before you commit.
| Requirement | Why it matters |
|---|---|
| Orb Weaver Buggy | The only practical way up the Pergola and the upper Gnarly Bark branches; crosses spiderwebs without penalty |
| Black Soldier Ant Buggy | Needed to climb the bark interior on the Zip.R route |
| Dandelion tufts | Prevents instant death from fall damage when enemies knock you off the climb |
| 2,500 Raw Science | Buys the Zipline recipe after you turn in the Pergola Optical Disk |
| Pergola Optical Disk | Unlocks the Zipline blueprint at a Research Station |
| Zip.R tool | The item that actually latches you onto a placed zipline |
Reach the Crow’s Nest and grab the Pergola Optical Disk
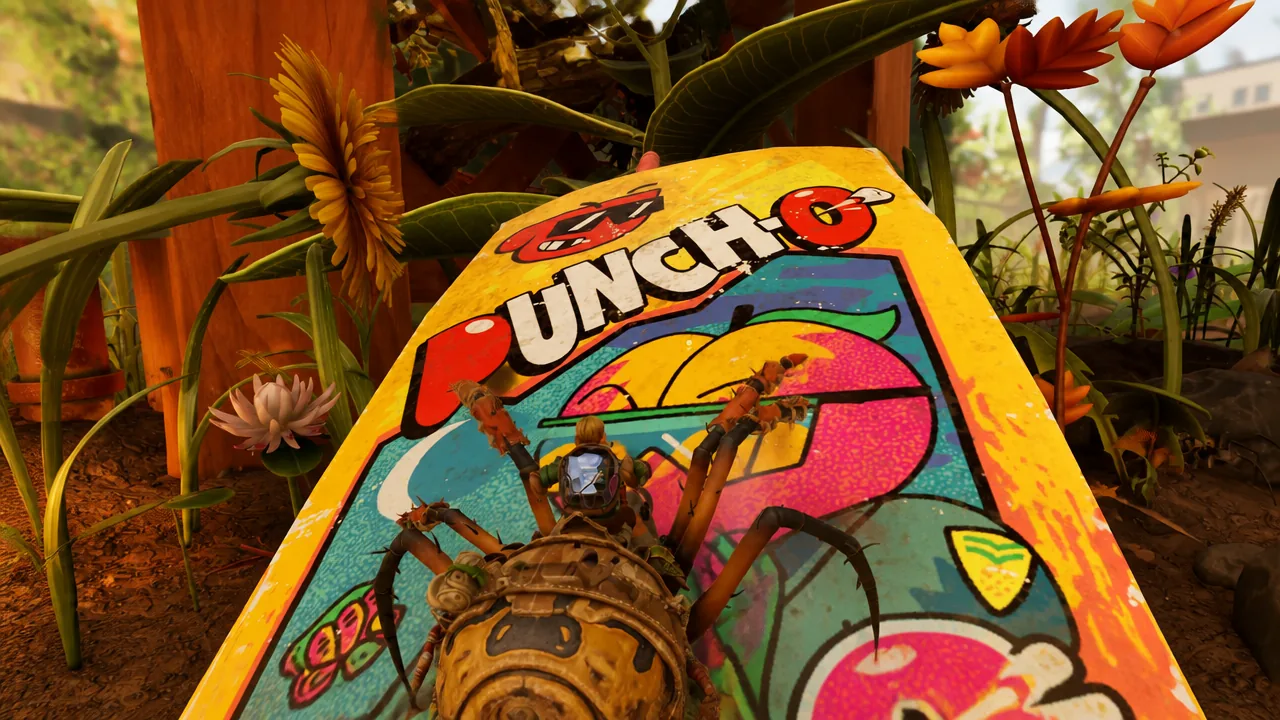
The Zipline blueprint is locked behind a secret zone called the Crow’s Nest, which sits at the very top of the Pergola structure. This is a long climb, and a single bad fight can drop you all the way back down, so take it slow.
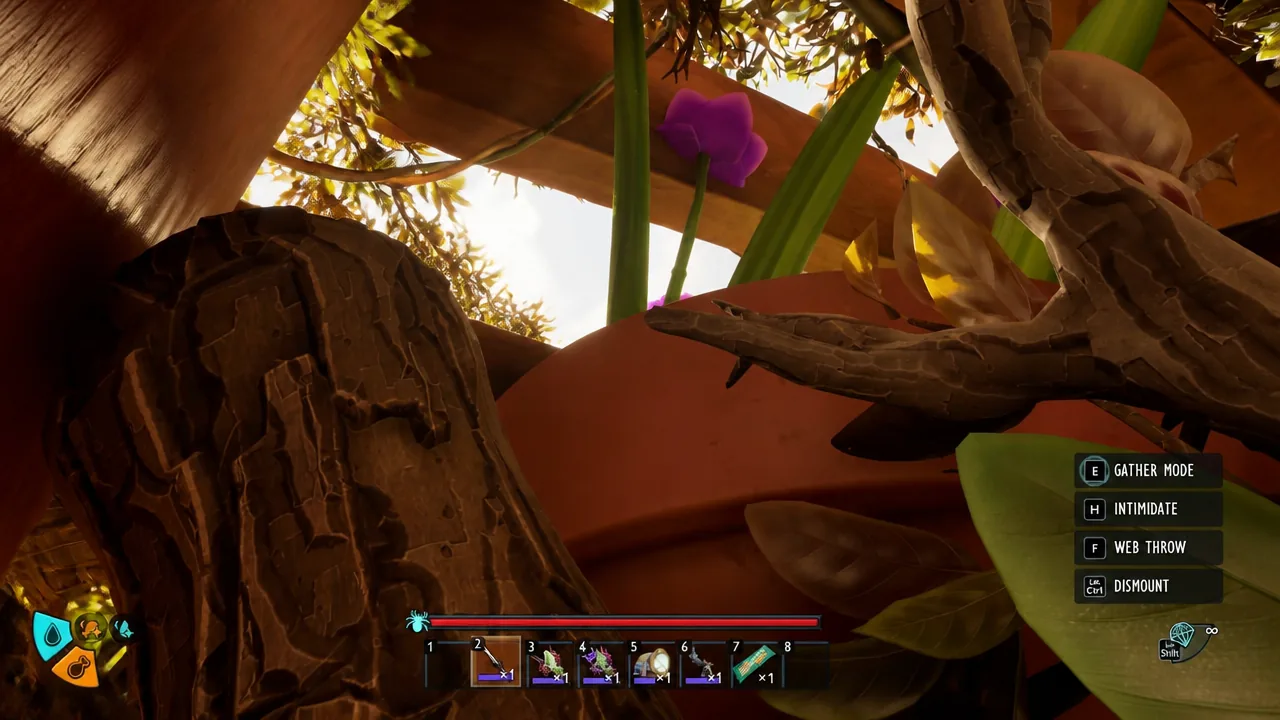
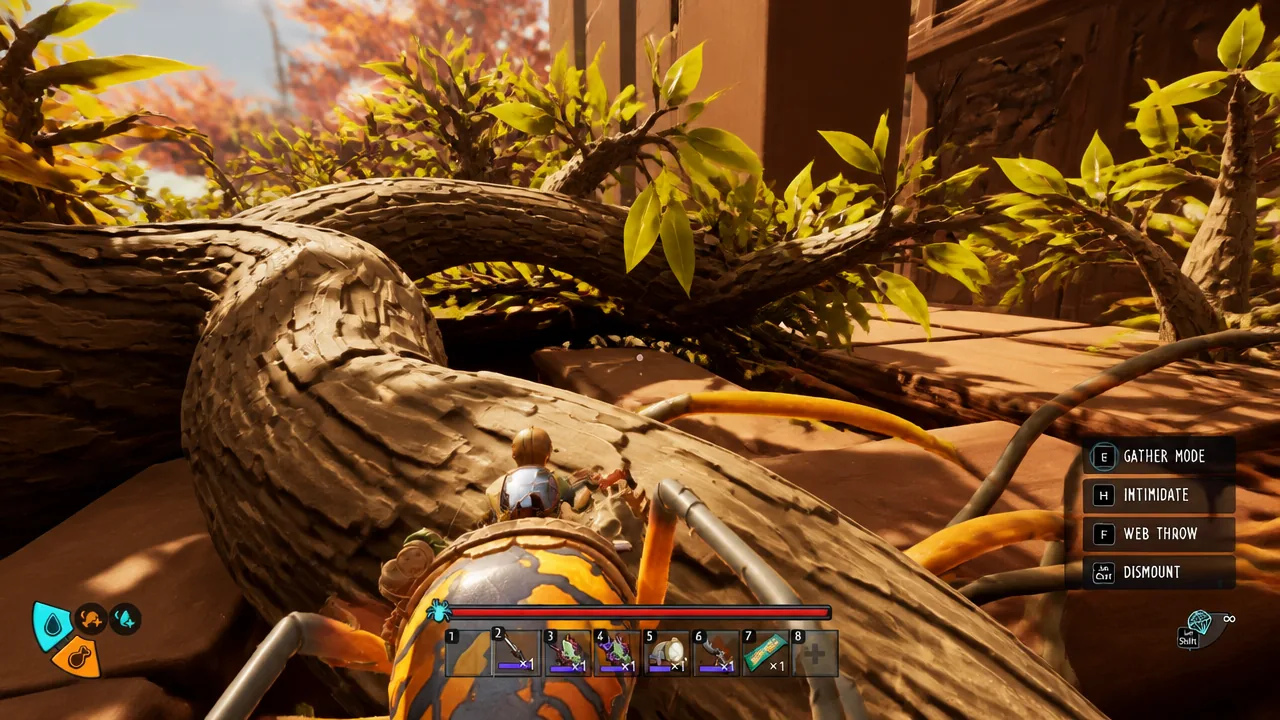
Note: If the spiders are wearing you down, a ranged setup like a Mage build works well here, since you can attack from a distance while your buggy soaks up the hits.
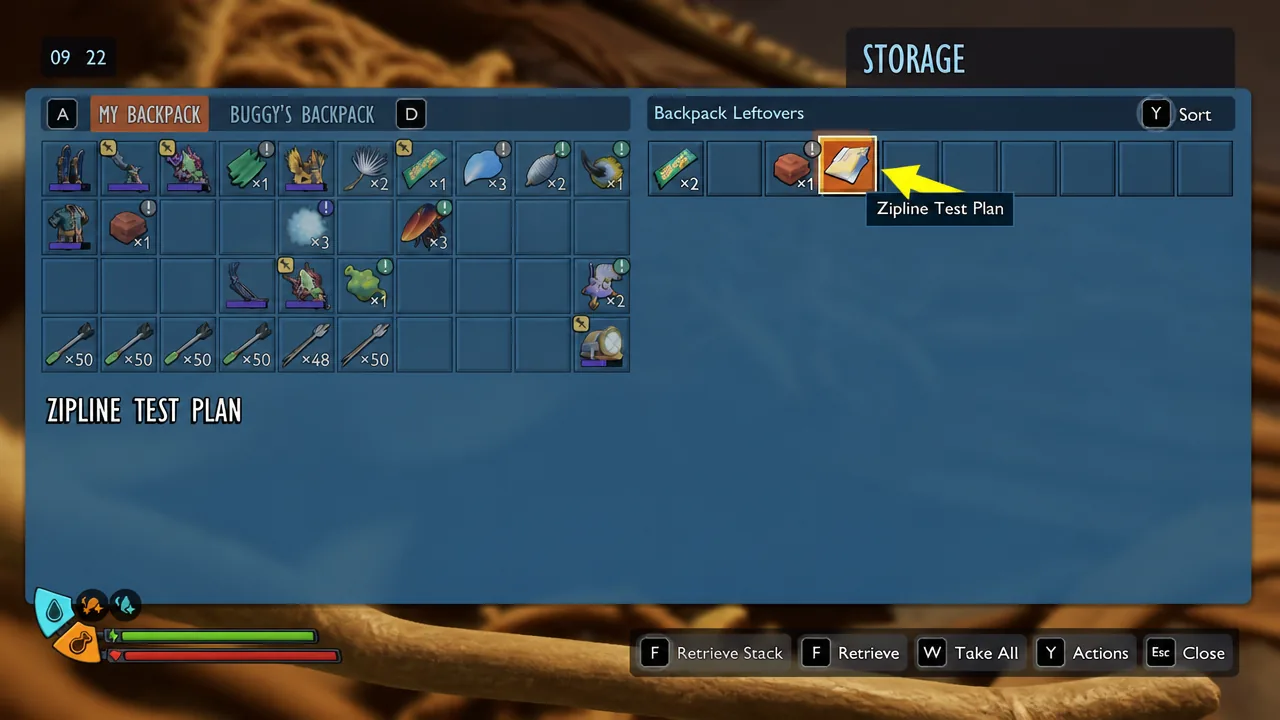
Unlock the Zipline recipe at a Research Station
The Optical Disk on its own does not give you the blueprint. Take it back to any Research Station (also called a Ranger Station) and insert it there. That adds the Zipline to the Science Shop, where you then buy the recipe for 2,500 Raw Science.
Bring the Raw Science with you before you make the trip back. If you turn in the disk without enough, you will have to farm more and return before you can craft anything. You know it worked when the Zipline appears in your build menu after the purchase.
Note: This is the Into the Abyss route. Older Grounded advice about the Hedge Lab, BURG.L chips, or the Assistant Manager does not apply to unlocking ziplines here.
Find the Zip.R tool in Gnarly Bark
You can build ziplines with the recipe alone, but you cannot ride them without the Zip.R. That tool is hidden inside a pair of hanging shoes near the top of the Gnarly Bark area. Bring both the Black Soldier Ant Buggy and the Orb Weaver Buggy for this one, since you swap between them.
Zipline Anchor crafting recipes
A working zipline needs two endpoints. You can use two standard Zipline Anchors, or pair a Zipline Anchor with a Zipline Wall Anchor when one end mounts to a surface. Exact material counts can shift between versions, so check your build menu if the numbers differ.
| Structure | Materials |
|---|---|
| Zipline Anchor | 1x Silk Rope (Web), 4x Clay, 5x Weed Stem |
| Zipline Wall Anchor | 1x Silk Rope (Web), Clay, Bee Stinger (Bee Parts) |
Build, connect, and ride your ziplines
Once you have the anchors crafted, setting up a line is quick as long as your two endpoints are roughly aligned. If they are badly off from each other, the game will refuse to connect them.
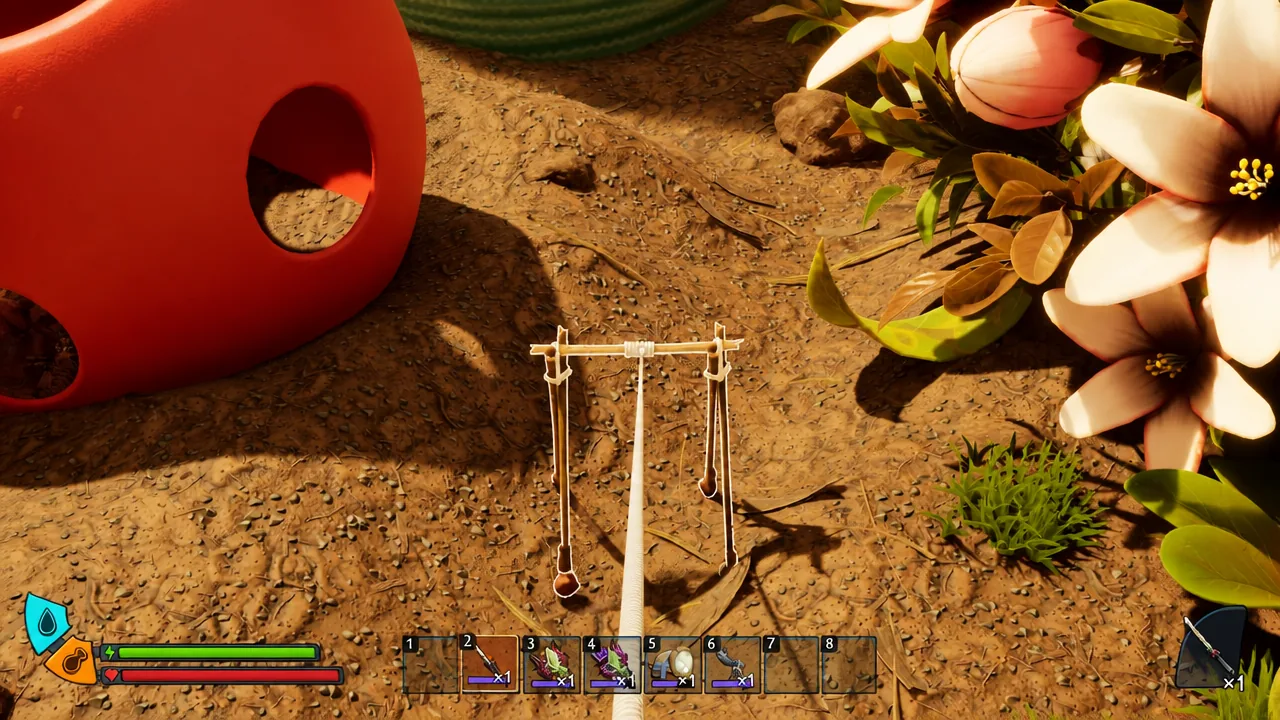
Ziplines are a separate system from the Pneumatic Transit System, so treat them as your own custom point-to-point network for tall landmarks, towers, and bases rather than a replacement for PTS stations. High central spots like the Pergola concrete blocks and the branches around Gnarly Bark make natural zipline hubs once the whole setup is in place.