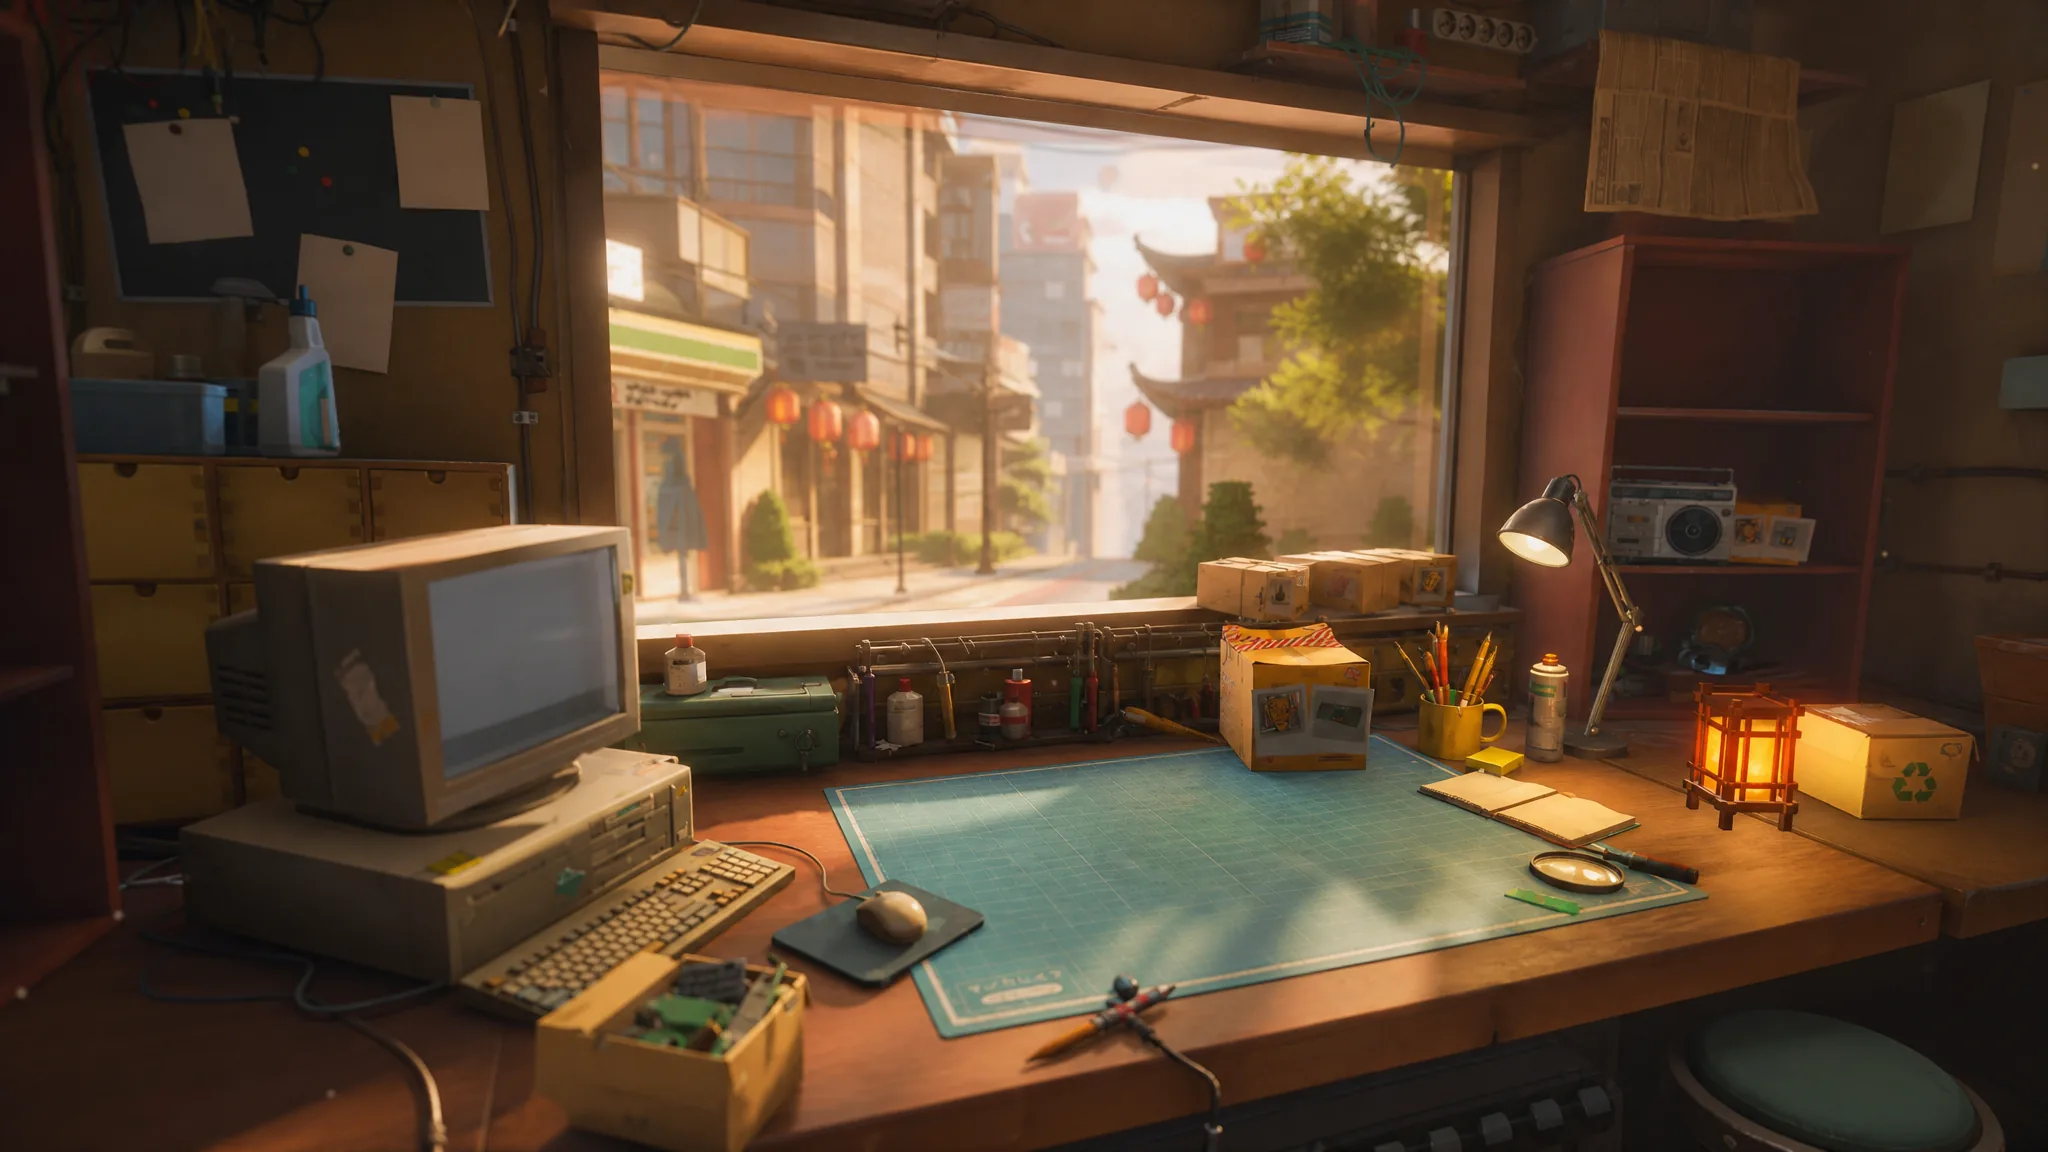
ReStory: Chill Electronics Repairs drops you behind the counter of a small repair shop in mid-2000s Tokyo, where progress comes from fixing nostalgic gadgets, keeping the shop solvent, and talking to the people who walk through the door. The developer Mandragora built it around a linear path, so reaching the credits is less about optimization and more about steadily learning the repair loop, unlocking licenses, and managing your parts. You can grab it on the official Steam page.
Quick answer: Follow the game’s built-in to-do lists, complete customer and mail repairs on time, buy the licenses each locked device requires, win the Akiba Repair Contest, and reach the finale. Your dialogue choices with customers decide which ending you get, not your repair scores.
The full progression path from Day 1 to the credits
The whole game runs on a fixed sequence of milestones. Once you understand the order, you can keep the shop moving without getting stuck. Here is the path from start to finish.
| Stage | What you do |
|---|---|
| Basics | Learn repairs, reviews, expenses, and orders |
| Upgrades | Buy better tools and required licenses |
| Inventory | Stock parts from donors, discards, and the catalog |
| Contest | Win the Akiba Repair Contest for the trophy |
| Finale | Make your dialogue choices and reach an ending |
How every repair works
You spend most of your time at the workbench, and nearly every device follows the same routine. On Day 1 your first to-do list asks you to clean the workspace, sort the inventory and throw away boxes, then open the shop using the lever on the right. The moment you open up, Hashimoto arrives with your first job, the Pokia 3310.
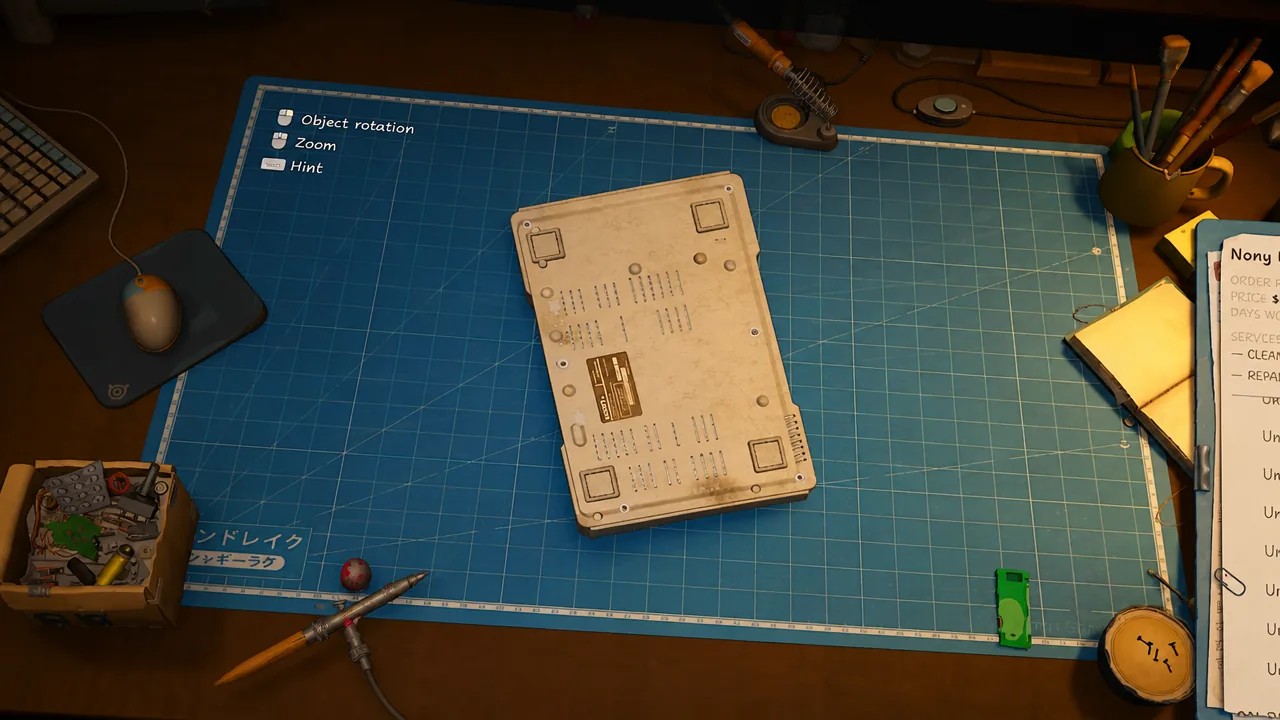
It is tempting to rush, but the review system rewards care. Each job is scored out of five based on the quality of your work and how you treat the customer. Higher ratings pull in more customers, so talk to them, listen to their stories, and finish the repair properly.
Expenses, internet, and donor parts
Running the shop costs money from Day 1. Rent is 2,000 Yen per week, and it is collected whether or not you have earned enough. Keep an eye on your balance so a bad week does not sink you.
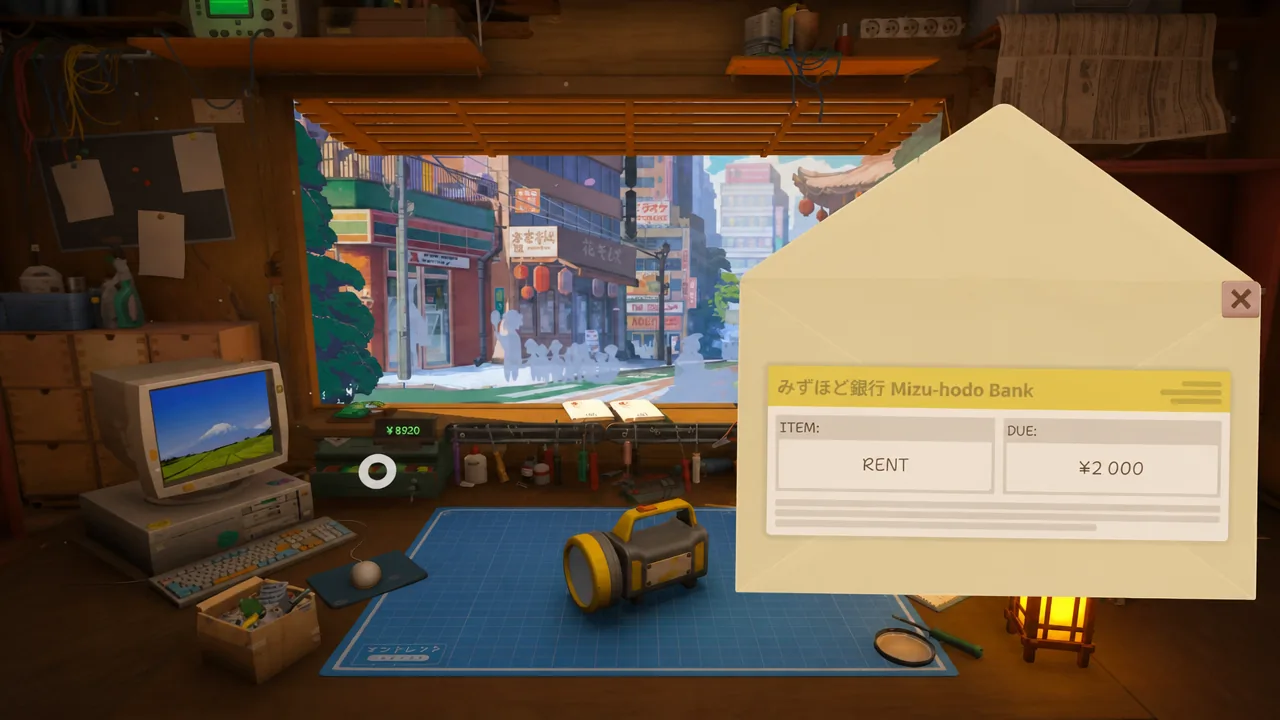
When Inspector Sakamoto brings in his flashlight, he explains the donor system. If a part is not available, you can pull it from a donor device instead. To handle donor orders and online parts you need an internet provider, and there are three tiers.
| Plan | Speed | Cost |
|---|---|---|
| Basic | 128 Kbps | 500 Yen/week |
| Smart | 256 Kbps | 1,000 Yen/week |
| Galactic | 1 Mbps | 1,500 Yen/week |
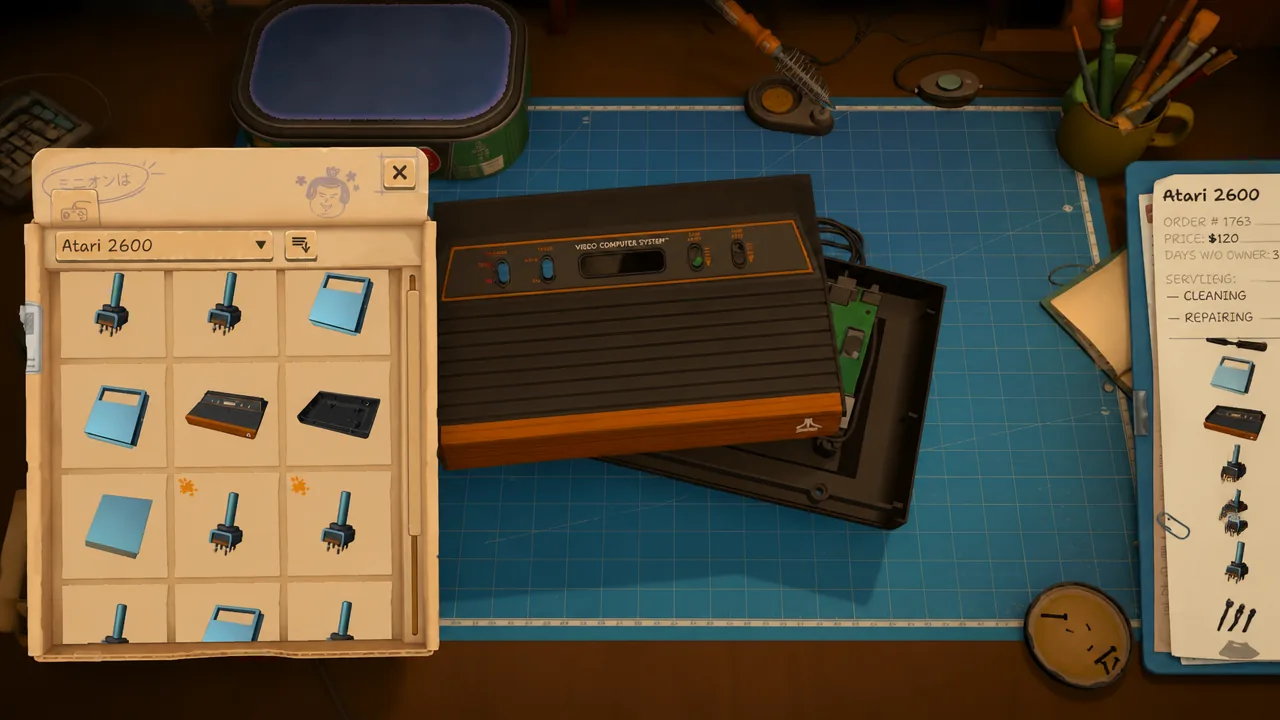
The Smart plan covers everything you need, so there is no reason to overspend on Galactic. Your upstairs neighbour then hands you an Atari CX40 job that teaches the salvage loop. You combine two units into one working device, then decide whether to discard, repair, or sell the leftover.
How to prioritize orders
Once the internet is running, repair requests start arriving more often, and juggling them cleanly keeps the shop calm. Customers who show up in person should generally come first. Mail orders are delivered by a courier and can wait until after your walk-in customers, as long as you do not miss their deadlines.
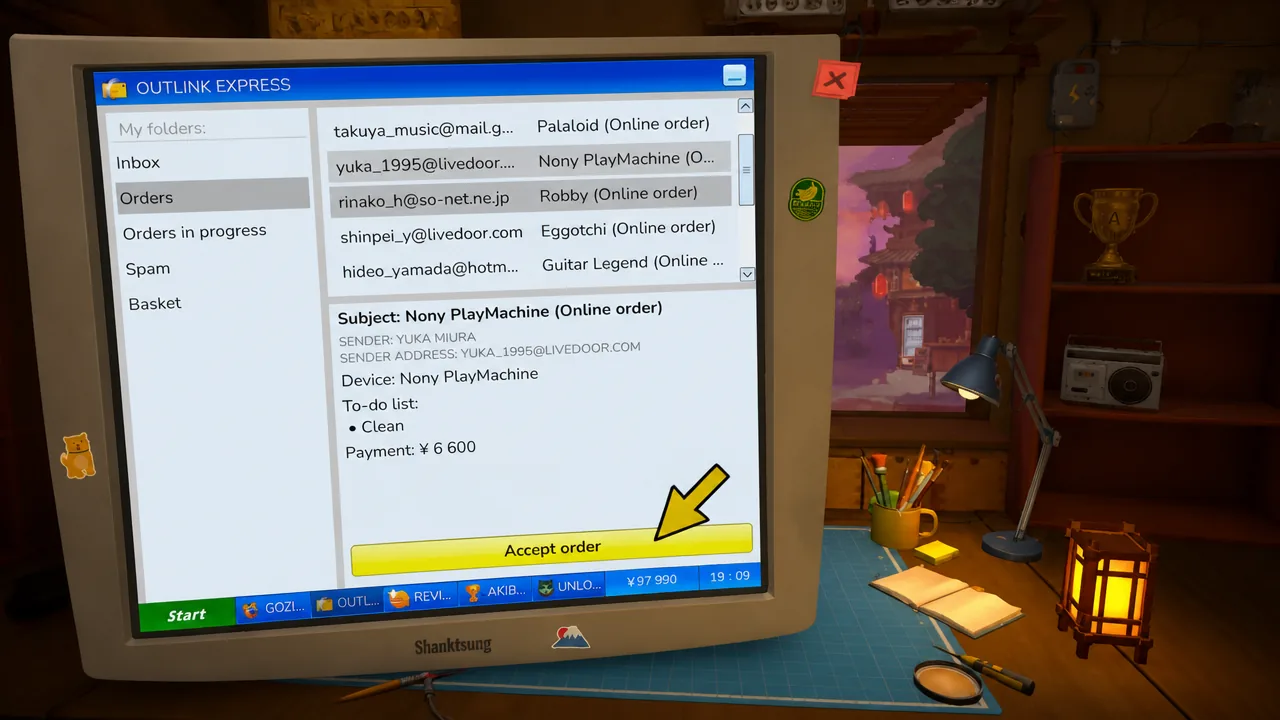
Donor orders are optional but worth taking, since they feed useful parts into your inventory. Online orders carry deadlines too, so only accept them when you have the time to finish before the clock runs out.
Tools and licenses to unlock
Better tools cut down the slow parts of a repair, especially the screw-by-screw disassembly. The upgrades are not cheap, so save toward the ones that matter most.
| Upgrade | Cost / benefit |
|---|---|
| Ratchet Screwdriver | 11,000 Yen |
| Electric Screwdriver | 45,000 Yen, much faster repairs |
| Cleaning Brush radius | Speeds up heavy cleaning jobs |
| Ultrasonic Bath | Reduces manual cleaning effort |
| Shredder | Disposes of stripped items you cannot bin |
If you can, skip straight past the Ratchet Screwdriver and save for the Electric Screwdriver, since it makes the biggest difference to repair speed. Pair it with the Cleaning Brush radius upgrade and eventually the Ultrasonic Bath to cut cleaning time.
Licensing enters the picture when your neighbour leaves a Nony PMP in the bucket. You cannot fix it right away because some devices require you to be a certified professional first. Open the browser, pay the fee for the required license, and you receive a certificate you can display in the shop. Licenses matter most for the high-paying jobs, such as the robot dog, the Brick Game, and the DVD player.
Keeping your parts inventory stocked
A shop full of repair jobs is useless without the parts to finish them. Most components come from discarded devices, so hold onto the useful leftovers instead of throwing everything away. That Atari CX40 you combined earlier is the model to follow, keep the spare bits for later.
Donor tasks are the other reliable source, building up a stock of parts over time so you lean less on online orders. When you unlock each tier, you can also buy fresh components from the Parts Catalog.
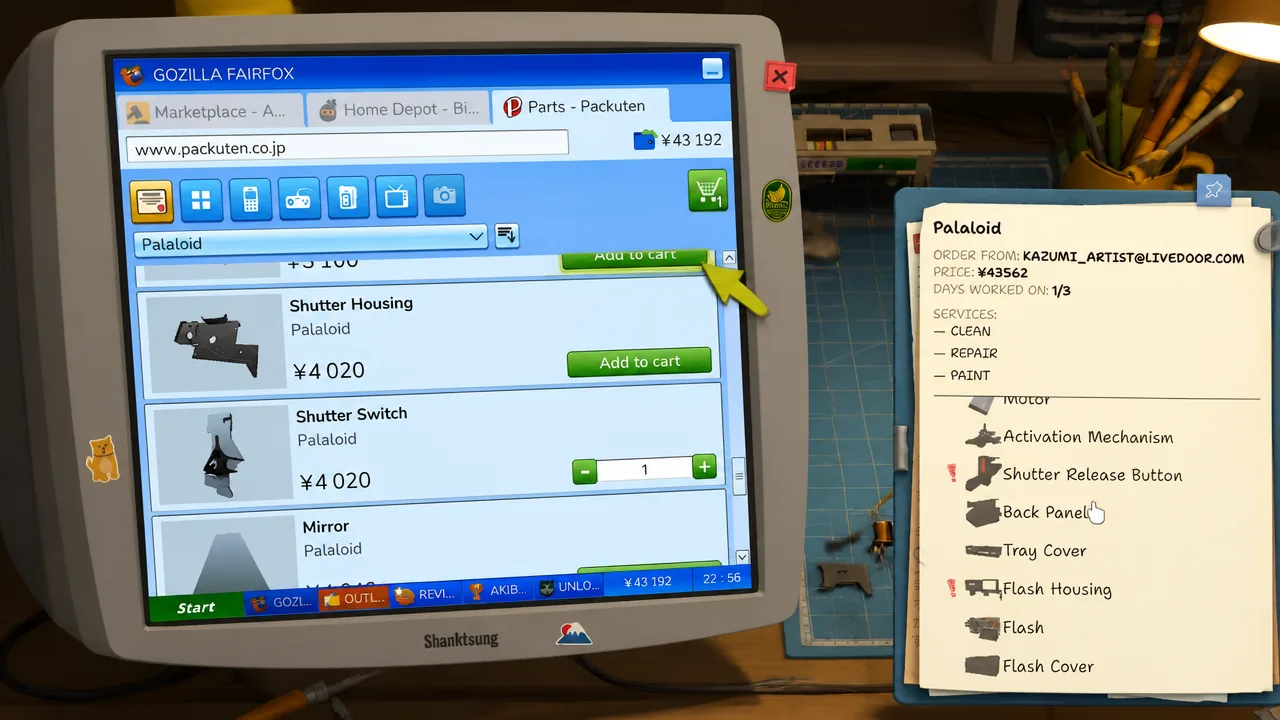
Storage is limited, so you cannot hoard forever. The Shredder upgrade is the fix, letting you dispose of stripped items that cannot normally be thrown out. Without it, the storage area clutters up fast.
Winning the Akiba Repair Contest
The Akiba Repair Contest is where all that practice pays off. On your computer you see a list of devices with the best recorded repair times. Pick a device, pay the entry fee, and race to repair it faster than the competition.
The catch is that the contest gives no repair hints, so you have to rely on the muscle memory you built during normal jobs. Beat the recorded time and you win the trophy, which you can bring back to display in your shop.
Both endings and how your choices decide them
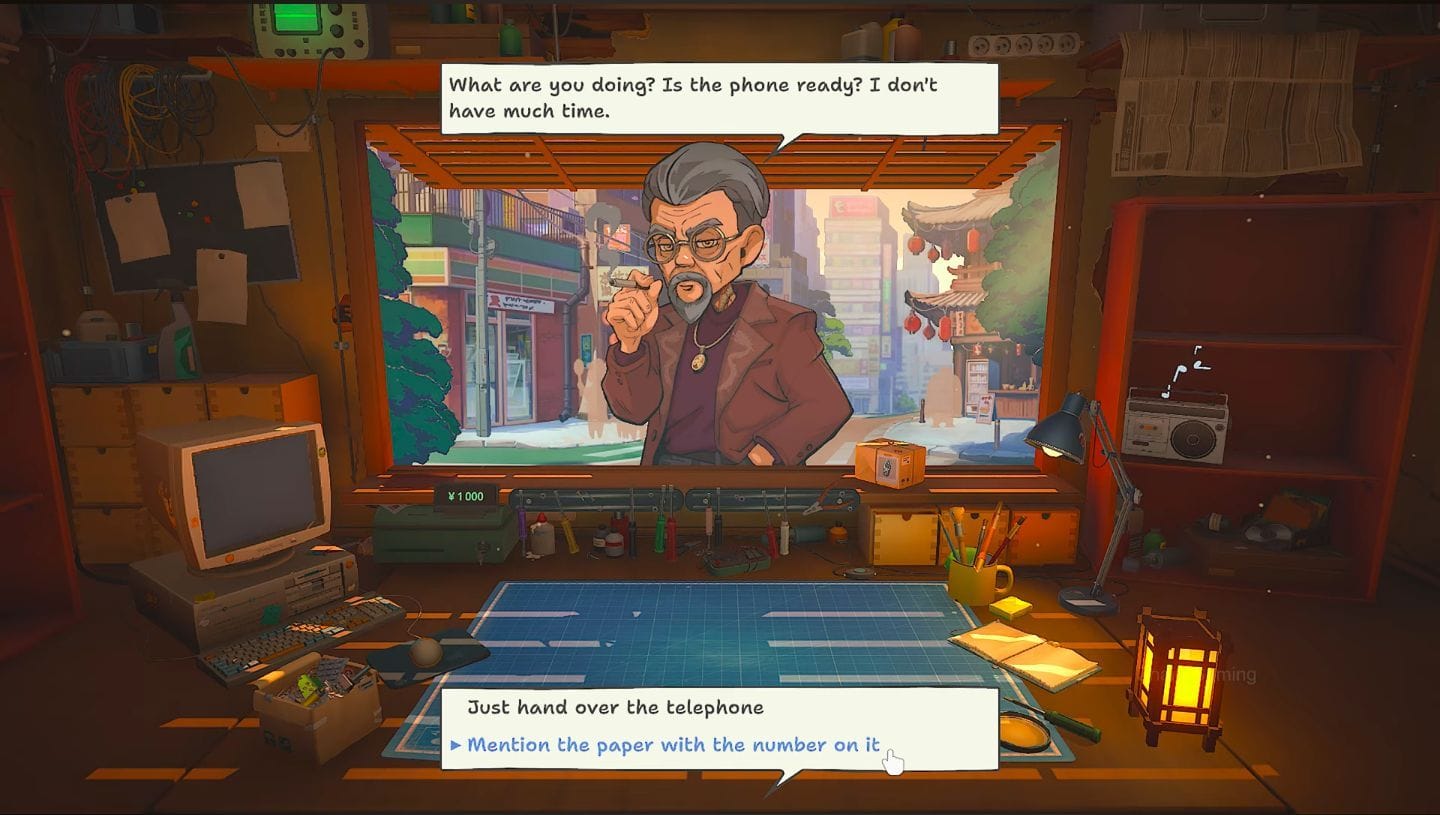
Keep completing repairs and the game moves toward its finale. The key thing to understand is that your repair performance does not decide the ending. Your dialogue choices and how you treat the customers who visit are what count.
For the good ending, talk to the people who come in, help them where you can, and complete the repairs they ask for. Near the end you get the option to sell your shop and save the concert. Choosing this stops the Mega Mall from opening and you hand over the keys. Later, in a cutscene, the shop is bought back for you along with your belongings.
The bad ending is bleaker. It arrives when the townspeople have not saved enough for the concert. You then decide whether to sell your shop and take the money, or refuse the offer and let the mall construction continue.
If you refuse to sell, you unlock the Globalization achievement and receive the Mega Mall Storefront 02 Rental Agreement, which raises your rent to 5,000 Yen. Those two changes confirm you took the refusal path.
How long the game takes
With the right upgrades unlocked at the right time, most players finish in around eight hours. Your actual time depends on how you play.
| Playstyle | Time |
|---|---|
| Speedrun, skipping optional orders | 5–6 hours |
| Normal run with most orders | 7–10 hours |
| Full completion with all achievements | 10+ hours |
Whichever route you take, the game rewards patience over speed, so settle into the repair loop, keep your parts topped up, and let your choices with the locals carry you to the ending you want.