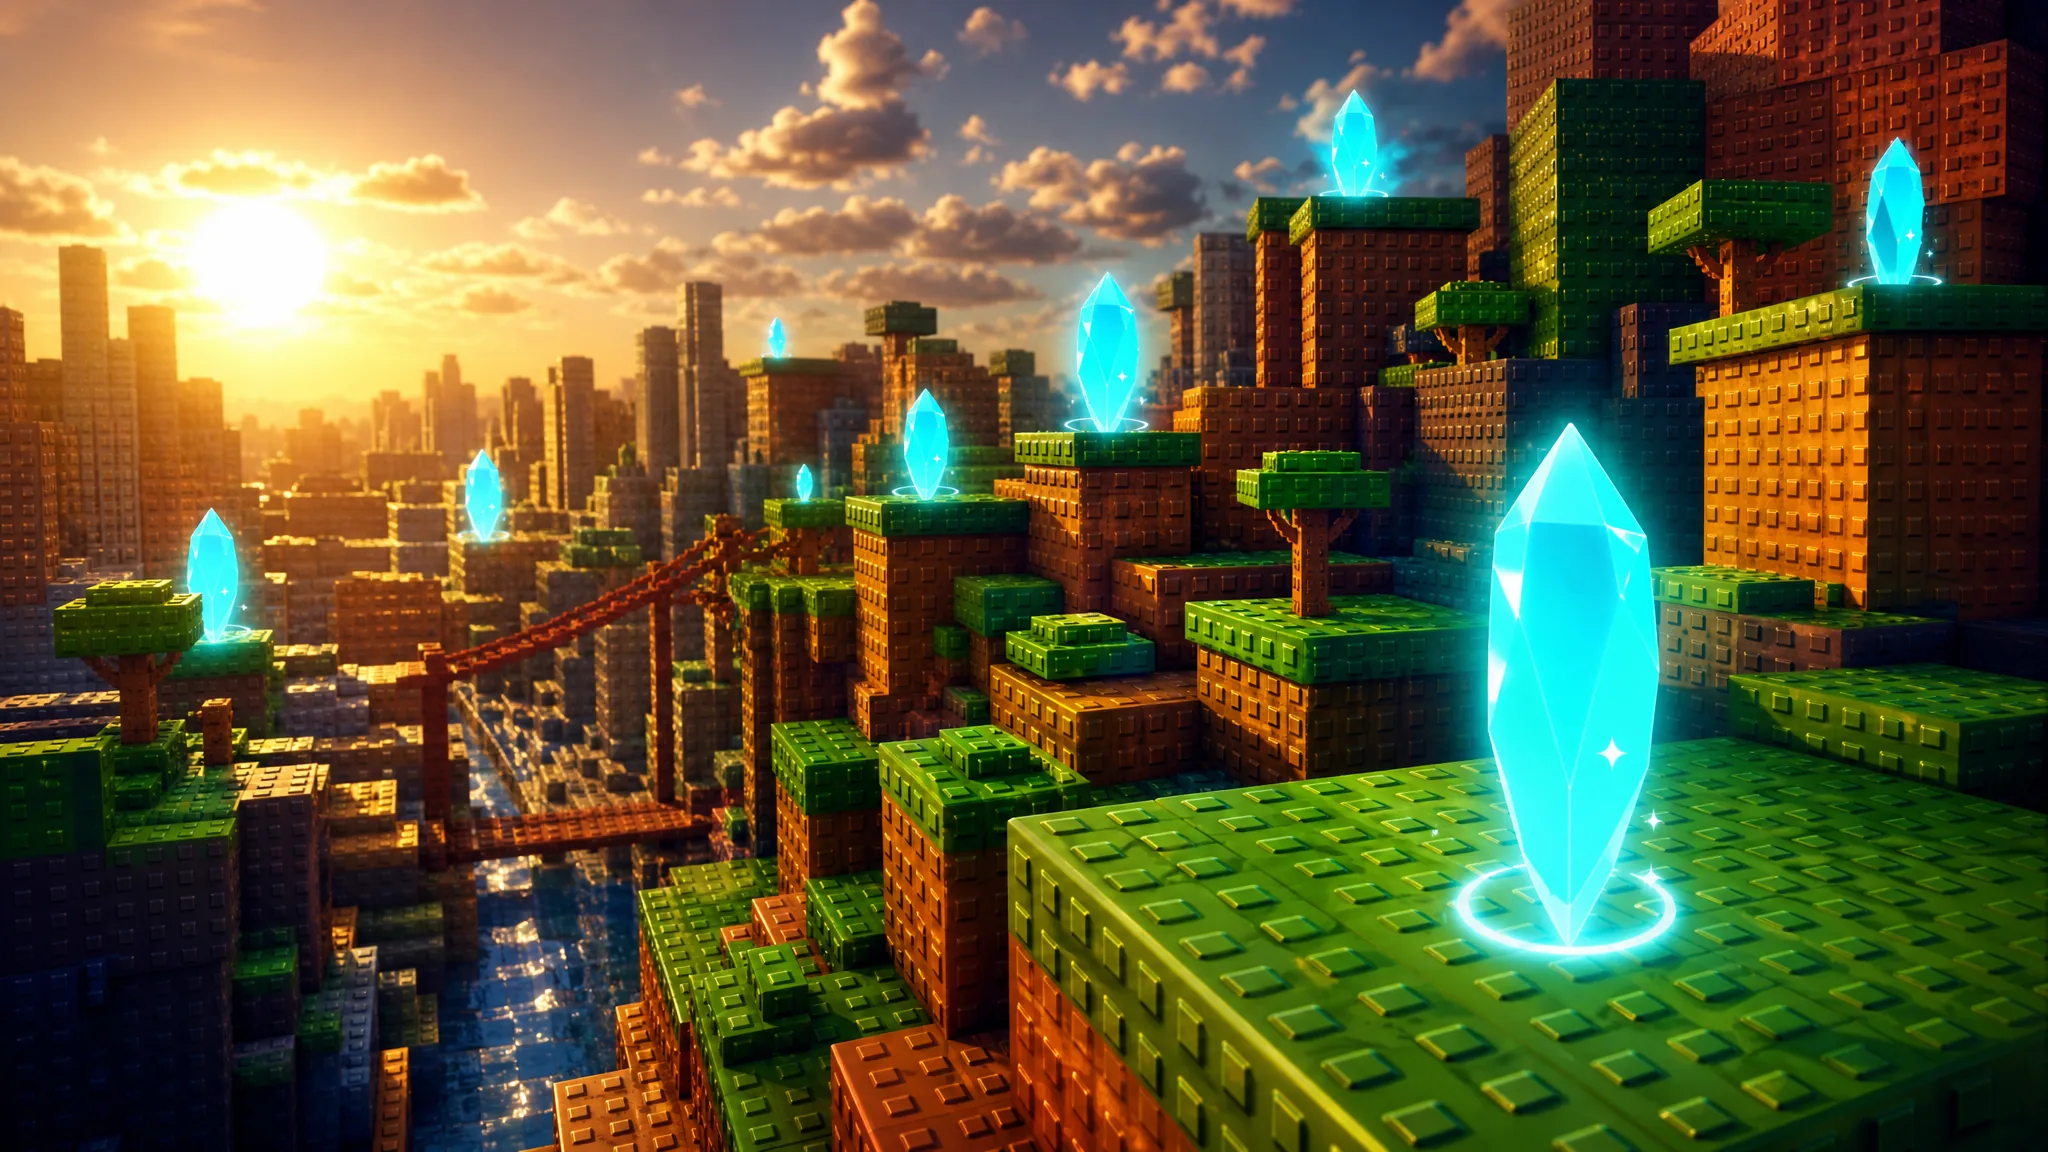
There are nine Sunken Shards hidden across +1 Speed Monkey Escape, scattered from the main lobby all the way to the game’s final stage. Most of them sit off the normal running path, tucked behind boards, under platforms, or past boosters that require a good amount of built-up speed to clear.
Quick answer: Two Shards are in the main lobby (behind the Top Robux leaderboard and up the vertical jump booster), and the other seven are spread through Stages 2 through 9. Grabbing all nine unlocks a free x2 Speed Treadmill for training.
What you get for collecting all 9 Sunken Shards
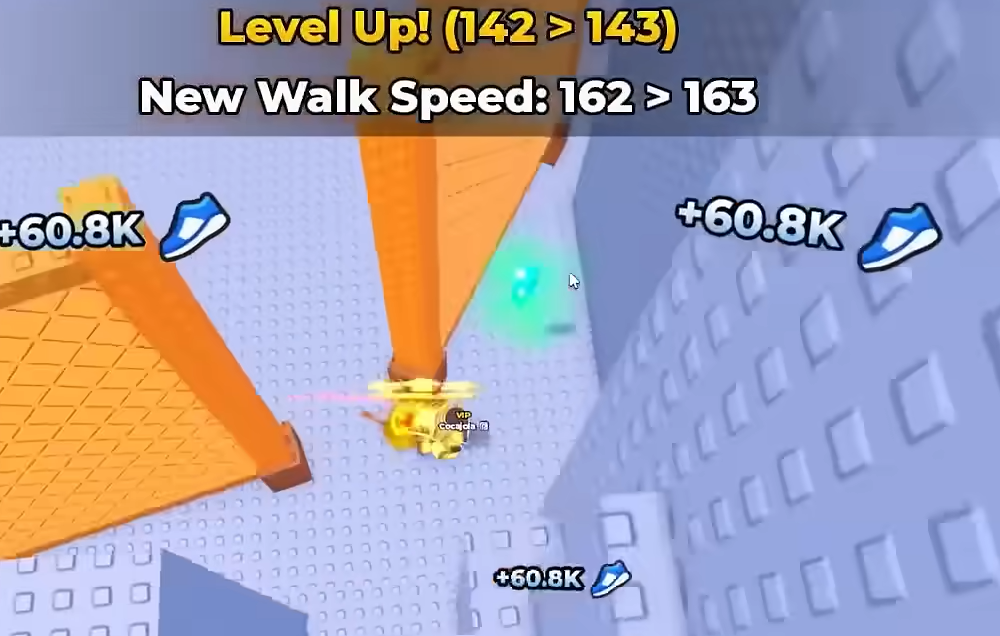
Completing the full set of nine Shards rewards a free x2 Speed Treadmill, a training item that doubles the speed you build while running. A counter on screen tracks your progress, moving from Collected 1/9 Sunken Shards! up to Collected 9/9 Sunken Shards! once you have them all.
Several Shards require you to jump off ledges or fall to your death on purpose to grab them mid-air. A Shard counts the moment you touch it, so collecting it as you fall still registers even if your character resets afterward.
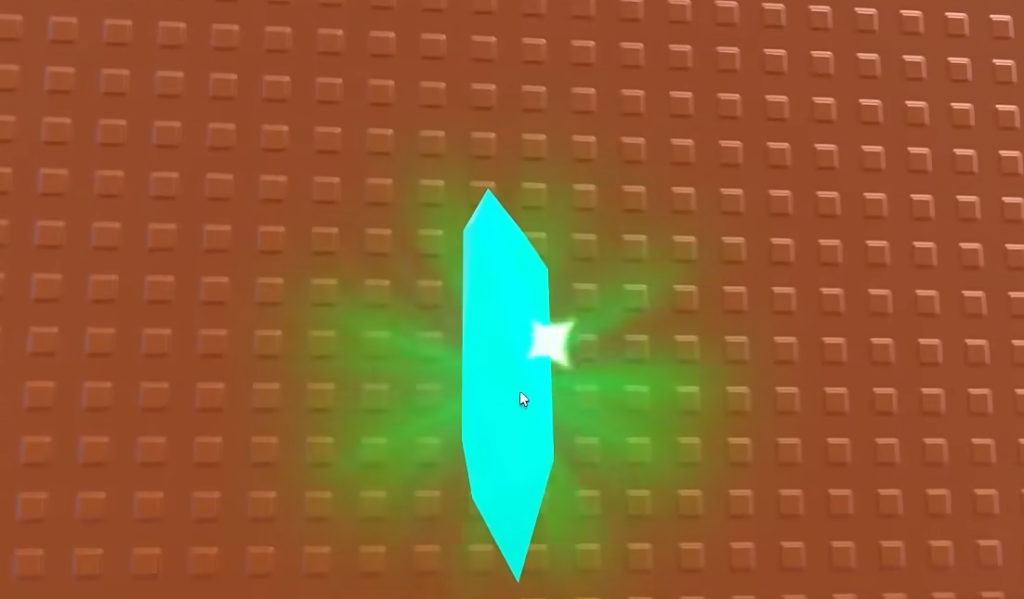
All 9 Sunken Shard locations
| Shard | Area | Where to look |
|---|---|---|
| 1 | Main Lobby | Behind the Top Robux leaderboard on the left side of the spawn (three boards are lined up — go behind the Robux one). |
| 2 | Main Lobby | Use the large vertical jump booster to your left, then reach the ledge on the left. The Shard sits in the corner. |
| 3 | Stage 2 | At the center of the stage, look for the small cube/pillar on the left. Jump down and grab the Shard below the platform as you fall. |
| 4 | Stage 3 / 4 area | At the end of the stage, climb over the right-side booster with enough speed and drop behind the large wooden block on the right. |
| 5 | Stage 4 | Ride the vertical boosters to the top, then head left to the end of the platform just before Stage 5. |
| 6 | Stage 6 | Jump to the first center platform, then immediately to the second. Go to the edge and drop off to grab the Shard underneath. |
| 7 | Stage 7 (maze) | Head to the three green platforms and check the middle one. |
| 8 | Stage 7 (maze) | Near the last green platform by the shark area, drop onto the small ledge beside it. |
| 9 | Stage 9 | Cross to the third center platform while dodging the tsunami waves, then check the right-side corner. It sits behind the wall on the left about halfway through. |
Stage labels shift slightly depending on how you count the boosters between rooms, so treat the fourth and fifth Shards as a pair around the Stage 3–4 transition. If a Shard is not where you expect, check one platform higher or lower before moving on.
Lobby Shards (1 and 2)
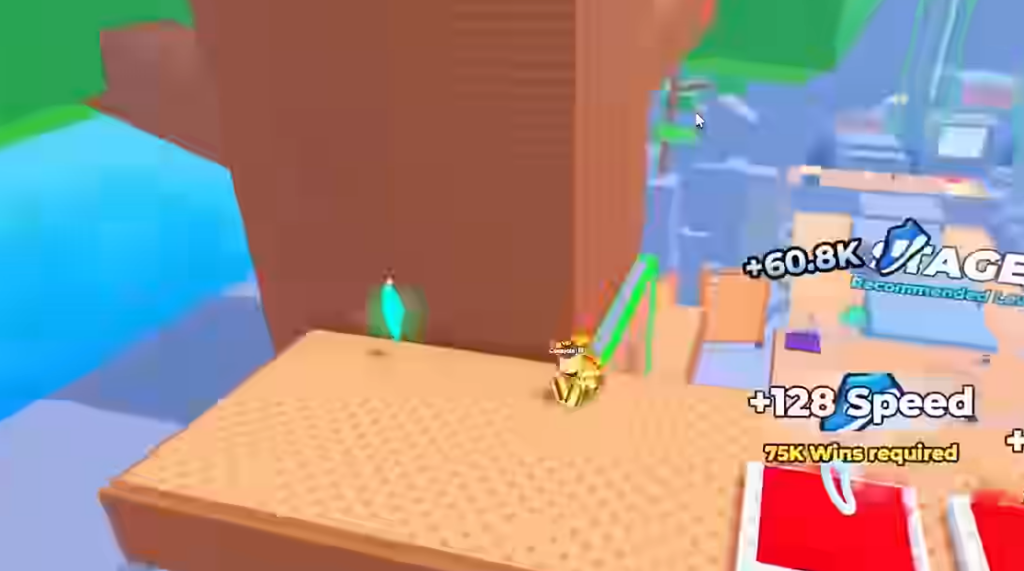
Stage Shards (3 through 9)
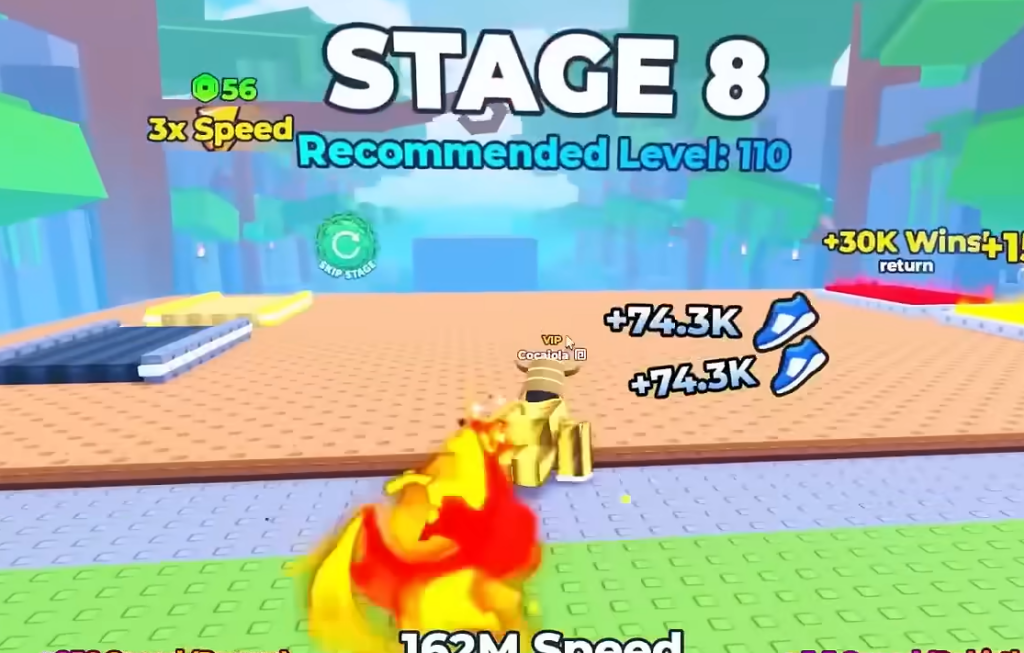
If a Shard won’t collect
The most common reason a Shard is missed is not enough speed to clear a booster or reach a raised ledge. Several Shards, especially in the lobby and at the end of Stage 3, only become reachable once you have trained your monkey to a higher speed.
For the drop-based Shards on Stages 2, 4, and 6, aim your fall directly through the Shard rather than jumping past it. You keep any Shard you touch even if your character resets, so a clean dive is safer than trying to land on a narrow ledge.
You can confirm your total at any time from the on-screen Sunken Shards counter. Once it reads 9/9, the x2 Speed Treadmill is yours, and you can head back to training or push toward a rebirth with the extra speed multiplier working in your favor.