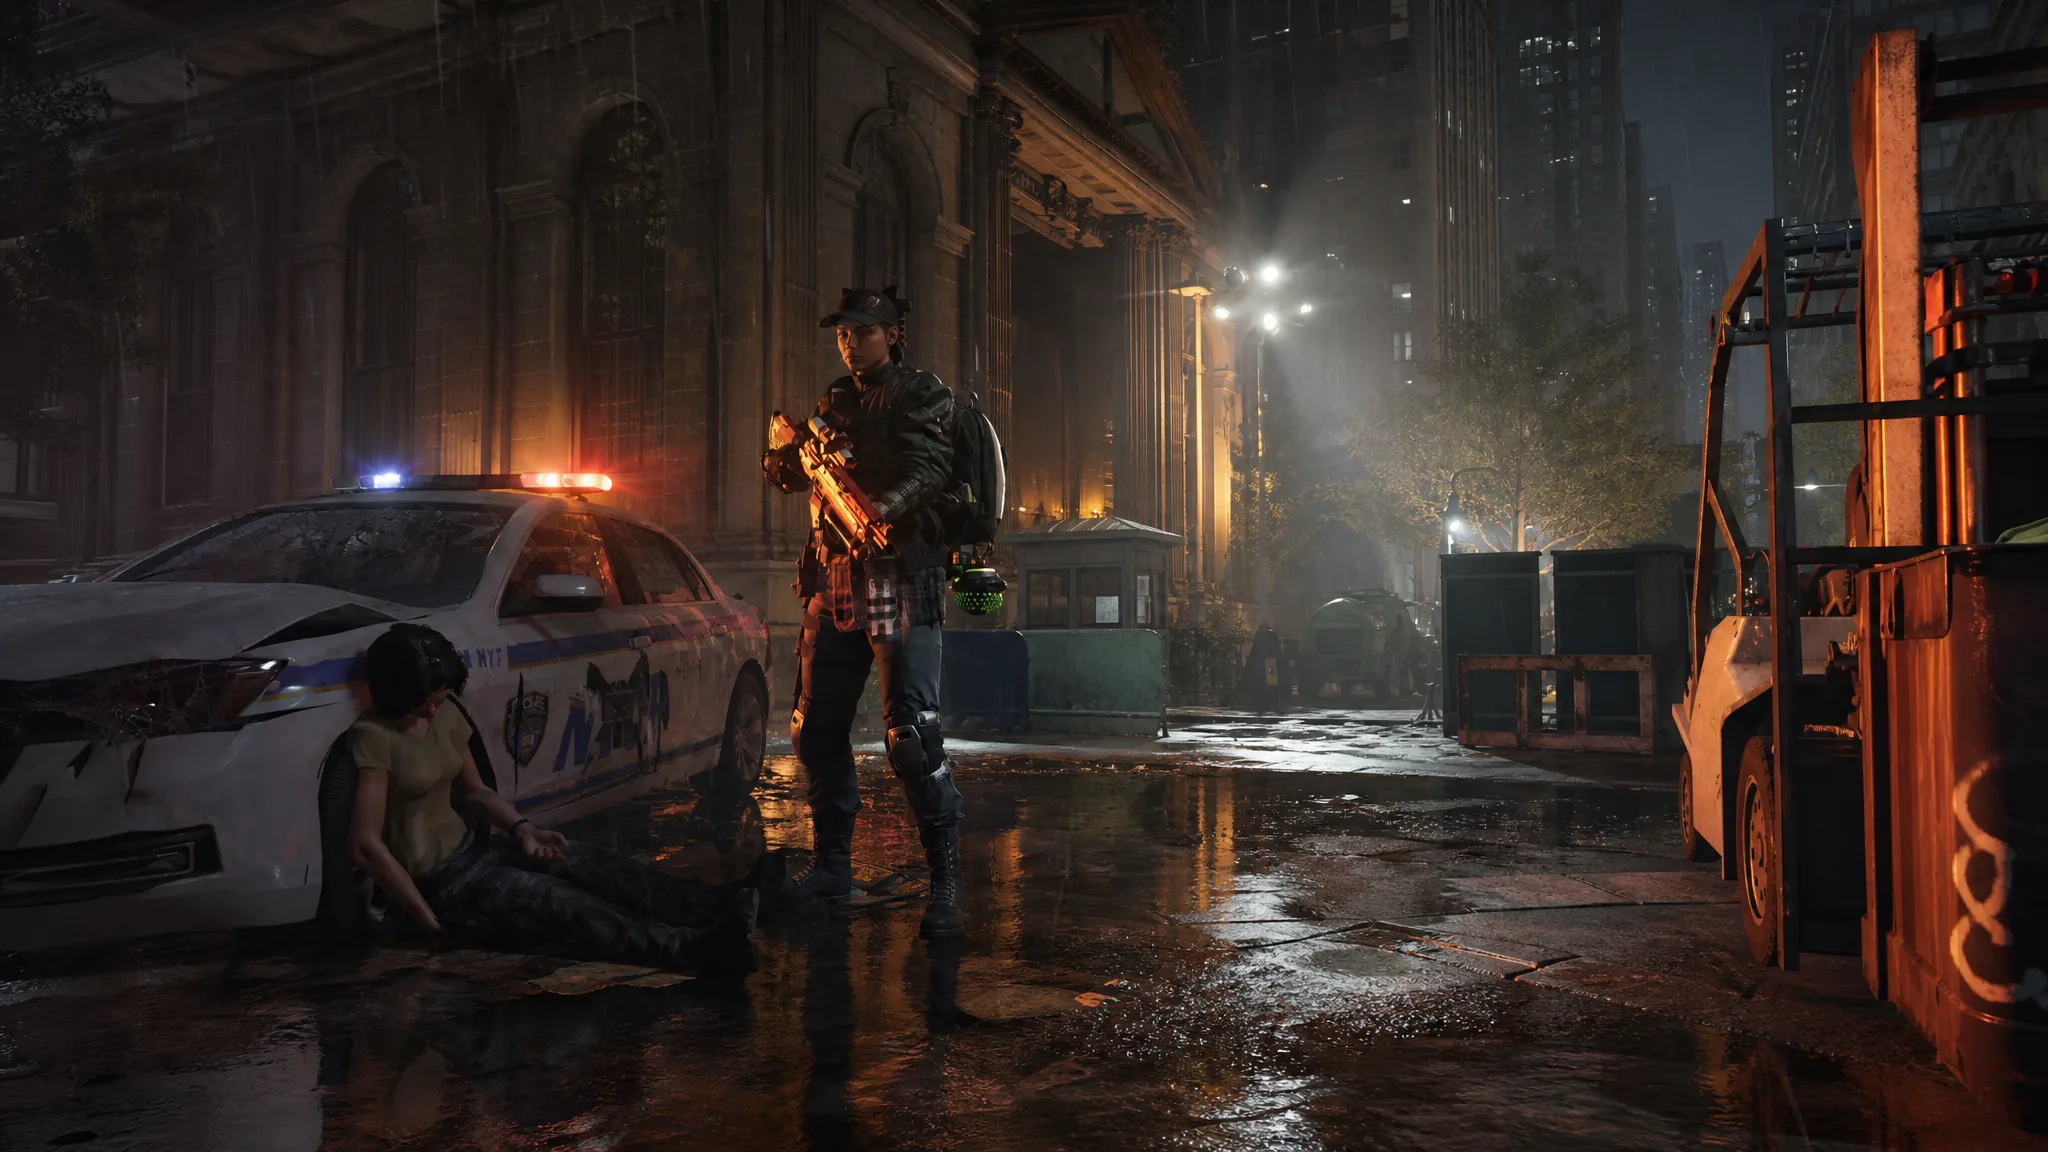
Measured Assembly is a support gear set in The Division 2 that keeps a team alive through the Hive skill while stacking buffs, faster Overcharge, and mortar protection. It shines in endgame content like Legendary and Master missions and higher Escalation tiers, where raw damage matters less than steady heals and cooldown control. Below is how to assemble the loadout, why each piece is chosen, and the exact rotation to run it.
Quick answer: Run five Measured Assembly pieces plus BTSU Datagloves, keep Repair Skills on every slot, use the Technician specialization for a sixth skill tier, and pair Precision Smart Cover with a Restorer Hive. Set your Hive and Smart Cover, build Bittersweet stacks, then shoot allies to heal them and grant bonus armor.
What the Measured Assembly set does
Every piece of the set carries Skill Tier by default, and the bonuses scale support power the more pieces you equip. The four-piece talent, Huddle, is the reason the set exists.
| Pieces | Bonus |
|---|---|
| 2 pieces | +15% Skill Haste |
| 3 pieces | +60% Repair Skills, +40% Explosive Resistance |
| 4 pieces (Huddle) | +1 Skill Tier for each ally within range of your Hive or Smart Cover |
Huddle does more than boost your Skill Tier. While at Skill Tier 6, keeping at least one ally in range of your Hive or Smart Cover for 4 seconds grants Overcharge for 15 seconds, on a 40-second cooldown. Mortars and enemy skills that enter that range are destroyed on a 10-second cooldown, and that cooldown drops 20% faster for each ally standing inside the zone.
Two set talents sharpen those timers. The chest talent Hivemind cuts the Overcharge cooldown from 40 to 25 seconds. The backpack talent Smart Cooperation drops the mortar-destruction cooldown from 10 seconds to 1 second, which effectively makes your zone a constant shield against incoming skills and artillery.
Full gear loadout and cores
Five set pieces plus the BTSU Datagloves exotic form the core of the build. The Technician specialization adds an extra skill tier, which lets you run five Yellow cores and one Blue core across six pieces without dropping below Skill Tier 6, giving a small survivability cushion.
| Slot | Item | Core | Attributes / Talent |
|---|---|---|---|
| Mask | Measured Assembly | Yellow | Repair Skills, Repair Skills mod |
| Backpack | Hermano (Brazos) | Blue | Repair Skills, Skill Haste, Repair Skills mod, Perfect Overclock |
| Chest | Measured Assembly | Yellow | Repair Skills, Repair Skills mod |
| Gloves | BTSU Datagloves (exotic) | Yellow | Repair Skills, Skill Haste, Transference Overclock |
| Holster | Measured Assembly | Yellow | Repair Skills |
| Kneepads | Measured Assembly | Yellow | Repair Skills |
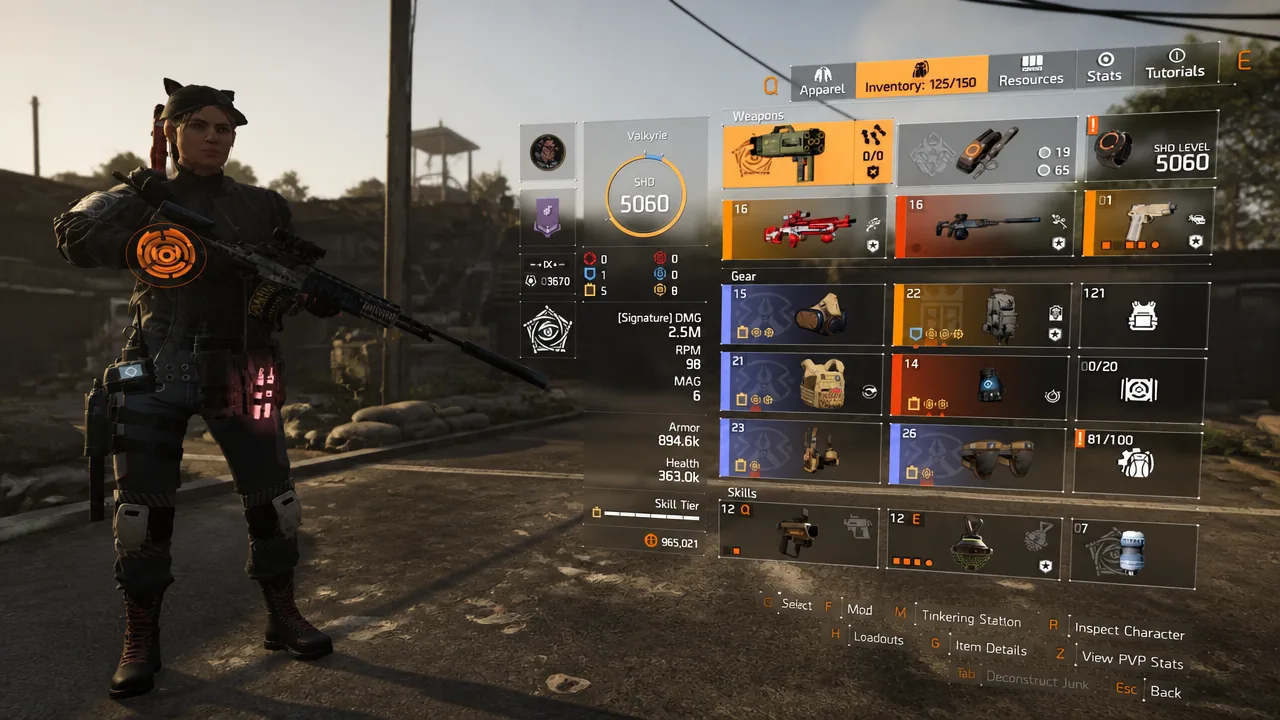
The BTSU Datagloves are the key exotic here. They keep your Hive refreshed quickly and give you a manual trigger for Overcharge, so you are not waiting on the passive Huddle timer to power up allies at the right moment. If you deconstructed an old low-level pair, you can re-farm them and reconfigure to level 40.
Note: The number of Blue cores you run scales with team size. With more allies feeding your Skill Tier through Huddle, you can afford additional Blue cores for extra armor without falling below Tier 6.
Weapons, skills, and specialization
The weapon slots are built around the Bittersweet exotic Rifle, whose Transfusion stacks turn your gunfire into a healing tool for teammates. The rest of the kit supports skill uptime and mobility.
| Component | Choice |
|---|---|
| Primary | Bittersweet exotic Rifle |
| Secondary | Cooler named Rifle |
| Pistol | Quick Step with Sport Mode talent |
| Specialization | Technician |
| Skill 1 | Precision Smart Cover |
| Skill 2 | Restorer Hive |
At Skill Tier 6, Precision Smart Cover delivers more than 90% Weapon Handling and over 37% Damage To Targets Out of Cover, so it buffs the whole team’s output while you focus on healing. The Restorer Hive sits comfortably above 475,000 Healing, and the BTSU Datagloves keep it topped off between uses.
Gameplay loop for healing and buffs
You know the loop is working when allies gain armor as you fire on them, mortars and enemy skills pop the moment they cross your zone, and the Overcharge buff appears while you hold Skill Tier 6. If Huddle’s Overcharge never fires, check that at least one ally is standing inside the Hive or Smart Cover range for the full 4 seconds and that you are actually at Tier 6.
When to run this build
Measured Assembly earns its slot in Escalation at tier 6 and above, and in Legendary and Master missions where mutators and heavy enemy pressure demand a dedicated support. Below tier 6, a simpler Refactor healer is enough to keep a group upright, so save this setup for the harder content where the cooldown reduction, mortar destruction, and constant heals actually change the outcome.
Pieces drop through targeted loot in Countdown and The Summit, as well as open-world activities that reward the set. Farming boss floors in The Summit on the highest difficulty with directives, ideally in a full team sharing loot, gives the best chance of completing the set quickly.