
Day 2 at the Vanderboom estate chains eight tasks together, and each one hands you an item or code the next one needs. The puzzles that trip people up are the ones with exact answers: the coffee box code, the animal parts padlock, the laundry order, and the cellar bottle symbols. Below are the precise solutions for every locked step, in the order you hit them.
Quick answer: Coffee box = 315. Animal parts padlock = 91276. Suitcase in the bathroom = 281. Statue times = 5, 8, and 10 o’clock (left to right). Cellar bottles: bronze on the sword, gold on the S, silver on the triangle with a line through it.
Preparing Coffee: The house painting code
Speak with the maid to begin, then head to the Servant’s Room. The box puzzle there needs a three-digit code, but the paintings you’d normally read are blank. You unlock them upstairs first.
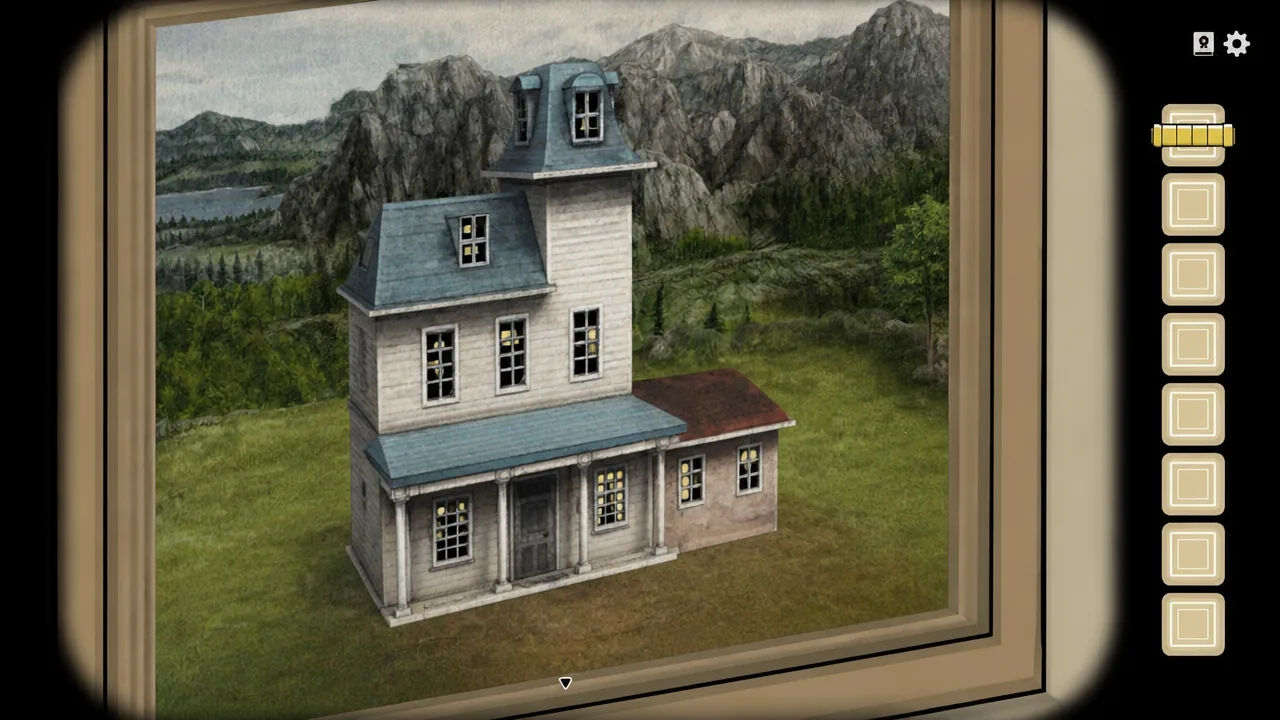
315. Go to the Servant’s Room and set the box dials to 315 to release the coffee beans.To unlock the “Serving Mr. Aldous His Favourite Coffee” achievement, place the beans on top of the stove beside the teapot and let them roast until they turn brown before grinding. Serving unroasted beans skips the achievement.
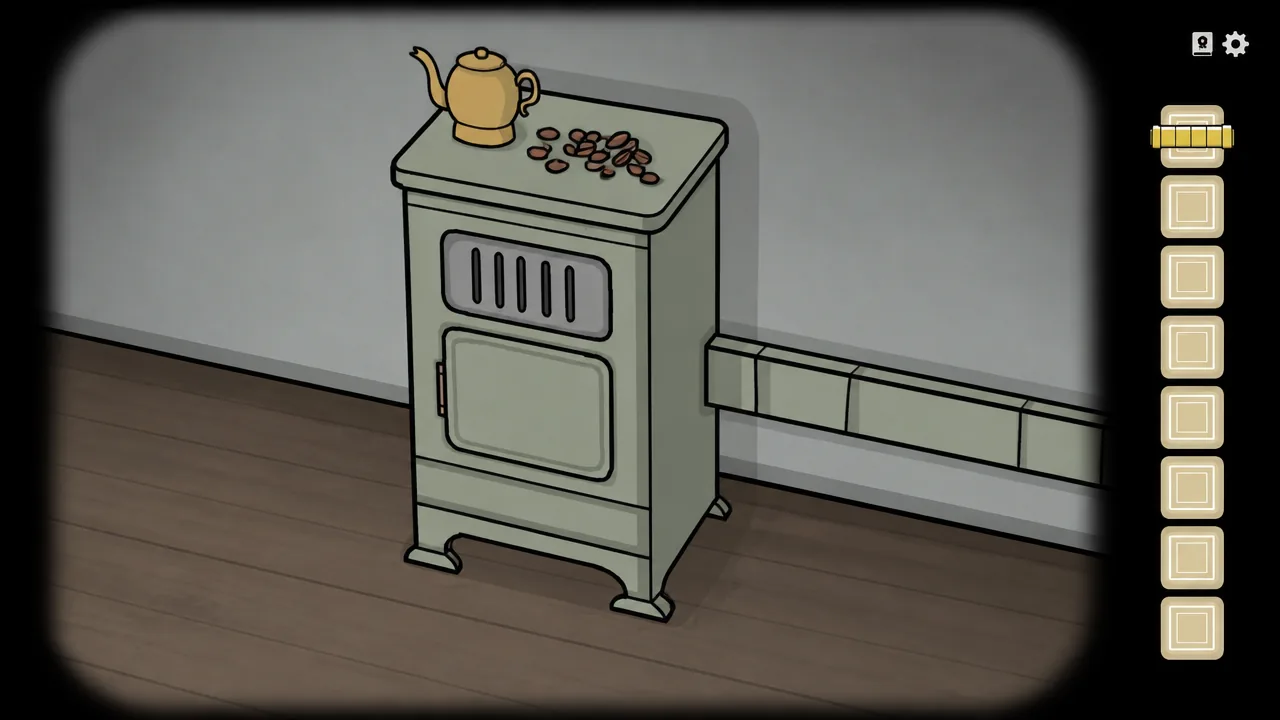
After roasting, take the beans upstairs and use them on the grinder on the table, then turn the lever. Pick up the ground coffee, place it in the teapot on the stove, and pick the pot up. Go to the room with the pink armchair, click the far door that is now ajar, and pour Aldous his coffee. Head upstairs, speak with the maid, then enter the door on your left.
Waking Up William: Clock, box, and toe tickling
This section runs left to right. Pick up the spoon from the table, open the curtain on the left, and grab the hat. Take the watch from the hat’s pocket and open it to read the time, which is nine o’clock.
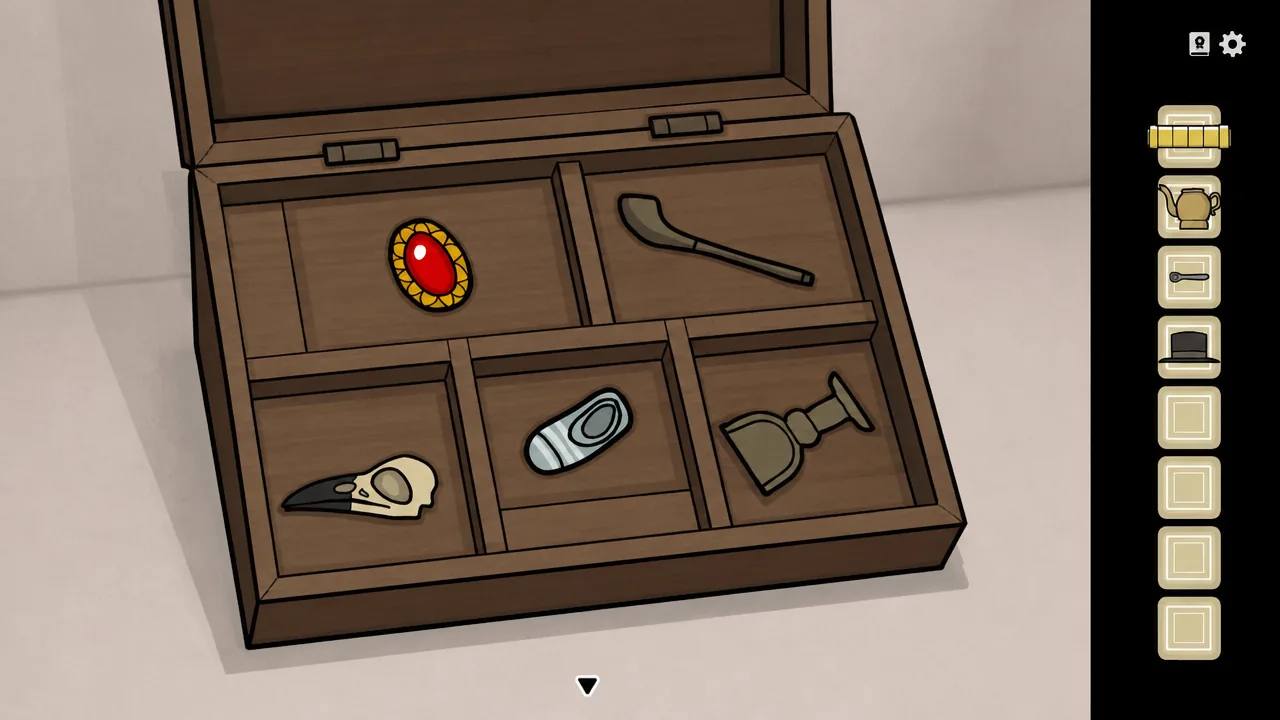
For the “Tickling Mr. William” achievement, use the feather on his nipples and nose until it unlocks.
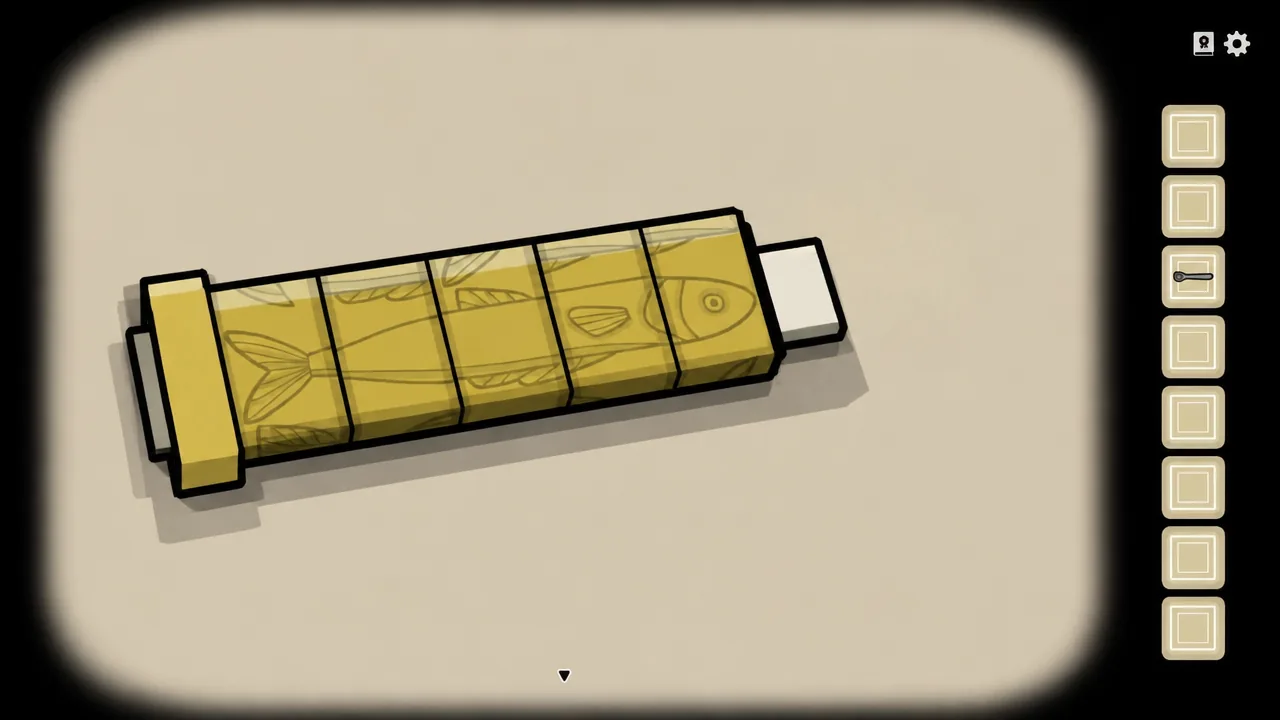
Scroll fish puzzle solution
Make the fish whole with its tail on the left and head on the right by shifting each column. From left to right, move the images: up three times, down twice, up four times, down three times, and down twice. Take the scroll out and read the note.
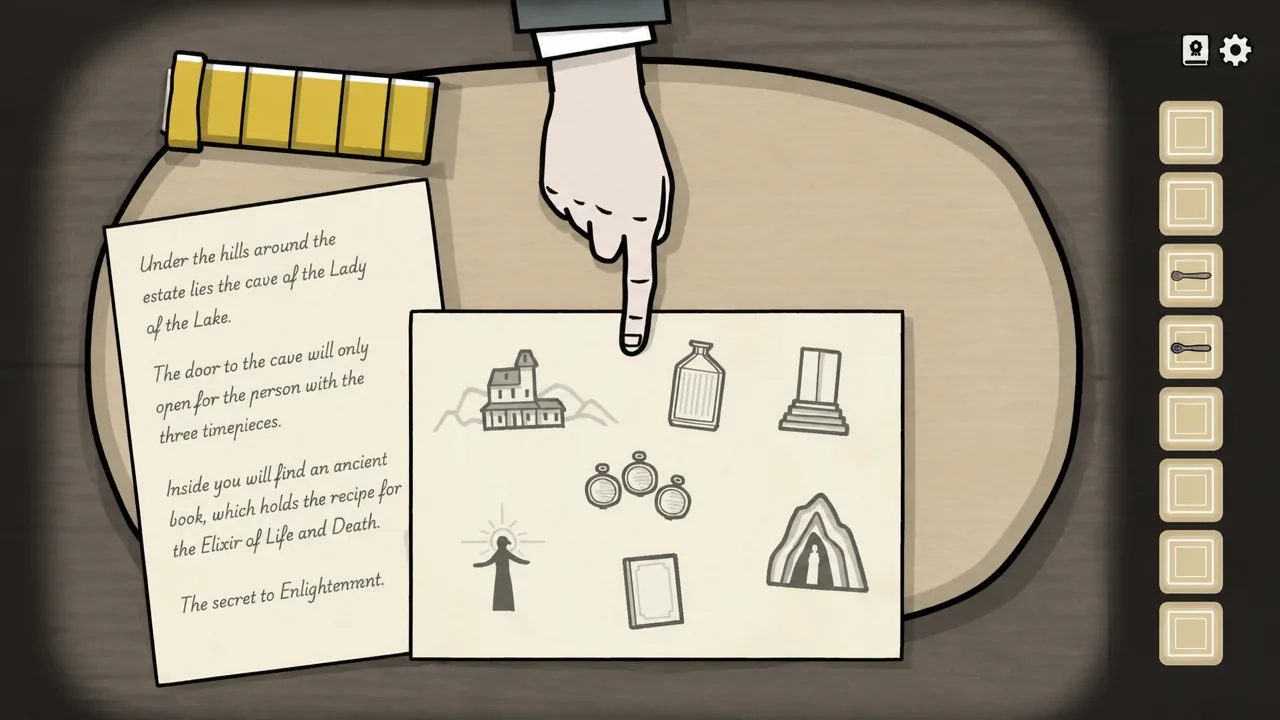
Pointing order for the scroll
Move the paper under William’s hand so his finger points at the images in the correct sequence. Each image greys out when it’s correct, so don’t drag his finger over an image that isn’t greyed out unless you’re picking it, or the puzzle resets. Point in this order: House, Cave, Door, Timepieces, Book, Elixir, and the enlightened silhouette. Speak with William afterward to end the section.
Cleaning the Floors: Three blood puzzle orders
Head upstairs, speak with the maid, open the bag on the table, and take the brush. Holding the brush over a blood spot makes it vanish, but each cleaning puzzle only works in one set order. Clean out of sequence and the spots reappear.
| Location | Cleaning order |
|---|---|
| Upstairs (first room) | Left middle, bottom-right small, bottom-left, bottom, right, top |
| Through the door on the right | Right middle, upper right, top left, leftmost small, upper-middle small, big left one, remaining one |
| Servant’s Room | Bottom right, bottom left, next up on the left, right middle, above the last one, last small one, bottom big, top big |
For the “Deep Cleaning” achievement, scrub the stick-figure Vanderboom family drawing in the top-left corner of the Servant’s Room after you clean the final blood spot but before you release the scrubber.
Go back upstairs, click the door on the right to find the maid, Kate, and speak with her. Peer through the keyhole on the bathroom door, open the doors beside the bathroom, then click the ladder to descend.
Going Hunting: Shooting order and the animal parts code
Pick up the bullets from the tree stump, read the note on the left table, and speak with Aldous. Use the rifle on the stump, loading one bullet before each shot. For the “A Perfect Hunt” achievement, you cannot waste any bullets or miss a shot.
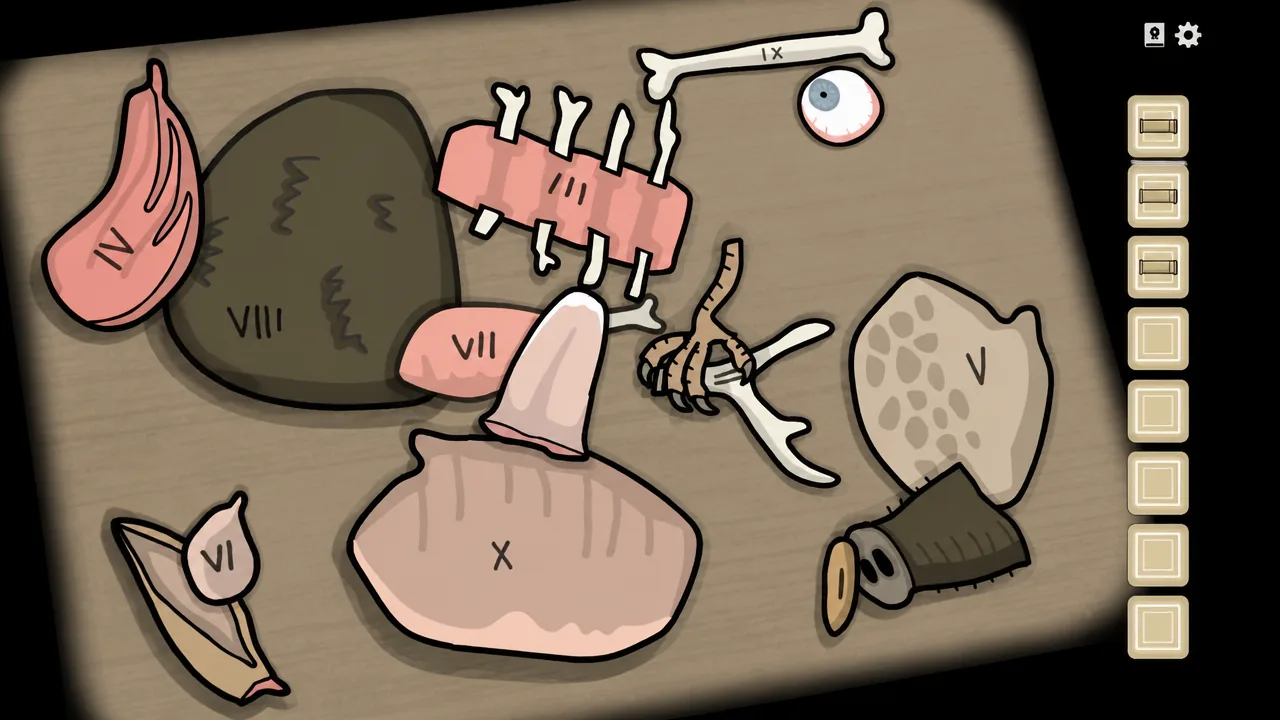
Animal parts padlock: 91276
Five body parts represent the five senses. Each reacts when placed next to the bone or item carrying its matching Roman numeral. Match them up as follows to read the code.
| Body part | Sense | Number |
|---|---|---|
| Eye | Sight | 9 |
| Nose | Smell | 1 |
| Claw | Touch | 2 |
| Tongue | Taste | 7 |
| Ear | Hearing | 6 |
Set the shed padlock to 91276, go inside, and collect the cloth and the cleaver. Give Aldous the cleaver and click his arm so he chops until blood covers his eyes. Click his bag and pull the straps through to open it, take the silver timepiece, then clean his face with the cloth.
Doing the Washing: Laundry line order
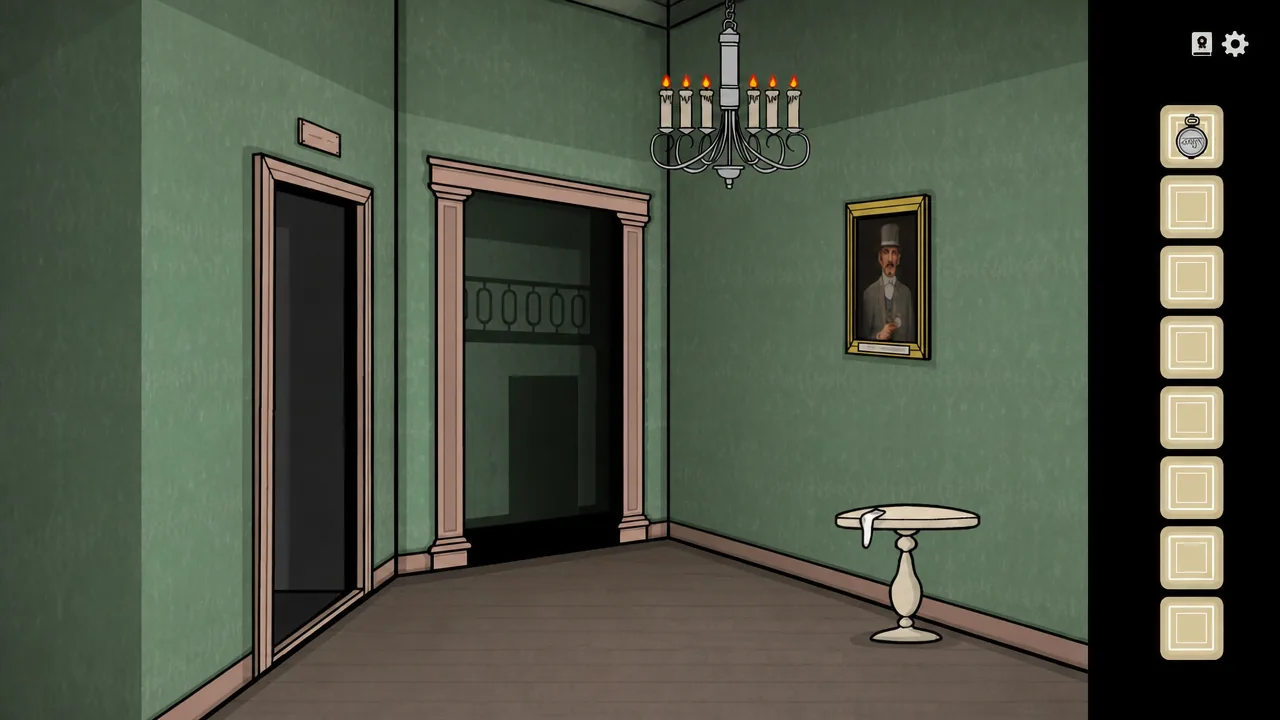
Take the sock from the hallway table. In the Servant’s Room, pick up all the washing, the baby, and the note from the floor, plus the underwear from the table. Put the washing in the tub on top of the stove. Go upstairs, click the door on the left to speak with William, and take his sock. Speak to the maid, give her the baby, then speak again to get the diaper.
Look through the bathroom keyhole via the door on the right to earn the “Close Inspections” achievement.
Return to the Servant’s Room, add the sock and diaper to the tub so it bubbles over, then take the tub. Go upstairs, take the door on the right, open the balcony doors, step outside, and use the tub on the laundry line.
Laundry line solution
Order the clothing by how many pink lines each item has, from fewest on the left to most on the right: shirt, underwear, diaper, trousers, sock with fewer lines, sock with more lines, then the towel with the most lines. When it’s correct, the shirt pocket jingles. Click it to get a key, use the key on the bathroom door, turn it, use the knob, and head inside.
Helping with Bathing: Tiles, bubbles, and the suitcase code
Pan right and take the cookie from the plate, then click the box beside it for the moving tile puzzle. Each grey tile slides until it hits a wall or another tile, and it needs to end on the bottom tile with a matching pattern.
Moving tile puzzle order
- Move the bottom square-like tile right.
- Move the plain circle tile right, then down onto the square.
- Move the circle with two points (top and bottom) right onto its match.
- Move the circle with four points right.
- Move the circle tile up, then all the way right, then up so it sits below the diamond.
- Move the four-point circle left onto its match.
- Move the square tile left.
- Move the circle tile down.
- Move the diamond tile right.
- Move the square tile right, then up, then right, ending to the right of the four-point circle.
- Move the circle tile right, then up, onto its pattern.
- Move the square tile right, then down, onto its pattern.
- Move the diamond tile left to finish.
Take the soap from inside.
Wall tile grouping
Click the blue and white tiles behind the bath, then group them into related sets of four. Each correct set darkens.
| Group | Tiles |
|---|---|
| Family | Alexandra, William, Aldous, James |
| Animals | Cat, bird, goat, rabbit |
| Flowers | The four flower tiles |
| Body parts | Hand, eye, ear, nose |
| Furniture | Table, bath, table, chair |
| Remaining | Gun, elixir, hat, suitcase |
Take the scissors from the opened tile. Use the tub of water on the bath, add the soap, then click Alexandra. Remove her hat, take out her hairpin, use the scissors on her stitches, and take the maggot.
Bubble bath puzzle
Click the bubbles in the right order so they cancel each other out. Start with the bubble on the right, then the top-left bubble, then the bubble closest to Alexandra’s right shoulder (on the left of the screen), then the middlemost bubble. Use the pin on the hand a few times to clear it, then use the scissors on her necklace and collect it.
Suitcase code: 281
Put the hat on the stand left of the bathroom and take the note from it. Take the note from the dress too. Overlap both notes on the table to reveal the numbers you actually need, which is 281. Click the suitcase, open the left clasp, set the dials to 281, and press the button to the left of the dials.
Go back, click the suitcase open, then click again to take out the box. Put the necklace in the circular recess on the box, open it, and retrieve the watch.
Night Time Duties: Cellar bottle symbols
For the “Garbage Disposal” achievement, go to the right balcony upstairs and throw the body parts over the railing before heading down. In the Servant’s Room, click William until he hands over his timepiece. In the room with the pink armchair, the rug is partly pulled up, so click it and go down into the cellar.
Three bottles match the three siblings by neck color and timepiece symbol. To read the symbols, use each timepiece on the matching portrait upstairs.
| Timepiece | Portrait | Symbol |
|---|---|---|
| Bronze | Alexandra | Sword |
| Gold | William | S shape |
| Silver | Aldous | Triangle with a horizontal line through it |
Back in the cellar, move the bronze-neck bottle onto the sword, the gold-neck bottle onto the S, and the silver-neck bottle onto the triangle-with-a-line symbol. Click the barrel that opens to enter the secret passage.
Inspecting the Cellar: Statue routes and final times
The cabinet on the right only lets you carry three items at a time. Each statue you reach rewinds time and shows one clock face, and you need all three times for the finale.
For “Pest Control,” click the mousehole to make the mouse run out after taking the key, then hit it with the hammer.
You now have all three statue times to remember: five o’clock, eight o’clock, and ten o’clock.
You’ll know each locked puzzle worked the moment its reward appears: dials click open to release an item, the shirt pocket jingles on the laundry line, and the barrel or door swings open once the symbols and times line up. If a code refuses to work, recheck the pointing directions on the coffee paintings and the Roman numeral matches on the hunting table, since those two are where the numbers get read wrong most often.