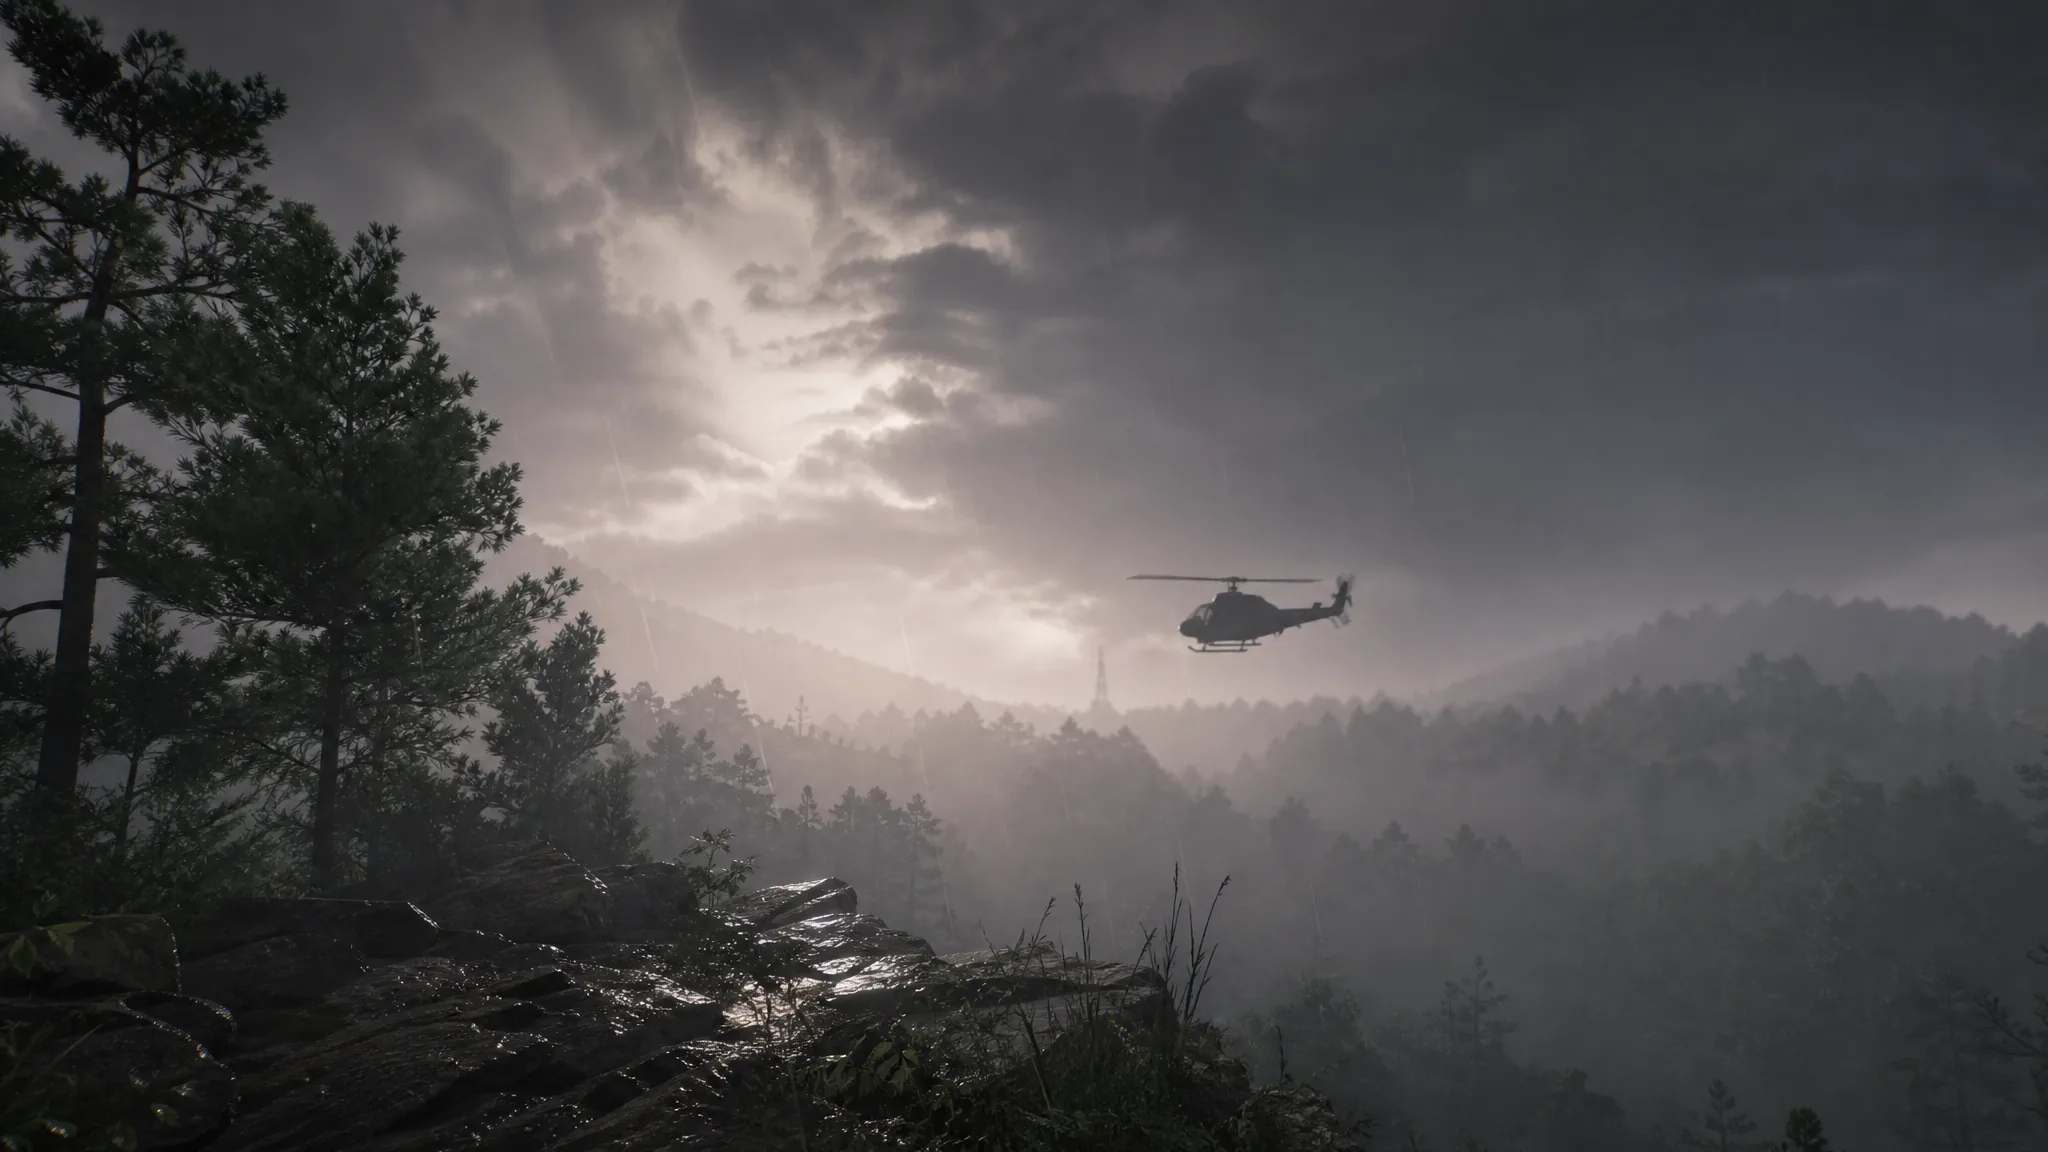
Broken Rain drops you into the Steel Creek Dam and its hydroelectric plant in rural Pennsylvania, where the Rikers have dug in and Hurricane Morgan is closing the window. It is the second Incursion in The Division 2, added with the Year 8 Season 2 update, and it runs as a four-player endgame mission built around bosses, escort mechanics, and dam-pressure puzzles. Clearing it means pushing through four encounters and killing every Riker leader named Steel.
Quick answer: Bring three DPS and one flex player who can swap to tank or healer. Beat Lester Steel as a straight damage check, escort the Patch War Hound past the turret and APC, expose Dwayne Steel IV’s back to disable his turrets, manage the four turbines (or cheese Iris with a Negotiator’s Dilemma mark), then break Marguerite Steel’s helmet and backpack while a runner keeps dam pressure low.
Requirements and team setup
Broken Rain is free for anyone who owns The Division 2 and has reached level 40. It supports matchmaking, and it does not require Warlords of New York or Battle for Brooklyn. There is a single Incursion difficulty rather than the usual Normal through Heroic scale, so the challenge comes from mechanics and coordination, not inflated enemy health.
You can bring Prototype gear, but its stats are fully normalized inside the Incursion. Prototype Augments are disabled and Prototype stats drop to their minimum values, the same rule already used in Paradise Lost and the raids. Plan your loadout around normal end-game gear instead.
| Requirement | What you need |
|---|---|
| Character level | Level 40 end-game Agent |
| Team size | Four players strongly recommended |
| Matchmaking | Supported |
| DLC | None required |
| Recommended roles | 3 DPS plus 1 flex (tank or healer) |
Two support pieces earn their slots. Birdie’s Quick Fix exotic backpack lets your healer revive downed runners quickly, and a tank build with the Mosquito exotic pistol becomes essential for turning bosses that hide their weak points behind shields.
Encounter 1: Lester Steel in the logging camp
You start in a logging camp swarmed by Rikers. Use the log piles as cover and clear the wave first, prioritizing rushers and the elite snipers that hit hard enough to leave you at a sliver of health. Those snipers stay dangerous during the boss fight, so keep one DPS assigned to hunting them.
Group up next to the Patch War Hound drone to trigger Lester. He arrives from a vehicle with brief damage reduction as he approaches, so hold your strongest damage until he lands and that protection drops. There is no puzzle here, just a damage check. Have the tank kite him in a small loop while everyone else pours damage in.
Lester charges in to swing his chainsaw, and while he does he ignites the log piles. The arena’s safe space shrinks the longer he lives, so keep moving away from the flames and end the fight fast rather than letting it drag.
Encounter 2: Escort Patch, the turret, and Dwayne Steel IV
Activate Patch after Lester falls and it heads toward the camp gates. A button inside the shack next to the gate opens them. Patch only moves while at least one player stays near it, and it has a health bar that enemies can chew through, so this stretch is about pacing rather than raw speed.
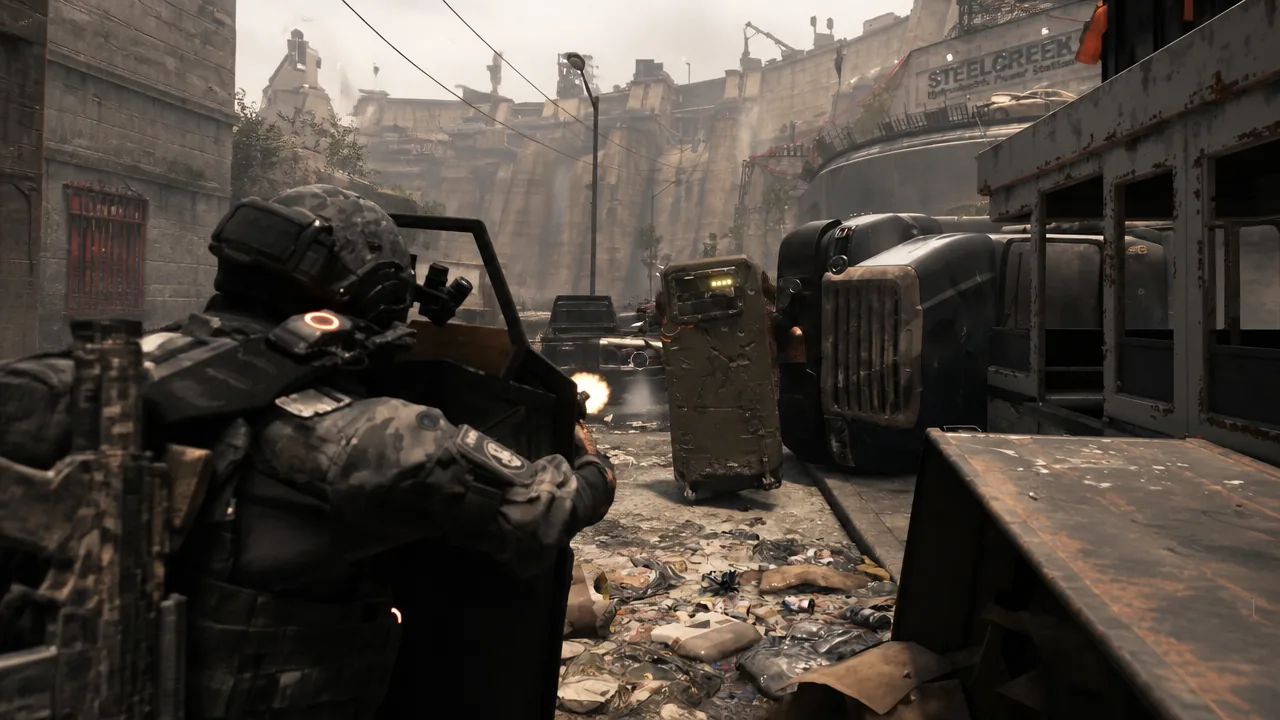
Patch’s detonation opens the path and sets up Dwayne Steel IV. His shield is completely immune to damage, and his arena is ringed with rocket turrets. Post up behind the white truck tagged “The Keep,” which sits near an ammo restock. Have the tank aggro Dwayne, or use a decoy, to turn his back toward the team so DPS can hit the backpack weak point. Destroying that backpack disables the rocket turrets, after which he becomes a normal damage check. Clear the remaining adds to officially close the encounter.
From here you move up into the Hydro Station. Push forward until you find Commander DaCosta locked behind bars, shoot the lock off, and speak with her before the turbine room.
Encounter 3: Iris Steel and the turbine room
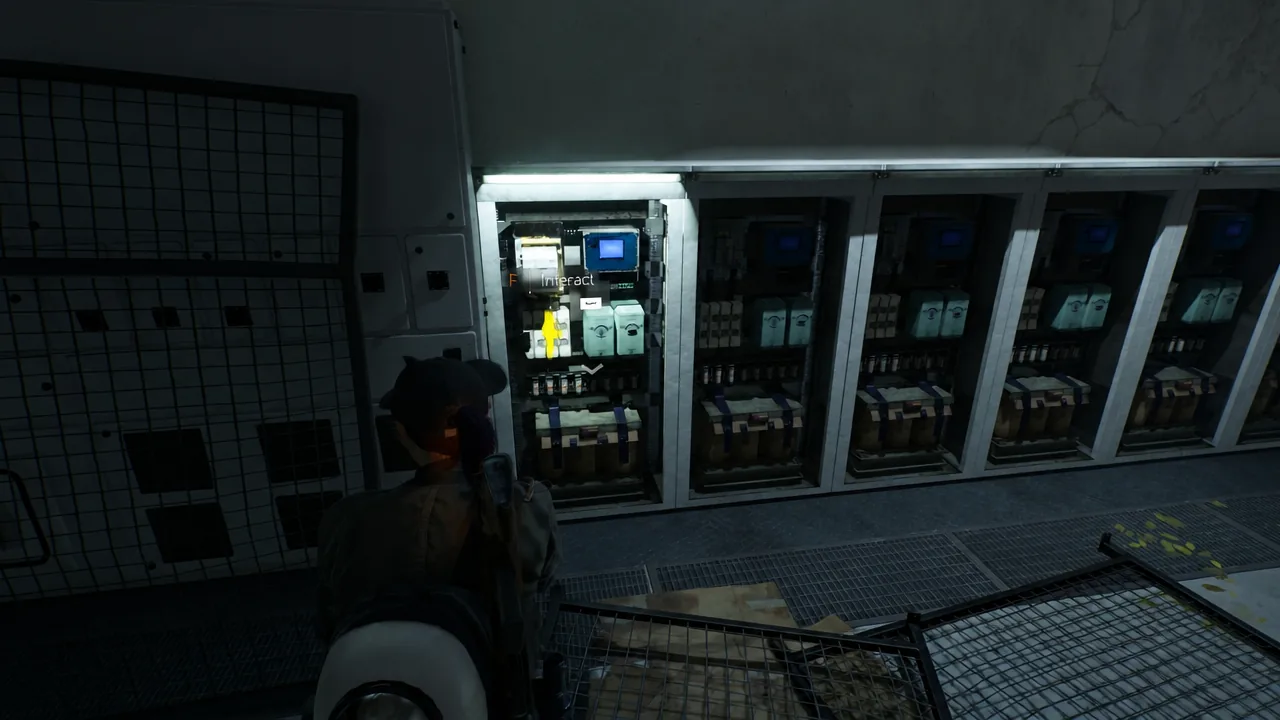
This is the fiddliest fight so far, and it wants three DPS and one healer. The room holds four turbines, two on the left and two on the right, plus a control room on the west side with a monitor for each turbine. When a monitor turns red, that turbine is going critical and you have to respond fast or the encounter destabilizes.
One player presses the control panel button for the specific turbine while another runs to the correct valve outside. Turbines are numbered 1 to 4 from north to south. The north (left) valve controls turbines 1 and 2, and the south (right) valve controls 3 and 4.
| Turbine | Side | Valve |
|---|---|---|
| T1 and T2 | Left (north) | North valve |
| T3 and T4 | Right (south) | South valve |
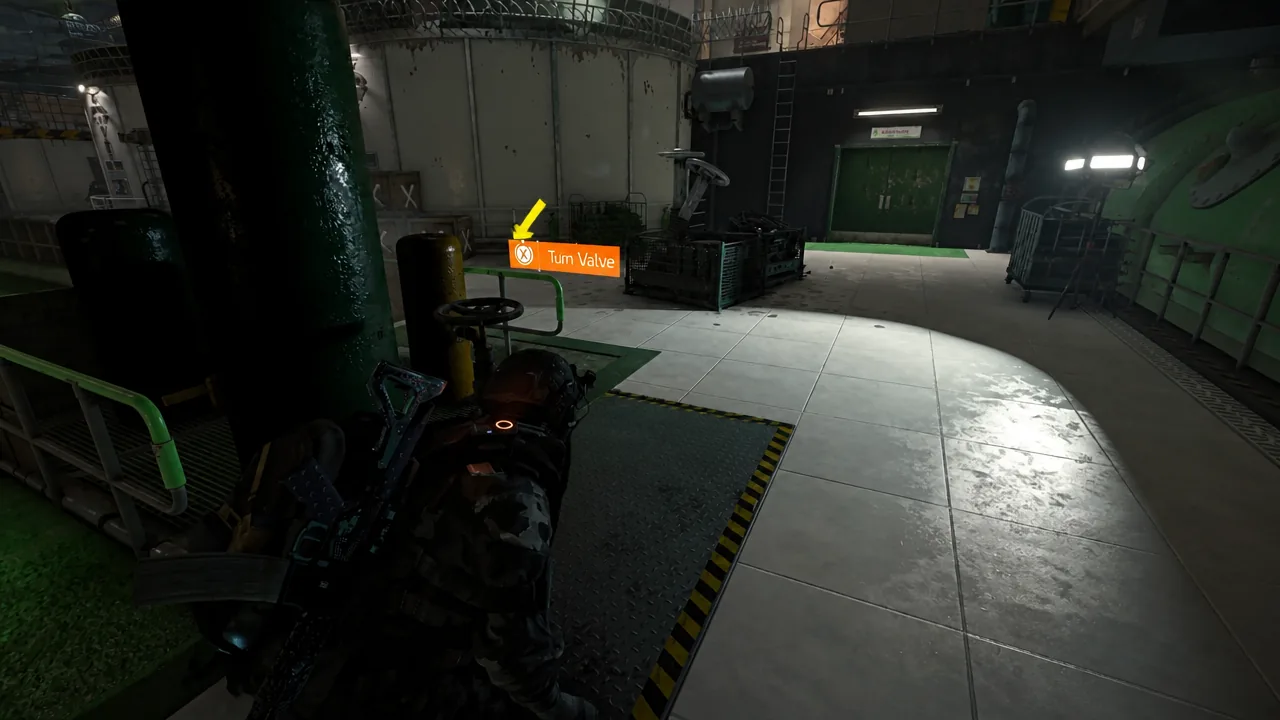
Iris Steel normal method
Iris spawns from behind the turbines with an electrical shield that blocks damage. The tank kites her while the healer and one DPS keep the turbines stable and the rest clear adds. When her shield drops she moves to a turbine to recharge it, and during that window the tank hits her with an EMP pulse to open a damage phase for the whole team. Repeat that shield-break-and-EMP loop four times to kill her.
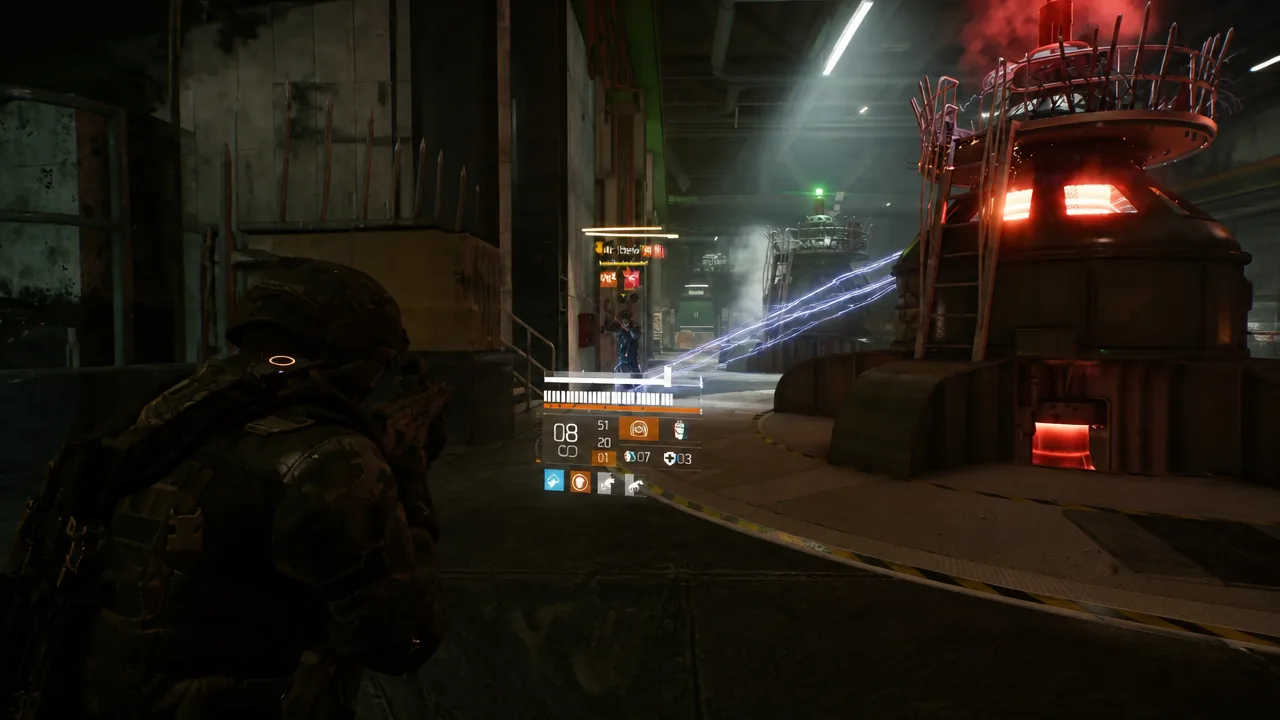
Iris Steel cheese method
There is a much faster route. When Iris spawns, a DPS player running a Negotiator’s Dilemma build marks her, then keeps shooting the adds to chip her health down through the mark. As long as you refresh the mark on Iris every few seconds, this bypasses the entire turbine and EMP sequence and ends the fight well ahead of the standard loop.
Encounter 4: Marguerite Steel on top of the dam
Before the final fight there is a short traversal puzzle. Shoot the canister on top to bring down a rope, then power the locked room beside the lift to open it. That takes you to the top of the Steel Creek Dam. This encounter also wants three DPS and one healer.
Phase one is a timed relay. The tank interacts with the control panel in the spawn room, which pulls aggro onto that player, then sprints across the dam to a matching control room and presses a button before time runs out. Teammates then interact with one of three gates that manage dam pressure. Repeat this sequence three times. The runner should stack as much Hazard Protection as possible to survive the electrical traps along the route, and avoid the elevated left path where you get staggered constantly.
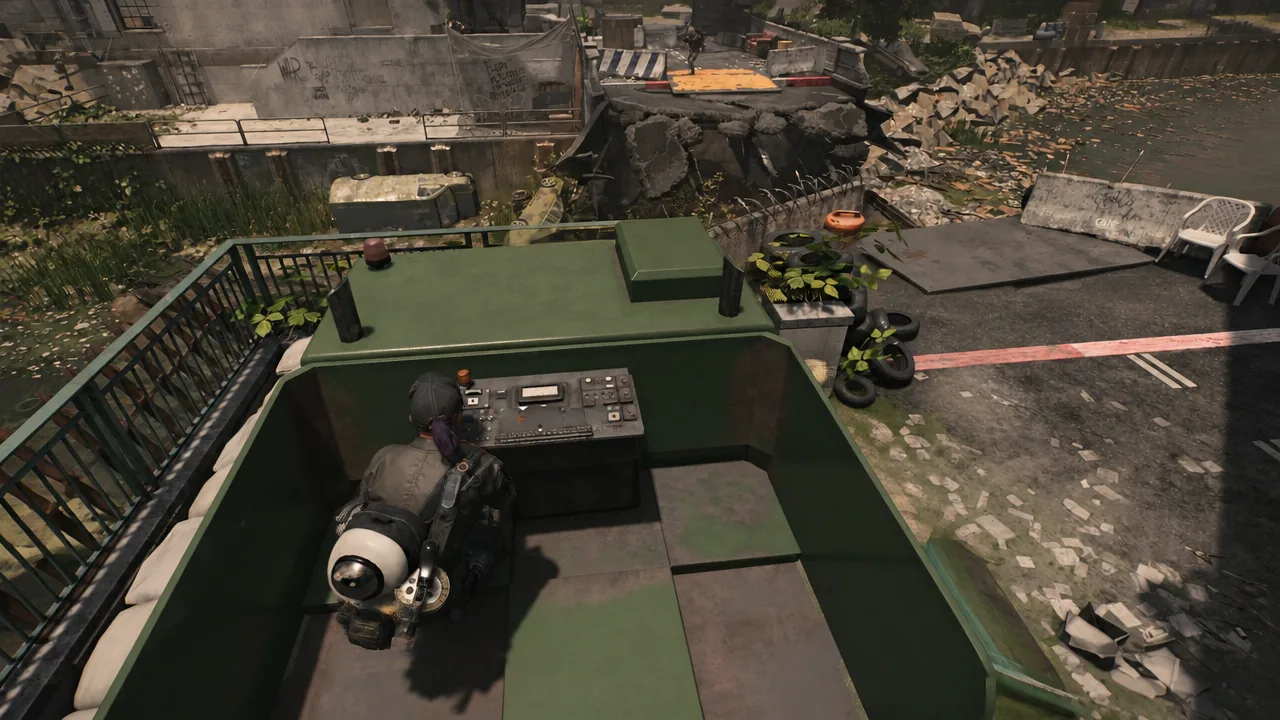
Phase two turns Marguerite into the fight. Position one player on gate 1, the healer and a second player on gate 2, and a third player on gate 3. The DPS players destroy Marguerite’s helmet and backpack to force her toward one of the four supply boxes under the central tower. Breaking those pieces spawns a named Chunga miniboss.
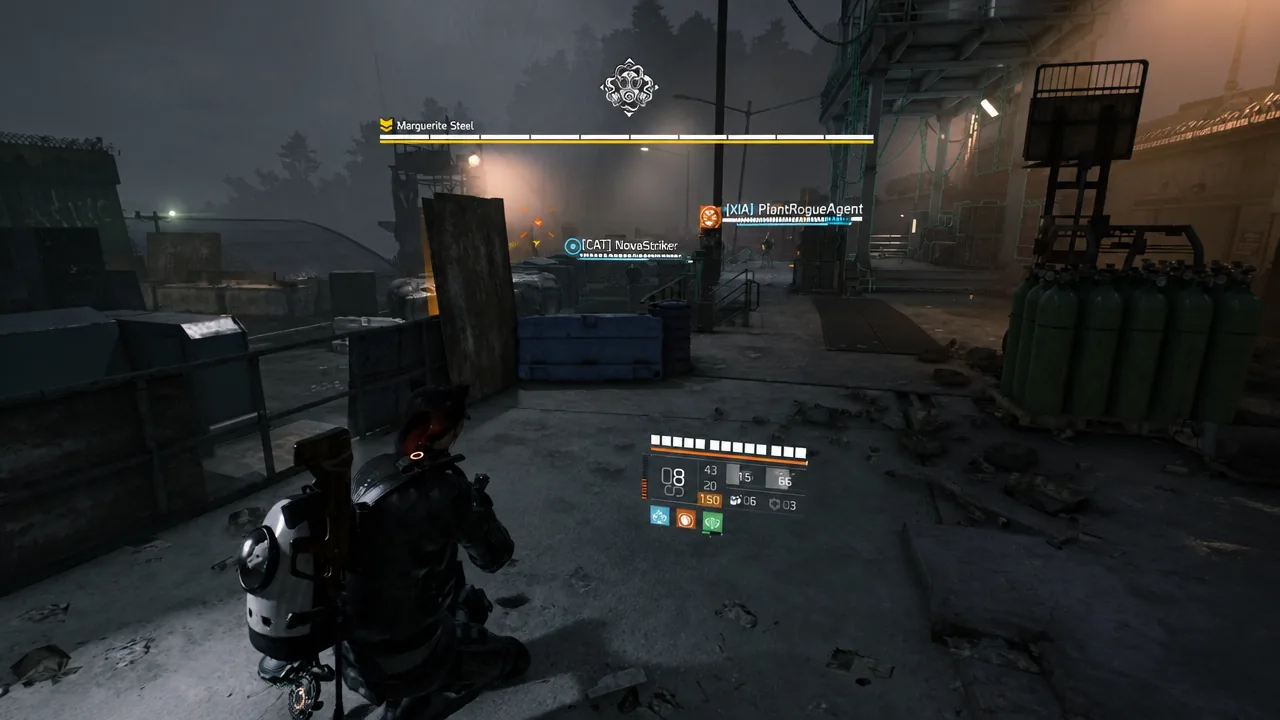
Kill that miniboss to grab a thermite charge, then stick it onto one of the four supply boxes Marguerite uses to repair her helmet and backpack. Do this full sequence four times to strip her repairs and make her vulnerable. Meanwhile, watch the pressure gauge below your minimap and keep it as low as possible. When gates 1, 2, and 3 sound an alarm and glow green, the tank runner interacts with them to bleed off dam pressure.
Rewards and how to confirm the clear
A Mission Completed screen confirms the run. A full completion pays out 315,600 XP and 2,000 Season Pass XP. You also earn a Broken Rain Arm Patch scaled to your speed. The gold version comes from a first-day clear, silver from a first-week clear, and bronze otherwise. The first time you finish after a weekly reset, you receive one Steel Creek Cypher Fragment, which opens a chest in a room near the exfil point.
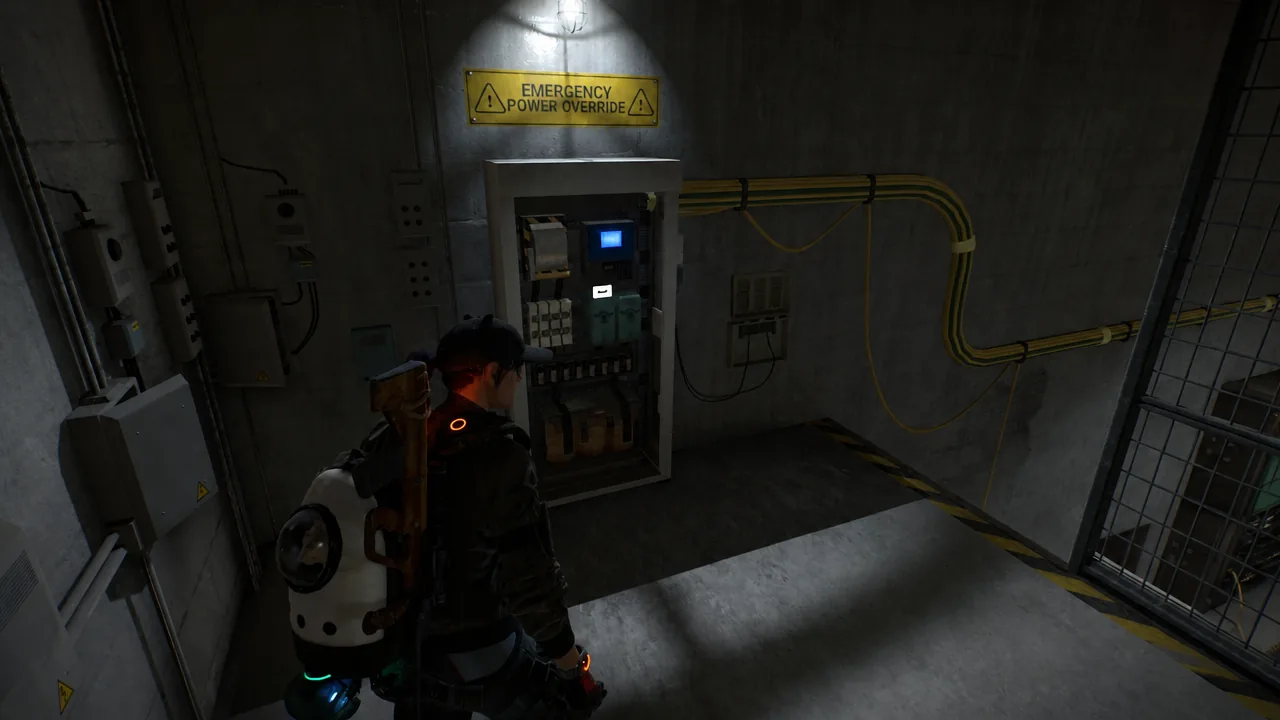
The standout loot is the Steel & Sons ACR, an exotic rifle exclusive to Broken Rain. It can drop from the final reward chest, where each character is eligible for one roll per week that resets with the global weekly reset, and from bosses on repeat runs as long as you are present when the boss dies. A flawless deathless clear also grants a mask and a backpack trophy. Clean each phase, keep dam pressure down, and the Steel family goes quiet.