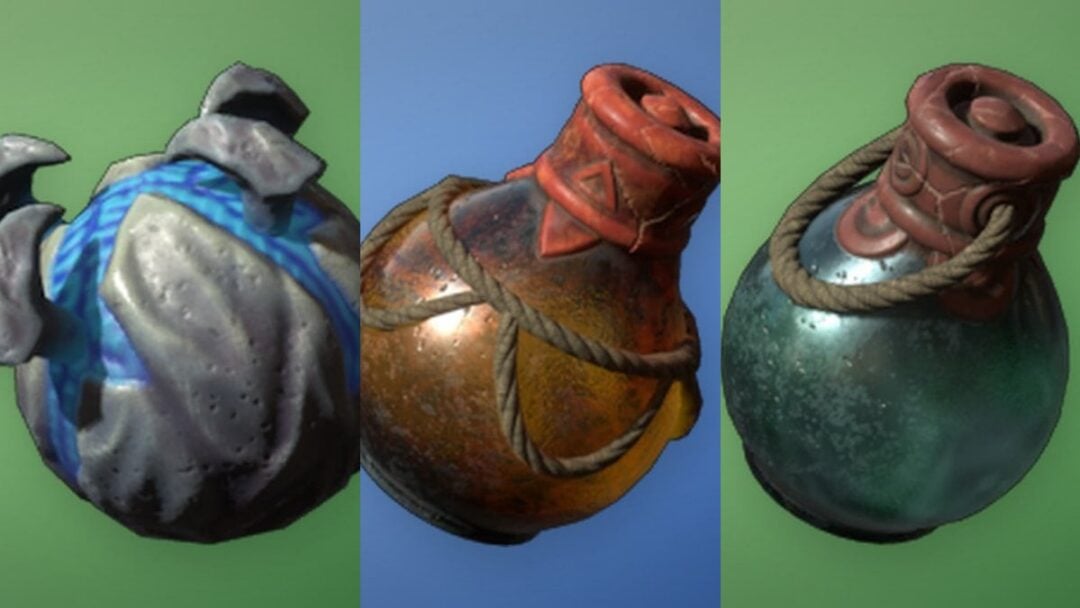
Transporting Pals in Palworld got a quiet but meaningful upgrade in version 1.0. A hidden stat called Item Absorb Range now decides whether a Pal grabs a single item off the ground or pulls in an entire stack from a distance. It scales with a Pal’s Transporting Work Level, and it changes how efficient your base really is.
Quick answer: A Transporting Pal only vacuums up full item stacks once it reaches Transporting Work Level 4 or higher. At Levels 1 through 3 the Absorb Range is 0, so the Pal carries one item at a time no matter how large its carrying capacity is.
What Item Absorb Range does
Absorb Range is the reach at which a Transporting Pal can pull nearby items into a single load. When the value is above 0, the Pal walks up to a pile, absorbs everything within range, and carries the whole batch to a storage container in one trip.
Two things scale together as Work Level rises: carrying capacity (how many items fit in one trip) and Absorb Range (how far the vacuum effect reaches). Below Level 4 the range stays at 0, which forces the Pal to make separate trips for each item even if its capacity is technically higher than one.
Absorb Range only matters for large stacks and task-based worksites such as logging sites, mining sites, and plantations. Natural nodes and Ranch drops arrive as single pieces, so those are collected one at a time regardless of level.

Capacity and Absorb Range by Transporting Work Level
The jump happens at Level 4. That is the first level where a Pal gains any Absorb Range at all, unlocking the vacuum behavior. From there both stats climb steadily to a maximum capacity of 500 items and a range of 1000 at Level 10.
| Work Level | Carrying Capacity | Absorb Range |
|---|---|---|
| 1 | 2 | 0 |
| 2 | 5 | 0 |
| 3 | 10 | 0 |
| 4 | 20 | 300 |
| 5 | 40 | 400 |
| 6 | 70 | 500 |
| 7 | 120 | 600 |
| 8 | 200 | 700 |
| 9 | 320 | 800 |
| 10 | 500 | 1000 |
How the mechanic behaves at each tier
Levels 1, 2, and 3 all share the same problem. Even a Level 3 Pal with a capacity of 10 will still trudge back and forth for one item per trip, because its Absorb Range is 0. Carrying capacity is wasted without range to fill it.
At Level 4, everything changes. A Level 4 Pal can absorb and haul a stack of 20 items at once. Higher tiers keep raising the ceiling, so a Level 8 Pal moves 200 items per trip and a Level 10 Pal clears up to 500 items in a single load.
Around Level 8 is the practical sweet spot for most bases. The capacity of 200 and range of 700 handle heavy production without needing the rarest maxed-out Pals, and it clears large piles fast enough to prevent items from stacking up near workstations.

Why a Pal’s size can break the pickup
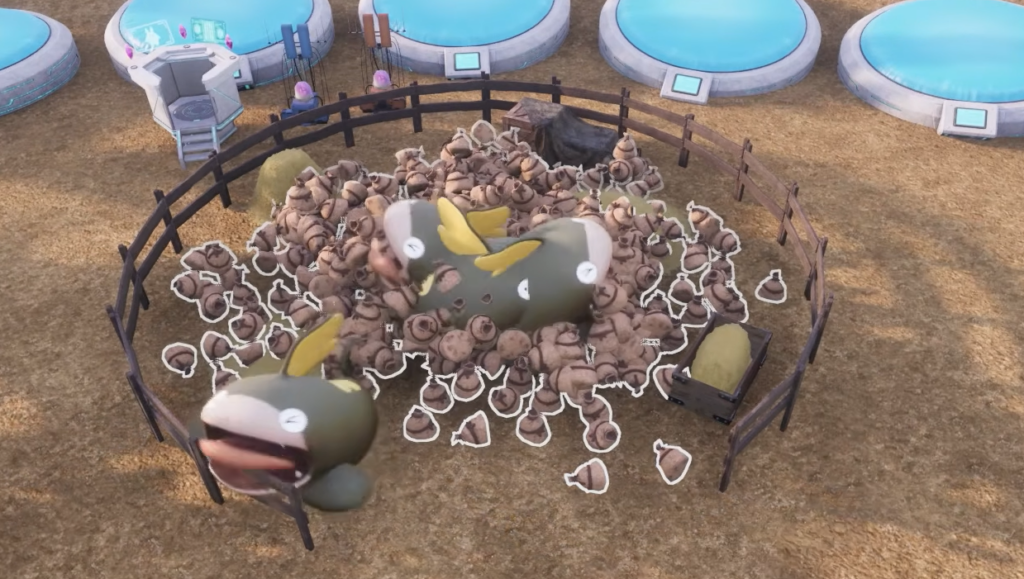
Absorb Range is measured from the Pal, but the Pal’s physical body gets in the way. A large hitbox can push the creature away from the center of a pile, so the items sit just outside the effective reach and never get absorbed cleanly.
Alpha versions and naturally big Pals feel this the most. Their bulk keeps them from settling into the pile, which can make a technically higher range perform worse than a smaller Pal at the same level. If a big Transporting Pal keeps missing items, its size is usually the reason.

Base layout tips that remove the problem
The simplest fix for range and distance headaches is placement. Put a storage chest directly in the center of a ranch or production area, and transport distance stops mattering, since Pals drop their loads right where the items are produced.
Keep in mind that Transporting is unaffected by Work Speed buffs. Those bonuses do not increase capacity, Absorb Range, or how quickly a Pal moves while carrying. Movement Speed traits and Food or Sanity traits are the useful ones, because faster feet and longer work shifts are what actually cut down delivery time.
For very large bases, a fast lower-level Transporting Pal can outpace a slow high-capacity one by simply completing more trips. Match the level to your base size: high Absorb Range for compact, high-output setups, and high movement speed when chests sit far from where items drop.