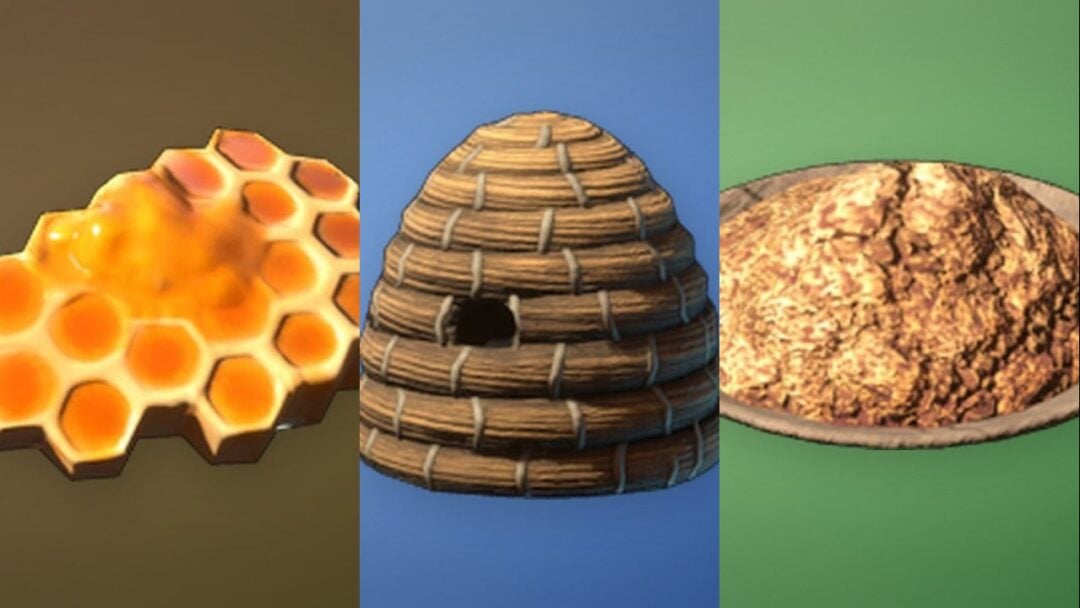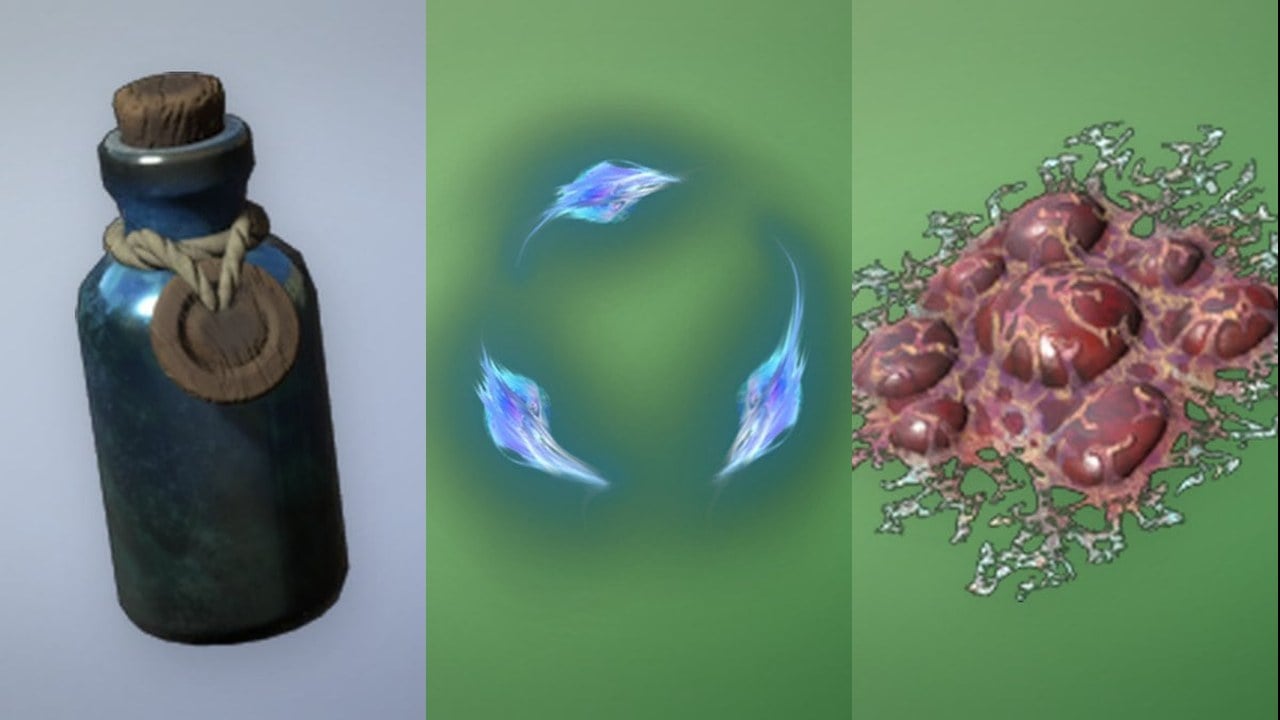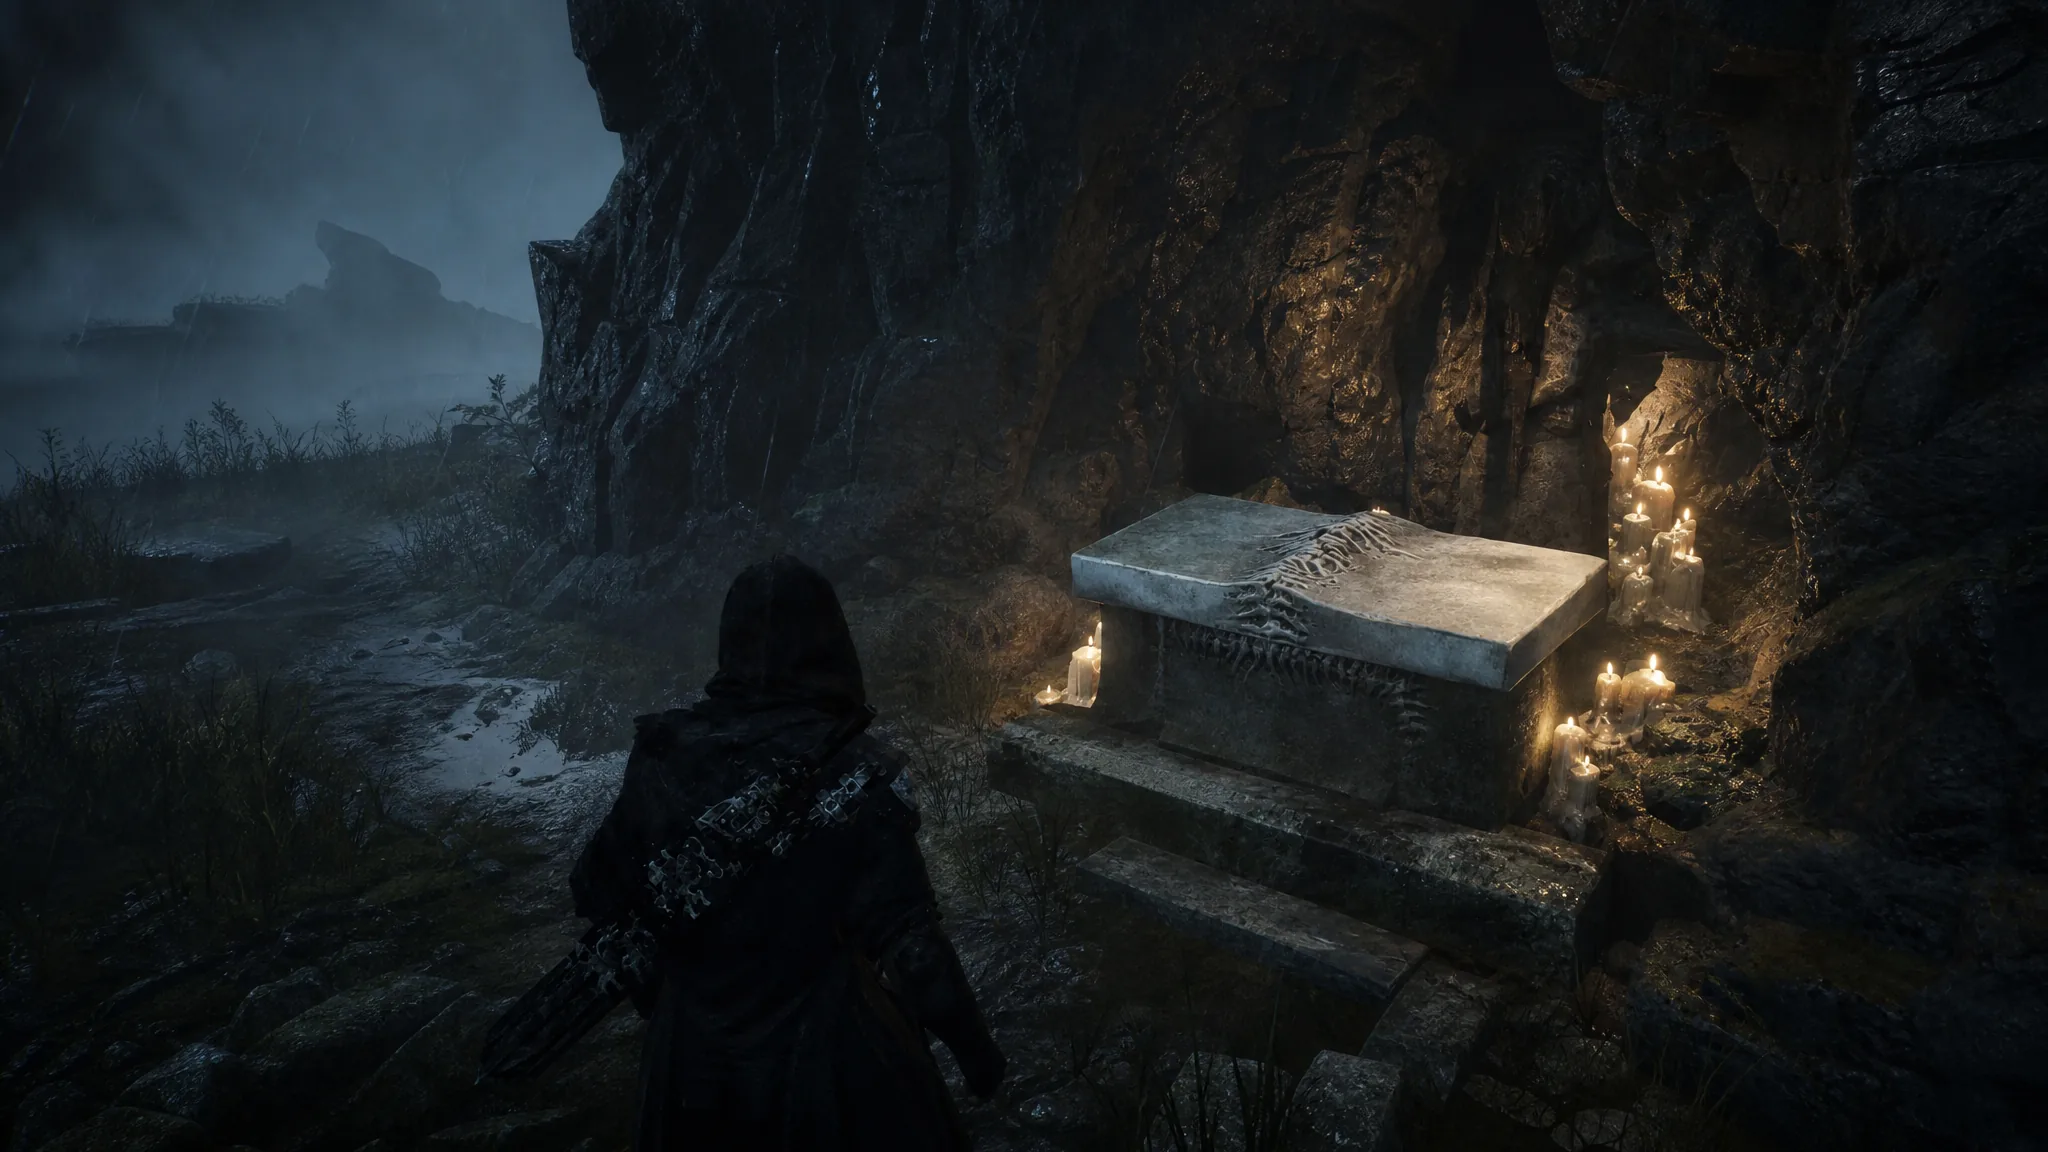
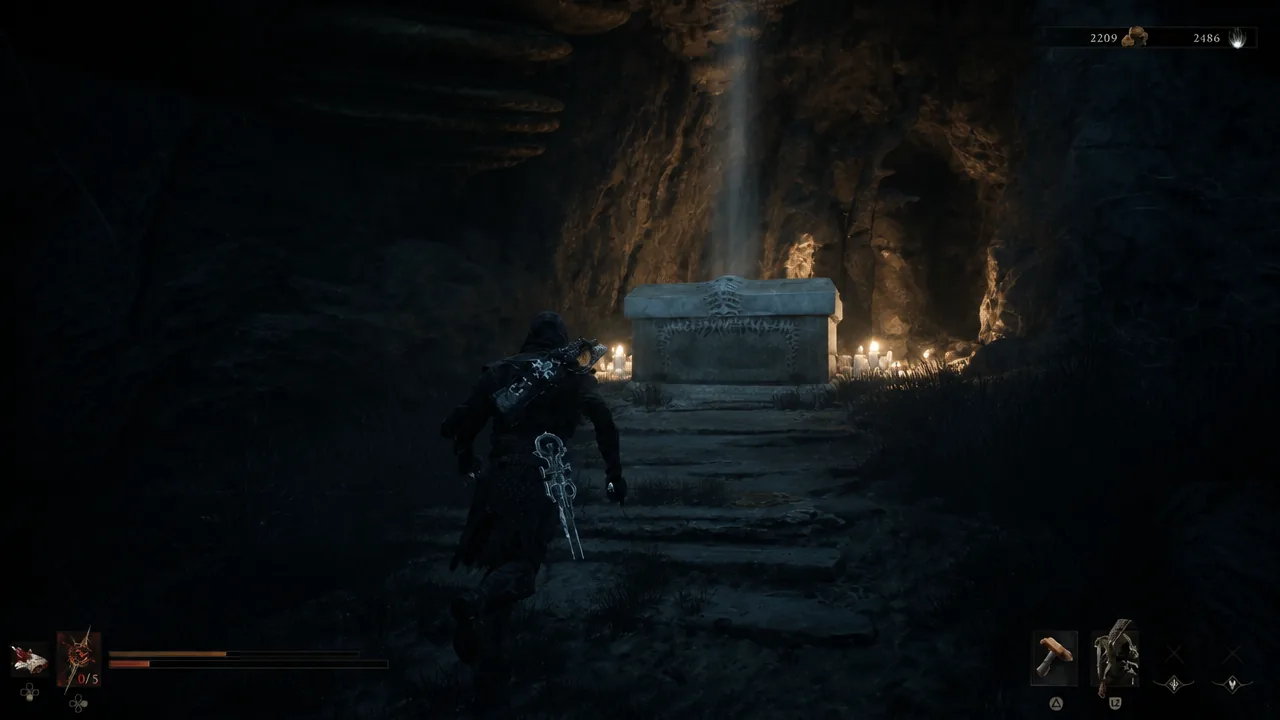
The Sunken Village hides a bone chest that refuses to open on contact. Interact with it and the game simply tells you that three Offerings are required. There are no map markers for those Offerings, and the swamp around them is full of poison-throwing enemies, so it is easy to light one or two candles and wander off thinking the chest is bugged.
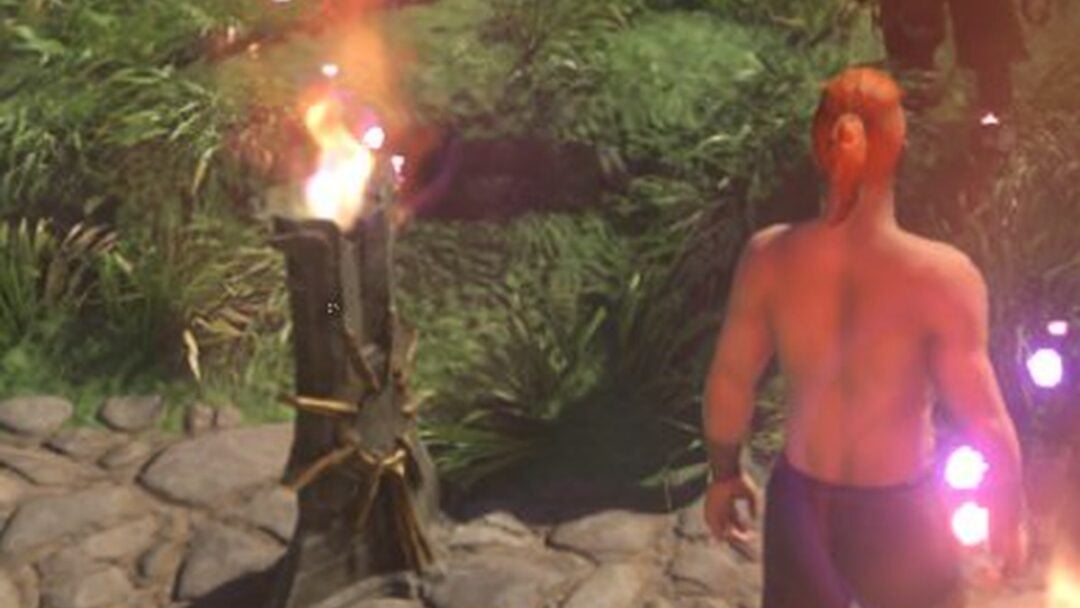
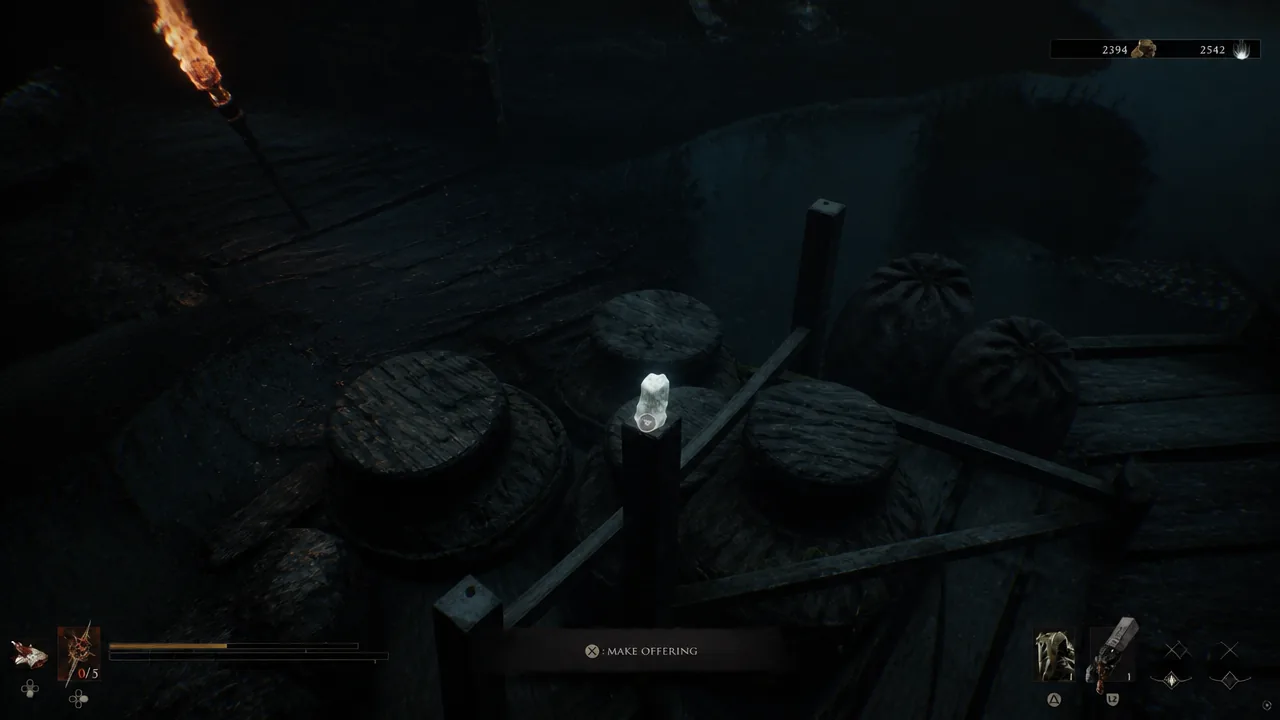
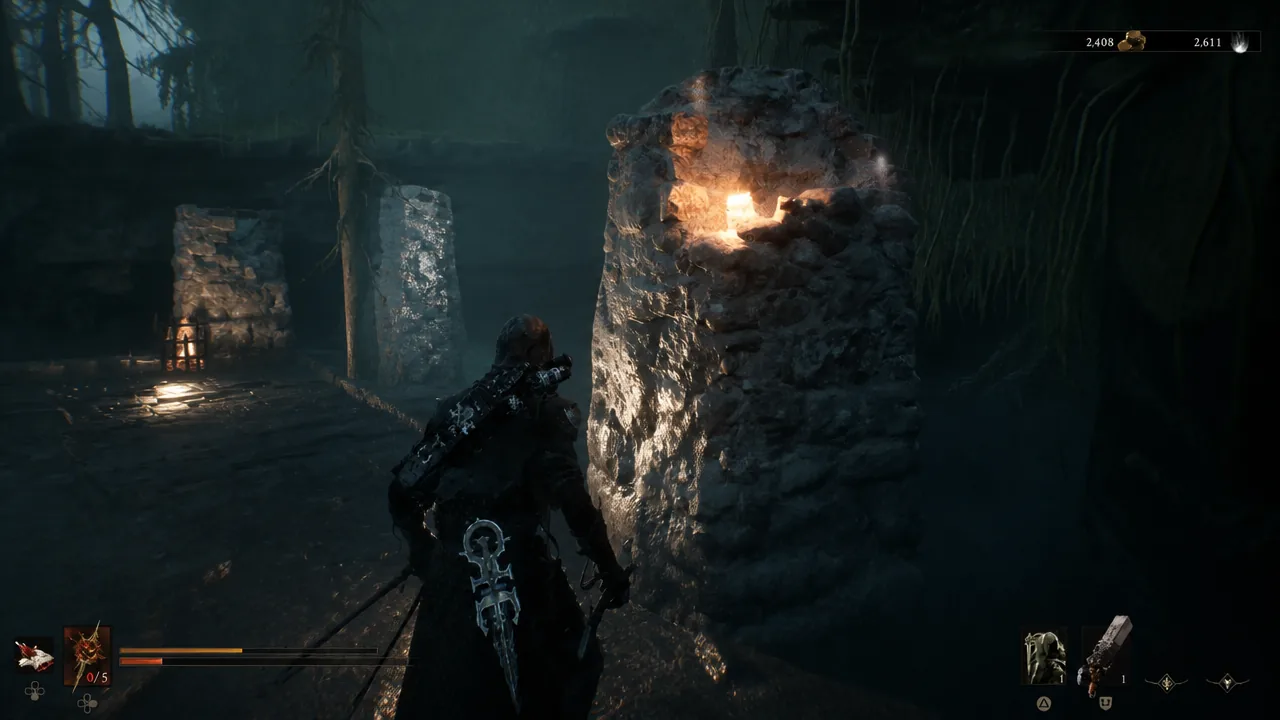
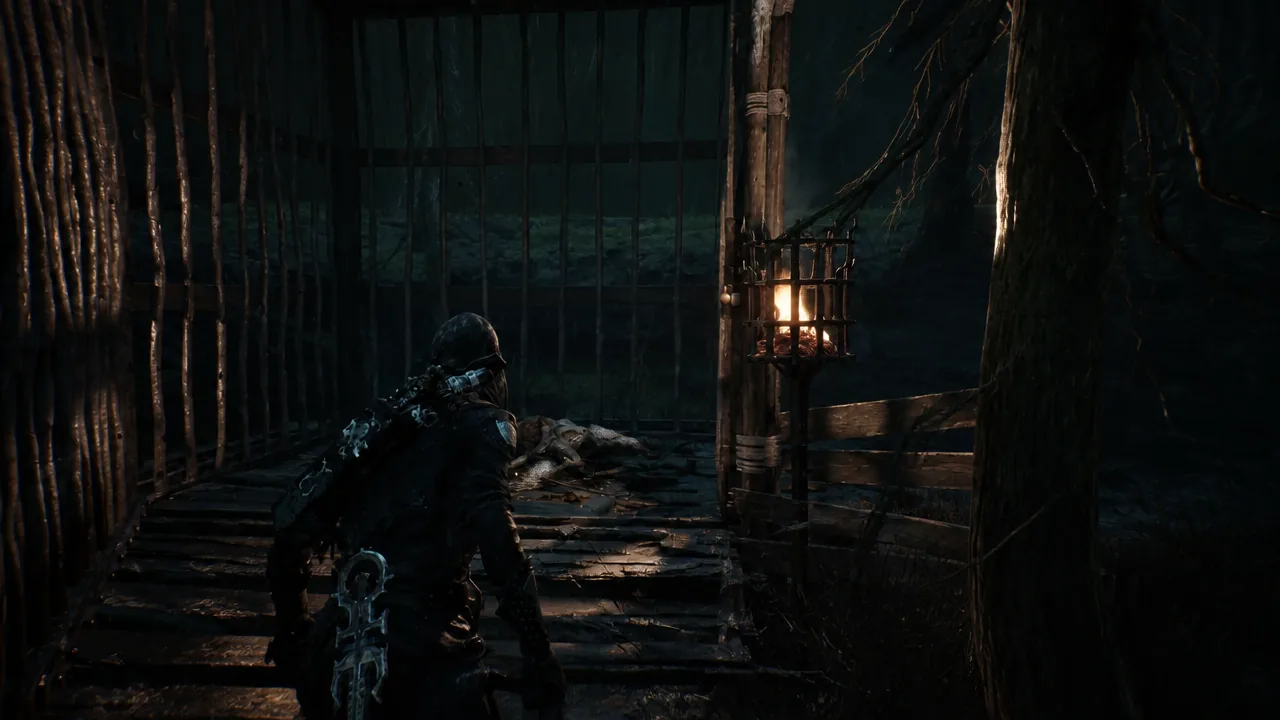
Quick answer: Light the candle at the top of the wooden stairs by the hut opposite the chest, the candle on the broken pillar at the stone platform across the swamp, and the candle inside the caged enemy pen beside that platform (break the lock with a melee swing). Then return to the chest and open it for the Siegebreaker’s Stone.
How to reach the Sunken Village offering chest
The Sunken Village sits inside the Glutted Mire, the legacy dungeon behind the Corrupted Gate east of Mushroom Village. You can only pass through once the Mushroom Village Gate beacon has been cleansed, which removes the corruption blocking the gateway.
The approach is trapped. Tripwires on the ground trigger arrows from the walls, so dash or dodge through them rather than walking, and expect an exploding Infested Wretch to charge you shortly after the gateway.
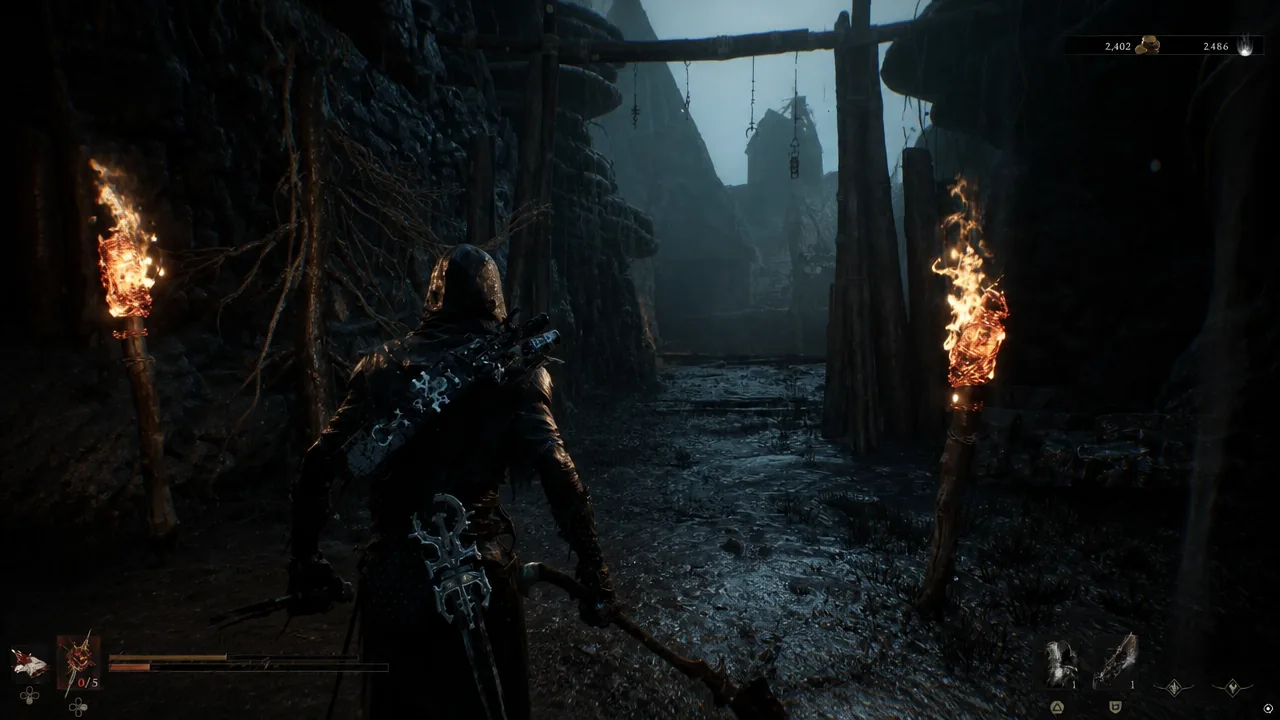
Follow the slope up and you arrive in the village proper, with the swamp ahead and the locked bone chest on the left-hand side.
Clear the swamp first: poison and healers
Hunting for candles while under fire is the main reason people miss one. The welcoming party includes a Wortbinder Witch, Frog Cultists and a Batushka, and several of them lob projectiles that inflict Poison across a wide area.
Kill the cultists first. They raise their staffs to heal everything nearby, which drags out every other fight in the area. The Witch heals as well, but the cultists go down far faster, so removing them first makes the rest manageable.
Tip: If you are playing as Tiel, spending Shell Points on Plague Bearer up to level 2 grants total Poison immunity, which removes most of the danger in this swamp. The immunity does not apply while you are knocked out of your Shell.
Note: Some pickups in the Sunken Village are Mimics. Approach loose items in the swamp with your guard up rather than sprinting into them.
All three Sunken Village Offering candle locations
The order does not matter. Each candle gives a “Light Flame” or “Make Offering” prompt, and lighting it releases a small swirl of white spirit energy. Once all three are lit, the chest unlocks.
| Offering | Where it is |
|---|---|
| Candle 1 | Top of the wooden stairs by the hut opposite the chest, on the railing |
| Candle 2 | Broken stone pillar on the raised platform across the swamp |
| Candle 3 | Floor of the locked cage beside the platform (break the lock) |
Chest reward: Siegebreaker’s Stone stats
Return to the chest and interact with it. It crumbles apart and the on-screen notification reads “New Tarstone Acquired: Siegebreaker’s Stone” — that is your confirmation that all three Offerings registered.
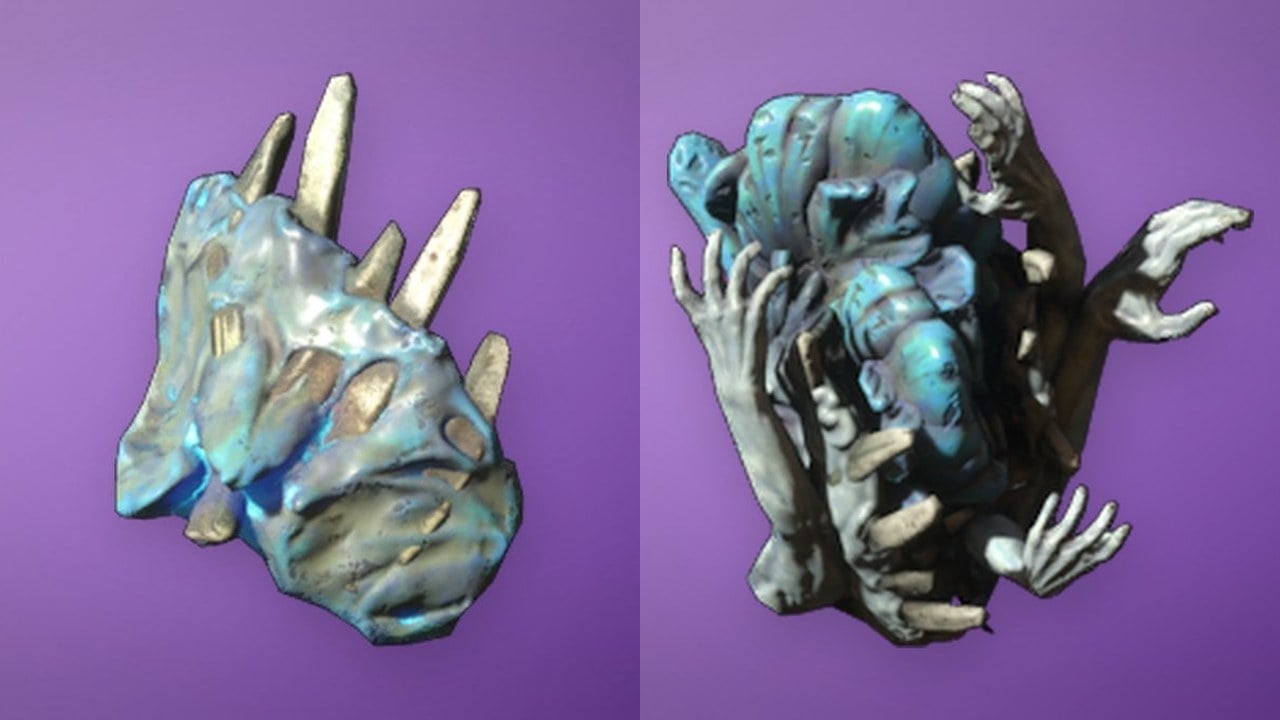
The Siegebreaker’s Stone is a Support Tarstone that increases the Stagger Damage of your ranged attacks. You can equip it from the Tarstones menu under the Support category, and it can be upgraded twice.
| Level | Effect |
|---|---|
| 1 | Ranged attacks deal 15% Stagger Damage |
| 2 | Ranged attacks deal 20% Stagger Damage |
| 3 | Ranged attacks deal 25% Stagger Damage |
It pairs best with heavy-hitting sidearms, since the extra stagger lets a well-placed shot break an enemy’s attack pattern and set up a follow-up swing.
Chest still says 3 Offerings? Check these
If the chest is still locked, one candle is unlit. The caged one is the usual culprit, because the cage reads as scenery until you swing at the lock and the candle is on the ground rather than on a stand.
The other common miss is the hut candle. It is tucked at the top of the stairs on a wooden beam, above eye level from the swamp floor, so it is easy to run past while chasing enemies. Walking up to a candle is not enough on its own — you need to hold the interact button and see the flame catch before it counts.
Nothing here is missable. If you leave the Glutted Mire without opening the chest, the Offerings stay lit and you can come back for the Siegebreaker’s Stone later, including in free roam after the final boss.