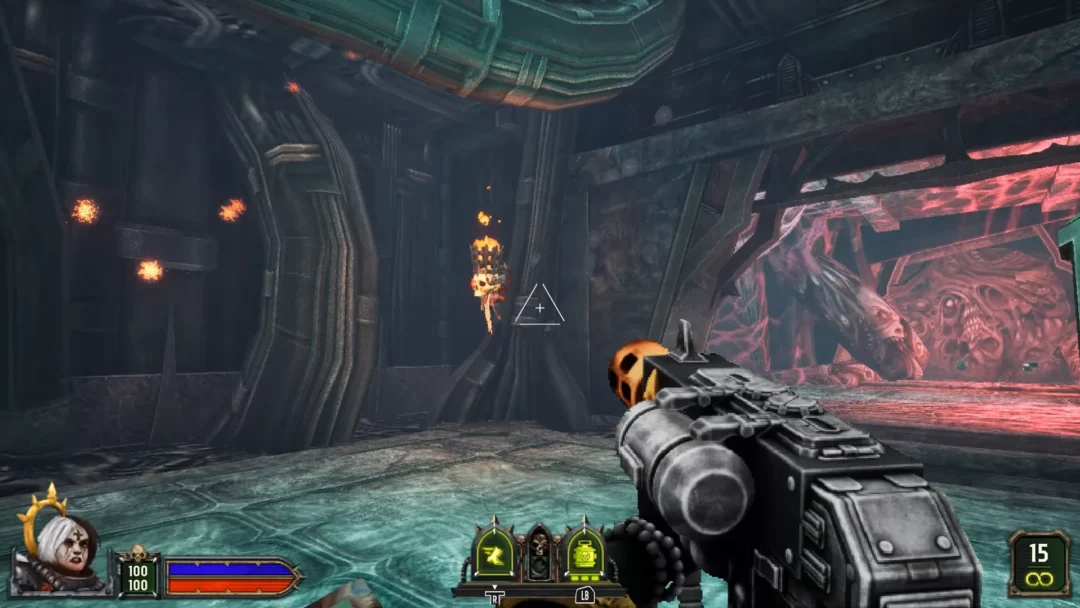
Mortal Shell 2 hands you a much larger arsenal than its predecessor did, splitting your loadout between a primary melee weapon and a sidearm. Some of these carry you comfortably from the opening hours to the credits, while others only shine under narrow conditions or fall off once better options appear. The ranking below covers both categories together, since you are always running one of each.
Quick answer: The Axatana is the strongest melee weapon in the game thanks to its sword-to-axe transformation, and the Bastillazoka is the strongest sidearm for raw damage per shot.
Mortal Shell 2 weapon rankings (August 2026)
Weapons are grouped into three tiers. Each tier mixes melee weapons and sidearms, because the two slots are filled independently and you should be picking the best available option for both.
| Tier | Weapons |
|---|---|
| S | Axatana, Veteran’s Battle Axe, Clockwork Scythe, Triarch Repeater, Troubadour’s Lute, Bastillazoka |
| A | Axe and Dagger, Black Needle, Cursed Child, Caged Hystrix, Forgotten Crossbow |
| B | The Iconoclast, Great Martyr’s Blade, Obsidian Hammer, Salvaged Trebuchaxe, Naylshotte |
Placements weigh three things: total damage across upgrade levels, how well a weapon handles both bosses and crowds, and how forgiving it is to swing (range, attack speed, and recovery). This reflects the game as it stands in August 2026.
Why the S-tier weapons rank highest
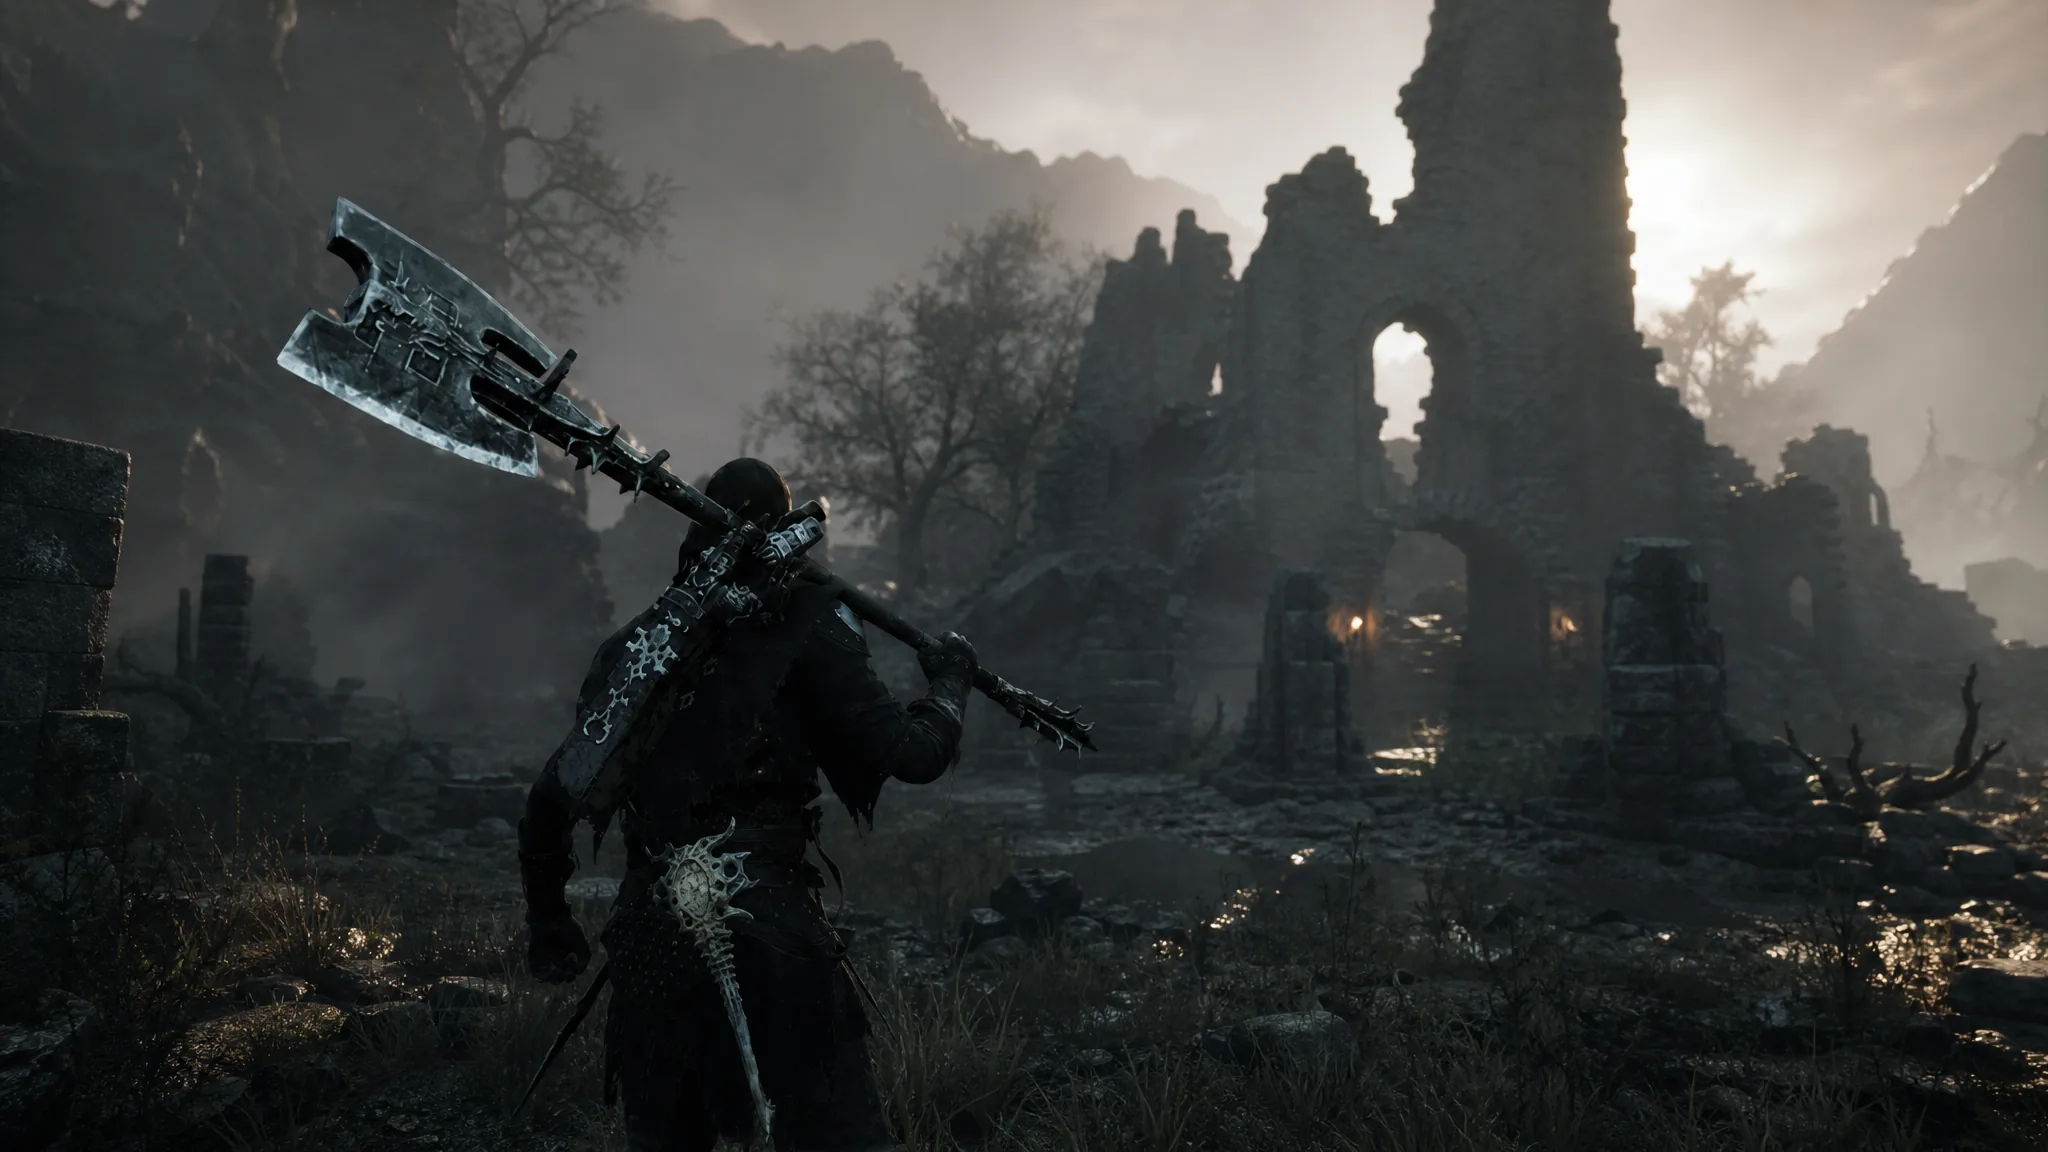
The Axatana returns as a hybrid weapon, functioning as a pair of blades that folds into a single axe. Being able to switch between quick strikes and heavy swings mid-fight means you rarely have to commit to the wrong tool, which is why it sits at the top.
The Veteran’s Battle Axe earns its spot for a different reason. You get access to it early, and it arrives with a +4 upgrade already applied, so it hits harder than anything else you can reasonably carry in the opening stretch. It is a two-handed axe that flings enemies around on connect.
The Clockwork Scythe covers the crowd-control gap. Its sweeping arcs land on multiple targets at once, which matters in the areas where fast, grouped enemies punish slower weapons.
On the sidearm side, the three S-tier picks each solve a distinct problem. The Triarch Repeater is a minigun carrying 100 rounds; individual bullets are weak, but paired with a Tarstone such as Emberseed or Corroded, the sustained fire builds serious damage over time. The Troubadour’s Lute applies Confusion, briefly turning enemies against one another. The Bastillazoka is the straightforward answer, firing high-power shots that end fights quickly.
A-tier weapons: strong but situational
These are perfectly viable for a full run. They just have a condition attached, or they get outclassed by something you pick up later.
| Weapon | What holds it back |
|---|---|
| Axe and Dagger | Fast moveset with good AoE, but base damage is on the low side unless you lean on the Duality Stone or its sprinting heavy combo. |
| Black Needle | A spear with quick strikes and extra reach. Safe, but lacks the burst of the top melee options. |
| Cursed Child | Sound waves that stagger and push enemies back at close range. Poor at distance. |
| Caged Hystrix | Fires a spread of projectiles. Builds stagger well with the right Tarstones, less useful without them. |
| Forgotten Crossbow | Fast, decent damage, and a big upgrade over your starting sidearm — but the S-tier sidearms overtake it. |
The Forgotten Crossbow is worth grabbing regardless of where it lands here. Speak to Merrick at the Marrow Keep and he will mark its location for free, making it the cheapest meaningful power spike available early.
B-tier weapons and when they still work
Nothing in this tier is unusable. The Iconoclast and the Naylshotte both arrive with Harros’ Shell and are genuinely fine for the first few hours — the Iconoclast in particular has serviceable range, damage, and attack speed. The problem is that once you clear the Marrow Keep, direct upgrades to both are readily available.
The Great Martyr’s Blade trades speed for damage per swing, and that trade only pays off if your timing is precise. Vatra’s Seal helps, letting you harden through an incoming attack and continue your slow combo without being interrupted. Without that support, the risk usually outweighs the payoff.
The Obsidian Hammer knocks enemies back hard, but its recovery leaves you exposed against packs of quick attackers. The Salvaged Trebuchaxe hits for a lot from range, though its long wind-up between shots makes it awkward whenever anything closes the distance.
Pairing weapons with Tarstones and Seals
Several placements shift depending on what you slot alongside the weapon. The Triarch Repeater is unremarkable on its own and becomes a top-tier sidearm with a damage-over-time Tarstone attached. The Axe and Dagger doubles its output with the Duality Stone. The Caged Hystrix leans entirely on stagger-focused Tarstones to justify its slot.
Note: If a weapon feels weaker than its tier suggests, check your Tarstone loadout before swapping the weapon itself. The scaling difference is large enough to change how a weapon plays.
Tiers describe consistency, not a ceiling. A B-tier weapon in the hands of someone who has learned its timing will outperform an S-tier weapon swung carelessly, and the Obsidian Hammer in particular rewards players willing to build around its knockback. Collect what you can, test each one against a boss you already know, and keep whatever holds up.