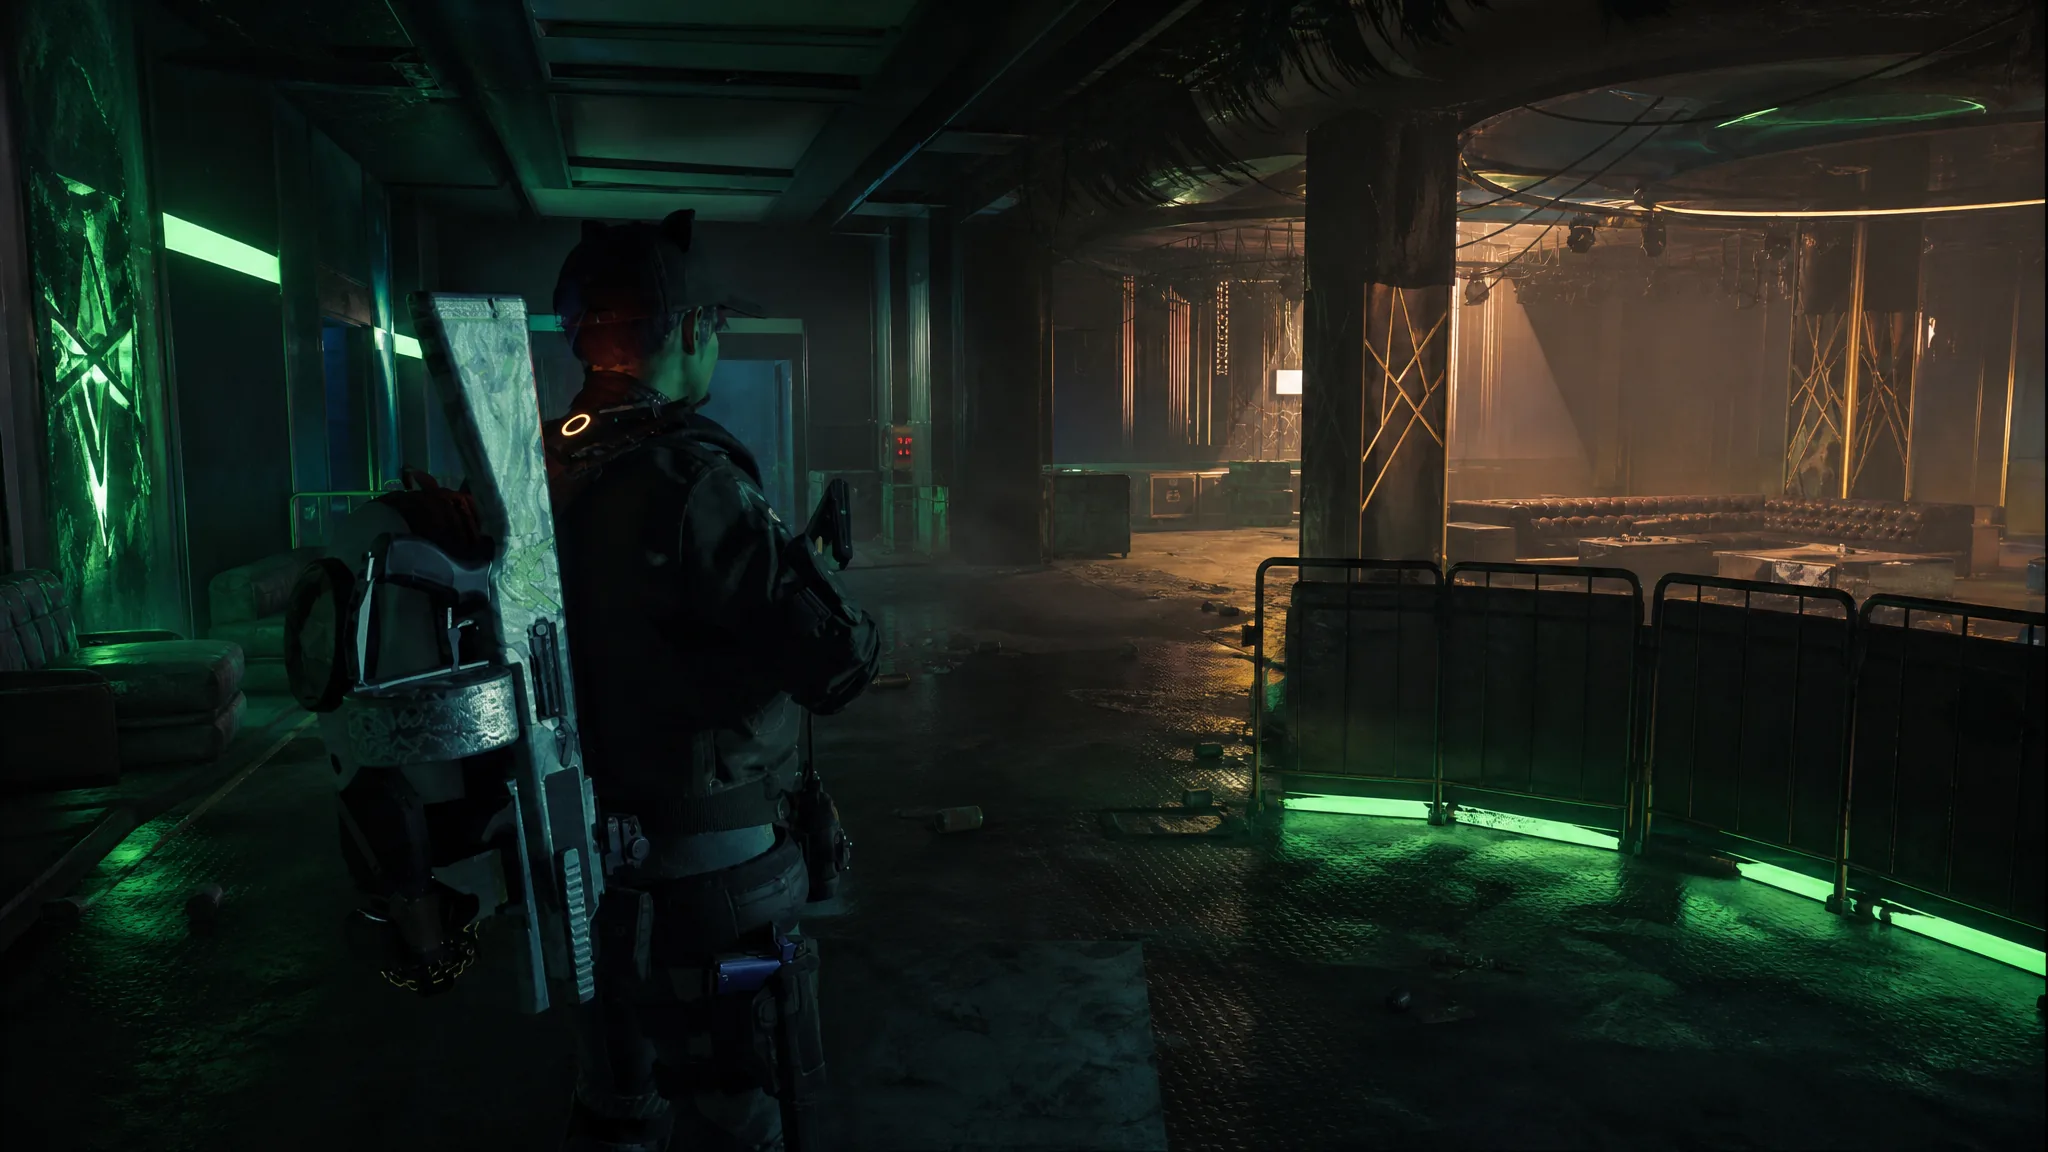
Tens Nightclub: Zodiac closes out Year 8 Season 2, Into the Dark, and Master difficulty is where the mission stops being a shooting gallery and starts being a stat check. Completing it on Master guarantees the Underboss Exotic, which is the whole reason most agents keep queuing for it. The catch is that the run mixes a timed enemy-clear objective, a toxin ambush, and a no-respawn boss arena, so a loadout that coasts through Heroic will fall apart here.
Quick answer: Solo, run a 3 red / 3 blue core hybrid built around Memento, Improvised gear, and 75% or higher Protection from Elites, using Preservation on your primary as your only reliable heal. In a group, either run the Tipping Scales set with the Bluescreen LMG on Gunner, or a Striker’s Battlegear setup with St. Elmo’s Engine, also on Gunner.
What the Master run actually punishes
Three moments decide whether your build holds up. First is the ambush after the security room, where the arena floods with green toxin and rushers, gunners, and heavies push you at once. Second is the timed objective near the end, which puts a countdown on clearing every Hyena in the staging area before Zodiac slips away. Third is the boss arena itself, a no-respawn zone where Zodiac plants auto turrets from the stage.
That combination means pure glass cannon setups get flattened by the ambush, and pure tank setups run out the clock on the timed phase. Every build below is shaped around keeping both numbers high enough at once.
| Build | Best for | Core weapon | Specialization |
|---|---|---|---|
| Hybrid damage/tank | Solo | Lexington (Preservation) | Technician |
| Tipping Scales | Group | Bluescreen LMG | Gunner |
| Striker’s Battlegear | Group | St. Elmo’s Engine | Gunner |
Solo build: hybrid damage and mitigation, no gear set required
Going in alone flips the usual logic. Instead of chasing a set bonus, you pick armor pieces for their extra mod slots and attribute rolls, because stacking mitigation and crit damage across six slots beats most set bonuses on a Master mission. Chill Out gives you a Gila Guard piece plus an extra mod slot, and Improvised gloves and holster each carry an extra attribute and mod slot on top.
| Slot | Item |
|---|---|
| Mask | Chill Out (named) |
| Backpack | Memento (Exotic) |
| Chest | Equalizer (named) |
| Gloves | Improvised |
| Holster | Improvised |
| Kneepads | Fox’s Prayer |
| Cores | 3 red, 3 blue |
| Primary | Lexington or any high-end with Preservation |
| Skills | Crusader Ballistic Shield, Reviver Hive |
| Specialization | Technician |
Target roughly 48% critical hit chance and 125% critical hit damage, with five points of leeway either way. Push Protection from Elites above 75% through your mods and attributes, and fill the remaining slots with critical damage. Preservation is your only consistent heal, backed up by Memento trophies from downed enemies, so you need kills to stay alive rather than a skill on cooldown.
Note: the Crusader shield is what makes the toxin ambush survivable. Keep it up while you reposition and drop it only when you need the extra damage window during the timed clear.
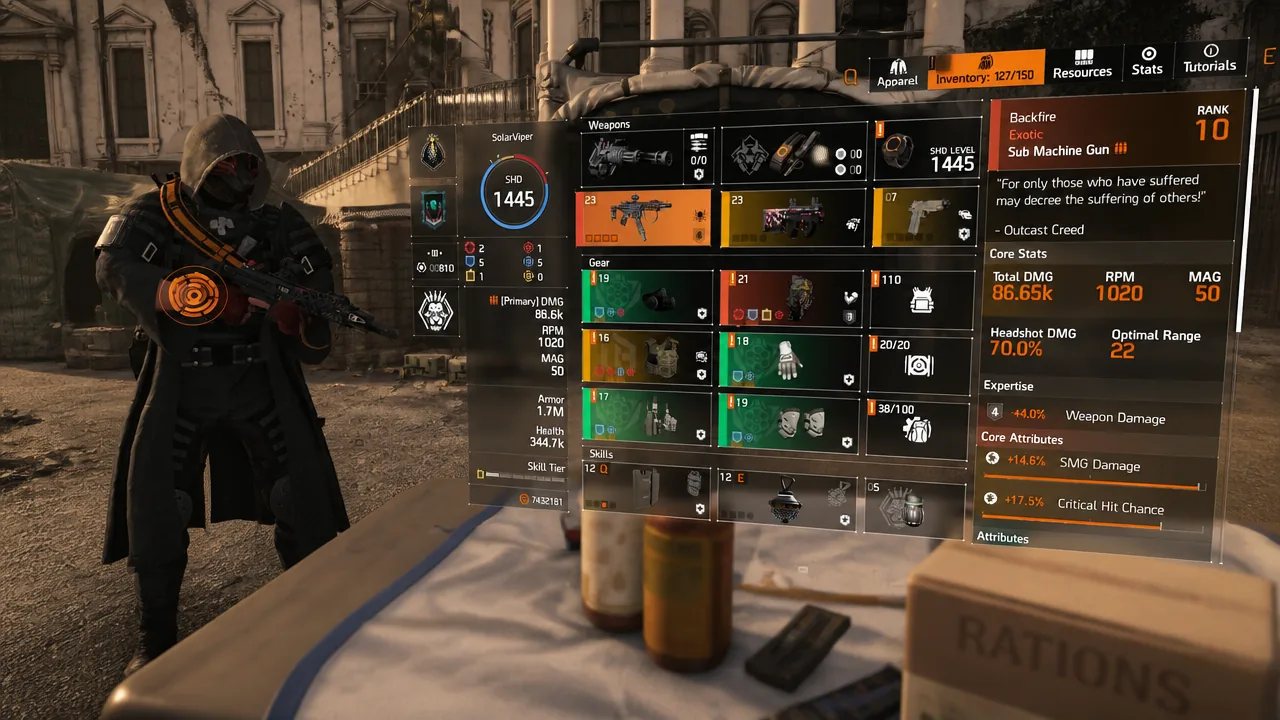
Backfire alternative if you skip Improvised gear
Crafting Improvised pieces takes time, and there is a shortcut. A Backfire combo running three blue and three red cores with hazard protection maxed out covers the same ground, trading some crit damage for a much easier time in the gas-filled rooms.
Group build: Tipping Scales with the Bluescreen LMG
In a squad, you can afford to specialize, and the Tipping Scales set pairs cleanly with Bluescreen. The set ramps your damage the longer you hold the trigger, which suits an LMG, and Bluescreen’s Exotic talent applies Disorient and Disrupt once its conditions are met. That gives the group both a damage floor and crowd control without giving up a weapon slot.
| Slot | Item |
|---|---|
| Mask, backpack, gloves, holster | Tipping Scales |
| Chest | Equalizer (named) |
| Kneepads | Fox’s Prayer (Damage to Targets out of Cover) |
| Primary | Bluescreen (Exotic LMG) |
| Secondary | Lexington with Killer |
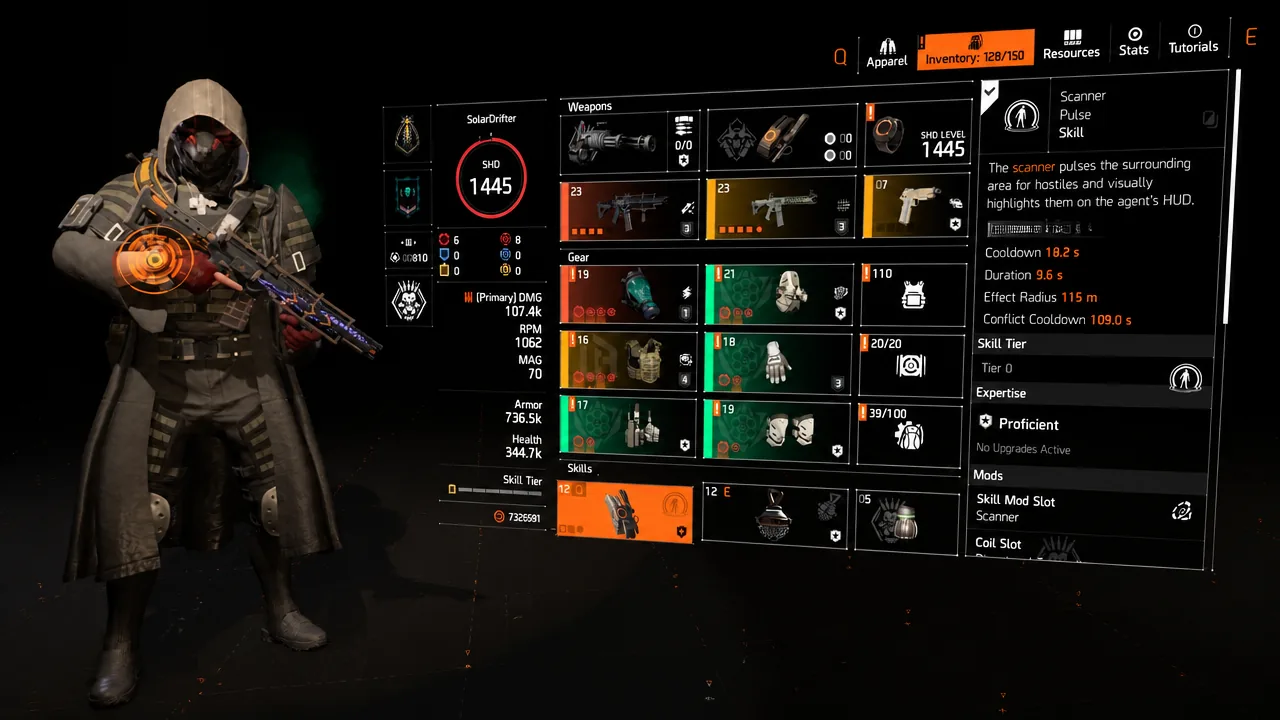
| Skills | Pulse Scanner, Reviver Hive |
| Cores | 6 red, crit chance and crit damage on attributes and mods |
| Specialization | Gunner |
Aim for around 55% critical hit chance and 130% critical hit damage. Anything lower and you will feel it during the timed phase.
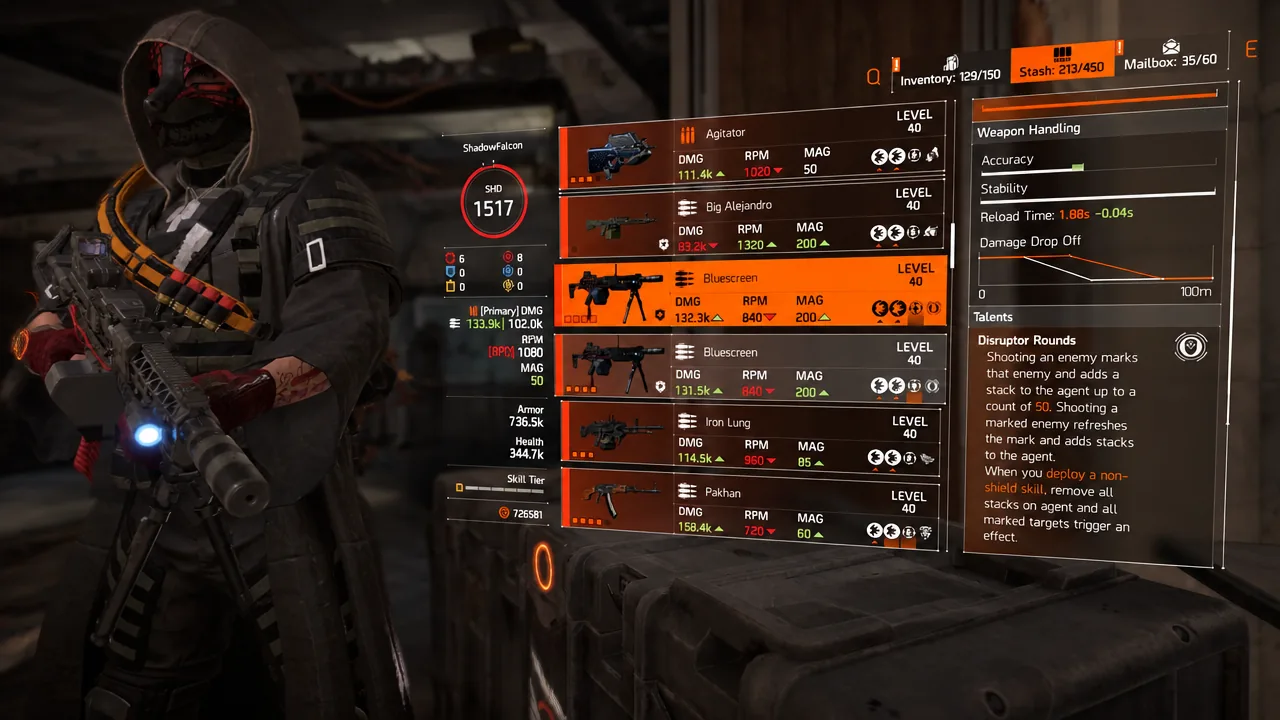
The rotation is short and repeatable. Mark an enemy with Bluescreen, keep firing until you build 50 stacks, then fire Pulse Scanner to disorient and disrupt everything within 10 meters of that marked target. Keep damaging with Bluescreen or swap to the Lexington while stacks rebuild, then repeat.
Group build: Striker’s Battlegear with St. Elmo’s Engine
The second group option is the straightforward one. Striker rewards uninterrupted trigger time by stacking damage, and St. Elmo’s Engine gets the nod over Lexington or Chameleon purely because it clears trash faster, which matters when a countdown is running.
| Slot | Item |
|---|---|
| Backpack, gloves, kneepads, holster | Striker’s Battlegear |
| Chest | Equalizer (named) |
| Mask | Coyote’s Mask (Exotic) |
| Primary | St. Elmo’s Engine (Exotic AR) |
| Skills | Decoy or Pulse Scanner, Reviver Hive |
| Cores | 6 red, crit chance and crit damage |
| Specialization | Gunner |
Sit near 50% critical hit chance and 130% critical hit damage. Protecting your Striker stacks is the whole game here, so pick your engagement angles carefully rather than trading shots in the open.
How to tell your build is tuned correctly
The clearest test is the timed objective. When the on-screen prompt to eliminate the Hyenas before Zodiac escapes appears with its countdown, a properly geared build finishes with time to spare instead of scraping the last few seconds. If that timer expires or comes close every attempt, your damage is short, not your positioning.
The second test is the toxin ambush. Surviving it without burning through armor kits means your mitigation and hazard protection are where they need to be. Once Zodiac goes down and the remaining Hyenas are cleared, the objective flips to leaving the nightclub, and the mission completion banner lists your rewards.
Common reasons the run fails
- Standing too close to the stage in the final arena, which is also a no-respawn zone.
- Letting the Underboss finish its self-heal instead of interrupting it with sustained fire.
- Ignoring Zodiac’s auto turrets while he deploys them rather than shooting him mid-setup.
- Running Protection from Elites below 75% on the solo build, which makes the ambush unwinnable.
All three setups share the same design goal even though they get there differently, which is holding enough damage to beat the clock while surviving a room full of toxin and elites. Pick the solo hybrid if you are queuing alone, and let one squadmate bring Bluescreen for add-control while the rest run Striker. Clear all three HVT Scout targets first, since the Climax mission does not open until they are down.