Quick answer: Cavalrybane is an optional elite enemy with 62,900 HP. He wields a glaive and is accompanied by two mounted spearmen; no objective in Town of Death requires his defeat.
Cavalrybane at a glance
| Detail | Value |
|---|---|
| Name bar | “Cavalrybane, Elite Shadow Warden” |
| Type | Elite, not a story boss |
| Health | 62,900 HP |
| Weapon | Long glaive |
| Escort | Two mounted spearmen |
| Location | Pangzhen, Town of Death |
| Required | No |
| Respawn bell | Marketplace |
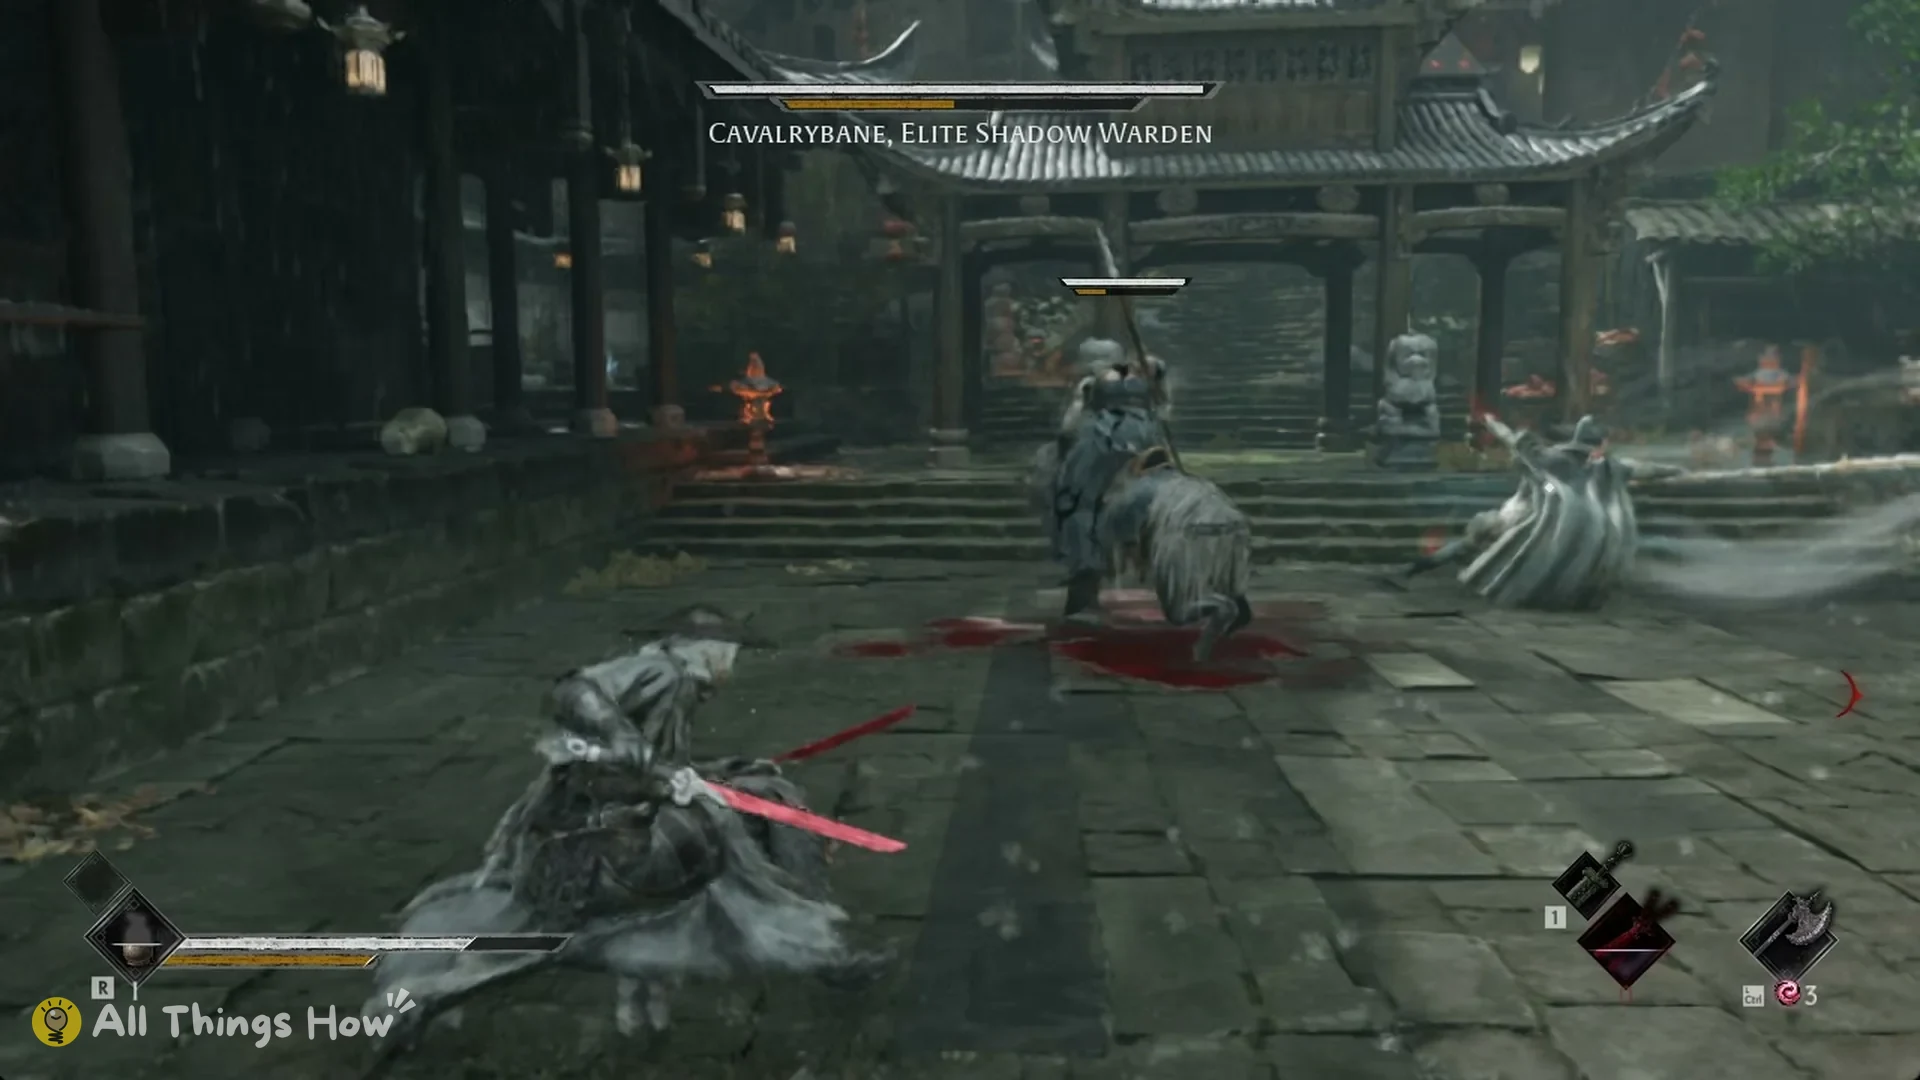
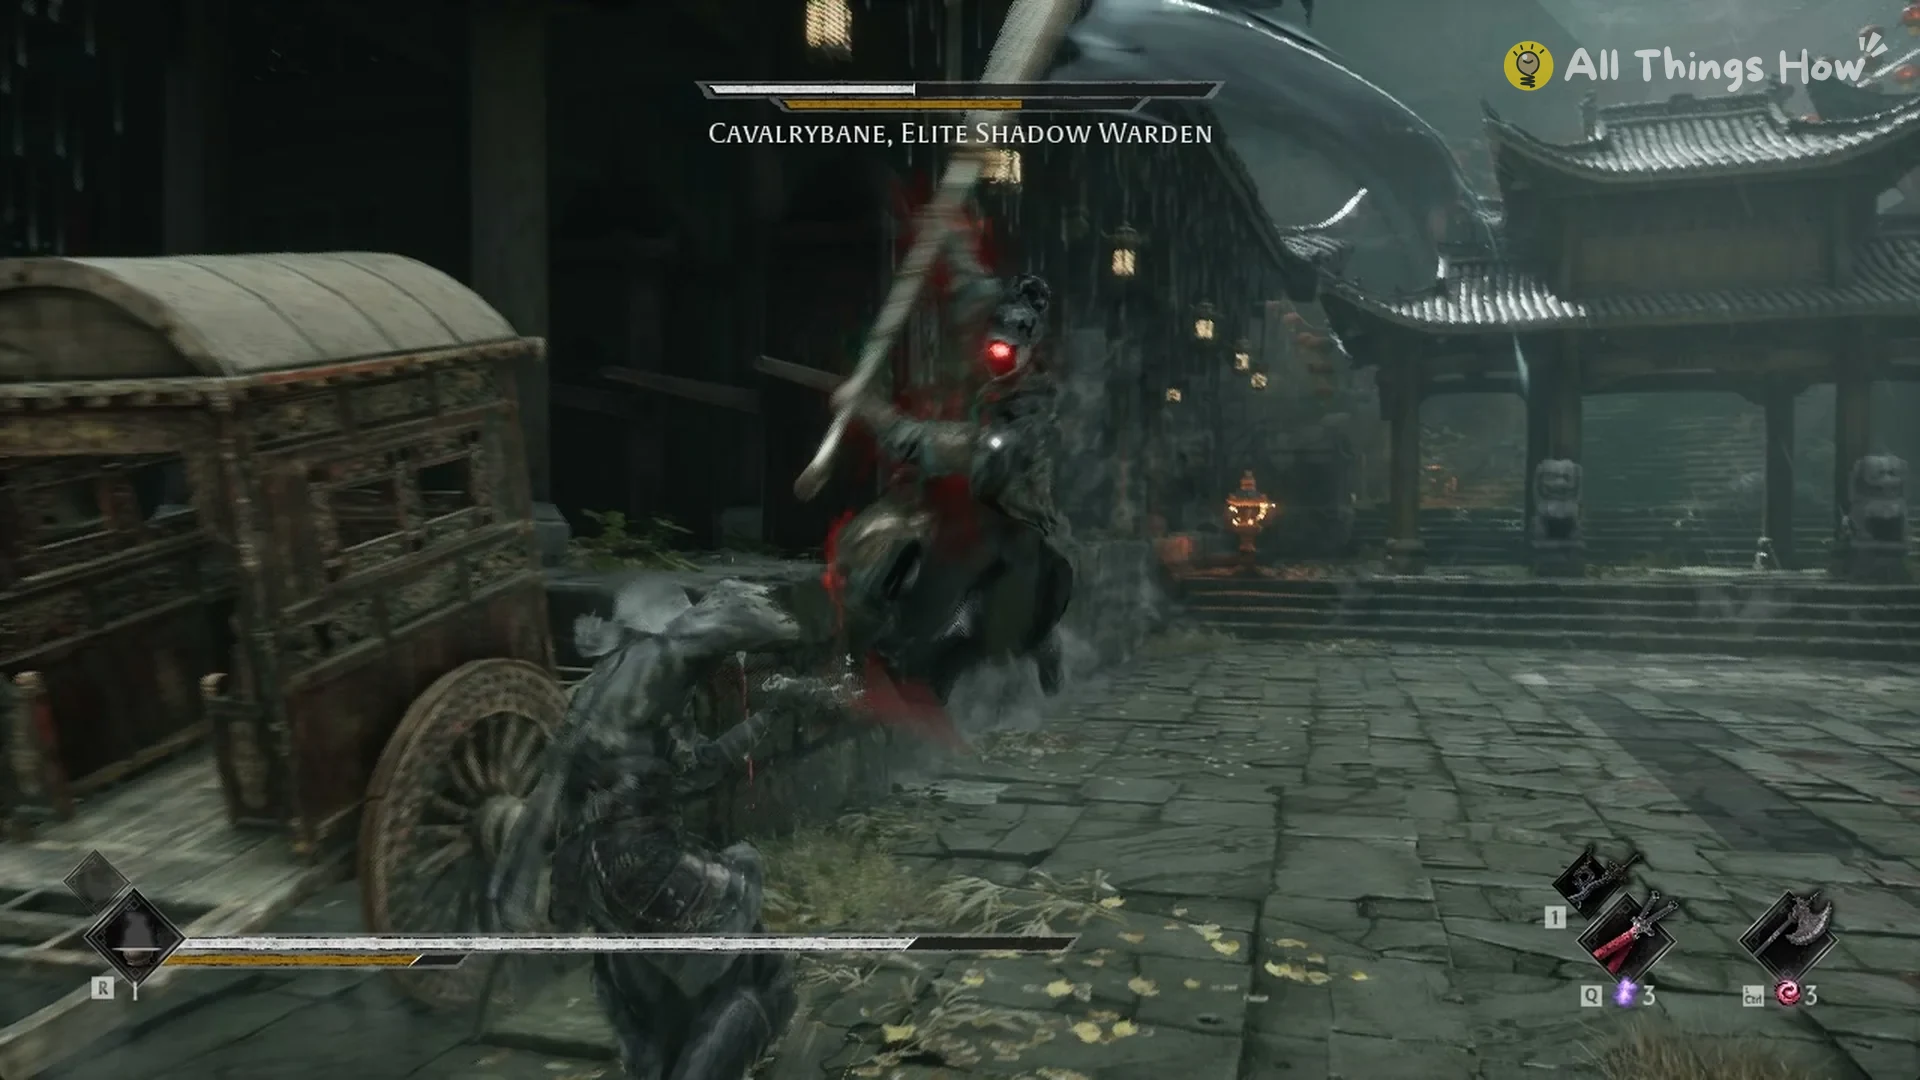
His glaive has a long shaft and a heavy blade, which he sweeps in broad arcs and brings down in powerful overhead chops. A dark cloak and round helmet cover him. The two riders are mounted on grey horses, with a separate small health bar above each one.
Where Cavalrybane is and whether you have to fight him
Cavalrybane stands in the paved street just before the gate with two green lanterns, which leads into the Order’s underground tavern. You reach him during the story quest Town of Death, on the way to getting into the Order’s underground tavern. The arena is the street itself, lined with stone steps, stone lion statues, covered carts and red lanterns.
He remains idle until you enter the section of street where he stands. Then he and the two riders attack, and his name bar shows at the screen’s top. He shares his name with the Cavalrybane accessory, a separate item. Beating him and both spearmen awards his polearm, the Armybreaker.
You don’t have to fight him. The objective “Enter the Order’s underground tavern” never asks for the kill, and the tavern courtyard beyond the gate sits outside his zone, so you can leave him for later. He is one of several optional fights; the bosses guide lists the rest. If he kills you, Soul respawns at the Marketplace bell, which appears with the other Phantom Blade Zero bells.
Cavalrybane’s attacks
The game doesn’t display attack names, so each move below is named by how it looks. The helmet is the tell to watch. A blue flash on a swing means you can parry it, while a red glow means you need to get out of the way.
Mounted spearmen pressure
Cavalrybane attacks with his glaive as the mounted spearmen wheel around and rush in with their spears, creating threats from several directions. Stay on the move and position yourself so all three are ahead of you; avoid trading blows with Cavalrybane while a rider gets behind you.
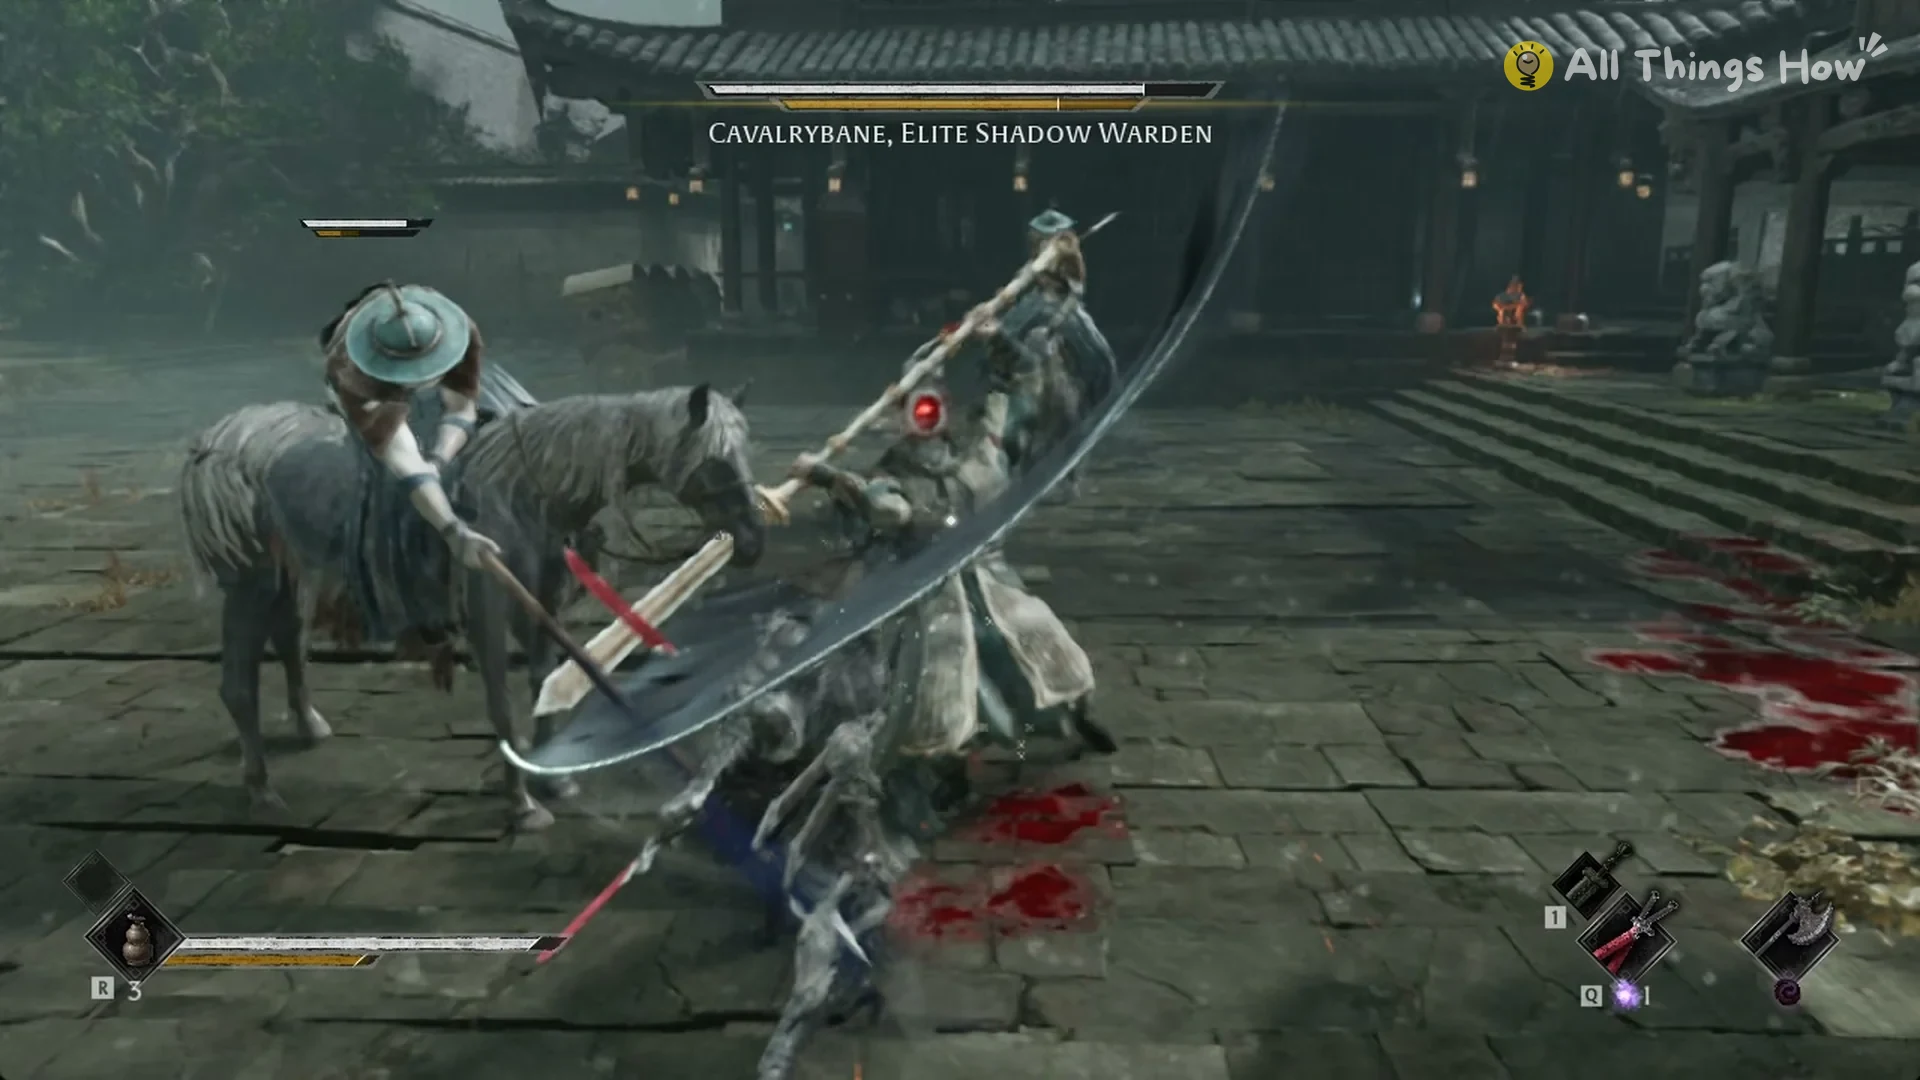
Raised-blade chop
He lifts the glaive straight up over his head, with the blade pointing at the sky, then drops it in a vertical chop. The raise gives a clear warning. Step to the side instead of straight back, because the long pole gives the chop plenty of reach.
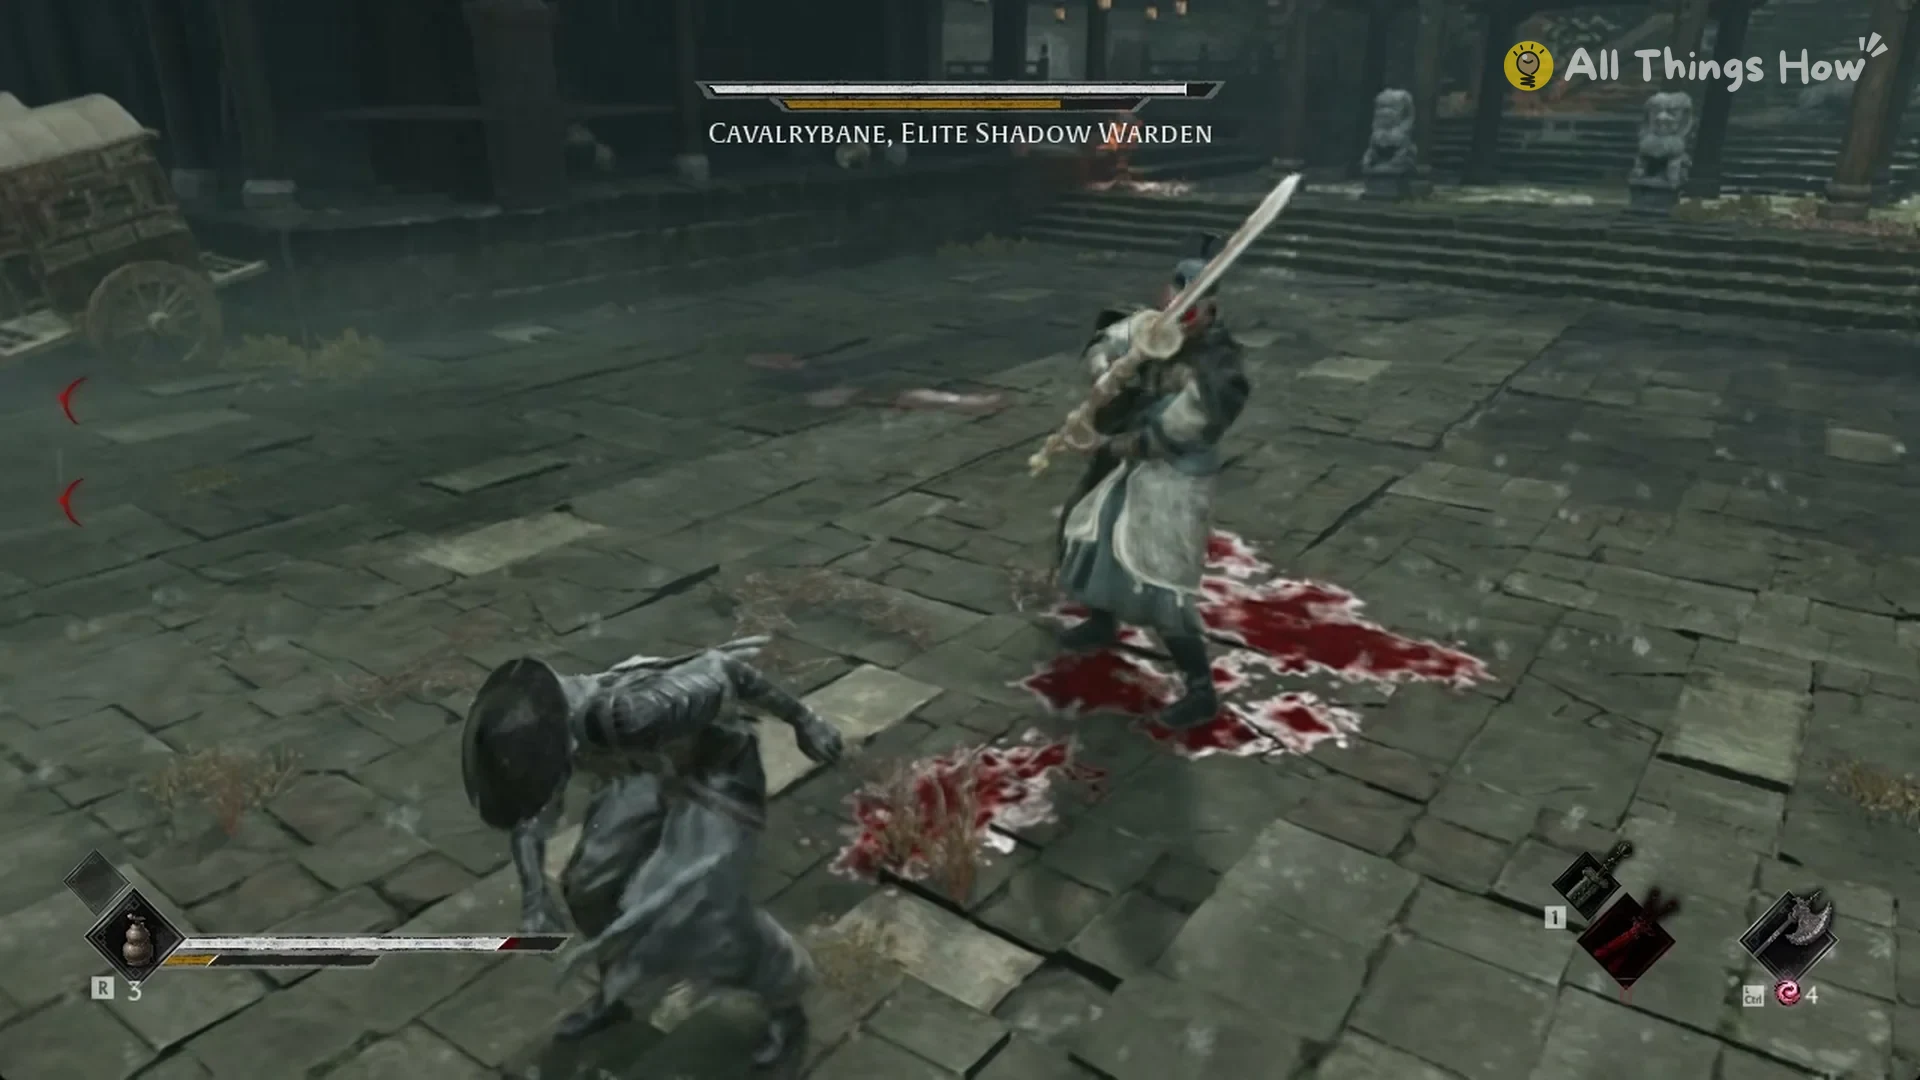
Red-glint low stance
A red shine appears on his helmet as he drops into a crouch, holding the glaive horizontally in front of him. He follows with a forward lunge and a slicing attack. Parrying won’t work here; evade sideways to get clear.
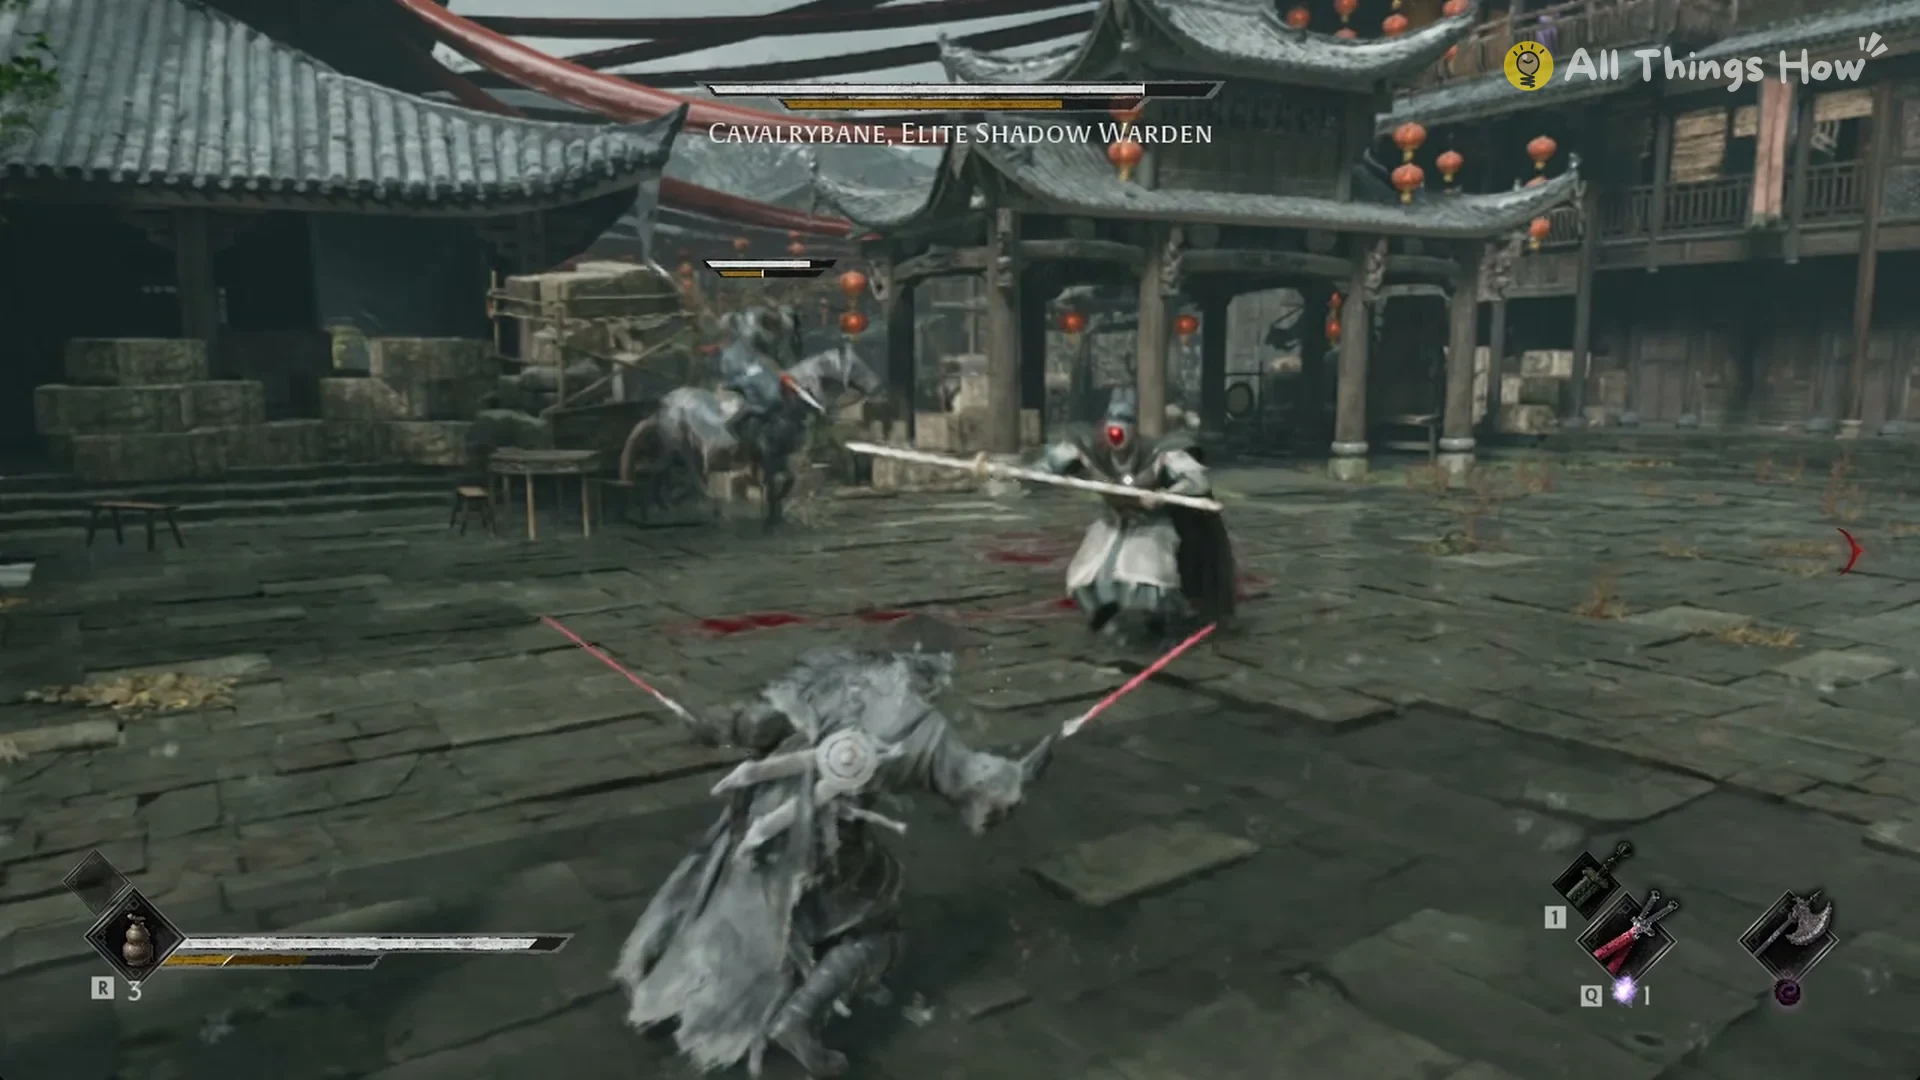
Overhead crescent
His helmet gives off the red glow again before he lifts the blade and sweeps it overhead in a broad crescent, bringing it down on Soul. It strikes the spot you occupied, so move sideways as the glaive passes over.
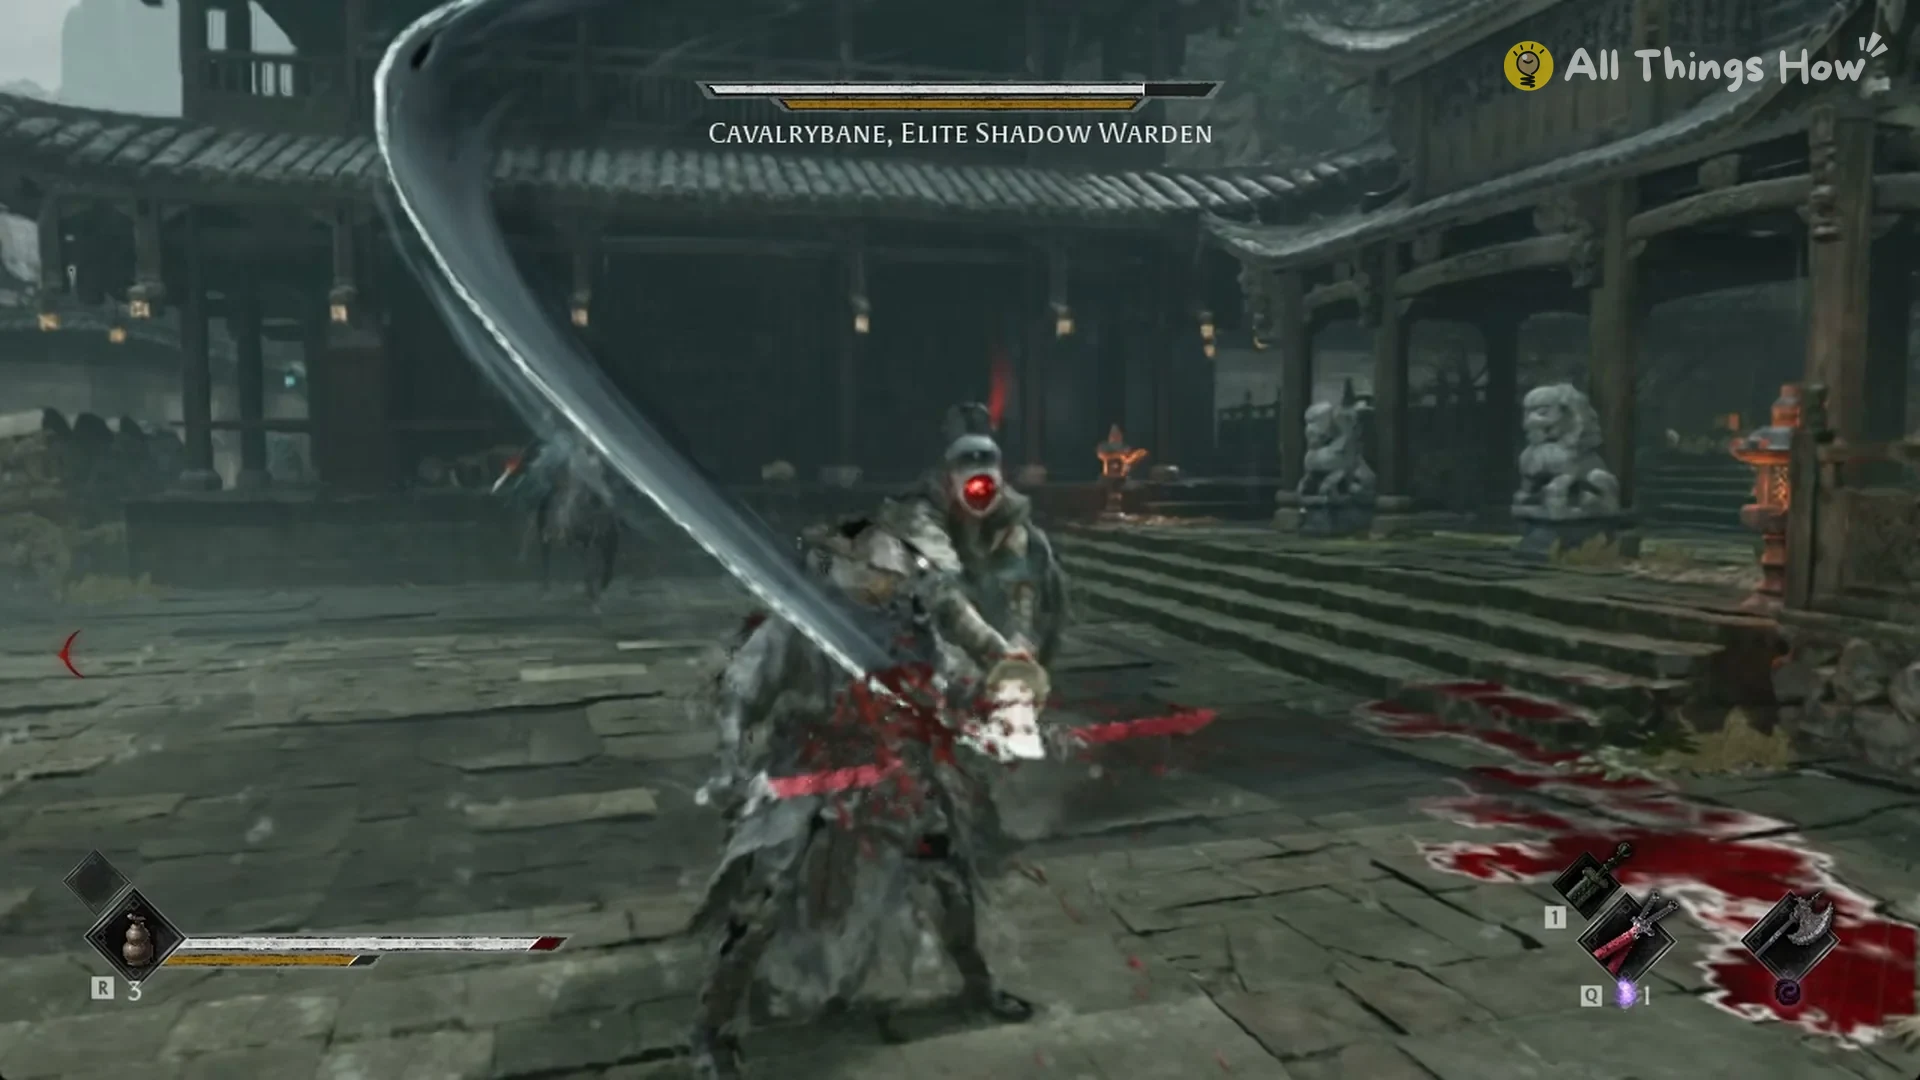
Spinning sweep
His cloak fans outward as he turns, sweeping the glaive in a low, wide circle around himself. Since the attack reaches a broad area, retreat beyond its range instead of dodging through it.
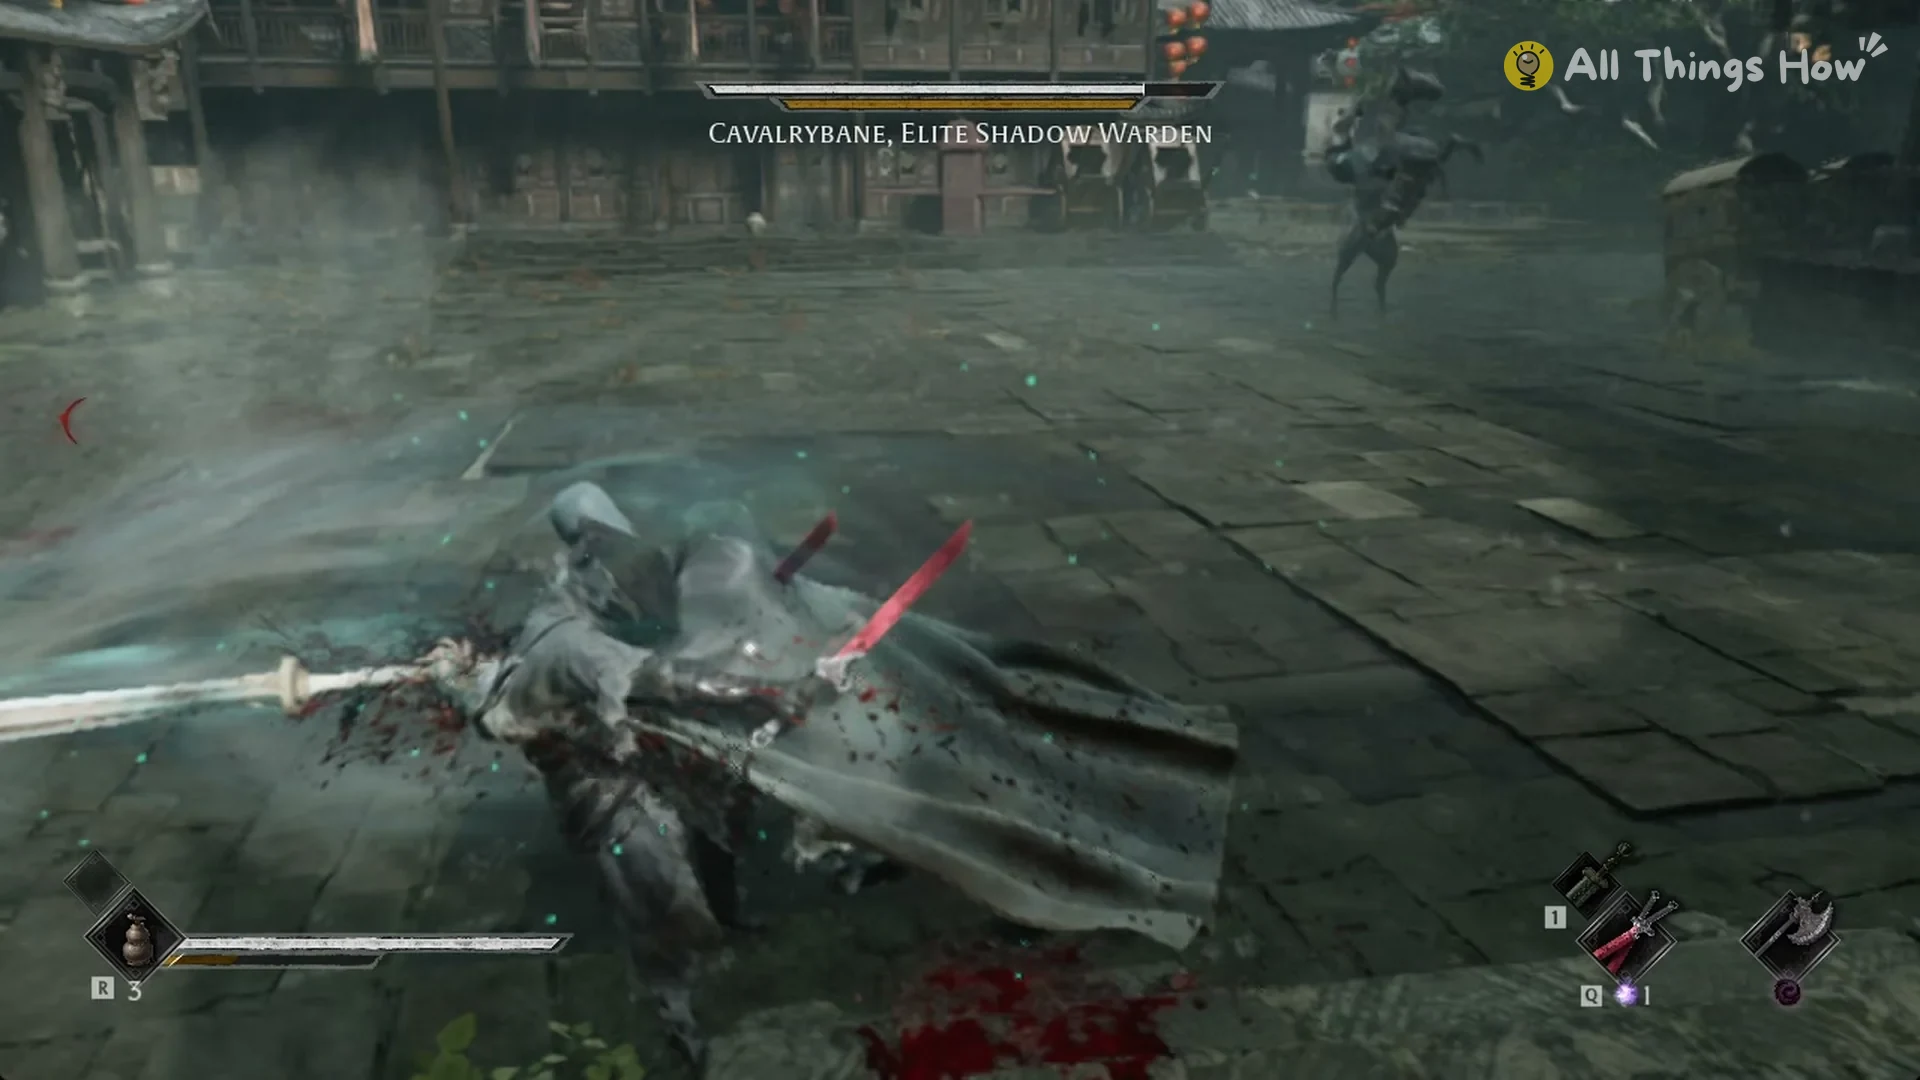
Leaping strike
At a distance of a few metres, he springs forward with the glaive raised, then slams it downward as he lands, rapidly making up the space between you. Avoid healing at mid-range. Evade the landing attack and hit him during his recovery.
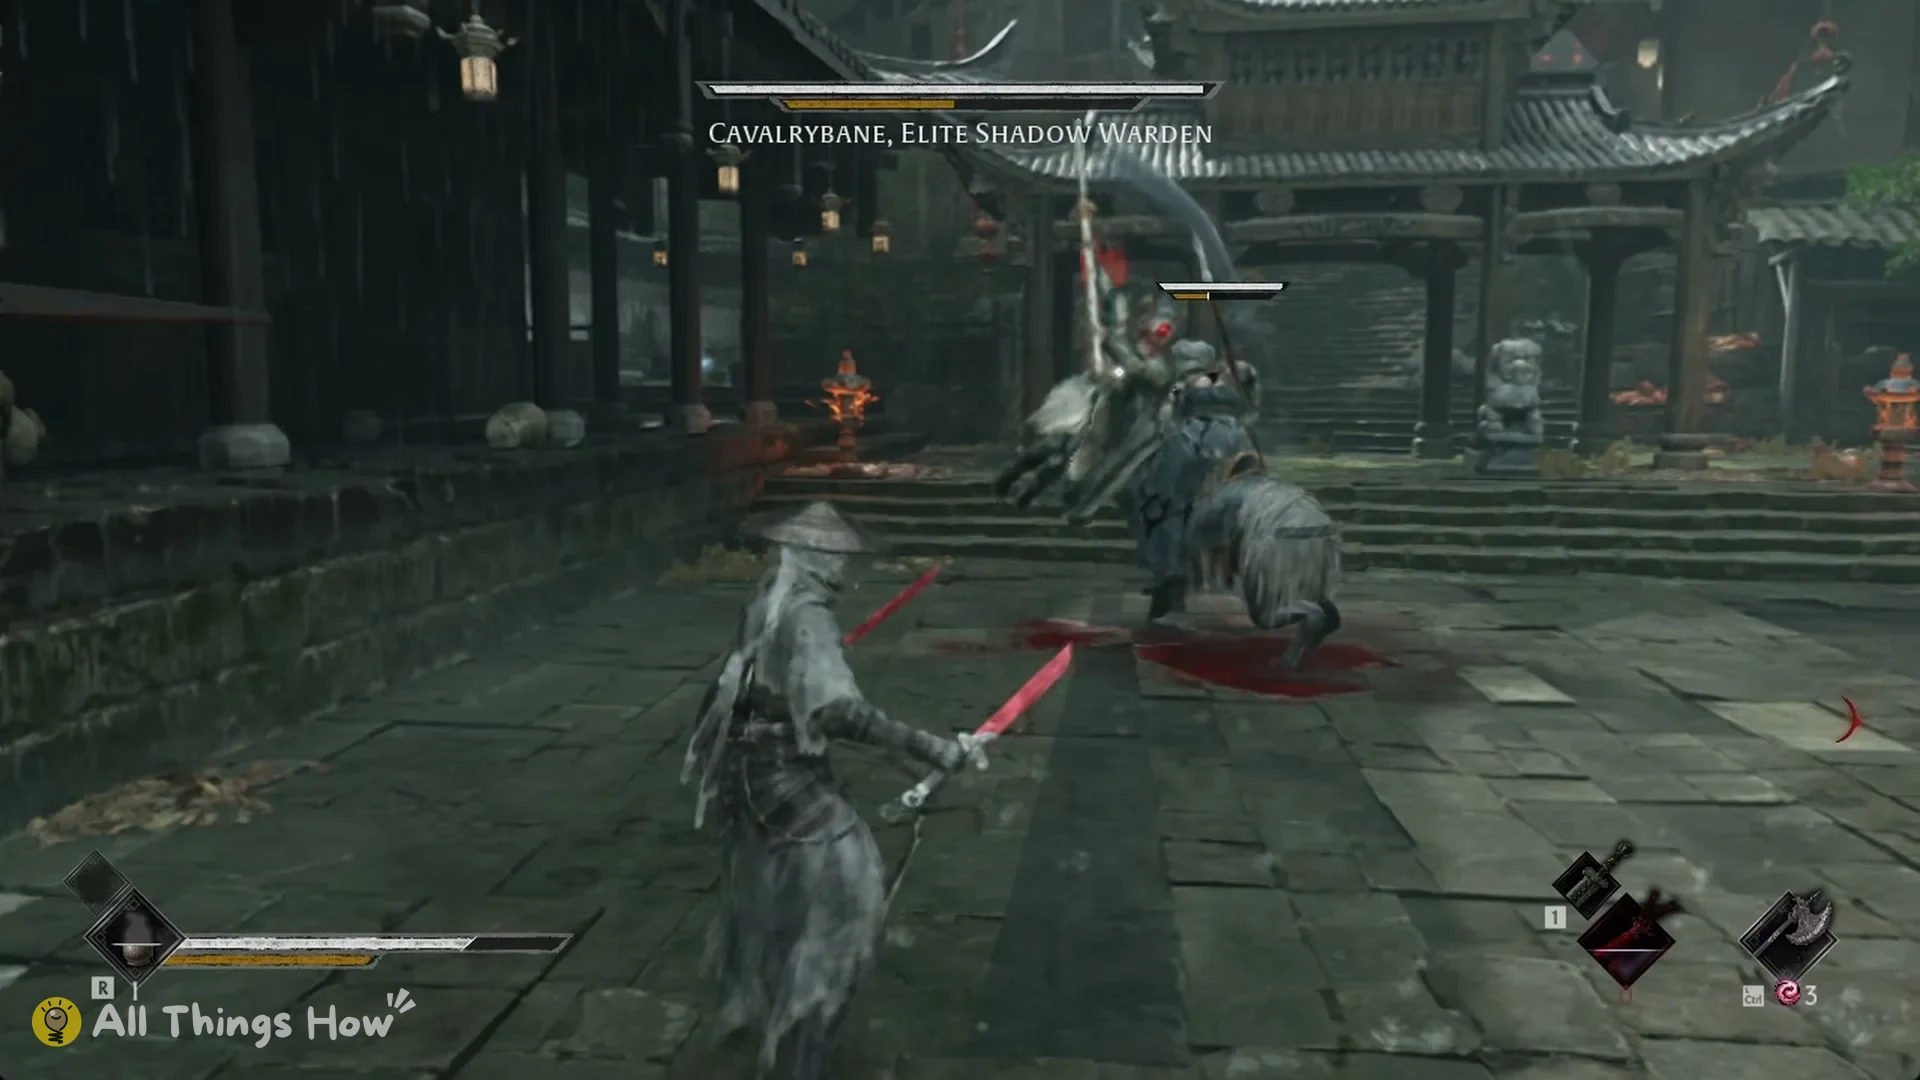
How hard Cavalrybane hits on Pathbreaker
These figures apply to Pathbreaker, the default difficulty, with Soul at 1,402 max HP and carrying 3 healing gourds.
| Hit | Damage |
|---|---|
| Heaviest single hit | About 450 HP |
| Four-hit combo (total) | About 600 HP |
| Two-hit swing | About 240 HP per hit |
A single heavy hit takes roughly a third of Soul’s health bar. Once the riders add their chip damage, all three healing gourds can be gone within about 80 seconds.
How to handle the Cavalrybane fight
- Stay close to walls or carts to prevent a rider from charging in from behind, and position Cavalrybane and his two riders ahead of you.
- Equip the Cavalrybane accessory if you have it: its card reads “Increases damage dealt to mounted enemies by 25%,” which helps against the two riders.
- Watch his helmet. Dodge when it glows red, and parry when a swing flashes blue.
- Wait until you’re at least 4 m away before healing. Don’t do it just after he retreats: his leaping strike can reach you from that distance.
- Punish only after his big swings finish, such as the overhead crescent or the spinning sweep, then back out.
Cavalrybane has 62,900 HP, so bringing him down takes time, and the fight is optional. If you’re struggling, pass through his part of the street and return once you’ve gained upgrades using Remnant Spark and Phantom Edges. Before engaging, check how healing works if you expect to heal during the fight.
Cavalrybane with Soulclaimer at the Meigu Lake Banyan
Cavalrybane shows up again in the Discordance at the Meigu Lake Human-Faced Banyan. You first clear two waves of four fighters each, and he arrives as the third and last wave.
He has no mounted spearmen with him here. Instead, Soulclaimer, Elite Shadow Warden, fights at his side, and the top of the screen shows two boss bars, “Cavalrybane, Elite Shadow Warden” and “Soulclaimer, Elite Shadow Warden”. Cavalrybane still swings his long glaive, and Soulclaimer uses a pair of hook swords.
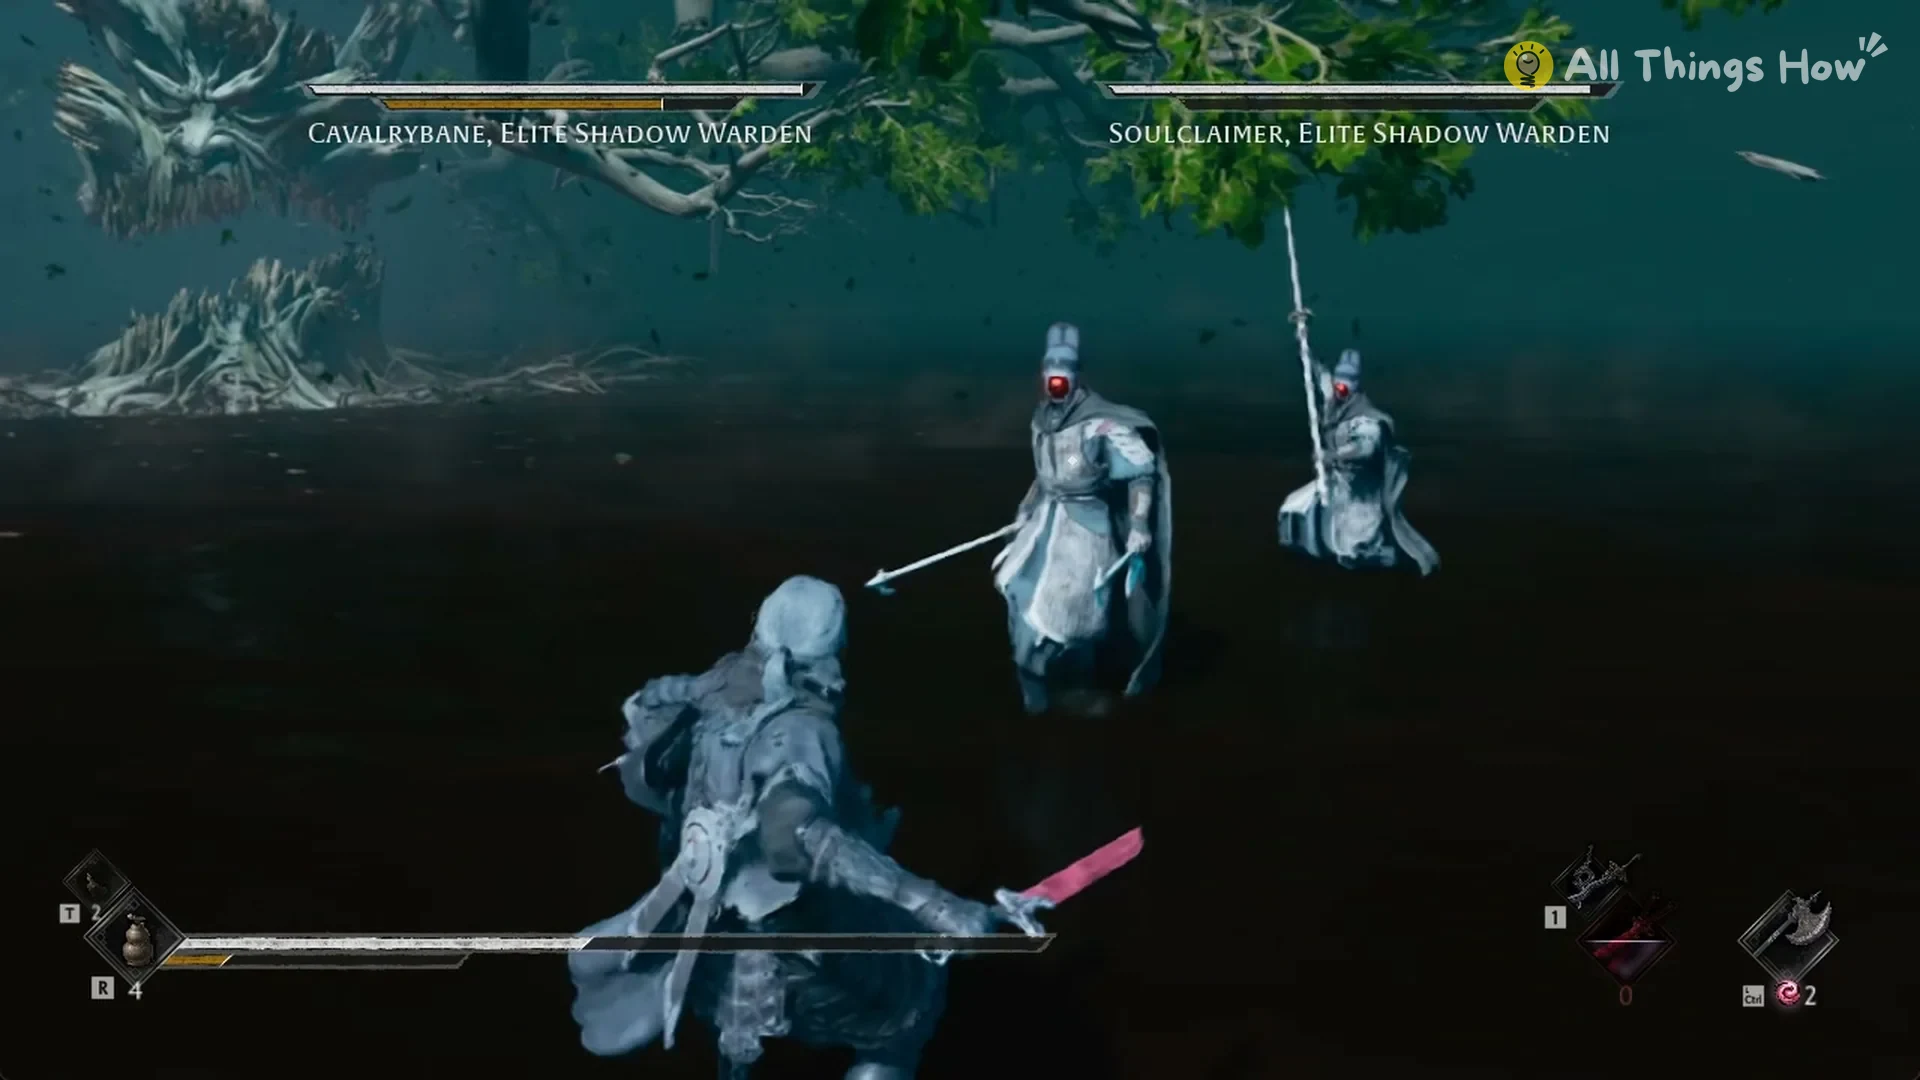
Death returns you to the altar in the Discordance space. Waves one and two remain complete, leaving only the boss wave to replay.
Once you finish this last wave, the game gives you The Banyan’s Heart.
Soulclaimer, Elite Shadow Warden attacks
Soulclaimer’s twin hook slashes are quick, wide arcs thrown with both hooks. You can deflect them.
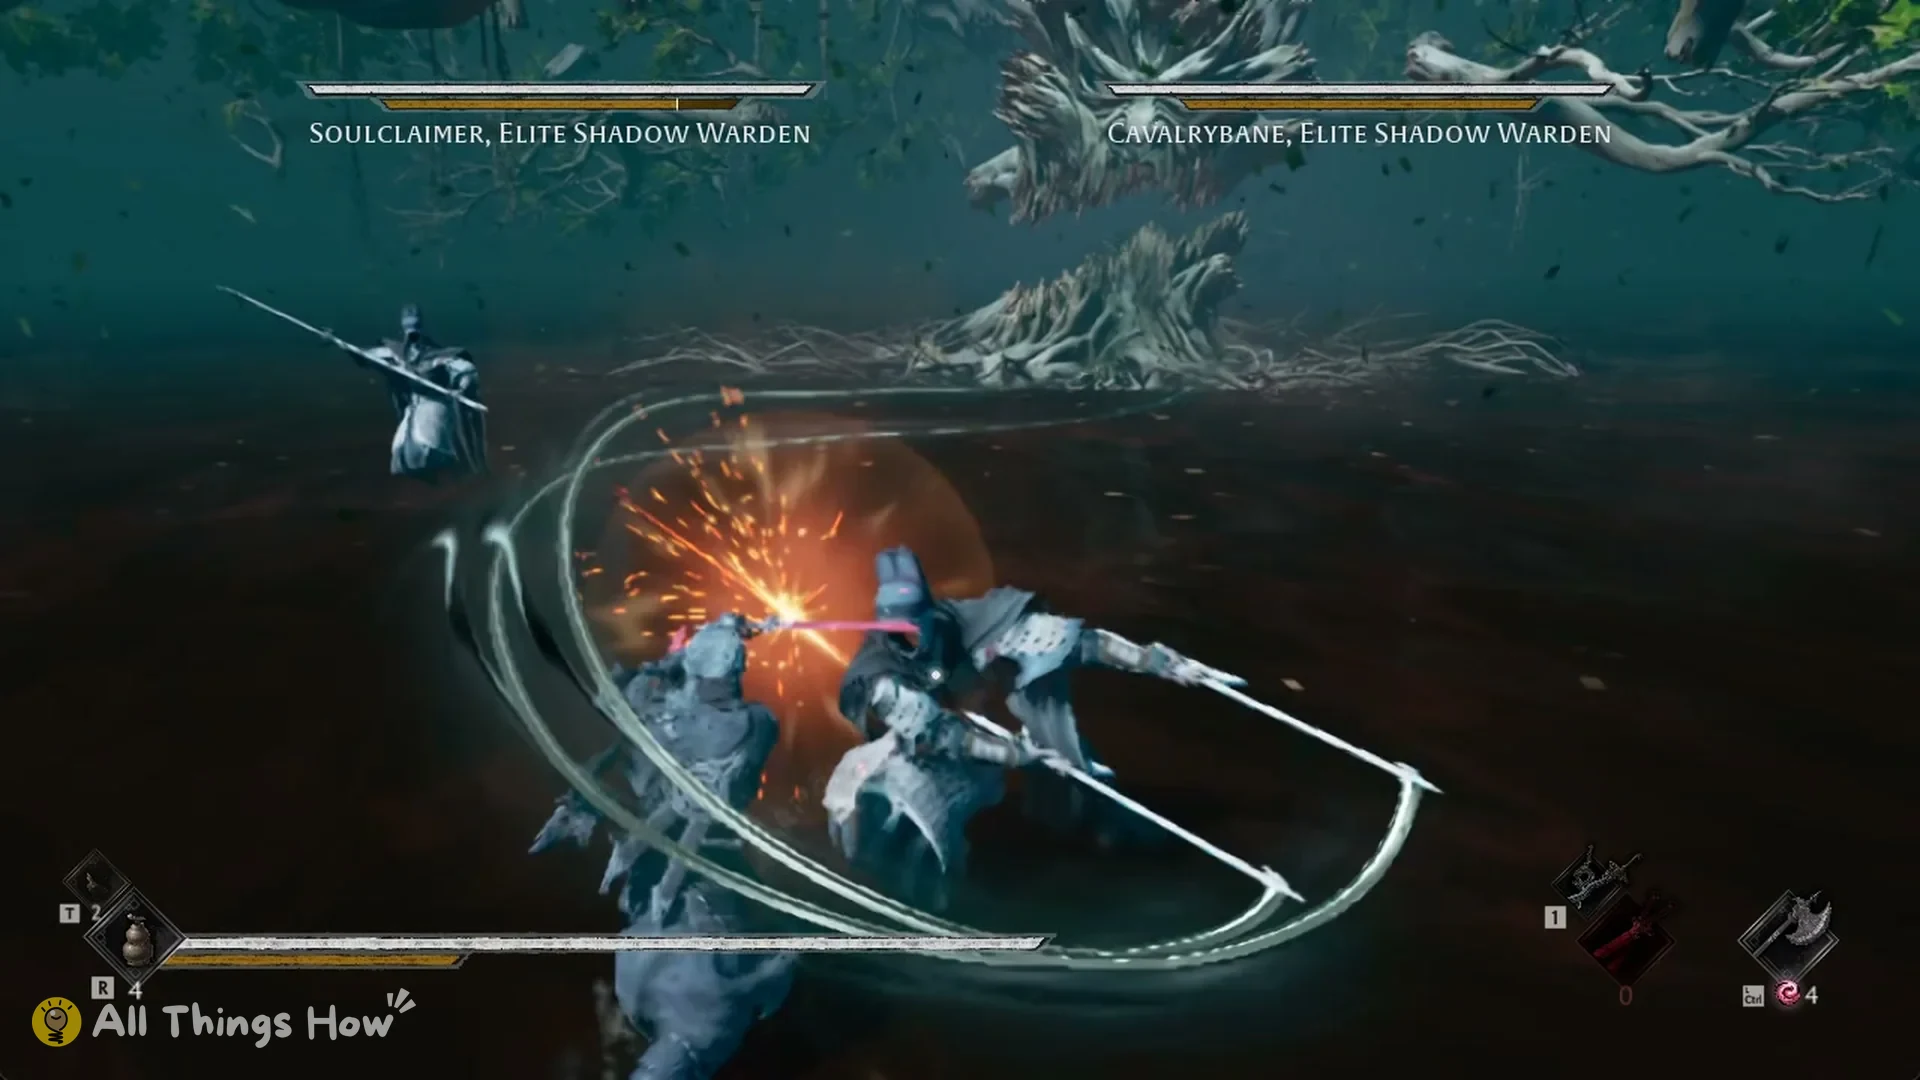
The move he favors most is a powerful hook dive: following a hook swing, he leaps upward, glows red midair, then crashes down in a red burst.
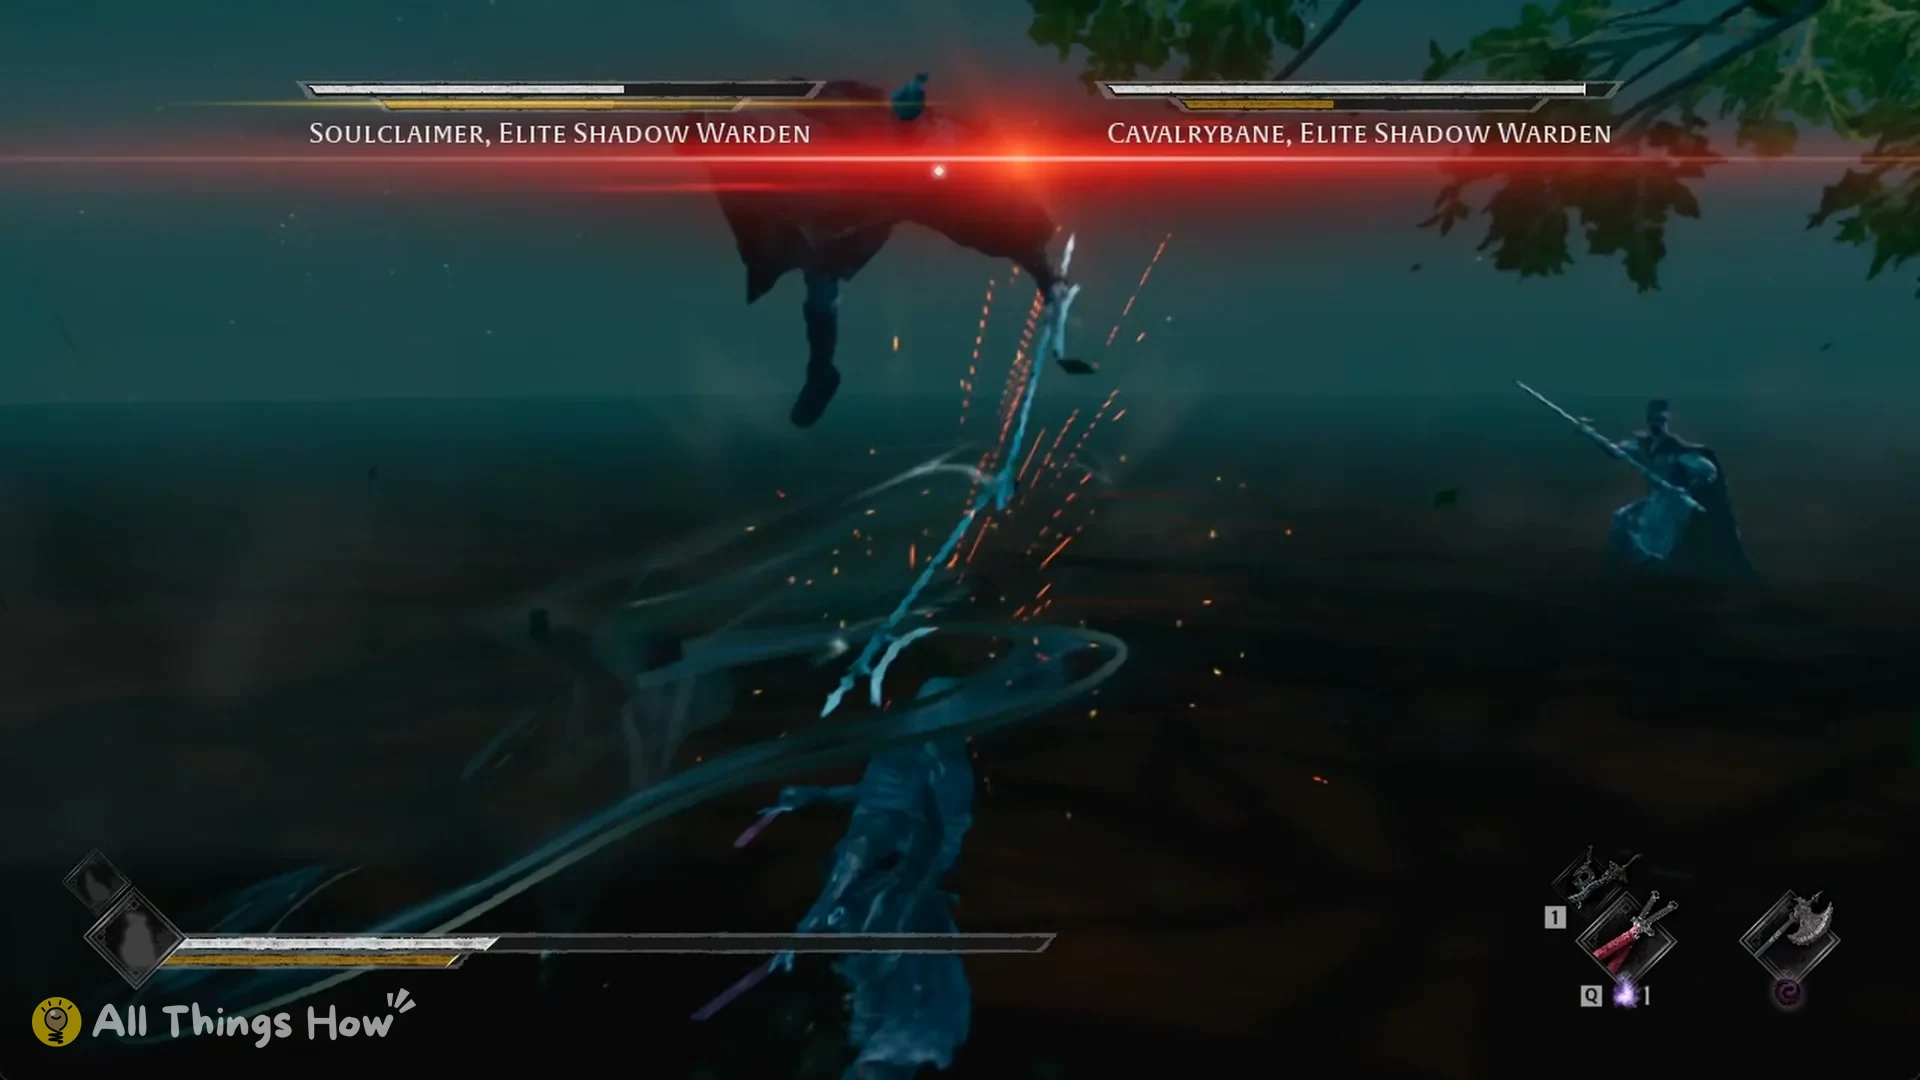
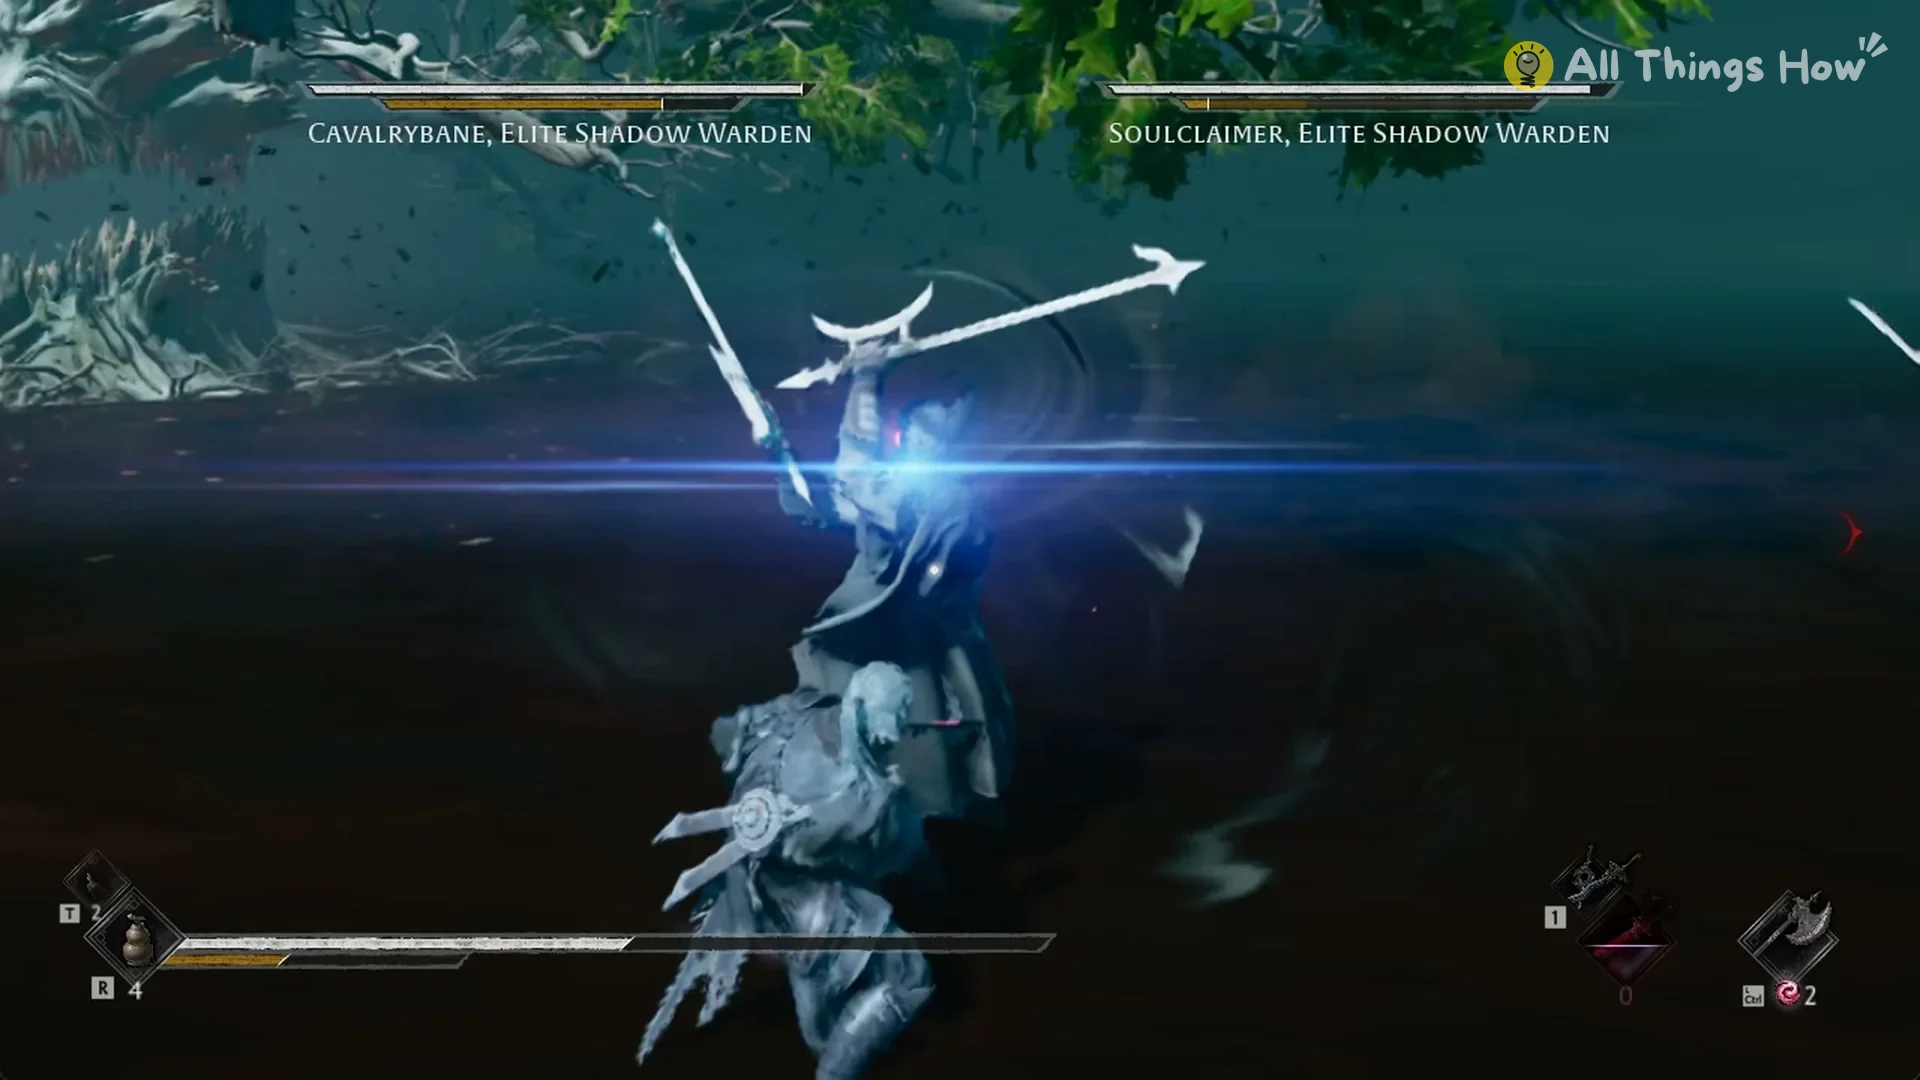
During the spinning hook whirl, he rotates overhead with both hooks extended and a blue flash. A low spinning slash follows, then he lunges with a hook.
Cavalrybane’s attacks in the two-boss fight
Cavalrybane’s overhead glaive slam opens with a glaive swing. A red flash follows as he raises the glaive over his head, and then he brings it down onto you in a big arc.
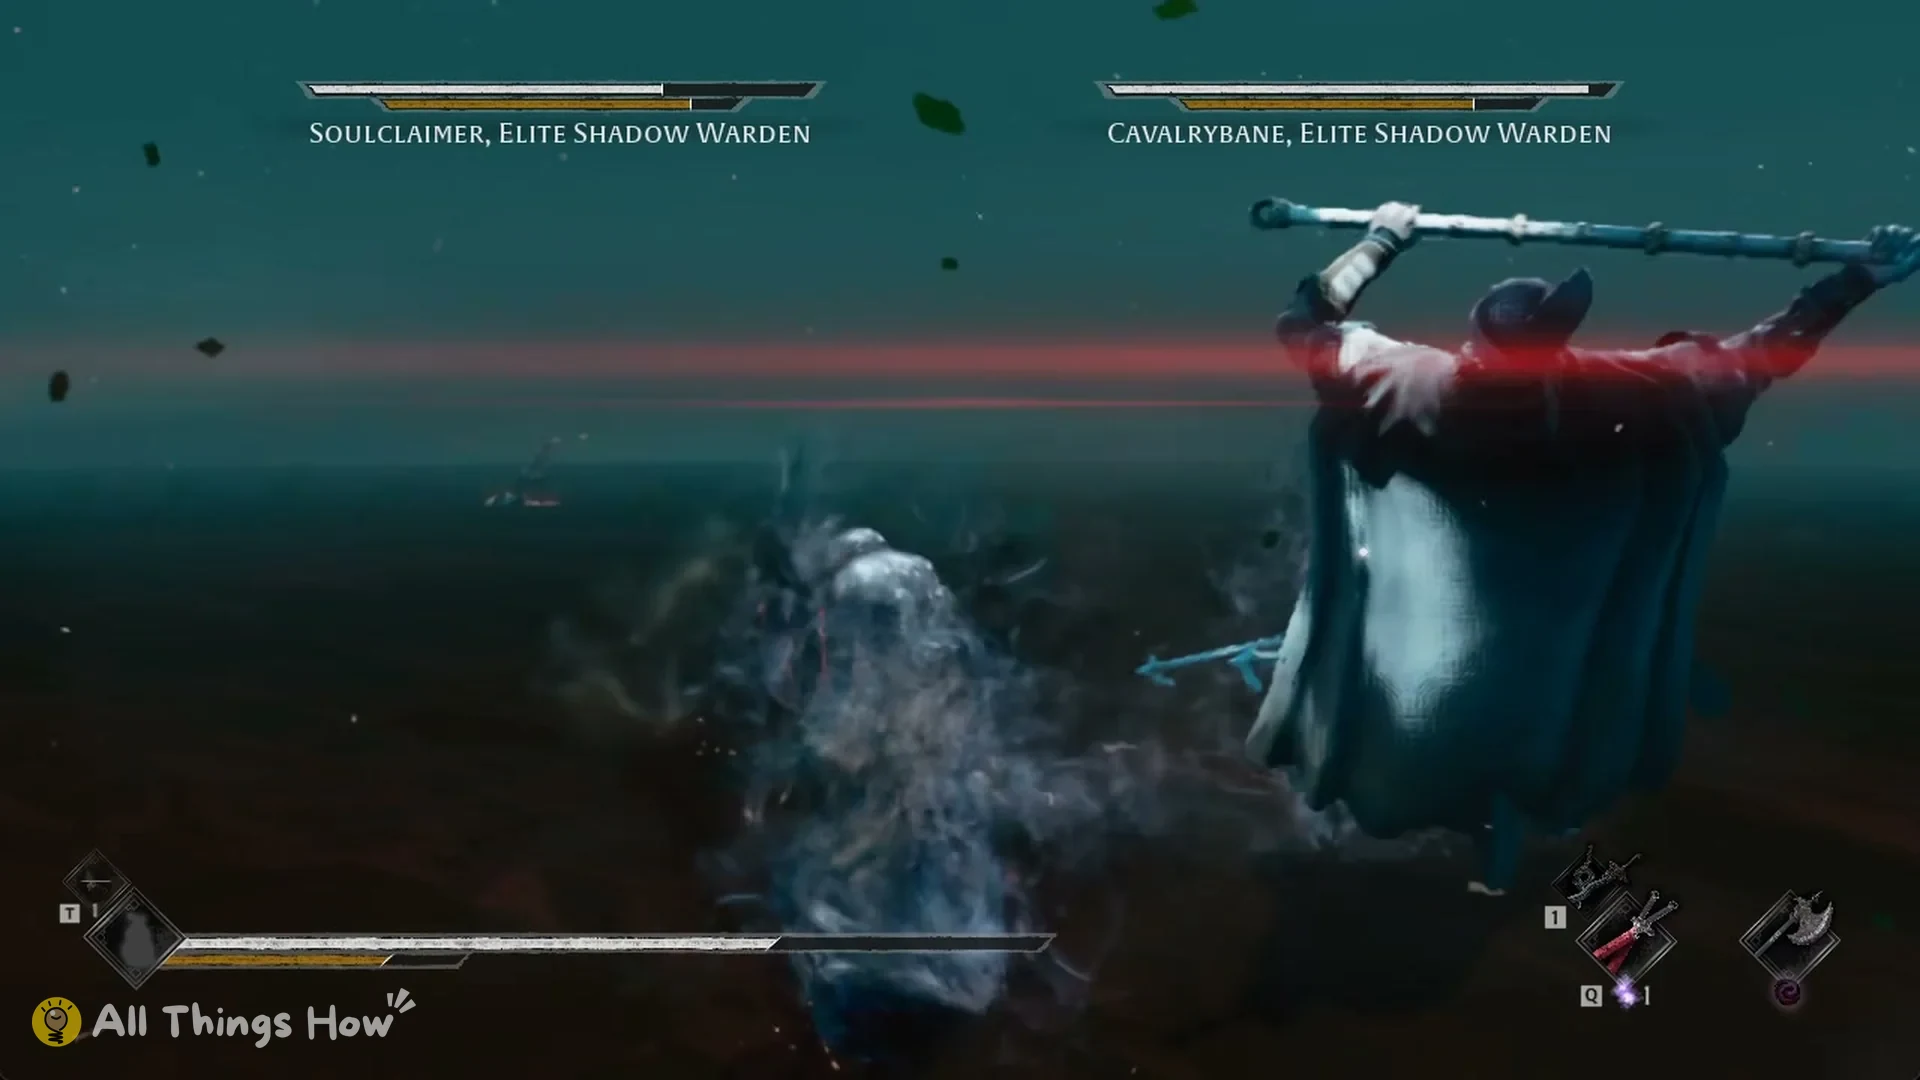
For the leaping glaive sweep, he bounds toward you and swings widely, flashing blue while airborne before striking again as he lands.
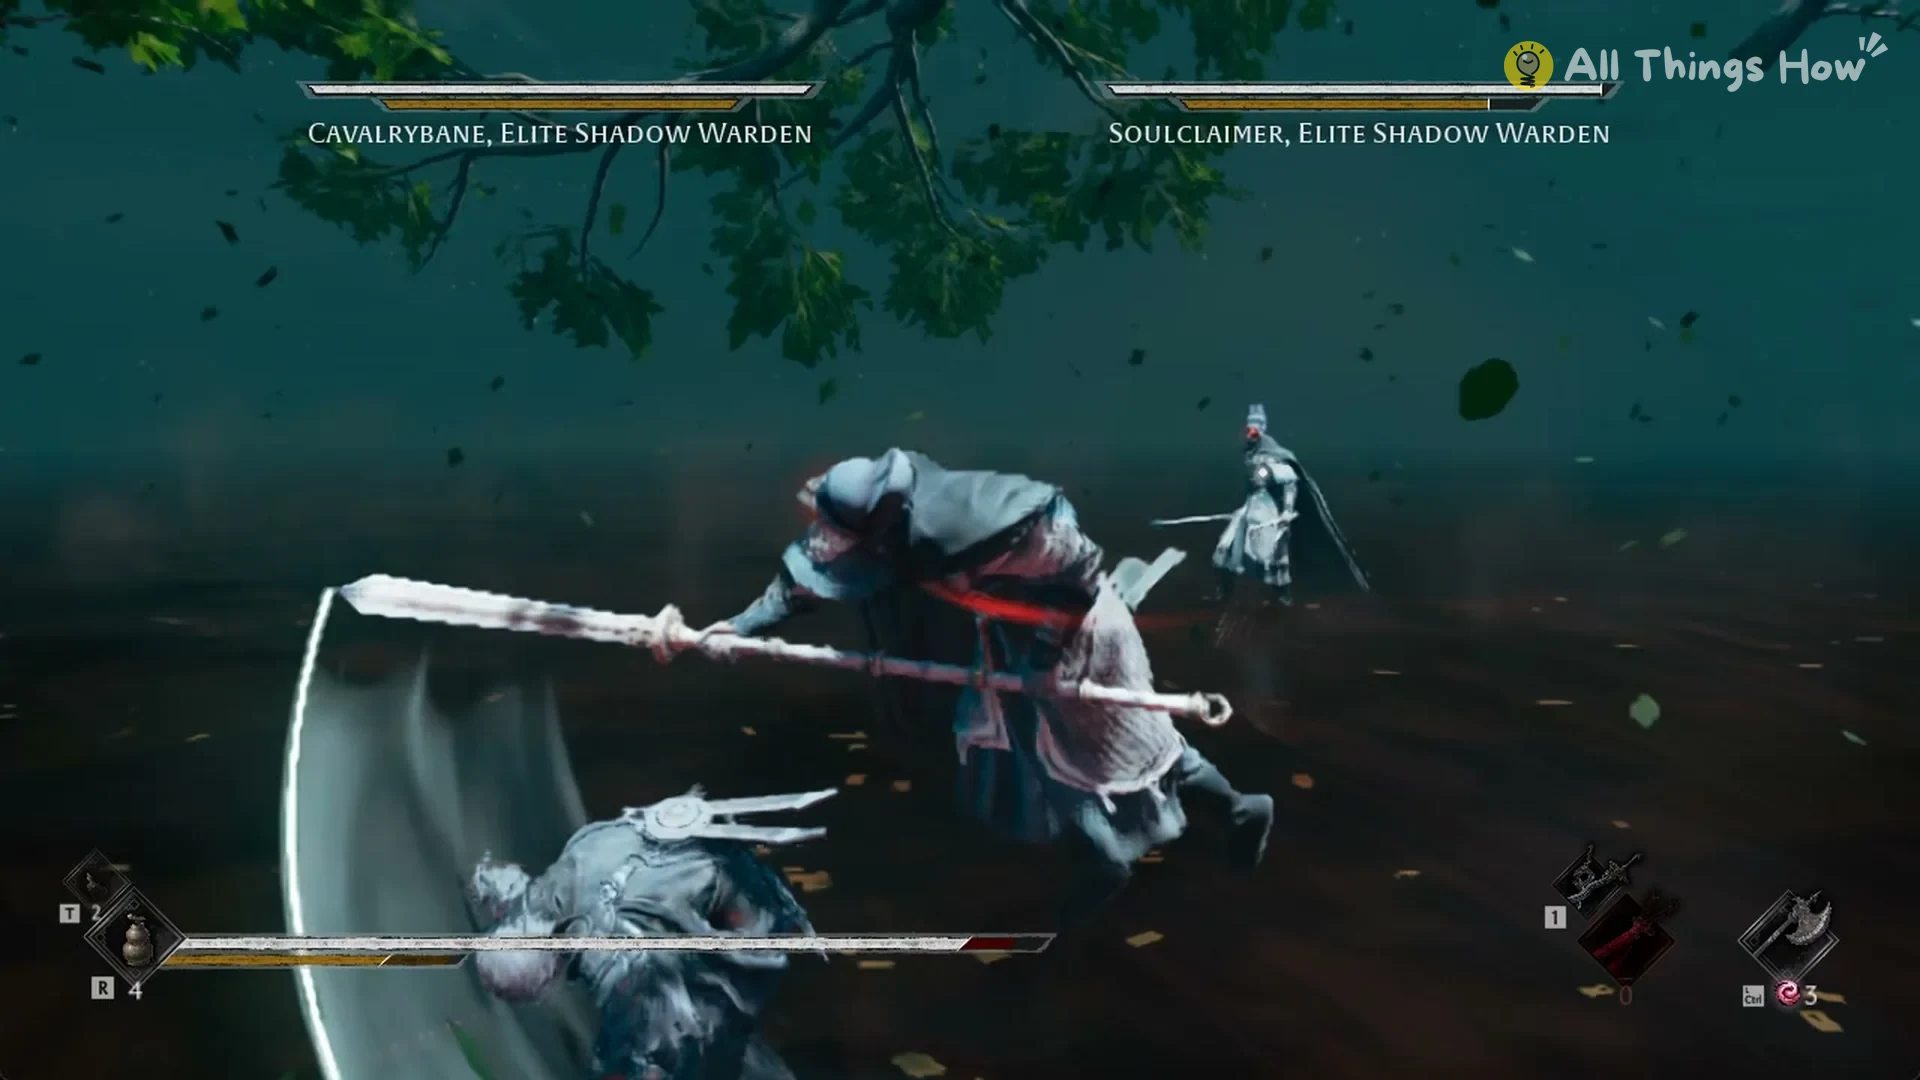
His dashing thrust sends him rushing in low with the glaive held level. This one can be deflected.
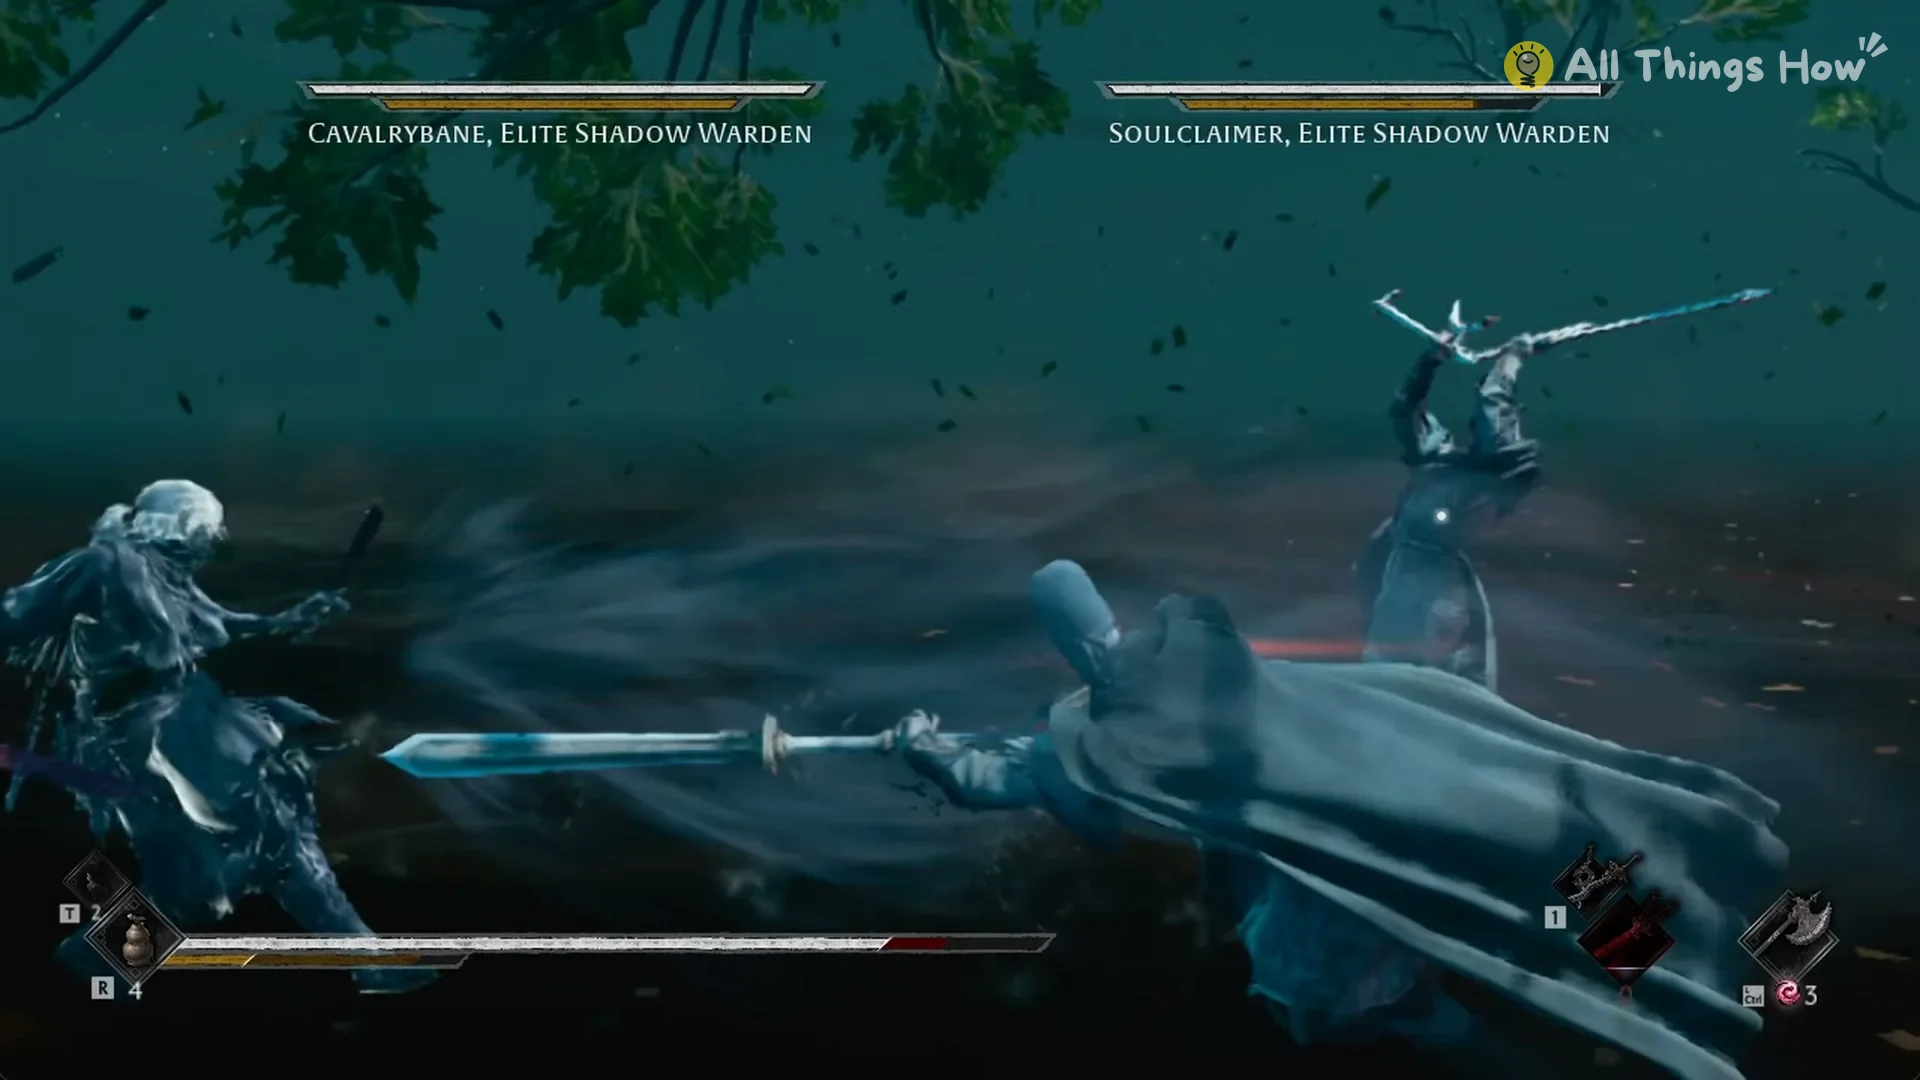
With the leaping strike, he jumps with the glaive raised and lands it next to you. Soulclaimer’s hook spin can catch you right after it.
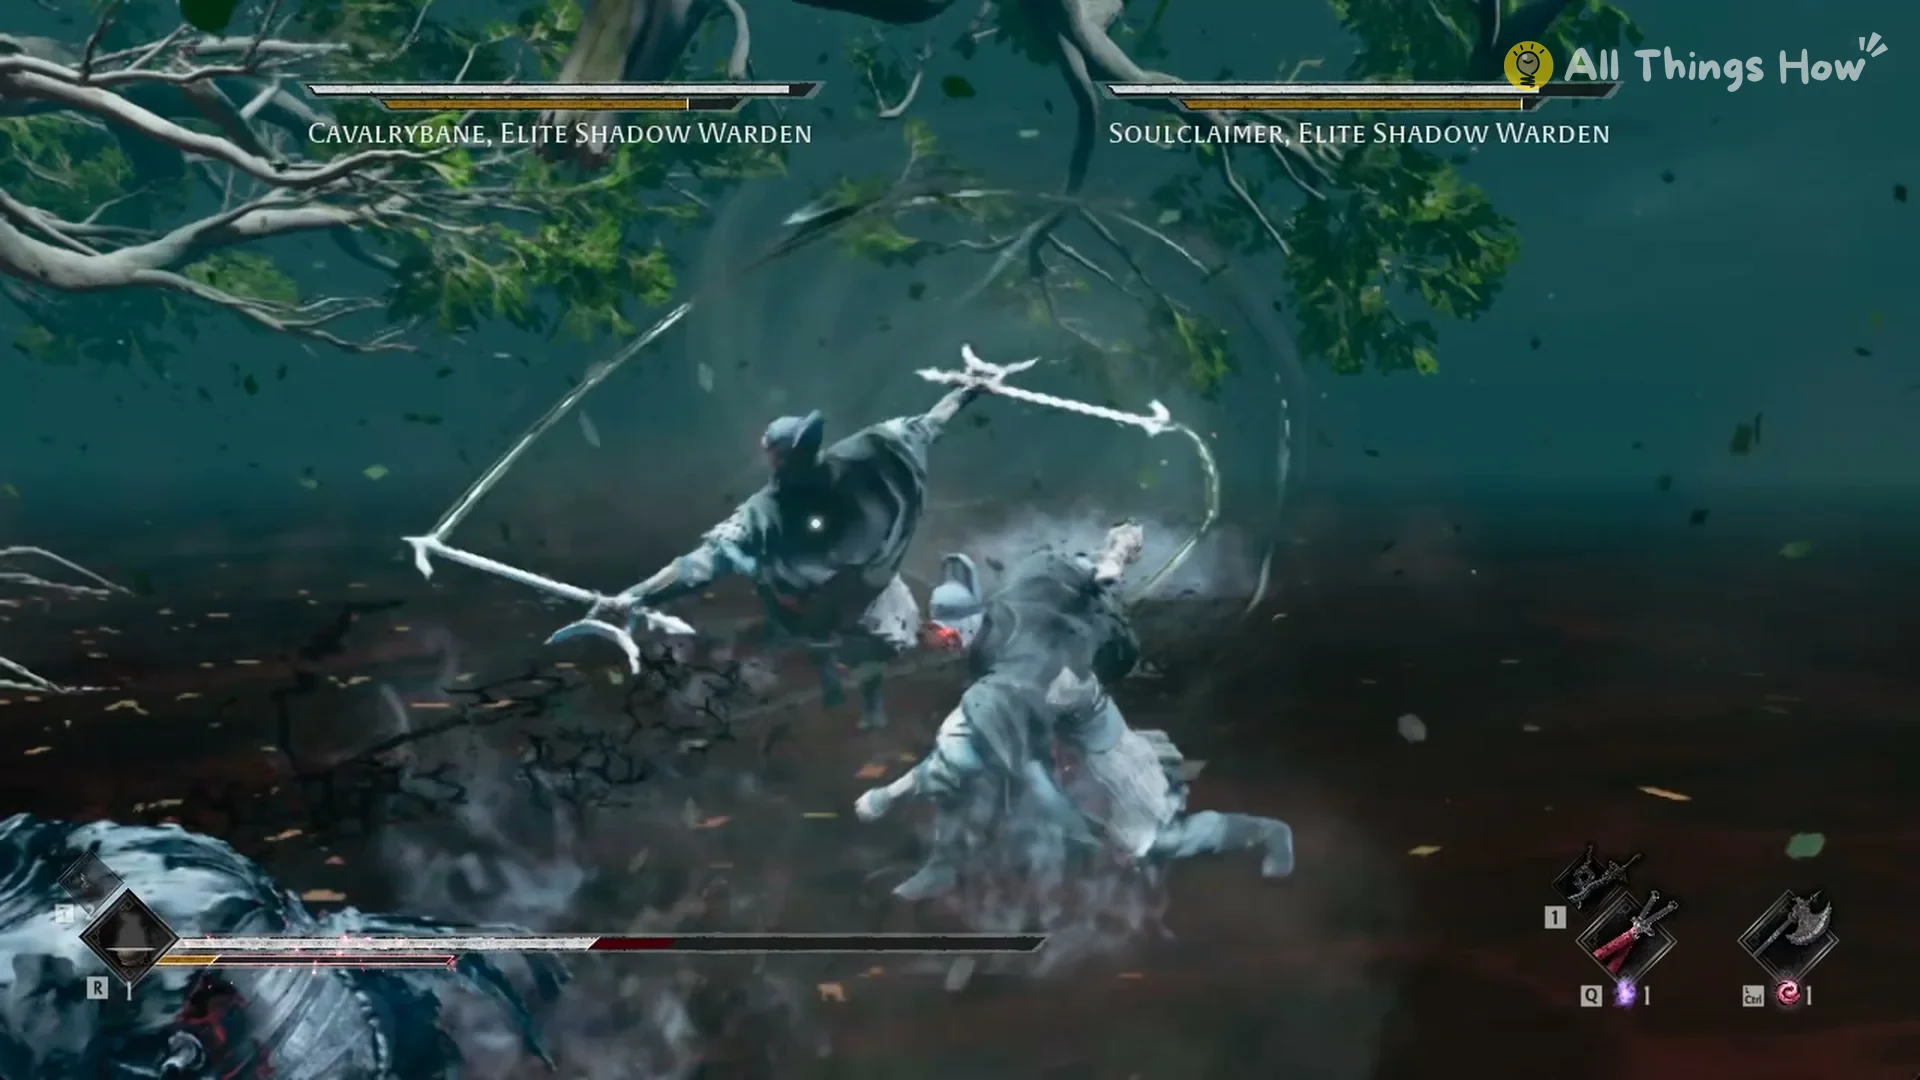
Tips for the two-boss fight
Keep both bosses in view. They often come at you from two sides, and one hits you while you trade with the other.
You can deflect Cavalrybane’s dashing thrust, the hook lunge, and the regular hook slashes.
When red light flashes, evade; Soulclaimer’s diving hook and Cavalrybane’s overhead slam are their most damaging attacks.
Focusing your damage on one boss drains his bar while the other stays near full, so plan for a long fight.
Cavalrybane in Cycle 1
Follow Pangzhen street toward the Order’s underground tavern. Cavalrybane remains there in Cycle 1, with two mounted spearmen at his side. The display identifies him as “Cavalrybane, Elite Shadow Warden” and lists 212,300 health.
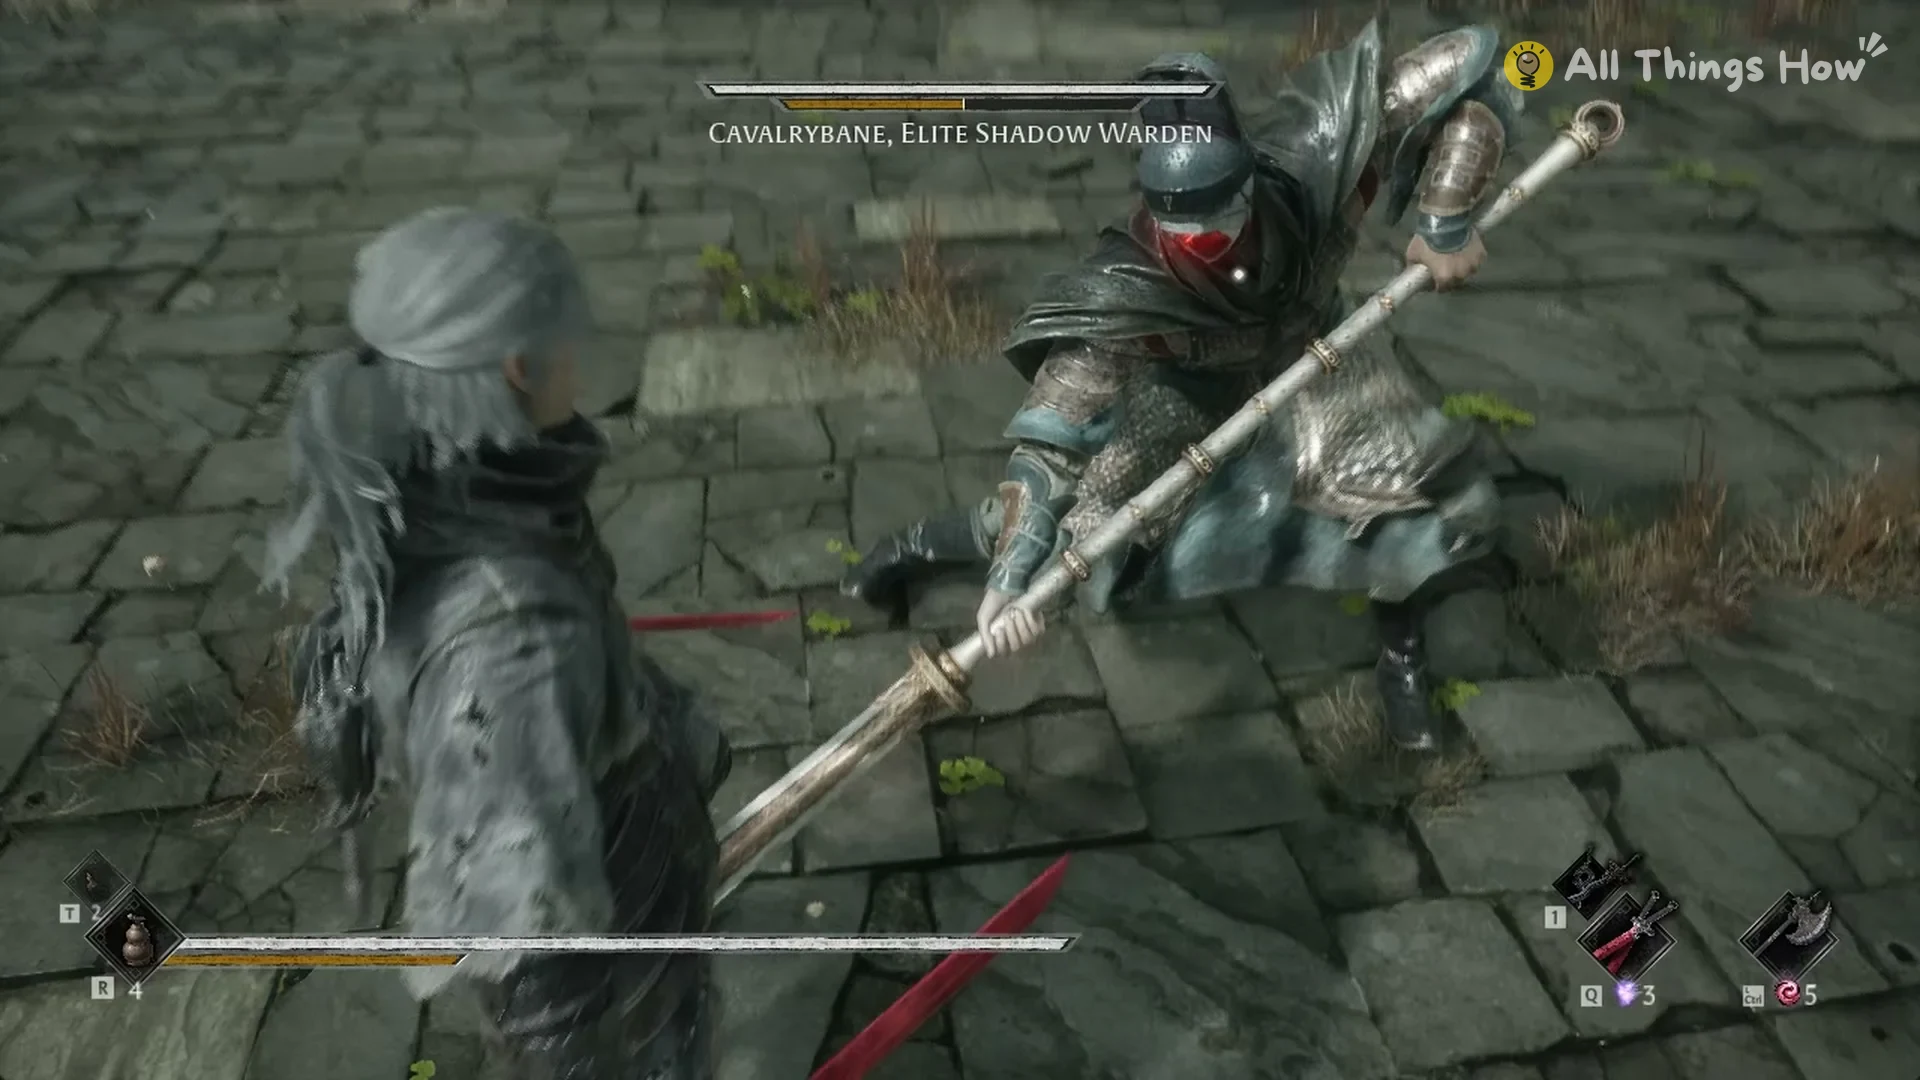
Losing is costly. An attempt that chips away a little over half of his bar in about 8 minutes, then ends with Soul’s death, sends Soul back to the Marketplace bell, and Cavalrybane is back at full health when you return.
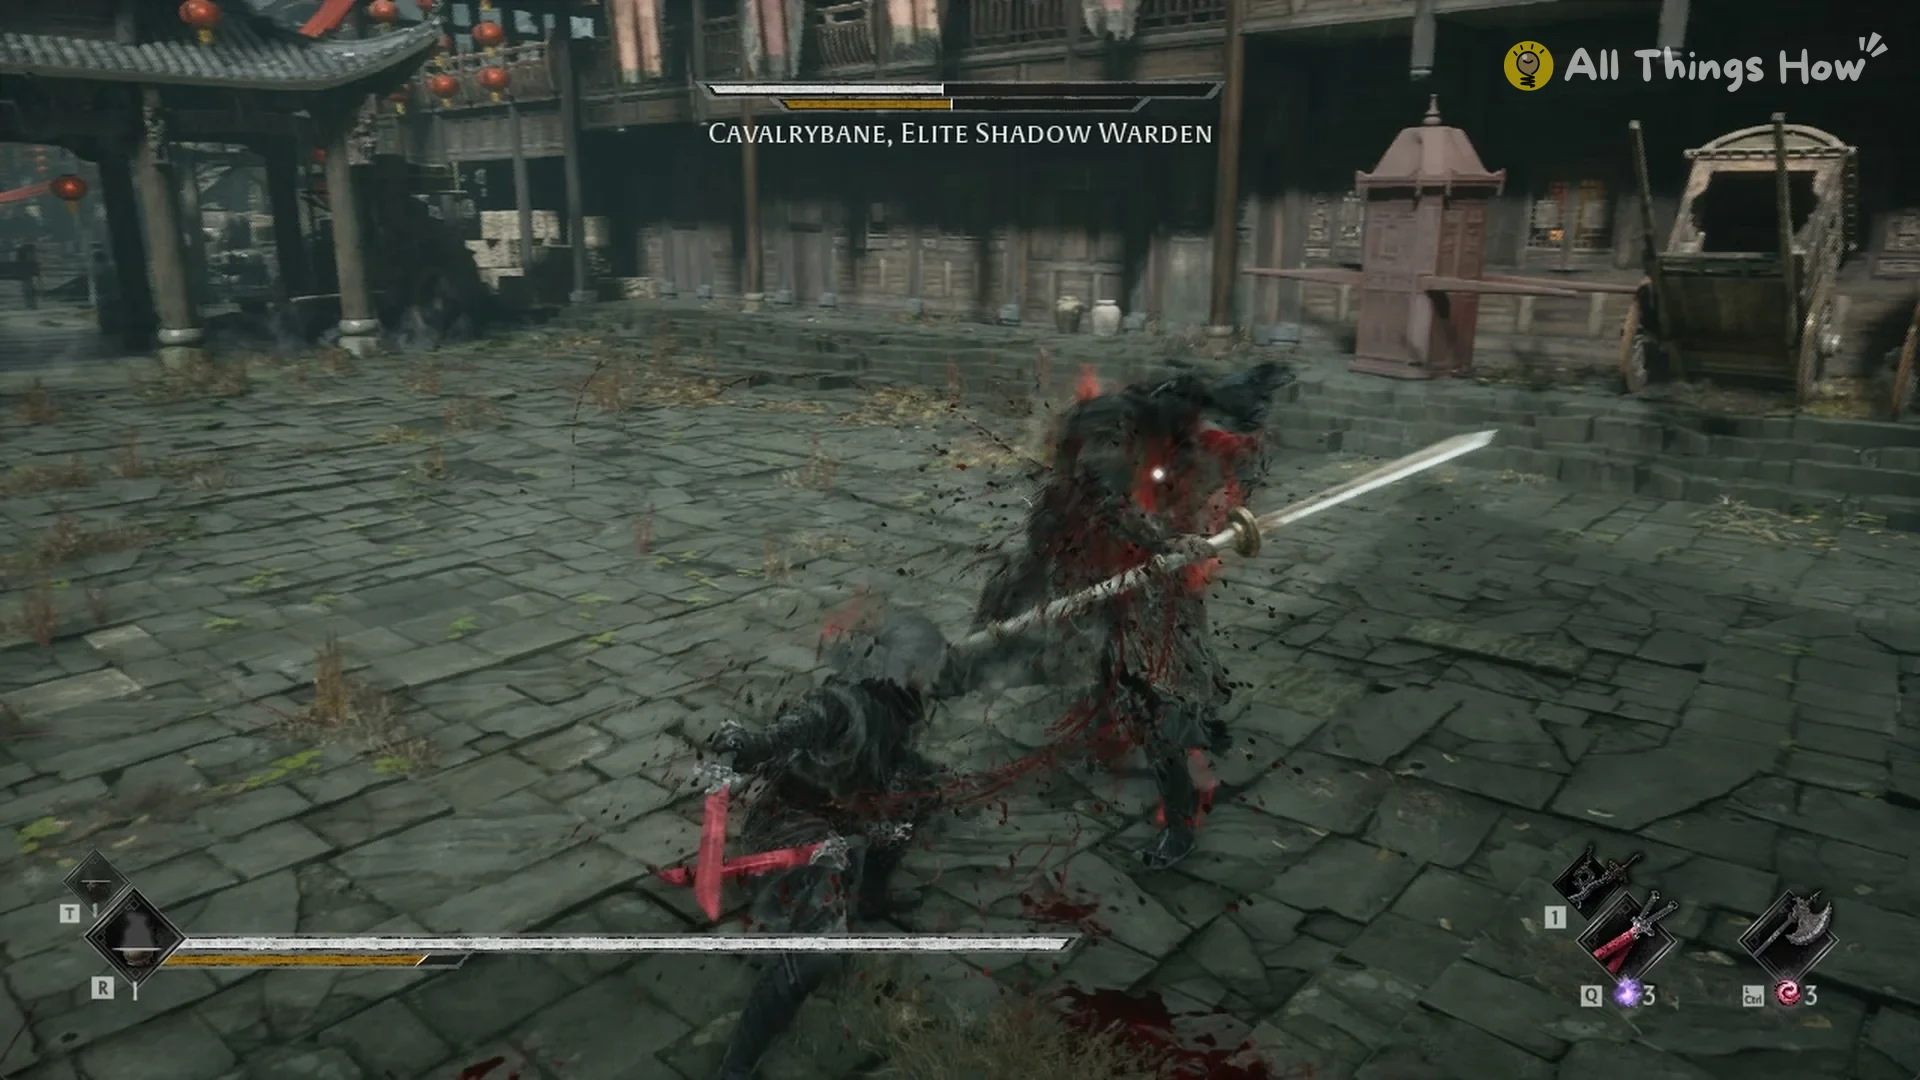
Begin the repeat attempt at the Marketplace bell with health fully restored; a complete clear takes about 12 minutes.
The Cycle 1 reward
After defeating Cavalrybane during Cycle 1, its reward card identifies ARMYBREAKER+1 as a Two-Handed weapon; its Damage is 324, and Guard Break is 120.
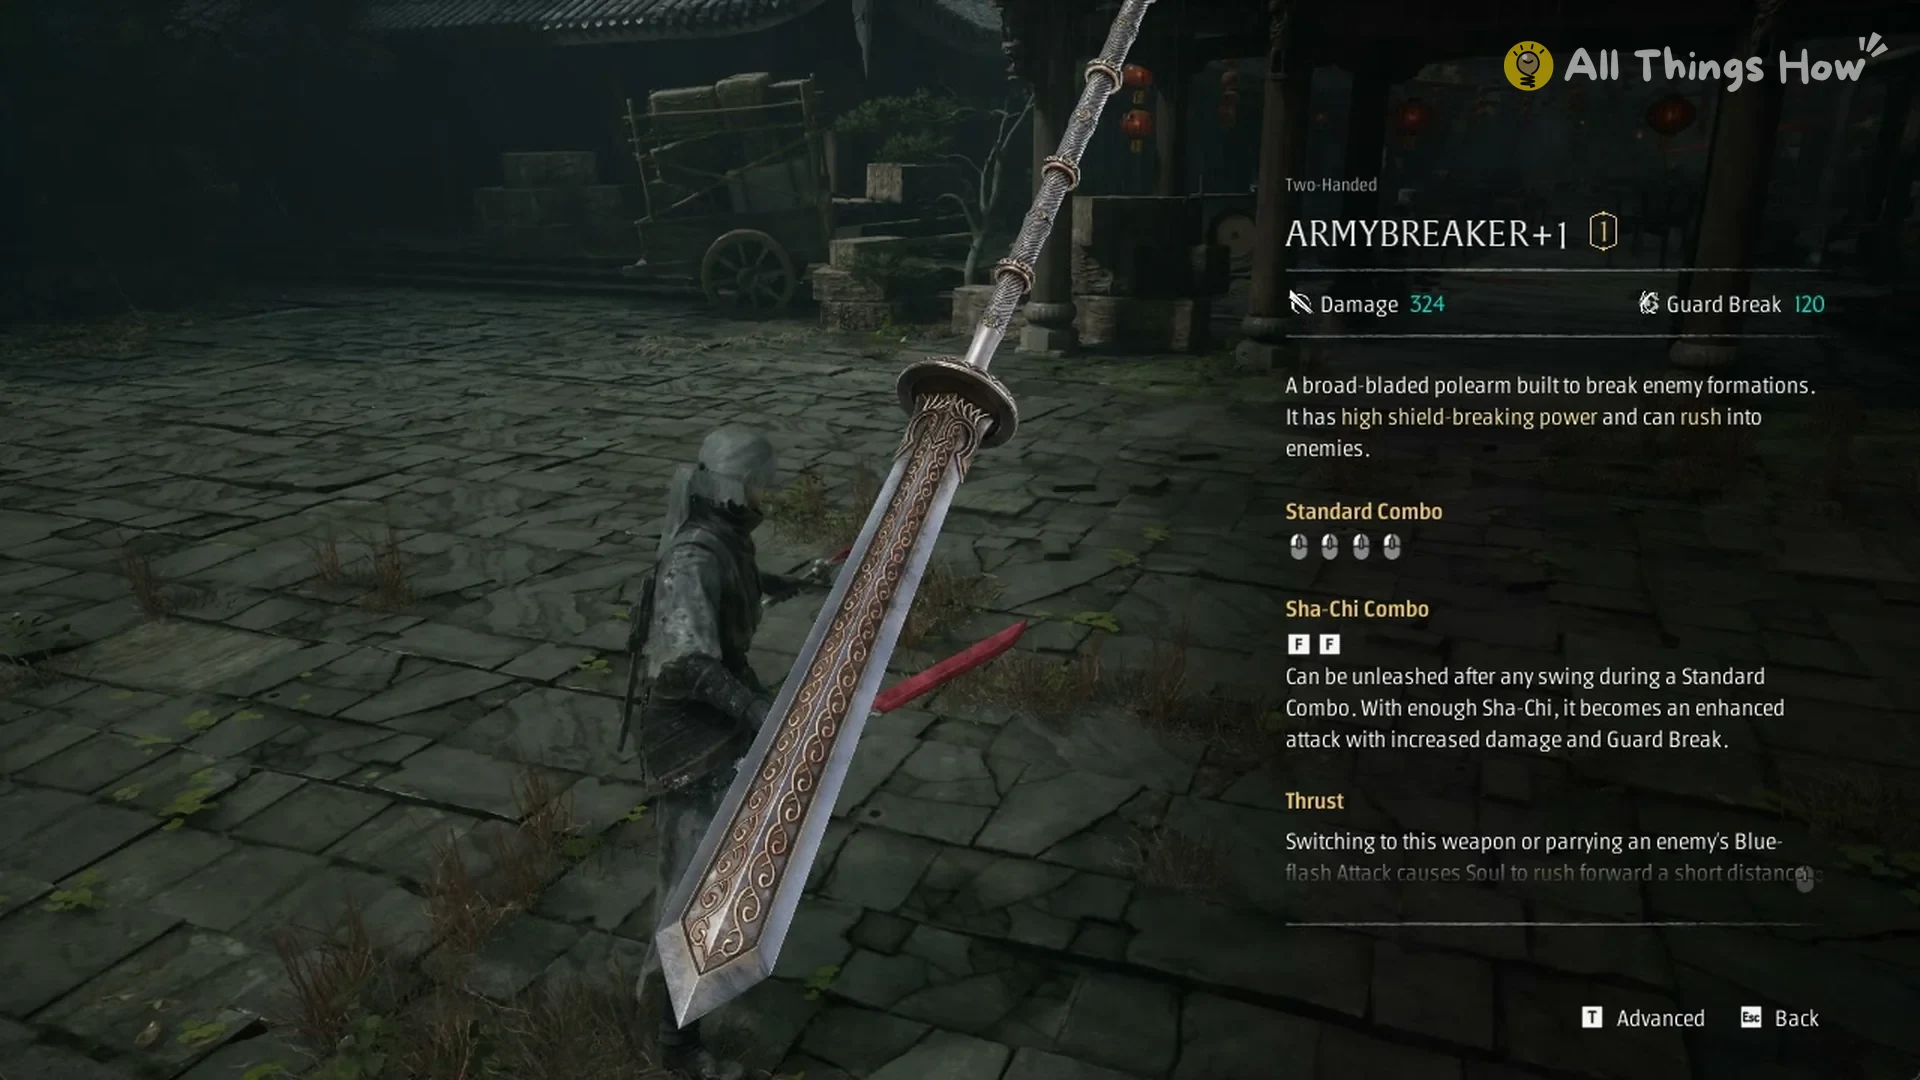
Its card describes a polearm with a broad blade for disrupting enemy ranks, powerful shield-breaking ability, and the capacity to charge at foes.