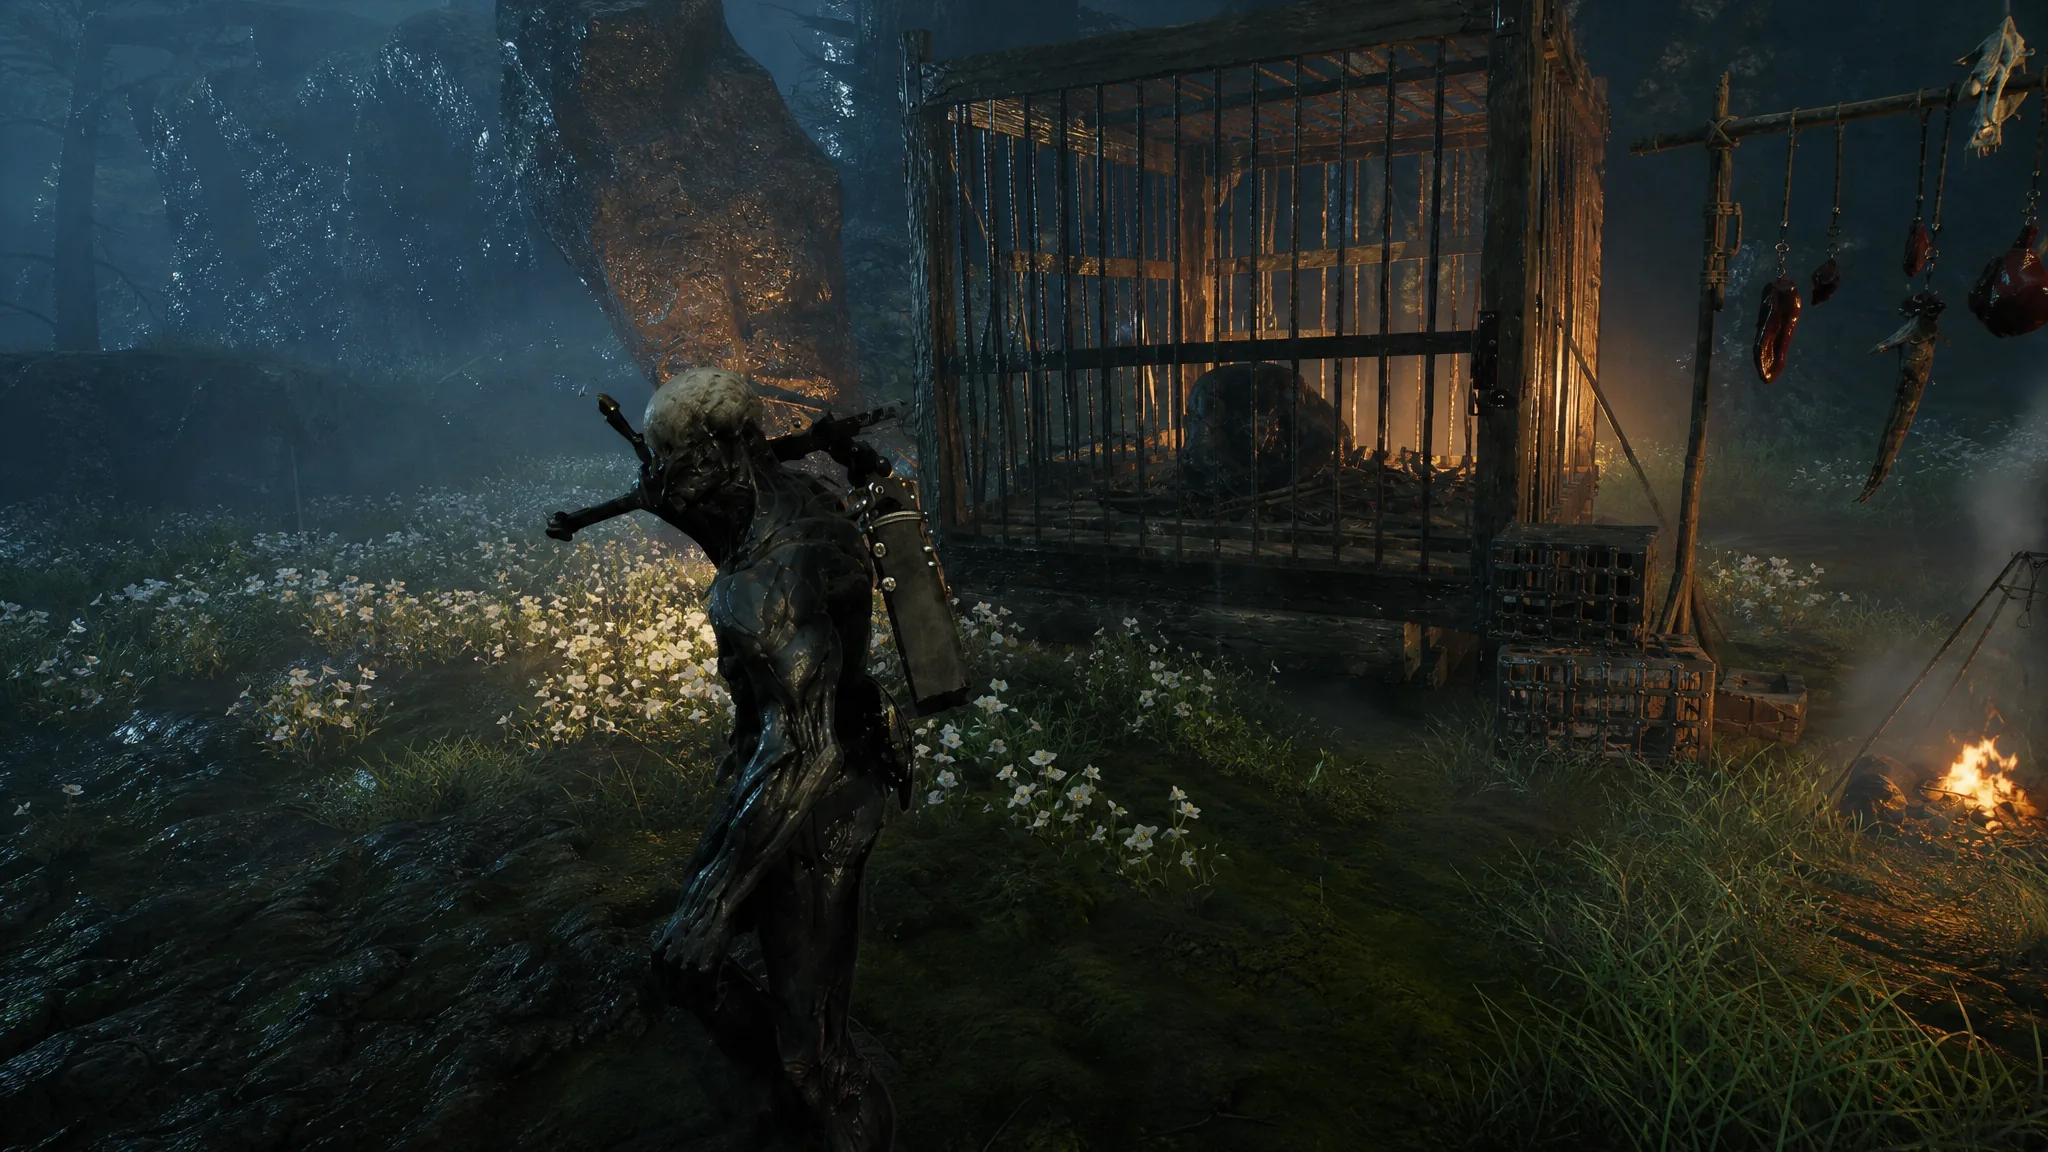
A caged Grisha Pup sits in the middle of a Hunter camp in Mushroom Village, and the order you do things in matters more than the decision itself. Free him and you walk away with the Sheephead Totem, two Glimpses on a later visit, and a permanent item that would otherwise cost you a rough early fight. Do it in the wrong order and you lock yourself out of the best purchase in the camp.
Quick answer: Yes, free him — but buy the Grisha Remnant from the Hunter trader first, then break the cage’s padlock with a melee attack instead of paying 250 Coins for the Cage Key.
Grisha Pup location in Mushroom Village
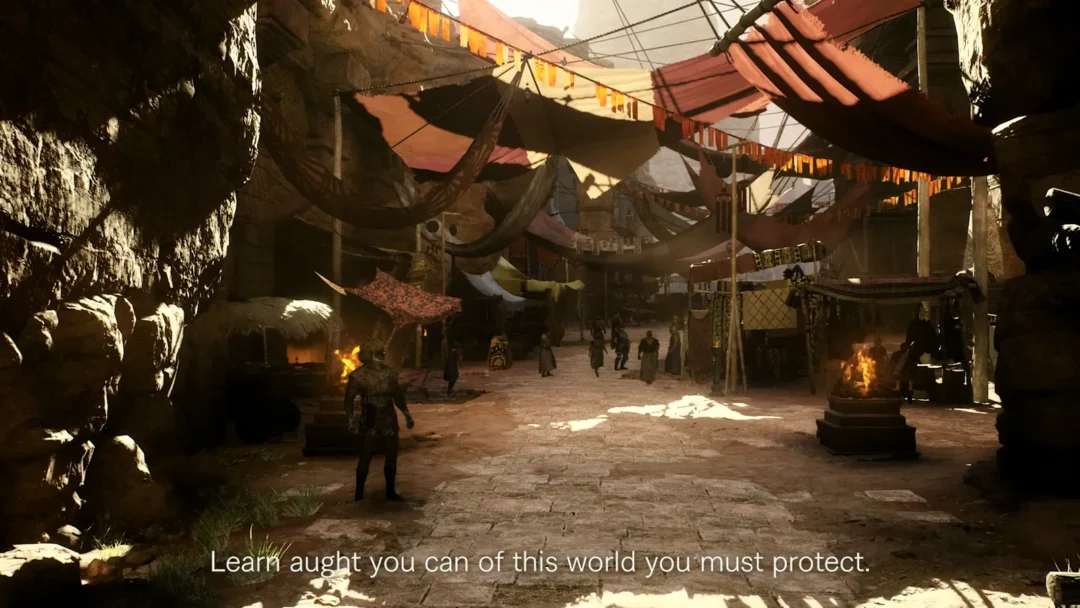
The pup is held in a Grisha Hunter camp north of Marrow’s Keep, in the stretch of Mushroom Village near the Hall of Illusions. From the area’s first Beacon, take the left-hand path and pass through the gateway into the camp.
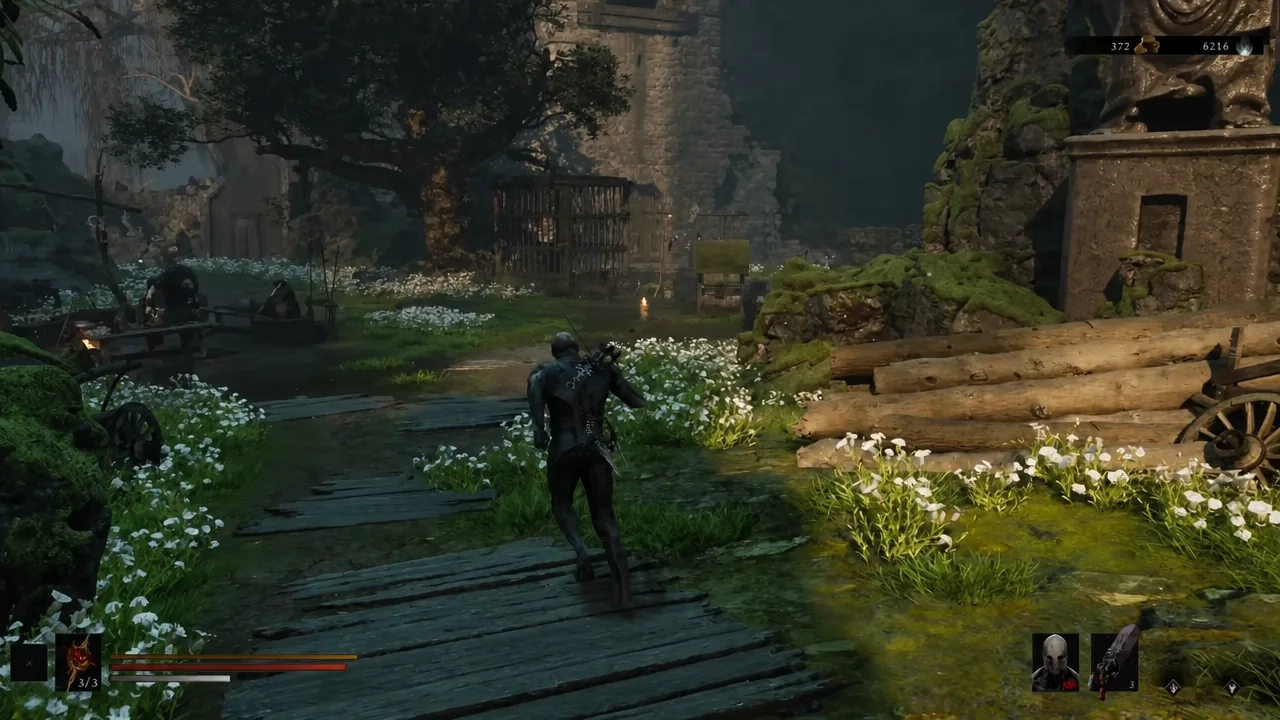
The Hunters here are passive. They will not attack unless you attack them first, or unless you open the cage without paying. The large rat-like Hunter standing near the entrance is a trader, and he is the reason you should not rush the cage.
Buy the Grisha Remnant before you open the cage
The trader’s stock is the only reason this camp is worth slowing down for. The Grisha Remnant is a rare permanent item, and buying it here means you never have to fight a Grisha for one. Once the Hunters turn hostile or die, that stock is gone.
| Item | Price | Worth buying? |
|---|---|---|
| Grisha Remnant | 2,000 Coins | Yes — buy this before anything else happens in the camp |
| Cage Key | 250 Coins | No — you can break the lock instead |
| Weltcap (5x) | — | Optional; this is your last chance to buy from him |
| Common Moonshine (3x) | — | Optional; same caveat |
If you are short on Coin, sweep the camp before trading. There is a Coin Pouch next to the tent on the northeast side, a Laterite behind the gravestone near the Gloom Tentacle, and another Laterite in the bone statue behind the tent.
Three ways to open the cage, and which one to use
All three methods give you the same reward, so the only difference is what they cost you.
| Method | Cost | Consequence |
|---|---|---|
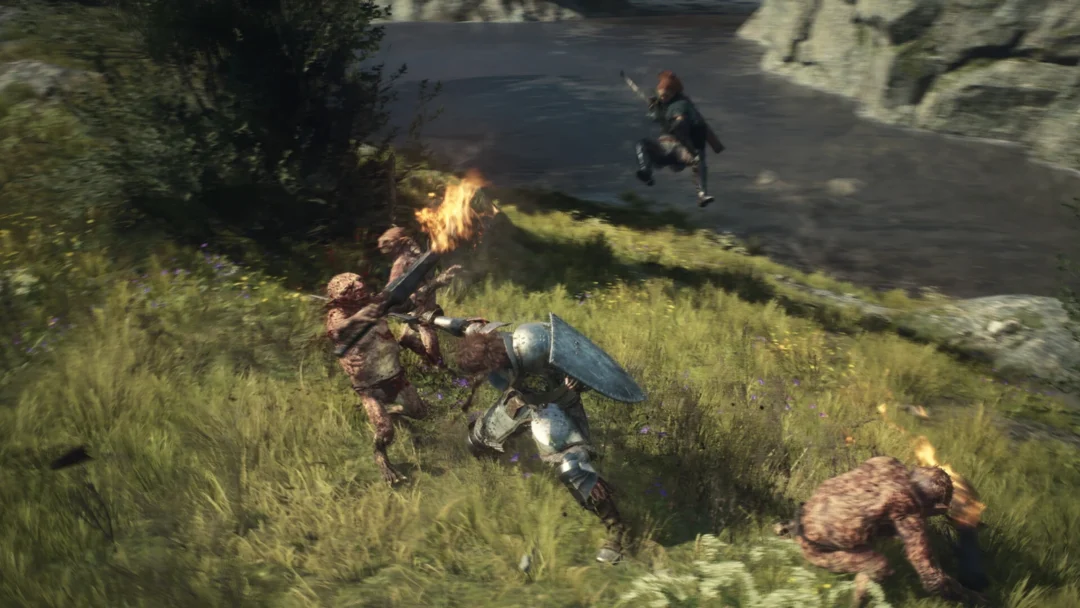
| Break the padlock with a melee attack | Free | Hunters turn hostile, but you keep your Coin |
| Buy the Cage Key | 250 Coins | Hunters stay peaceful |
| Kill the Hunters for the Cage Key | Free | Ends trading permanently — never do this before buying the Remnant |
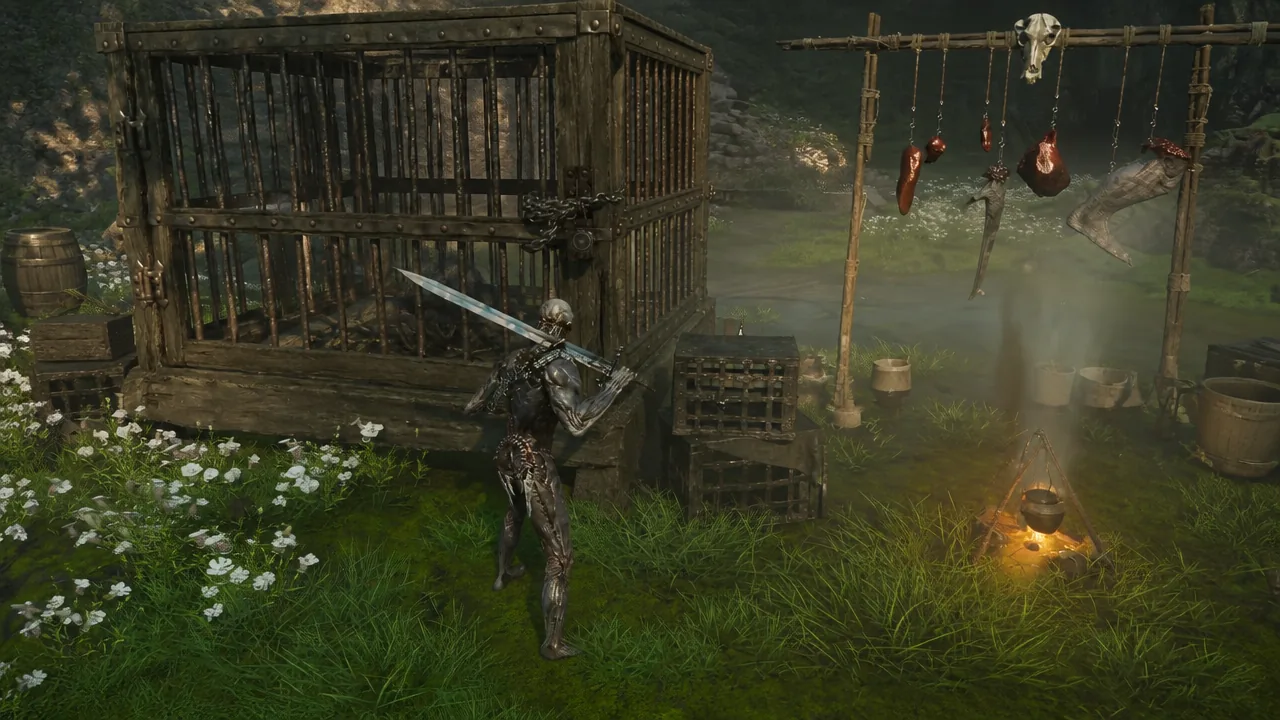
Note: if you accidentally hit the pup, both it and the Hunters go hostile. Run back to the Beacon and rest to reset the area. As long as the cage is already unlocked, the pup will be calm again when you return, and it stays there until you interact with it for the Totem.
What the Sheephead Totem actually does
The Totem behaves completely differently depending on which slot you put it in.
| Slot | Effect |
|---|---|
| Active ability | Press D-Pad Down (controller) or 1 (keyboard) to turn into a sheep. Damage output and movement speed drop sharply, and equipped Seals and Tarstones are disabled. You can still dodge and heal. |
| Passive ability | Reduces the maximum health of every enemy by 1%. The effect stacks as you collect more Sheephead Totems. |
The sheep transformation is a novelty and a self-imposed challenge, not a combat tool. The passive is the practical option, and while 1% is barely noticeable on its own, this pup is not the only source — more Totems drop from bosses and from dungeons such as the Hall of Echoes.
Come back after resting for two Glimpses
Rest at any Beacon, then walk back into the camp. The layout changes: a fully grown Grisha Matron now stands beside the pup among the Hunter corpses. She growls as you approach, but the pup steps in and the encounter stays non-hostile unless you swing first.
Interact with the pup one more time to receive two Glimpses, which go toward Shell upgrades. While you are there, search the dead Hunters for a Ventrium, a Common Moonshine, and a Coin Pouch.
You can attack the pair if you want. The pup dies almost instantly, but the Matron is a serious fight this early — she leans on a three-hit melee combo that is straightforward to block if you stay close, and Vatra’s Seal suits the encounter. Killing her yields roughly 3,000 Gloom and a Grisha Remnant. If you already bought the Remnant from the trader, there is nothing here you need.
One last reset is worth it. Rest at the Beacon and return once more, and five Weltcaps will have grown in the camp ground.
Taken together, the sequence costs you nothing but 2,000 Coins and a scrappy fight with a few Hunters, and it hands back a permanent item, a Totem you will eventually stack, and two Glimpses. Leaving the pup in the cage gets you none of that.