

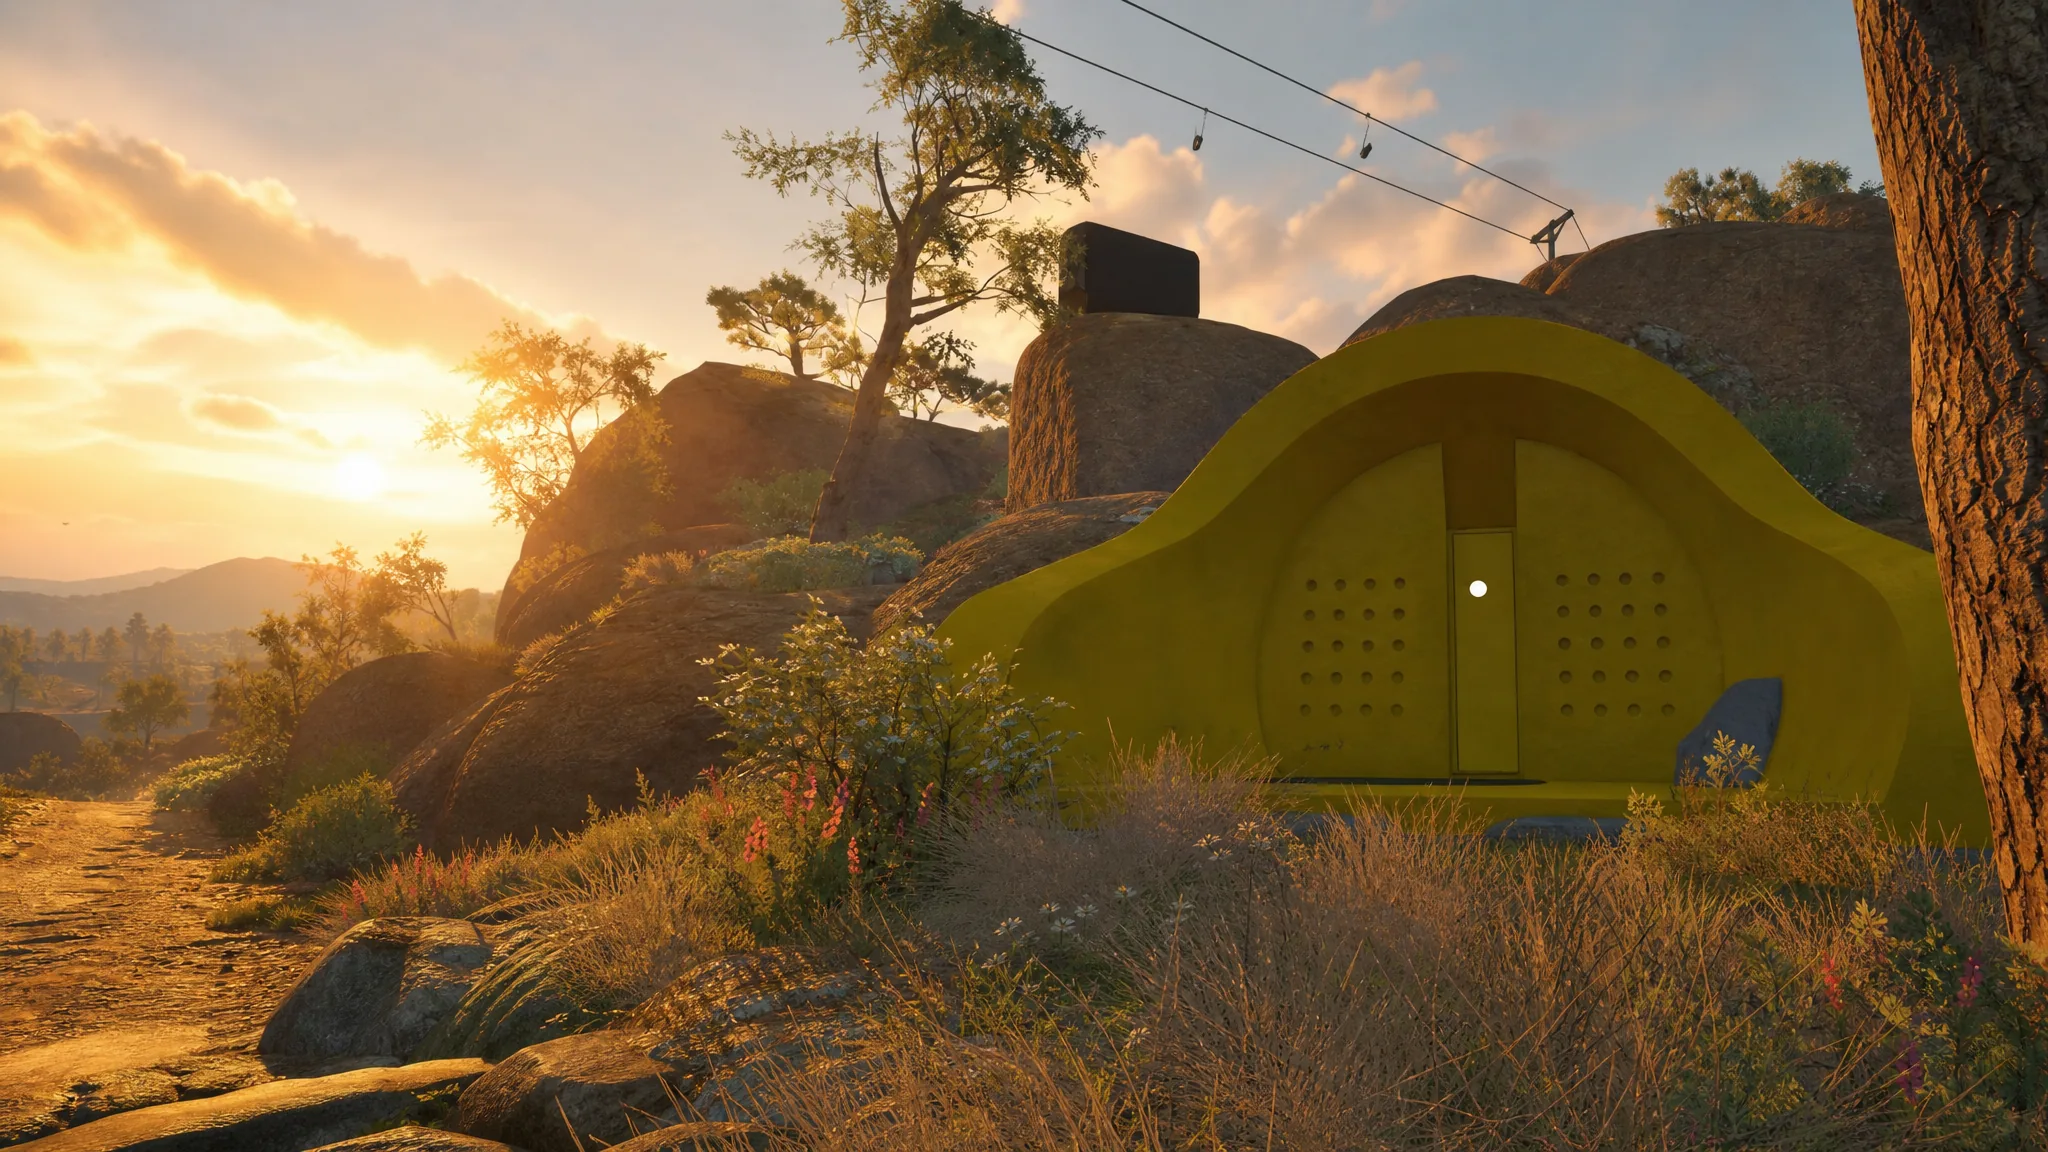
The Yellow Tower is the gateway to the underground tunnel network in Big Walk, and clearing it is the only way to earn the Big Tunnel trophy. Completing the tower gives your group a key that, once shaped, opens tunnel entrances across the entire map and lets you travel between towers without hiking overland.
Quick answer: Solve five nearby puzzles to collect five red gourds, place them in the cabinets at the top of the Yellow Tower to release the key, cut the key at five key cutters, then insert it into the terminal at the Yellow Tunnel entrance. Walking inside unlocks the Big Tunnel trophy.
Where the Yellow Tower and Yellow Tunnel are located
The Yellow Tower sits north of the chairlift, and you will usually reach it after finishing the Green Tower. Ride the chairlift all the way up to the northern station and the tower is a short walk away, so it is hard to miss. On the map it sits at coordinates 3310, 1560.
The Yellow Tunnel is a separate spot to the southeast of the tower, at coordinates 3500, 1620. Drop down the south side of the mountain and follow the rock face until you reach it, across from a blue structure. You do not need the tunnel until the key is fully cut, so handle the puzzles first.
Note: The red gourds you earn are interchangeable across all four towers. You can solve any five puzzles on the island and bring those gourds here. The five puzzles closest to the Yellow Tower are the most convenient, and they are the ones covered below.
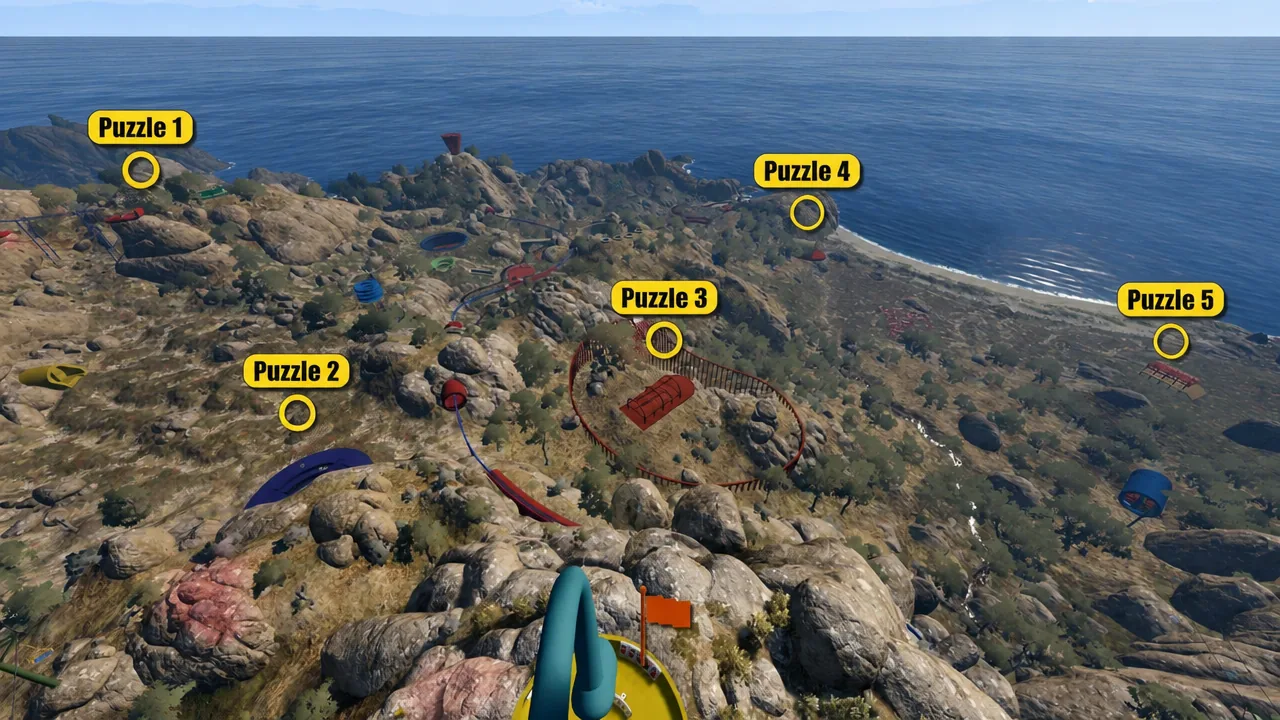
The five Yellow Tower puzzles and their coordinates
| Puzzle | Coordinates | Core task |
|---|---|---|
| Aerial Chair Symbol Delivery | 3570, 1600 | Match a symbol sequence and ferry pieces across on the aerial chair |
| Blue Concert Stage Buttons | 3410, 1590 | Relay lit lights so the outside player presses matching buttons |
| Colored Pegs Board | 3370, 1490 | Find 36 colored pegs and place them on the board |
| Microphone | 3400, 1230 | Identify which of six mics carries voice clearly, then press its button |
| Sound Booth | 3200, 1260 | Match hidden booth sounds to the correct speakers |
Colored Pegs Board puzzle
This one is not hard, only long. You need to find 36 colored wooden pegs scattered around the puzzle arena and place them on the board in any order. Order does not matter, so speed comes down to finding all of them. With two players this can take a full in-game day or more, so avoid doing it at night.
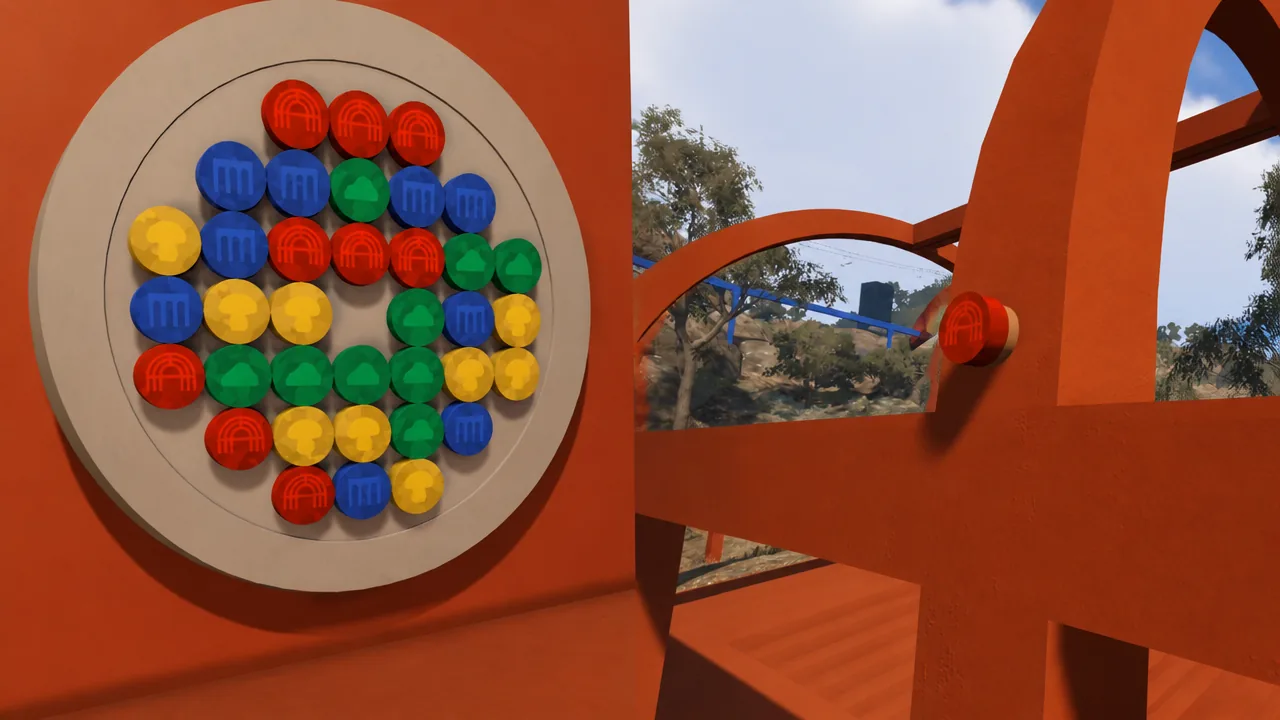
There are four peg types, nine of each. Each type hides in a predictable kind of spot, so split the search by color:
| Peg color and symbol | Where to look |
|---|---|
| Green (rock symbol) | Around rocks, boulders, and cliffs |
| Blue (bridge symbol) | On top of or beside the orange bridge along the perimeter |
| Yellow (mushroom symbol) | Under trees, plants, and bushes |
| Red (arc symbol) | On the orange stage structure, under the decks, and on the pillars |
One green peg sits on the rock face above ground level and can only be reached through a hidden orange tunnel in the side of the mountain. Use the boulders to climb onto the rails to grab the blue pegs. Sweep the whole arena from the start point to the far rails so nothing is missed. Placing all 36 releases the gourd.
Microphone puzzle
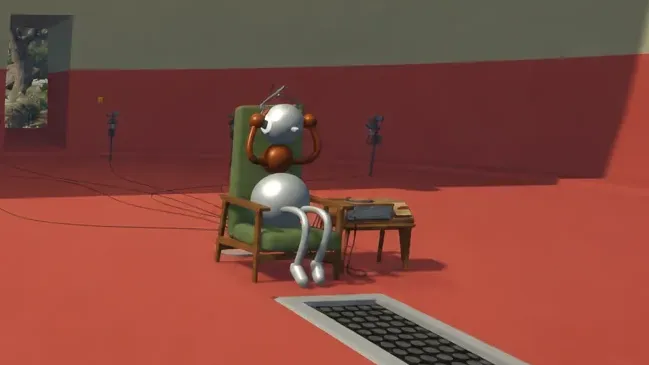
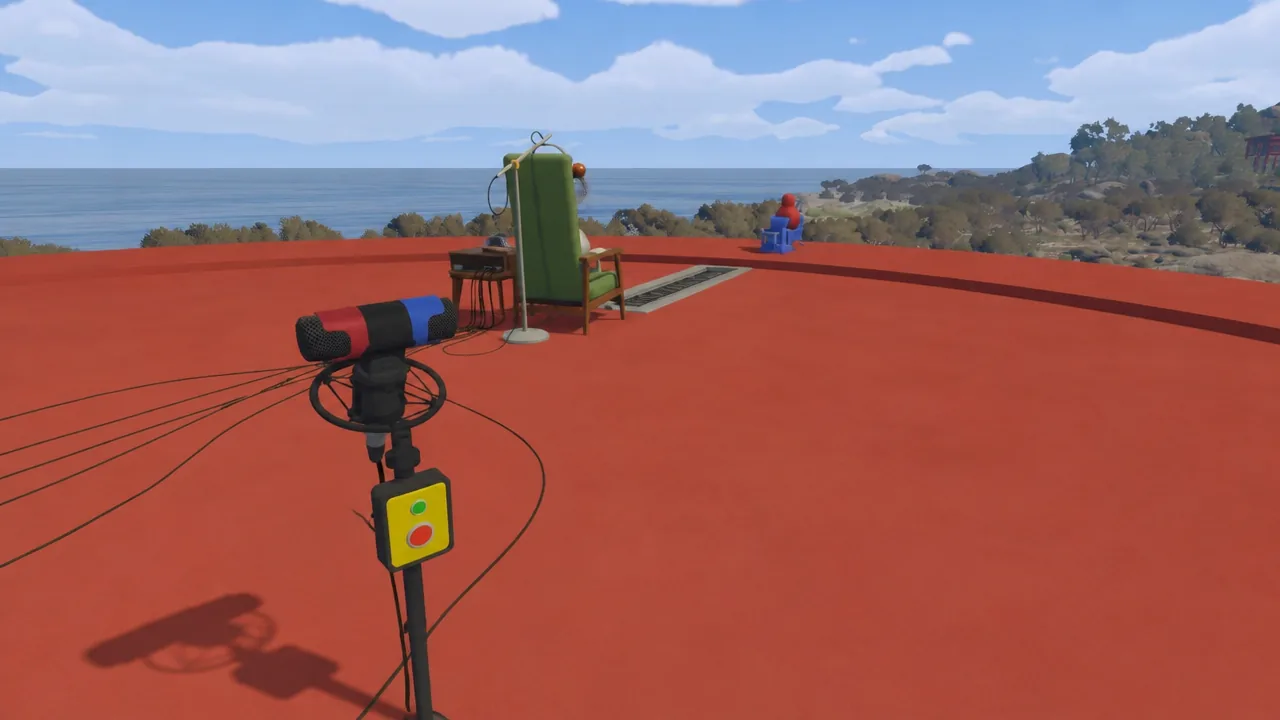
This puzzle lives inside a large beige and red archway. One player sits in the chair wearing the headphones, while the second player works the six microphones at the back of the stage. Sounds are muffled for the seated player unless they come through a mic that feeds their headphones.
Sound Booth puzzle
Head inside the beige and red striped building in the northwest corner of the area. At the back are several yellow speakers, each playing a different sound. On the opposite side there are five booths, each with a spot to hang a single speaker.
Near the entrance is a lockable room with its own five booths, each playing a sound that matches one of the speakers outside. The player inside that room listens to each booth’s sound, then uses the intercom on the glass panel to describe it. The player outside finds the matching speaker and hangs it in the correct booth. Once all speakers are placed to match the locked room’s booths, the gourd is released.
Blue Concert Stage Buttons puzzle
This is a straightforward two-player relay at a dark blue and black stage. One player stands at the console of buttons near the seating area, while the other goes up to the DJ booth and watches a row of lights come on in sequence.
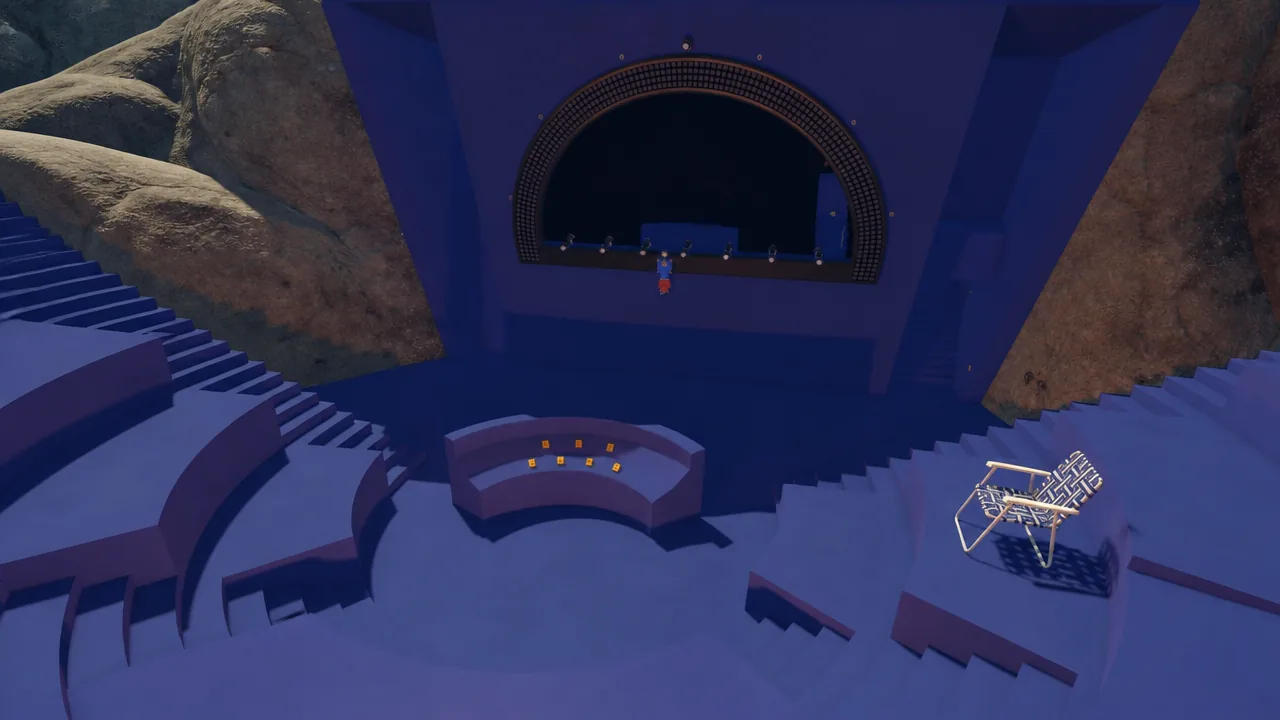
Number the lights from left to right and call out which one lights up by tapping on the glass in front of you. The player at the console presses the matching button for each light. Keep in mind these are stage directions, so the layout is mirrored. It helps for the light-reader to invert the number before calling it out (light one becomes three, two stays two, three becomes one, four becomes seven, five becomes six, six becomes five, seven becomes four). When every correct button is pressed, the green LED lights up and the gourd is released.
Aerial Chair Symbol Delivery puzzle
South of the Yellow Tunnel you will find a crescent moon-shaped chair on an aerial track. On the far platform a display board shows five symbols in a fixed sequence that never changes. The starting platform holds the puzzle pieces you need to deliver.
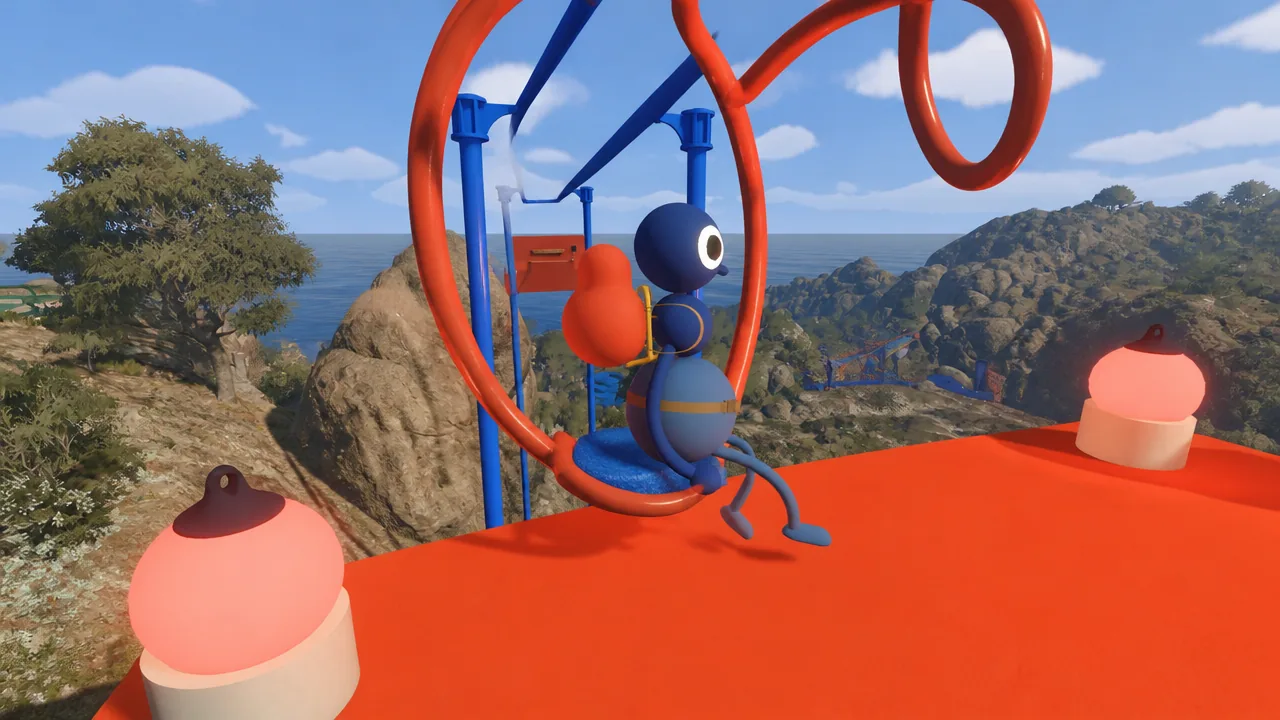
The intended method is for one player to ride to the terminal side and confirm each symbol as the other holds it up, using Q and E on keyboard or LB/L1 and RB/R1 on a controller to cycle boards. The terminal player nods yes or no, then the pieces are ferried over by chair and slotted into the board.
There is a faster route if both players wear backpacks. Because the sequence is static, both players can go to the display side, read the five symbols, ride back, and carry pieces directly. A backpack lets each player carry two pieces, so you can shuttle them over without the slow back-and-forth confirmation. Place the pieces on the board next to the black screen, then press the red button beneath the screen to complete it.
Cut the key and open the Big Tunnel
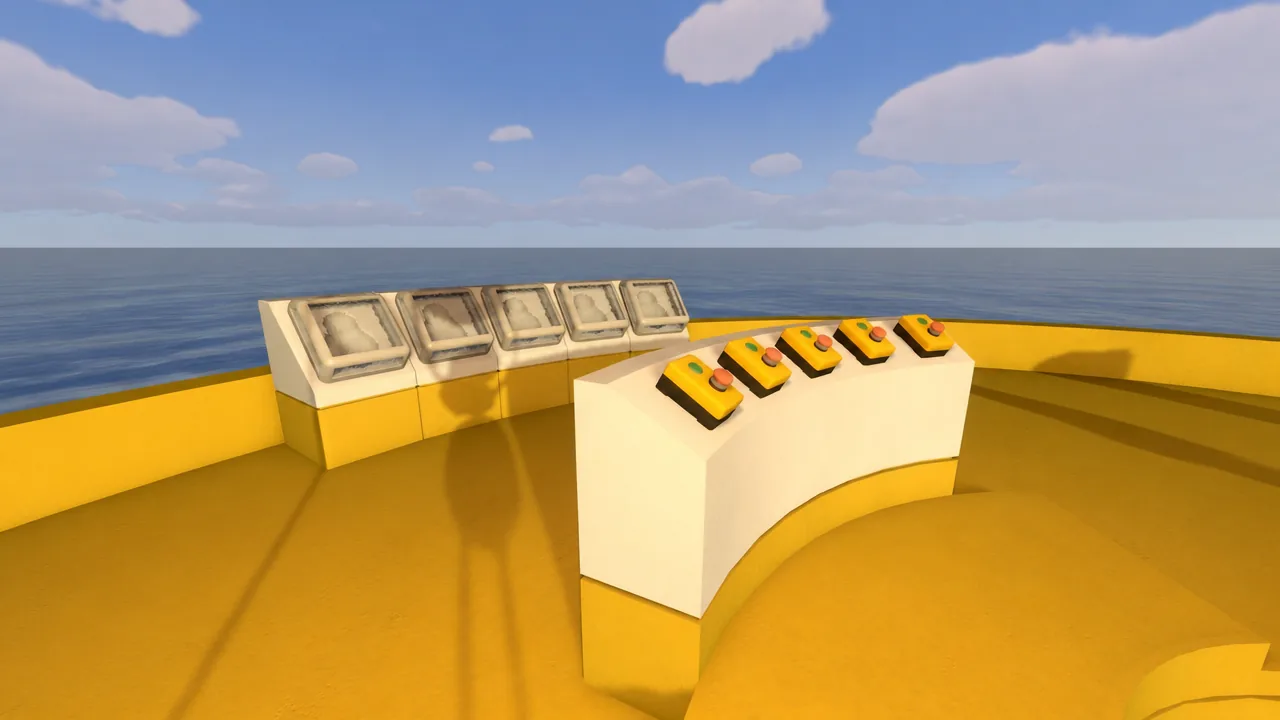
With all five gourds in hand, bring them to the Yellow Tower and slot them into the cabinets at the top. This releases the key. As with the other towers, you now have to shape it at a series of key cutters before it works.
The moment you step inside the tunnel, the Big Tunnel achievement unlocks. That is your confirmation the process worked. From here the tunnel network connects to every main tower on the map and to some hidden areas, including the secret customization room tied to the Big Makeover achievement.
Tip: The tunnels have no ride system like the train or chairlift, so you walk through them on foot, and they are very dark. Carry a flashlight before heading in, and you will be able to travel quickly between towers underground.





