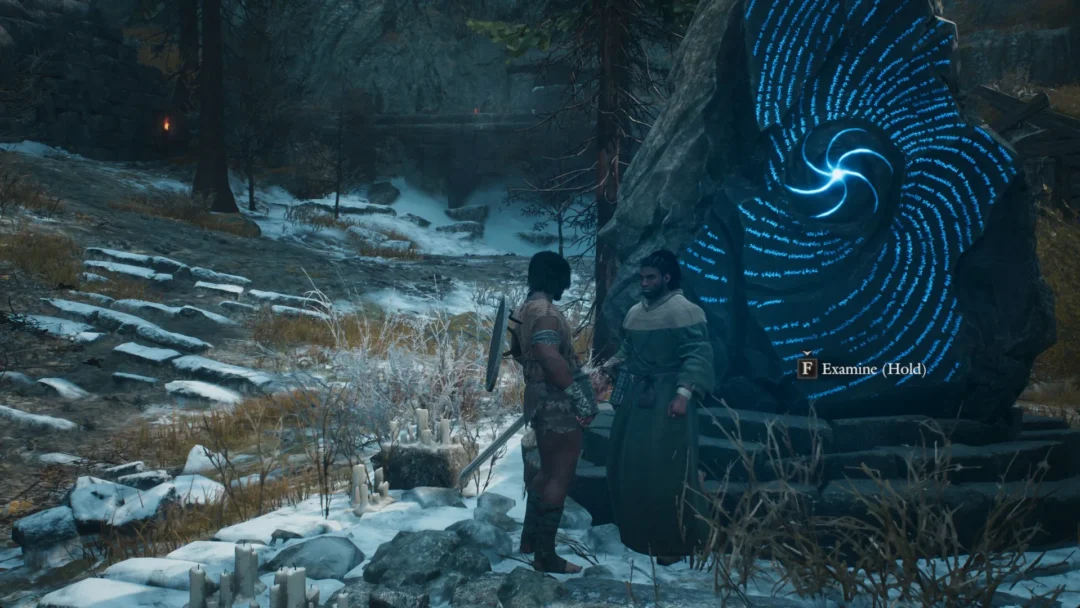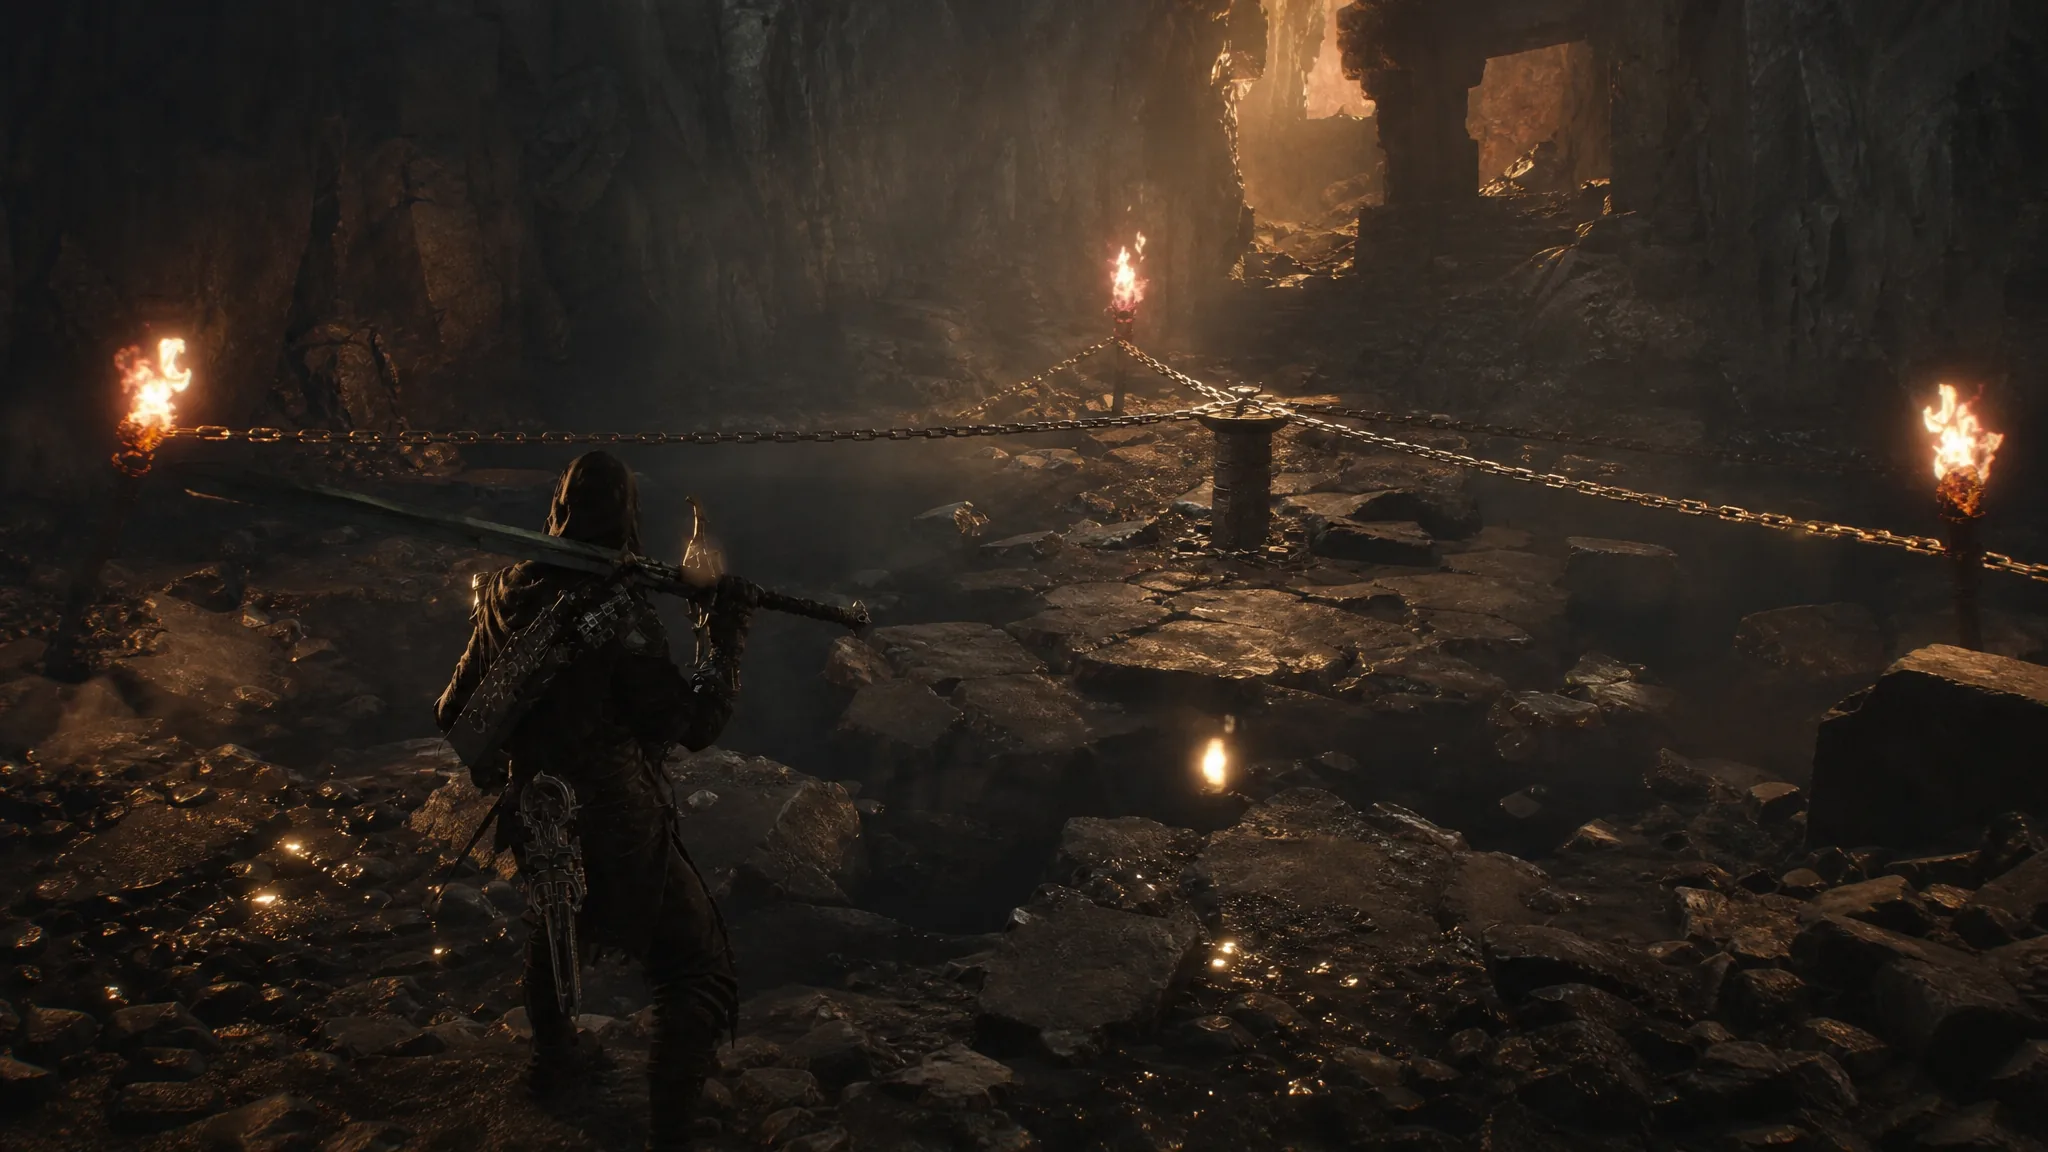
Smack enough walls in Marrow Keep and you will eventually break one open near the coffins in Sester Genessa’s training area. Behind it sits a chalice held down by four chains. Cutting the chains is trivial. Touching the chalice afterward is not: the game shoves you backward and chips your health instead of giving you the “Commune With Chaos” prompt. That rejection is intentional, and it has one specific cause.
Quick answer: Pick up the Slayer Seal from the throne past the Beacon room, then return and touch the chalice. The Seal only needs to be in your inventory, not equipped, and the chalice will teleport you into the Desolate Keep.
The Slayer Seal requirement, and the achievement warning
The Slayer Seal is the game’s difficulty-lowering item. It makes fights noticeably more forgiving, and while it is in use your achievements and trophies are locked out. That is worth knowing before you go and grab it, because the chalice will not budge without it.
The important detail is that carrying the Seal is enough to satisfy the chalice. You never have to equip it. From the hidden room, walk back out and up the ramp toward the main Beacon room, cross to the far side, and follow it to the end. A small throne sits there with the Slayer Seal resting on it.
How to open the hidden room and trigger Commune With Chaos
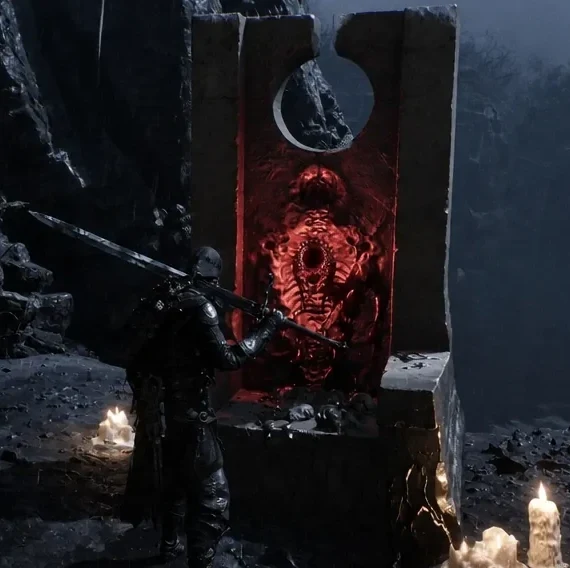
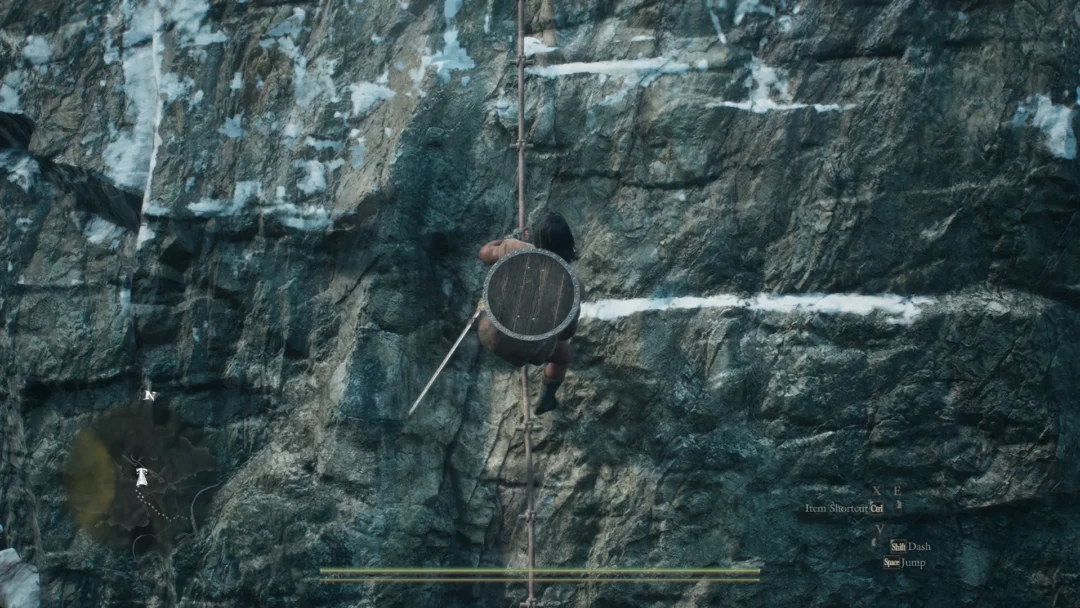
Note: players poking around Marrow Keep during the beta ran into this same room and could never do anything with it, since the payoff was gated behind content the test build did not include.
How to confirm it worked
Success is unmistakable. The screen transitions and the Desolate Keep location title appears as you land inside a dim, flooded stone hall. If you are still standing in Marrow Keep taking chip damage, one of two things is wrong: a chain is still intact, or the Slayer Seal is not actually in your inventory.
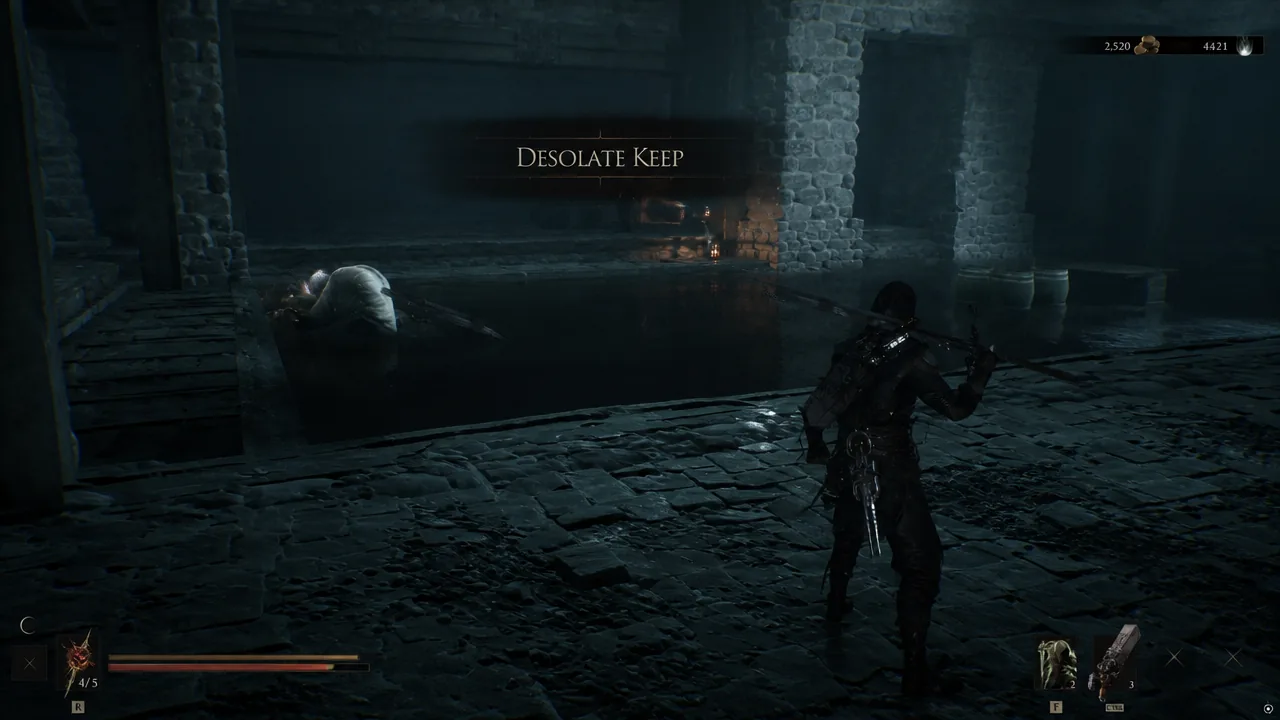
Desolate Keep route and what it holds
This is one of the larger dungeons in the game and it is tuned for a character somewhere around level 20 to 25. Reaching it early is entirely possible, but the enemies inside will punish an underleveled Shell. The chalice stays usable, so backing out and returning later costs you nothing.
| Reward | Where it is |
|---|---|
| Gold chest | Up the stairs, left from the dungeon entrance |
| Assorted loot | Metal coffins in the side room past the raised ramp |
| Tooth of Nochte | Chest at the end of the left-hand path |
| Blackmarrow Key | Chest in the hidden room at the end of the right-hand path |
What the Blackmarrow Key unlocks back in Marrow Keep
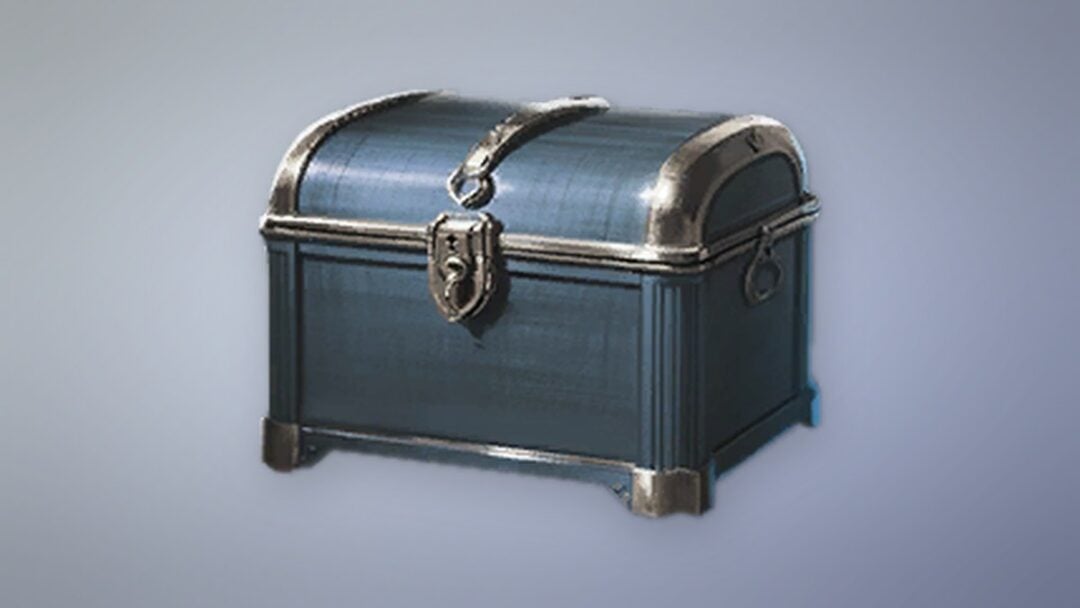
Carry the key back up and head to the elevator room in Marrow Keep. Eight chests sit there, one per Shell, and each holds a Shade — a cosmetic skin for that specific Shell. A chest only opens if you have already unlocked its Shell, and the key is consumed when you use it, so one trip through the Desolate Keep buys you exactly one Shade. Once unlocked, swap to it through the “Change Shade” option while resting at a Beacon.
There is one more reason to finish the run rather than dip in and leave. After you come back out with the key, Genessa has new dialogue admitting she knows of other hidden places, which sets up a later thread of her own. The Desolate Keep itself stays open permanently, so anything you skipped on a rough first attempt is still sitting there when you come back stronger.