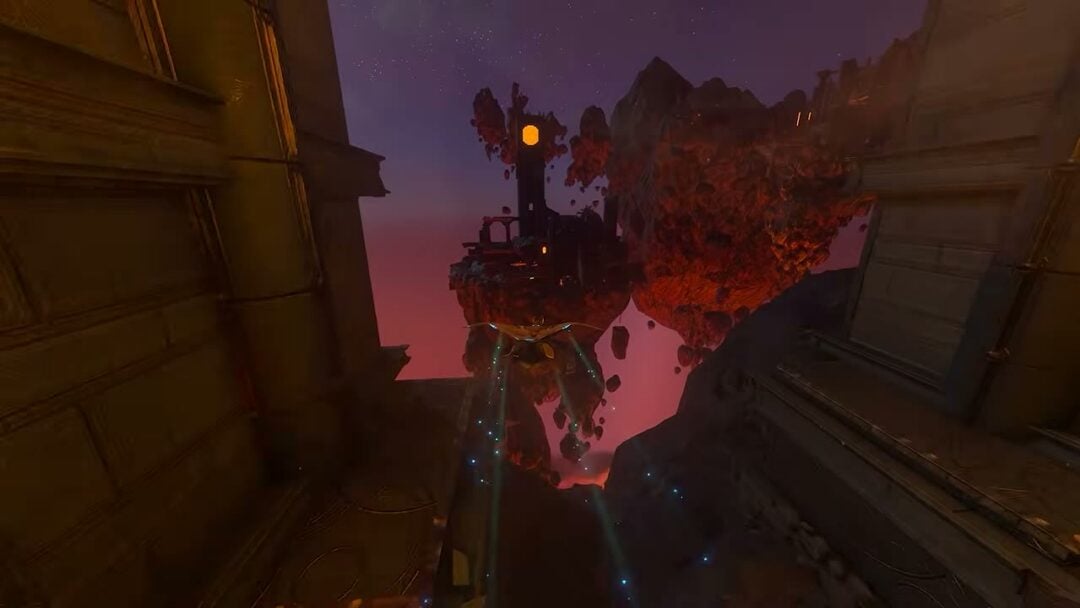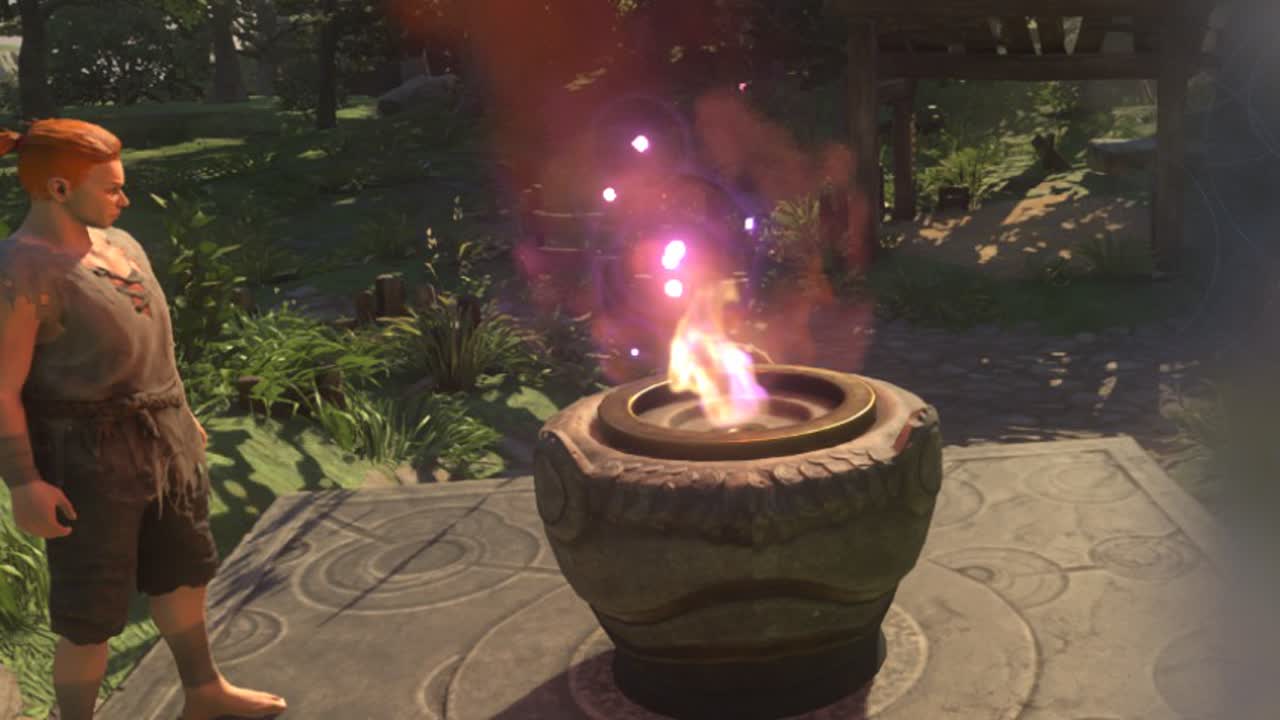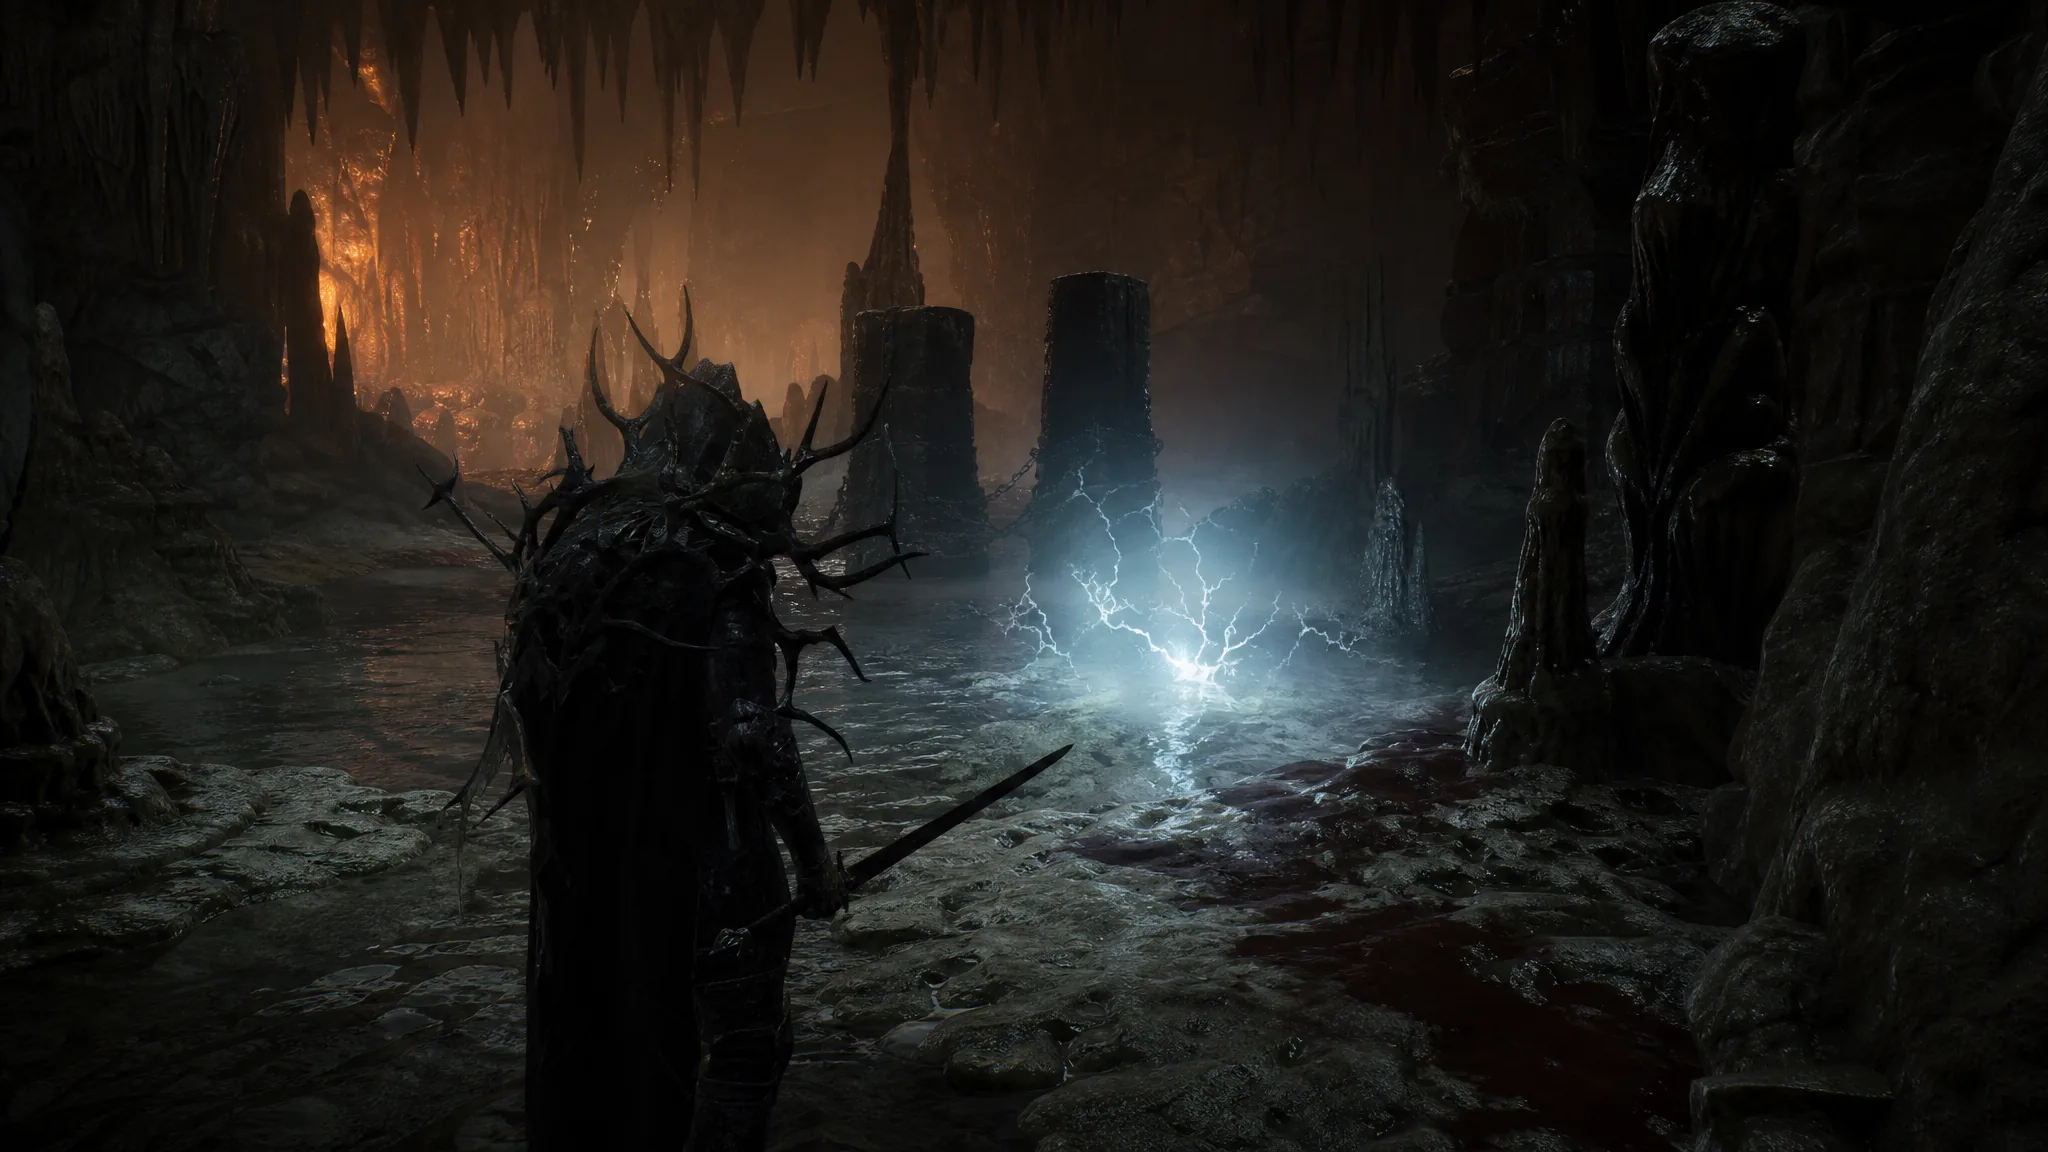
Pulsing Caves is the first beacon you meet inside the Sanguine Caverns Corrupted Gate, one of the major dungeons in the Fainweald region of Mortal Shell 2. It sits at the end of a run of wooden bridges and a red-stained cliffside path, and revitalizing it gives you a fast-travel point, a rest spot, and the Ova this dungeon holds.
Quick answer: Cleanse the Stonebled Gate beacon to open the Sanguine Caverns Corrupted Gate, then head inside and follow the bridges, drop past the ranged and crawling enemies, and cross the grey sandy area to reach the dark, organic structure. Interact with it to trigger “REVITALIZE BEACON” and the on-screen prompt “BEACON FOUND PULSING CAVES.”
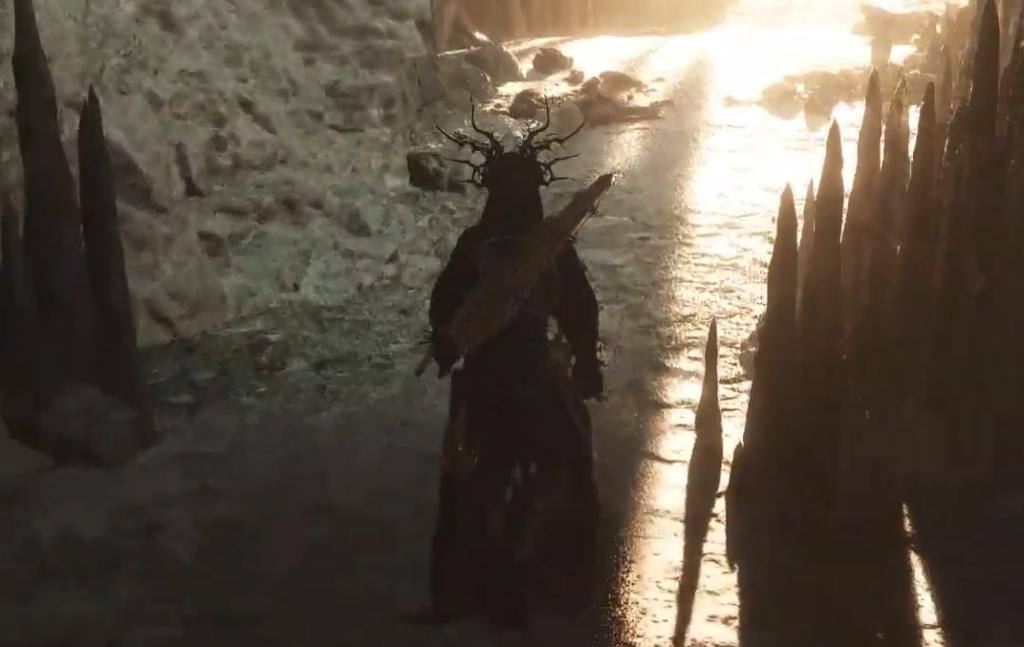
Unlock Sanguine Caverns through the Stonebled Gate beacon
You cannot walk straight into Sanguine Caverns. The gate is sealed until you cleanse the Stonebled Gate beacon, so that is your first stop.
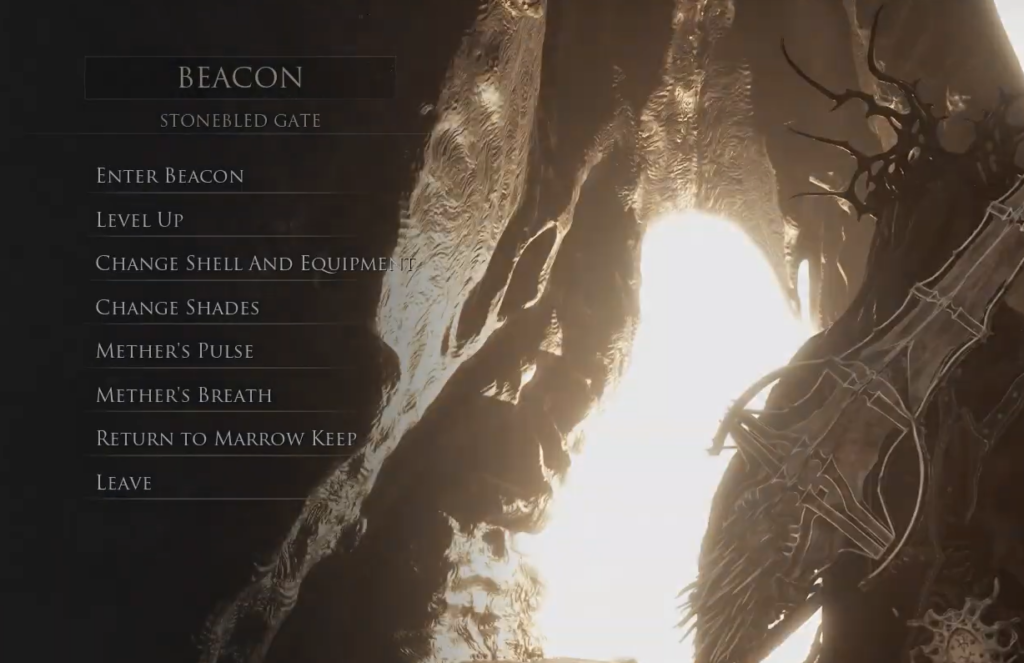
Removing overworld tendrils and vines requires that you have already siphoned enough Ova after the prologue to unlock Mether’s Breath, the game’s fast-travel and cleansing ability.
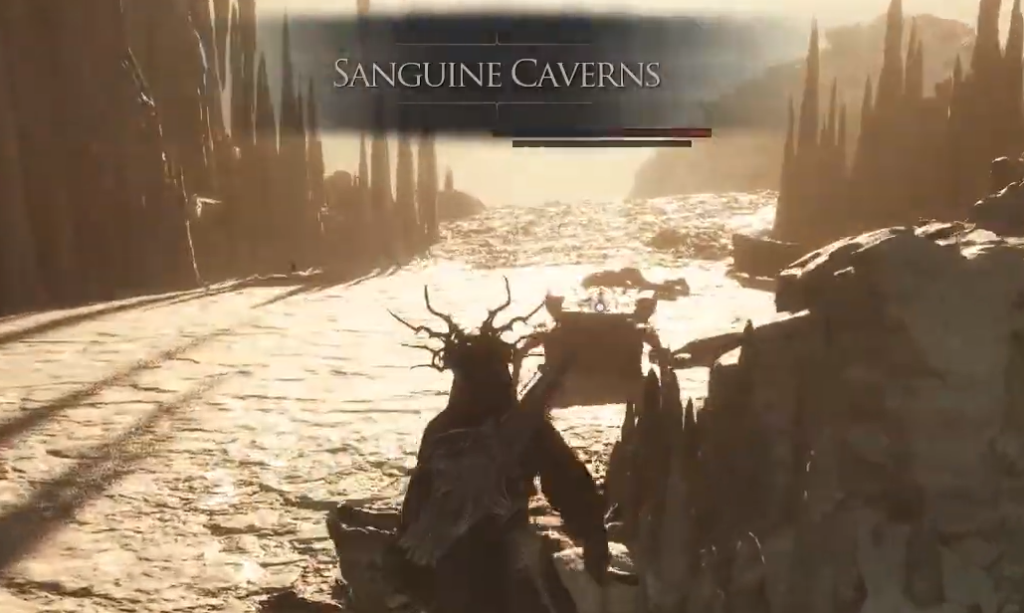
Reach the Pulsing Caves beacon inside Sanguine Caverns
Once you are inside the dungeon, the path to Pulsing Caves is fairly linear, but there are a few ambushes and gaps to watch for along the way.
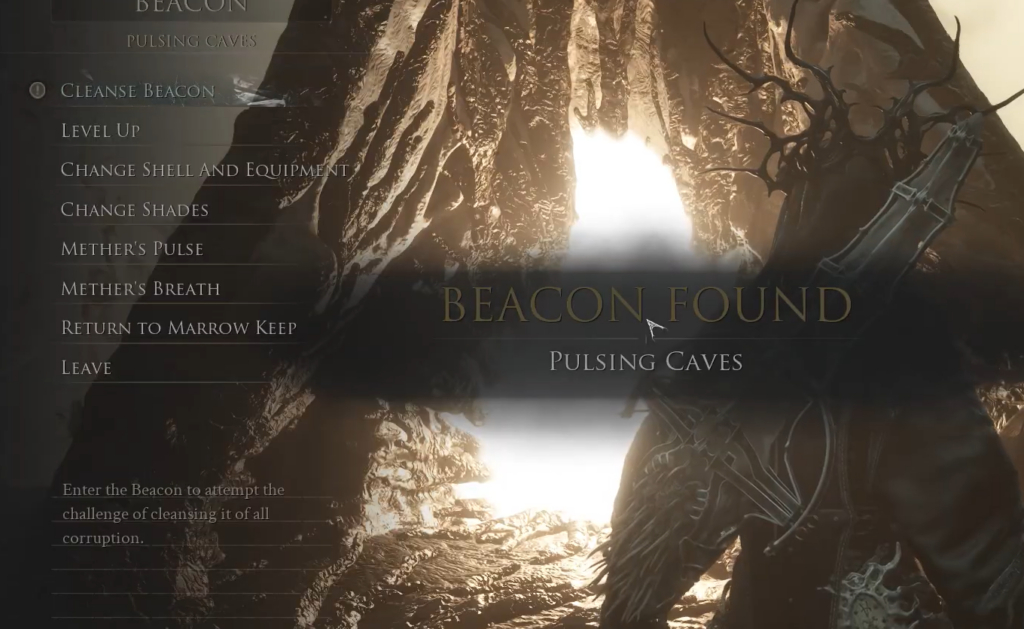
What the Pulsing Caves beacon does
Resting at the beacon revives your equipped shell, restores Health and Resolve, updates your respawn point, and respawns nearby enemies (bosses stay dead). Cleansing it goes further, clearing obstructions on nearby loot and revealing the Ovum you need for Marrow Keep progression.
| Action | Effect |
|---|---|
| Rest | Revive shell, restore Health and Resolve, respawn enemies, set respawn point |
| Cleanse | Reveal Ova, clear blocked loot, unlock extra beacon menu options |
| Level Up | Spend Gloom to raise the Harbinger’s stats |
| Return to Marrow Keep | Fast travel back to the main hub |
You know it worked when the darkened overgrowth on the beacon disappears and the extra menu options become available. Pulsing Caves is one of three beacons in Sanguine Caverns, alongside Sanguine Shoreline and Child’s Feeding Grounds, and the final beacon in the dungeon only appears after you defeat the resident boss.
The Sanguine Caverns boss and dungeon reward
The boss guarding Sanguine Caverns is The Lost Child. It regurgitates half-eaten carcasses at your position with a Belching Breath attack, and its most dangerous move, Digest & Excrete, is a hard-to-read grab that swallows you whole if you stand too close. Keep your distance from the grab and punish the openings after its ranged spew.
Beating it summons the Tiel shell as a possible spirit ally and hands over the Lost Clotstone, which works with the Obsidian Hammer and Veteran’s Battle Axe. Its ability consumes 60 Resolve to spin in place and release your weapon with force. After you cleanse the dungeon’s final beacon, head to the innermost chamber to grab the Blackmarrow Key, which opens sarcophagi back in Marrow Keep for new shell color schemes.
Grab Mether’s Flesh near the Pulsing Caves beacon
Pulsing Caves is also the starting point for finding Mether’s Flesh, the hidden key that opens Mango Sanctuary. From the beacon, look for the large crater surrounded by Lithopods and drop straight into it.
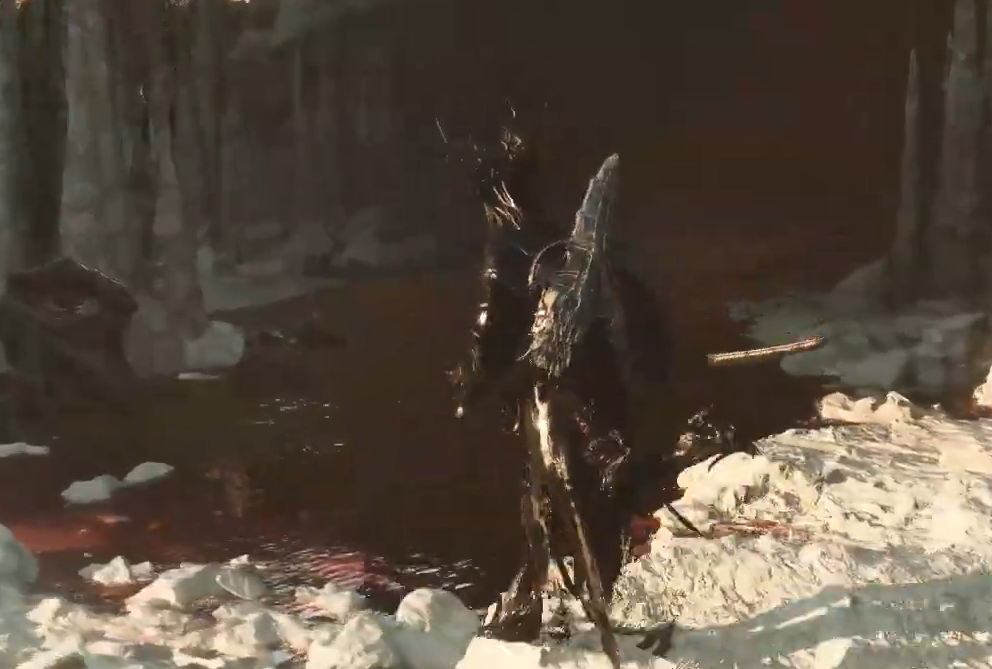
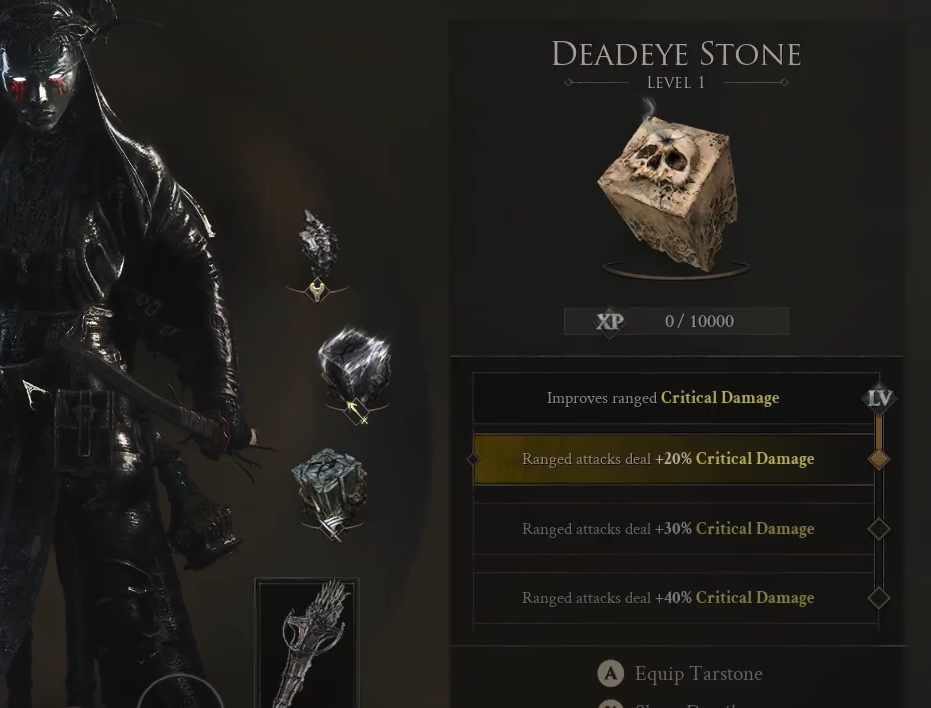
While you are exploring this dungeon, the Deadeye Stone Tarstone is also worth collecting. From the Sanguine Caverns entrance, follow the path and drop down to the first camp area on the left, where it sits inside a chest.
With the Pulsing Caves beacon revitalized and cleansed, you have a safe rest point deep inside Sanguine Caverns, the dungeon’s Ova banked toward your Marrow Keep progress, and a clear route to both the Sanguine Caverns boss and the secret Mango Sanctuary reward.