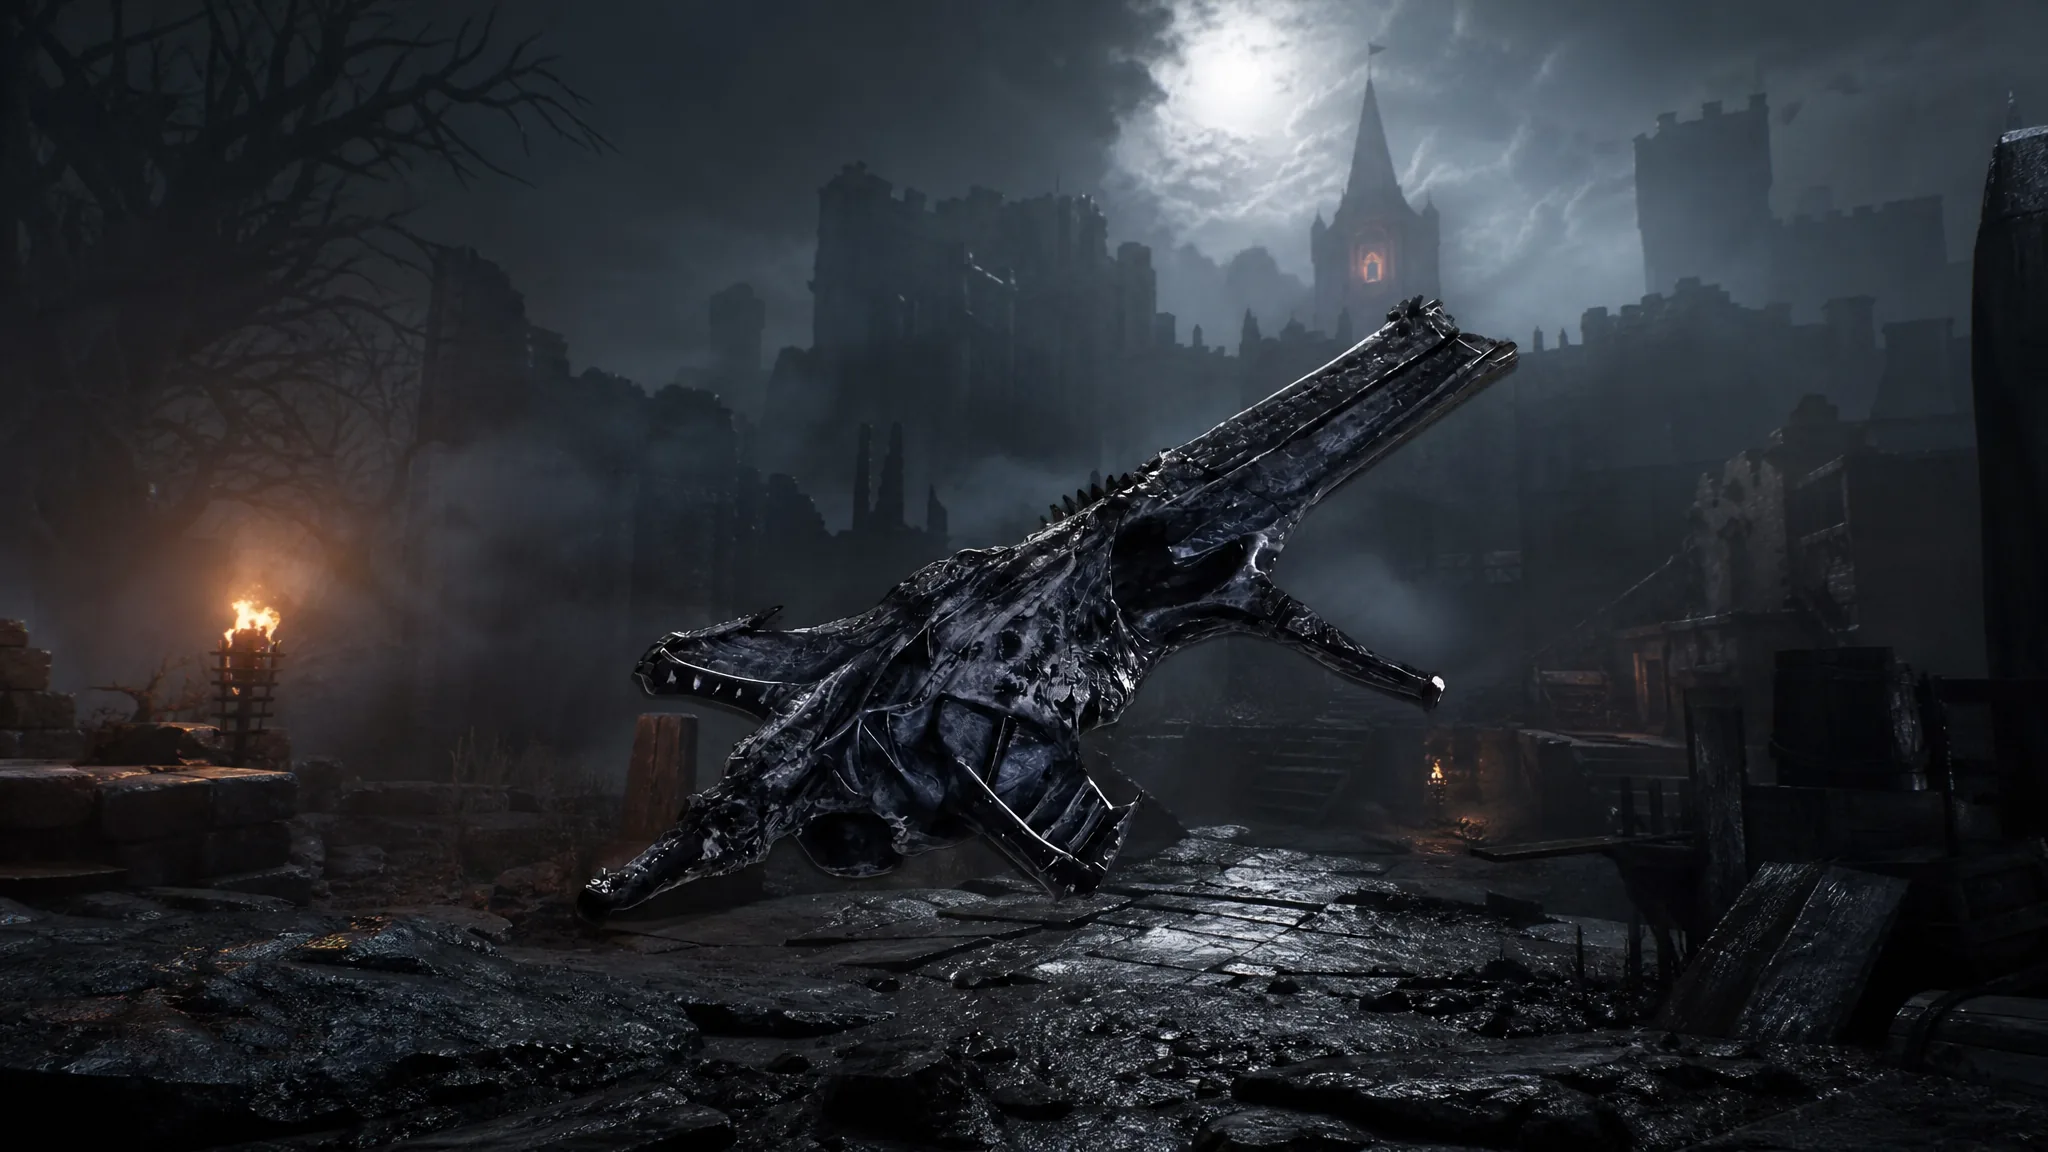
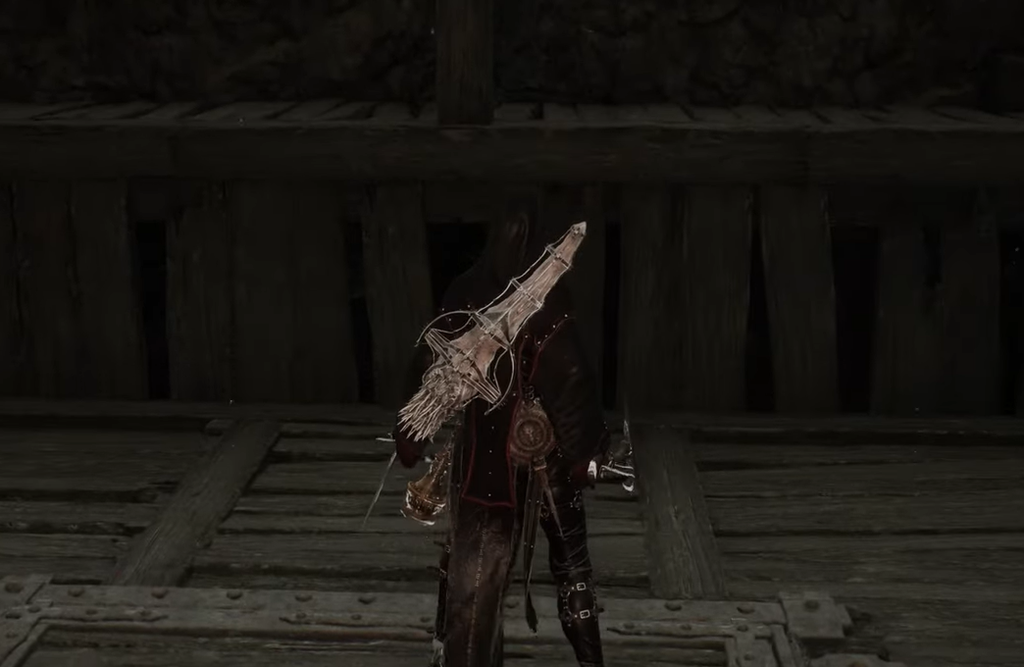
The Triarch Repeater is a fully automatic sidearm in Mortal Shell 2 that behaves like a minigun, spraying projectiles fast enough to shred packs of weaker enemies. It sits on the ground inside the Blackwell Cavern dungeon in the Mammon region, waiting to be looted with no boss fight required. The catch is location. Blackwell Cavern is tucked below the Castigator’s Keep beacon, and the enemies around this part of the map hit harder than anything up north.
Quick answer: Fast travel to the Castigator’s Keep beacon, ride or drop off the elevator at the battlement, then follow the cliffside path down two levels to a cave under a large tree. Move through Blackwell Cavern’s dark tunnels and grab the Triarch Repeater from the ground near a broken wagon.
What you need before heading to Blackwell Cavern
Reaching the dungeon requires the ability to cleanse corruption, which unlocks after you collect and siphon enough Ova. Corruption blocks the paths leading into this southern stretch of the map, so without it you cannot get near the cave.
The second requirement is practical rather than a hard gate. Enemies in the Mammon area are far stronger than the ones in the earlier regions, so level up before you attempt the run. You can sprint past most foes on the way to the dungeon, but a low-level character will struggle if anything catches you.
Route from Castigator’s Keep to Blackwell Cavern
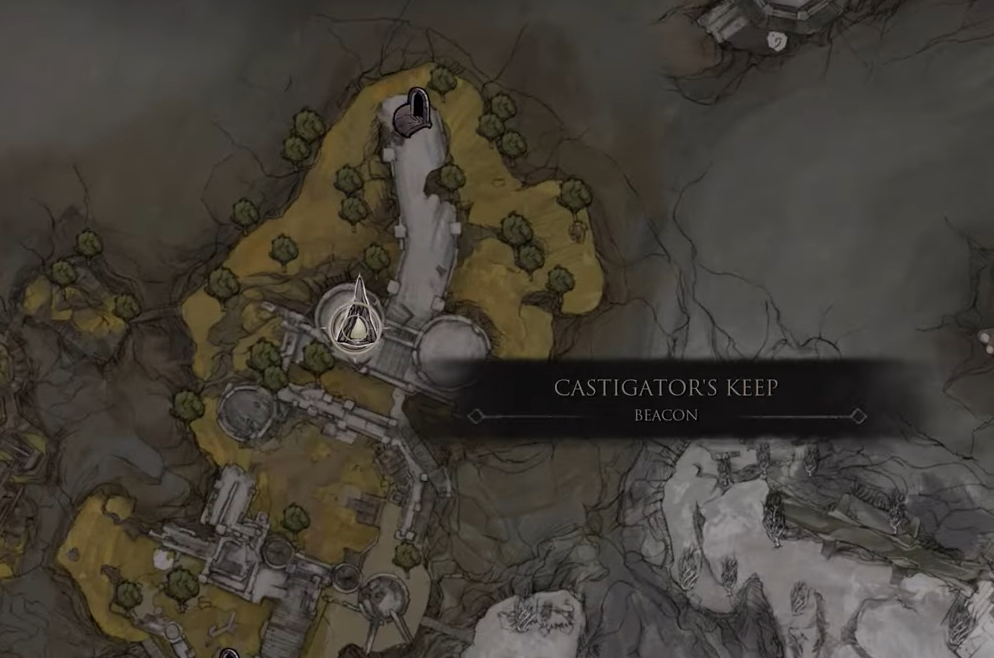
Getting through the cavern to the weapon
Blackwell Cavern is almost pitch black, and wraiths inside drain your vision as you approach them, washing the screen toward black and white. Visibility drops to a few feet, so the safest approach is to lock onto enemies to track their positions and pick them off one at a time. The ghosts are not especially tough.
The layout is a single main path that runs straight to the reward, with a side route that loops back to the entrance. Keep pushing forward, killing or slipping past the wraiths, until you spot light from above and the last enemy in the tunnel. The Triarch Repeater is on the ground near a broken wagon.
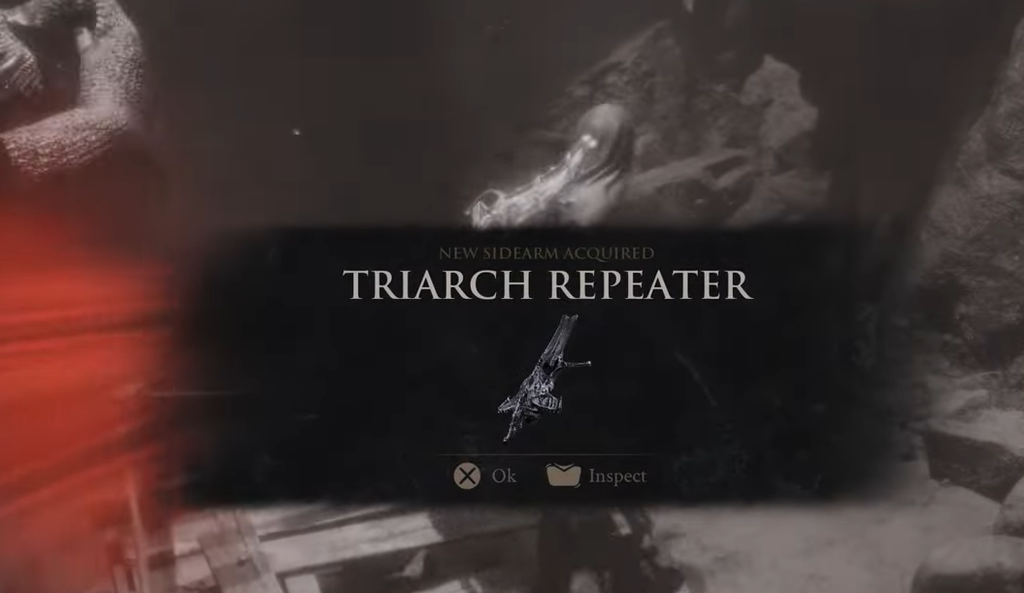
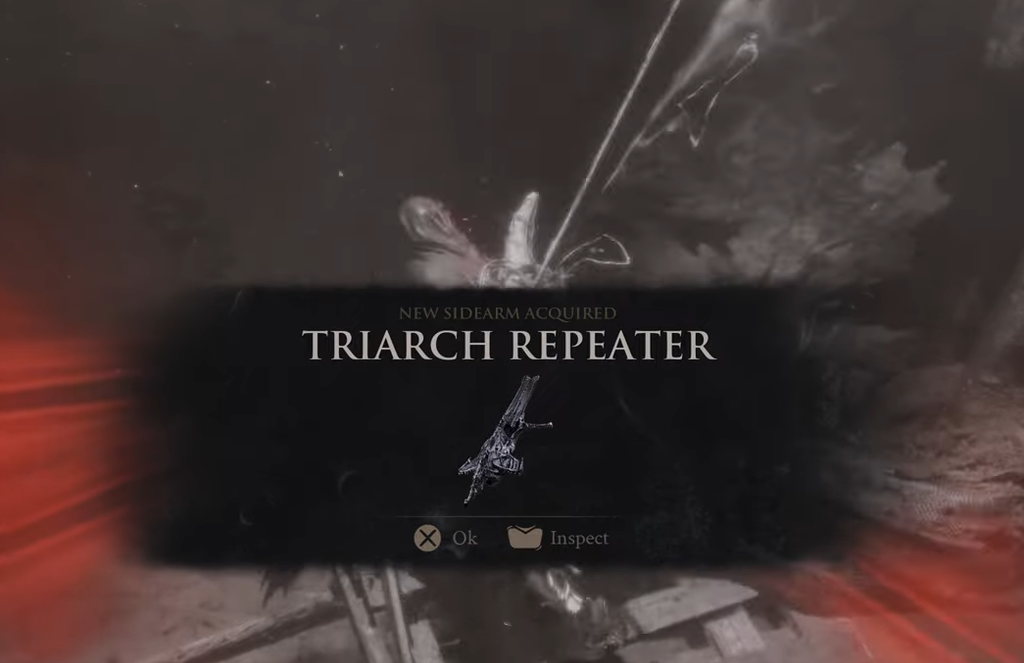
Hold the loot prompt to pick it up. A banner reading New Sidearm Acquired: Triarch Repeater confirms it is yours. Once you have it, you can clear the rest of the dungeon or quit to the main menu to skip the run back past the remaining ghosts.
How the Triarch Repeater works
This is a fully automatic projectile sidearm, and it uses Resolve as ammo. You need enough Resolve to hold at least 50 ammo before the weapon will fire, and it can store up to 100. Filling it takes no longer than charging the game’s other sidearms, so the higher threshold is mostly a startup cost rather than a lasting drawback.
Two issues are worth knowing about. The lock-on can drift, causing your character to aim slightly past a target’s hitbox, and some projectiles fail to register against certain enemies, most notably the large leech-like creatures found in swamp areas.
Best Tarstones for the Triarch Repeater
Because the repeater fires so quickly, effects that trigger on hits or critical strikes stack up fast. The pairings below play to that strength, and any combination of them turns it into a strong option, especially alongside the Slayer Seal.
| Tarstone | Effect on the repeater |
|---|---|
| Siegebreaker’s Stone | Repeatedly staggers targets through boosted ranged stagger damage |
| Marksman’s Stone | Adds critical hit chance to ranged attacks, raising sustained DPS |
| Rupturing Stone | Critical projectile hits deal Break damage |
| Enfeebling Stone | Projectiles inflict Fragile, increasing damage from your primary weapon |
| Voltaic Amber | Infuses shots with Lightning, enabling back-to-back Shockwaves |
With the route cleared, the corruption barrier removed, and a couple of these Tarstones slotted in, the Triarch Repeater becomes one of the more reliable crowd-control tools in Mammon, right up until you meet enemies its projectiles refuse to hit.