
Mortal Shell 2 opens up almost immediately after its prologue, dropping you into a large world with very little direction. That freedom is the point. Before you ever face a major boss, you can walk straight to some of the strongest early gear and abilities in the game and build a lead that carries you through the opening region of Fallgrim.
Quick answer: Claim Tiel as your first Shell through the Shell Keeper in Marrow Keep, grab the Veteran’s Battle Axe from Martyr’s Prison, pick up the Forgotten Crossbow in the Flooded Ruins, then farm the four Grisha Hunters near the Gloomshade Grove Beacon for roughly 274 Gloom each.
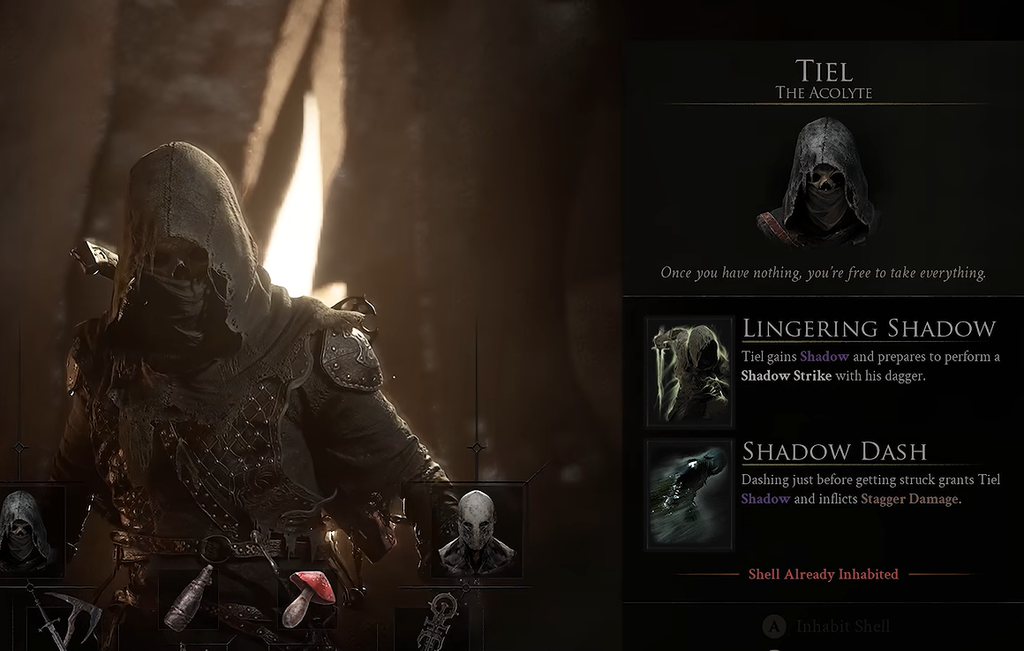
Take Tiel as your first Shell
Speak with the Shell Keeper in Marrow Keep and the map reveals the locations of both Tiel and Proxima. Proxima is a solid pick, but Tiel is the stronger start if you want to shred enemy health bars quickly while keeping yourself safe.
Tiel’s kit rewards the standard Soulslike rhythm and layers stealth and damage-over-time on top of it. His Shadow status turns him invisible, which lets you reposition mid-fight or close on ranged enemies without getting swarmed. If you invest Glimpses into him, every one of these effects gets stronger.
- Perfectly dodging an attack inflicts Stagger, which can cancel an enemy combo and open them up for a counter (this is separate from Break damage and Ripostes).
- He applies Poison, and later gains the ability to detonate Poison stacks to deal all remaining damage instantly.
- He can inflict Fragile, which increases the melee damage enemies take.
Get the Veteran’s Battle Axe from Martyr’s Prison
The Axe & Dagger is technically your first new weapon, and you can grab it if you want. The better early pickup is the Veteran’s Battle Axe, found in the Martyr’s Prison dungeon. It swings slower than the Axe & Dagger, but it has longer reach, hits harder per swing, and pairs naturally with Tiel’s invisibility since you can safely charge attacks without being interrupted. Charged attacks require the Acolyte/Unwieldy Stone to use.
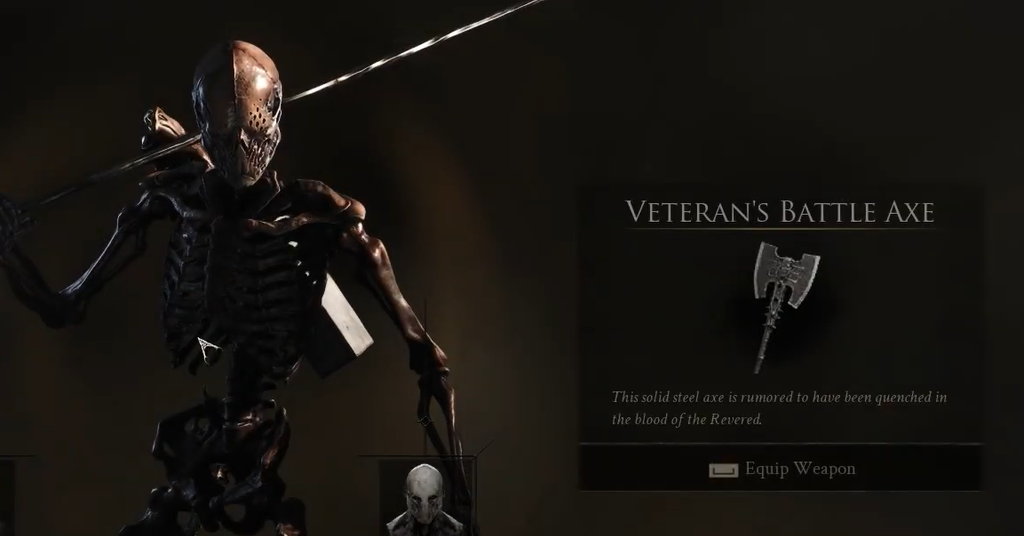
The axe excels at staggering enemies, and its heavy attacks launch smaller targets backward. It also has an infinite swing combo: open with a Light attack, then loop Heavy, Light, Light.
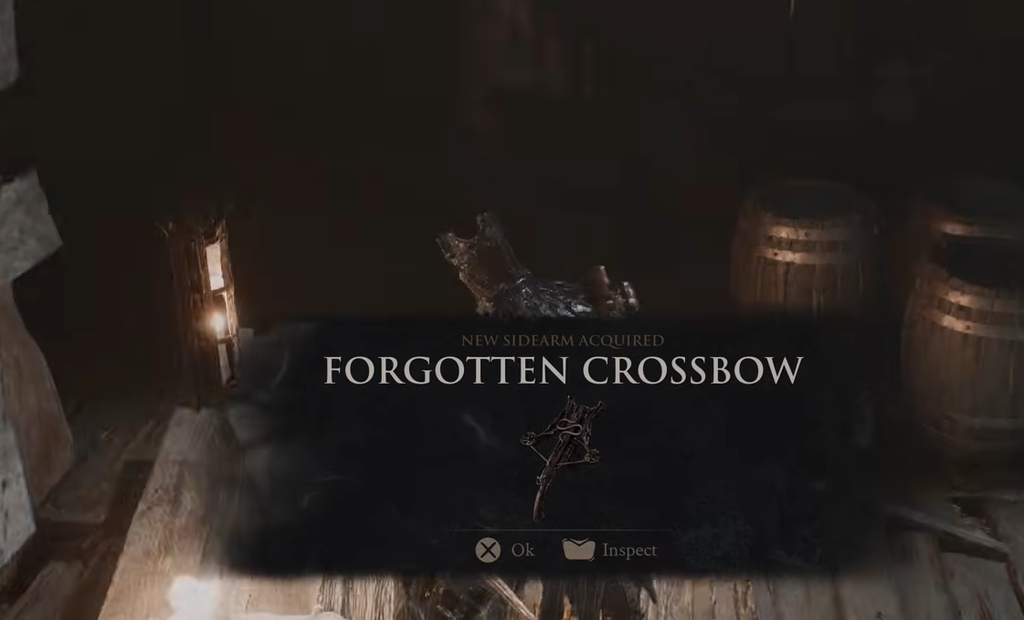
Pick up the Forgotten Crossbow for reliable range
The Naylshotte hits hard up close, but its slow draw, short range, and small ammo pool make it awkward in open fights. The Forgotten Crossbow is the better all-rounder for early play, and you’ll find it inside the Flooded Ruins dungeon.
Its shots deal less damage than a point-blank Naylshotte blast, but they land far more consistently at distance. That makes it the answer to archers and other ranged threats, and its quicker draw time keeps it useful when a fight gets chaotic.
Best early Tarstones to equip
Tarstones come in several flavors, and most of them push your combat output in one direction or another. These five give you the biggest early spike in power.
| Tarstone | Location | Effect |
|---|---|---|
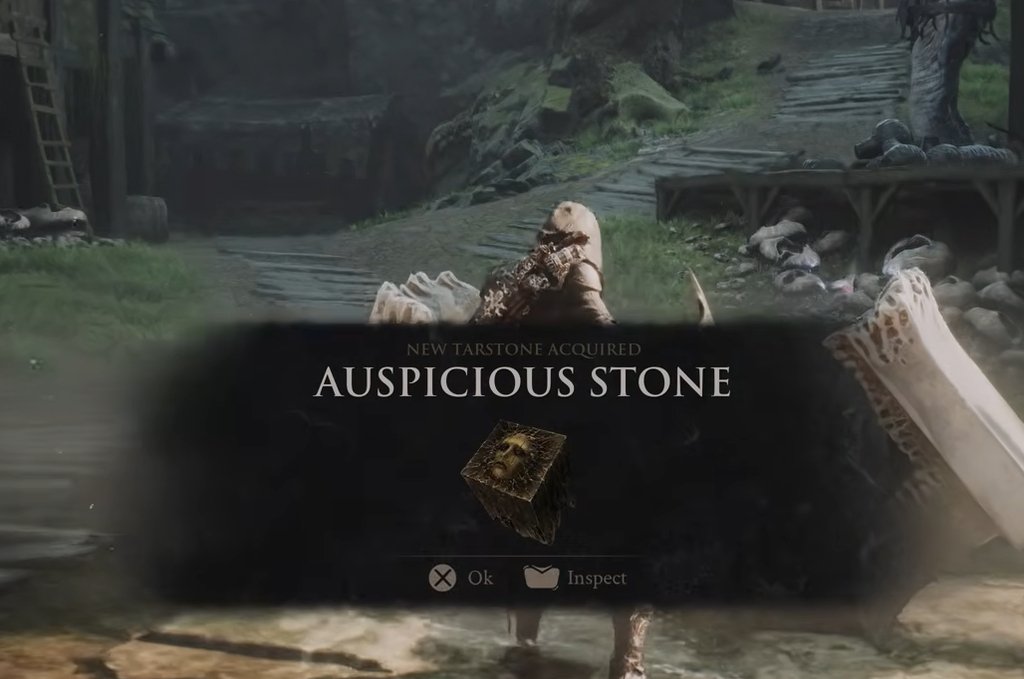
| Auspicious Stone | Mushroom Village Offering Chest | Increases melee crit chance by 10/15/18% |
| Grudge Stone | Chest in Citadel of Penance | Your 10th/7th/5th melee hit is a guaranteed crit |
| Retribution Stone | Trial near Widow’s Overlook | Increases Riposte damage by 10/15/20% |
| Emberseed Stone | Mushroom Village Beacon Dungeon | Infuses your ranged weapon with Burn |
| Unwieldy Stone | Merrick at Marrow Keep | Enables charged heavy attacks; charged heavy kills grant Leech and restore health |
Equipped Tarstones earn XP with every kill. Once one hits its XP threshold, take it to the Tarforge to level it up. The first upgrade costs Coins, while the second upgrade for any Tarstone requires Tarcores, which you get by upgrading other Tarstones to level 2. The Duality Stone is worth chasing too, since it turns the Axe & Dagger and Axatana into serious DPS weapons.
Where to farm Gloom early
Gloom is your leveling currency, spent at Beacons to strengthen the Harbinger. The fastest way to build it up early is to clear the map methodically before you settle into a farm.
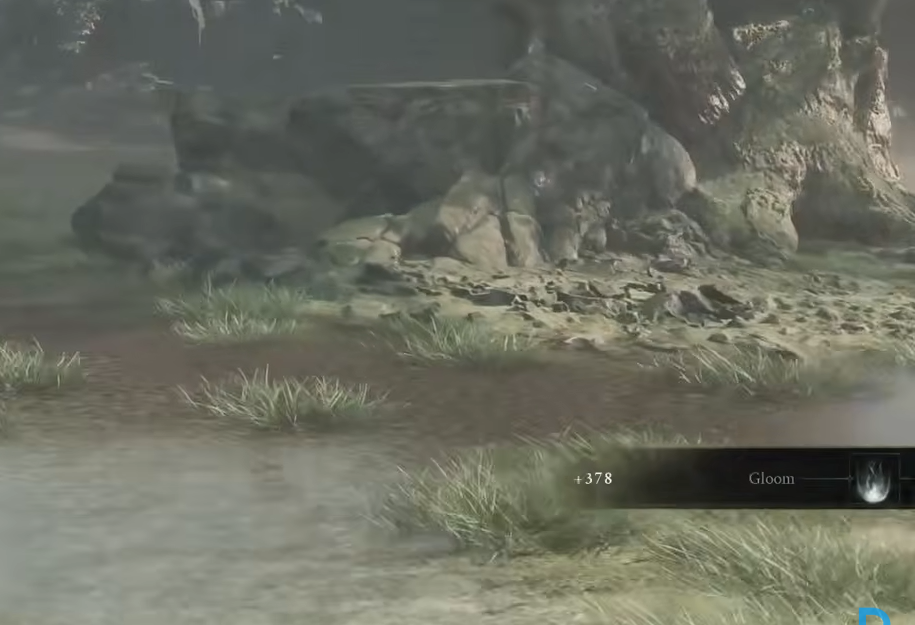
Gloom drops when you die and can be recovered from your death spot, but it’s lost for good if you die again before reaching it. Spend it before any risky boss attempt.
Fund upgrades with Gorf’s questline
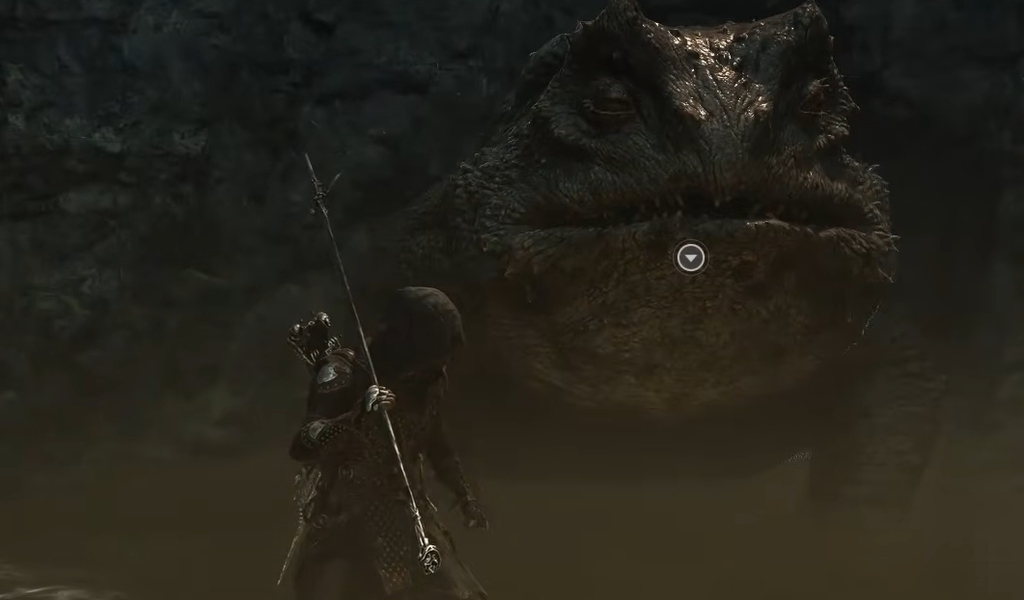
Gorf is the giant toad near the Widow’s Overlook Beacon, and helping him can net you up to 10,000 Coins for early upgrades. The questline moves quickly, but you’ll need at least two Weltcaps and two Common Moonshine bottles in your inventory to see it through.
Gorf’s quest is tied to Hilga’s, the witch in Mushroom Village. To collect every reward, finish Hilga’s story before you hand Gorf his second bottle of moonshine. Skip that order and you’ll miss one of Gorf’s rewards. Giving Gorf items also grants a Marsh Pearl, which sells to Merrick for 2,000 Coins. If you want a steadier income, Proxima’s Collector ability produces Extracted Specimens that Merrick will also buy.
Upgrade your gear at the Tarforge
The Tarforge in Marrow Keep is where you improve your gear, run by Franz. Weapon upgrades unlock during the prologue: as Harros, cleanse the Beacon in the Village Outskirts, open the chest inside to claim the Muradean Actuator, then hand it to Franz once you reach Marrow Keep. After that, early melee upgrades only cost Coins and a material called Ventrium, with rarer materials needed as a weapon nears its max level.
Melee weapons are all you can upgrade at first. Sidearm and Tarstone upgrades come later once you find the Obsidian Lathe and the Etching Needles. You’ll know an upgrade landed when the weapon’s stats update at the forge and Franz confirms the improvement.
Lock in Tiel, the Veteran’s Battle Axe, and the Forgotten Crossbow, then layer on the crit and charged-attack Tarstones as you clear the opening region. With Gorf’s Coins funding your Tarforge runs and the Grisha Hunters feeding your Gloom, you’ll walk into your first major boss far ahead of where the game expects you to be.