Mortal Shell 2 Map Fragments: Where to Find All 11
Exact routes to every Fainweald and Mammon statue that clears the fog and fills in the world map.
Exact routes to every Fainweald and Mammon statue that clears the fog and fills in the world map.
by AllThingsHow Staff · Edited by Pallav Pathak
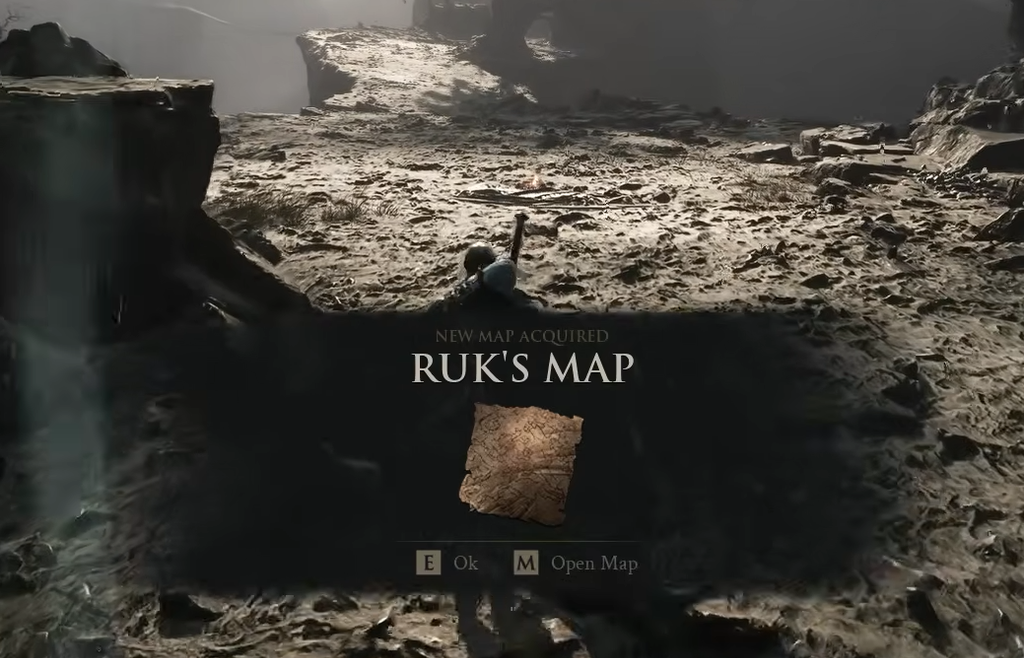
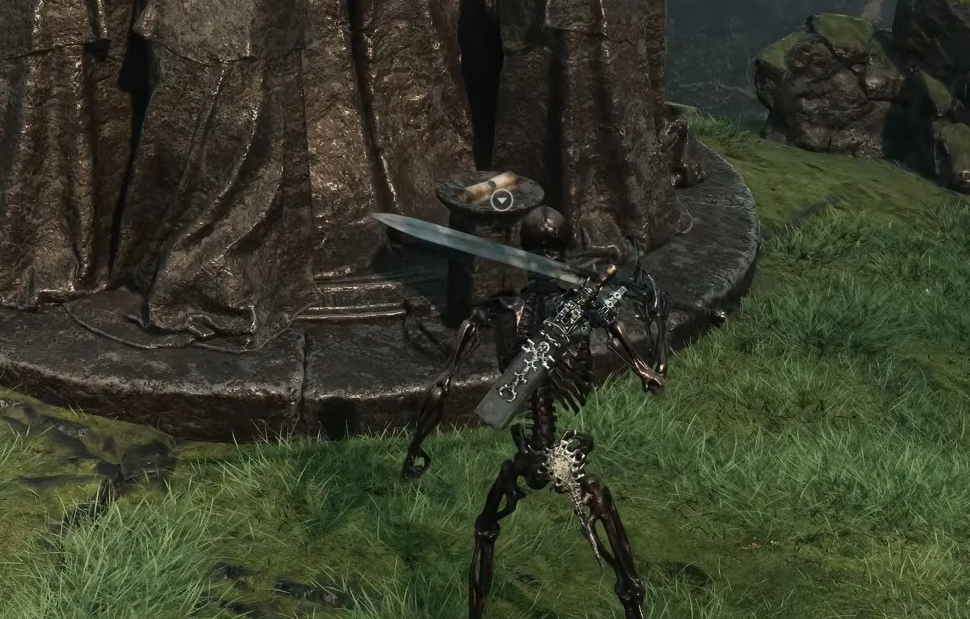
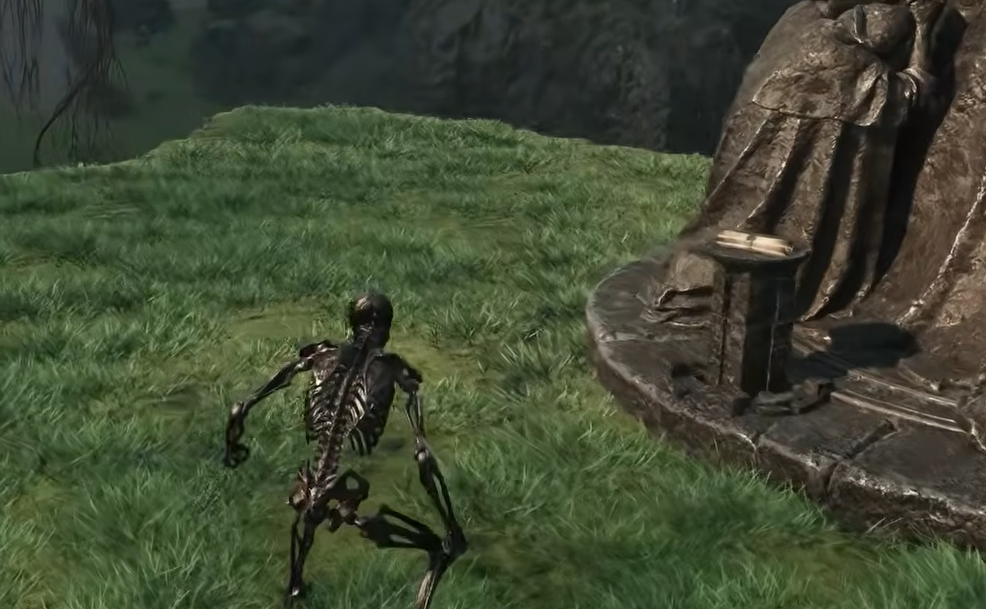
Eleven Map Fragments are scattered across Fallgrim, and collecting the full set reveals the complete world map. Five sit in Fainweald to the north, and six wait in Mammon to the south. Each one rests on a distinct statue where Ruk, your crow guide, likes to perch.
Quick answer: Reach the statue tied to each fragment and interact with it. Picking one up immediately strips the fog of war from that part of the map, so you will see new terrain fill in as confirmation that it worked.
Image credit: Playstack
How Map Fragments work
Fragment statues are marked through the fog, so you know roughly where each one lies. The problem is that the fog hides the exact layout of the land, which makes the route to a marker hard to read until you have a landmark to anchor to. The directions below start from beacons and Bone Gates you can already reach, so you always have a fixed point to work from.
Fragment
Region
Nearest landmark
Map of Fainweald 1
Fainweald
Hag’s Path, northeast of Outskirts of Nochte
Map of Fainweald 2
Fainweald
Top of the Citadel of Penance
Map of Fainweald 3
Fainweald
Just west of Blackridge Pass Beacon
Map of Fainweald 4
Fainweald
Next to Martyr’s Tomb, southeast of Widow’s Overlook
Just outside that encampment you will find an updraft. Ride it up and it carries you straight to the statue holding Map of Fainweald 4, right next to Martyr’s Tomb.
From the Mushroom Village beacon east of Widow’s Outskirts, move southeast to the Mushroom Village Gate beacon, which sits right beside the Corrupted Gate.
Get to the Outskirts of Nochte beacon in the western swamplands. The quickest approach is the Bone Gate directly south of Widow’s Overlook, then keep heading southwest until you enter the Nochte region.
The Map of Fainweald 1 statue stands right in front of you as you enter.
Note: You can also reach Nochte by going south from the Citadel of Penance, taking the Bone Gate to Desolate Peak, then a second Bone Gate to Prophet’s Rest where you meet Smert. Drop from the bridge, head east, and you arrive at the Outskirts of Nochte beacon.
Map of Fainweald 2
This fragment sits at the very top of the Citadel of Penance, so you first need to get inside. There are two ways in.
Defeat the Bloodcursed Lithopod in the ravine south of the Gloomshade Grove beacon to claim the Citadel Gate Lever, then use it on the main door directly west of Gloomshade Grove.
Interact with the Coin Pouch in the building northeast of the One-Legged Wolf beacon to be teleported into the Citadel prison, then break out into the main area.
Whichever route you take, climb all the way to the top of the castle to reach Map of Fainweald 2.
Take the Bone Gate southeast of the Outskirts of Mammon beacon to enter the Abbey. Head east and use the Bone Gate at the end of the stone bridge to reach the Abbey Entrance beacon.
Go up the stairs, turn right, then head down the stairs to the far side. Look across and you will spot the statue inside the large circular tower ahead.
Tip: A chest holding a Blackmarrow Key sits directly beneath this statue. Drop down from the nearby scaffolding to grab it.
From the High Lord’s Keep beacon, head south to an elevator that drops you to a Bone Gate. That gate teleports you right next to the Gate of Mammon beacon.
Climb the stairs east of the beacon to reach the lonesome spire. Circle the spire by hugging the outer wall and using the scaffolding to cross to the other side.
When solid ground appears below you, drop down and head south into a large field covered in black corruption tendrils. Map of Mammon 4 sits in the middle.
From the Outskirts of Mammon beacon, head straight south to the end of the long stone bridge on the southern side of the island. Take the Bone Gate there to reach Castigator’s Keep.
Enter the Keep, turn right, and climb the stairs to the Castigator’s Keep beacon. Go back down. The gate on the right is locked, so hug the right-hand wall and follow the scaffolding around the outer walls.
Ignore the broken wall on the right that leads inside. Keep going straight, and near the mountain at the end you will see an archway on the right that leads to the Hall of Murmurs dungeon.
Starting from the Hall of Murmurs dungeon you reached for Map of Mammon 3, look north for a small staircase that climbs up and then turns right. Follow it to an elevator.
The elevator takes you to the Starved Harridan boss fight in the Vestige of Infinity. Defeat the boss to receive the Voltaic Essence, which unlocks the doors in the southern part of the arena.
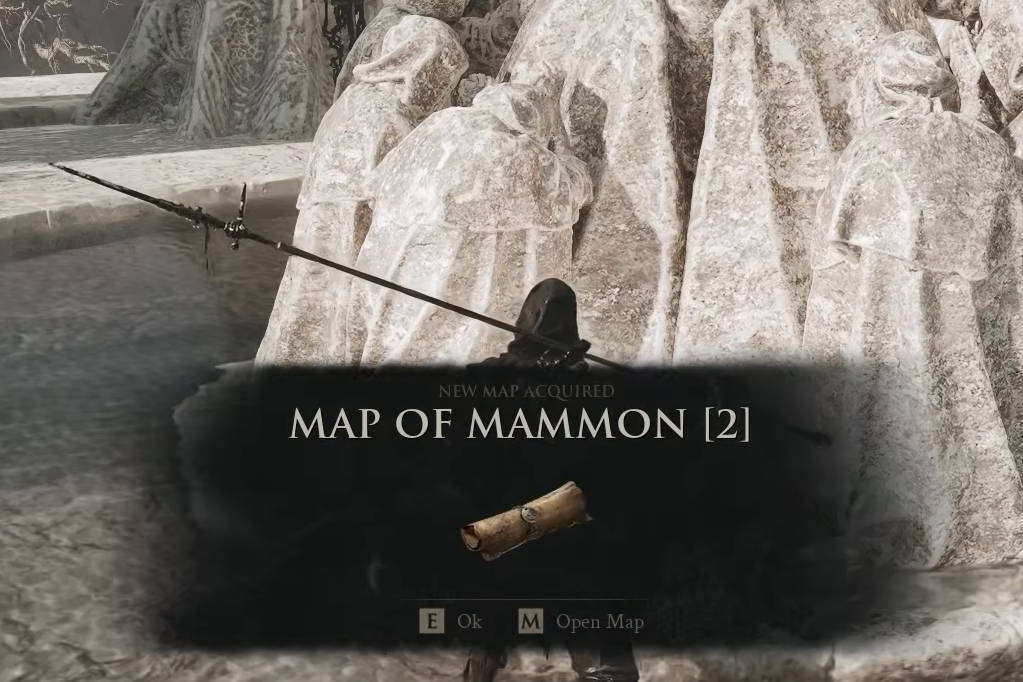
Pass through that gate. Map of Mammon 2 waits up the stairs and to the right.
Image credit: Playstack
Once all eleven statues are cleared, the fog of war lifts across both regions and the world map fills in completely, which makes tracking down the remaining beacons, dungeons, and collectibles far simpler on later runs through Fallgrim.