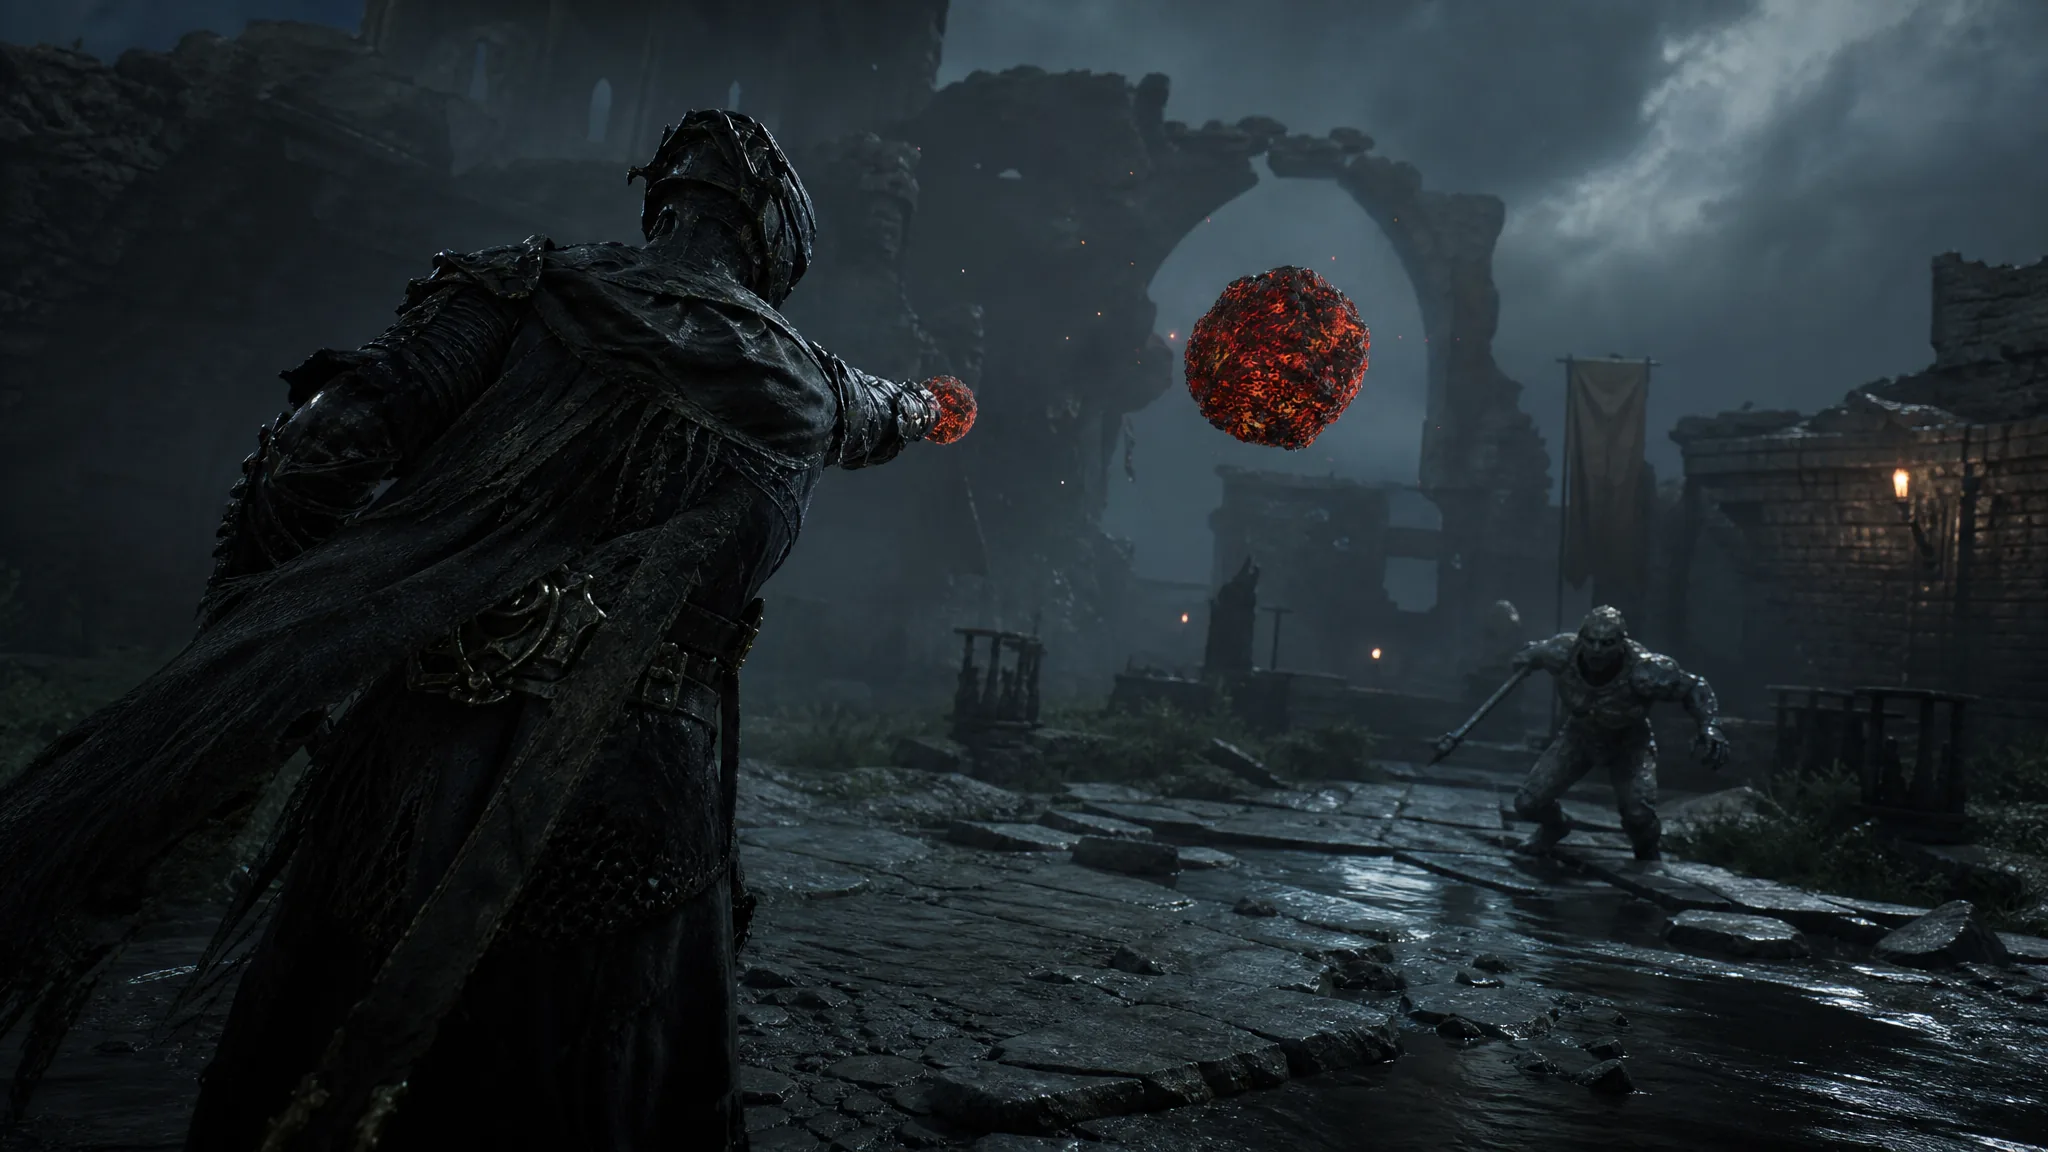
The Makeshift Projectile is siege ammunition in Mortal Shell 2 that exists for one purpose. Load it into a catapult in the Mammon region, and the launched rock smashes a false wall to expose the entrance to the Alchemist’s Workshop dungeon. The game never spells out where the projectile is, where the catapult sits, or where the shot lands, so the three points sit far apart on the map.
Quick answer: Grab the Makeshift Projectile at the southern cliff edge of the starting island in the Ruins of Mammon, carry it to the catapult southwest of the Outskirts of Mammon beacon, choose “Yes” at the “Place Ammo” prompt, then travel to the construction site west of Castigator’s Keep to enter the newly opened Alchemist’s Workshop.
Makeshift Projectile location in the Ruins of Mammon
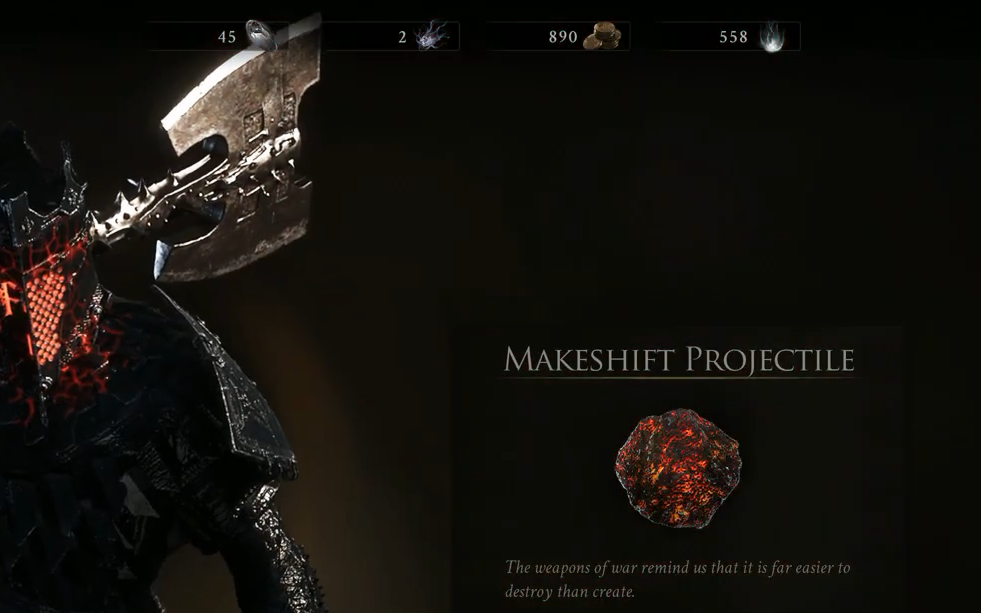
The projectile sits in the southernmost part of the starting island in the Ruins of Mammon, just below the far end of the large stone bridge south of the Outskirts of Mammon beacon. Its item description reads, “The weapons of war remind us that it is far easier to destroy than create. Ammunition for a great siege weapon.” A note lies next to it.
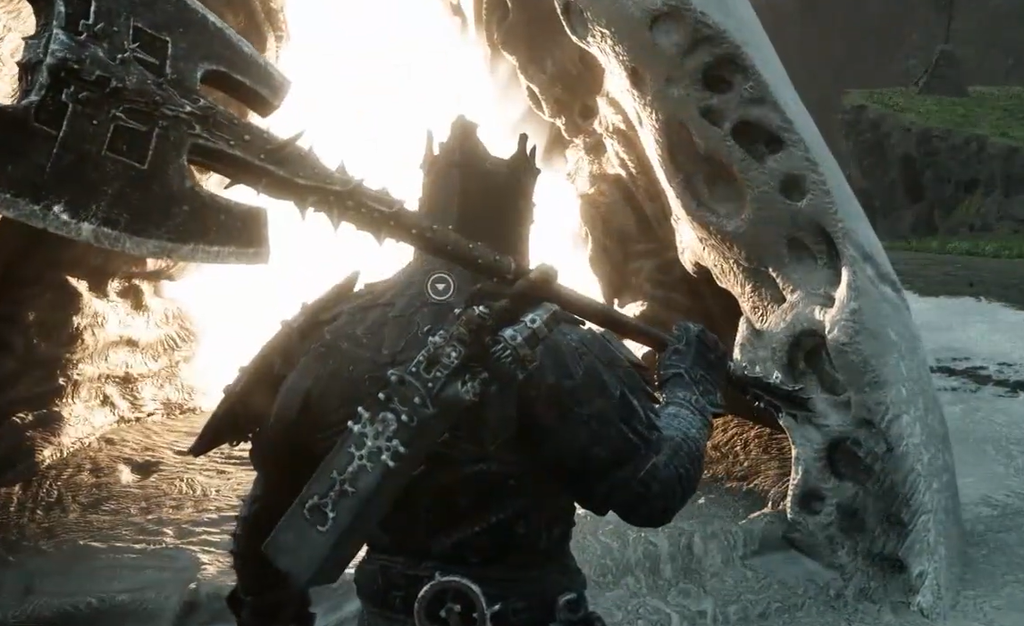
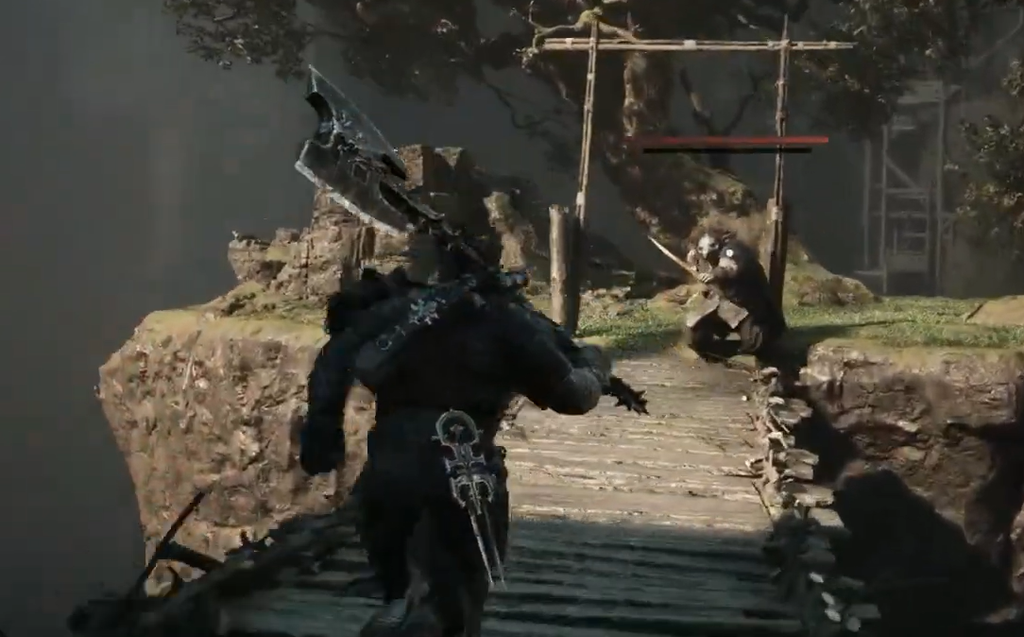
A chest beside the nearby gate holds the Foundry Stone, which unlocks the ability to refund upgrade costs at the Tarforge. It is worth grabbing while you are in the area.
How to fire the catapult
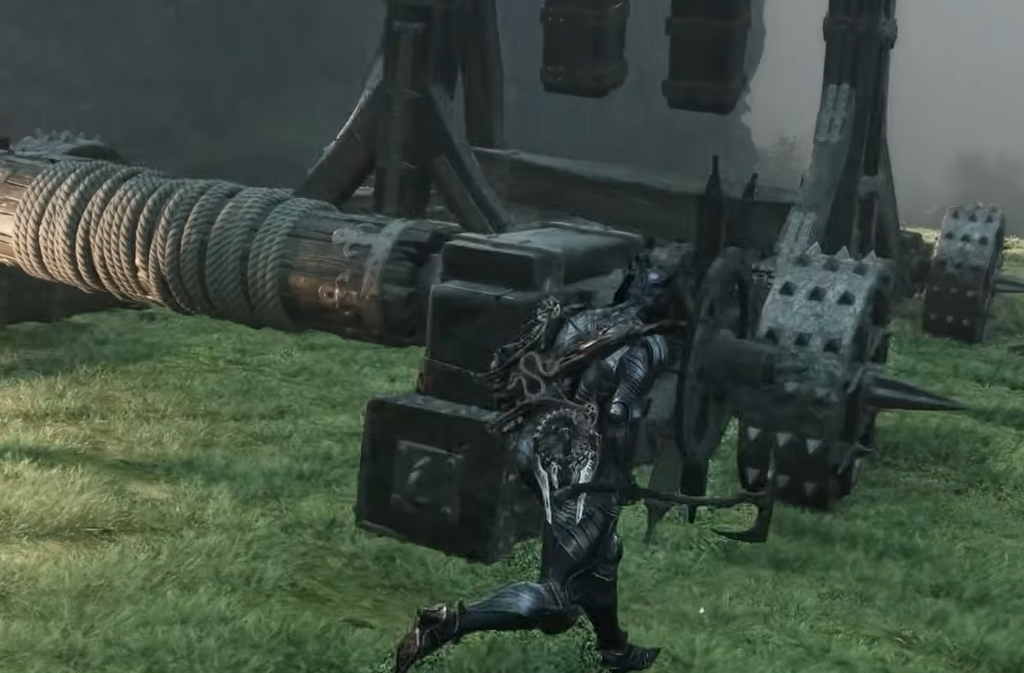
The catapult stands southwest of the Outskirts of Mammon beacon, in the grassy area right beside the statue where Ruk hands over a Map of Mammon fragment. Several soldiers watch over it, so note the spot when you first pass through and return once you hold the ammunition.
Where the Makeshift Projectile lands
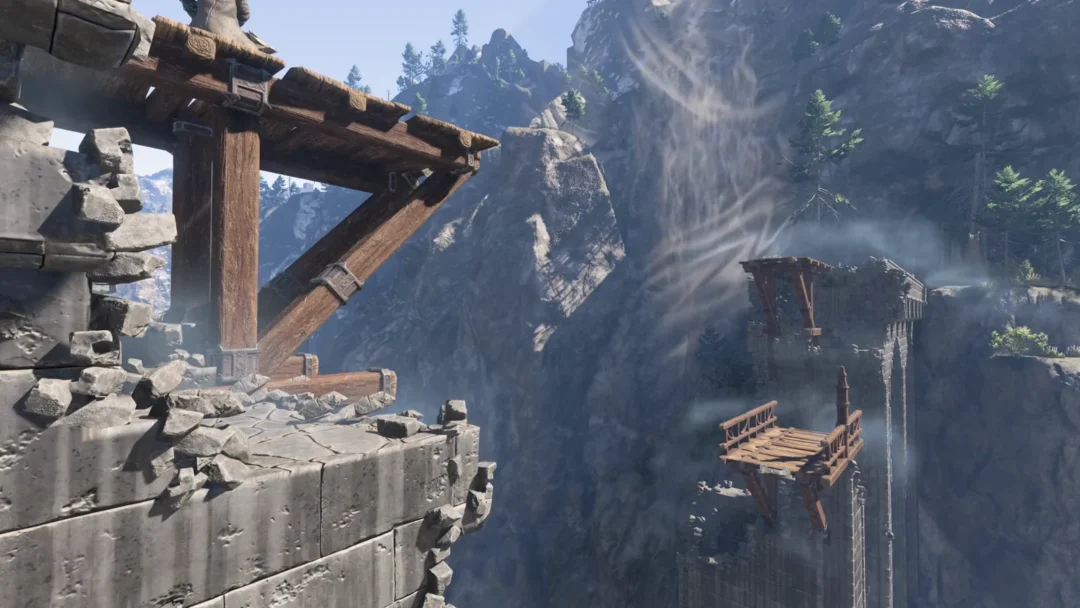
The shot travels to the island chain west of Castigator’s Keep and east of the Gate of Mammon beacon. It strikes the mountainside near a construction site full of Miner enemies, punching a crater into the rock and revealing the entrance to the Alchemist’s Workshop dungeon.
To reach it, head from the Outskirts of Mammon toward the central Castigator’s Keep zone, then follow the cliffside path west to the rocky outcroppings and the construction area. The destroyed section of wall marks the way in. If you have not fired the catapult, that same spot stays sealed behind an intact false wall.
What’s inside the Alchemist’s Workshop
| Location in dungeon | Reward or detail |
|---|---|
| Desk near the entrance | Alchemical brew that tilts the camera sideways; interact with the desk prompt again to remove the effect |
| Inner chamber dais | Synaptic Vessel (upgrades the Mether’s Flask) plus five Glimpse for your shells |
| Bottom of the elevator shaft | Clockwork Shardstone Tarstone, guarded by a Shell Snatcher enemy |
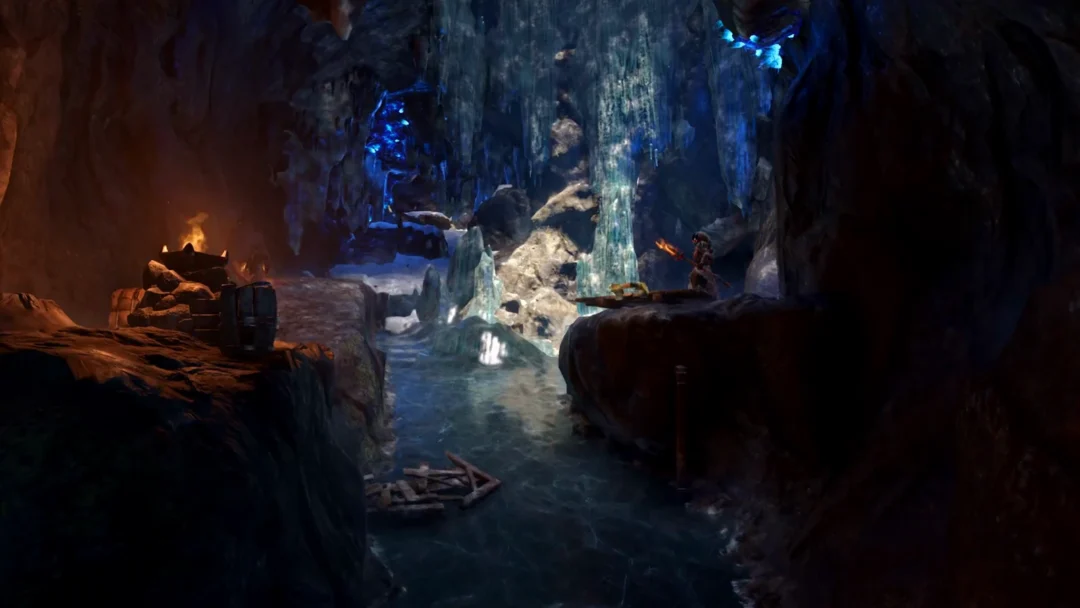
Inside, pull the lever to lift the gate, cross the stone bridge, and ride the lift down. Clear the crawling enemies in the final corridor, then open the altar chest to claim the Clockwork Shardstone. That Tarstone generates Frenzies over time and spins the weapon like a chainsaw, with each spin dealing 12% of the weapon’s base damage, 15 stagger damage, and 25% of its base status effect buildup.
Firing the projectile is the intended route, but it is not the only one. The false wall hiding the Alchemist’s Workshop can be broken with a regular attack, so you can reach the dungeon and its loot even if you skip the catapult entirely.